
4 years ago, I was looking for a project to do with some scrap wood that I had accumulated, and I ended up building a cute little herb planter for on our walkway by the back door. I called it my scrappy scrapper, which you can read about in the post with the same name. I has been a great little herb planter, but I have unfortunately outgrown it. I need more room for all the different herbs I grow.
In deciding that I need a larger herb planter, I made the decision to also not plant any herbs in the actual garden beds. The last few years, I have been planting a bunch of basil with my tomatoes. It has been great, and perhaps we will notice a difference in our tomato flavour this year, but it became too much in that little area. When the basil would grow into large bushes, it would take over my path that I use to harvest the tomatoes. And let me tell you, the wolf spiders LOVE to live in the basil plants.
I decided to go with cedar since we seem to stain everything in the upper yard with a cedar stain anyways. I’m also hoping that it will last longer in the weather than some of the other planters that are made of pine or spruce and stained.
It was a super easy build that anyone can do, so I decided to do up the plans and share them. It has been a while since I have built something and shared the plans on the blog, so it seems like a fitting time for that. Please note, that in the list below, I have noted some alternatives to the tools that I used and alternatives for some of the steps. They will work just as well. I have an extensive tool selection now, but I remember my first few projects when I tried to do stuff I found online and didn’t have any of the tools they used. Anyways, here we go!
Tools You Will Need
- Mitre saw -OR- circular saw -OR- jigsaw -OR-handsaw
- Table saw (OPTIONAL depending on wood dimensions you can get) -OR- jigsaw -OR- circular saw -OR- handsaw
- Drill with #8 Robertson bit -OR- Robertson screwdriver
- Tapemeasure
- Pencil
- Clamps
- Kreg jig (OPTIONAL – can angle screws as needed)
- Brad nail gun -OR- finishing nails & hammer
- Wood glue
- Sander (belt, palm, block)
DIRECTIONS FOR BUILD
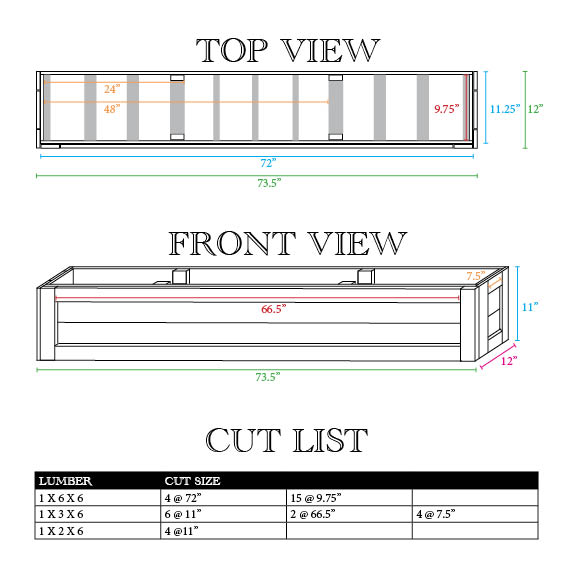
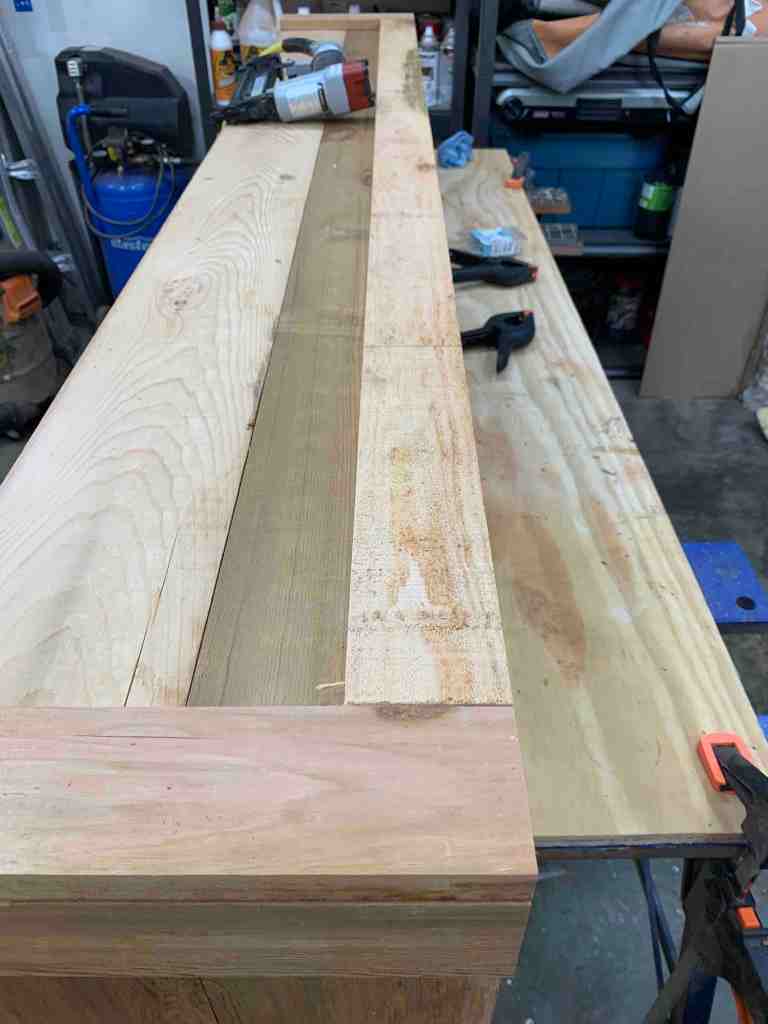
Step 1: Cut the Lumber
I recommend getting all your lumber cut to size and stacked neatly. I always like doing this so that as I build, I can just focus on putting the item together.
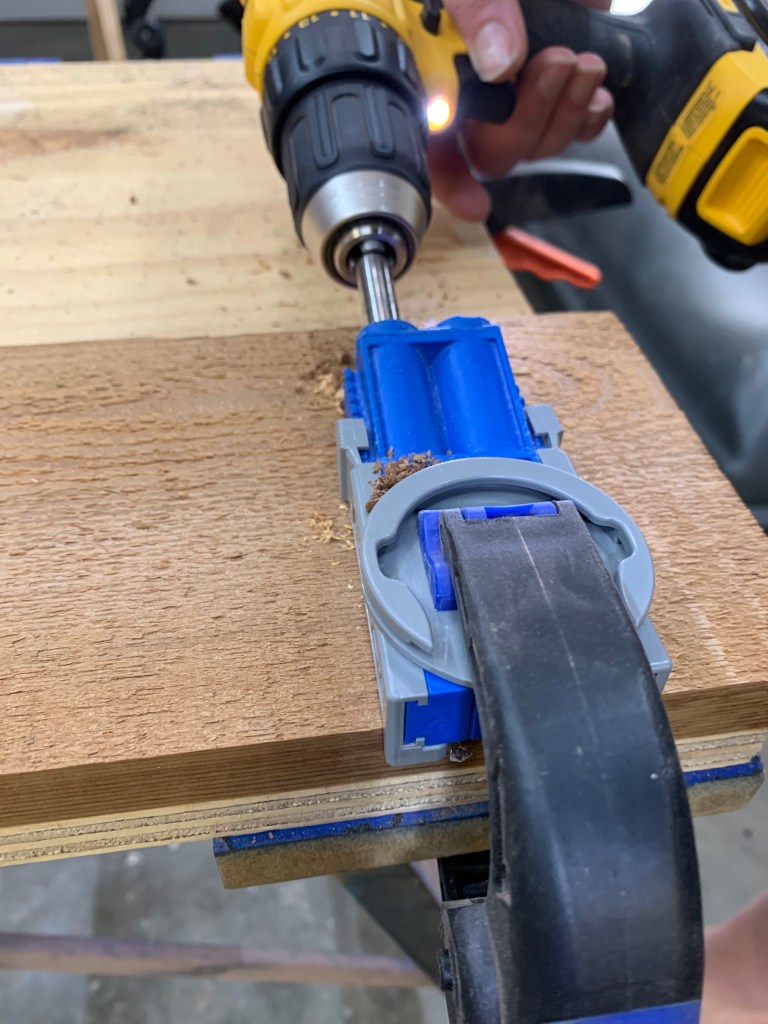
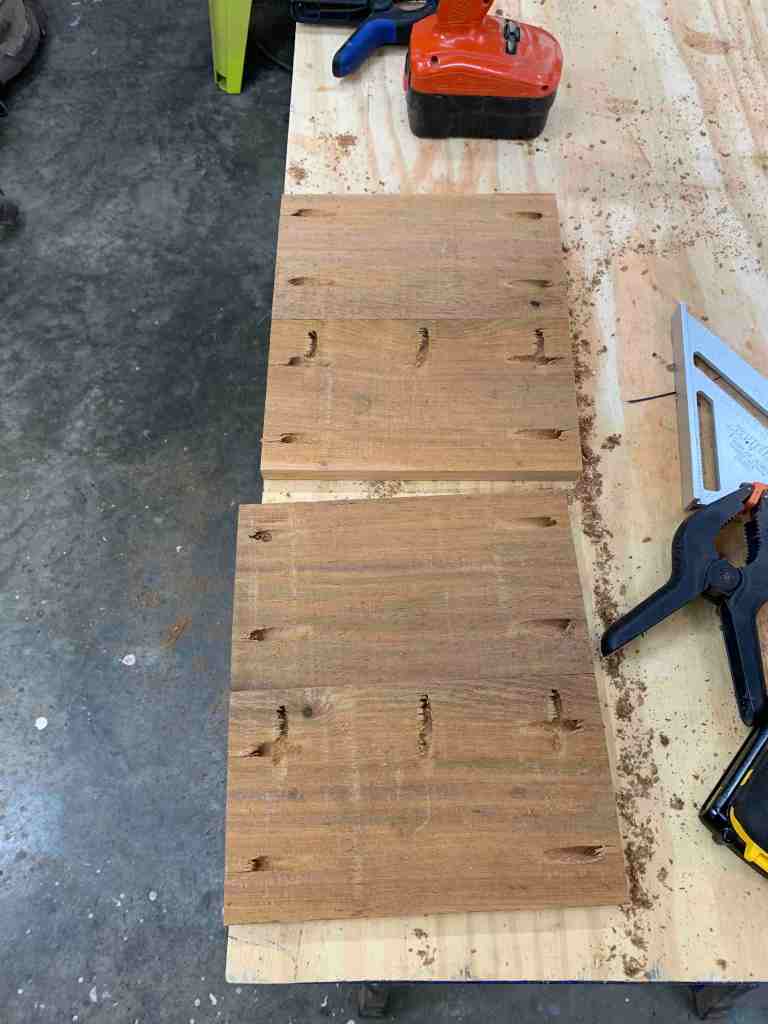
Step 2: Build the walls of the box
Start off by building the 4 walls of your box. During this step, I used the kreg jig to create pocket holes on one side of the wood to attach the 2 sections that make up each wall.
If you do not have a Kreg jig, you can instead use braces on the back-side of the walls and screw the panels to the braces to create the sections of walls needed. Skip to step 3 to see the braces added that you could use instead of screwing the panels together.


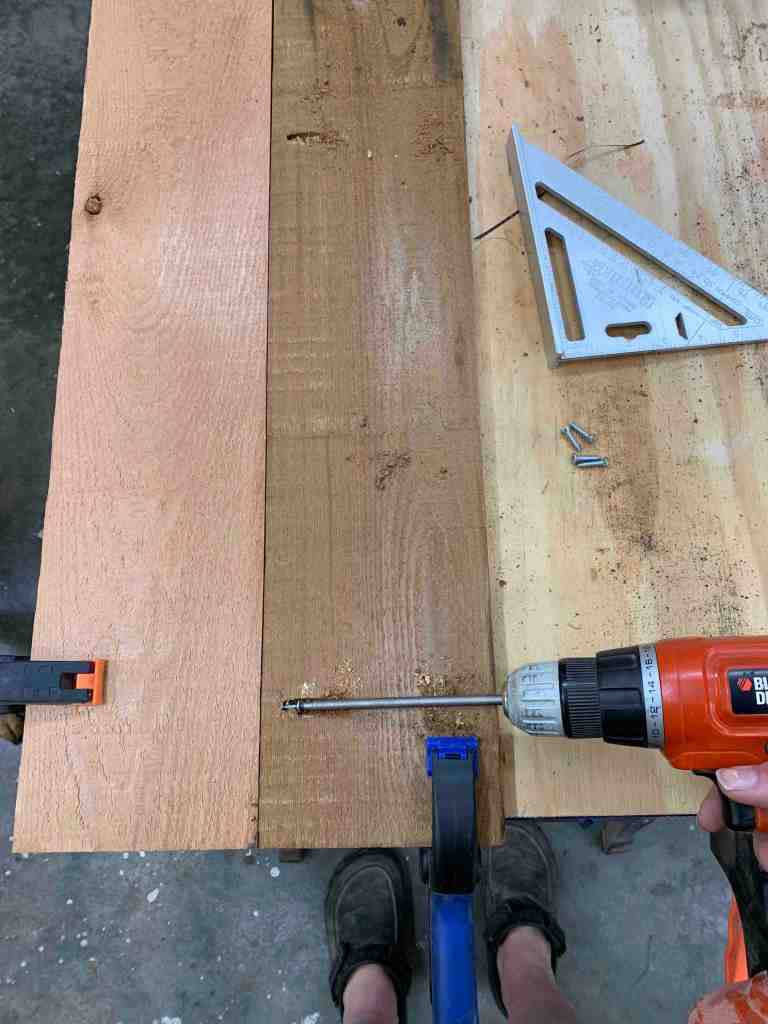
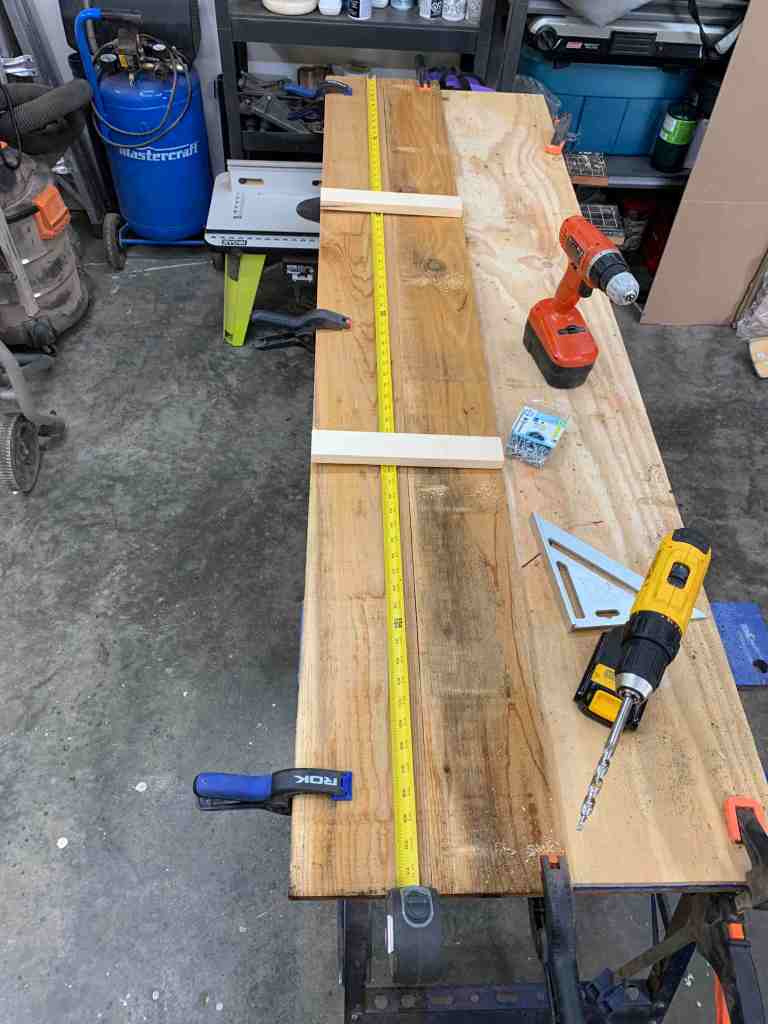
Step 3: Add braces to long walls
Because this is such a long box, I wanted to add a few braces to the longer walls to add some additional support to the 2 panels being screwed together. I placed these at the 2′ mark and the 4′ mark. See above plans for reference.
If you are not using a Kreg jig, you will want to add 2 braces to each of the side walls as well so that the 2 panels for each of those walls are connected as well.
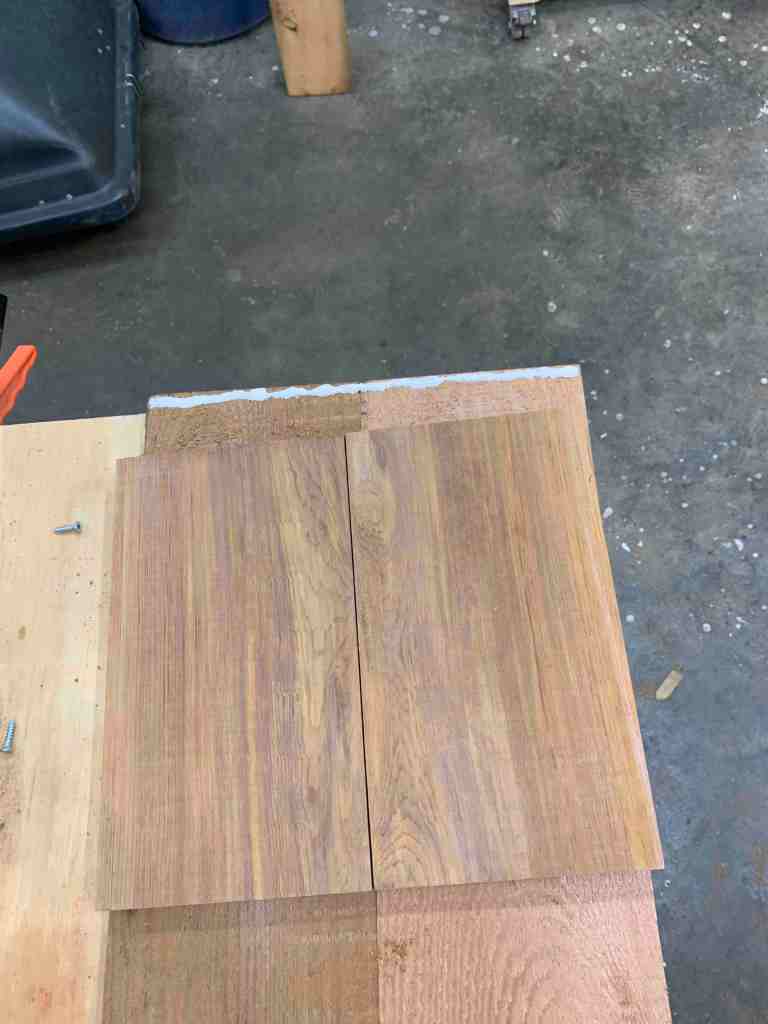
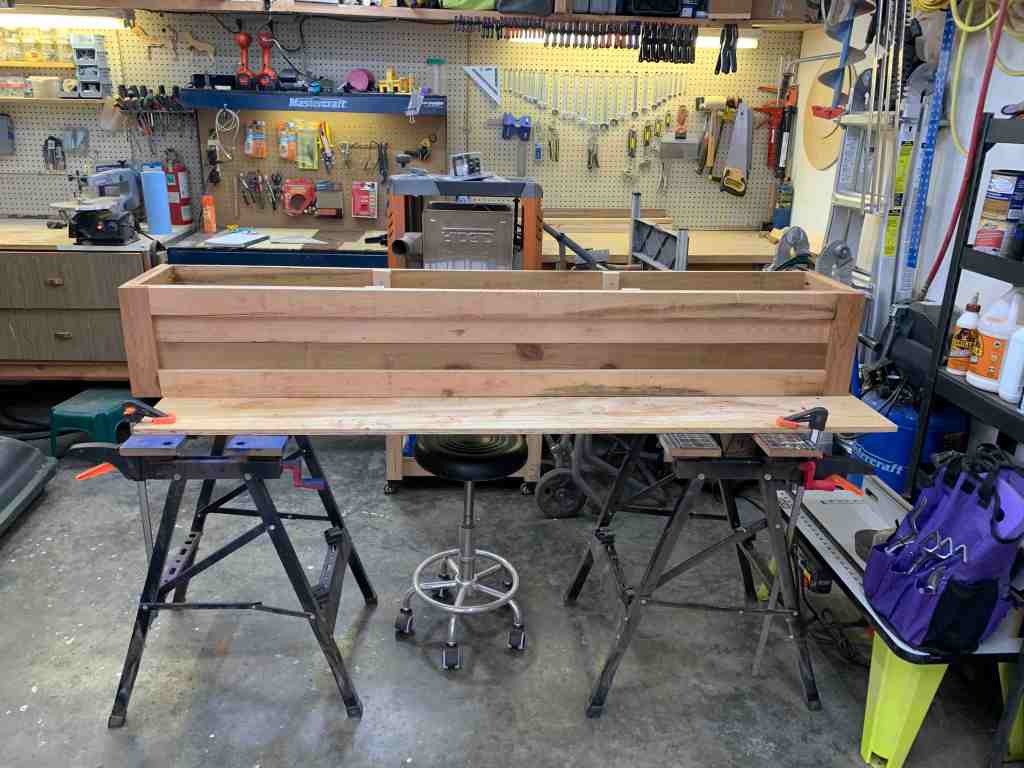
Step 4: Build your box
Put your planter box together. I did this by adding the two shorter walls to one of the long walls. Once attached, I added the other long wall.
When attaching the small walls, I added a strip of wood glue. This isn’t necessary, but I always like the extra holding power. I also feel that it helps seal those seams and keeps the water from getting through.

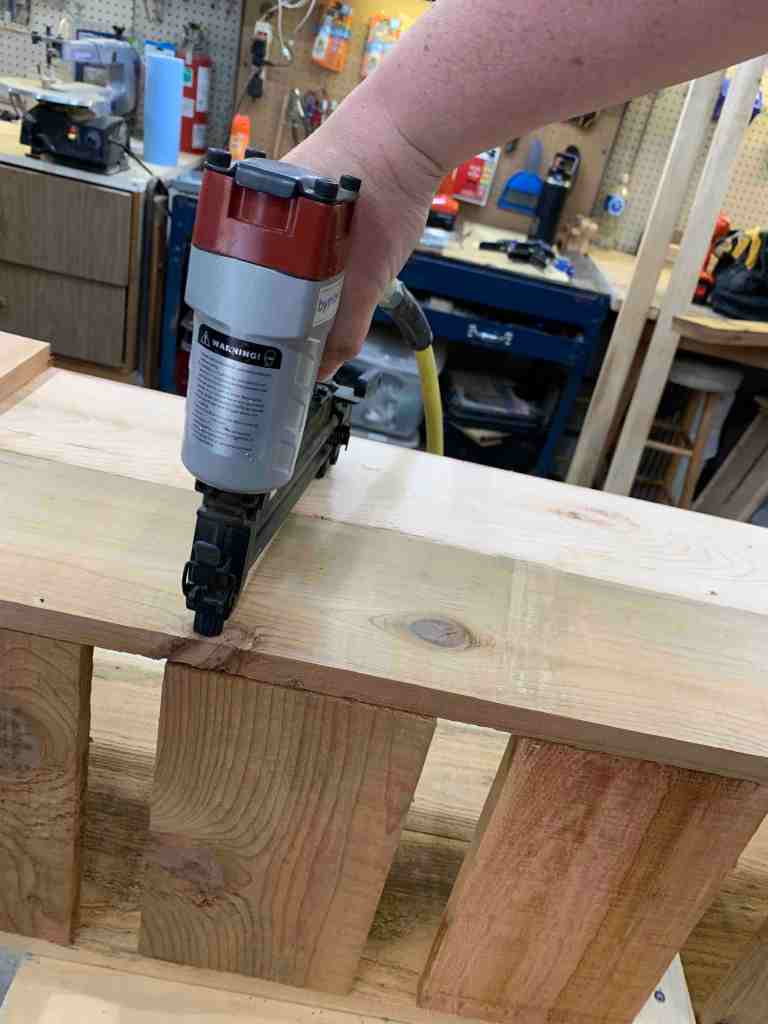
Step 5: Add your bottom panels
I wanted to ensure that water could get out as needed, though not to easily. So I decided to do a slat bottom with gaps between the slats. I am going to add landscaping fabric in an upcoming step that will hold the soil and allow some of the water to seep through to the gaps in the slats. This will help ensure that the plants don’t get overwatered and stop the planter from holding too much water for long periods of time.
The slats are 1×6 cut into 9.75″ pieces. I used 10 in the bottom of mine. I attached them to the box using a brad nailer. You can use finishing nails and a hammer if you do not have a brad nailer.
The bottom slats will be sitting directly on the ground, which is why the brad nails work for this application. If you plan to add legs to yours, consider screwing the bottom slats into the box for a more solid hold.


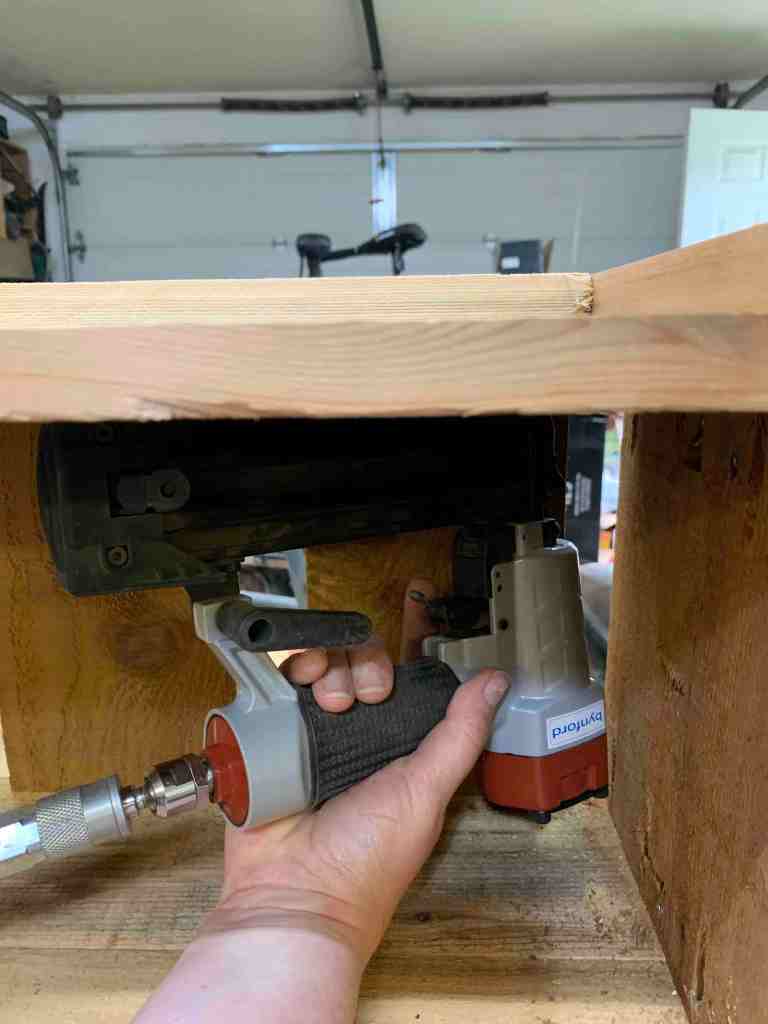
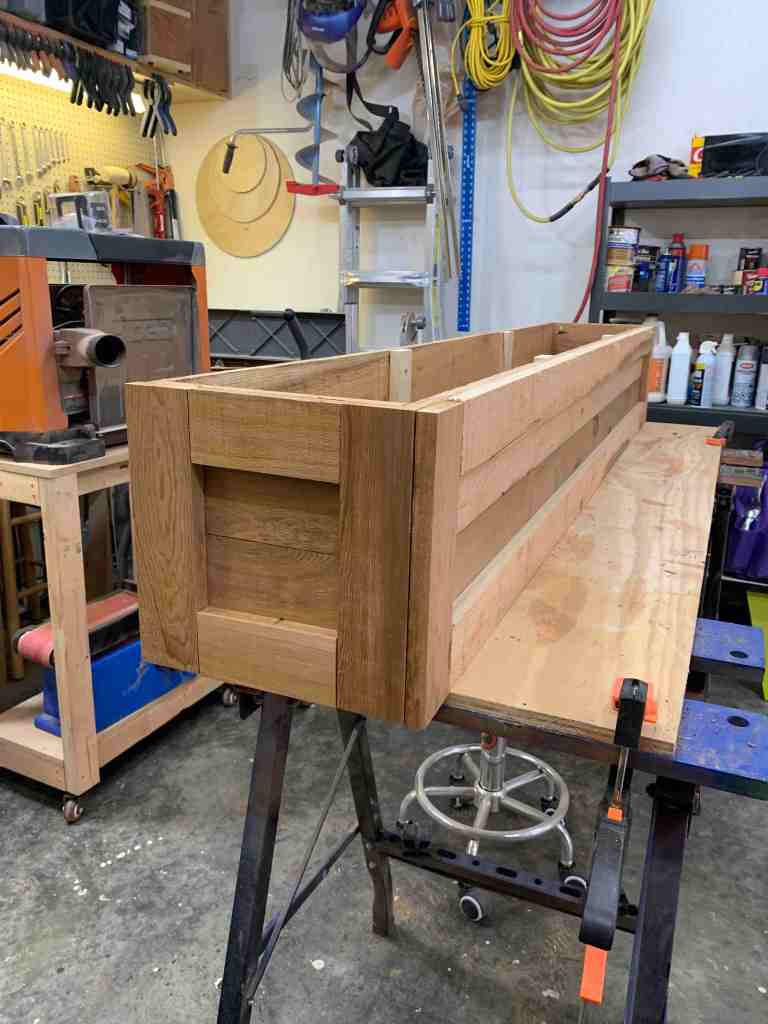
Step 6: Add the outer decorative frames
I wanted something a little fancy, so instead of just building a simple box, I added a boxed frame on the front and sides. The back is going to be against our cement patio, but if you plan to have this away from a wall, consider adding a frame to the back side as well.
These decorative frames also hide the brad nails nicely. To adhere them to the box, I brad nailed from the inside of the box with a nail that was short enough not to go all the way through the decorative framing pieces.

Step 7: Adding the liner
All of my planter boxes have been lined with the commercial grade landscaping fabric that we used for our rock walls. It does allow water through, but it is a slow release, so it retains water pretty well, while not getting bogged down with water like a solid plastic insert would do.
I roughly place the liner in to ensure that I am cutting it to the right size. For this project, because I am not framing the top, I wanted the liner to be a few inches down from the top so as not to be seen.
Once the dry-fit has been done and the fabric cut to size, I start at one end and start stapling it into place, including a few staples in the bottom to keep the fabric taught for when I am ready to plant. As I go along the box with the staples, I make sure to keep pulling the fabric tight so that it is a nice fitted finish inside the planter.


Step 8: Sanding
Once the box was built, I took my belt sander and gave a light overall sand to the box to take down any rough pieces. Some of the cedar boards had rough patches that I wanted to remove before adding a clear verathane coating.
Step 9: Stain or Varnish
We get a laser beam sun and cold, snowy winters, so I wanted to give the cedar box some protection from the elements. I ended up going with a clear coat of verathane varnish. It is a semi-gloss, which added just a hint of shine to it. I generally go with flat or a stain for outdoor pieces, but I wanted this one to really showcase the colours of the wood.
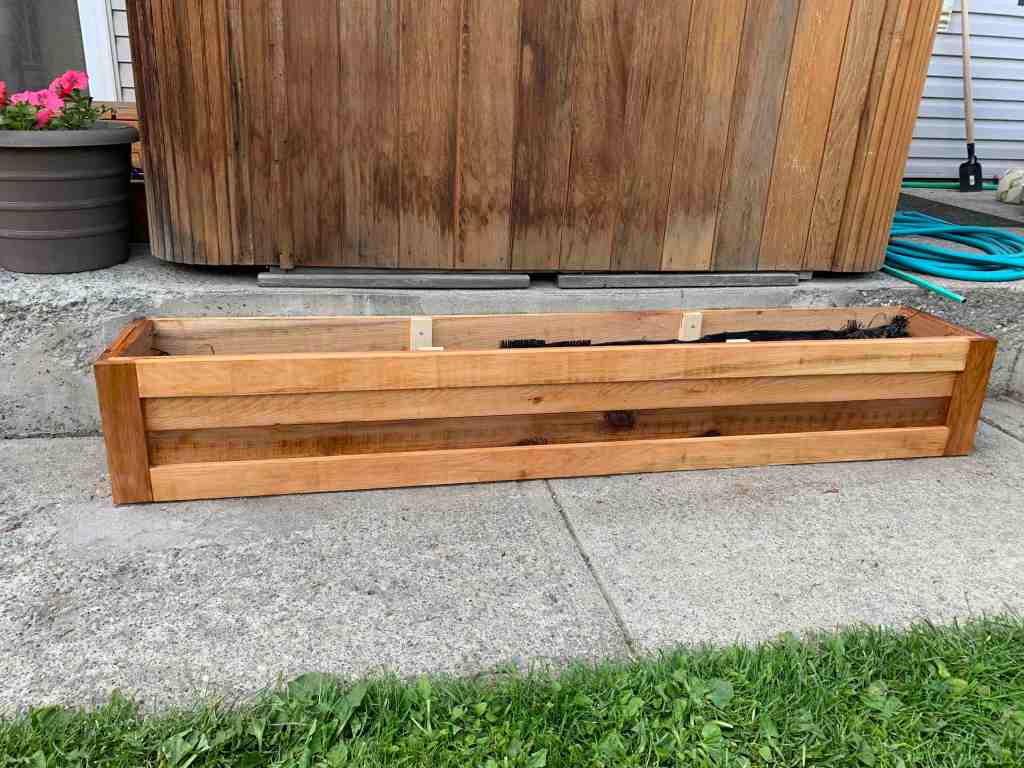

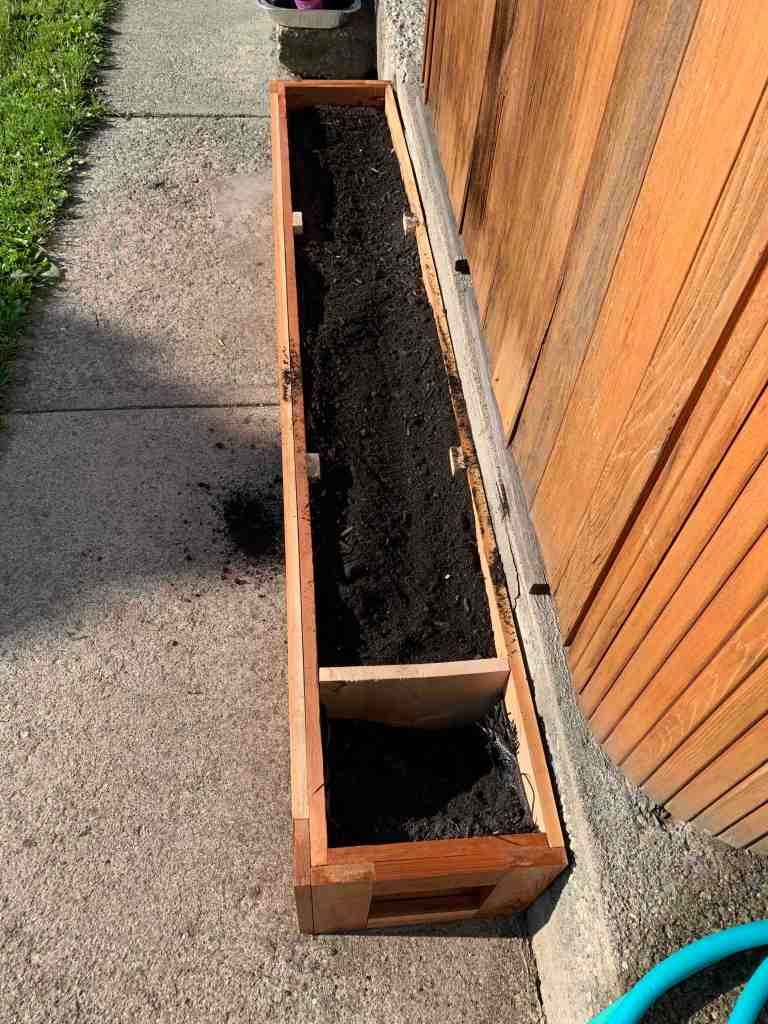
Step 10: Fill!
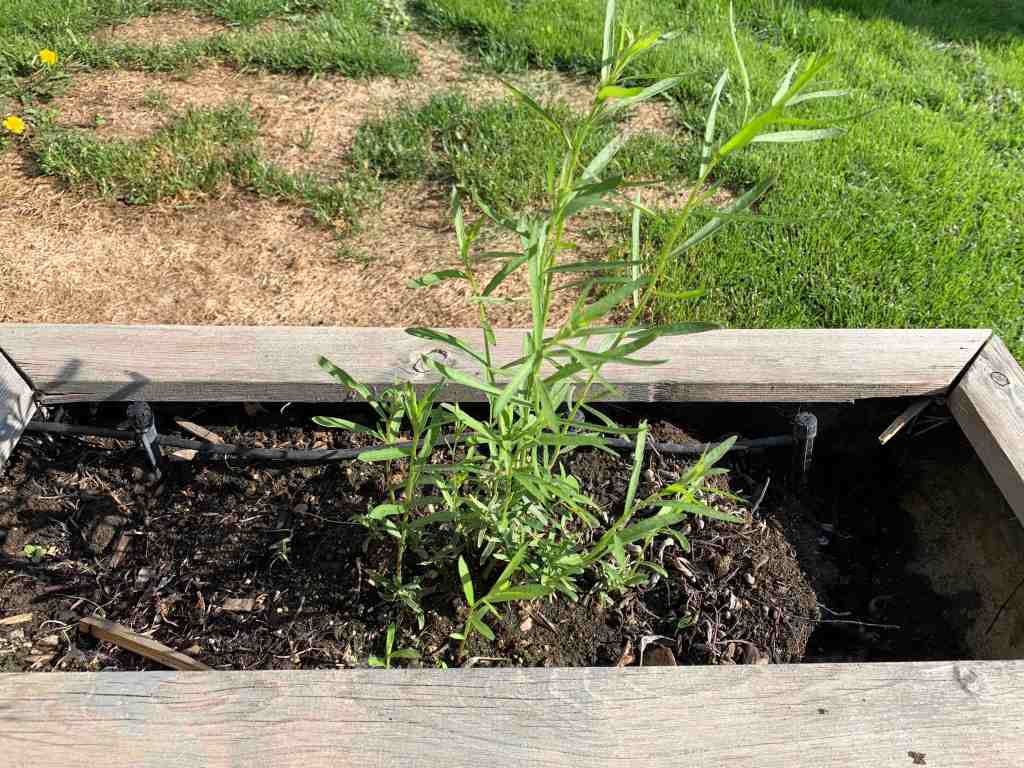
Once the clear coat had dried, Kurt filled the planter with some compost soil that we had left from filling our garden beds. I then collected all my herbs that I had been growing in the house, and put them into their new home. You will note in the photos that I added a section of board between the Tarragon and the rest of the planter. This is to hopefully stop the Tarragon from spreading past it’s allotted area. I love it, but it can take over if given the opportunity.


Feel free to take these plans and adapt them, change them or add to them to make them your own. And please share! I always love seeing how other people have taken my plans and made them right for their own purposes.

