
We may be done our rock walls, but we do have a few more walls to build. The remaining walls will all be built out of stack stone, which are much easier to build, though not much less labour in getting them to the location in the yard that we have to take them to. And they are still as heavy as rocks. So an improvement…but just a small one.
We went to order the same stones that we have been using the cap the end of our garden beds. Unfortunately our preferred building supply store switched suppliers and no longer carries the charcoal with brick colour streaks any longer. Also, they no longer have the rough fronts and are now smooth on all sides.
We figured it wasn’t a problem since most of it would not be very noticeable. We decided to go with it for this, but will need to find a supplier of the other bricks to finish off the end caps of all our gardens. The on-going challenge of doing this work over years.
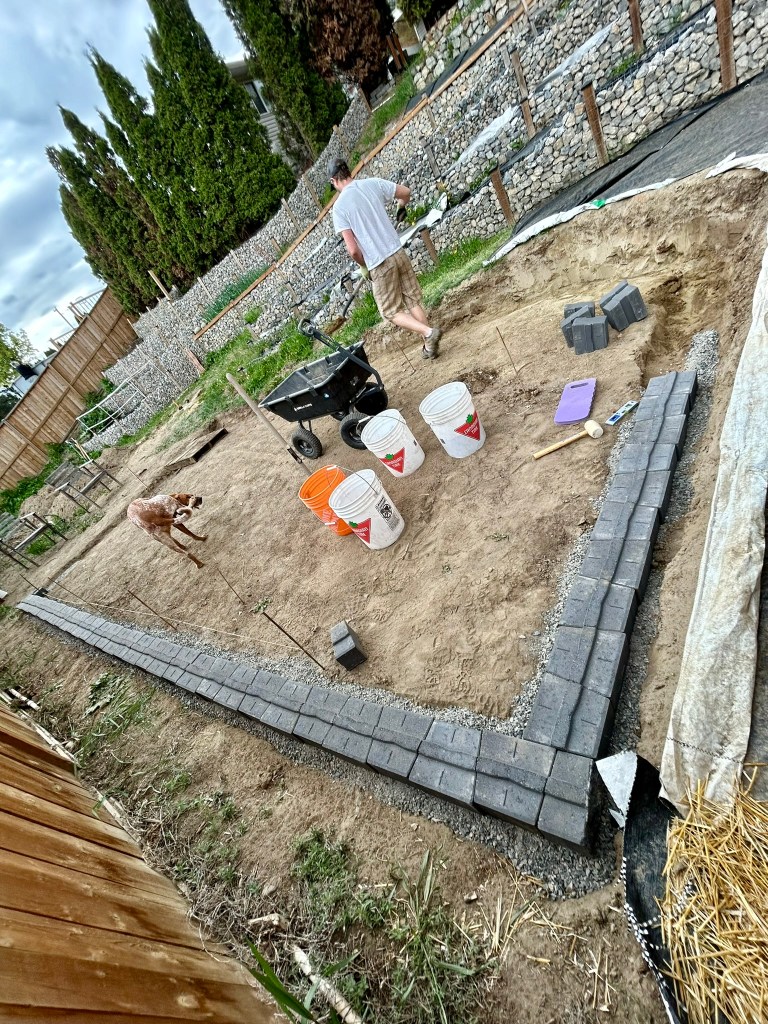
In the area that was leveled, we trenched out a shallow area that the brick walls were going. We ran lines so that our trenches were as straight as possible compared to the wall. We wanted at least 2′ between the fence and the wall.

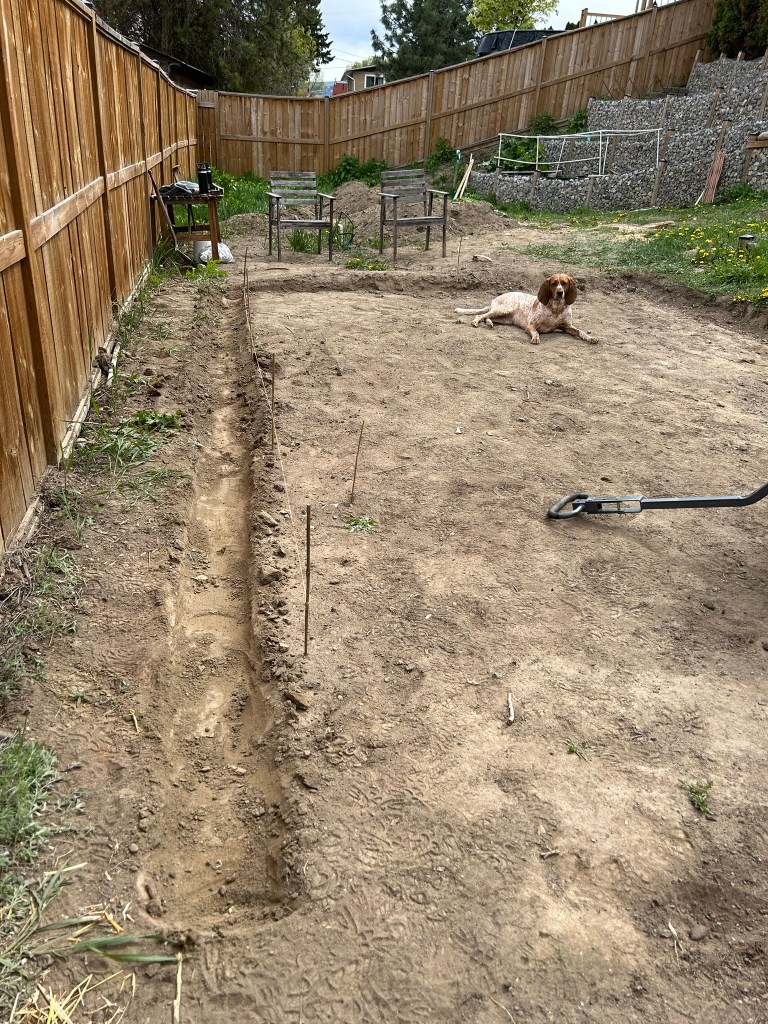
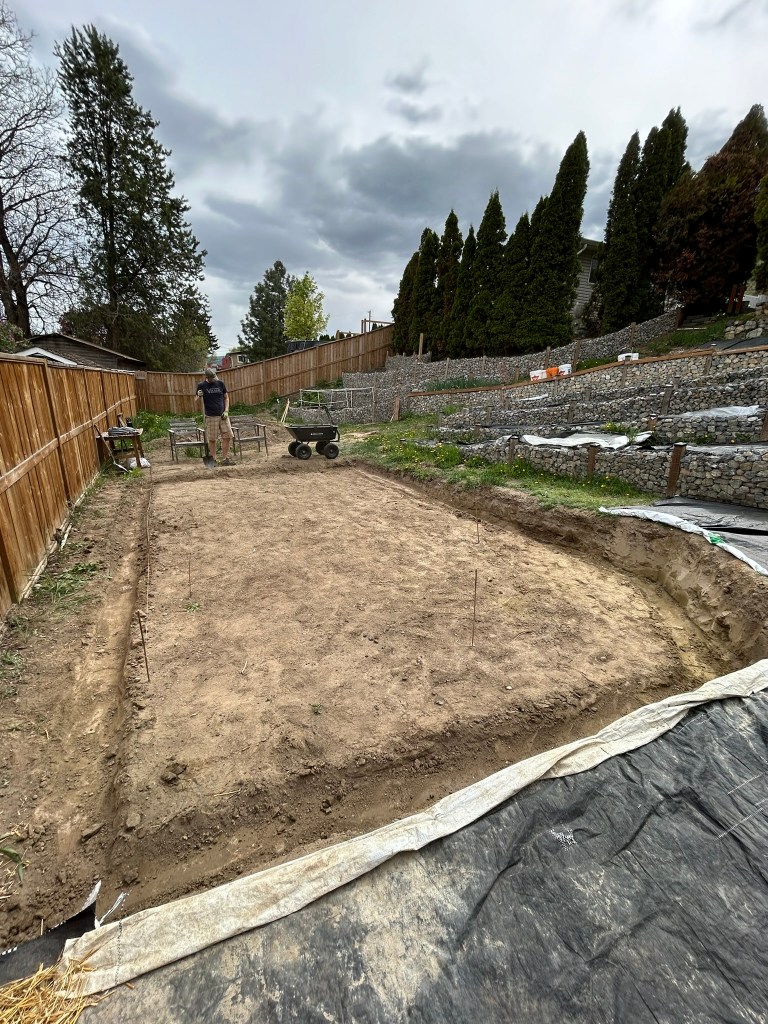
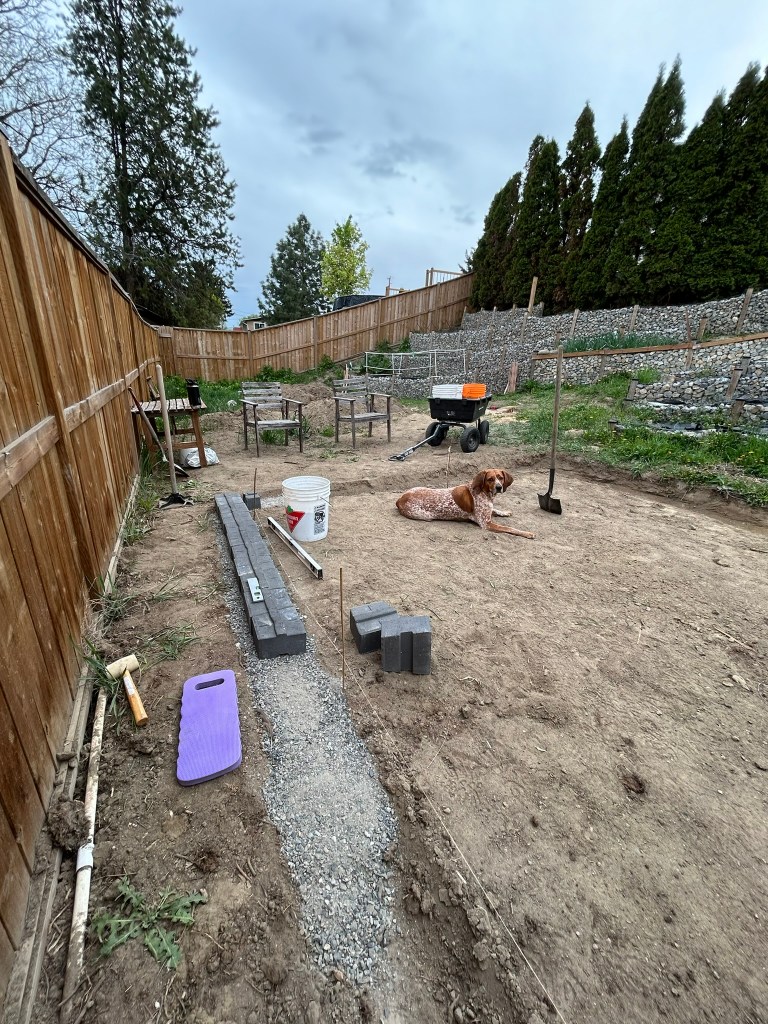
Once everything was trenched, we started putting down the crushed gravel. Since these are a different type of wall, we made sure that there was a couple inches of crushed gravel down to keep our walls solid and straight. The ground is fairly hard packed clay at the bottom, so we are hopeful that there won’t be much of anything sinking during the spring melt next year.
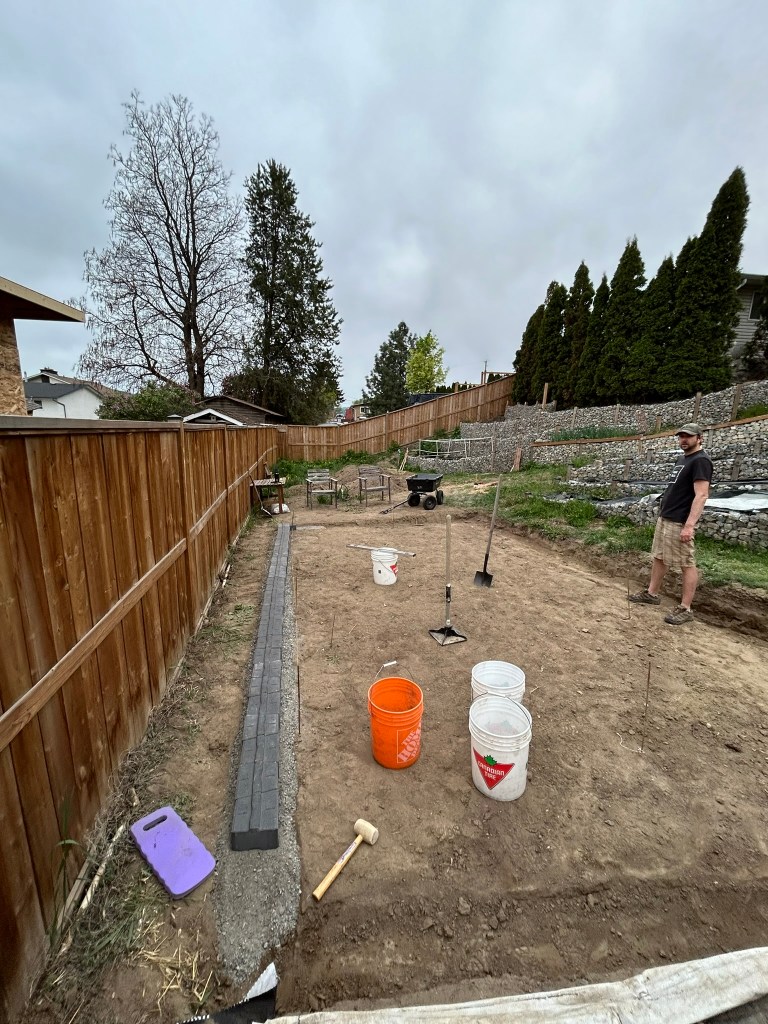
We decided to err on the side of caution and only do little stretches of crushed pounded into the trench at a time. We worried that we may need to dig some areas out a little on the front or back and didn’t want to mix too much loose soil into the crushed rock. Good thing that we did this, because there were a few spots that were out just slightly as we started to build the rock wall base.
We also weren’t sure that our walls would fit how we needed them to. Being DIY landscapers, we sometimes run into issues of how things fit at first. There seems to be some minor adjustments needed with walls like this one.
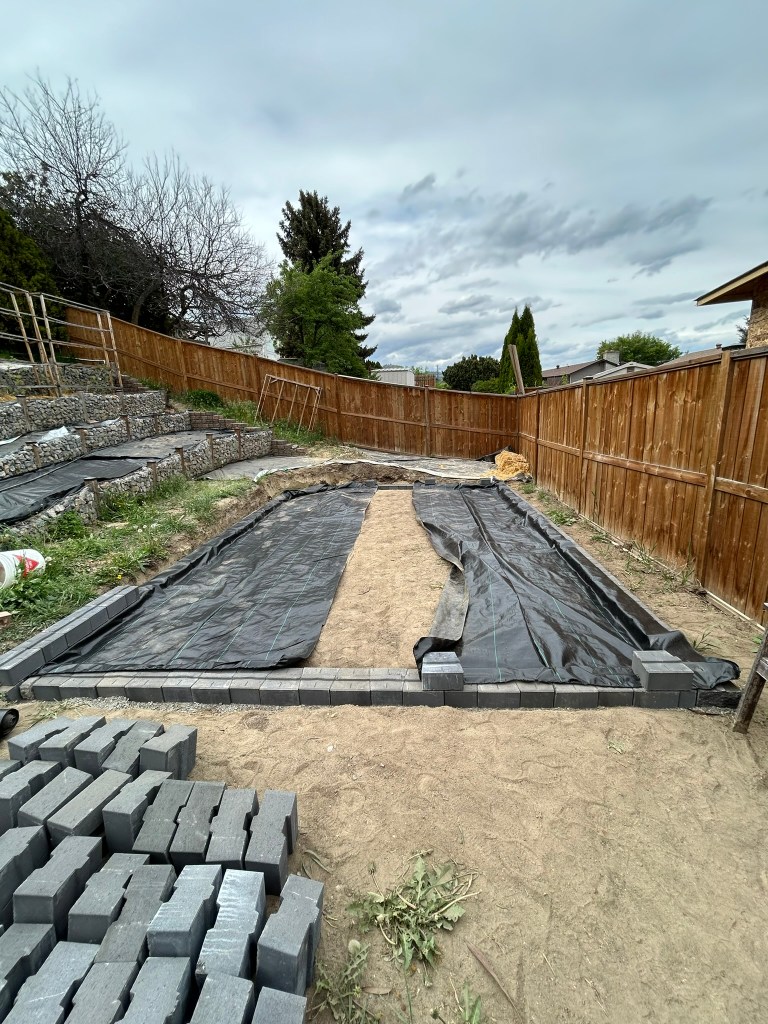
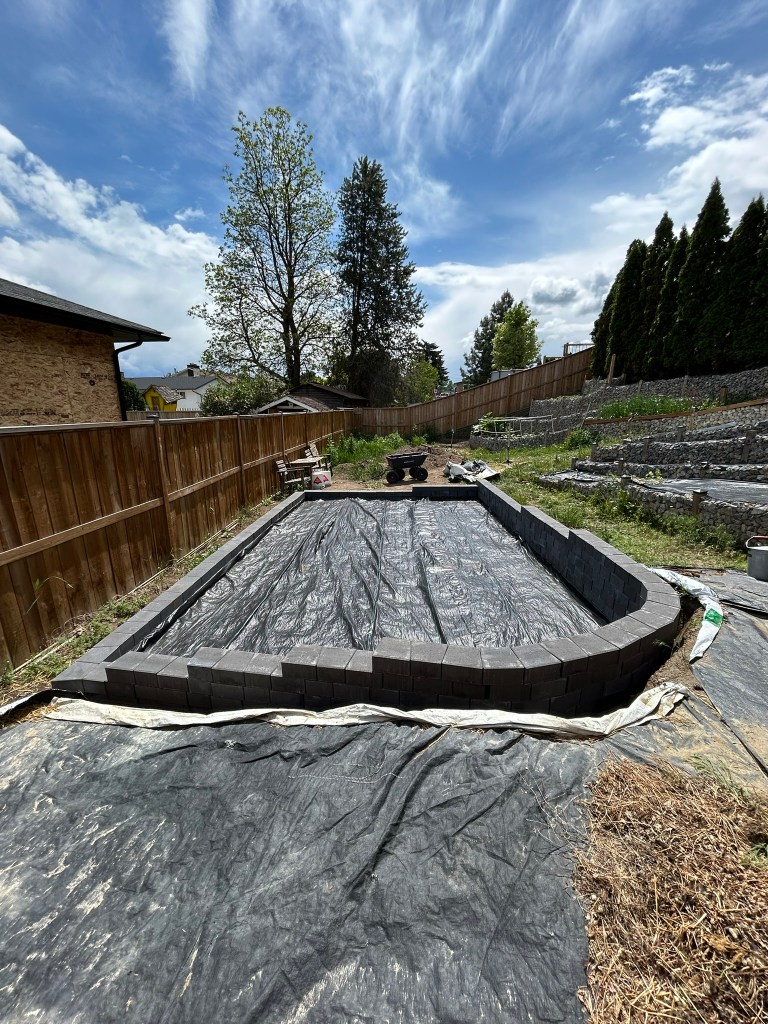
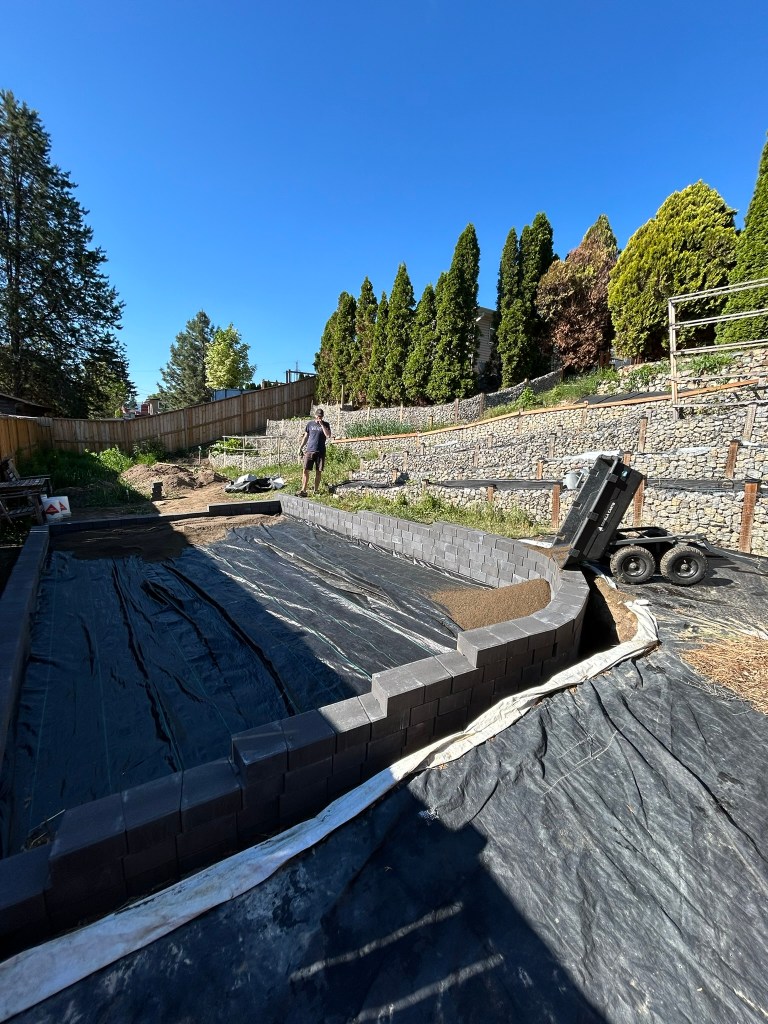
Sure enough, the back wall ended up giving us a touch of trouble due to spacing. We also didn’t consider how difficult it would be to do the angled corner instead of a standard rectangle. It took a bit of patience and some minor adjustments throughout the process, but over a couple days, we managed to get the bottom layer complete.
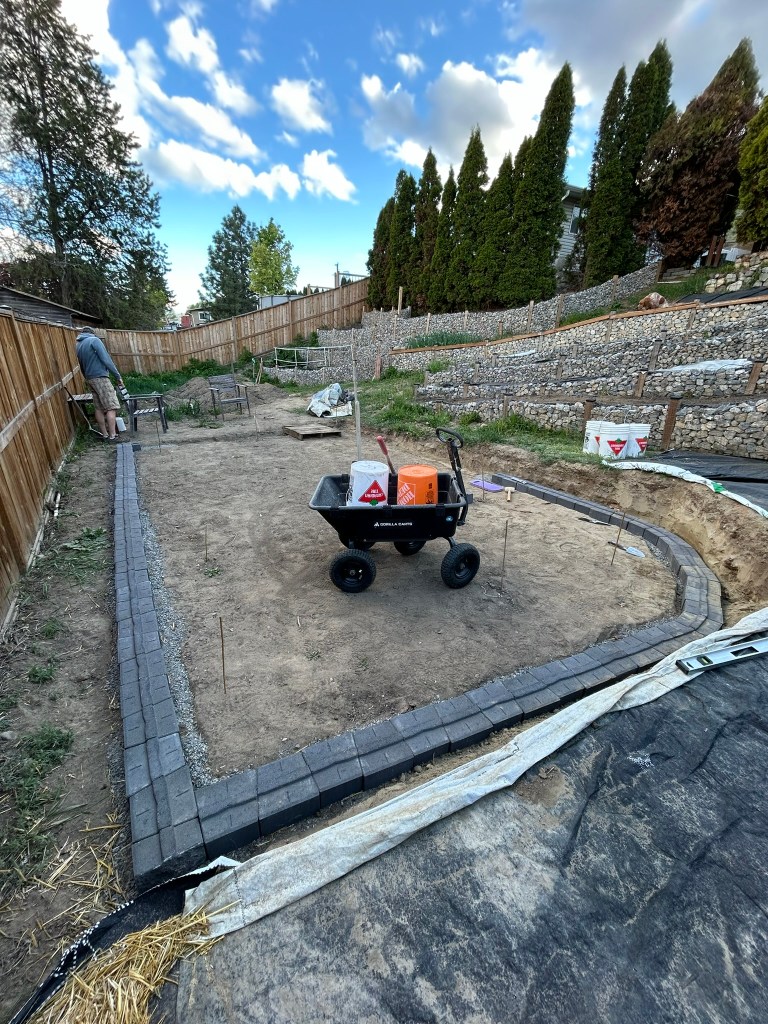
Before we could start the next layer, we had to run all our landscaping fabric since we are pinching it between the first and second rows. This was a pretty quick process, and luckily we were walking on it barefoot and noticed a few rocks that we had missed.
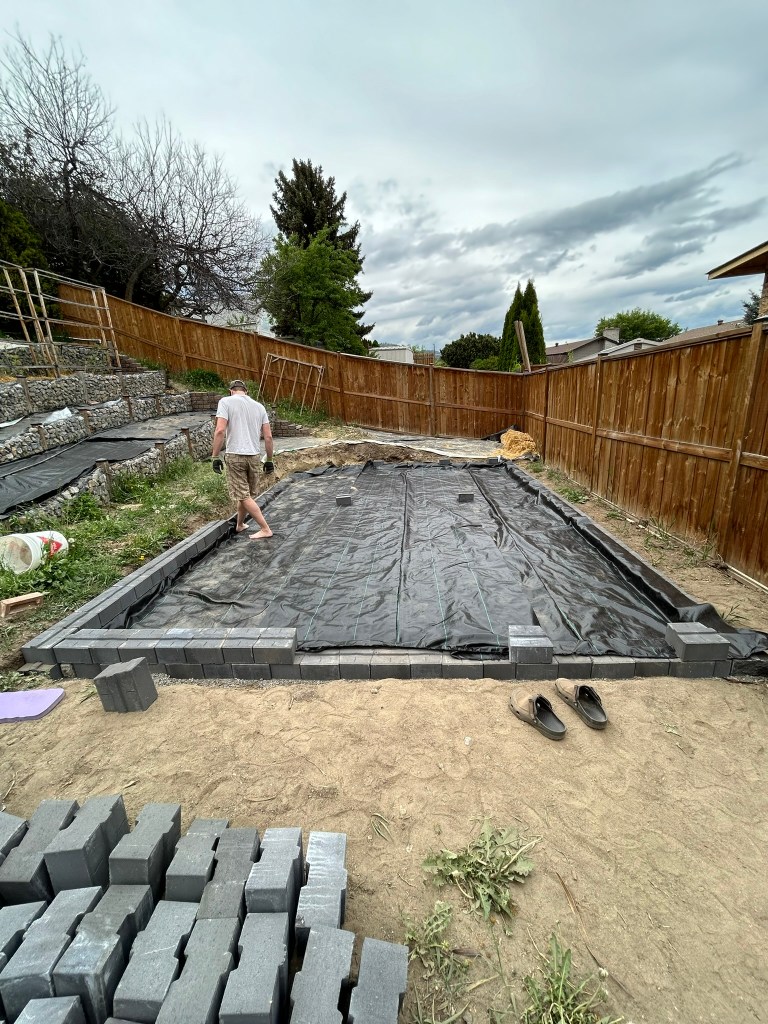
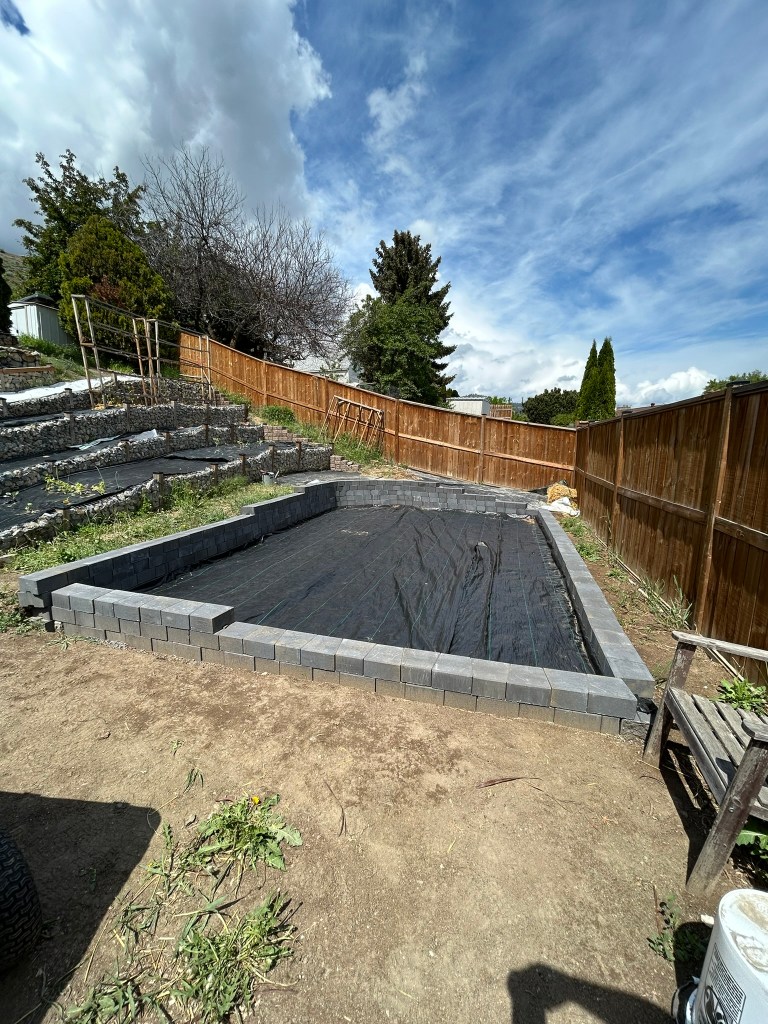
Once you have the bottom layer, it is usually a quick process to build up the stack stone wall. It was on 3.5 sides of the walls, but our little angle wall fought us right to the top. Luckily we were able to figure out a solution to the wall not going in quite how we wanted it, and it wasn’t too much trouble.
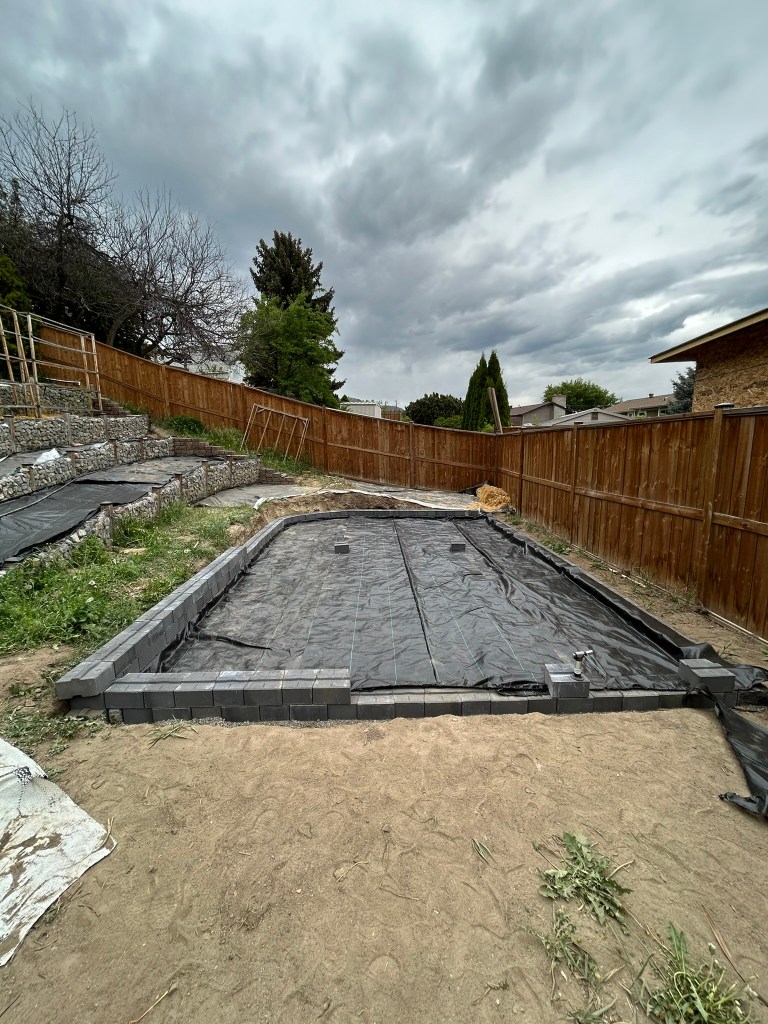
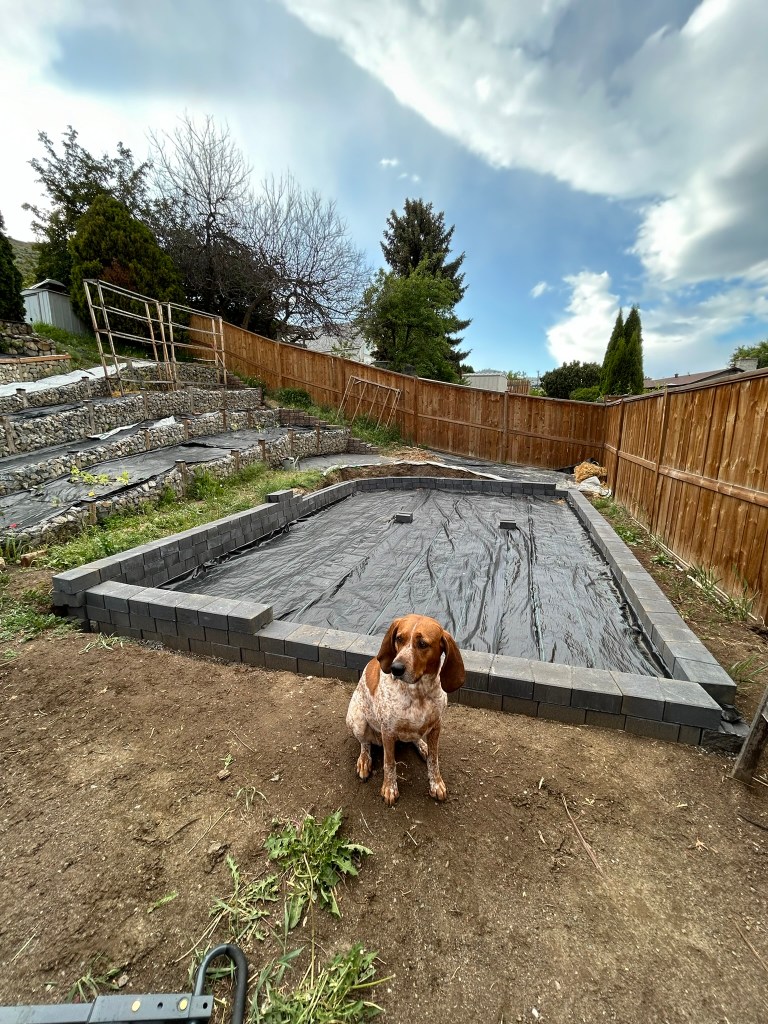
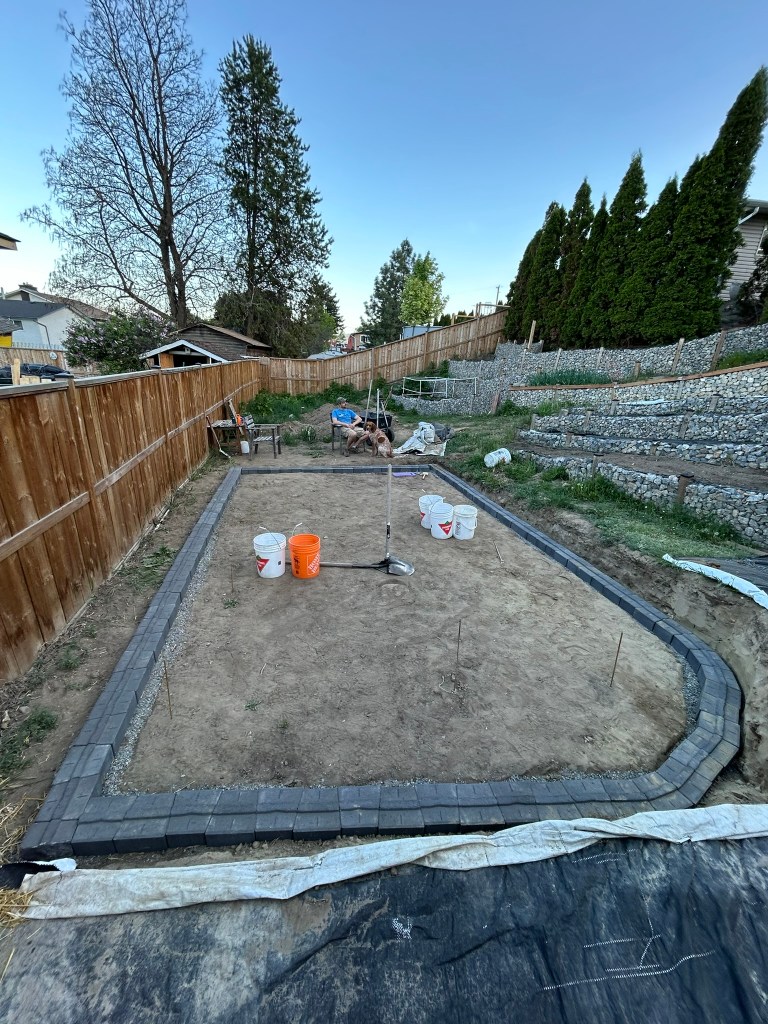
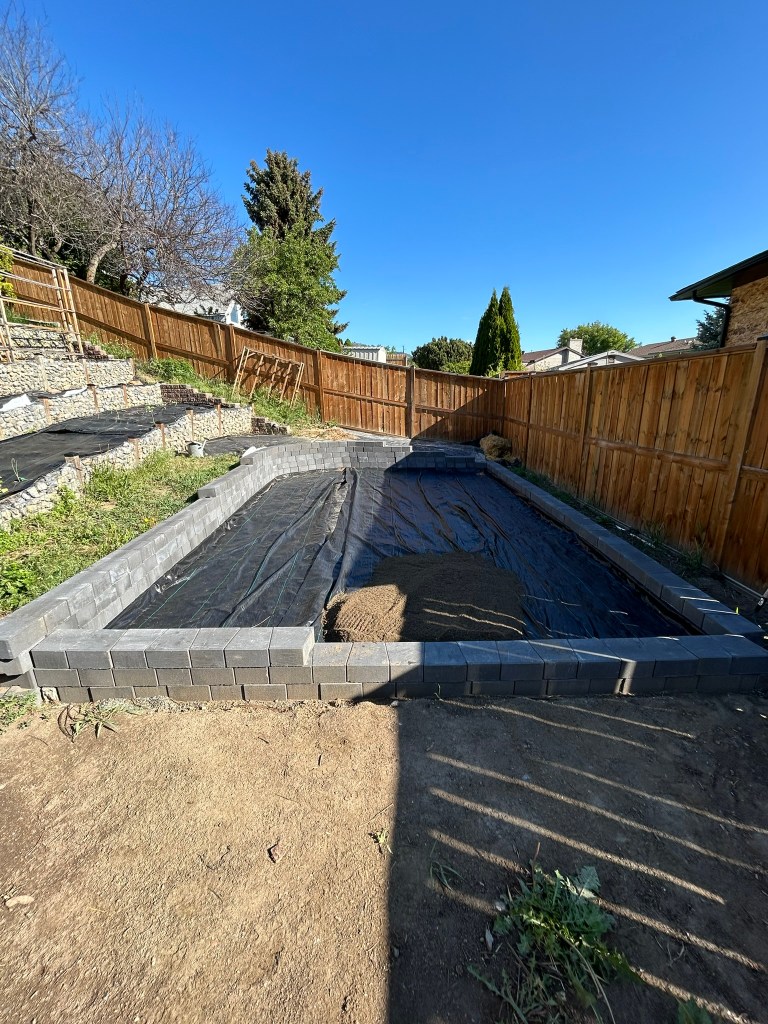
With the pool pad retaining wall in place, we were able to start filling it with sand. We anticipated about 4-6″ of sand to be added. More hauling of buckets down the path.
Our local landscaping company supplied the sand needed for under the pool. It packs fairly solid over time, and you can tamp it similar to crushed gravel. This is what they recommended for under the pool. We weren’t 100% sure since this is the first time we are doing a pool.
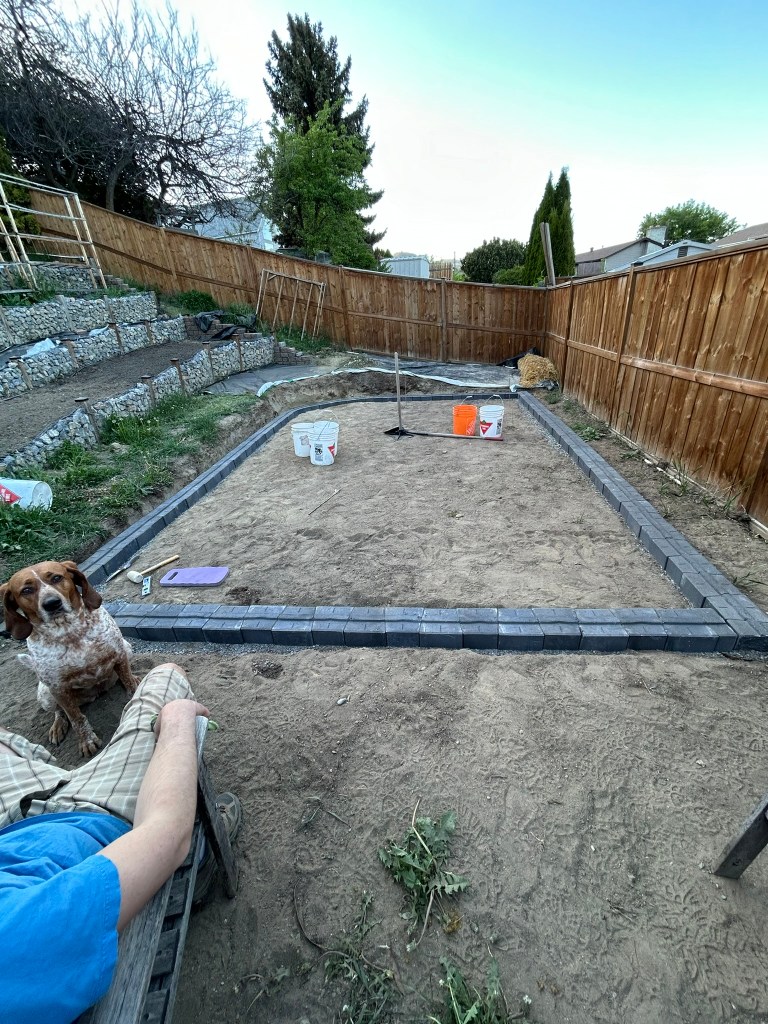
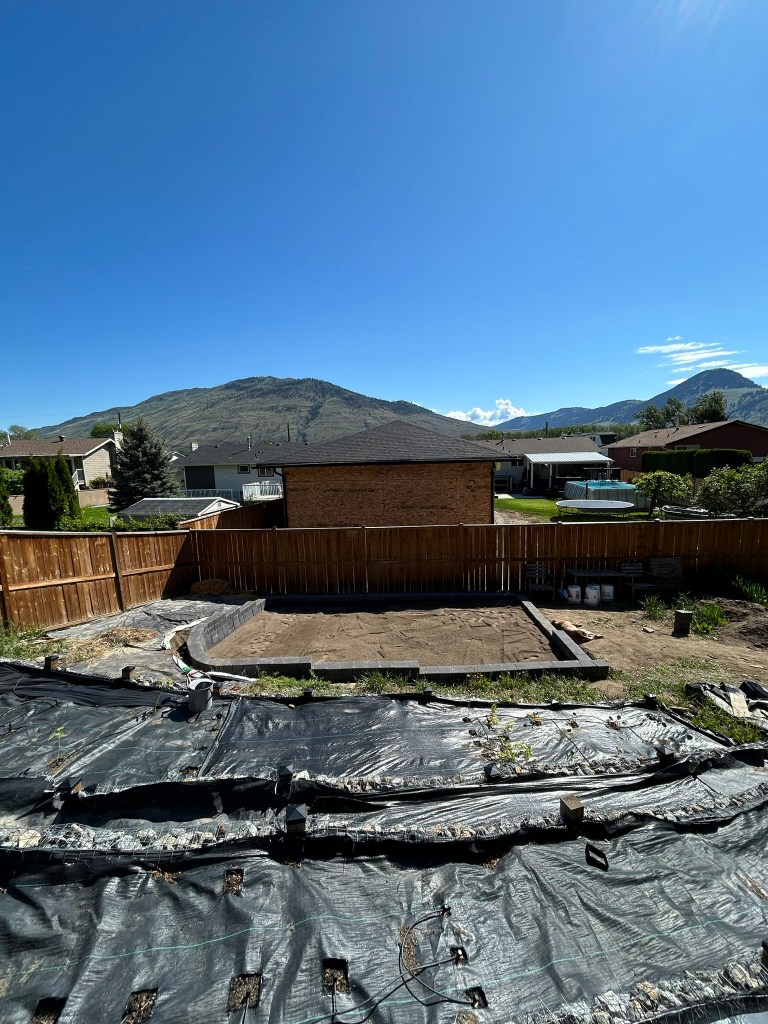
It took 3 truck-loads, which equaled 12 cart loads down from the truck. It actually took us less time than we thought it would.
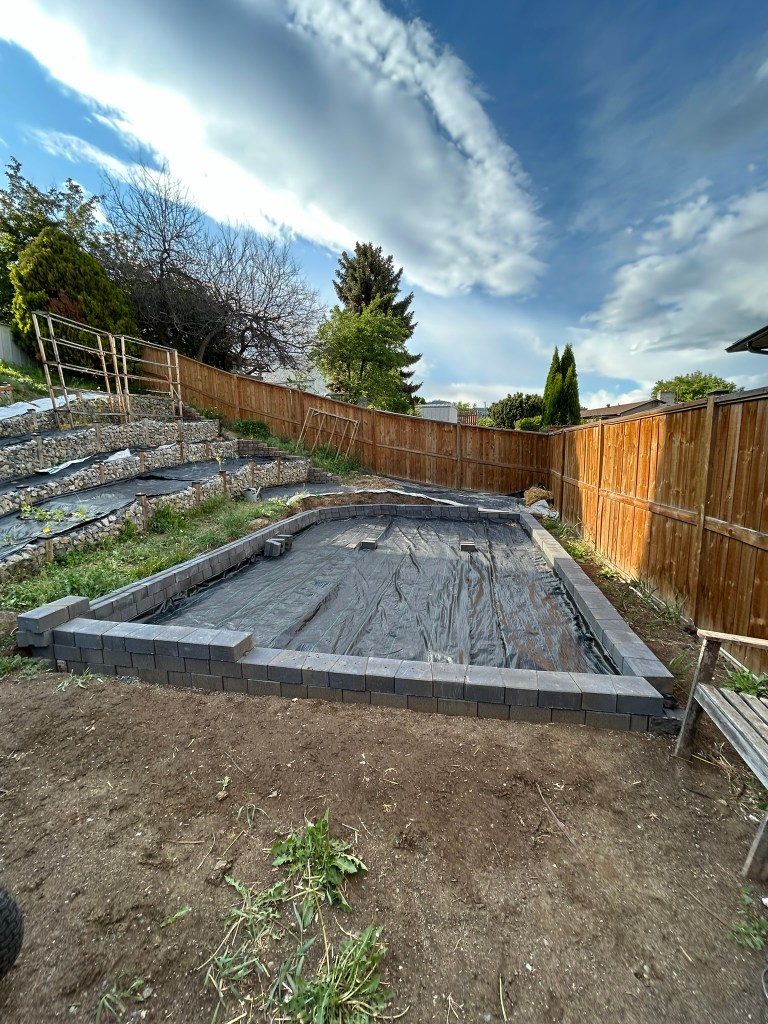
From there we raked it level and I tamped it down with our tamper. We then left it for a week since the weather was on and off rainy. We also wanted to see how it settled, and we knew Basil would eventually walk through there. She did, but it was barely noticeable, which was great. It meant the sand was nice and firm.
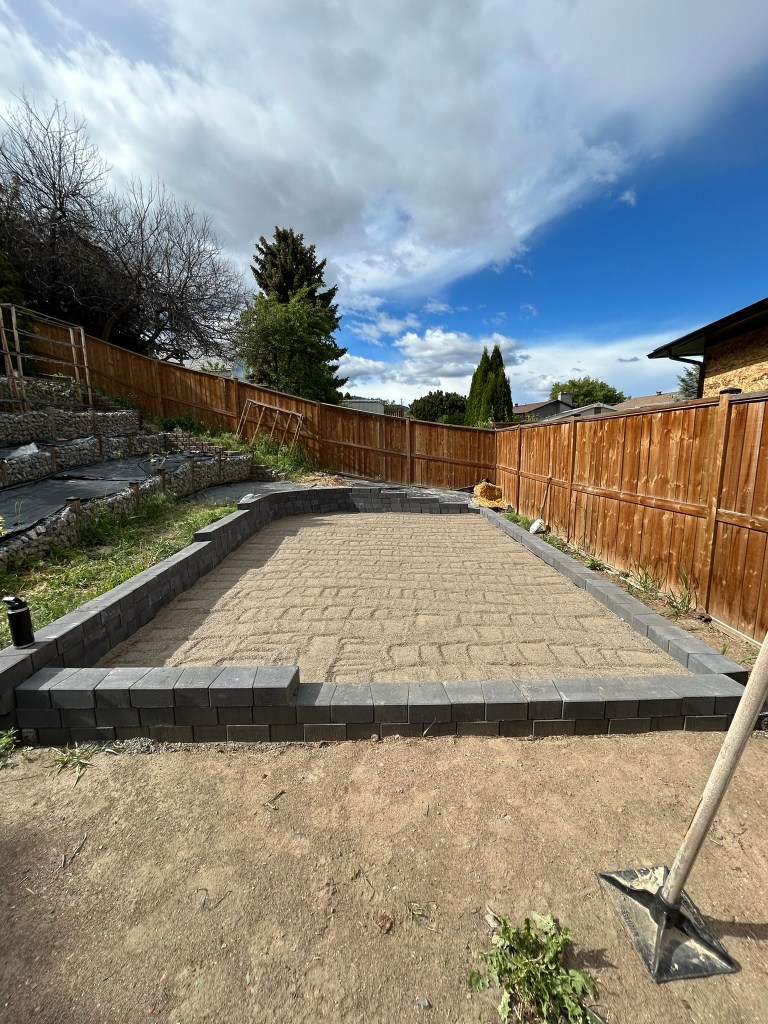
We didn’t need to build a stack-stone wall all the way around the pool. We really only needed it on 2 sides where we cut down from the garden paths to get the ground level. But we decided it was a nicer finished look and helped retain the sand we laid down.
Next step was sorting out the actual pool installation.

