
Juxtaposing rocks in a metal cage can be as much fun as it sounds…which is not at all. Although I like a good game of tetris (dating myself here), fitting odd shaped rocks together to make a functional yet beautiful wall is not the same.
I’m taking this post back to explain in a little more detail the gabione wall building portion of the last post.
Like I mentioned we started off with a lot of research. Pinterest and google can be your worst enemy in most DIY adventures, but I feel that the gabione wall has been by far our biggest conundrum of where to start. After months of winter spent searching photos, websites and different styles we definitely didn’t know where to start. It was hard to find anything about a gabione wall on a smaller slope. Anything on the internet about building on a slope was VERY mathematically/engineering inclined as most were being used to hold massive amounts of earth in place. Ours is more aesthetic than it is functional. Sure it is holding some soil back, but a simple wooden wall would do just as good of a trick. We just liked the rock wall look better.
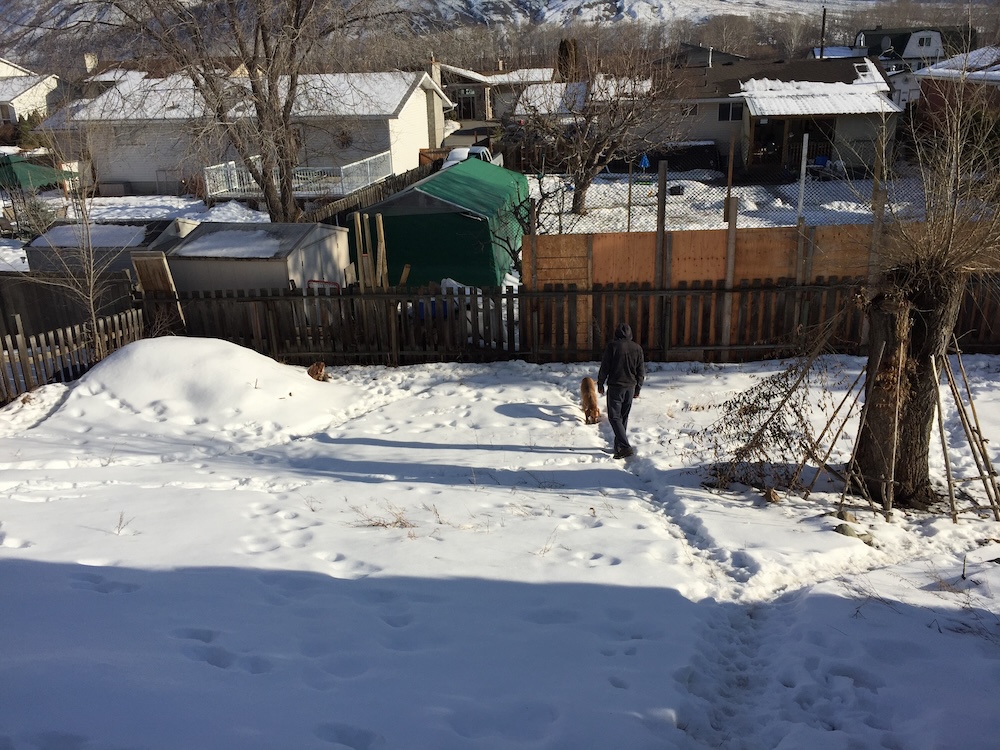
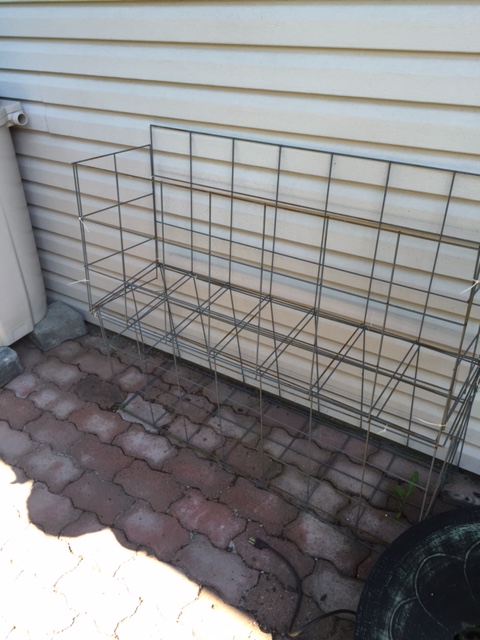
So come spring we procrastinated by first digging in the level flat areas that our cages were going to be placed on. Next we discussed caging. We knew we wanted something heavier than chicken wire or the slightly thicker dog-run fencing as we didn’t want any bowing of the metal under the rocks pressure. We also wanted something that would last a very long time as we don’t want the headaches of attempting to dismantle any portion of the wall to do a fix.
We eventually took a trip to a home building store and looked for what we wanted. We ended up finding it and it wasn’t too bad of a price. We bought a few sheets of it to test out building a few cages. We figured if we didn’t like how the first row turned out, then we could switch up on the next level down and call it an artistic decision to vary the look.
When we got it home we determined how long, wide and tall we wanted each cage. Part of this determination was based on if the measurements worked well with a sheet of the metal we had found. We were aiming to not have much waste or end pieces, so it took a little figuring out.
Our first cage ended up a little wide and short for what we had hoped for, and it didn’t work out well per a sheet of the metal. So we went a little narrower and taller. The next cage turned out beautifully. So we went back to the home building store and bought as many sheets as we needed to make all the cages for 2 rows.
During the first two cages we learned that we couldn’t use metal snips to cut the metal without ending up with fingers that bent in all directions and became ornate pieces of flesh hanging from our hands rather than functional fingers. Next we used a small dremmel we had and it got the job done but we burned through the sanding disk really quickly, probably needing another 50 to get the job done, and it was very slow cutting. Finally my dad offered to lend us an angle grinder. Well holy smokes that cut down the time as it sliced through the metal like butter!
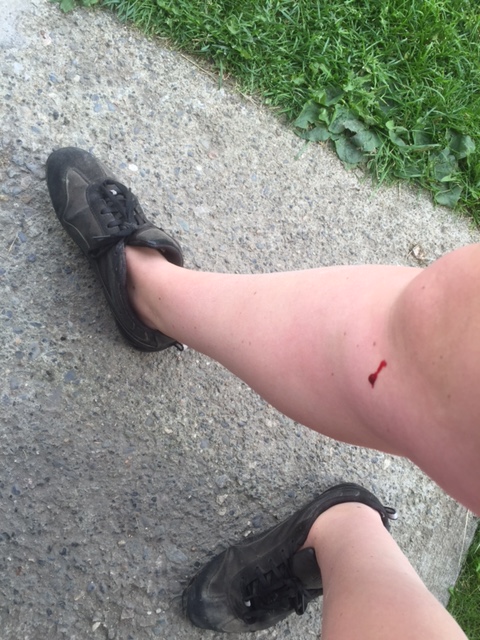
I got to work cutting out all the pieces of each cage and stacked them together so we wouldn’t get confused putting them together later. As beginners, it doesn’t take much to confuse us once all the pieces are all laid out! After the first few sheets I looked down and noticed that my legs were just dripping blood (yes I was wearing shorts while running an angle grinder…major faux pas!). My legs looked like I had gone toe to toe with a cat and it had used my legs as its favorite scratching post. What I hadn’t noticed while cutting was that the angle grinder was leaving razor sharp edges where I was cutting at the joints. Each time I finished cutting one and it fell to the ground it brushed my legs. That soft brush left paper-cut like scratches all over, each one bleeding profusely. Unlike paper-cuts these little cuts did not like to stop bleeding. My legs looked like a patchwork made of bandages by the time I was done getting cleaned up.
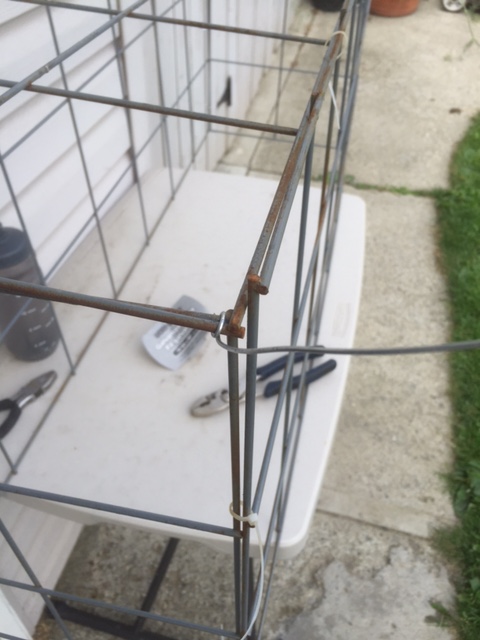
In the meantime K was working hard at getting some of the cages tied together using a heavy guage metal wire. It was hard work and the fingers protested greatly while the metal wire rebelled being wrapped at all turns. He of course made fun of me for wearing shorts while cutting the metal and we had to be careful while wrapping the metal around the cage as those same razor sharp ends liked to slice and dice our hands.
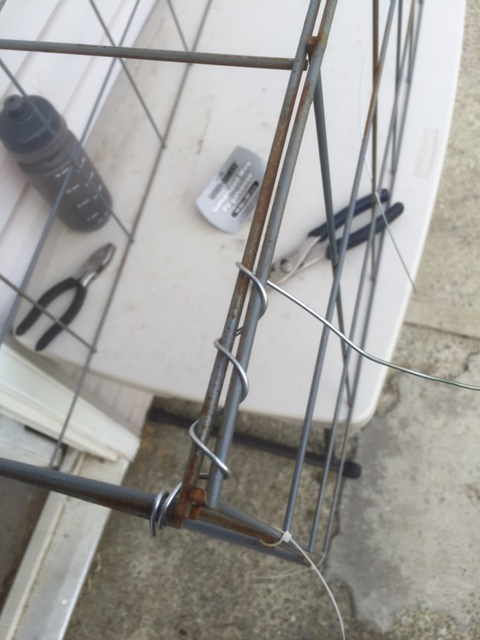
I took a go at wrapping the metal around the joints and after about an hour was finally finished one cage. This was clearly going to be a slow process and between the cuts and sore fingers, we were seriously wondering if we should have just bought the pre-made cages. Sure we went with the cheaper option, but I felt that the cages were trying to kill us at every turn… maybe a little over-dramatic but I easily could have gotten tetanus from that metal…
We left our metal cages for the weekend and went and collected some rocks from a cut pile. Again hard work, very time consuming and very tring on the body. Sure we are just over 30 but by the time we were done with a few cages and a few loads of rocks, we felt much, much older. Some good soaks in the hot tub with glasses of home-made wine got us through it though. Its a tough life…
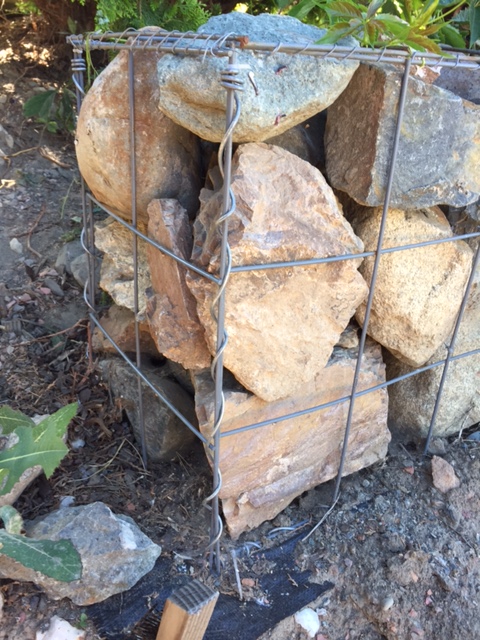
After a few days we decided to try filling one of the cages. We had leveled out the first area and had spread, leveled and pounded the crushed gravel. We also had laid down some heavy duty landscaping fabric as we didn’t want to try to deal with weeds growing through the cages. As we were putting it into place we noticed that it looked like it was rusting. We had had a little splash of rain over the weekend and hadn’t thought anything of it. Turns out the metal was not galvanized like we thought it was. So off to the store we went to pickup some rust resistant paint to paint all of our cages. We laid out some plastic sheeting and sprayed the cages we had built as well as each panel of the ones we had cut.
Once they were dry, we filled our first cage, and it was beautiful. The orange rocks we had pulled from the cut block was in fact a myriad of colourful rocks that made such a beautiful addition to our yard. So we put together the next cage and filled it as well. It was just as awesome.
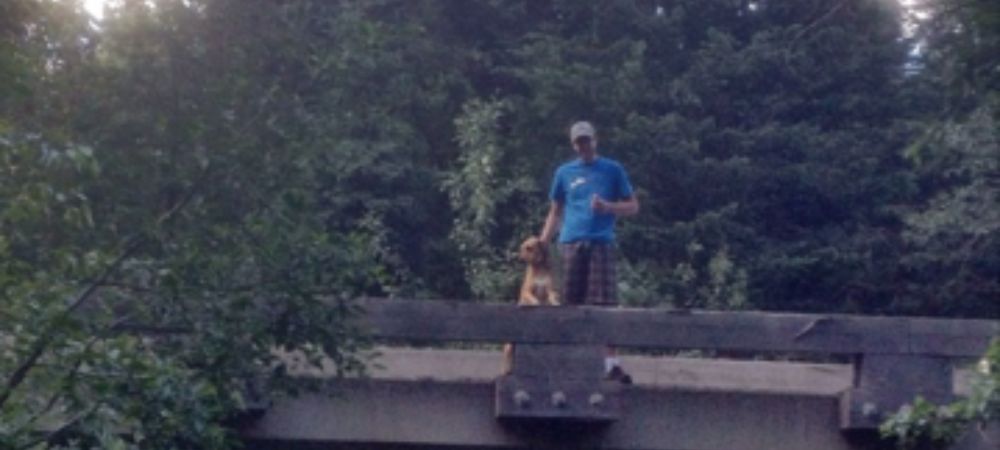
Over the next few weeks we would have our dinner dates (hot dogs & veggies) out in the bush while we collected perfectly broken rocks that would work well to create the sections of our gabione wall. Our dog was ever helpful being under foot while we carried the heaviest of rocks and wandering off after squirrels and gophers while our backs were turned, but at least she was happy. Our rock-collecting adventures meant that her hound nose got some much needed sniffer time.
We ran out of the heavy guage wire to tie the cages together quickly after assembling most of the cages. It was very difficult to work with and seemed like over-kill compared to the photos and articles we had read, so we decided to try a smaller guage wire that was easier to twist and work with. I had resorted to using two sets of pliers with the other wire to save my fingers from deformation, and it was extremely slow going which only made me cranky. The new, smaller guage wire was just as efficient, if not more so as we could get a tighter twist, at holding the cages together. In hind-sight, I wish we had tried that first, but that’s all part of the learning process.

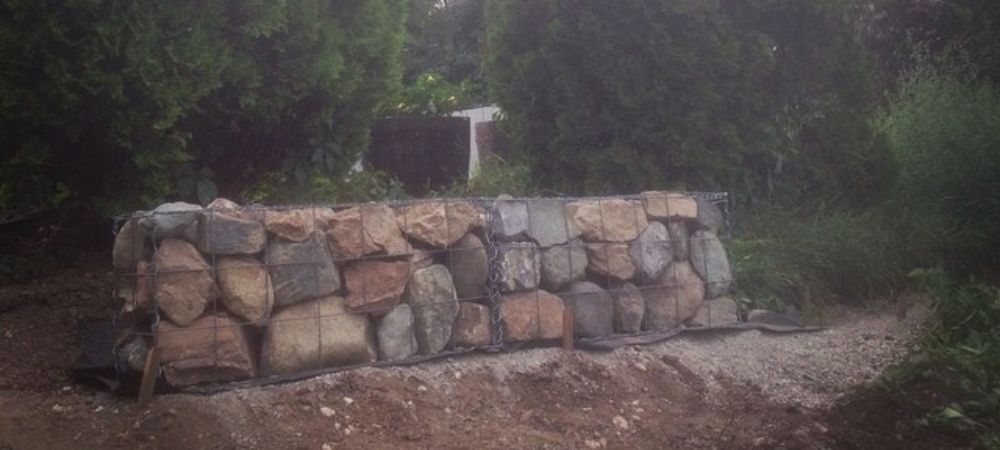
The first few parts of the wall went together quickly as we were really excited as they started coming together. We had to take a hiatus from July to mid-September as tempuratures reached brain melting levels in the shade and the sun became a lazer beam trying to fry us like ants under a magnifying glass. As soon as the temperatures lowered to a more reasonable heat we resumed and managed to finish the first wall.
As we sat admiring it from all angles we realized it had a slight jog in it where we had not made sure it was in a nice straight line. That’s fine though because who wants a perfect wall. This shows it was a DIY and not some professional company that had done it, and besides we didn’t want any completely straight lines in our yard…or at least that was our reasoning for leaving it the way it was.
We were so gung-ho about how awesome the first wall turned out that we got started on the second wall before the snow started flying.
The good news was, that we had done a full wall and a bit without doing major damage to our back!

