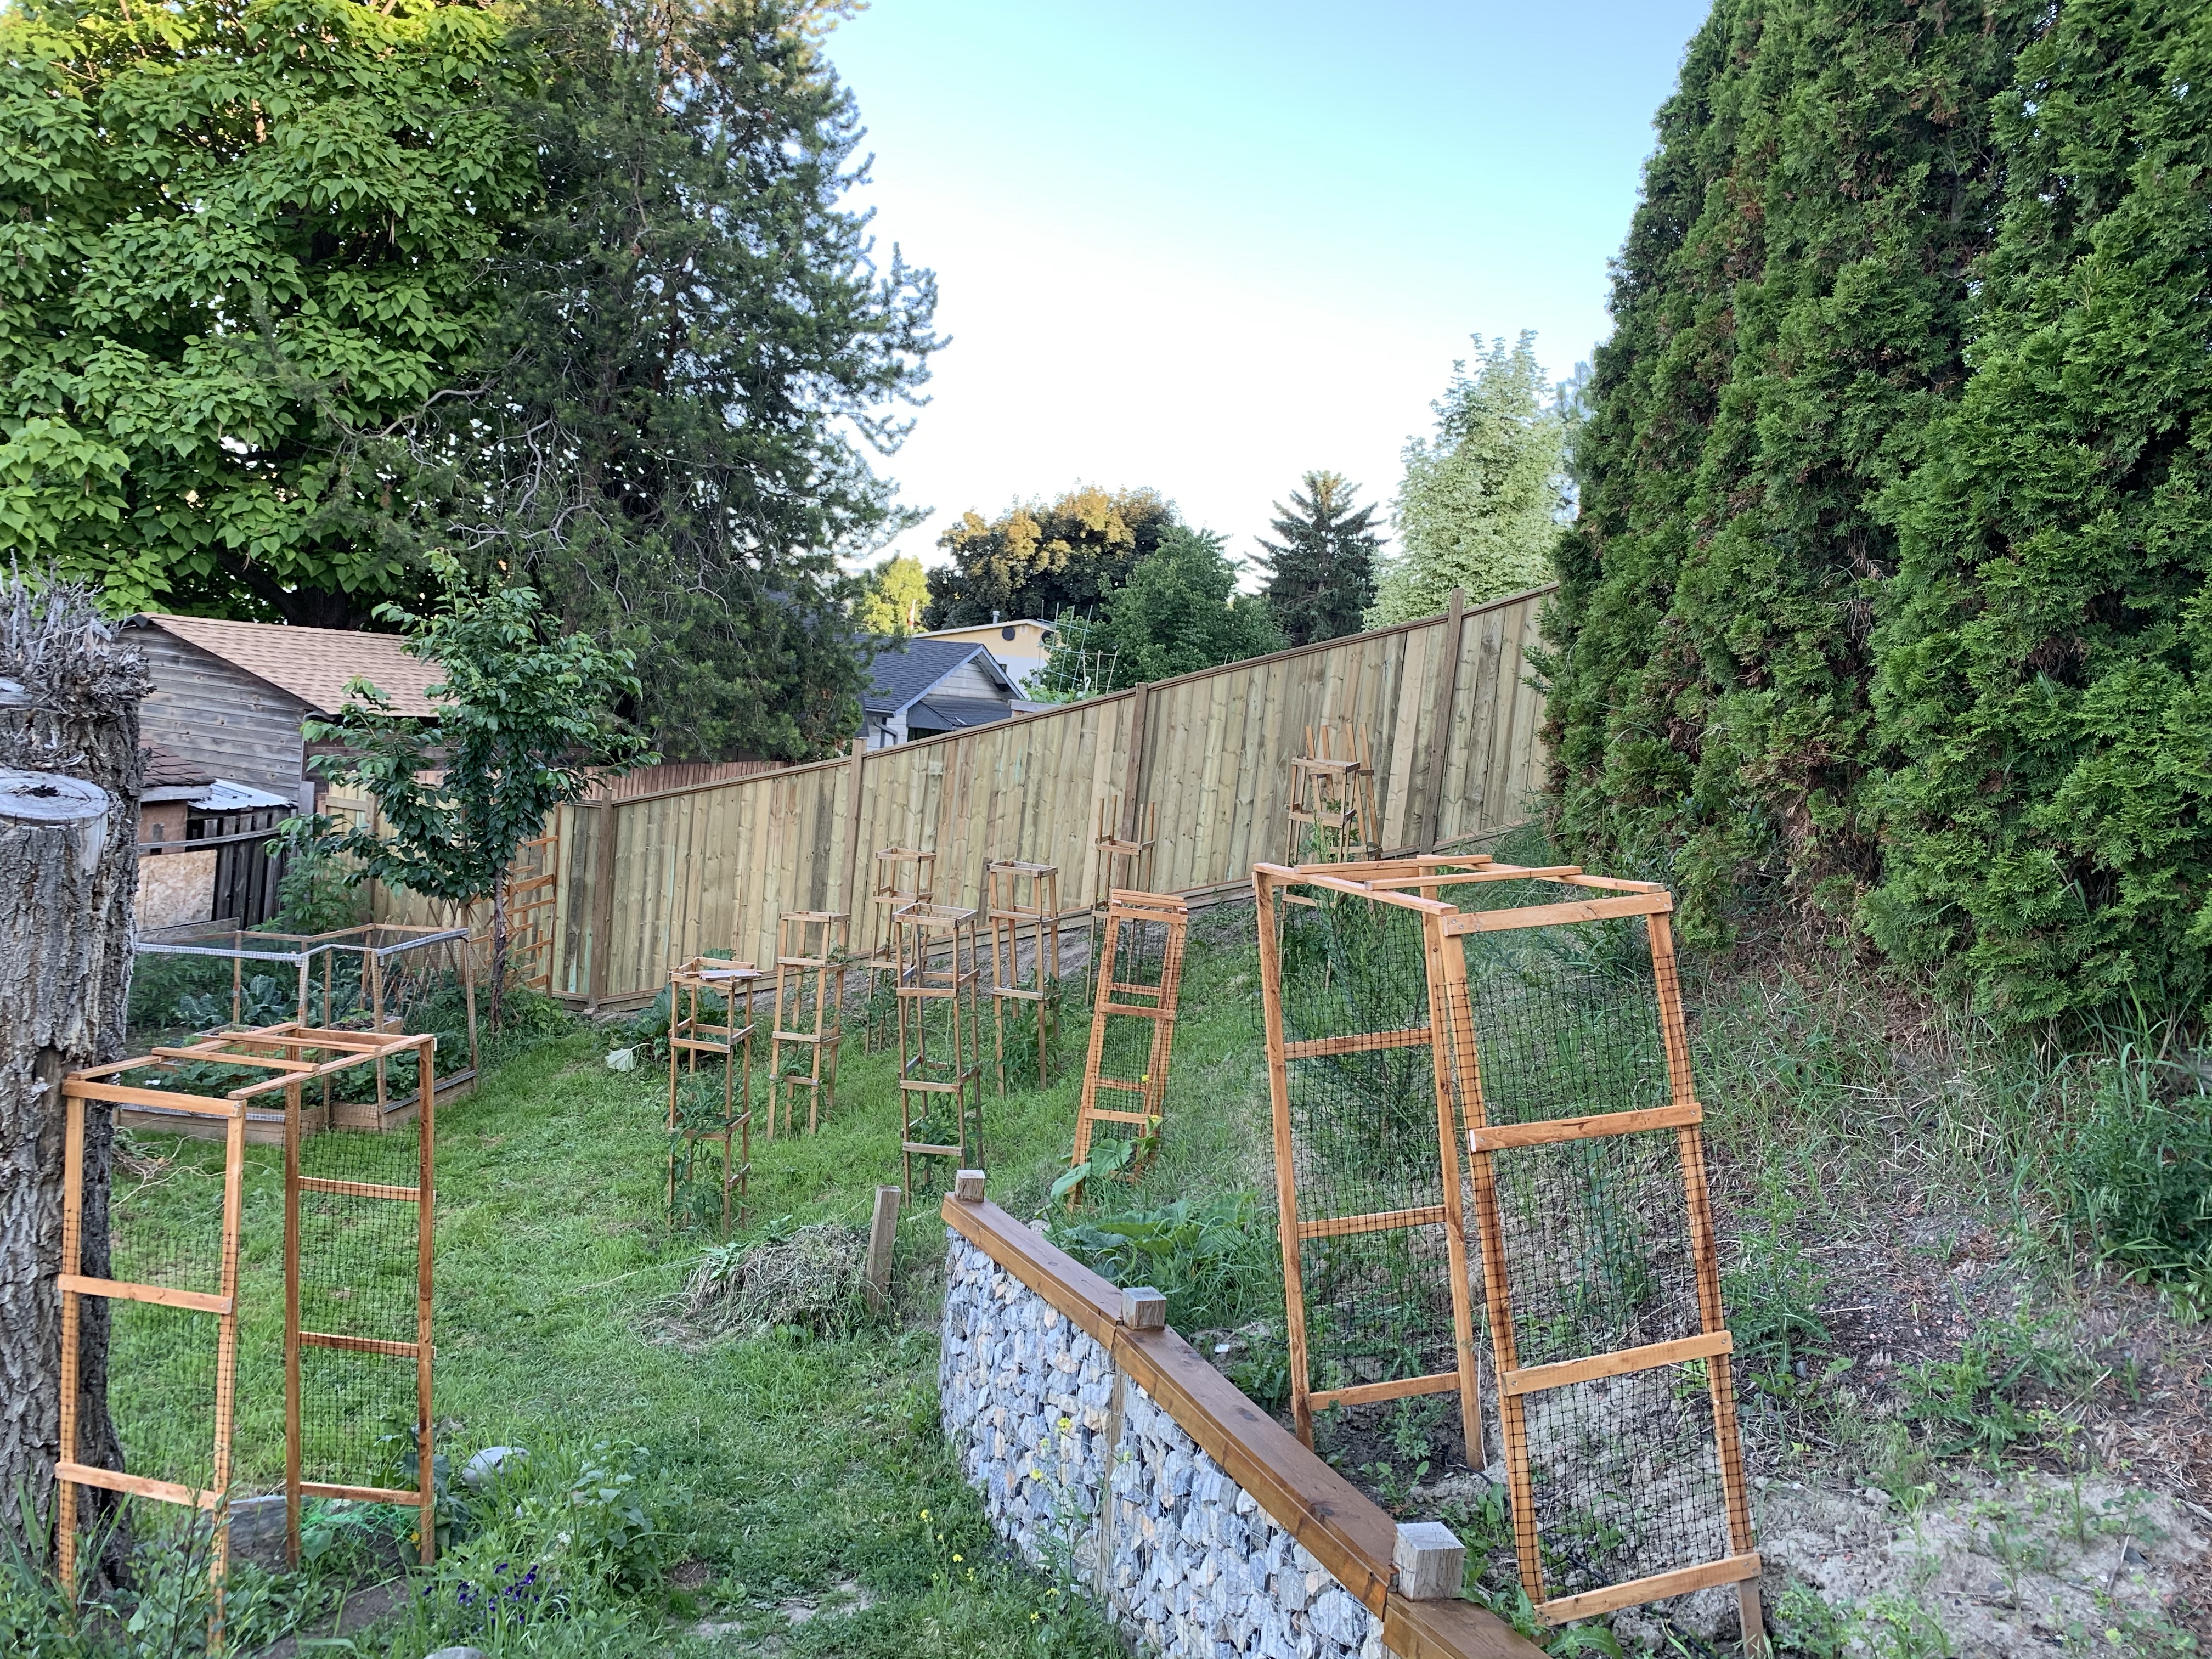
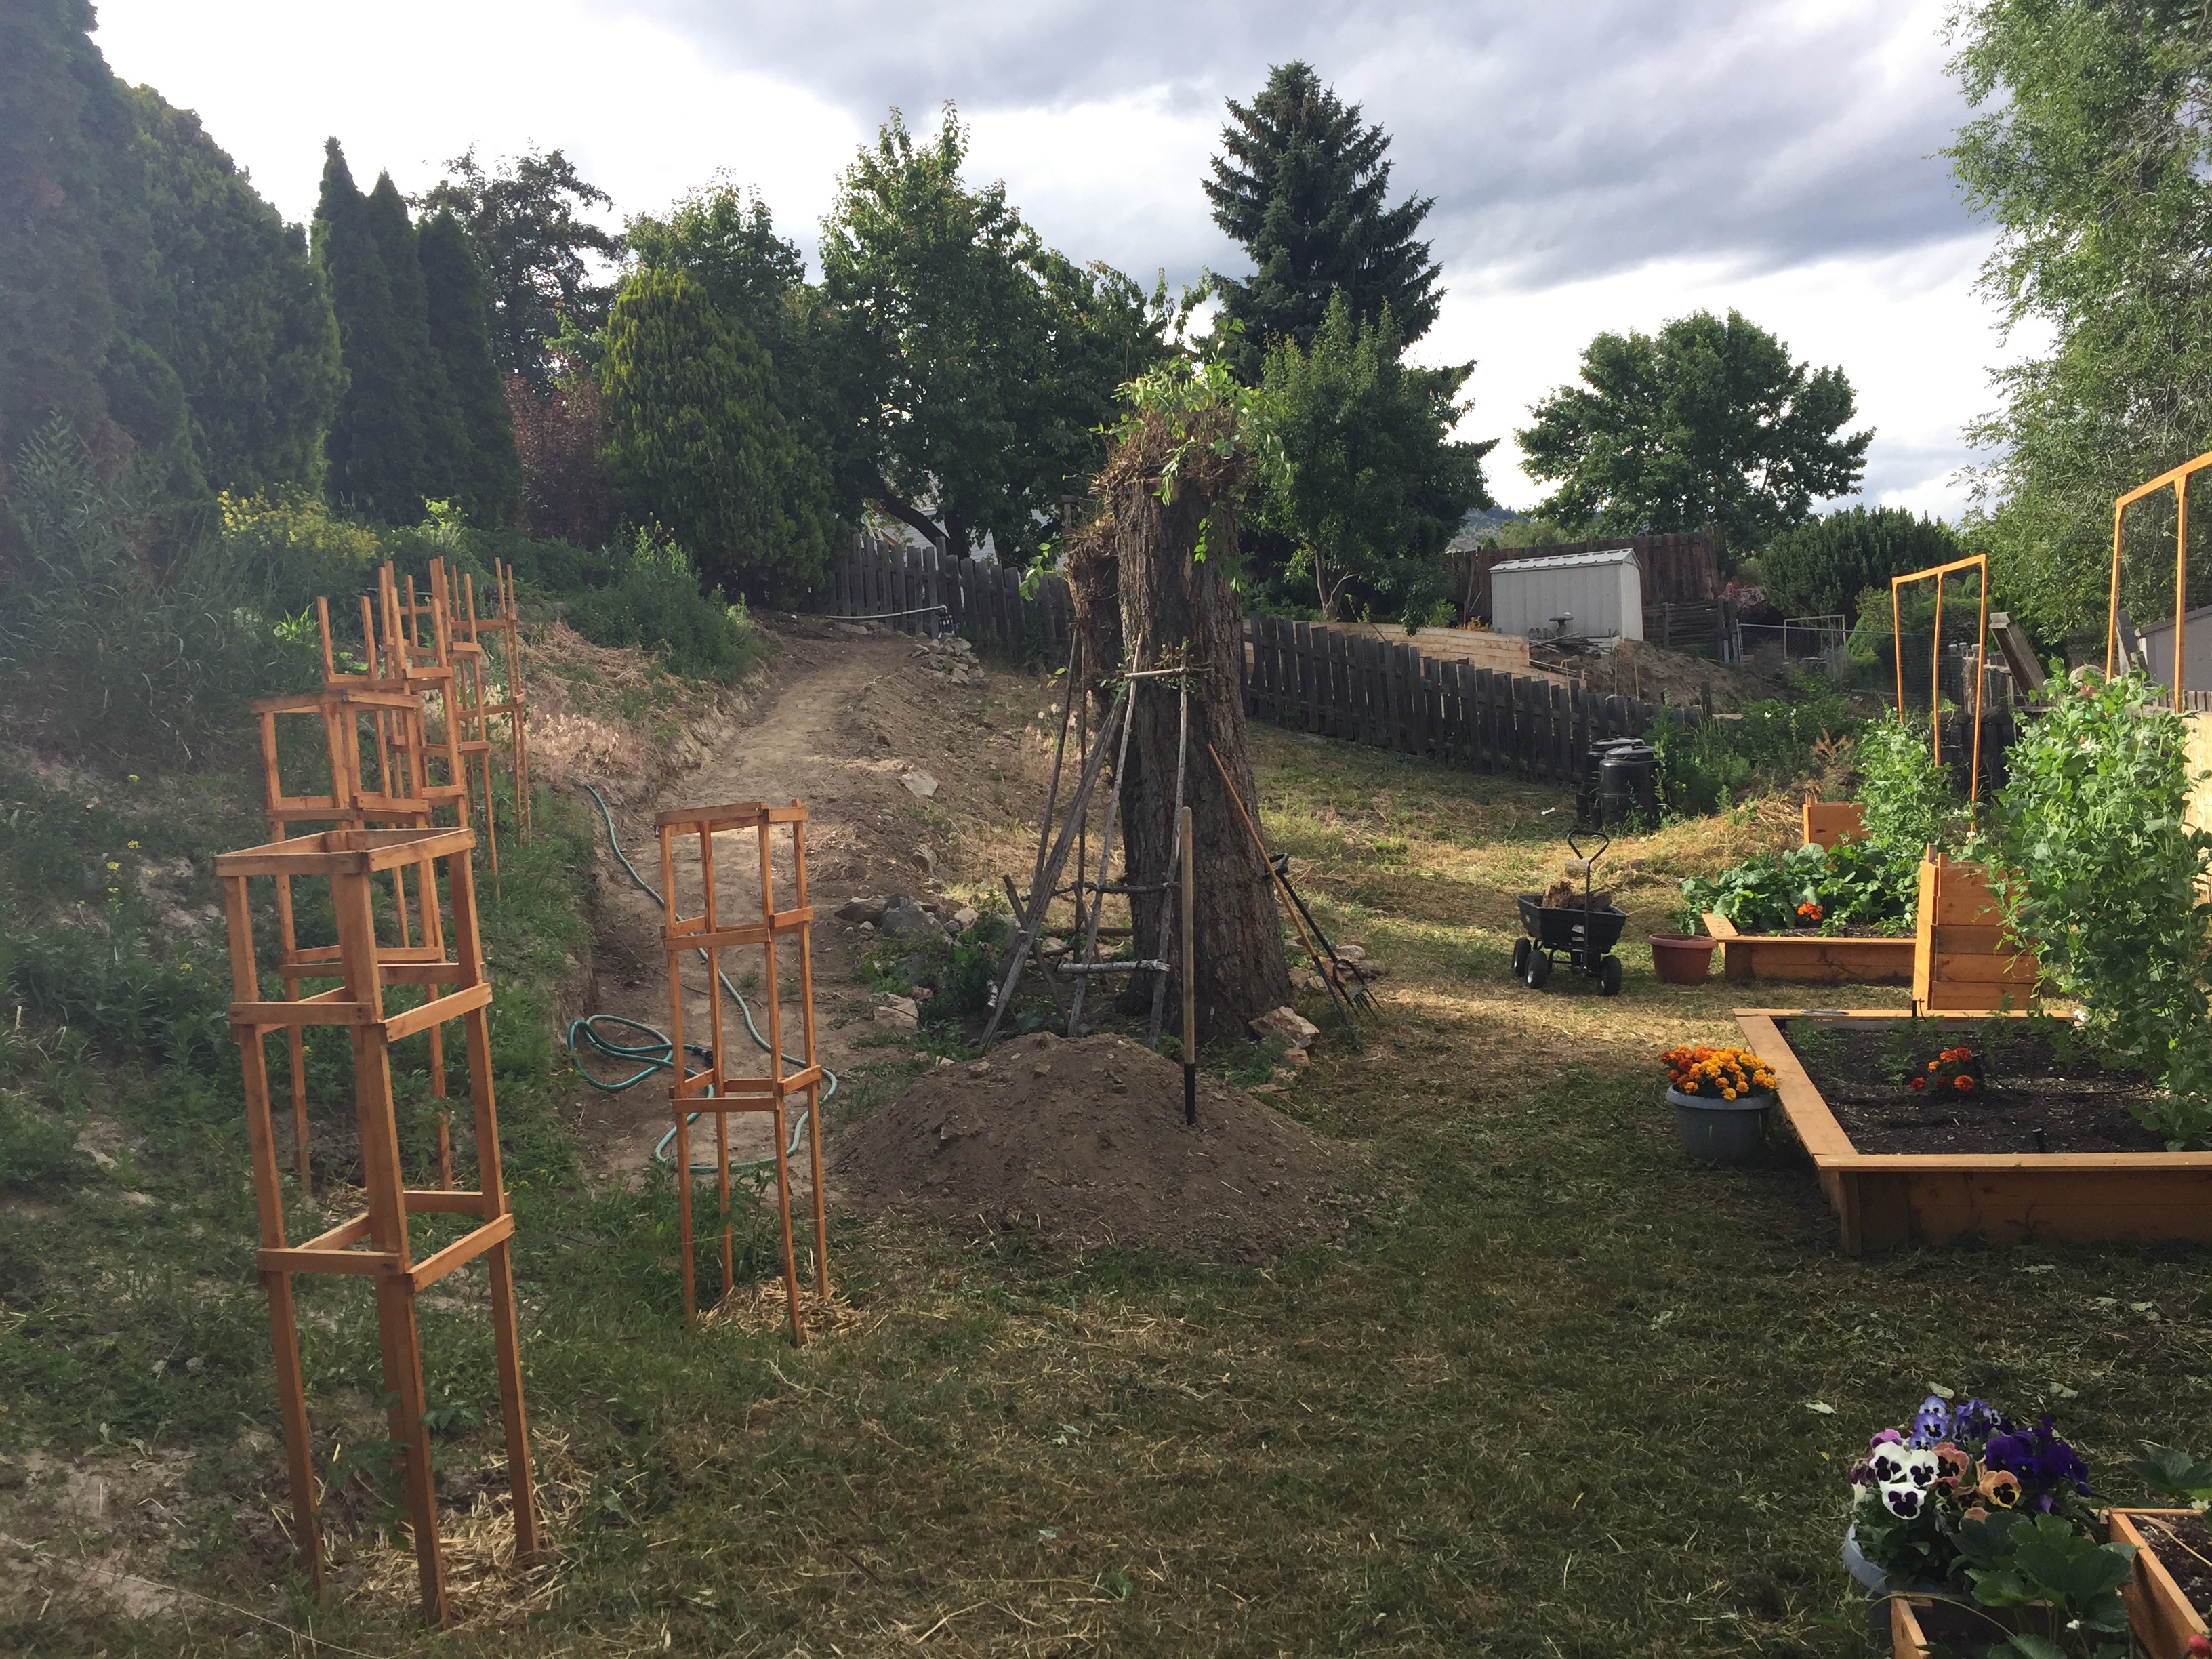
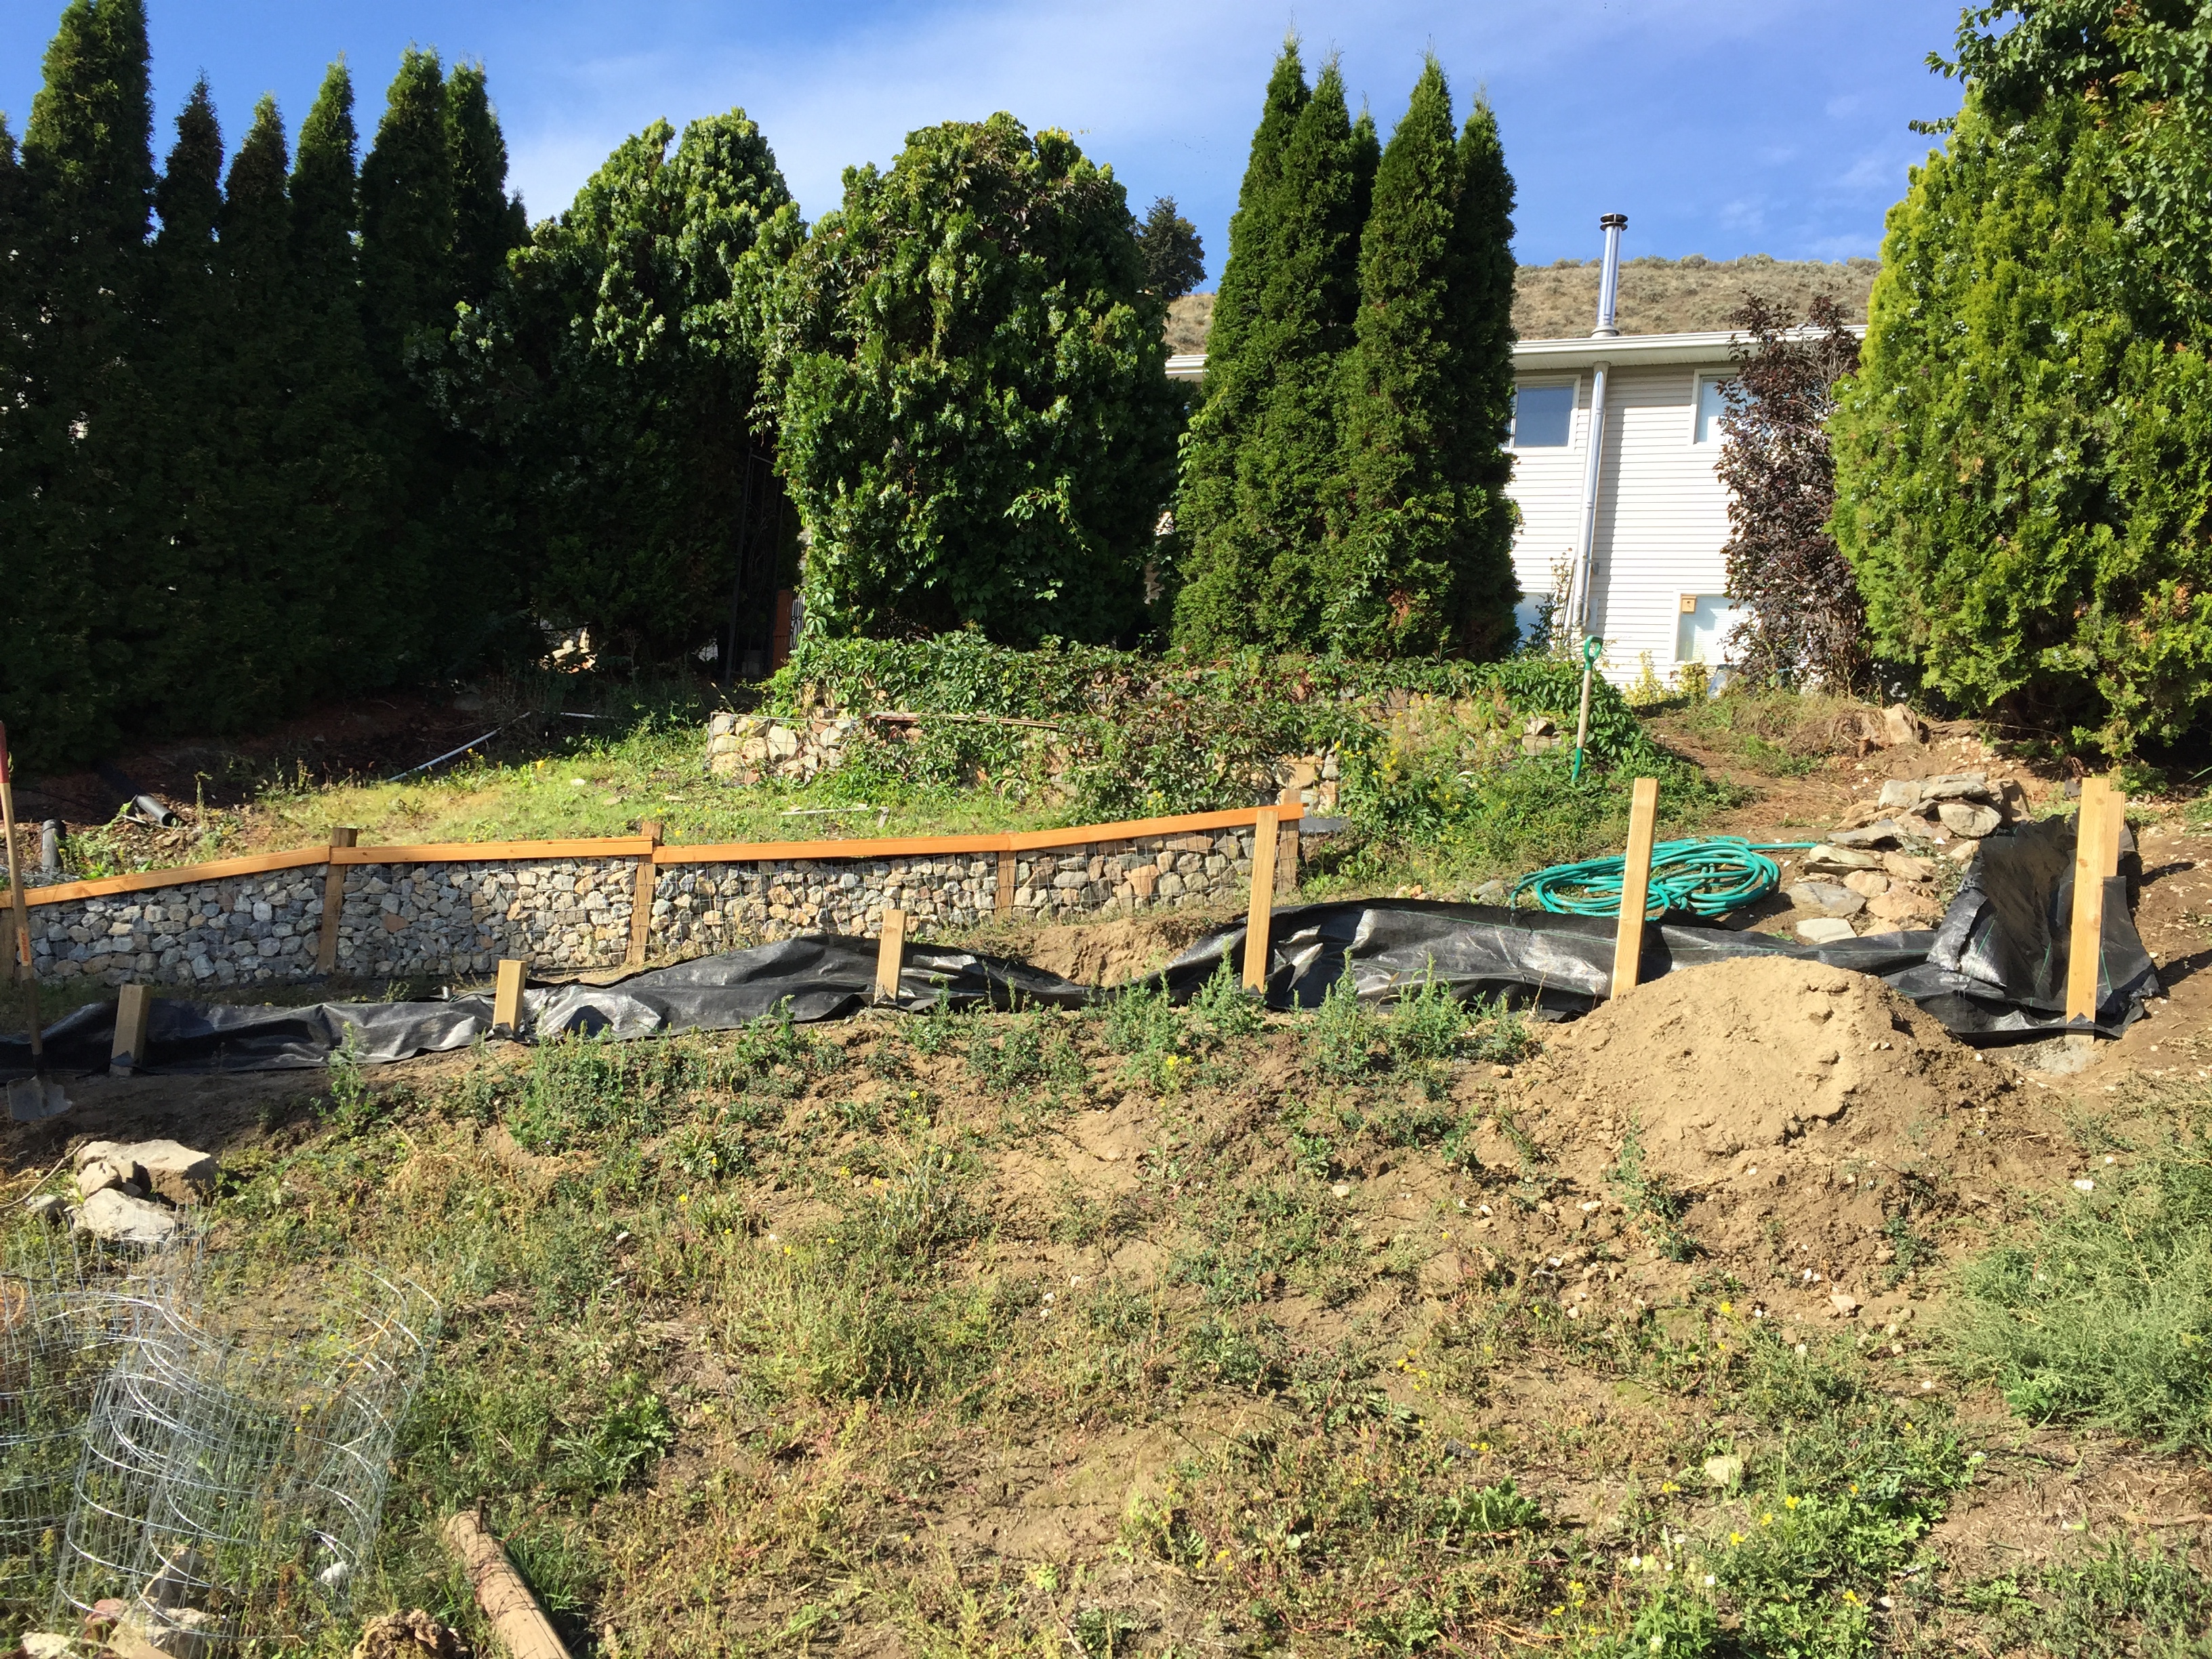
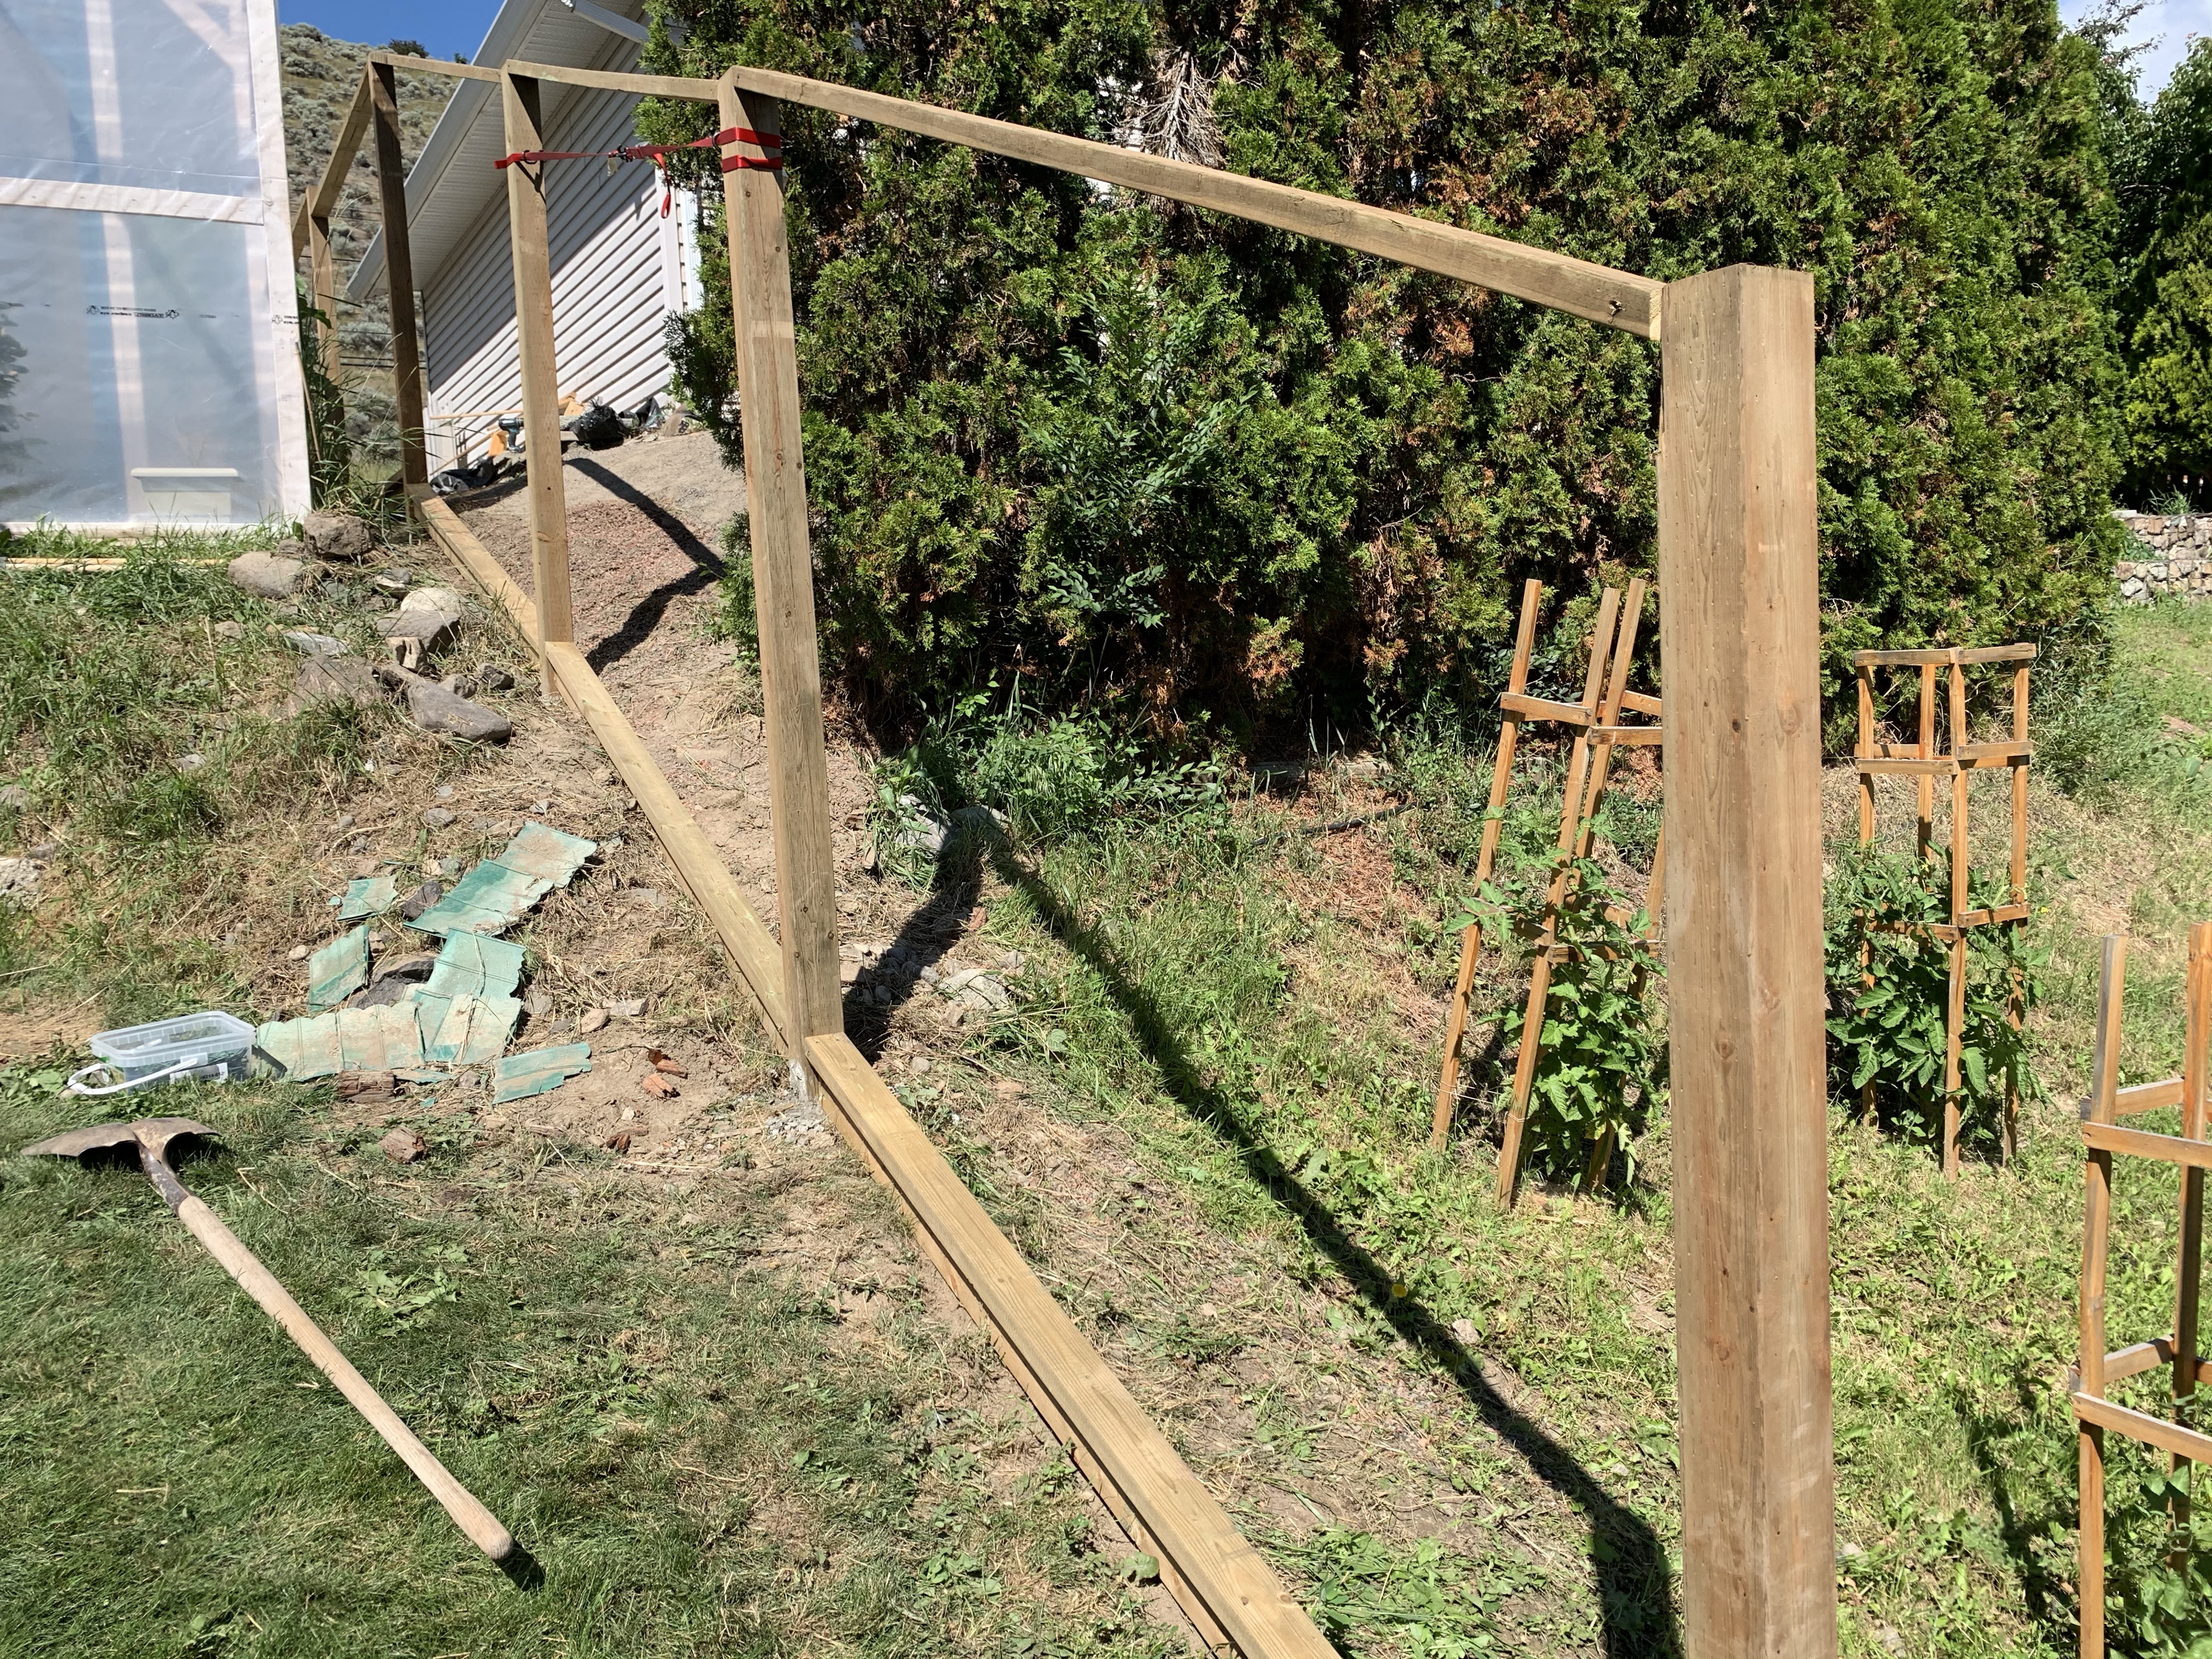
After letting our post cement cure overnight, it was time to start framing our panels. For those who have been following on our journey, you have seen the photos of how sloped our yard is. For those that are just joining in on our adventure, about 75% of our backyard is a steep slope, which is why we have been terracing and building rock walls for the last few years. Without it, the yard is almost unusable. The previous owners had planted junipers over the entire slope, which was still a waste in our opinion.


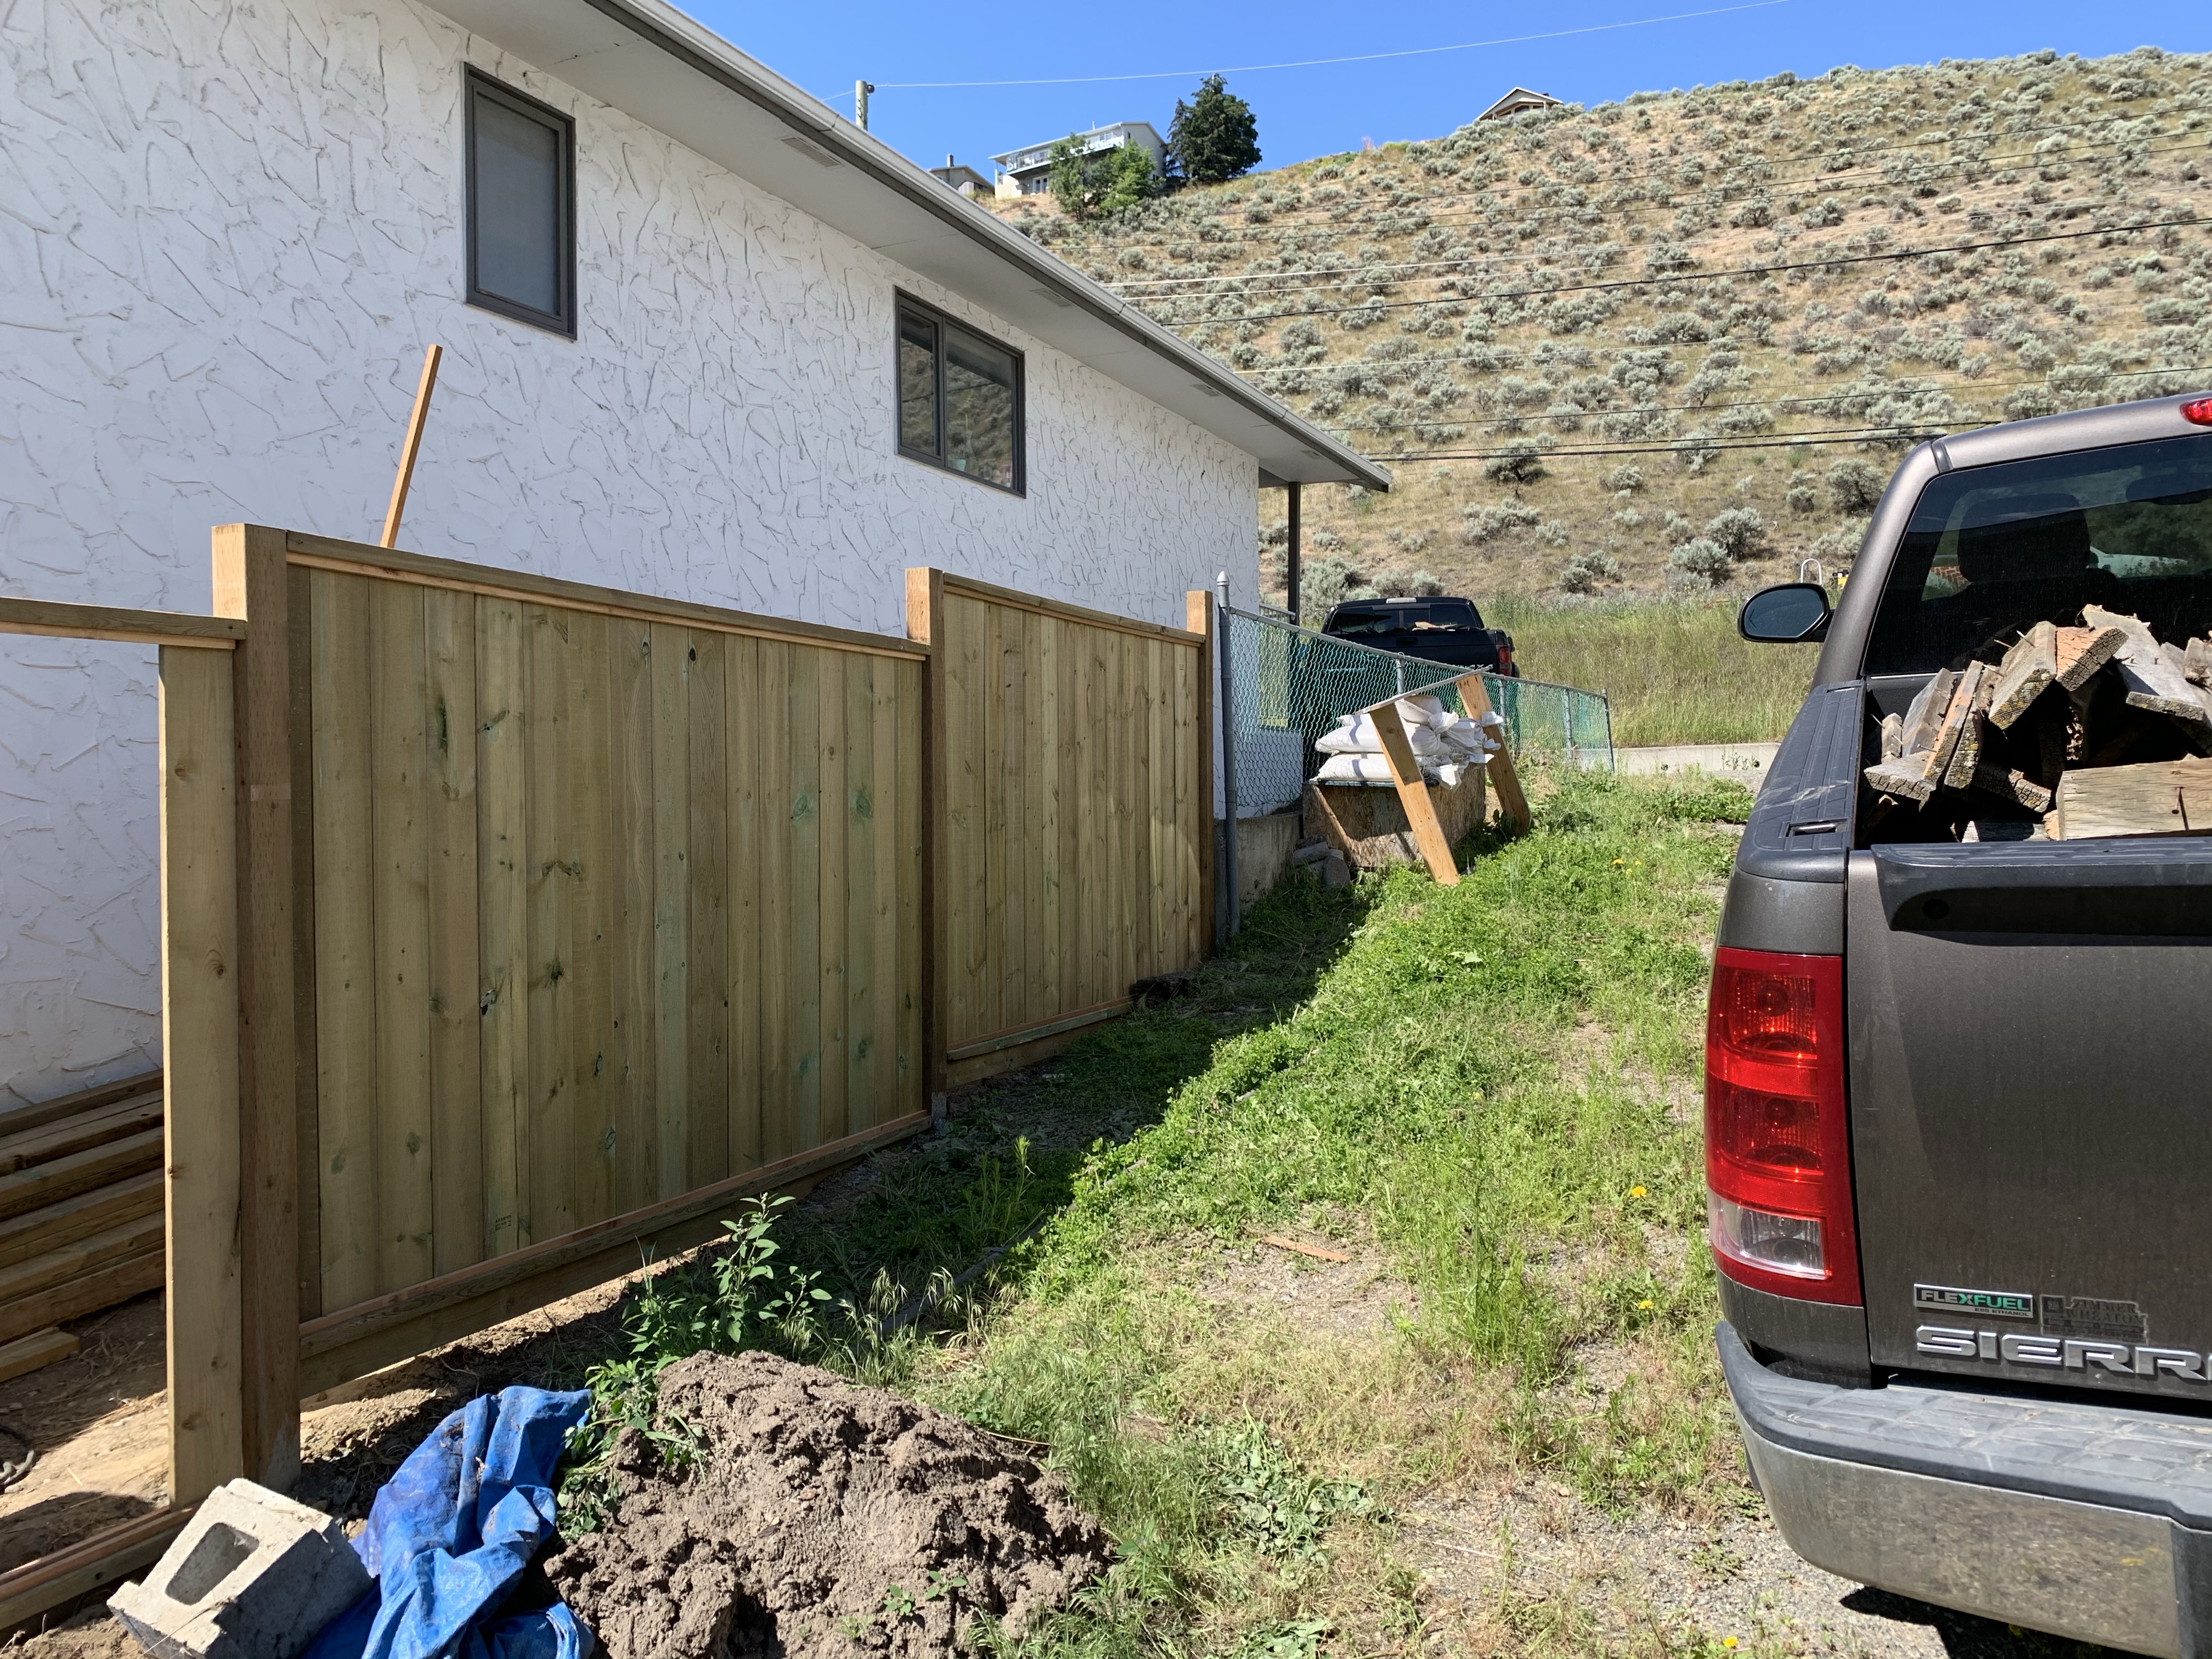
Due to the slope, it was impossible to purchase pre-built panels, so our neighbour had found a design that would look amazing and would be easy to build. Our old fence was alternating panels and only about 4’ high (if that in some areas). The dogs would stick their noses through and stand to look over the fence, often with Basil singing the song of the coonhound howl. We had discussed the new fence a few times with our neighbour prior to building, and although we really like them, had decided on a 6’ fence for a little more privacy. The fence would also be a solid panel, so no opportunity for curious snooters to get riled up (ahem…Basil).
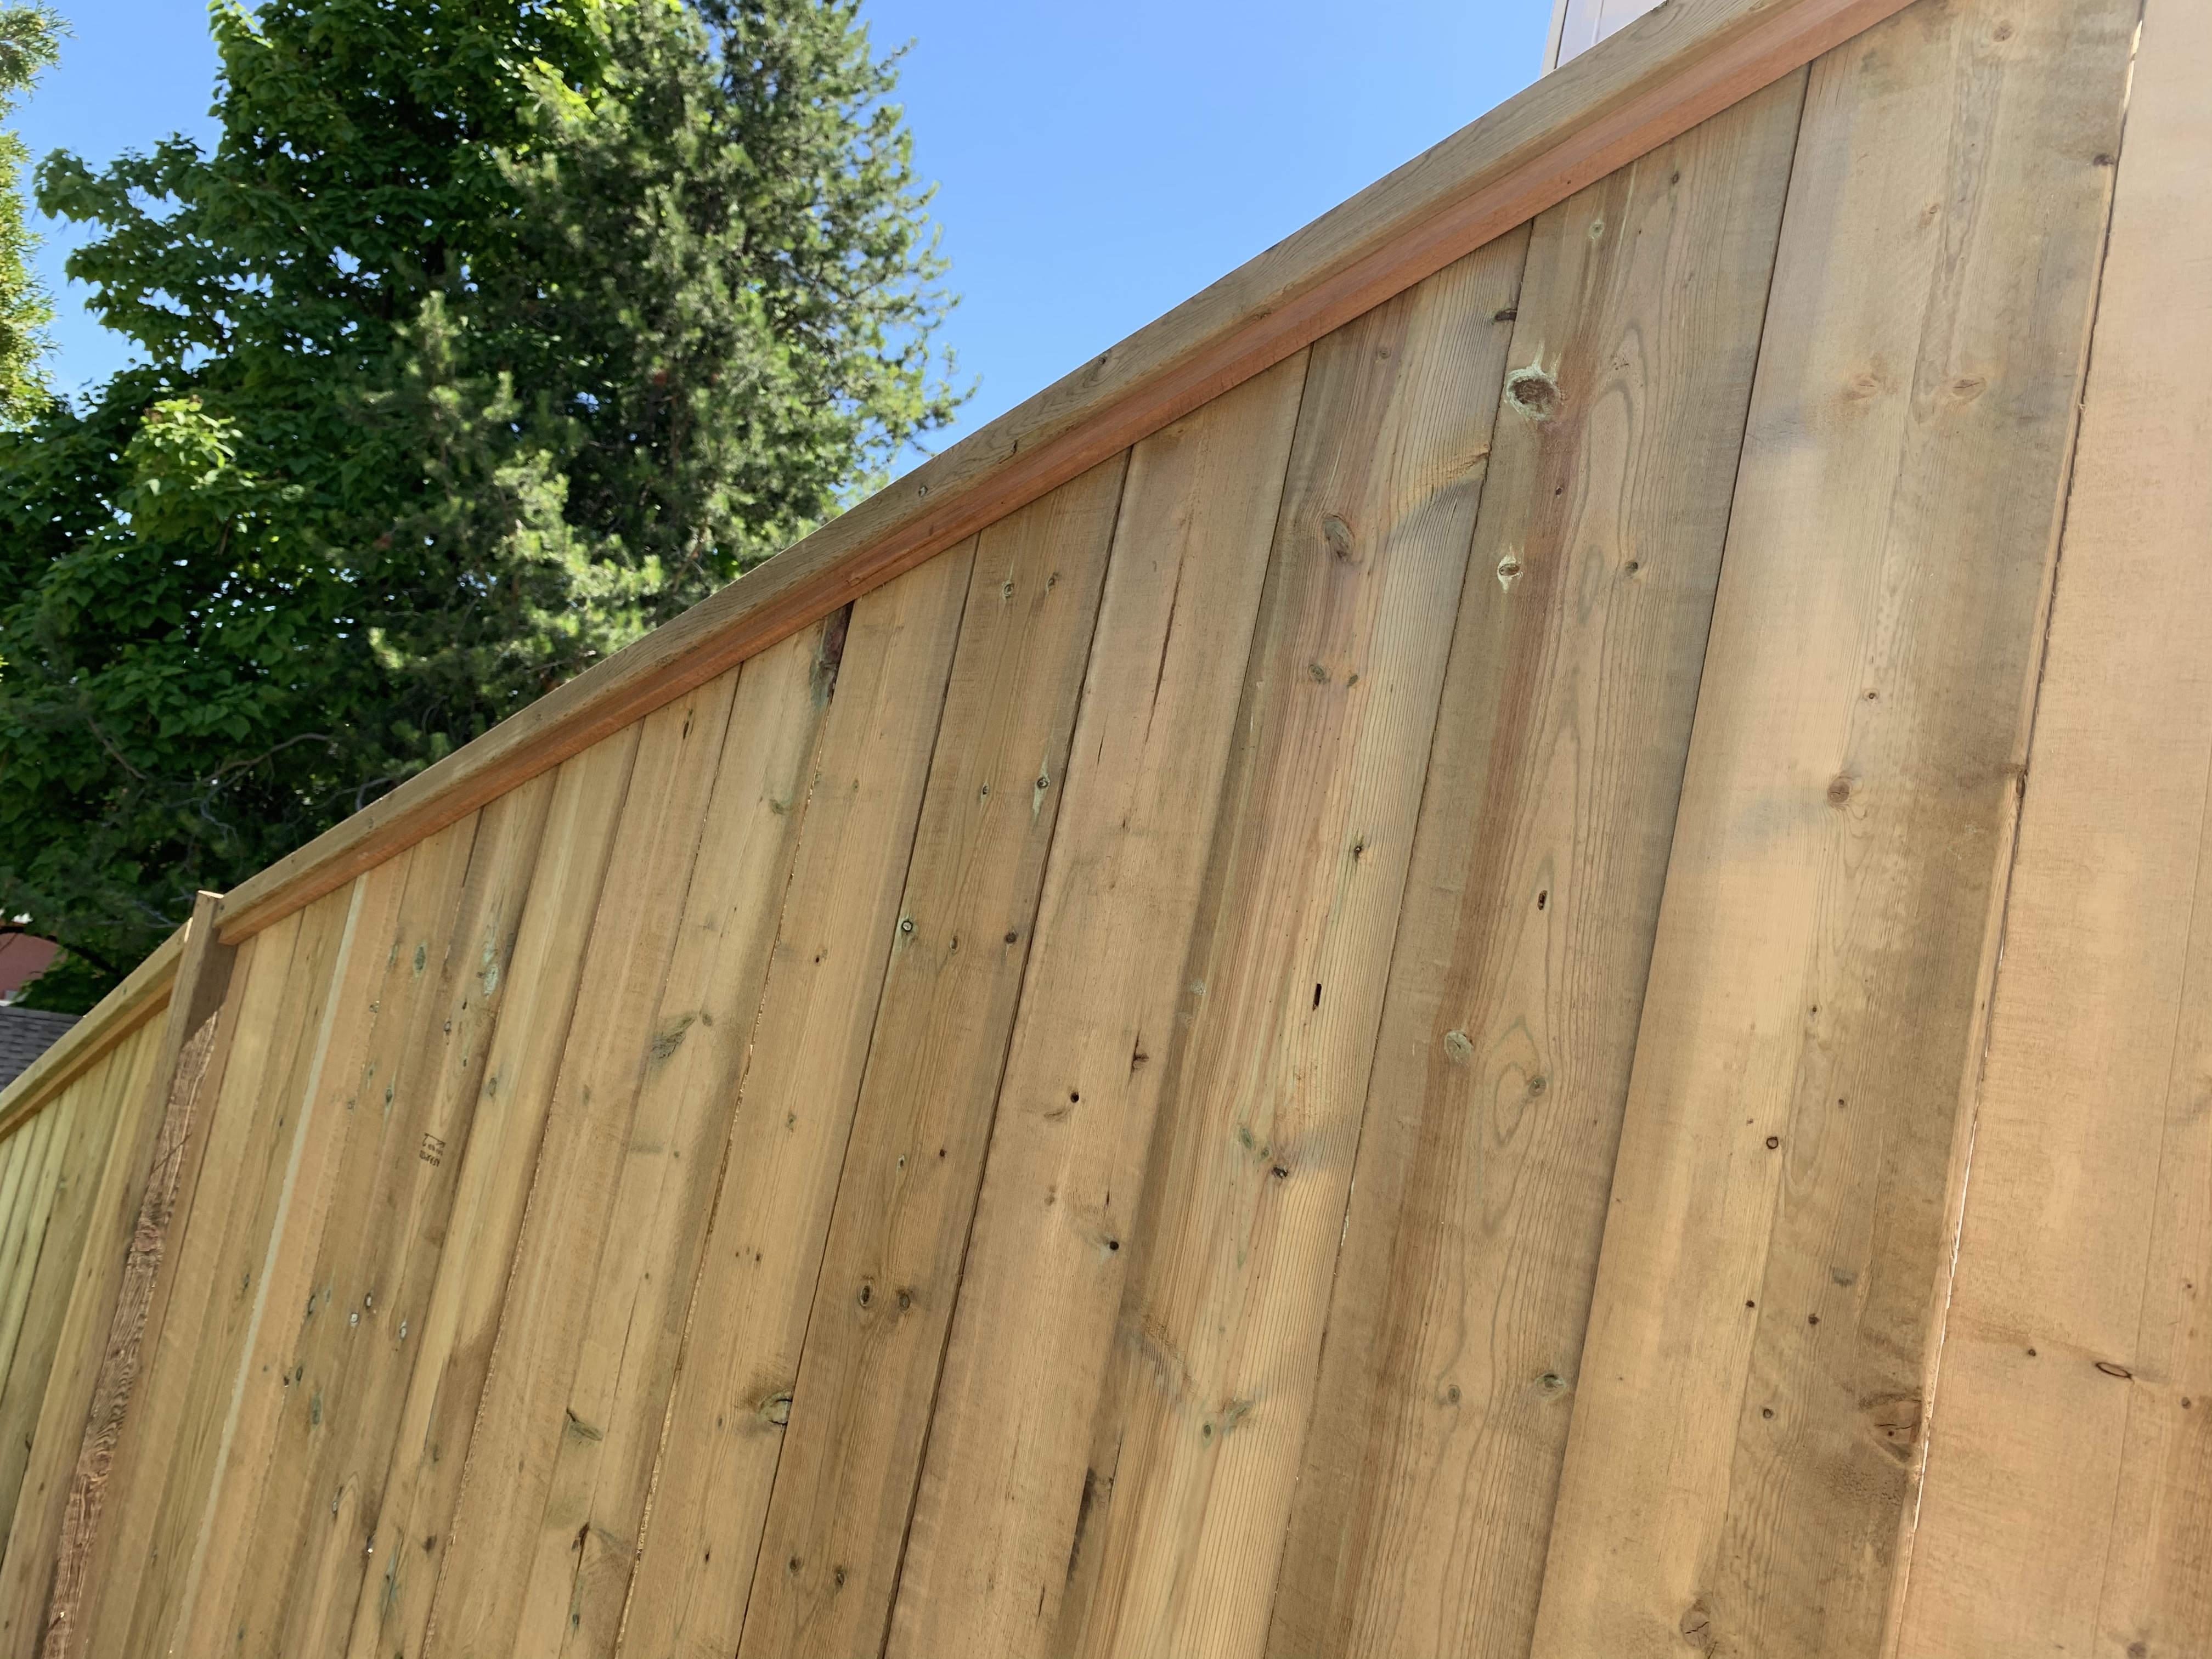
To get started, we framed all of the panels within the posts. This was easy but a little time consuming due to the odd angles once we hit the slope. We did a 2” x 4” on edge against the ground with another 2” x 4” on its side on top. Our hope is that this will help avoid too much flexing from the weight of the panels. We then added another 2” x 4” on the top, also wide side facing down. Once we had a few in place, K and I continued with the frames and our neighbours started working on filling the frames with the slats to complete the panels. We used 1” x 1” framing lumber to frame the slats in the panel frames. The slats themselves were 1” x 6” boards.


The top few panels went fairly quickly because they were straight and level. The slat boards needed some trimming, but it was fairly simple cuts. We did have to rip some slats narrower as we reached the end of each panel. Some panels worked out perfect, others needed some adjustment.

As we got to the slope, the work slowed down a little bit. When K and I put the top board of the frames on, we had just assumed that it would be top of post to top of post. That was an obvious mistake that we figured once we had finished screwing them all in. The 6’ slats were too short in areas to be cut at the angle needed to fit in the frames. So we had to adjust them. It actually worked out for a better finished look and the panels are still high and provide lots of privacy.
We used a super official way of measuring the angles for the board. Hahaha, JK! We aren’t professional fence builders, and have no idea how they would have measured, but our technique worked really well and was quick. We just held the boards up to the frame and used a pencil to mark the angle using the frame as a ruler on the slat board. When we had adjusted the tops of the frames, our neighbour had made sure that the height was the same from one side of the panel to the next, so once we had the first bird cut and fitted, we were able to cut all the others using that first board as a template and guide for cut lines. Worked like a charm!
We got into a rhythm again, with one person cutting the boards for the panel while two of us nailed them into place. The only time we got slowed down was when we had to make adjustments for the last slat to go in. Although we levelled every post using a post level (very handy if you are dealing with a lot of posts on slopes), pretty much every end piece that needed to be cut down, needed it to be slightly larger at one end. No oh were the ends angled to fit the frame, but the long edge often needed to be slightly angled. If it was minimal, then we just left a very small gap between a few of the slats that were barely noticeable, to close up the hole at the end. There was, of course, a few that were and inch of difference. Those can’t be hidden, so using our trusted measuring technique, we would draw in the bit that needed to be shaved off and I would run it through the bandsaw, allowing us to cut the angle necessary. Most of those boards still needed a little encouragement to get into place (some light hammering), but once in place looked awesome.


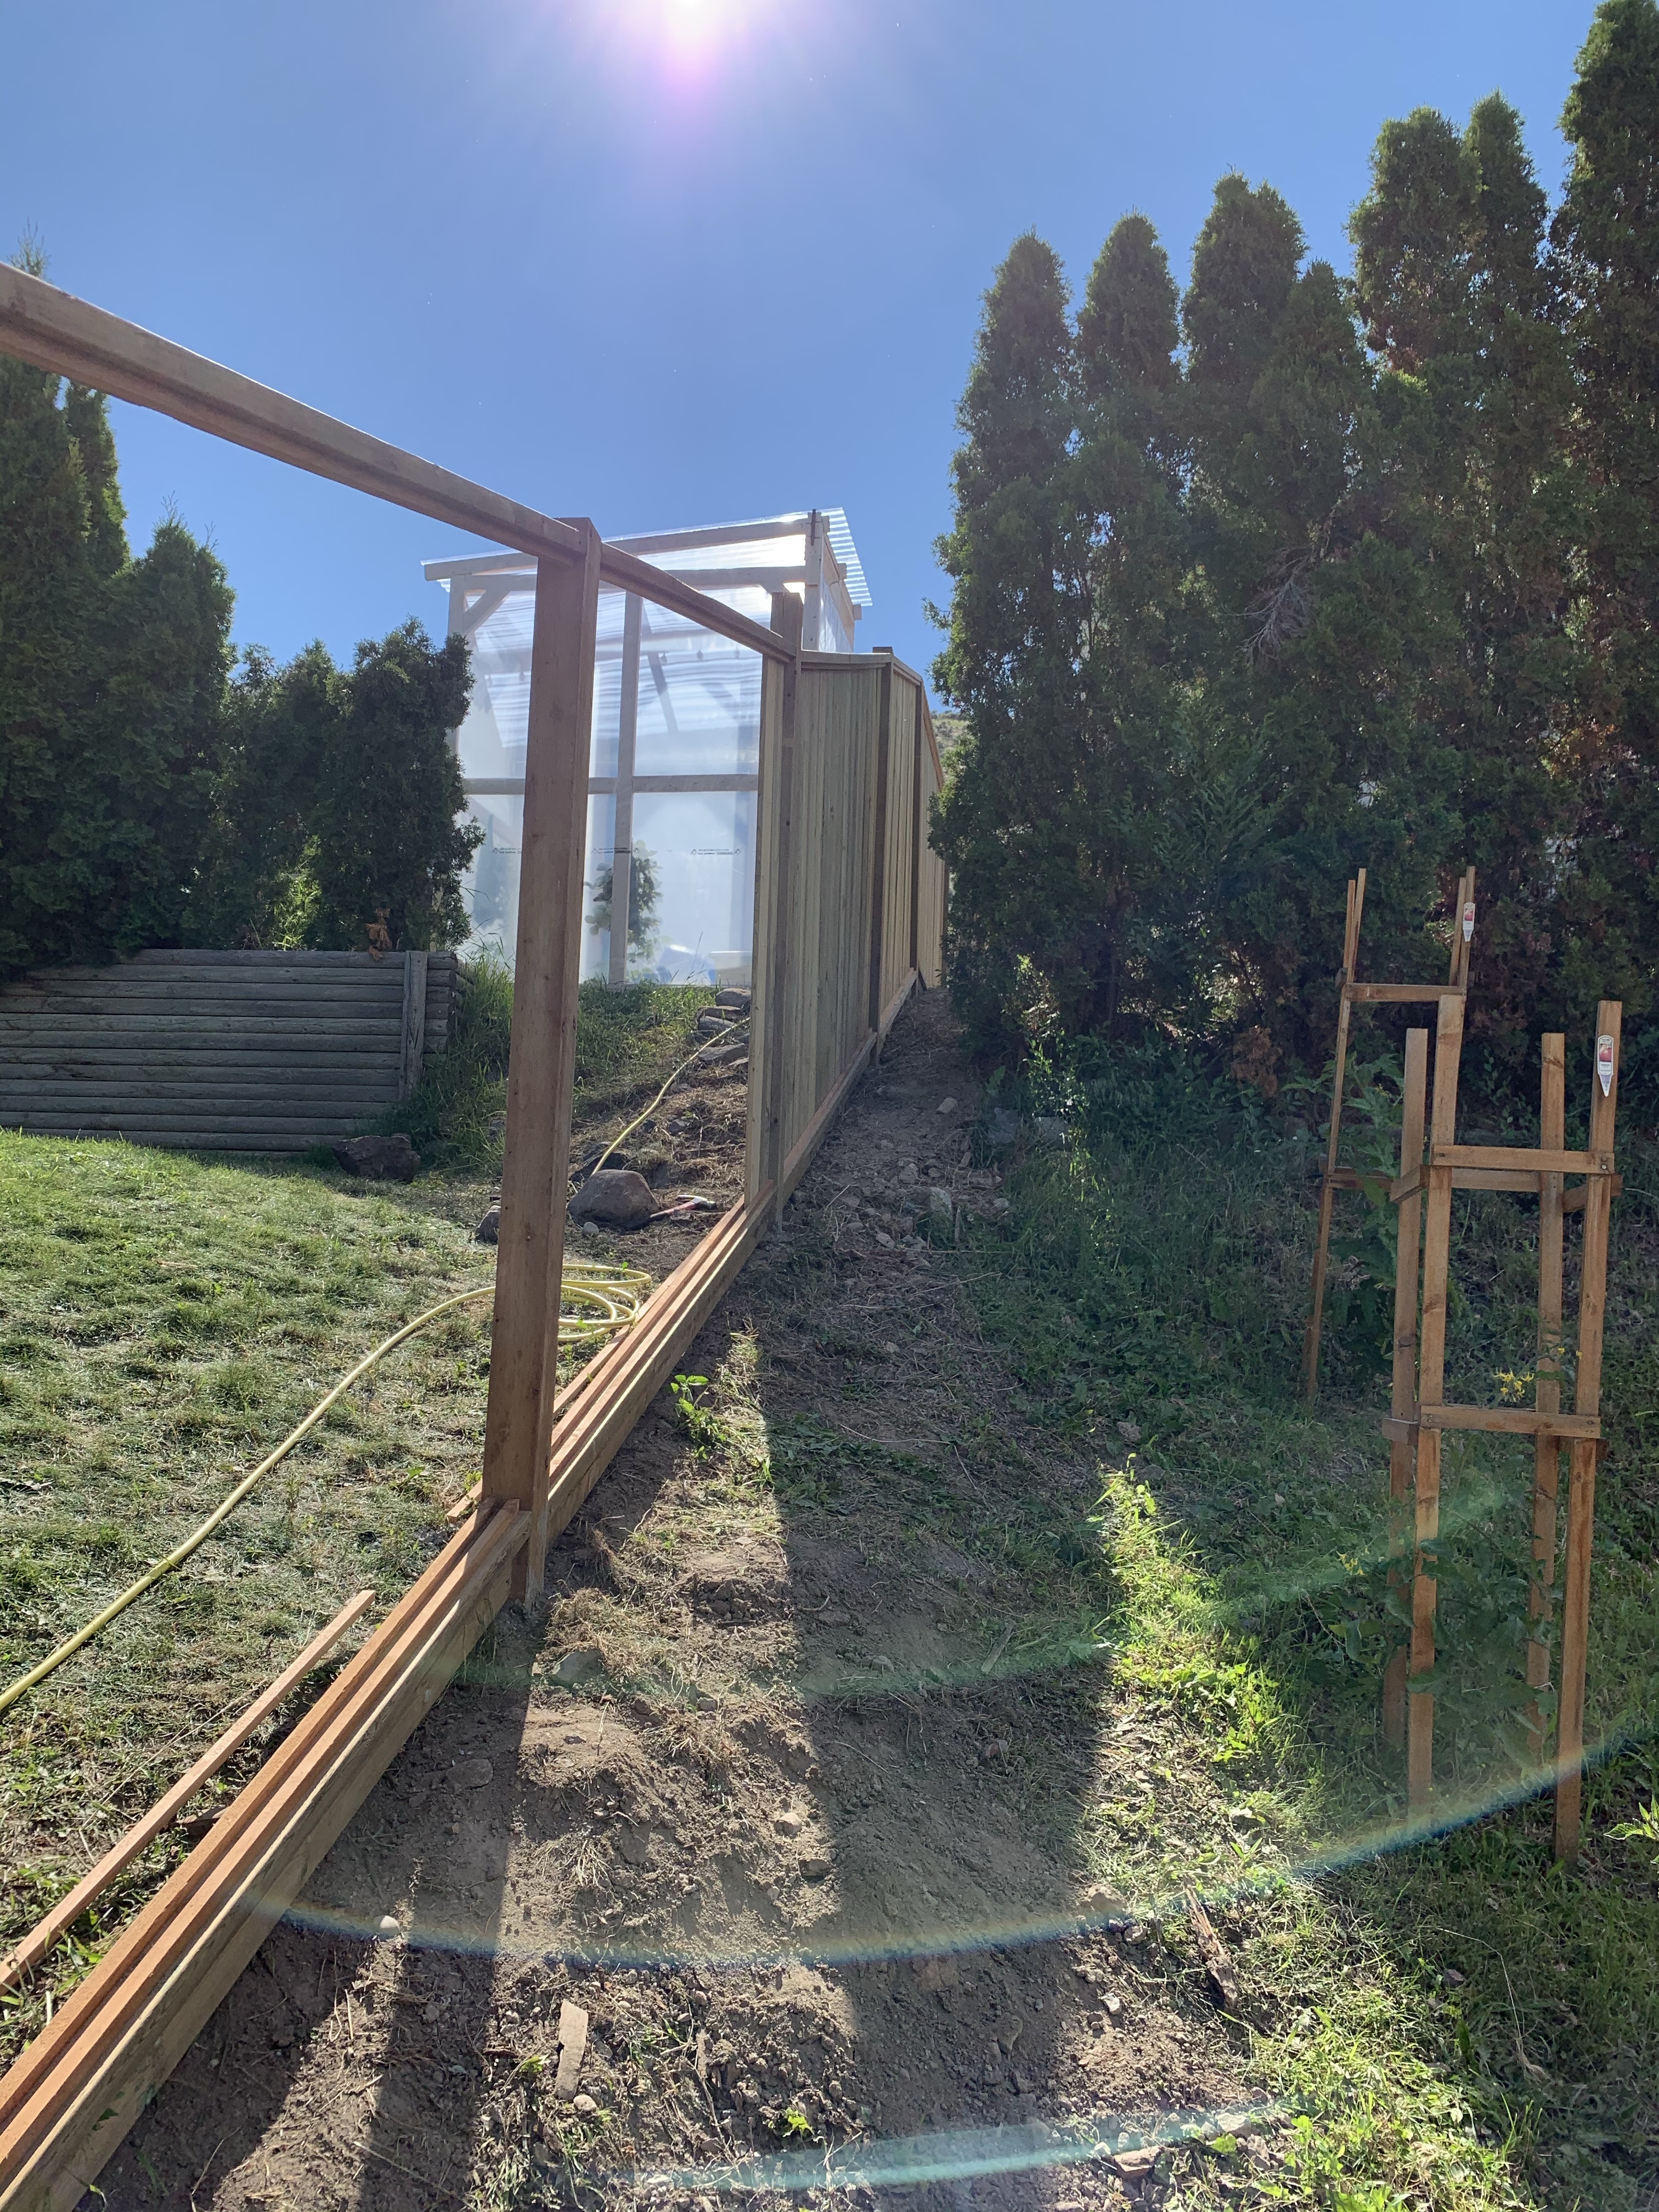
The good thing about going 8’ on center was we managed to avoid most of the old posts and cement blobs in the ground. The bad thing about our measurement was that we had just under a 1.5’ gap between the end of our new fence and the back fence. instead of trying to create a frame that would attach to the back fence, which is a different design, we just used a couple pieces of 2” x 4” attached to the end of our fence and the braces on the back fence. Then we nailed some slats on it to close in the fence and yard. It actually turned out good and unless you do fences for a living, probably wouldn’t notice our fix. Even if it hadn’t blended in so well, it wouldn’t have been a problem since that corner will be hidden by a gazebo eventually.

Overall it took us just under 2 days to replace our 105’ fence with a new and improved fence that offers a little more privacy to both yards. Our neighbours then continued on and replaced their other fence, which proved to be the tougher of the two due to a steeper slope and side slope, lots of tree roots and old fence posts that were cemented in. Eventually we will have to replace the fence on the other side of our yard as it is the same old, short style as the one we took out, but for now it is still holding strong so we will do that next year before we do our shed. Our back neighbour has also decided that he may just put up cedars along the back of his yard for privacy, so we will just add new panels to our side of the fence as the frame is still in really good condition and is solid.