
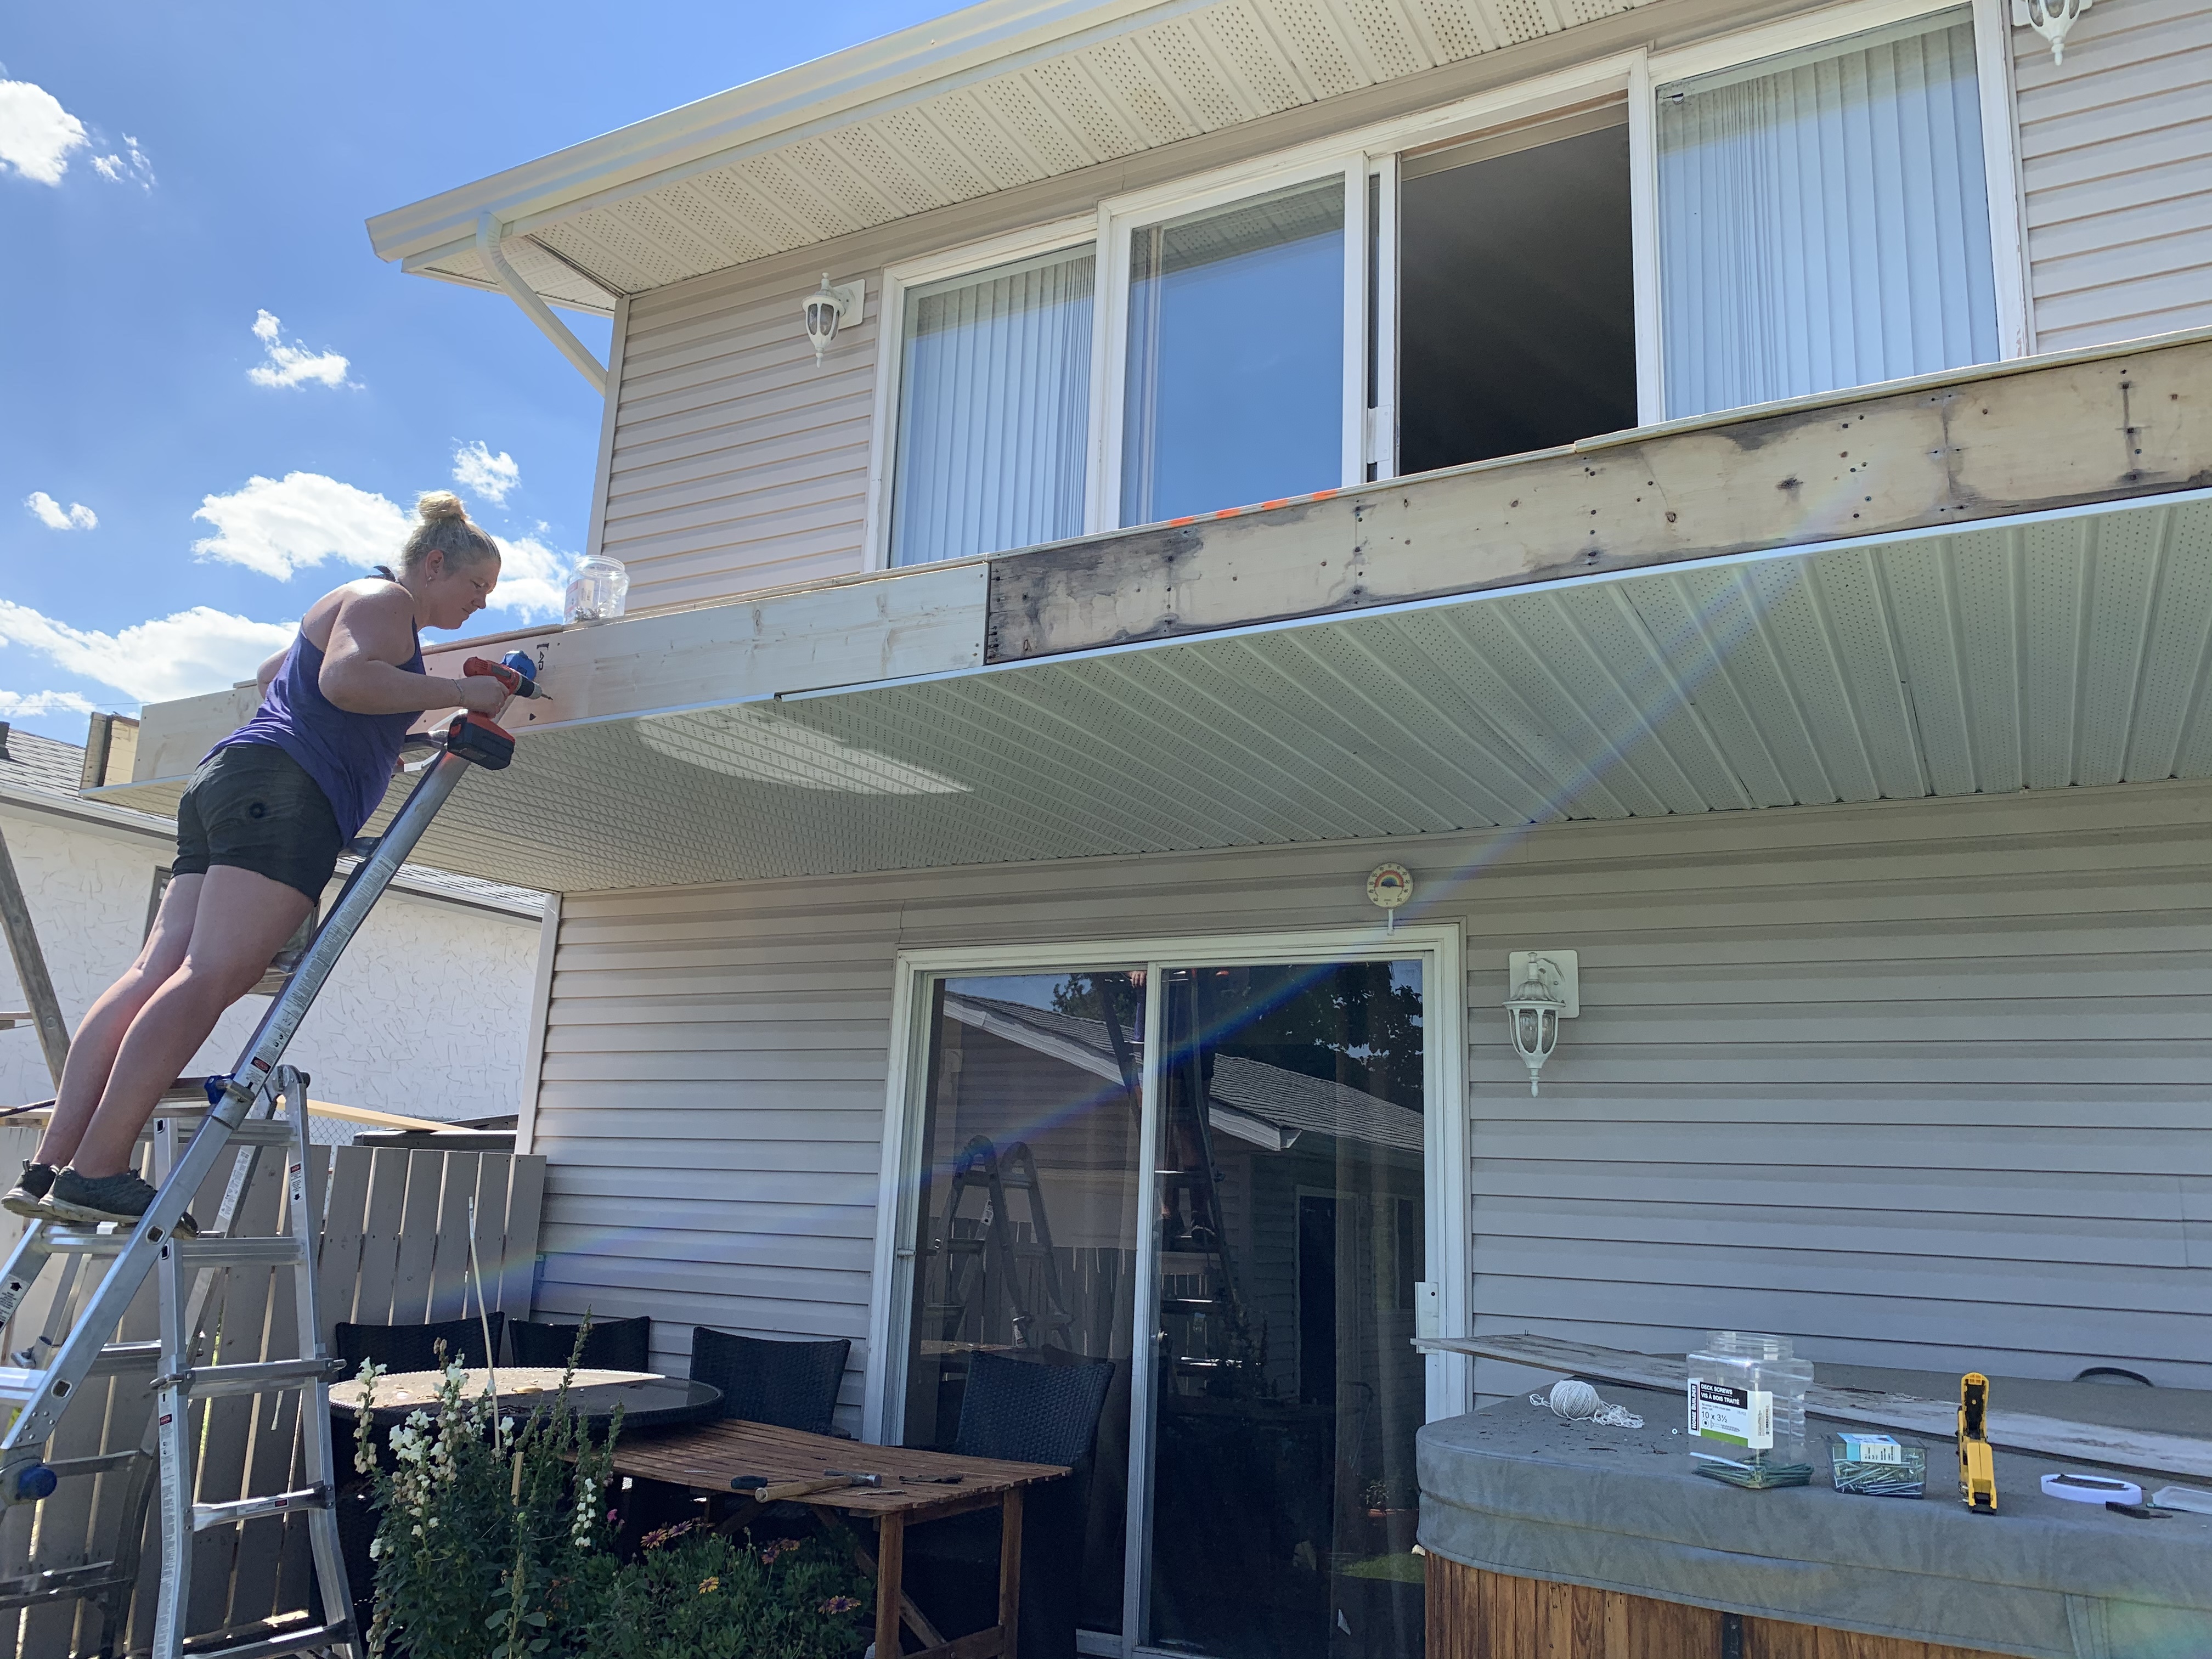
Day 2 of the deck was much better than the first day. A big part of that was because I had K and my dad working with me so it was much easier and any doubts I had were eased by my dad who had experience with redoing a deck. The only downside was the heat. It hadn’t dropped below 20C overnight so it was already warm when my dad showed up at 7 am. We figured we would do what we could until it got too hot and then finish up in the evening when it would be shady and cooler. The forecast was for 39-40C at the heat of the day.
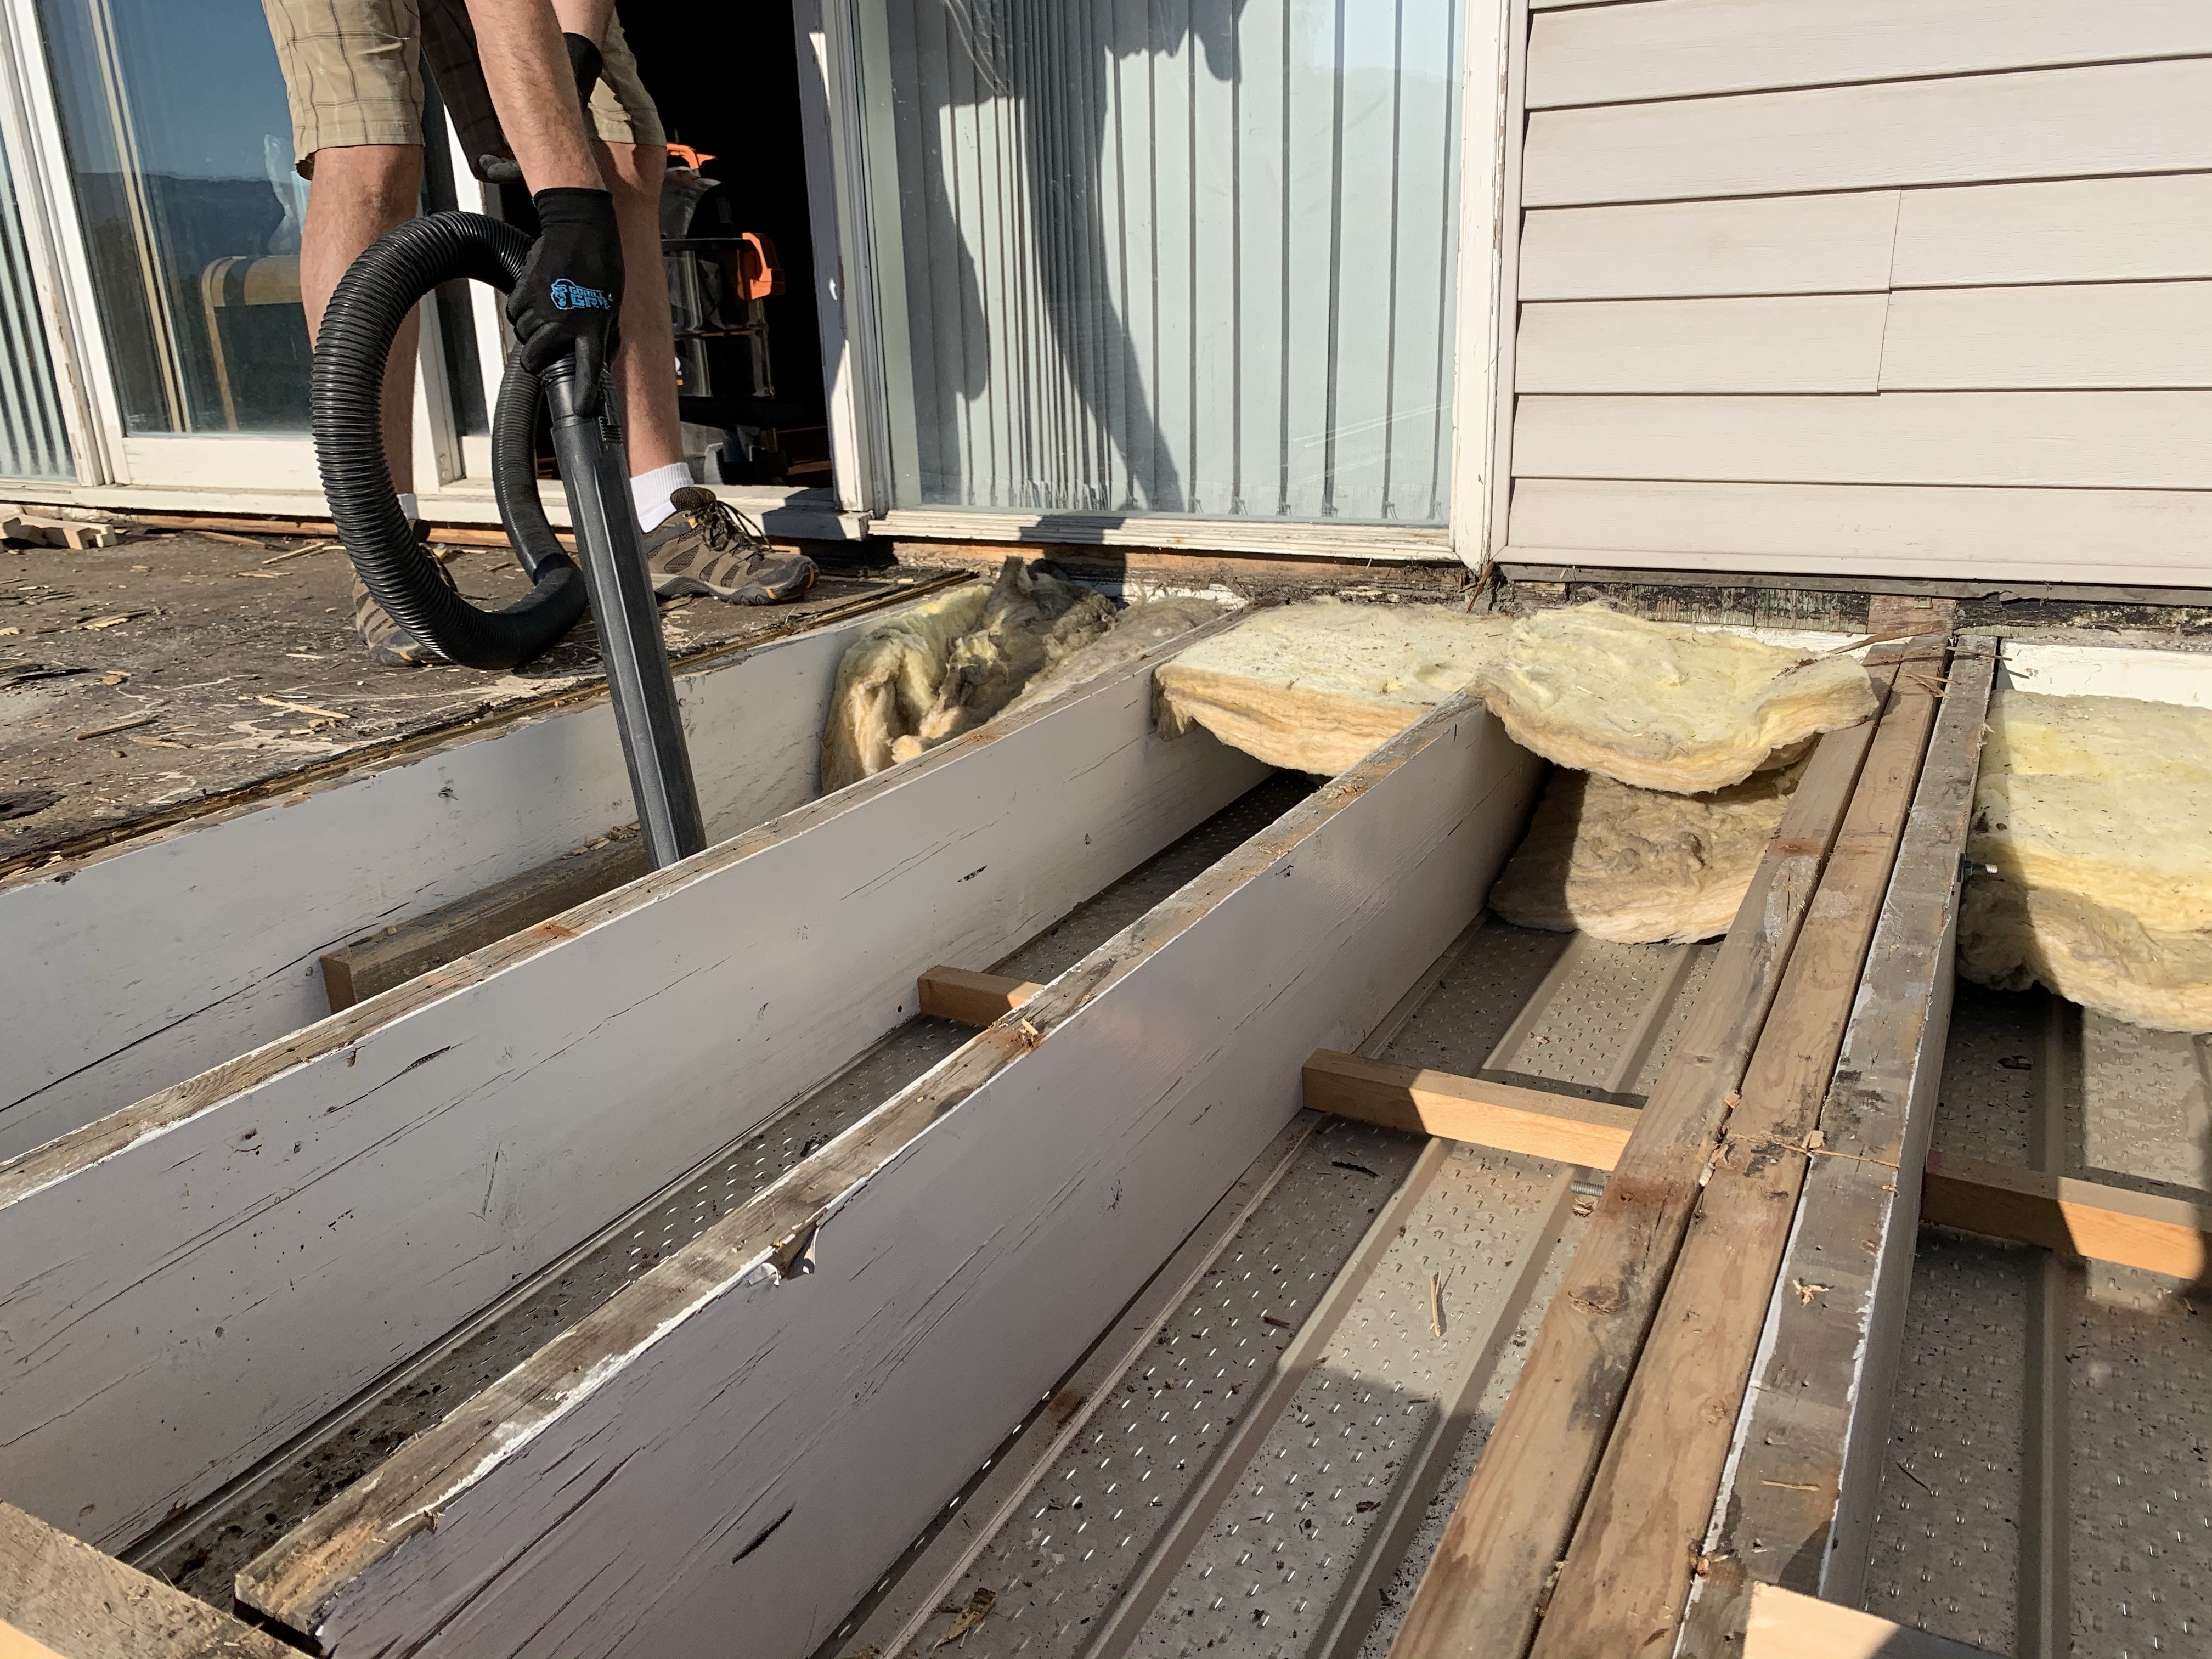
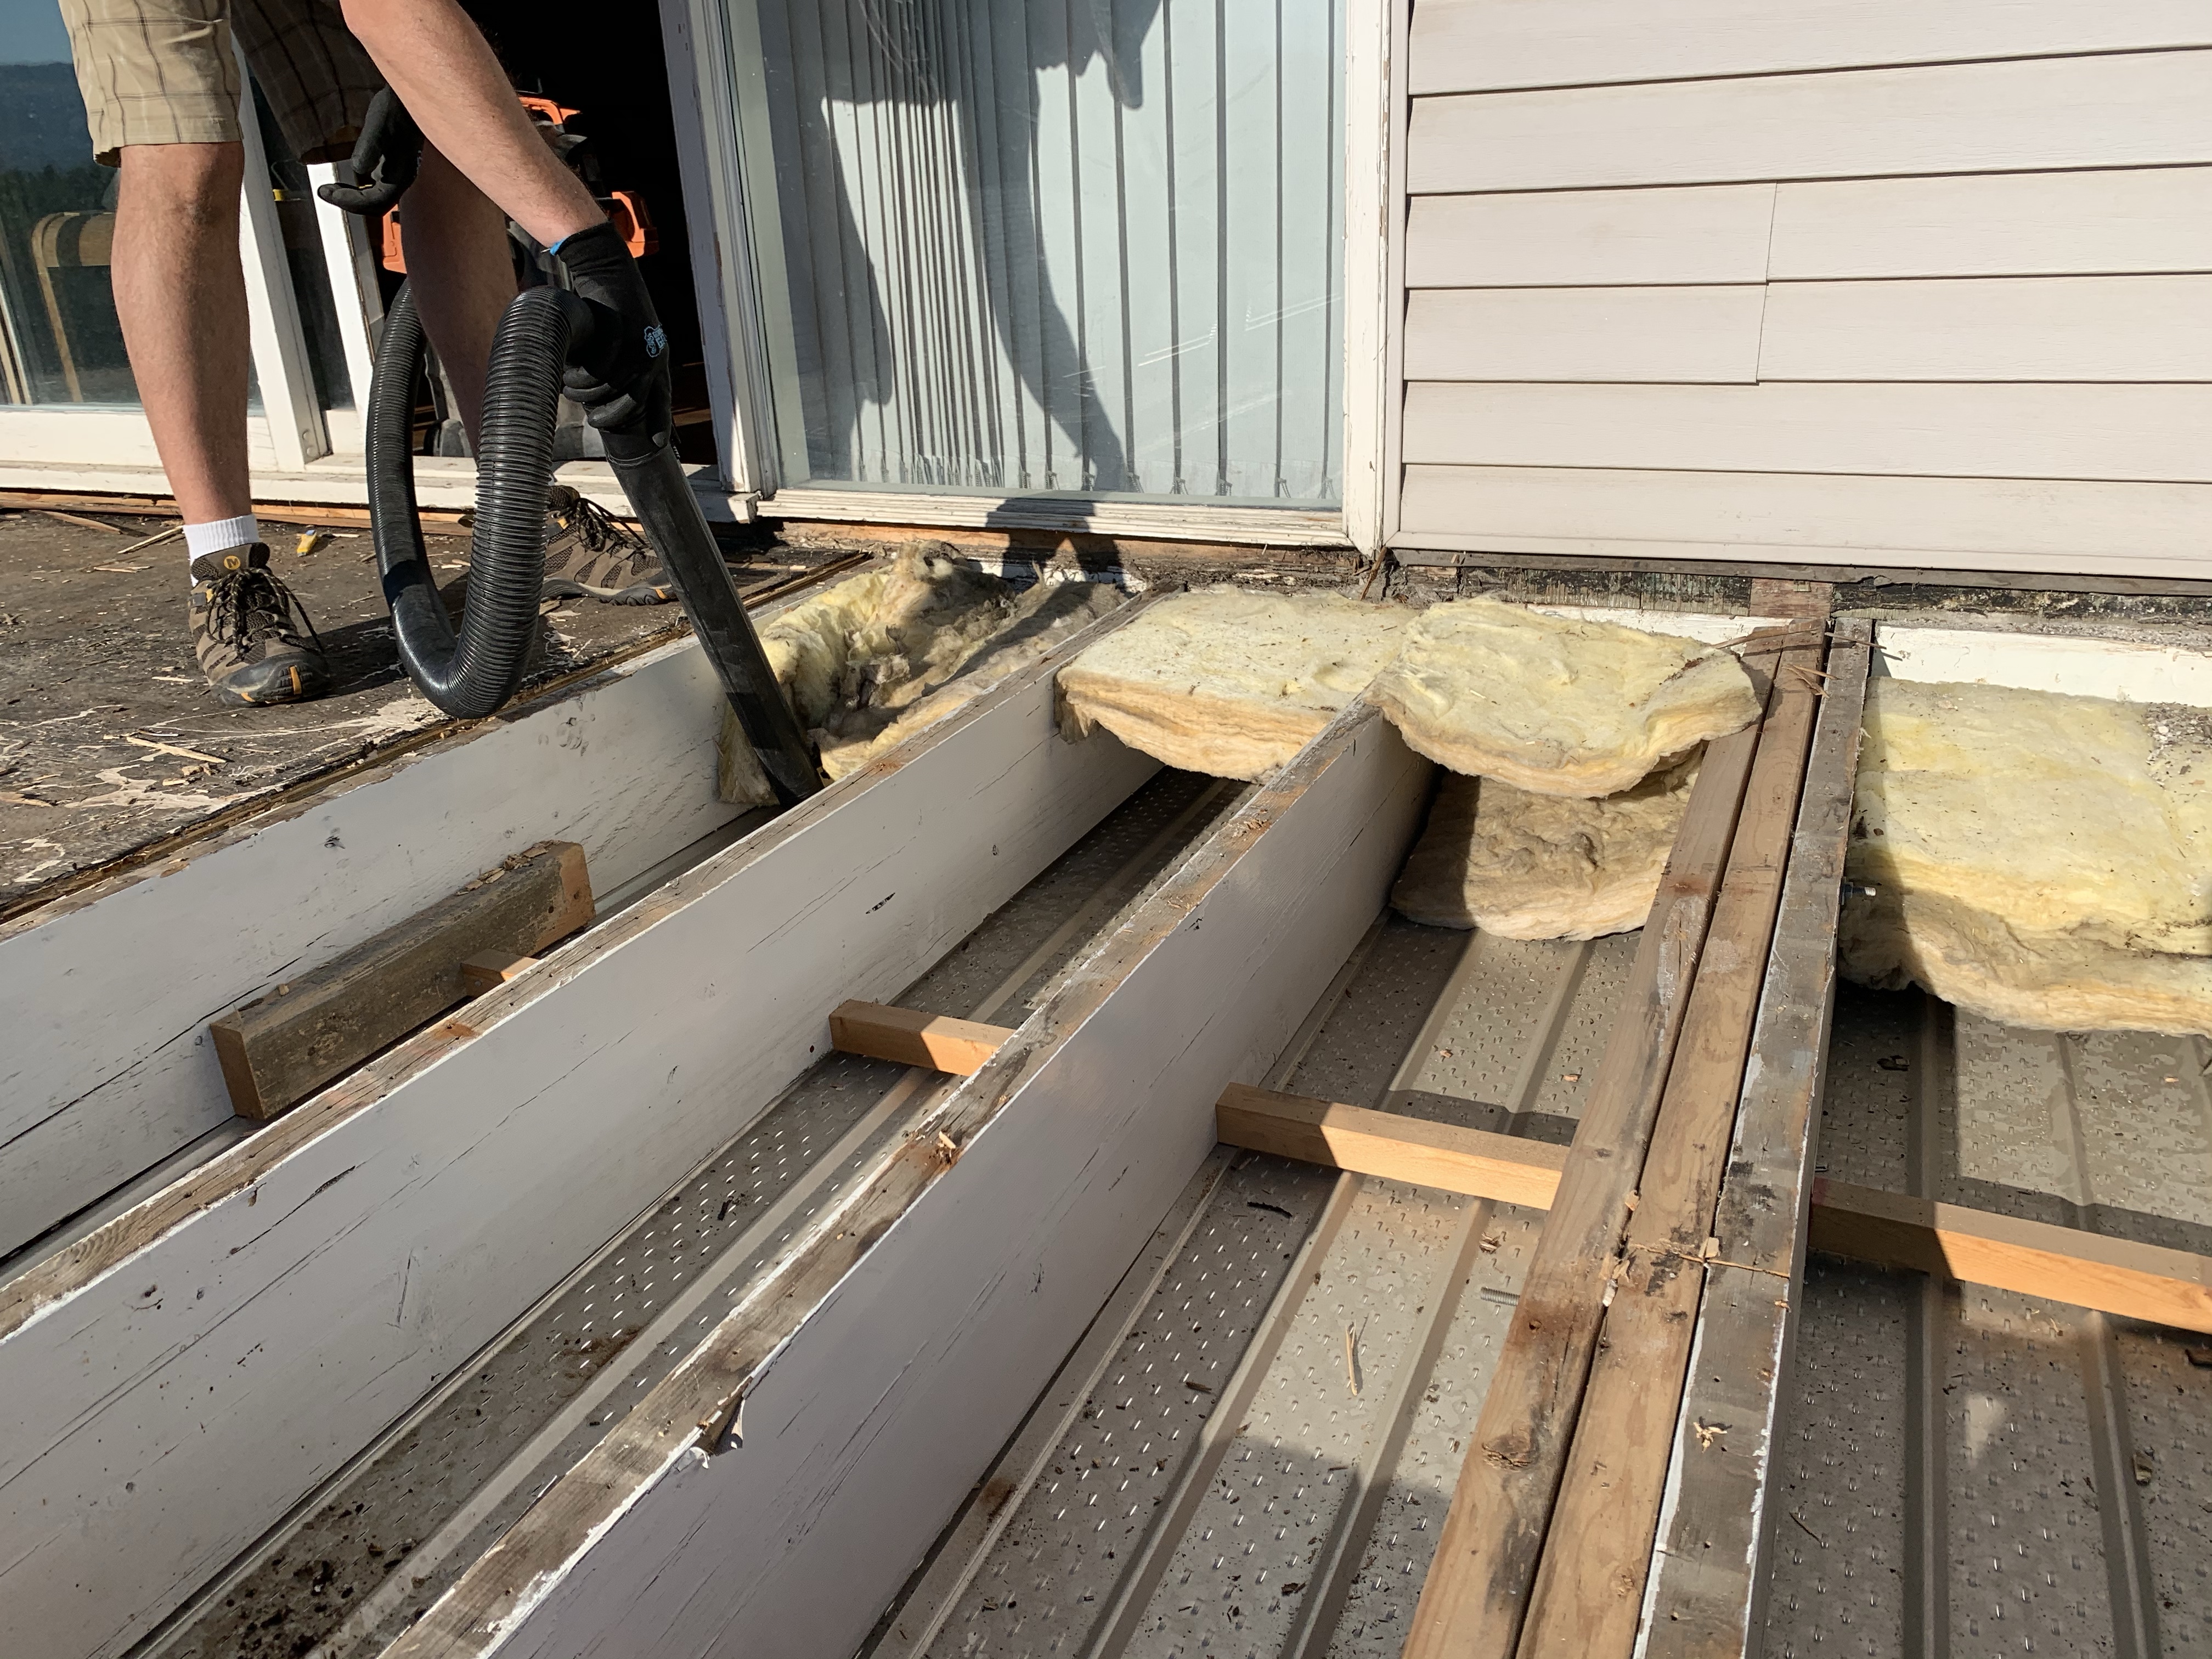
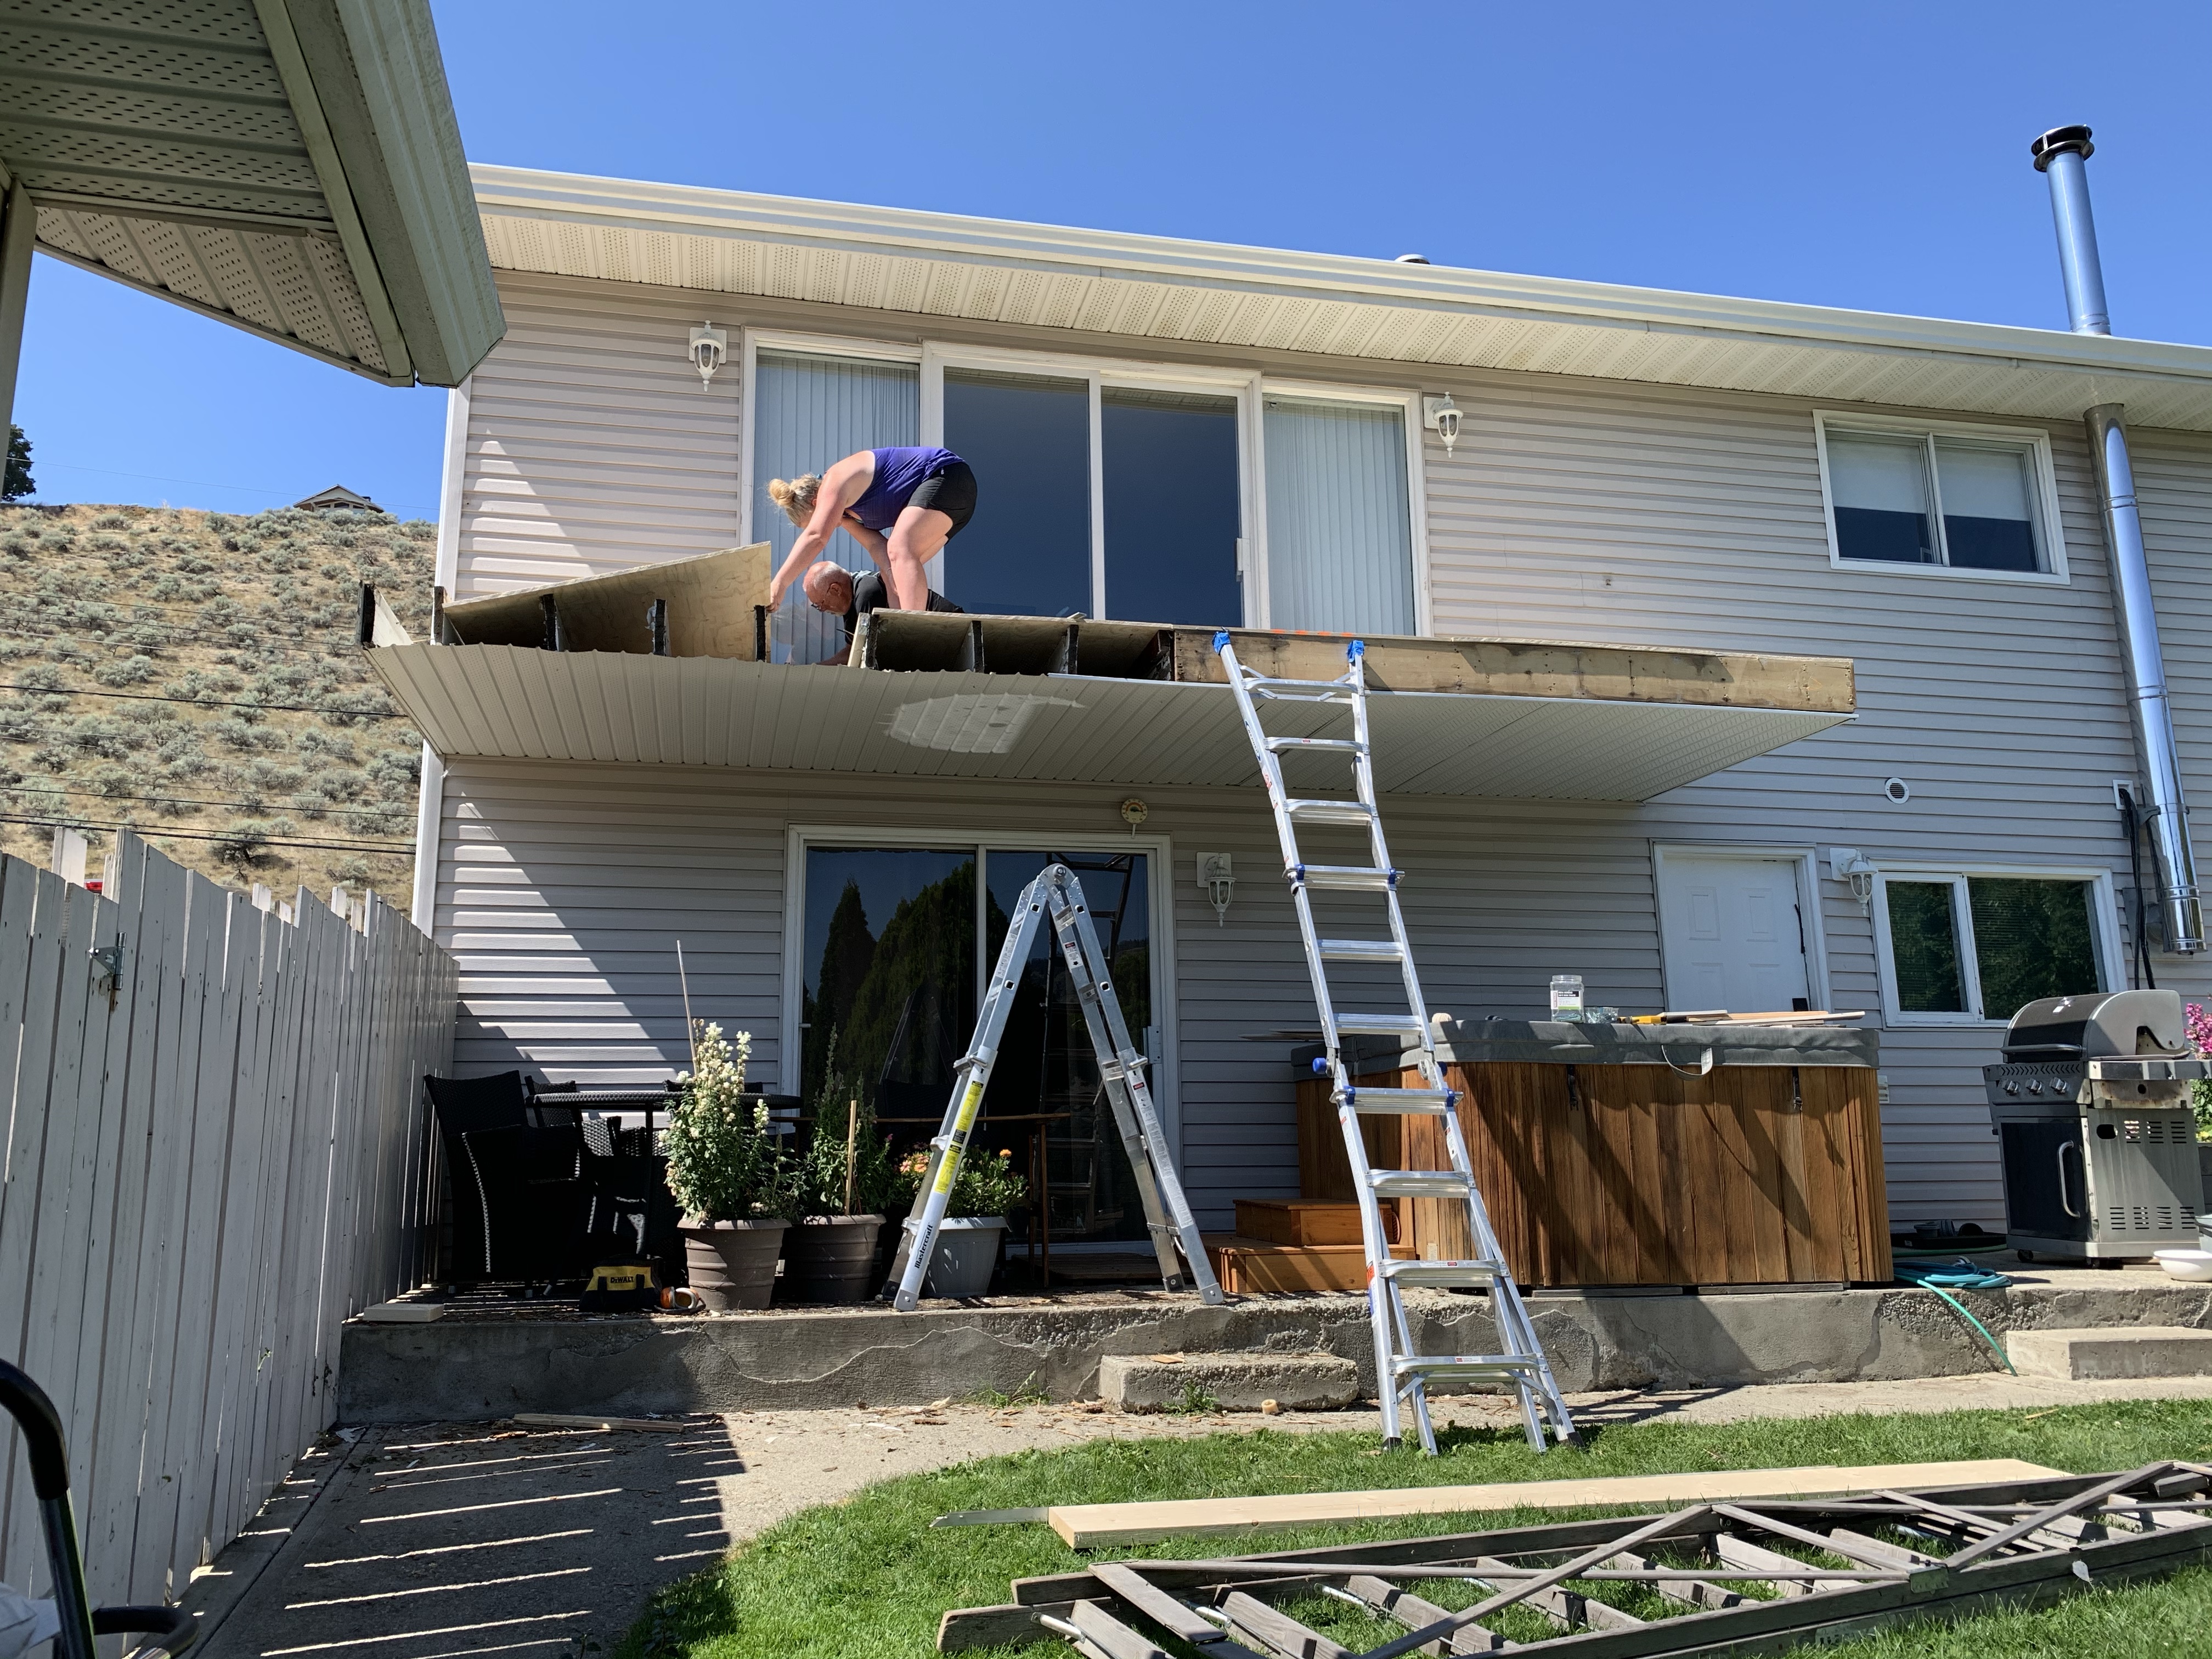
The first thing I had dad do was inspect the beams. As noted in my previous post, I lost all sleep dreaming about all the things that could possibly go wrong and then dwelling on those thoughts all night. He gave the approval that we were good to go! Next step was to get all the facia boards off so that we could see the front plates. While dad and I worked on that, K got the shop vac and cleaned up the debris that had rained down on the soffit. We didn’t want to leave it there.
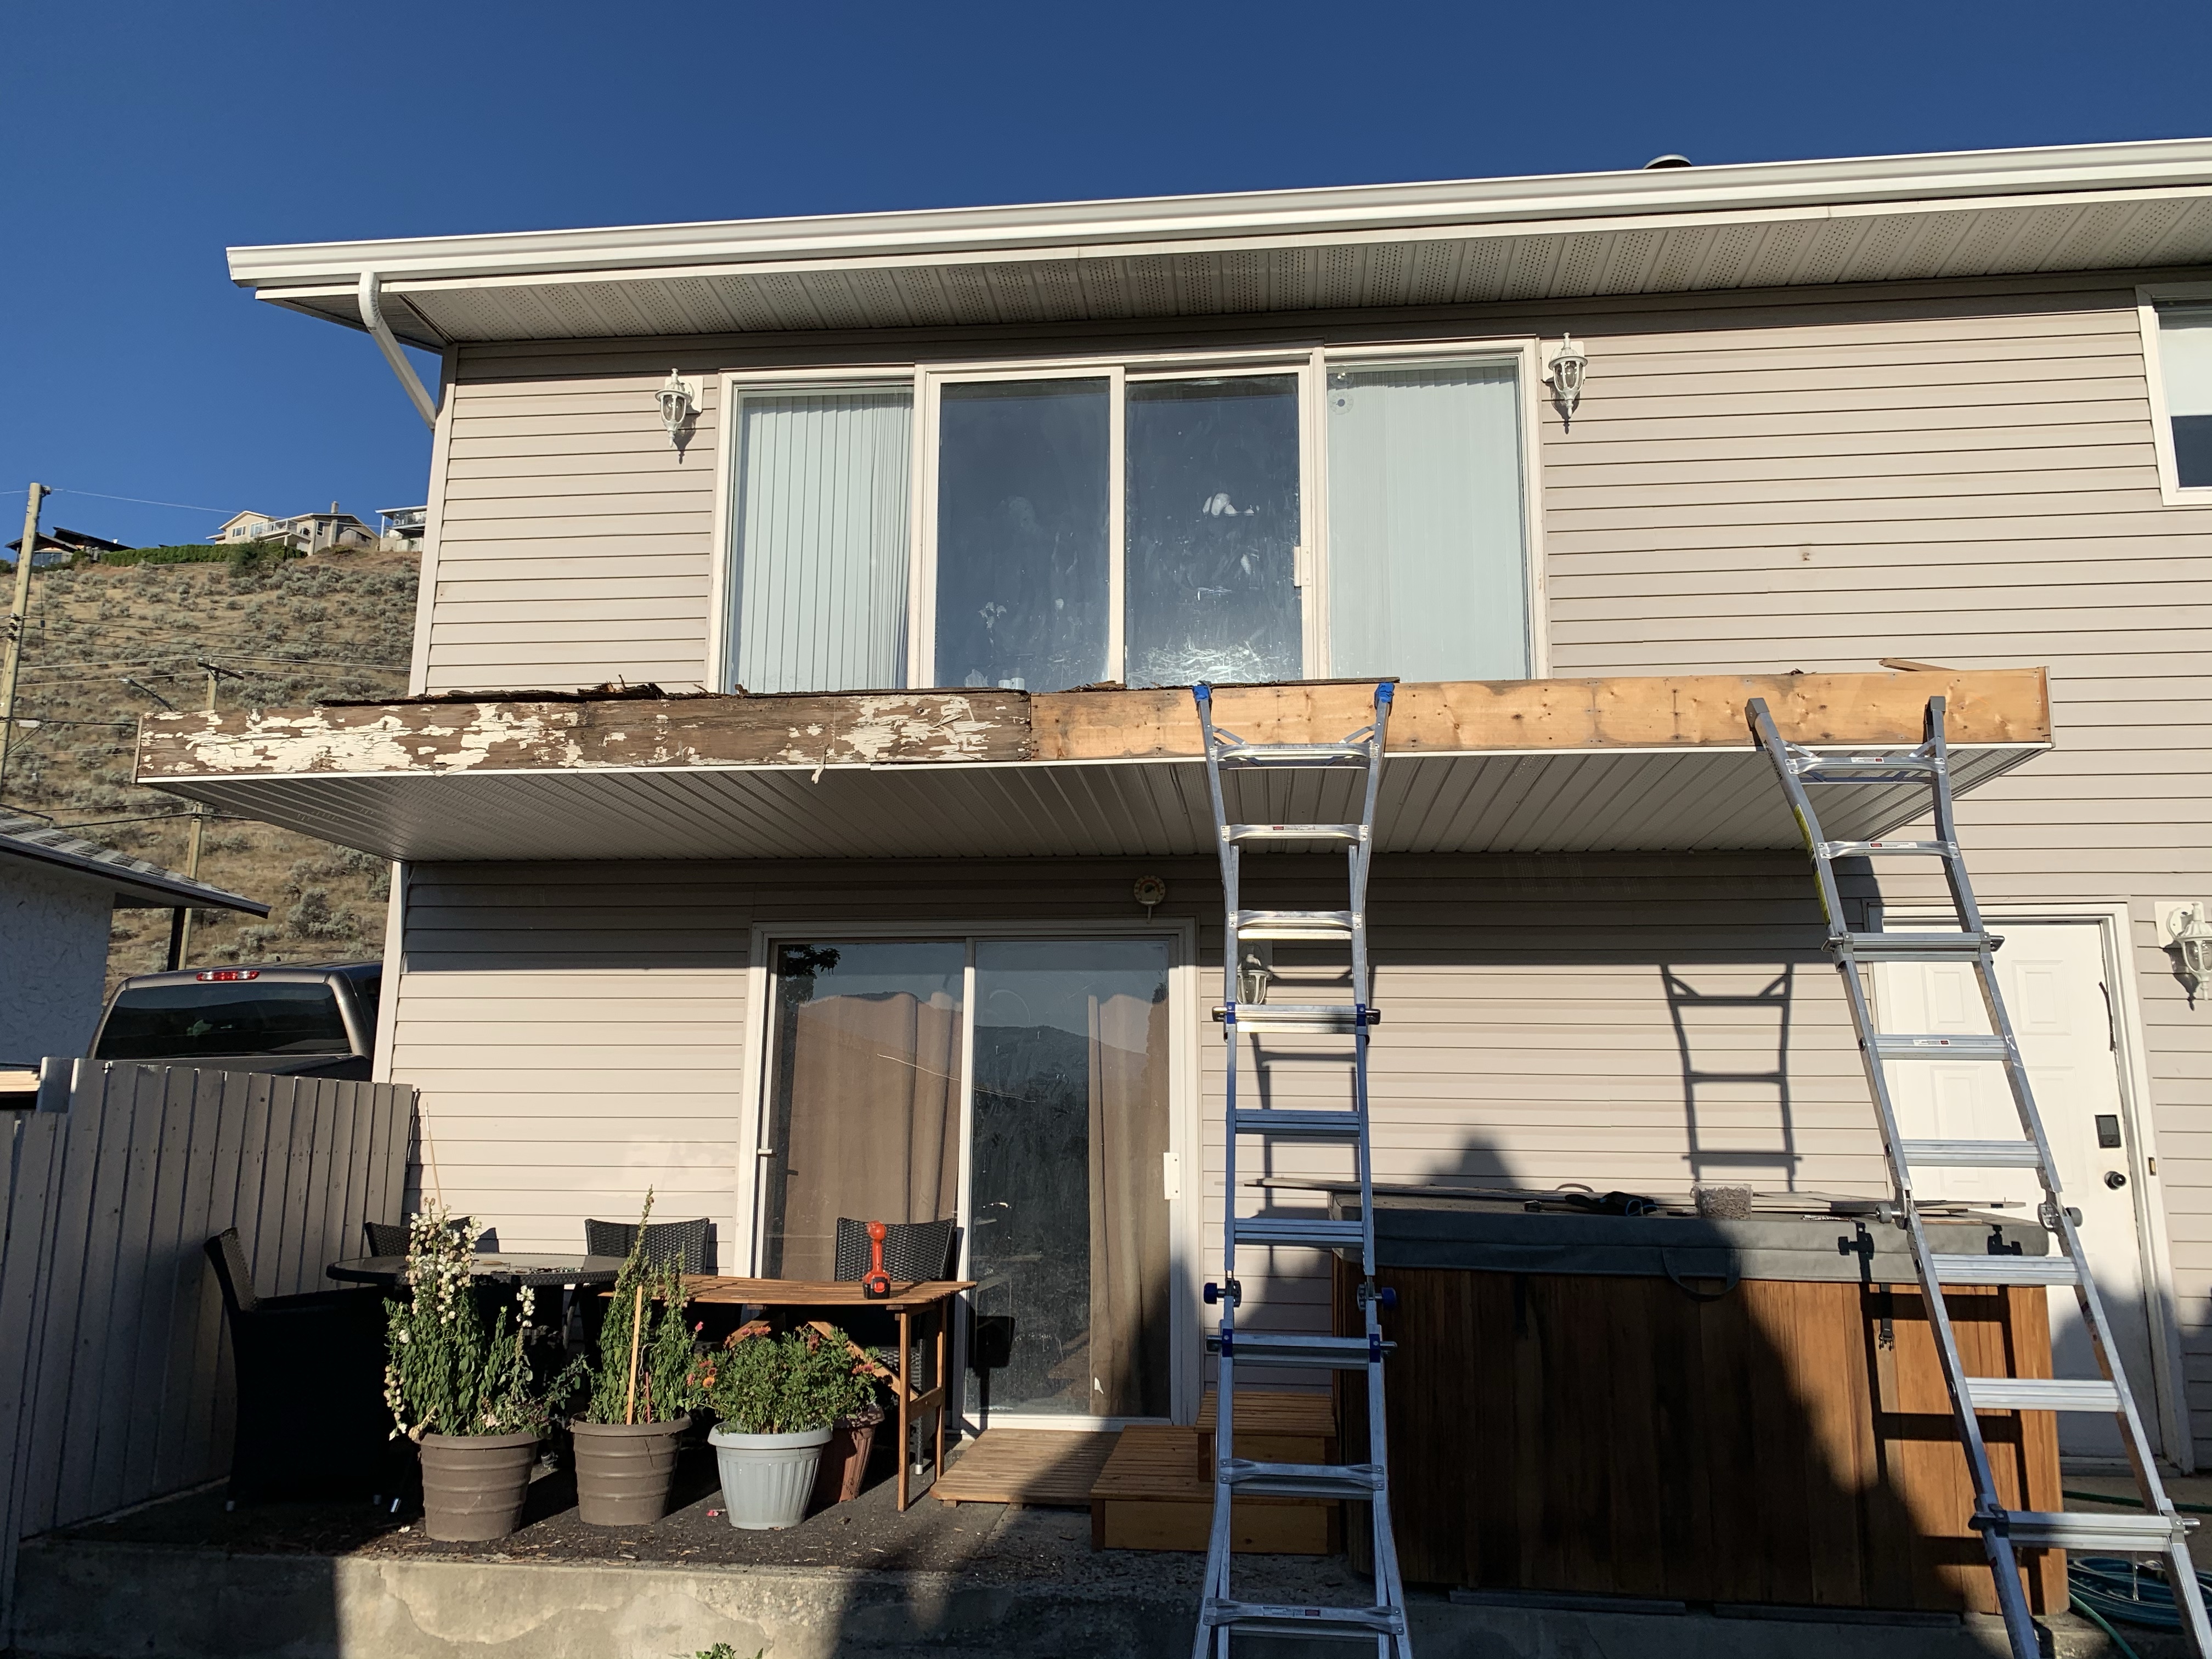
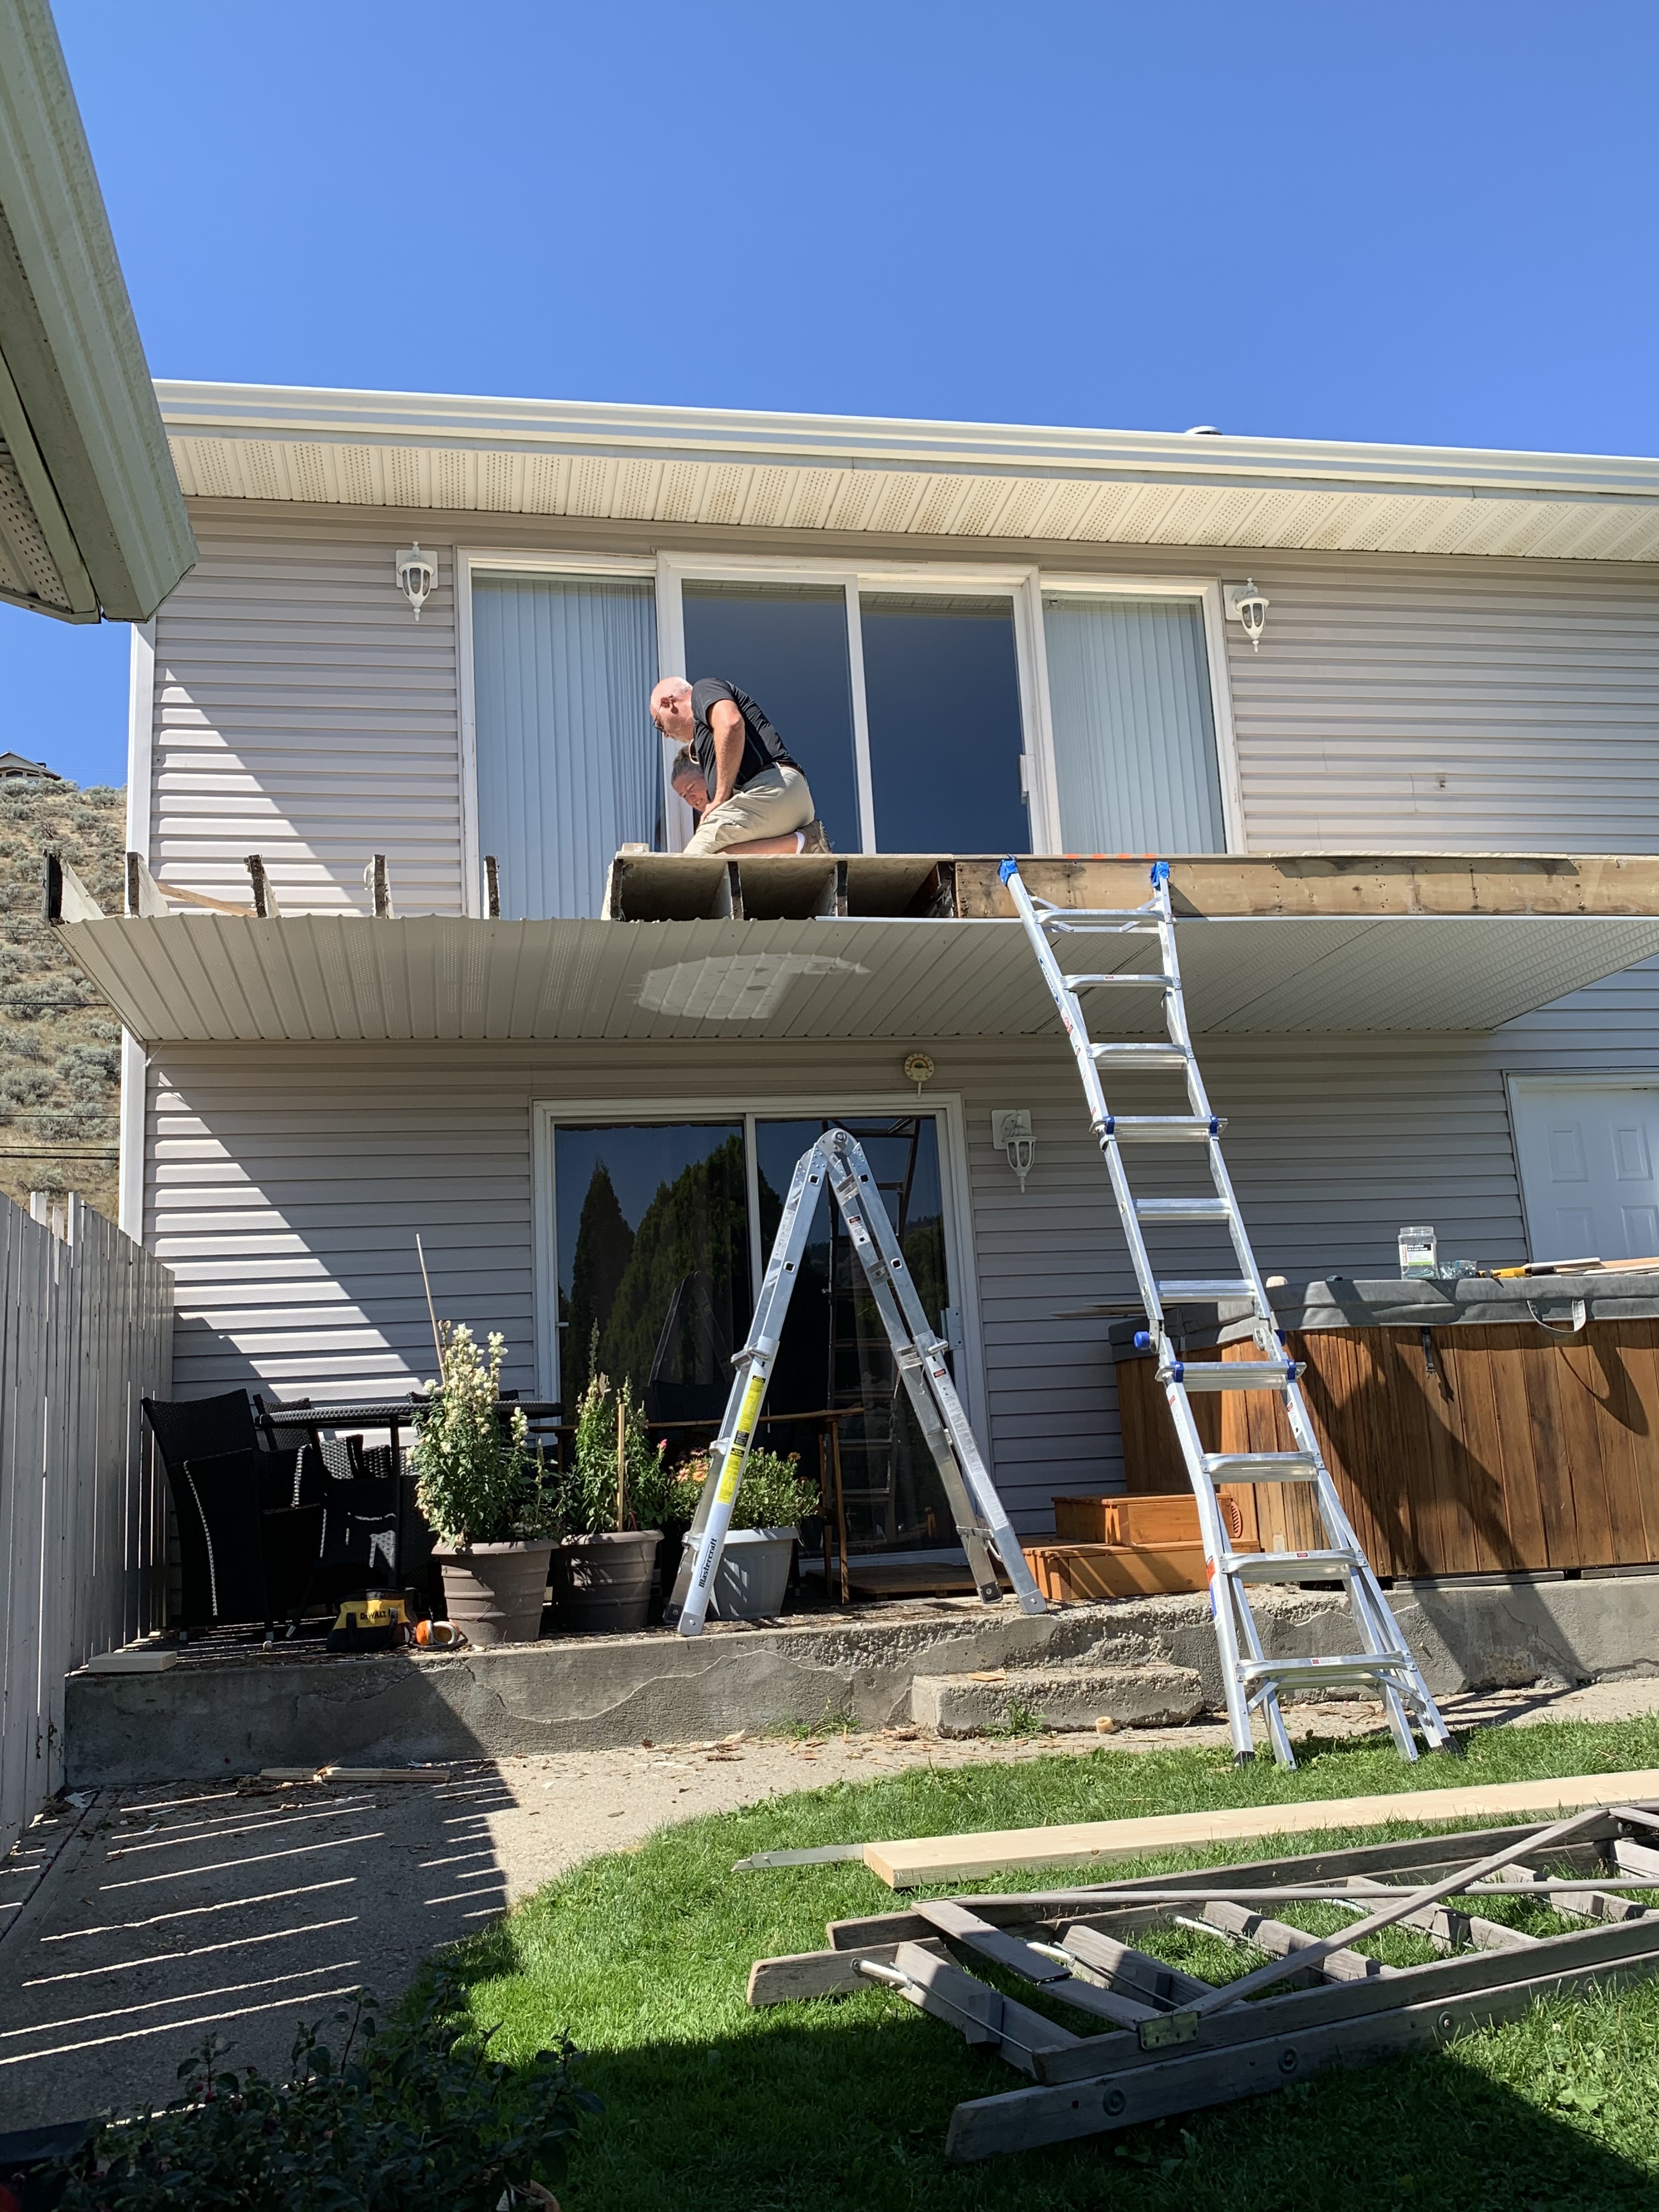
Once the facia was off, we realized that one of the front plates was going to need to be replaced. When prying up the plywood, I had a sneaking suspicion that would be the case, but it was very clear once we got the facia off. The other face-plate had been replaced the last time the deck had been redone, so it was still good to go. I knew that in order to replace that face-plate, we would have to remove part of the edging for the soffit. We all took a minute to see if there was a way to remove the plate without having to redo the soffit completely. We finally decided to put a few small screws into the soffit to hold it in place while we removed the one side of edging. We would then put the edging onto the new beam prior to putting it up and slide the soffit into it. Hopefully it would go smoothly and we wouldn’t have the extra job of doing the soffit.
Because we started so early, we had to wait a bit before we could go grab a new 2” x 10” x 12’ beam, so dad and I got started with putting the new plywood on top. This led to another fun discovery. The beams were not evenly spaced. In fact, they would go from 16” on centre to 18” on centre to something completely different. That made figuring out how to lay the plywood interesting. In the end we did have to scab on a few boards to make it work. We managed to keep it minimal though.
While dad and I worked on the plywood, K headed off to the hardware store to pickup the beam. We managed to get a few pieces into place before K got back and were just at the point of ripping up the two sheets of old plywood that we had left to walk on. We paused the plywood work to get the front-plate beam down. With dad on the deck and K and I on ladders it was an easy removal. The unfortunate part was that the previous beam was slightly shorter at only 9” instead of 9.5”. Luckily dad had brought his table saw so we were able to easily rip it to the proper depth.
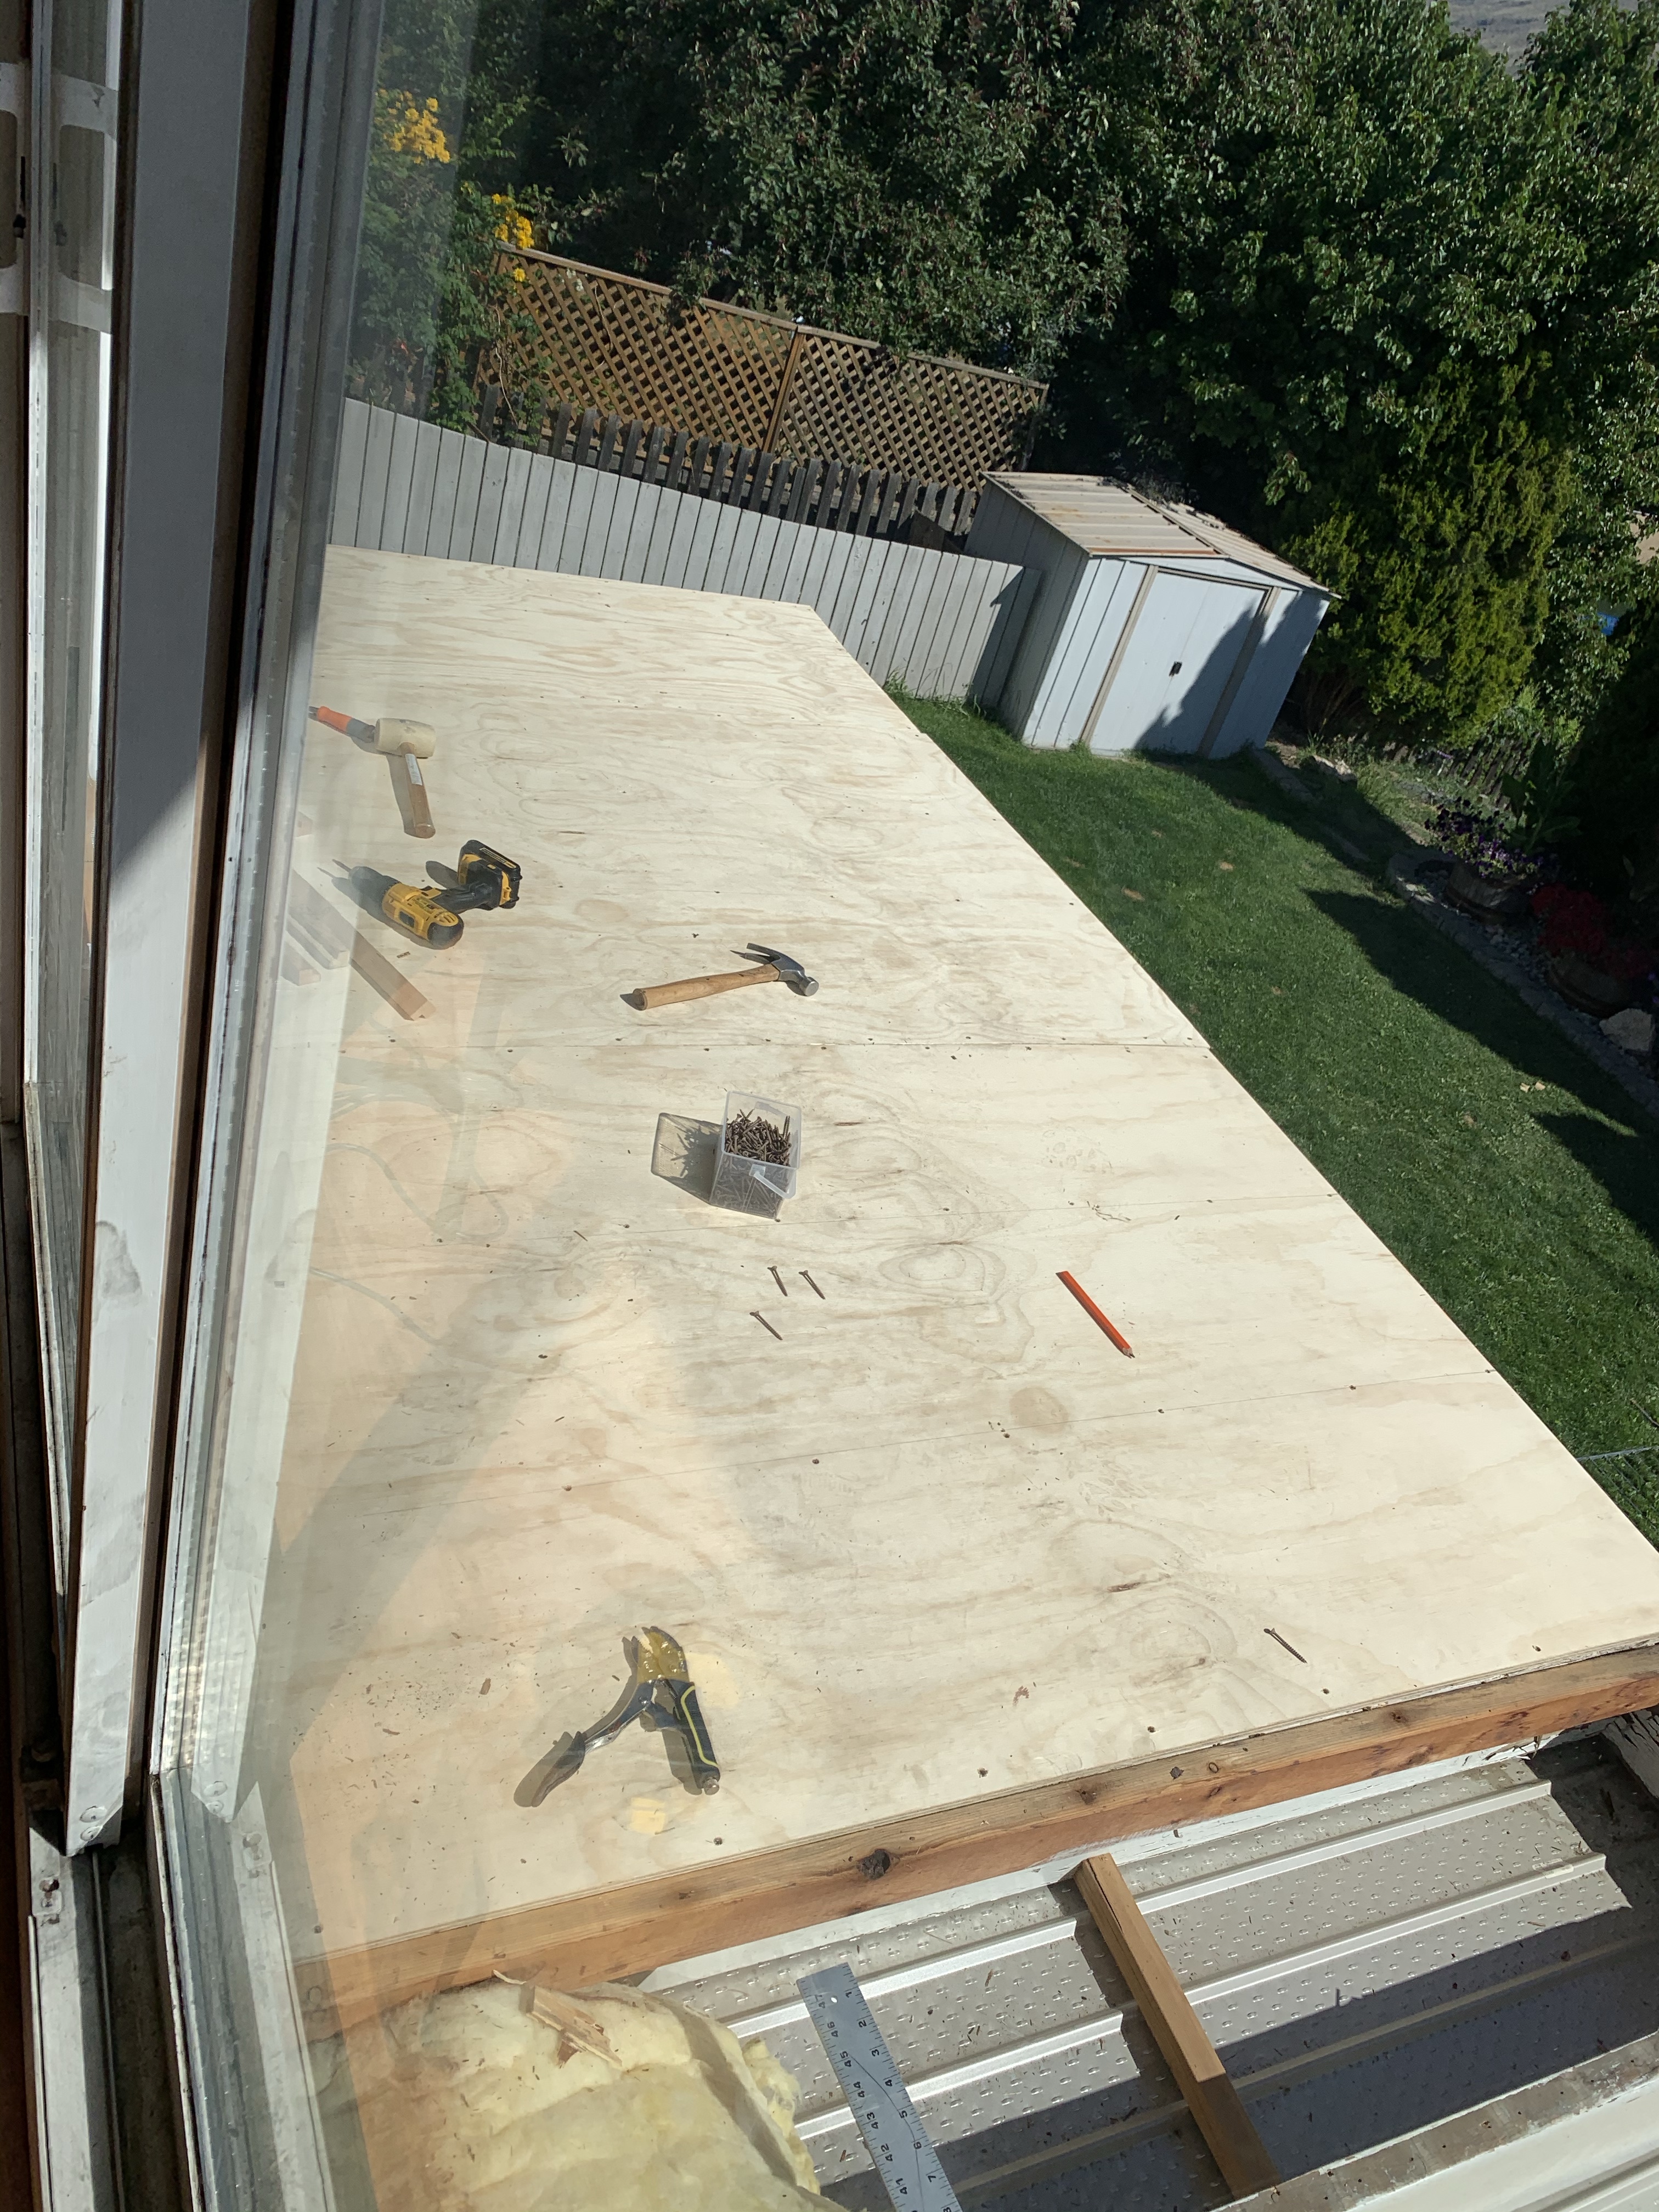
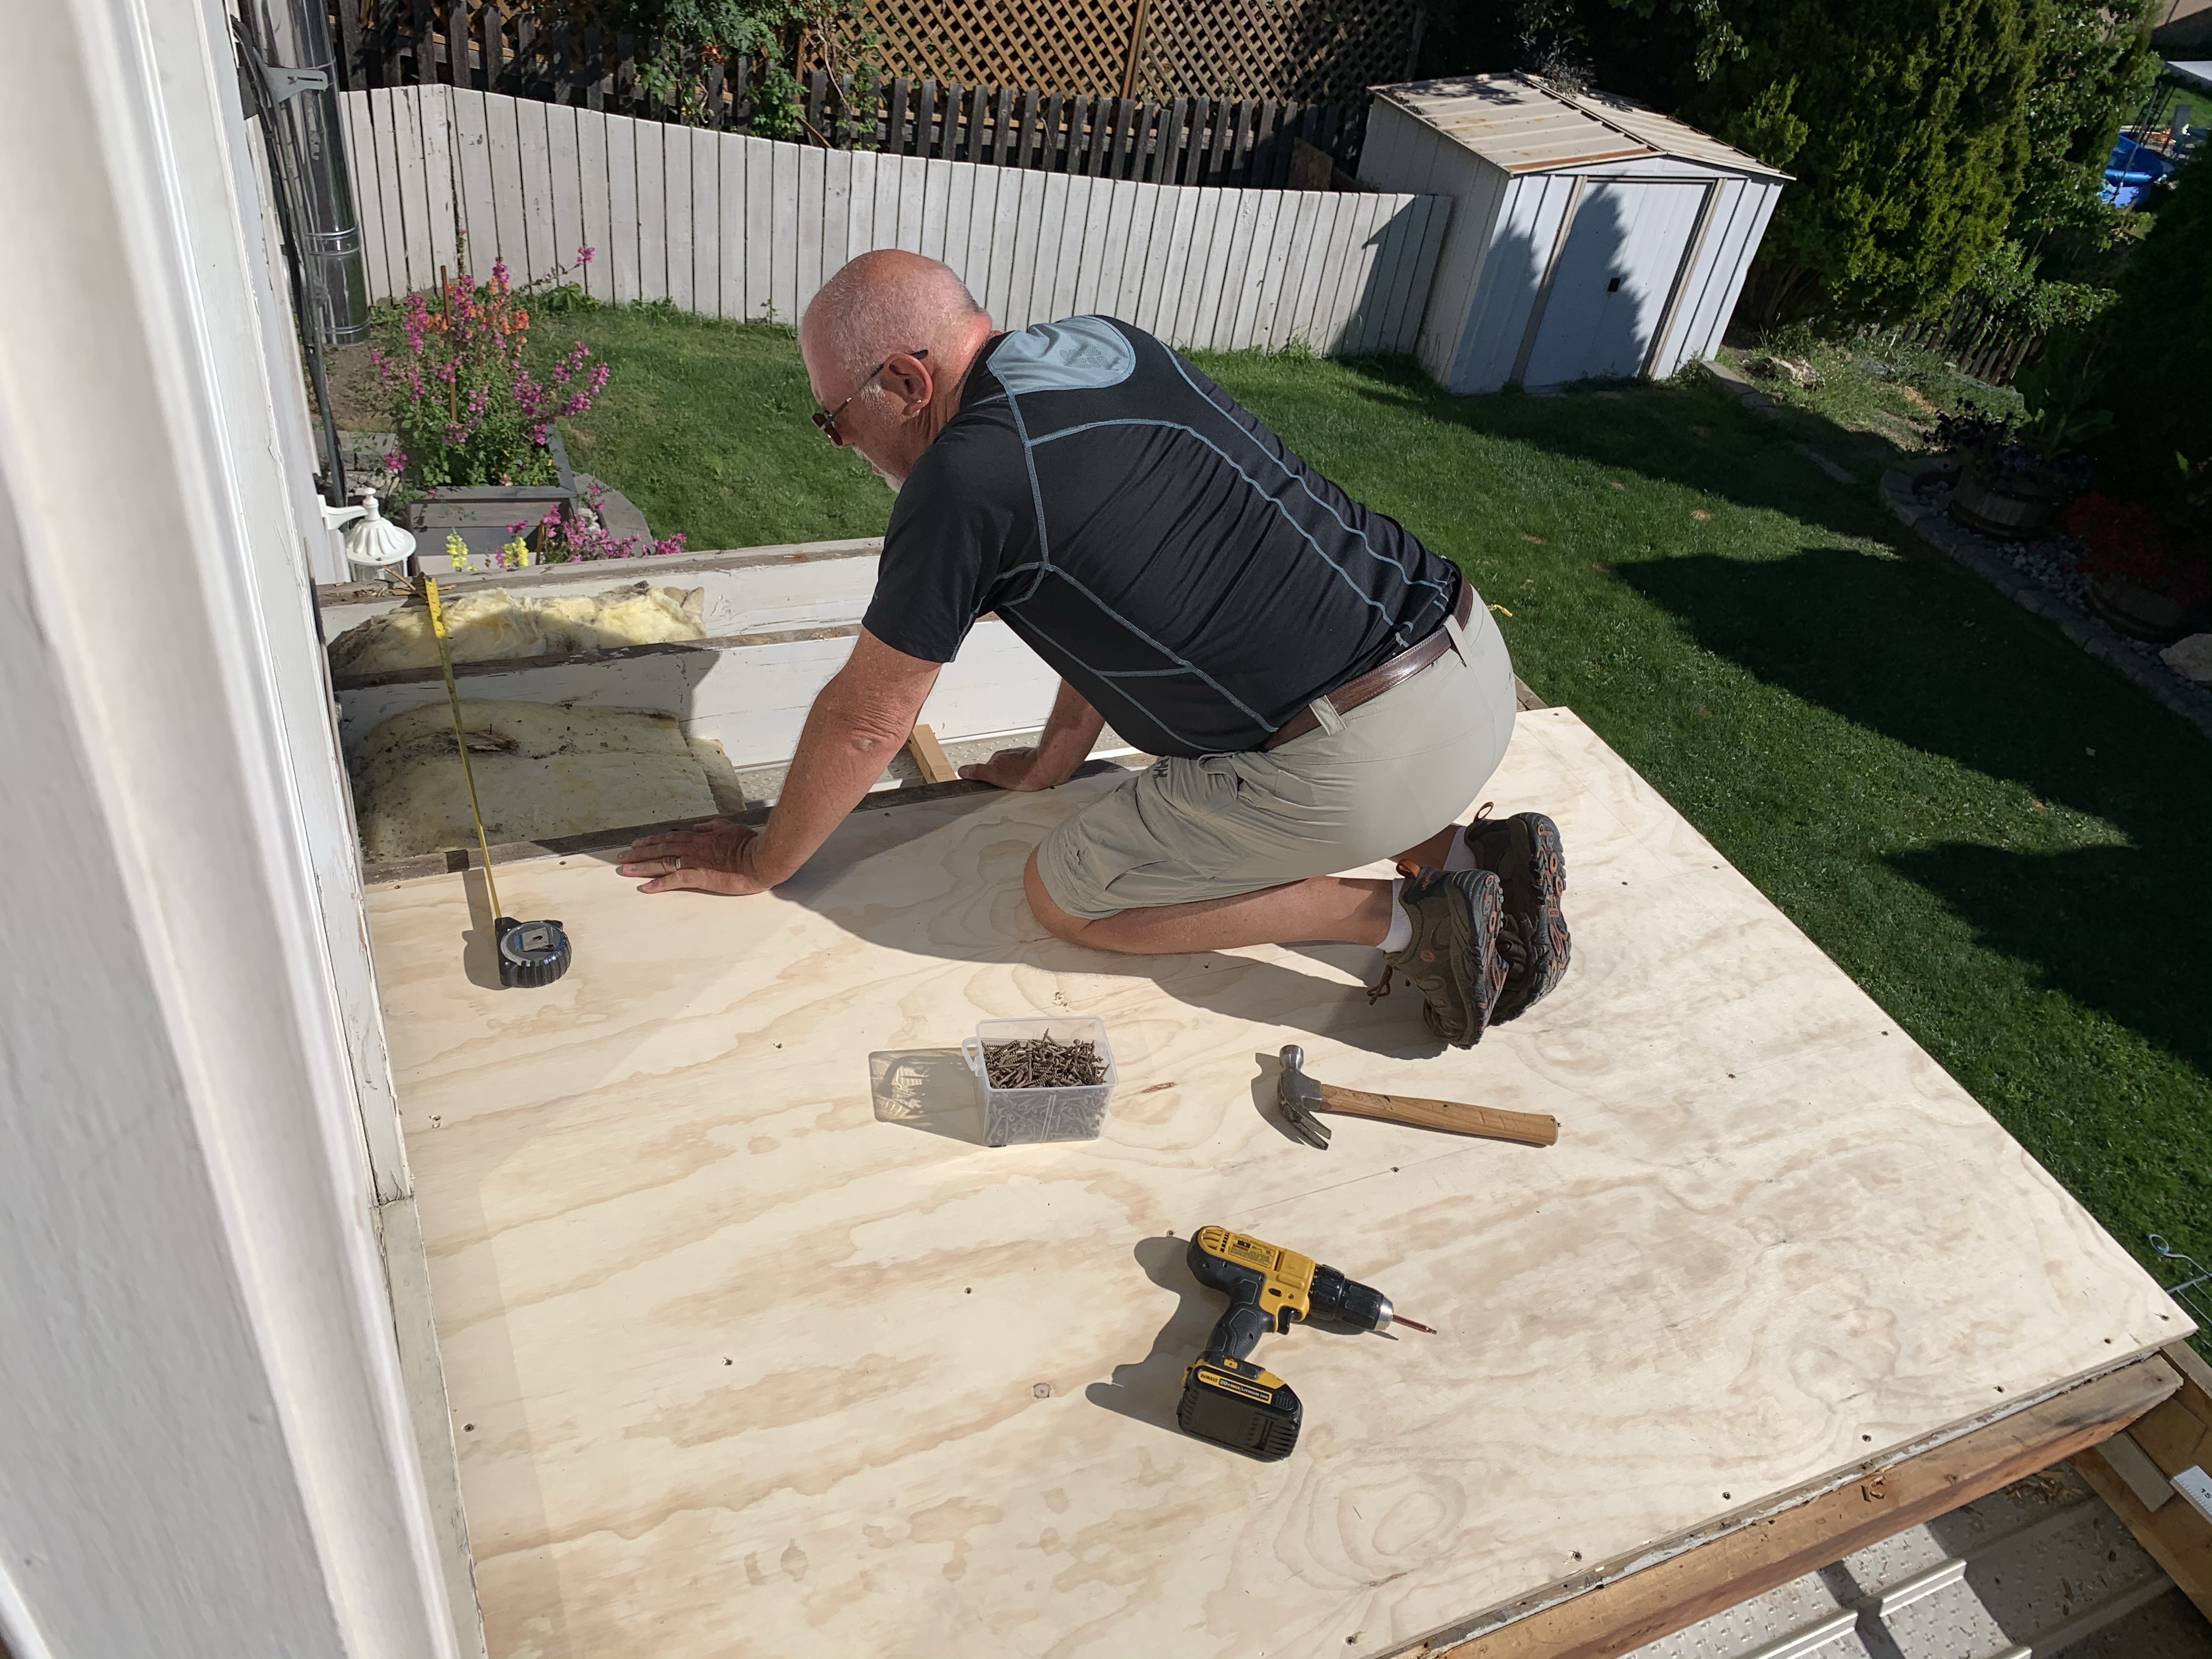

Once we had ripped the board, we decided to finish putting most of the plywood on before placing the face-plate. That way we could see the beams and more easily line up our screws in the plywood. It was a great team process. Dad and I were on the deck and K was on the ladder, so we were able to move fairly quickly. I had a fan going just inside the living room door that Dad and I would take turns sitting in front of to cool off. We both overheat quickly and easily, whereas K manages heat much better. Dad at one point got the brilliant idea of leaving the sliding glass door partially open, with the fan blowing air-conditioned air at us on the deck. Not great for energy bills, but at that point it was absolutely necessary and the most brilliant idea of the day.
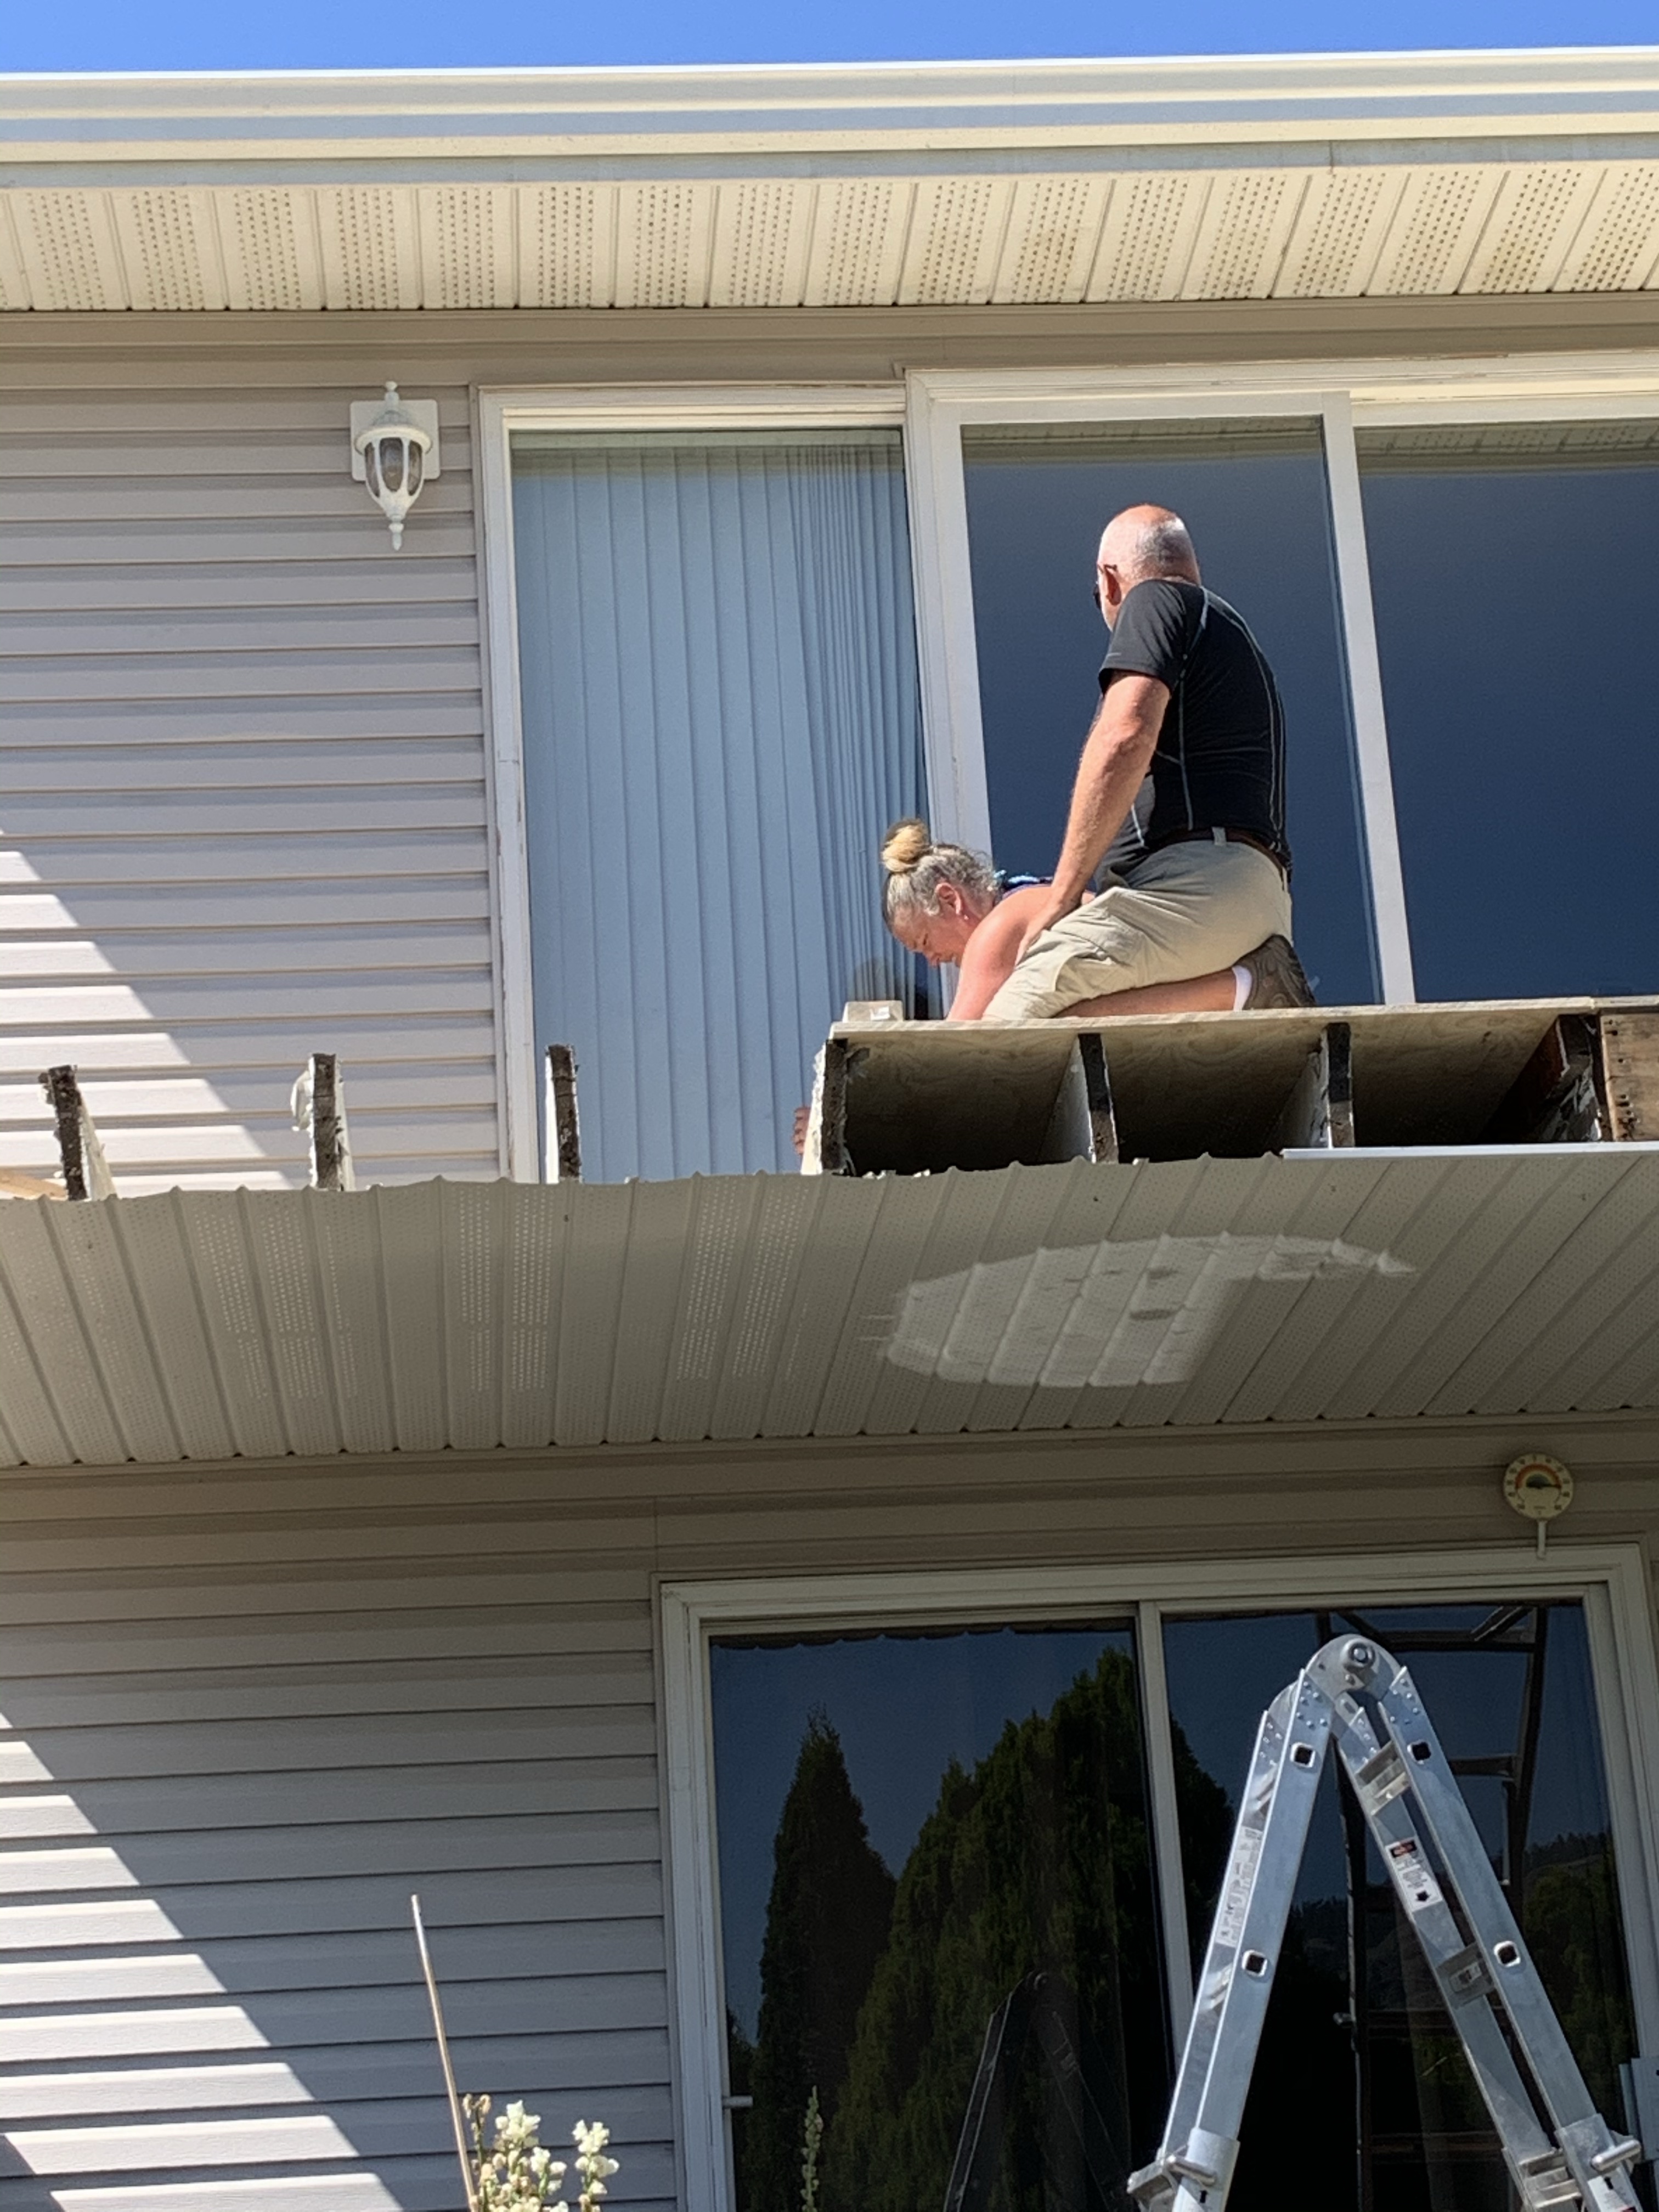
The two areas that we had to scab on boards was at the driveway end of the deck. It was the side we finished on, so the last little bit took a little longer. We finally got to the point where we could place the new face-plate. I had reattached the soffit edging to the beam so it was ready to go. Dad stayed on the deck, laying down so he could reach over the side and screw in the board. K and I were on ladders in either end so we could lift the board into place. It didn’t go quite as smooth as we had hoped, but it did work out. Getting the soffit back into the edging channel was a bit of a challenge. K and dad ended up holding the board while I went along prying the soffit back into place. We started at the end that K was holding up so that we could at least get a couple screws in. It wasn’t a light board and it wouldn’t have been comfortable to hold above his head for the amount of time it took to get the soffit into place. Luckily, dad was able to hold up the far end once we had screws in place and pull the board into place as I went from one end to the other popping the soffit. The soffit actually looks better now because the edging is so tight. With the previous board rotting, the edging had slowly been migrating away, causing the soffit to be loose.

After that we took a break. It was about 1 pm and the heat was soaring. We only had 1 piece of plywood left to put into place. After a few minutes sitting in the shade, Dad decided to head home to cool off in the pool since K and I could get the last piece of plywood into place. He would come back after dinner to square the edge of the deck for me. K and I quickly got the last piece of plywood in place and then spent the rest of the afternoon in the air-conditioned house cooling off.
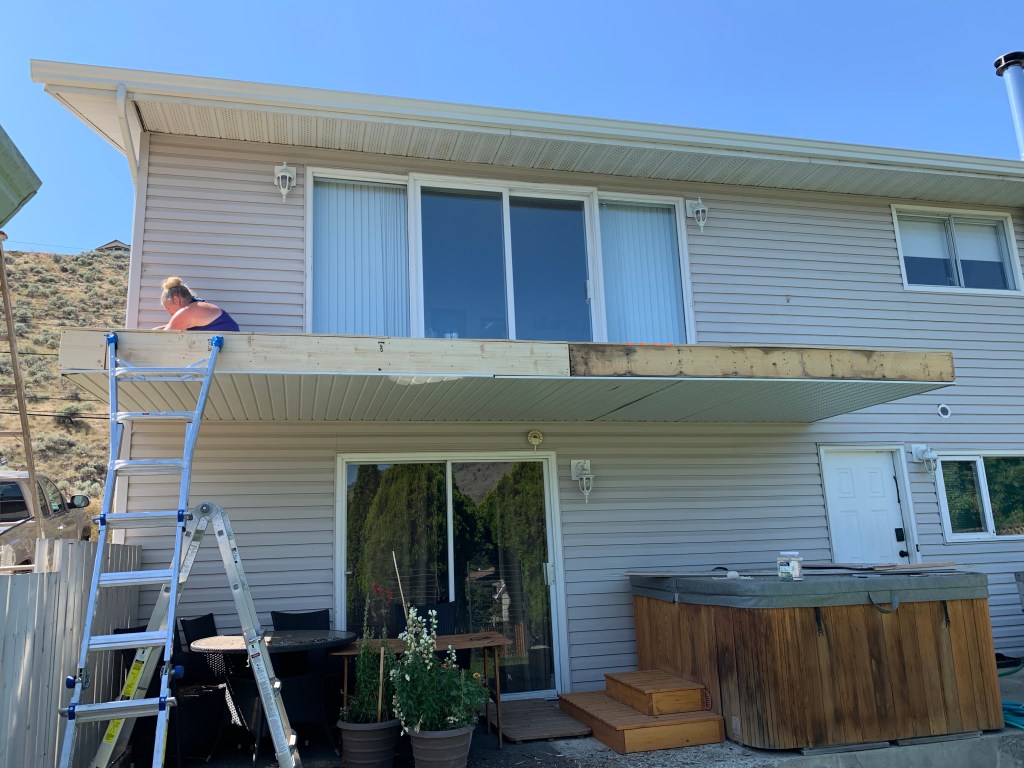
Dad came back after dinner with his chalk line and trimmed up the edge for me. My nephew also came along to check out all the work and show us his new tool kit (toys)…but mostly to raid my strawberry garden. We are so thankful for my dad being able to help us and share his knowledge. It was the only reason we were able to do this part ourselves as I wouldn’t have felt comfortable otherwise. Now we just had to wait for the decking company to lay the Duradek.

