
It has been just under a month since we completed K’s parents fence and our nice-weather-days are growing sparse, so we figure we had better get back to their house to put the finishing touches on it. It was time to top the fence posts. Remember, we left them long because our original plan of an electric chainsaw didn’t seem like the right way to go, especially for a nice level finish.

K did a little research and found that the most common tool to use for this was a reciprocating saw/sawzall and a jig. Only problem, we didn’t have a reciprocating saw. Easy fix…we had tool store gift cards to use and I am never one to say no to a new tool, especially one that will be extremely valuable in our own yard landscaping. We did a little more research and decided on a Dewalt corded reciprocating saw. We went corded because we have enough tools and yard machines that take batteries and we are running out of outlets to plug them all into. Plus, we would never need to worry about being halfway through a job and the thing quits working on us. I hate waiting for batteries to charge. Also, we liked that the blade could be placed in 4 different ways to make it easier to get to where we need. Please note that we do not receive any money or products from any companies or stores. This is just and honest, non-bought opinion.
Anyway, K found a great YouTube video for an idea on a jig, which was a good starting point. From there we headed out to the shop and created one that was similar, but better suited to our task. K’s parents only wanted a 2” top to the posts so that they can top them with a finishing cap. Using 2” x 2” wood (actually only 1.75” x 1.75”) and some metal plates (1/4”), we were able to make a quick and effective jig. We used a spare piece of fence post that we had to ensure that it would slip on and off the posts easy. We added screws to three sides so that we would be able to level and secure the jig prior to cutting.
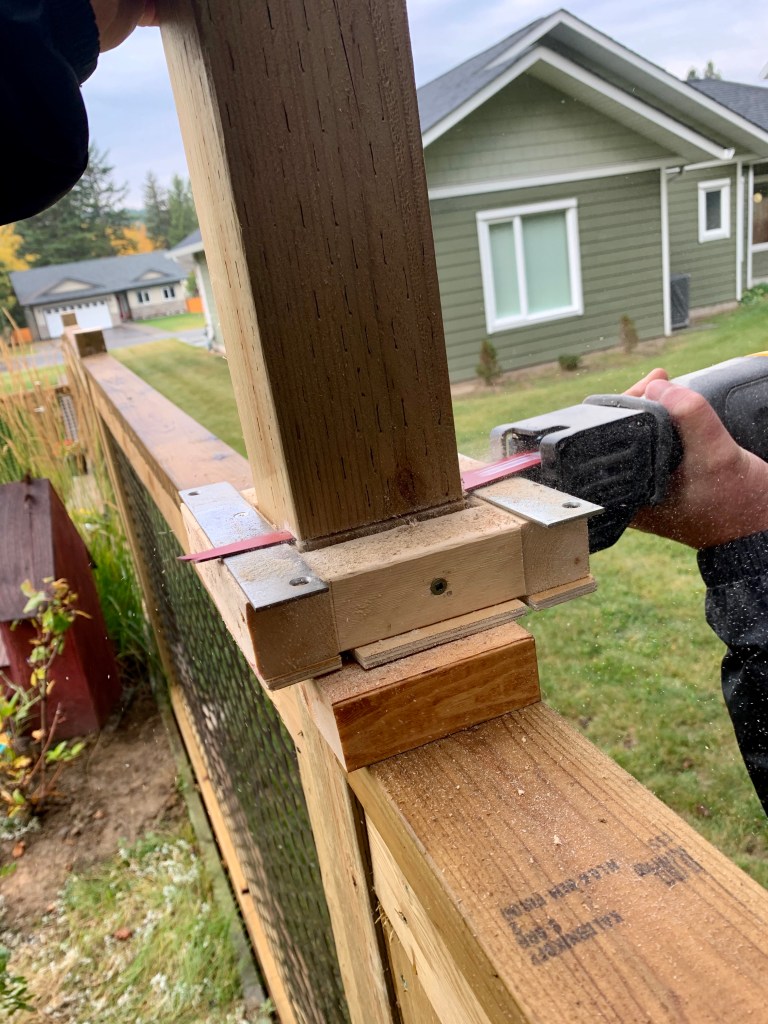
When we arrived, K’s parents looked at the jig and how much space it would give and decided they wanted about 3” tops to the posts instead. Easy fix, we just used another piece of 2”x2” as a spacer when placing the jig. It was the right choice, the final look was perfect. Going with 2” would have looked a little too short with almost no gap between the fence post cap and the fence panels.
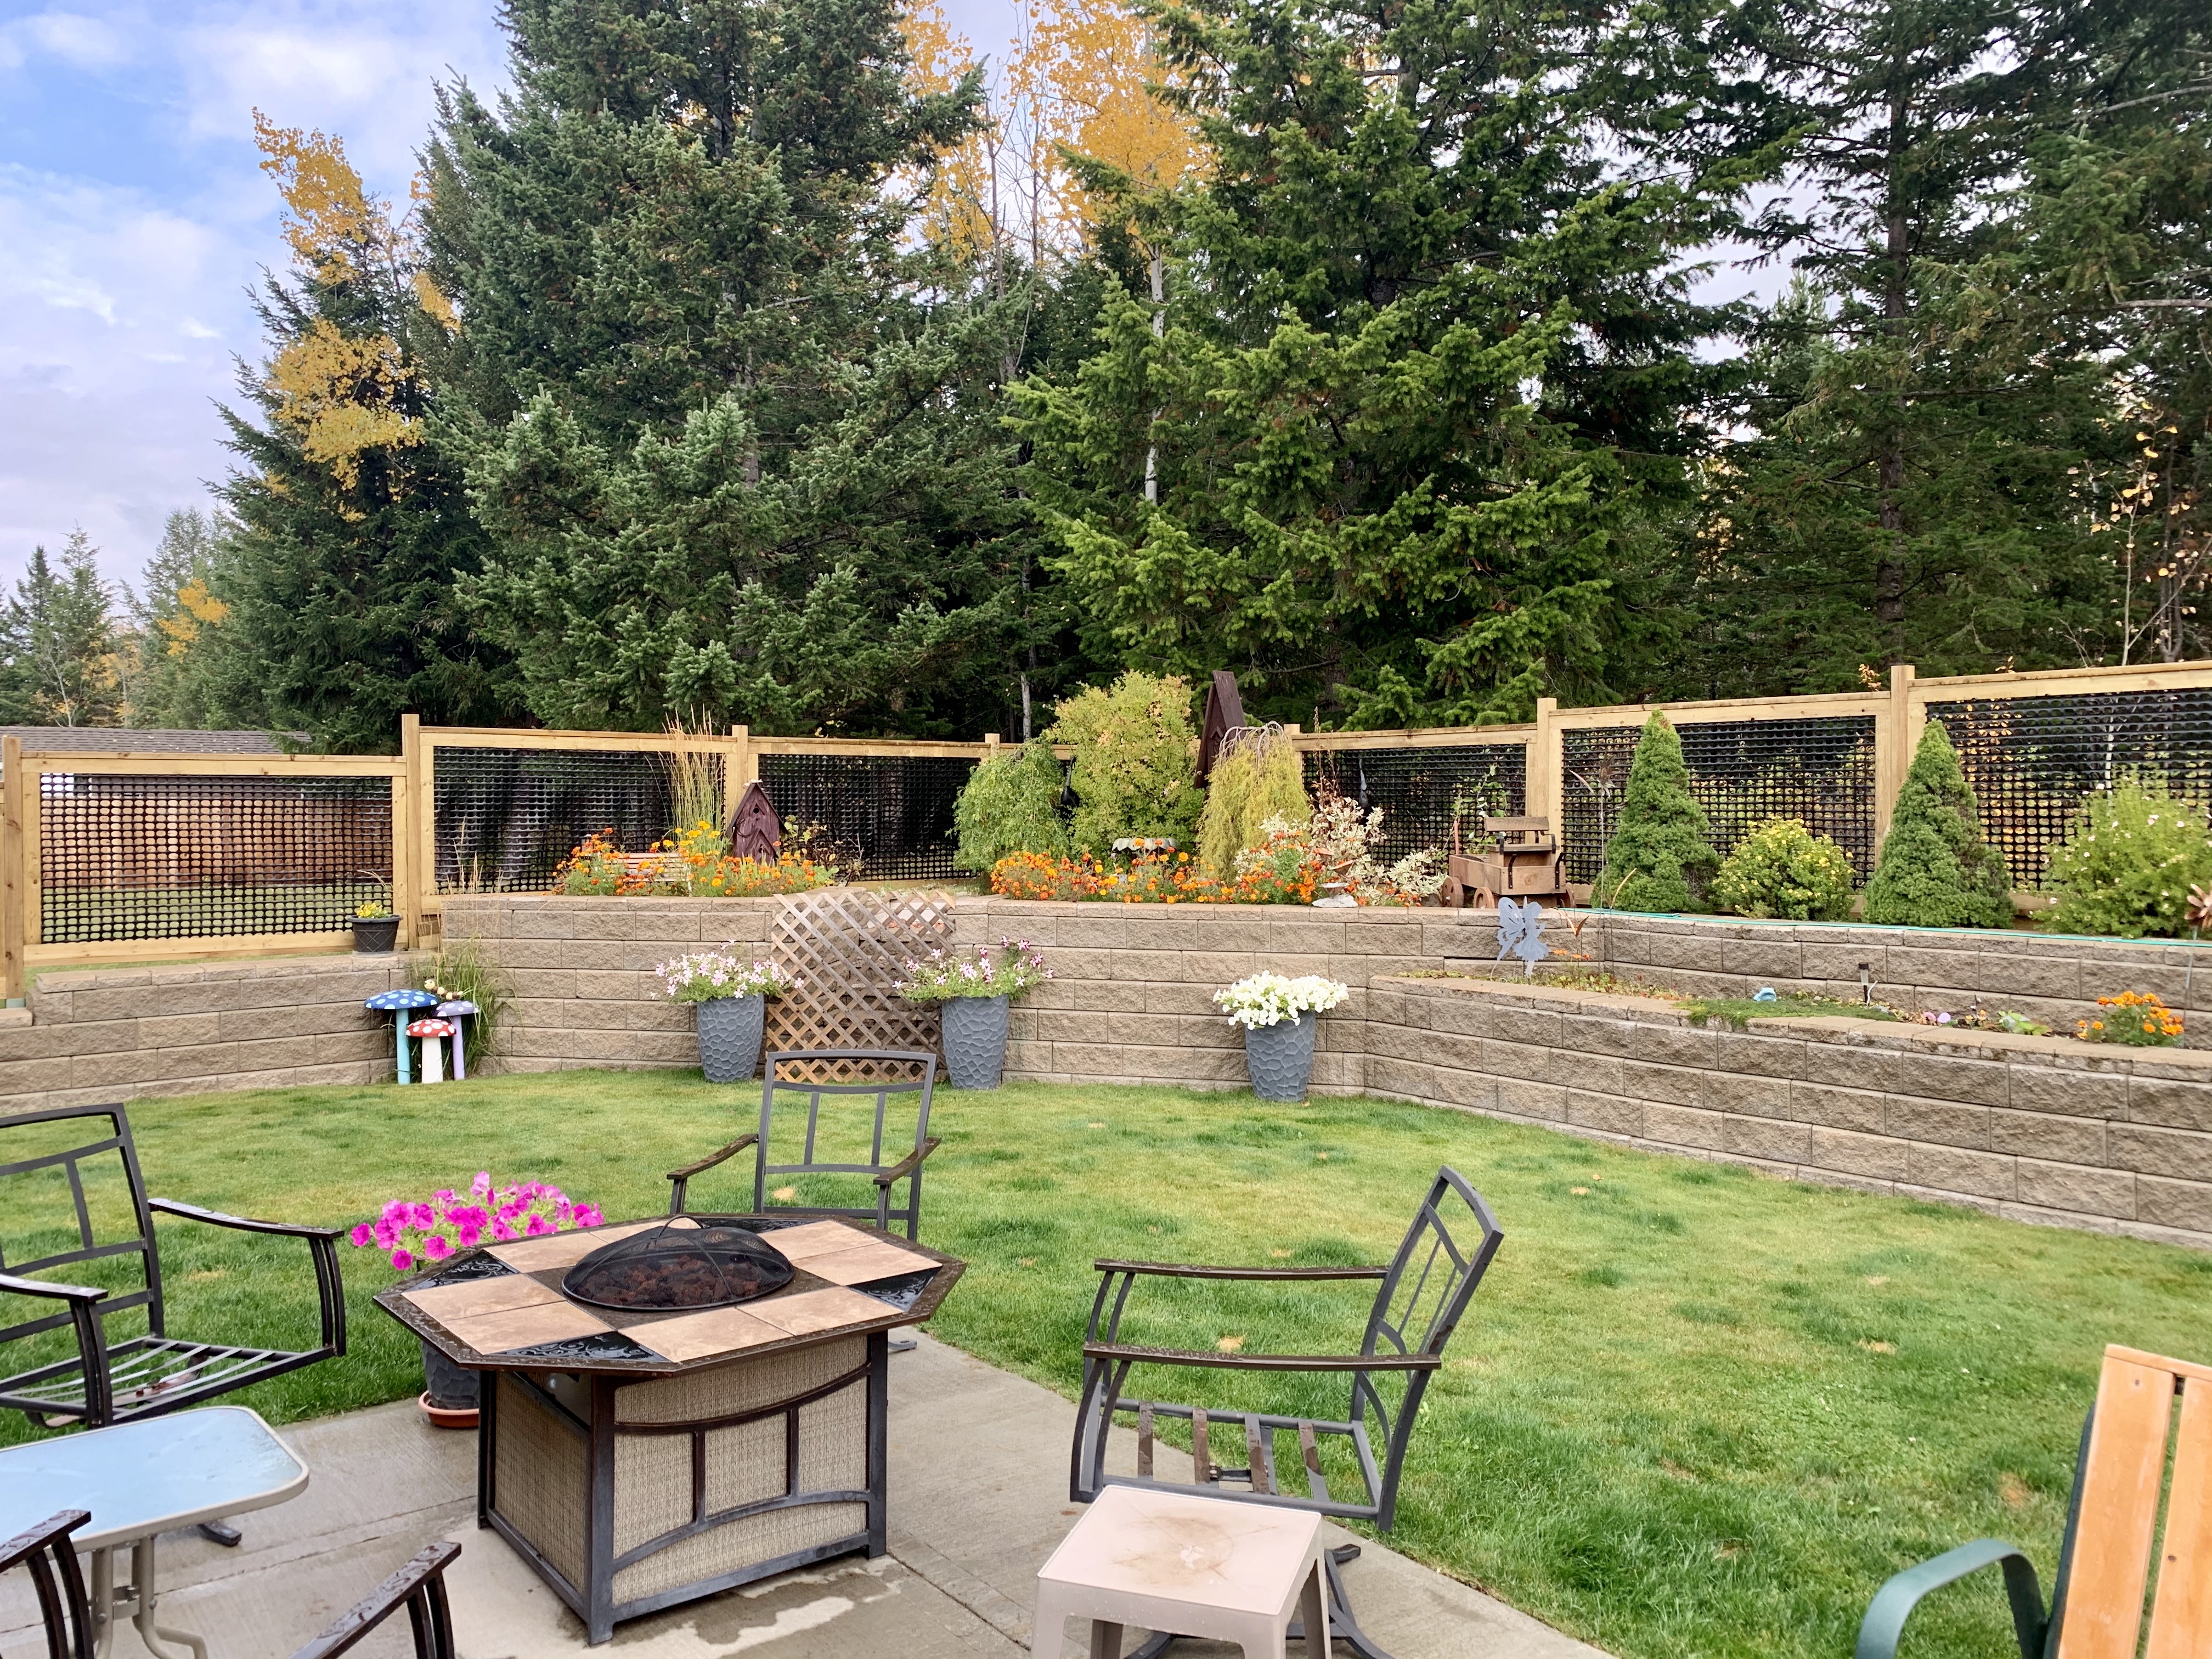


We figured the whole thing would take us a few hours. 29 posts to cut seemed like a lot. I love reciprocating saws! It took us about an hour and most of that time was screwing, levelling and unscrewing the jig. I’m not sure why we thought it would take so long but we’re pleasantly surprised. We got a longer visit in, with sunshine and a beautiful view.

