
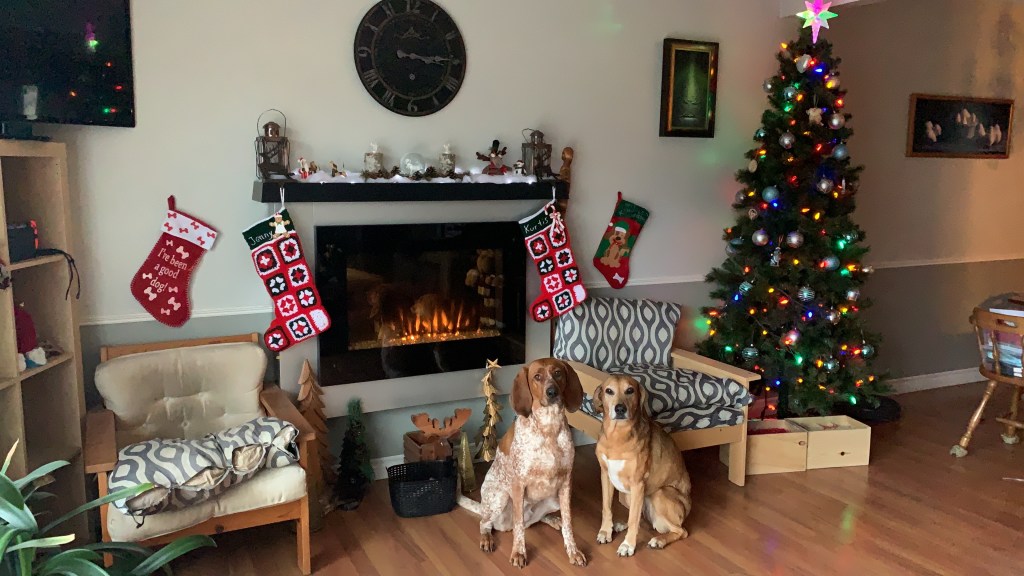
This year Christmas will be a little bit different but no less special. I will miss spending it in a house full of the hubbub of family, but it is going to be its own kind of special with just Kurt, Ellie, Basil and I spending it together. It will be fun, the four of us, getting up and slowly easing into opening gifts, eating a delicious breakfast and then possibly having a festive morning hot chocolate in the hot tub. Ellie and Basil will have new toys to destroy and chew, and will likely enjoy hunting in the backyard while Kurt and I soak. In the afternoon, we will hit the dog trails at the cross-country ski hill and work off some of the Christmas treats while the girls tucker themselves out for a quiet evening.
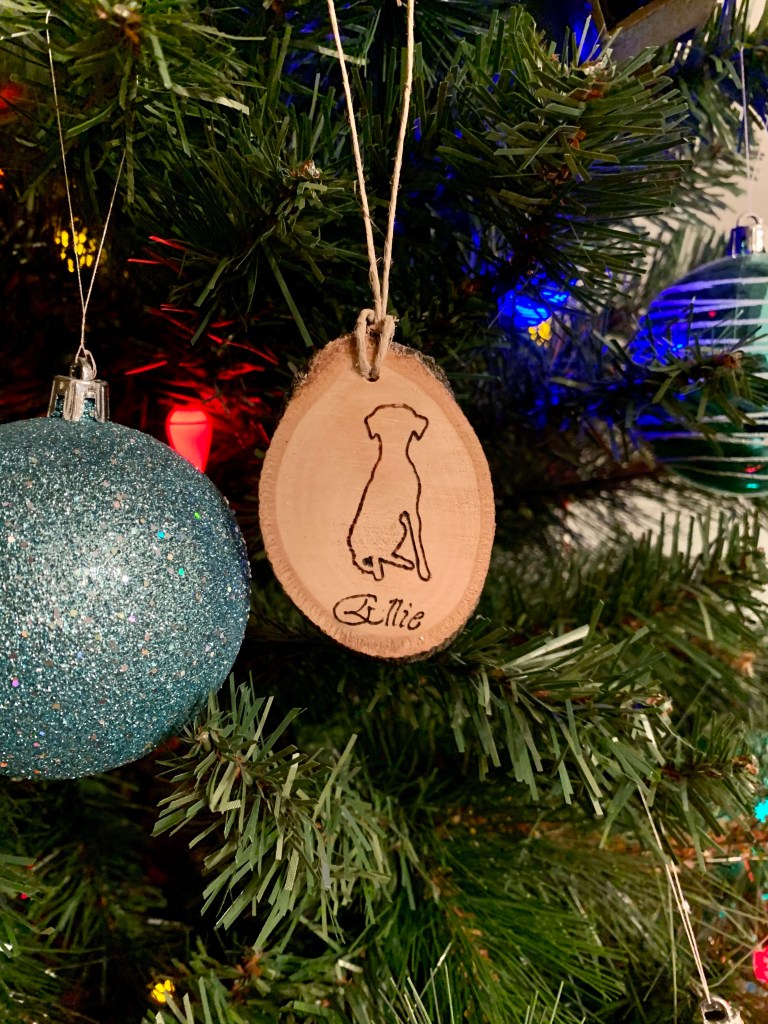
As I was looking at our Christmas baubles the other day, I realized I had one for Ellie, but I hadn’t made one for Basil yet. To be fair, Ellie didn’t get hers until she was 6. A few years ago, we did a homemade Christmas and at the time, I didn’t have much going on in the shop and was not really setup with many tools. One of my ideas was to use some branch slices and make ornaments with them. Borrowing my dads pyrography set (wood-burning), I was able to burn all sorts of decorations into the tree slices. One of my testers, since I hadn’t done any pyrography at that point, was to do a silhouette of Ellie and her name. Hence, Ellie got her first Christmas ornament. A lot has changed since that Christmas, from a well setup shop to some new and improved skills. I decided to test out a new ornament that I am thinking of adding to our shop next year. This tester would become Basils first ornament and Ellie’s second.
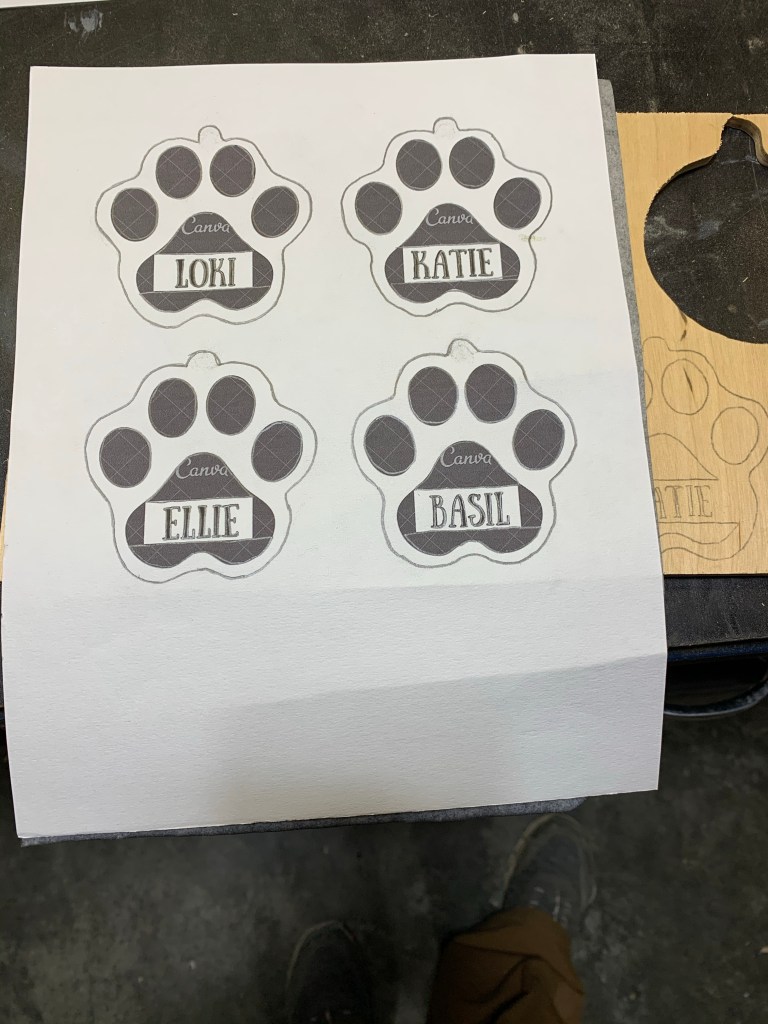
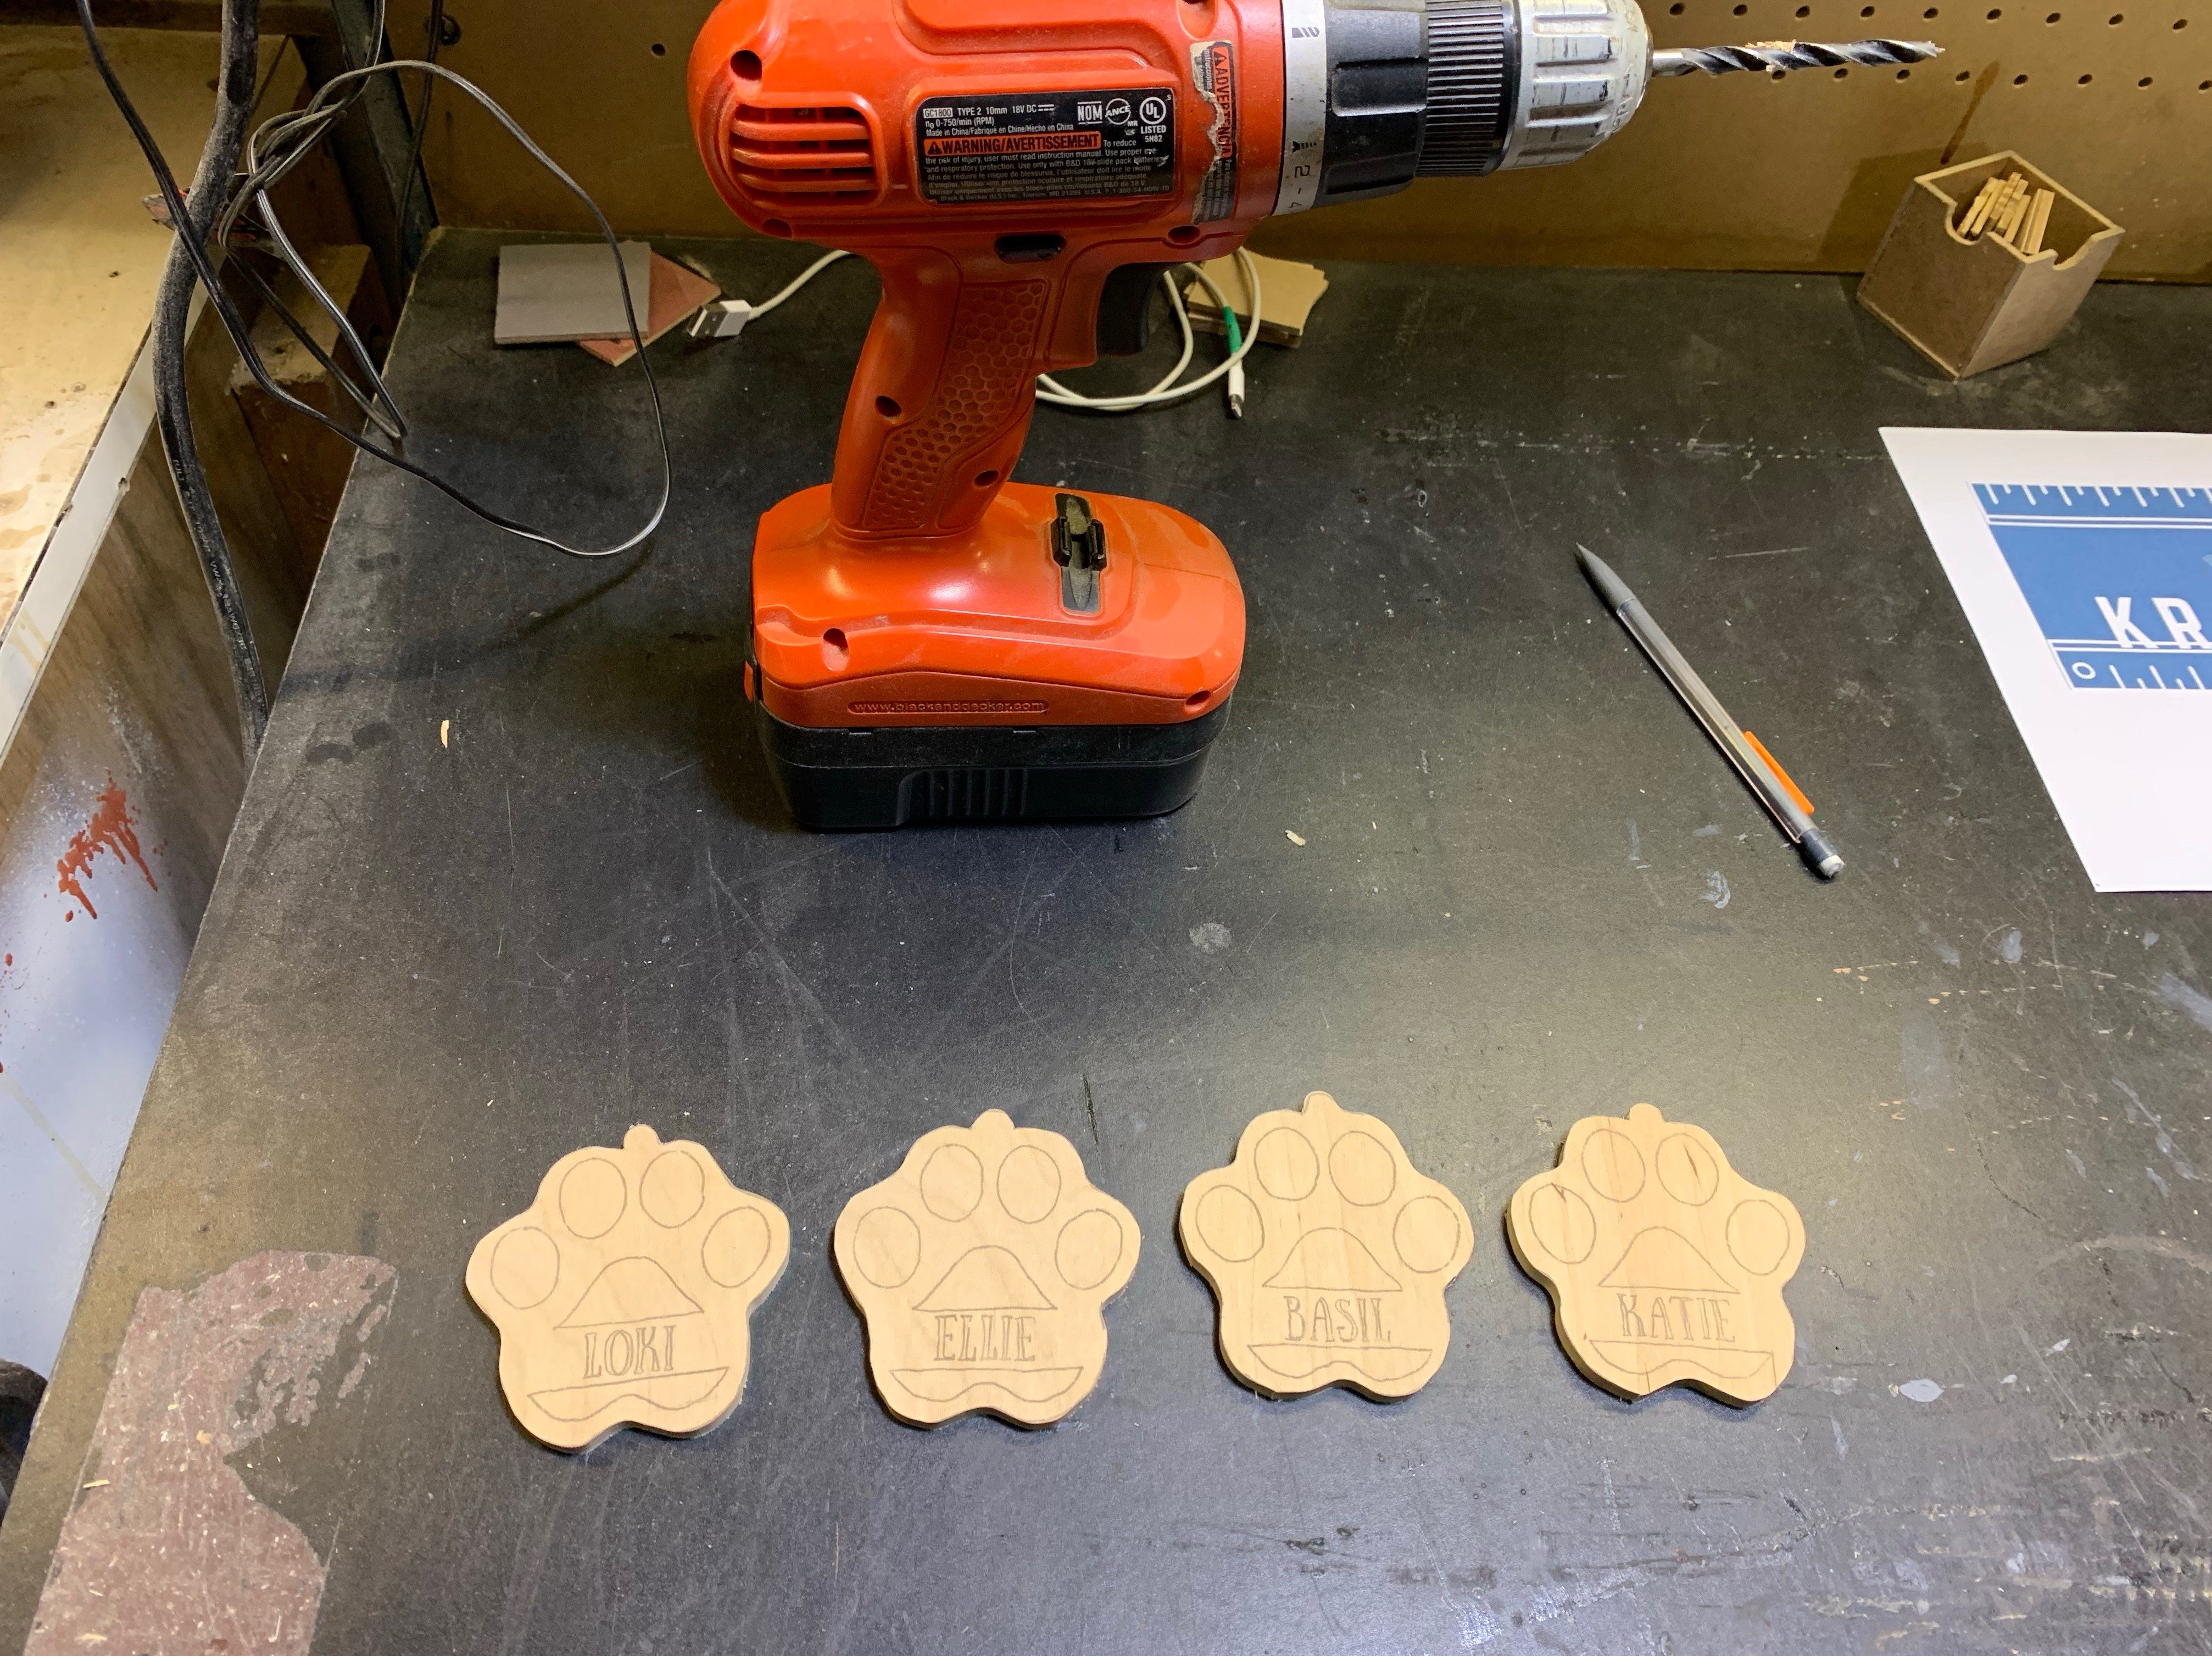
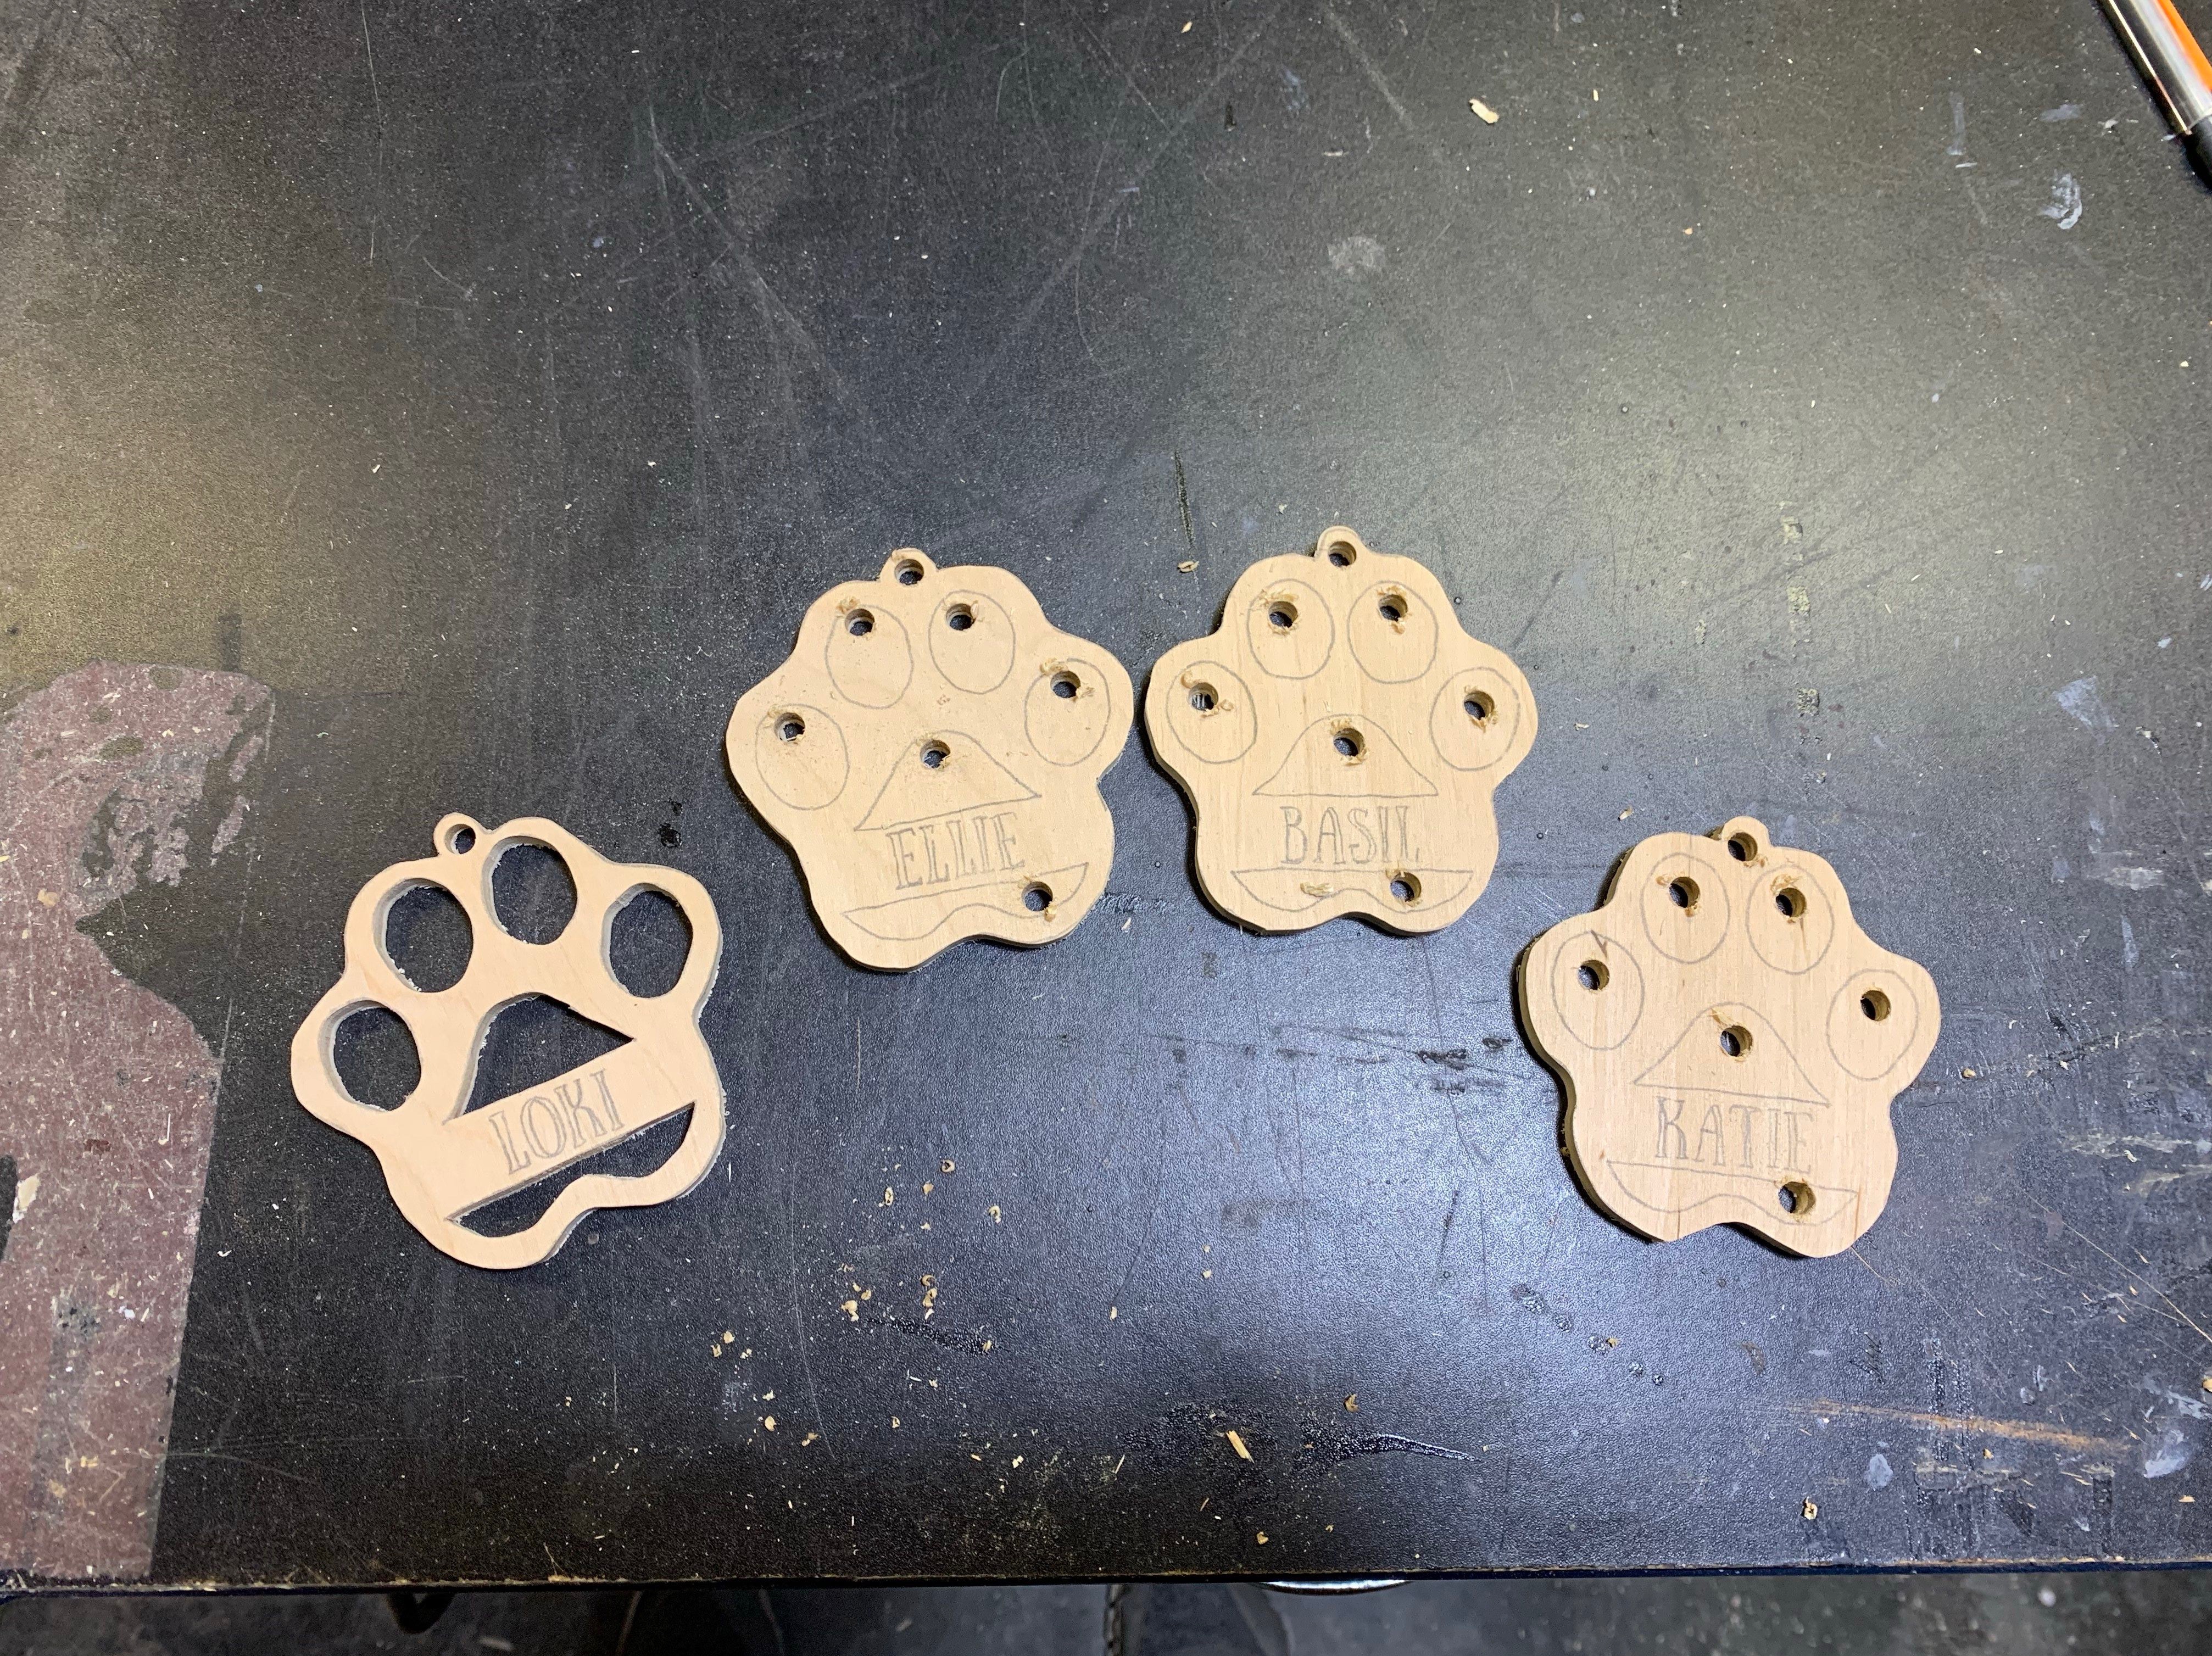
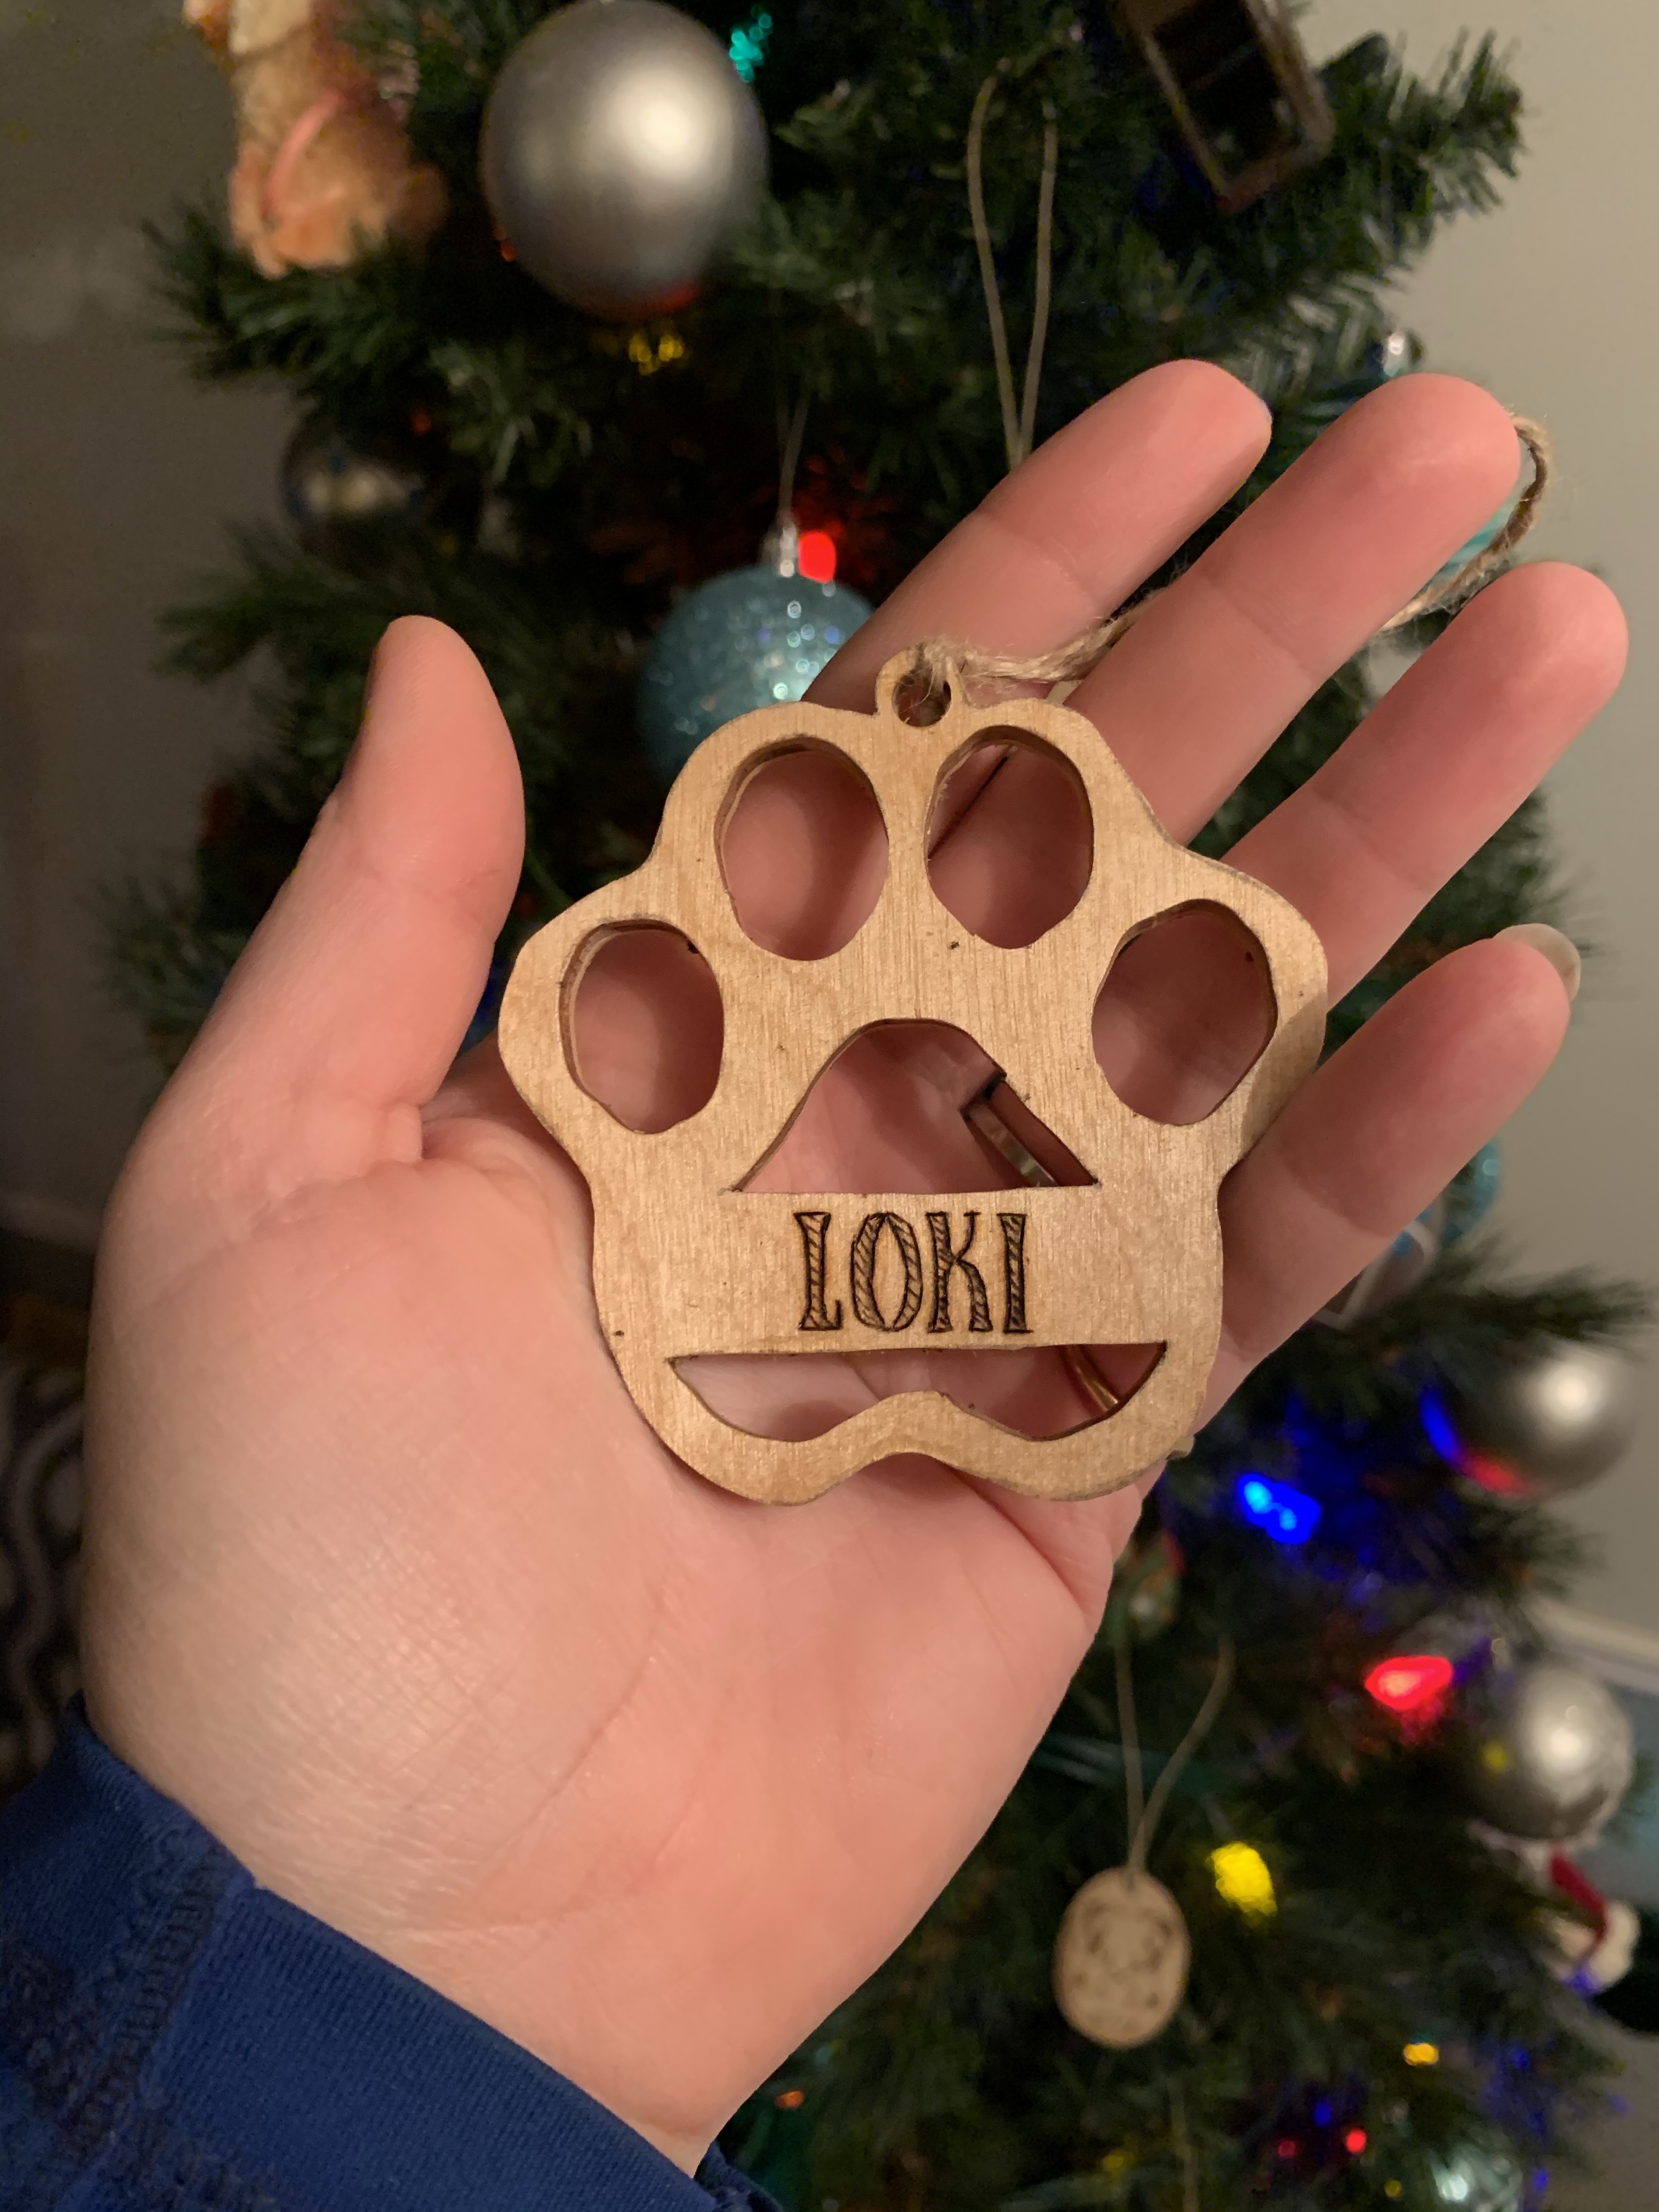
It’s a simple design and allows me to improve on my scroll saw skills. It is a paw-print with a spot for the dogs name. I started off my finding a paw-print image that I liked and printed off a few. Since I was making one, I figured that I would also do one for Kurt’s parents dog, Katie and my sisters dog, Loki. I hand-drew the outline because it was faster than fiddling with InDesign on the computer and I was itching to go play in the shop after a full day of being tied to my computer for work.
I had a bunch of leftover 1/4” plywood, so I decided to make the ornaments out of that. It was good-two-side plywood so the finish on the ornaments would be great. Using carbon paper, I traced the paw-print designs onto a scrap piece, along with the name, which would later be wood-burned on.
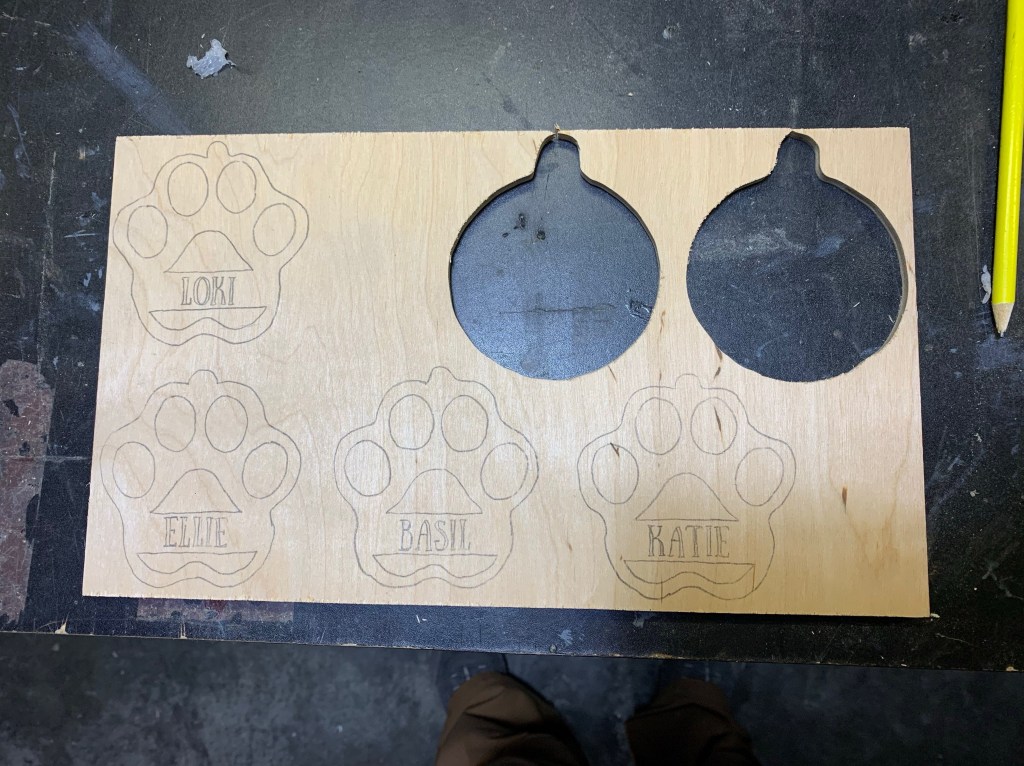
I fired up the scroll saw and cut the initial shapes out of the plywood. These are perfect for honing scroll-saw skills as there are a few tight corners and then a few long curving corners. By the 4th one, I was hitting my stride and was able to pickup the pace while still producing a smooth clean cut. The first one had a few hesitation points, so they would all get a bit of sanding later anyways.
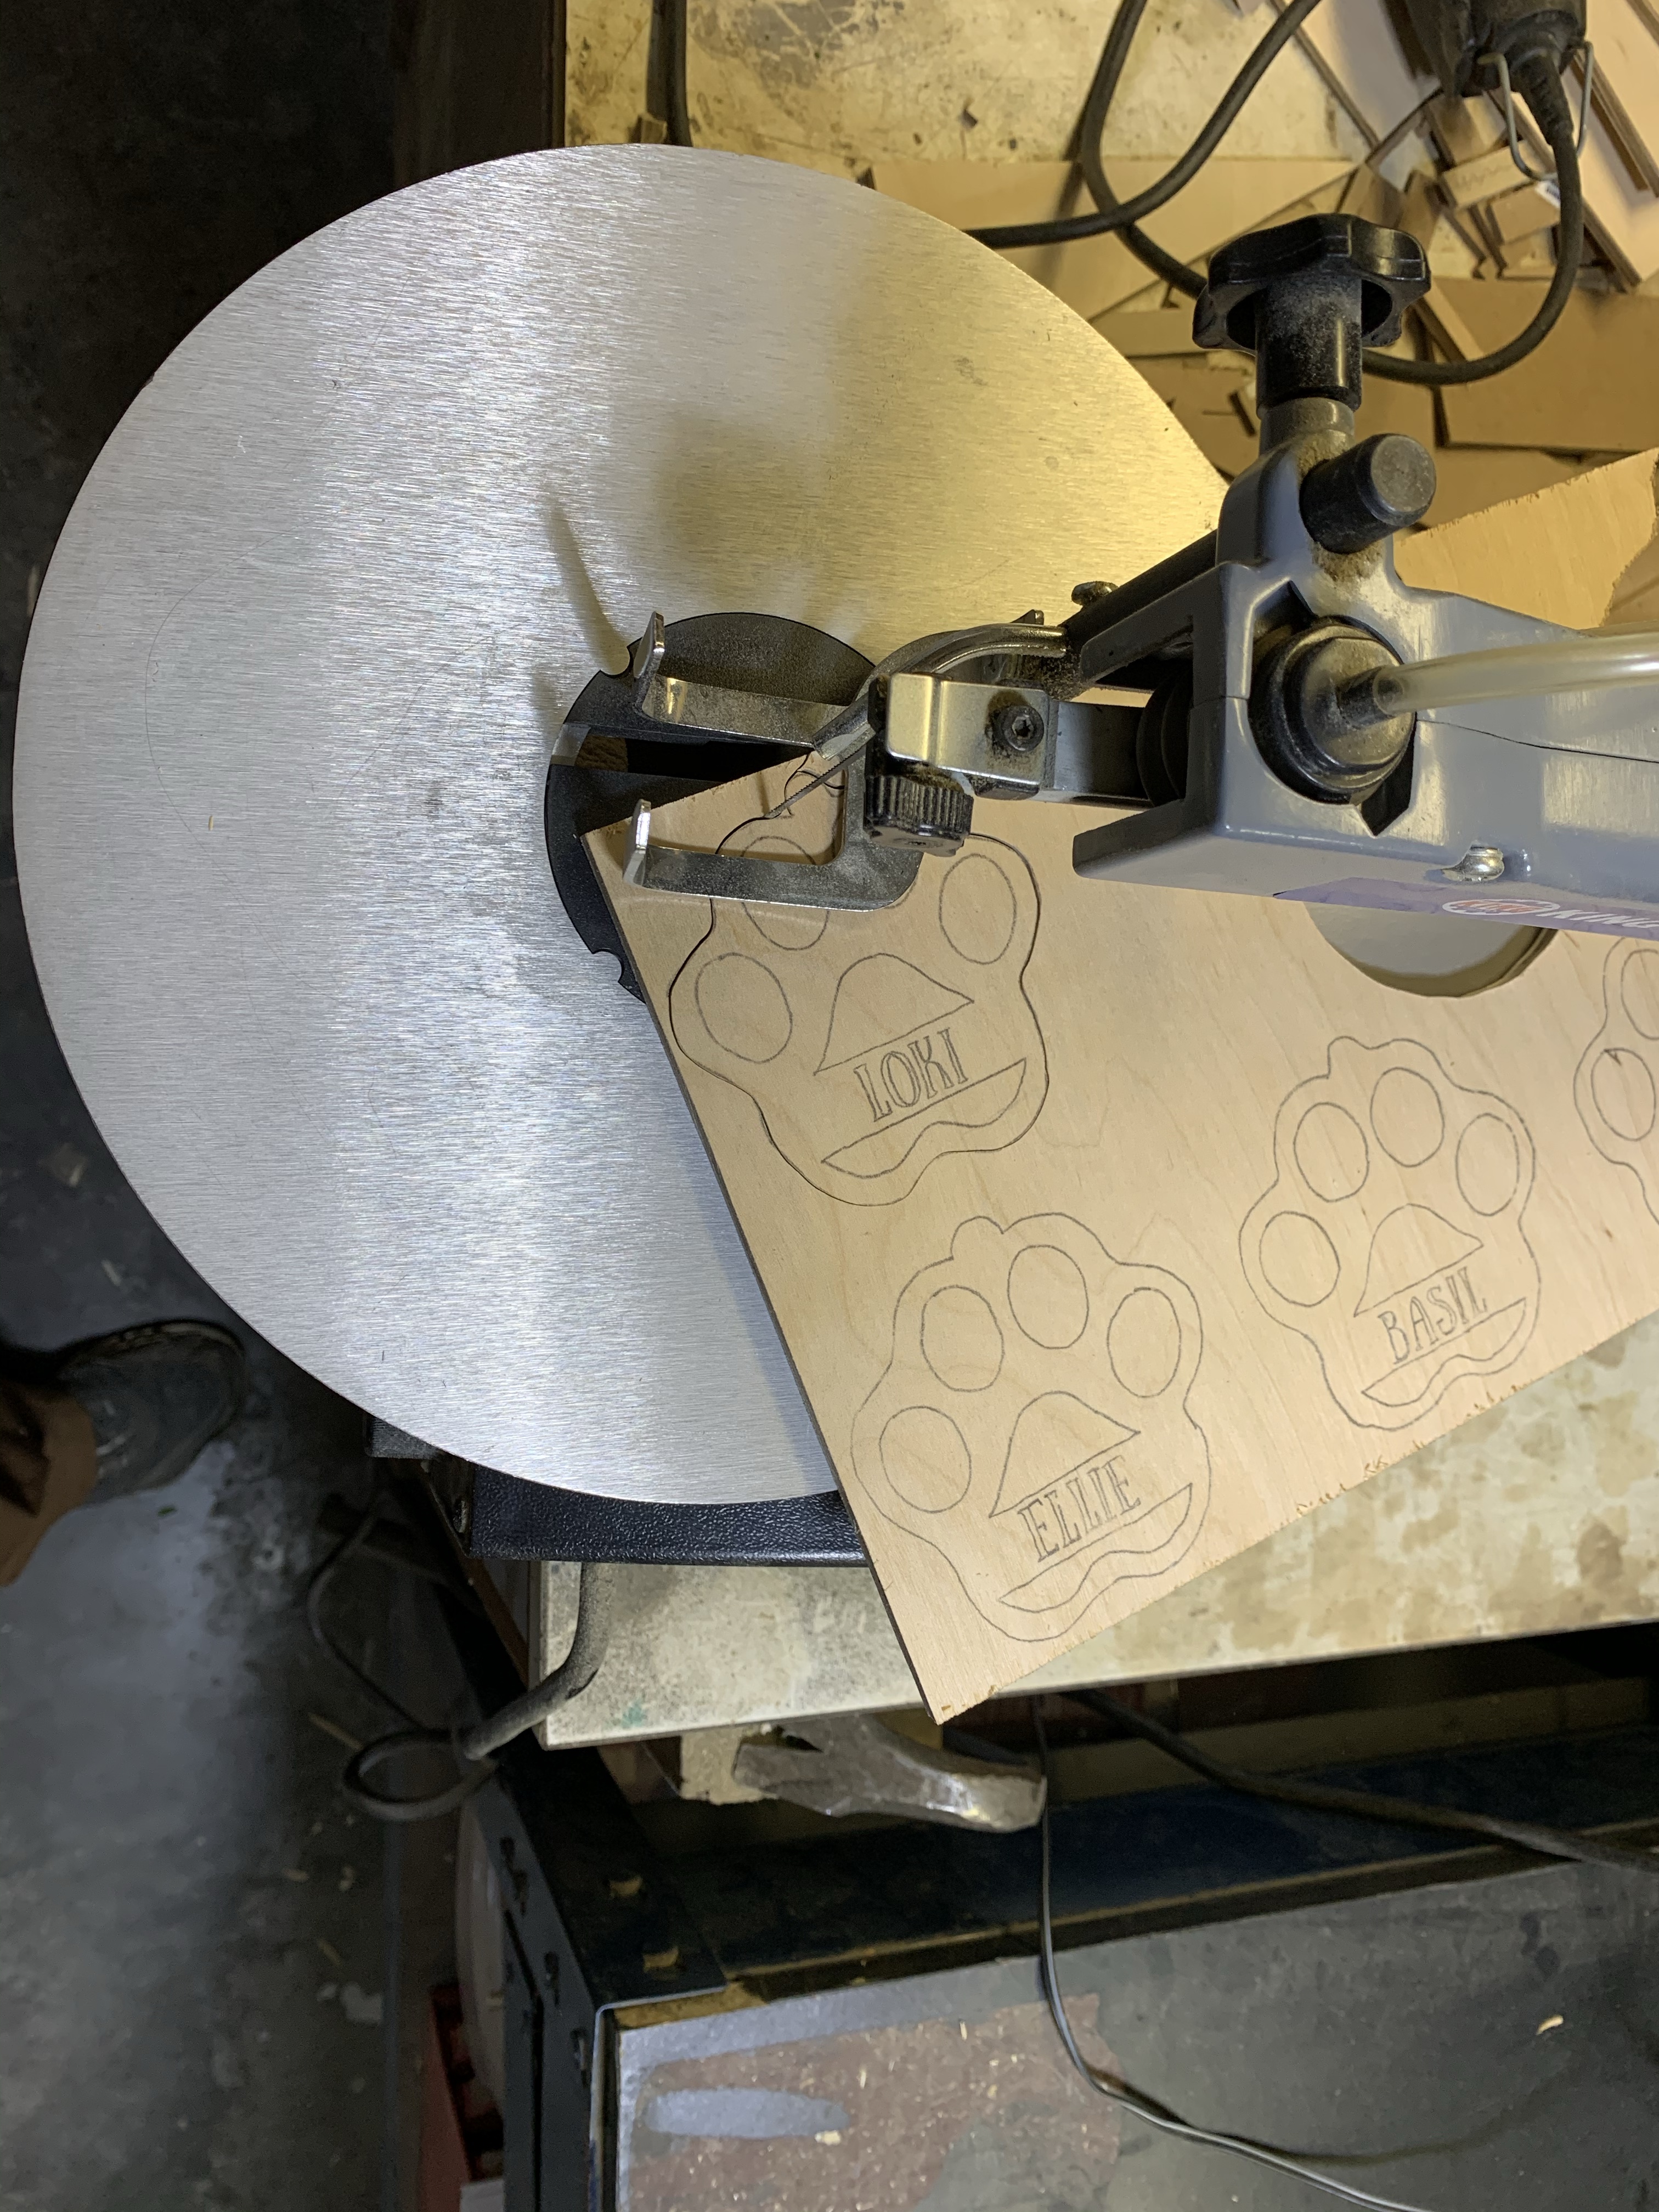
I could have left it there and just wood-burned the paw print design, but I wanted to cut it out for some extra oomf. I did time myself to figure out if it would be worth making these to sell. With so many people having laser cutters or CNC machines, scroll saw projects are much harder to sell. One day I will likely invest in either a laser cutter or CNC machine, but for now the part I enjoy is the satisfaction of knowing I fully created something by hand. My shop is not my primary income, but rather a hobby that keeps enough funds to support said hobby.
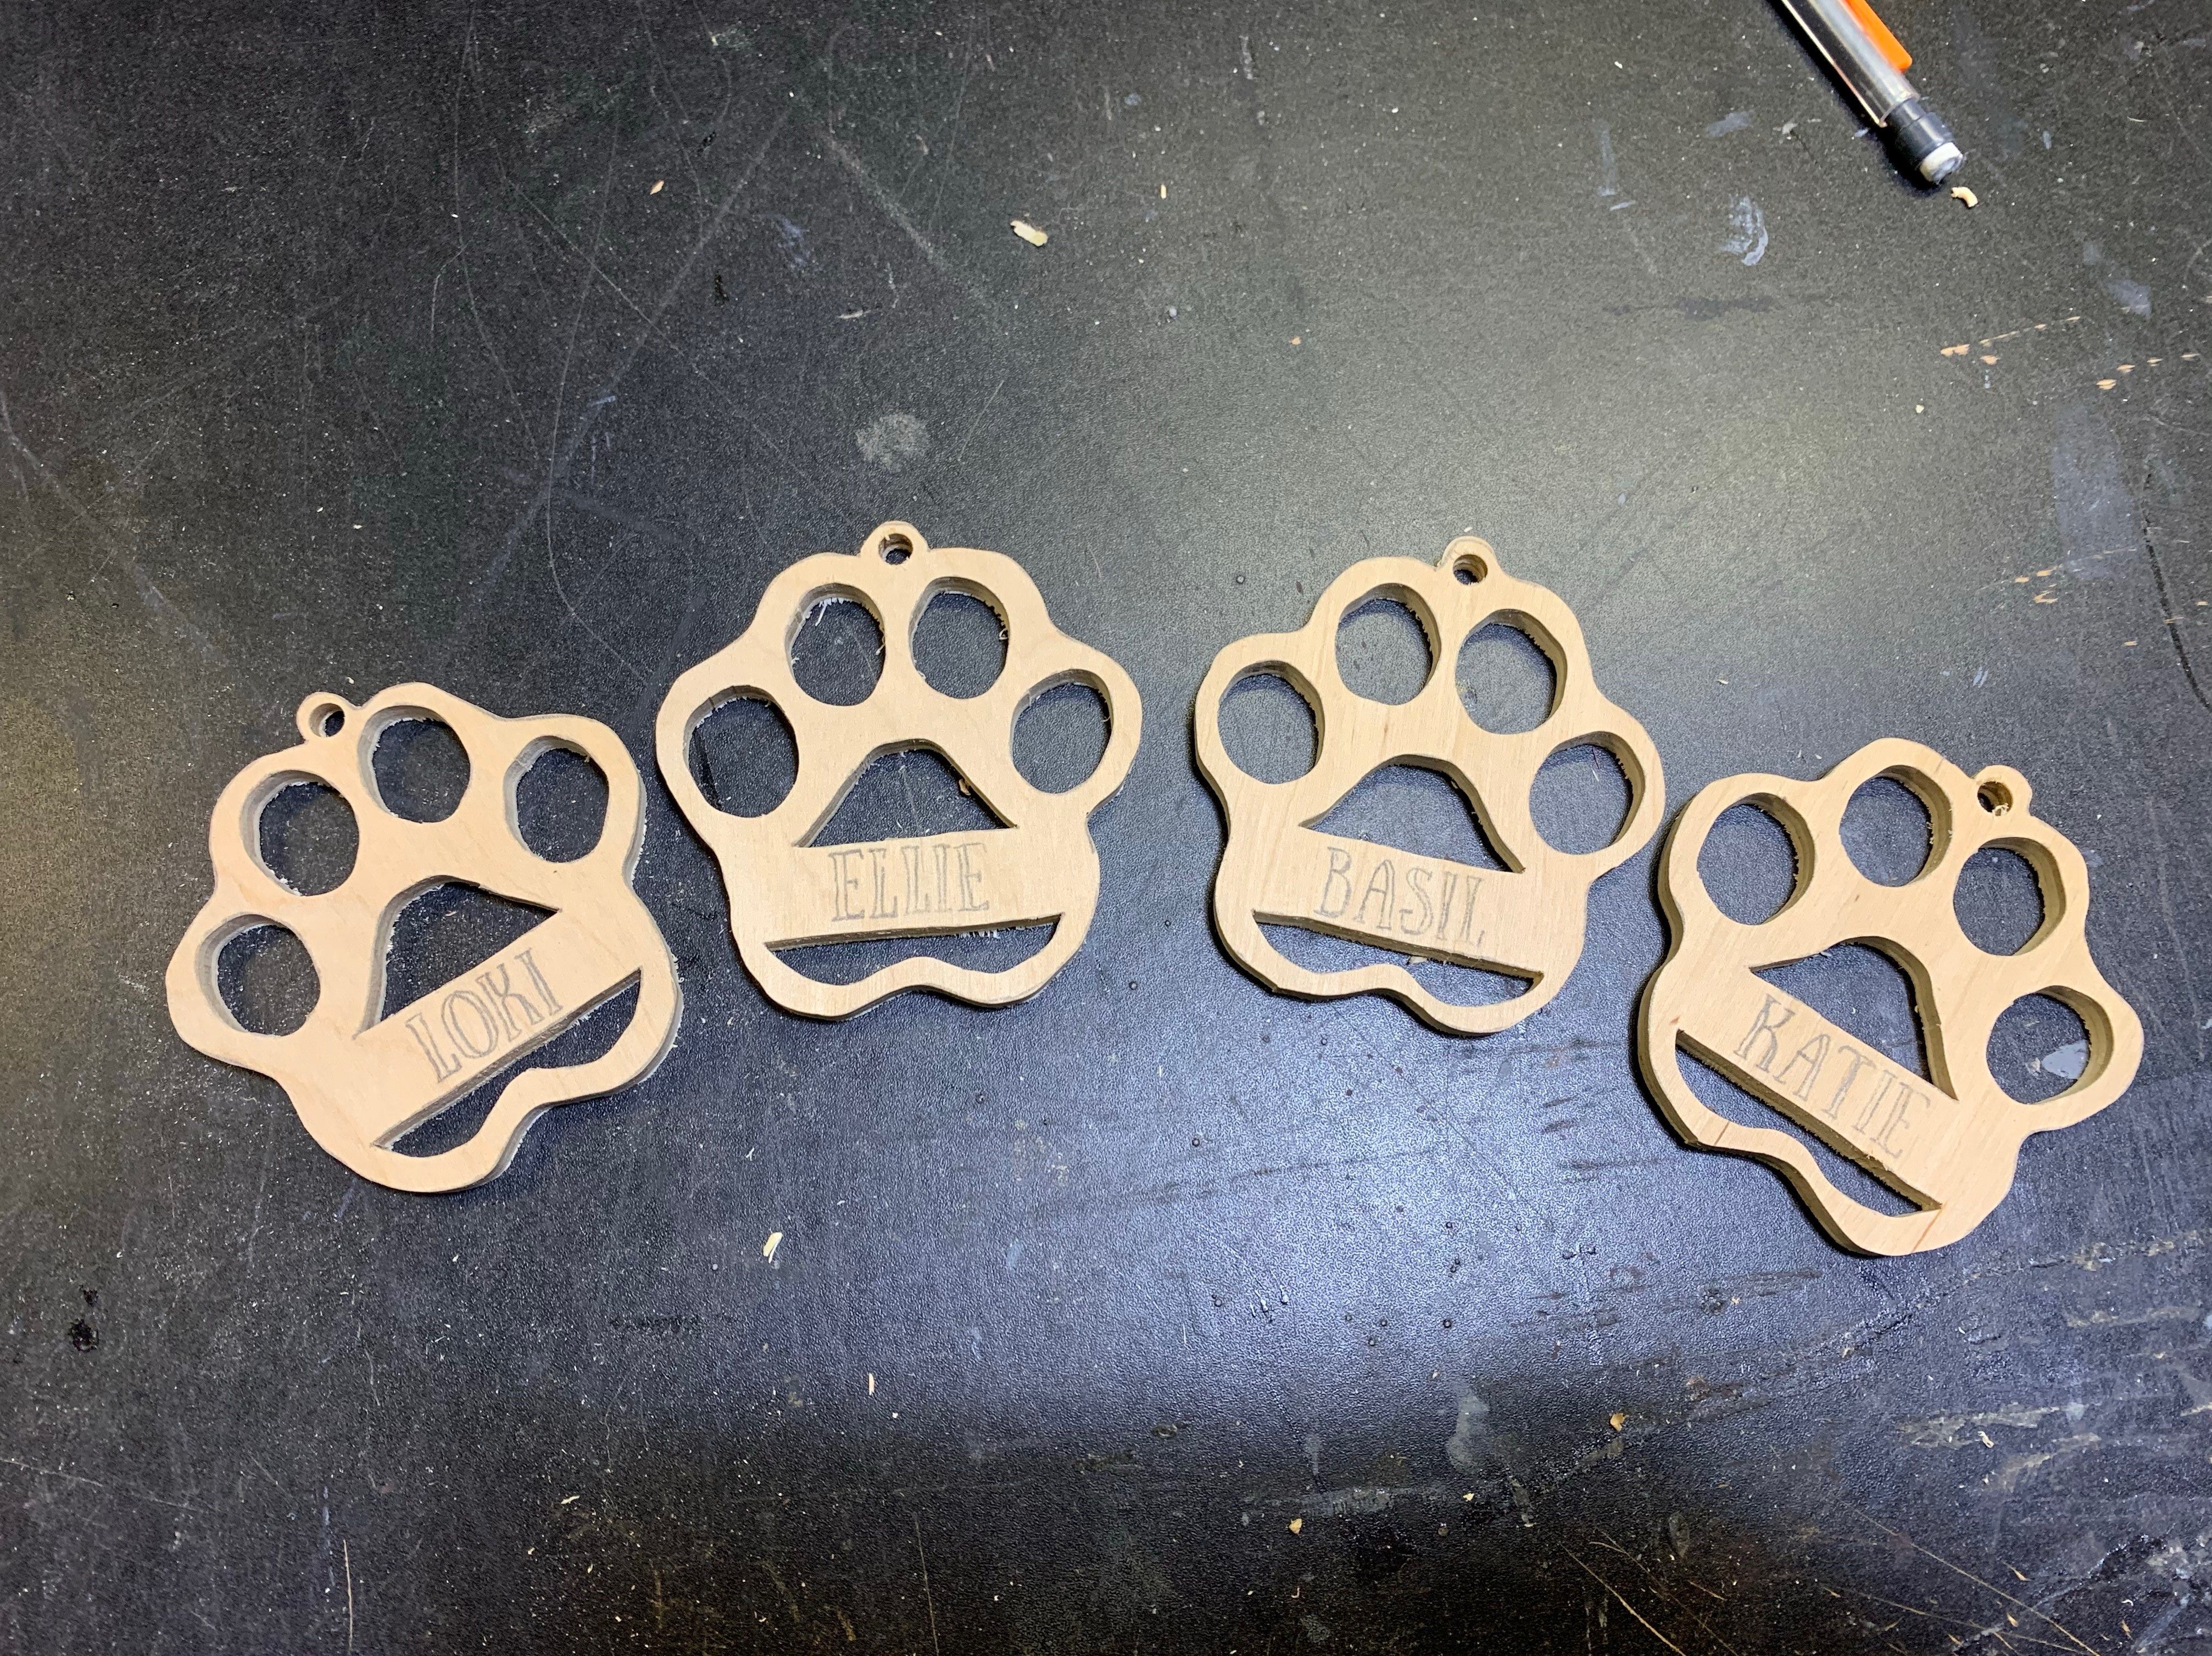
Anyways, back to the ornament. Next step was cutting out the paw print. I drilled holes for the scroll saw blade to be threaded into, making sure the bit was big enough to leave a hole that my blade would thread into. Luckily I have a scroll saw that takes pin-less blades, so I can do finer designs. It also makes it much easier to thread the blade into the wood.
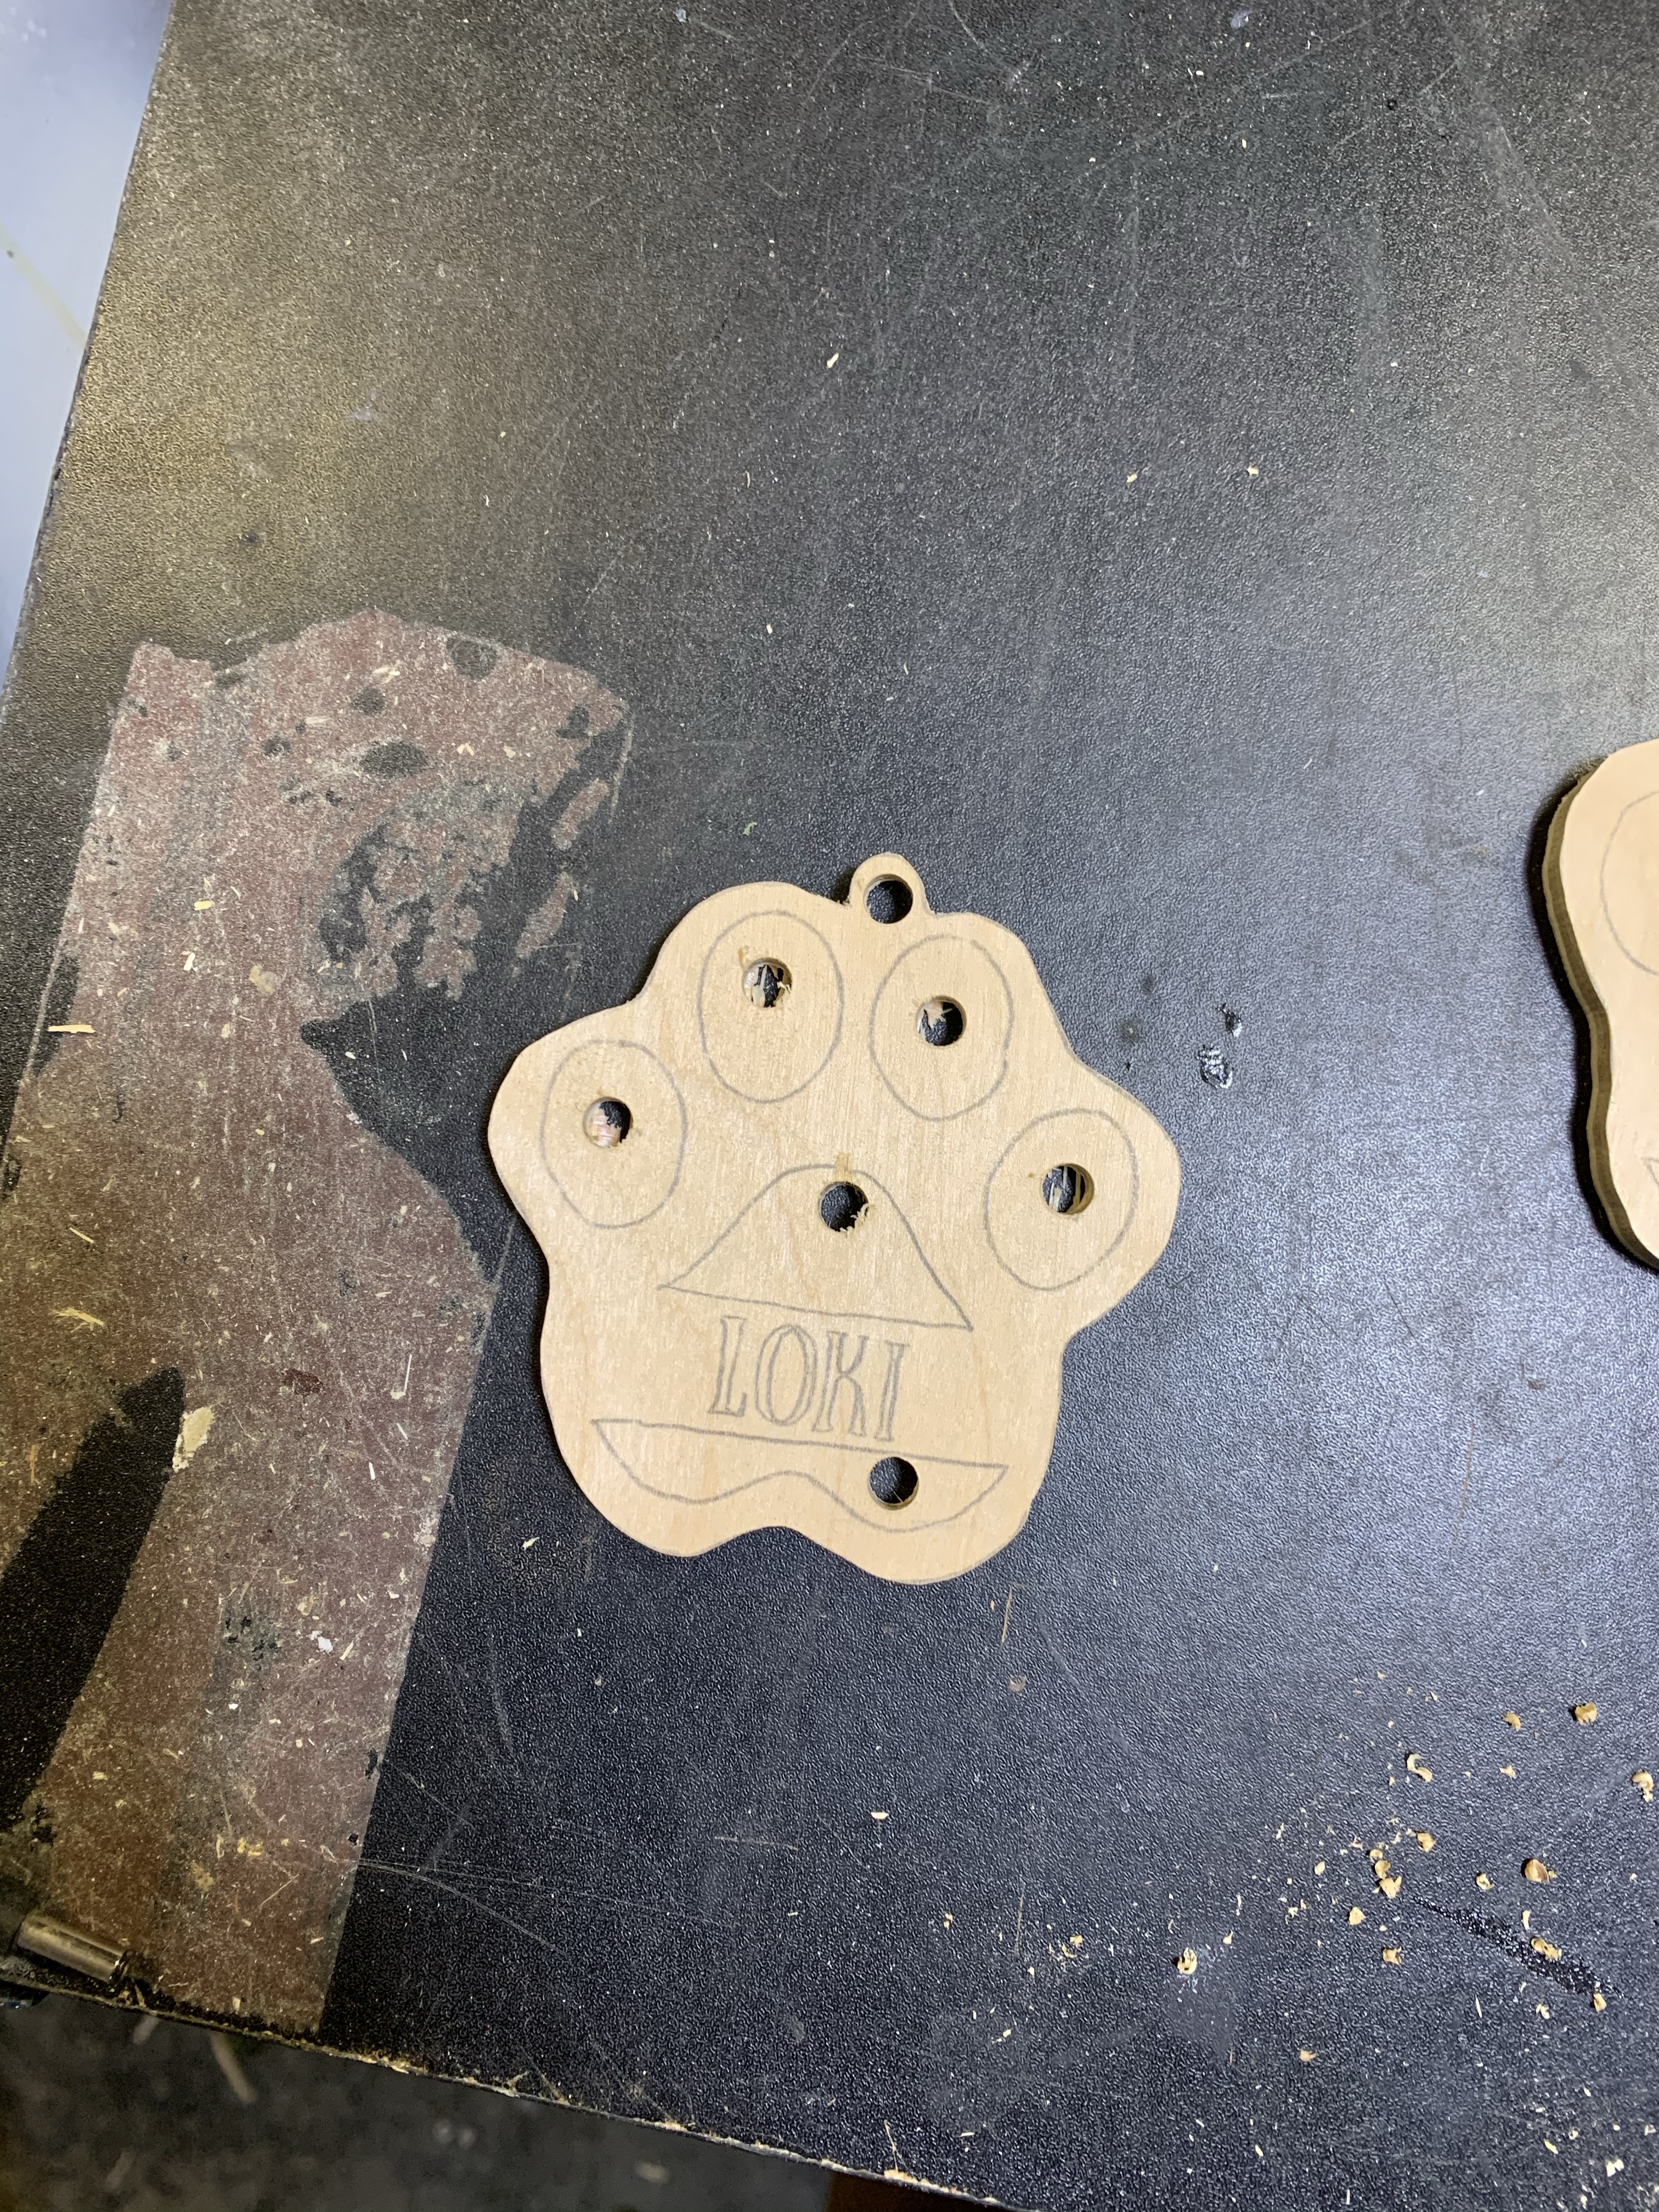
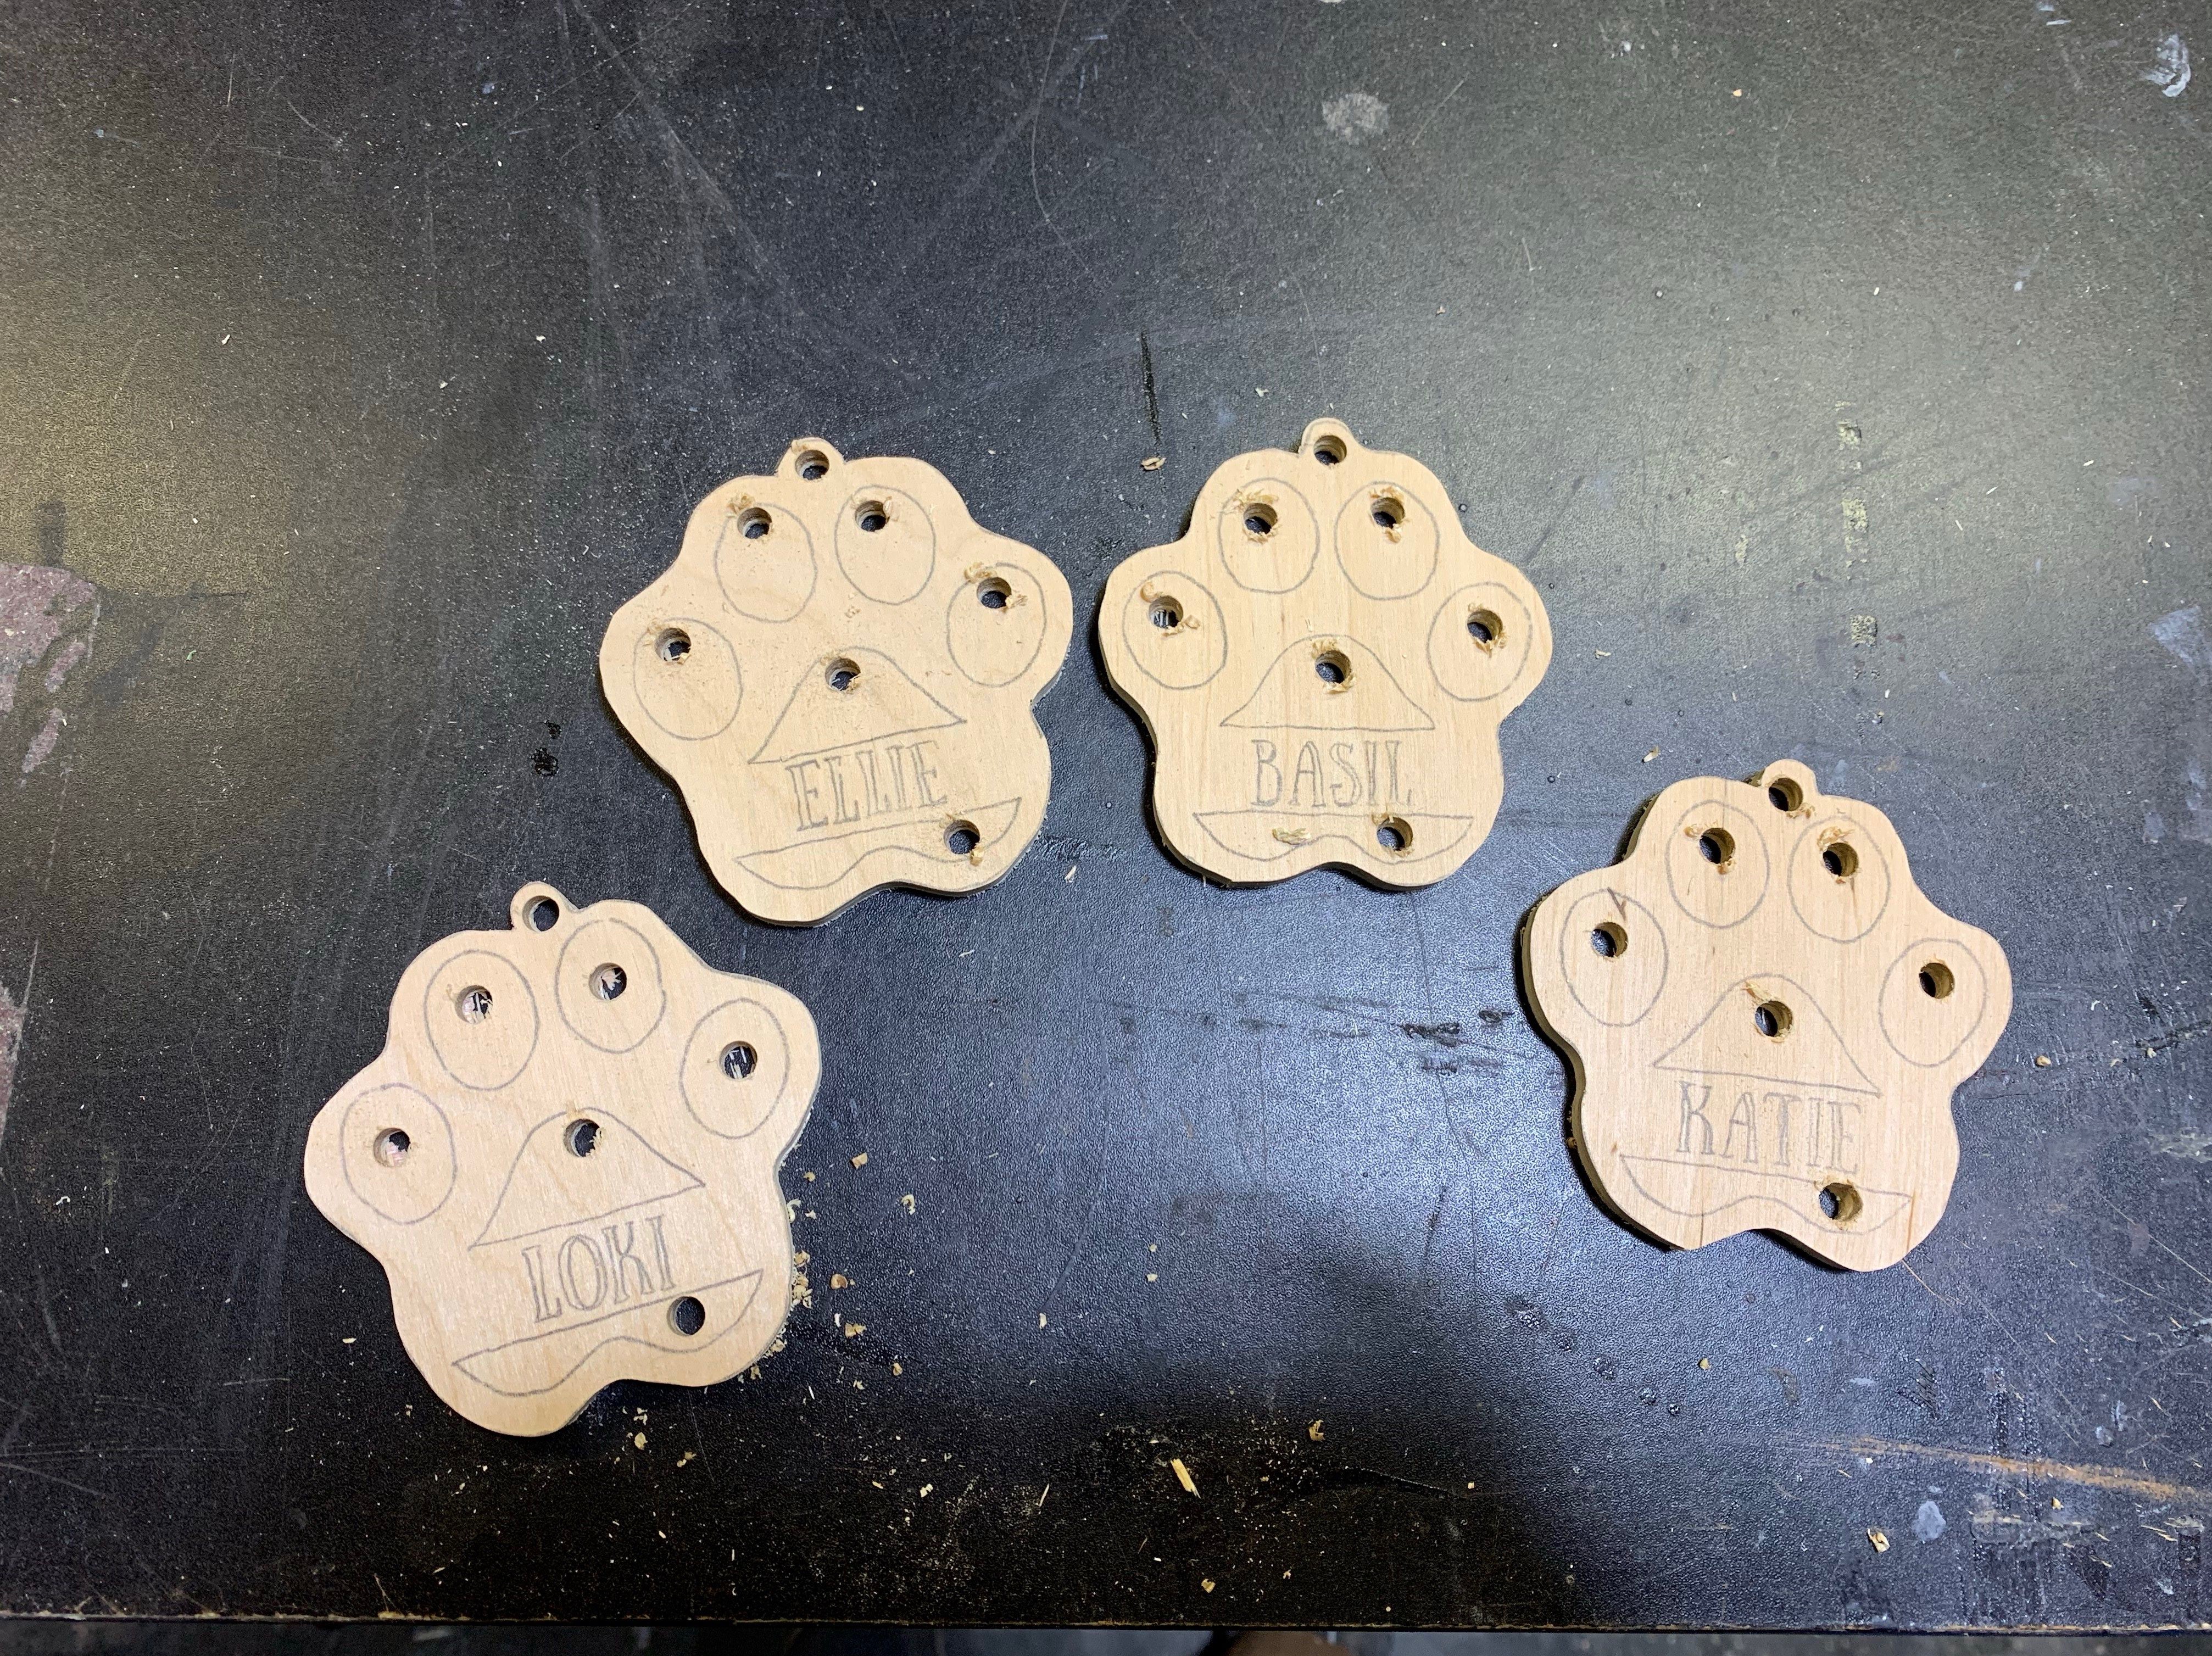
Once again, it started off slow and steady, and by the 4th, I had gotten comfortable with the design and was able to move a little faster. Once again, the inner paw was great for practicing technique. The toes were ovals and the pad was two wavy sections. I am sure I will be selling these next year, so I will be getting lots of practice in because I am likely going to cut a full 2’ x 4’ sheet in preparation, which should give me 72 ornaments. I will leave the name area blank to add-in as I sell.
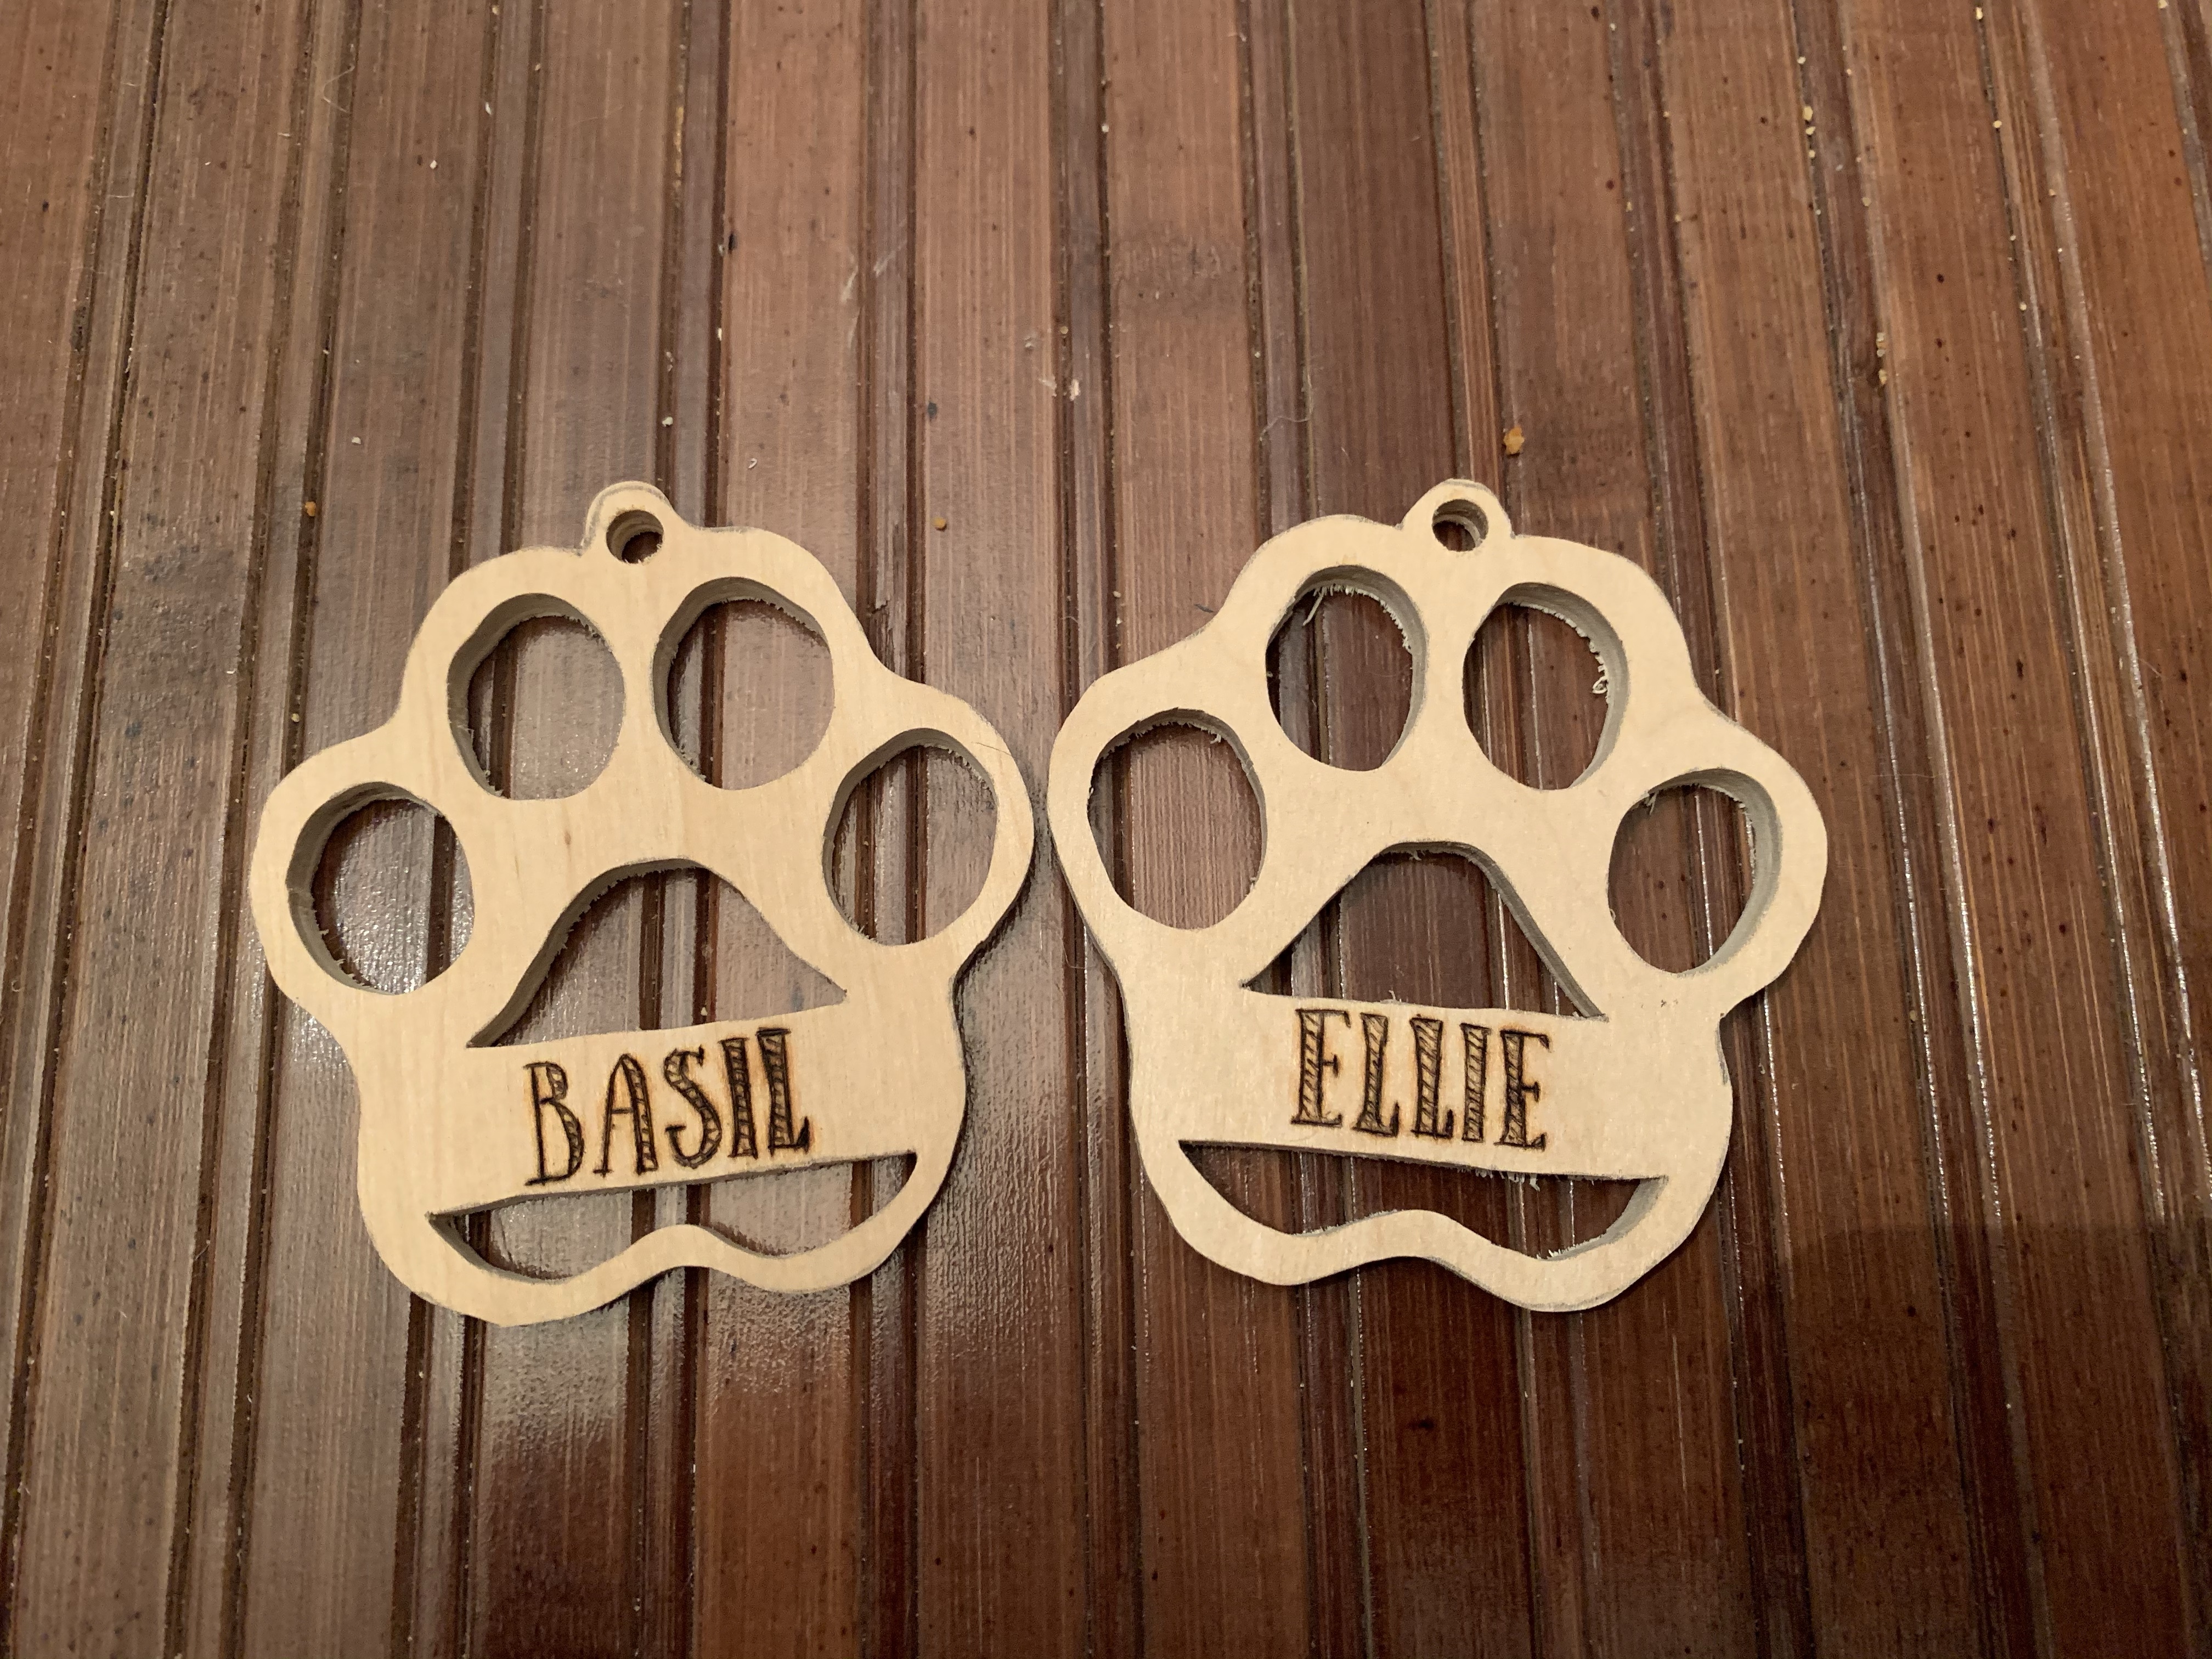
I headed inside to my wood-burning station. I had been doing so much of it that instead of doing it out in the shop like I usually did, I had setup at the dining room table so that I could listen to Christmas movies while working. It was quick work getting the names burned in and then it was back out to the shop for the final step.
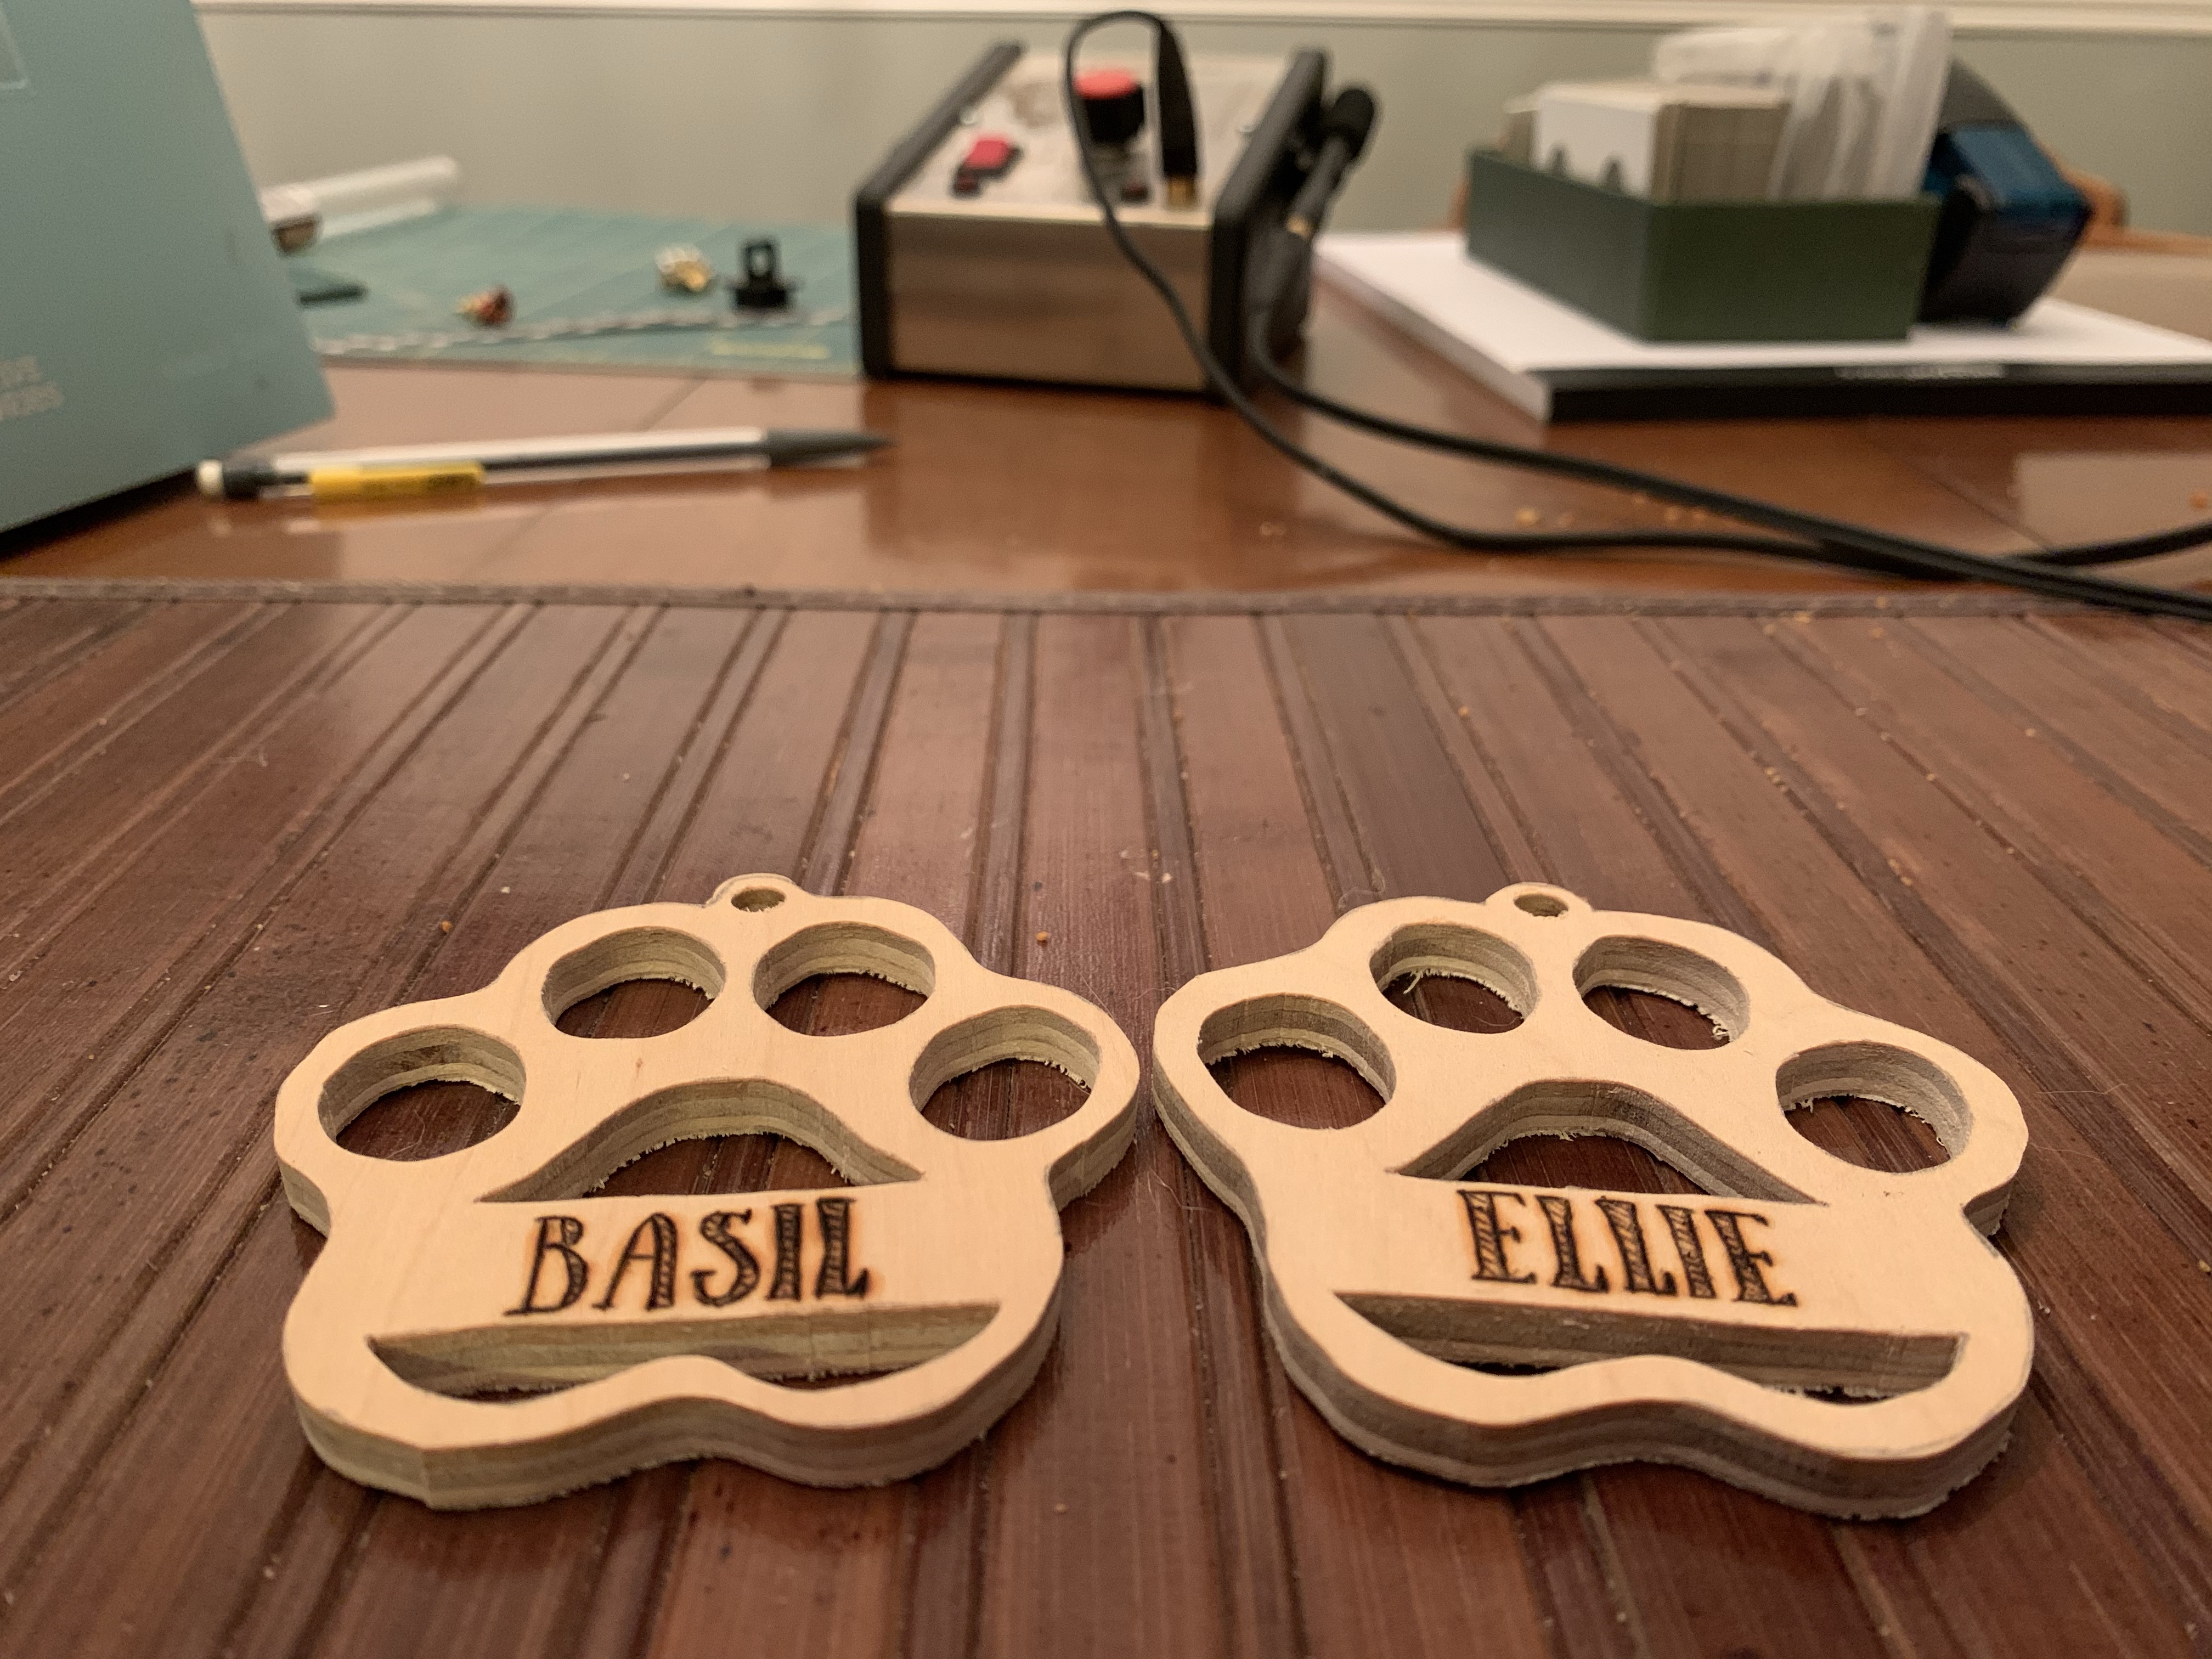
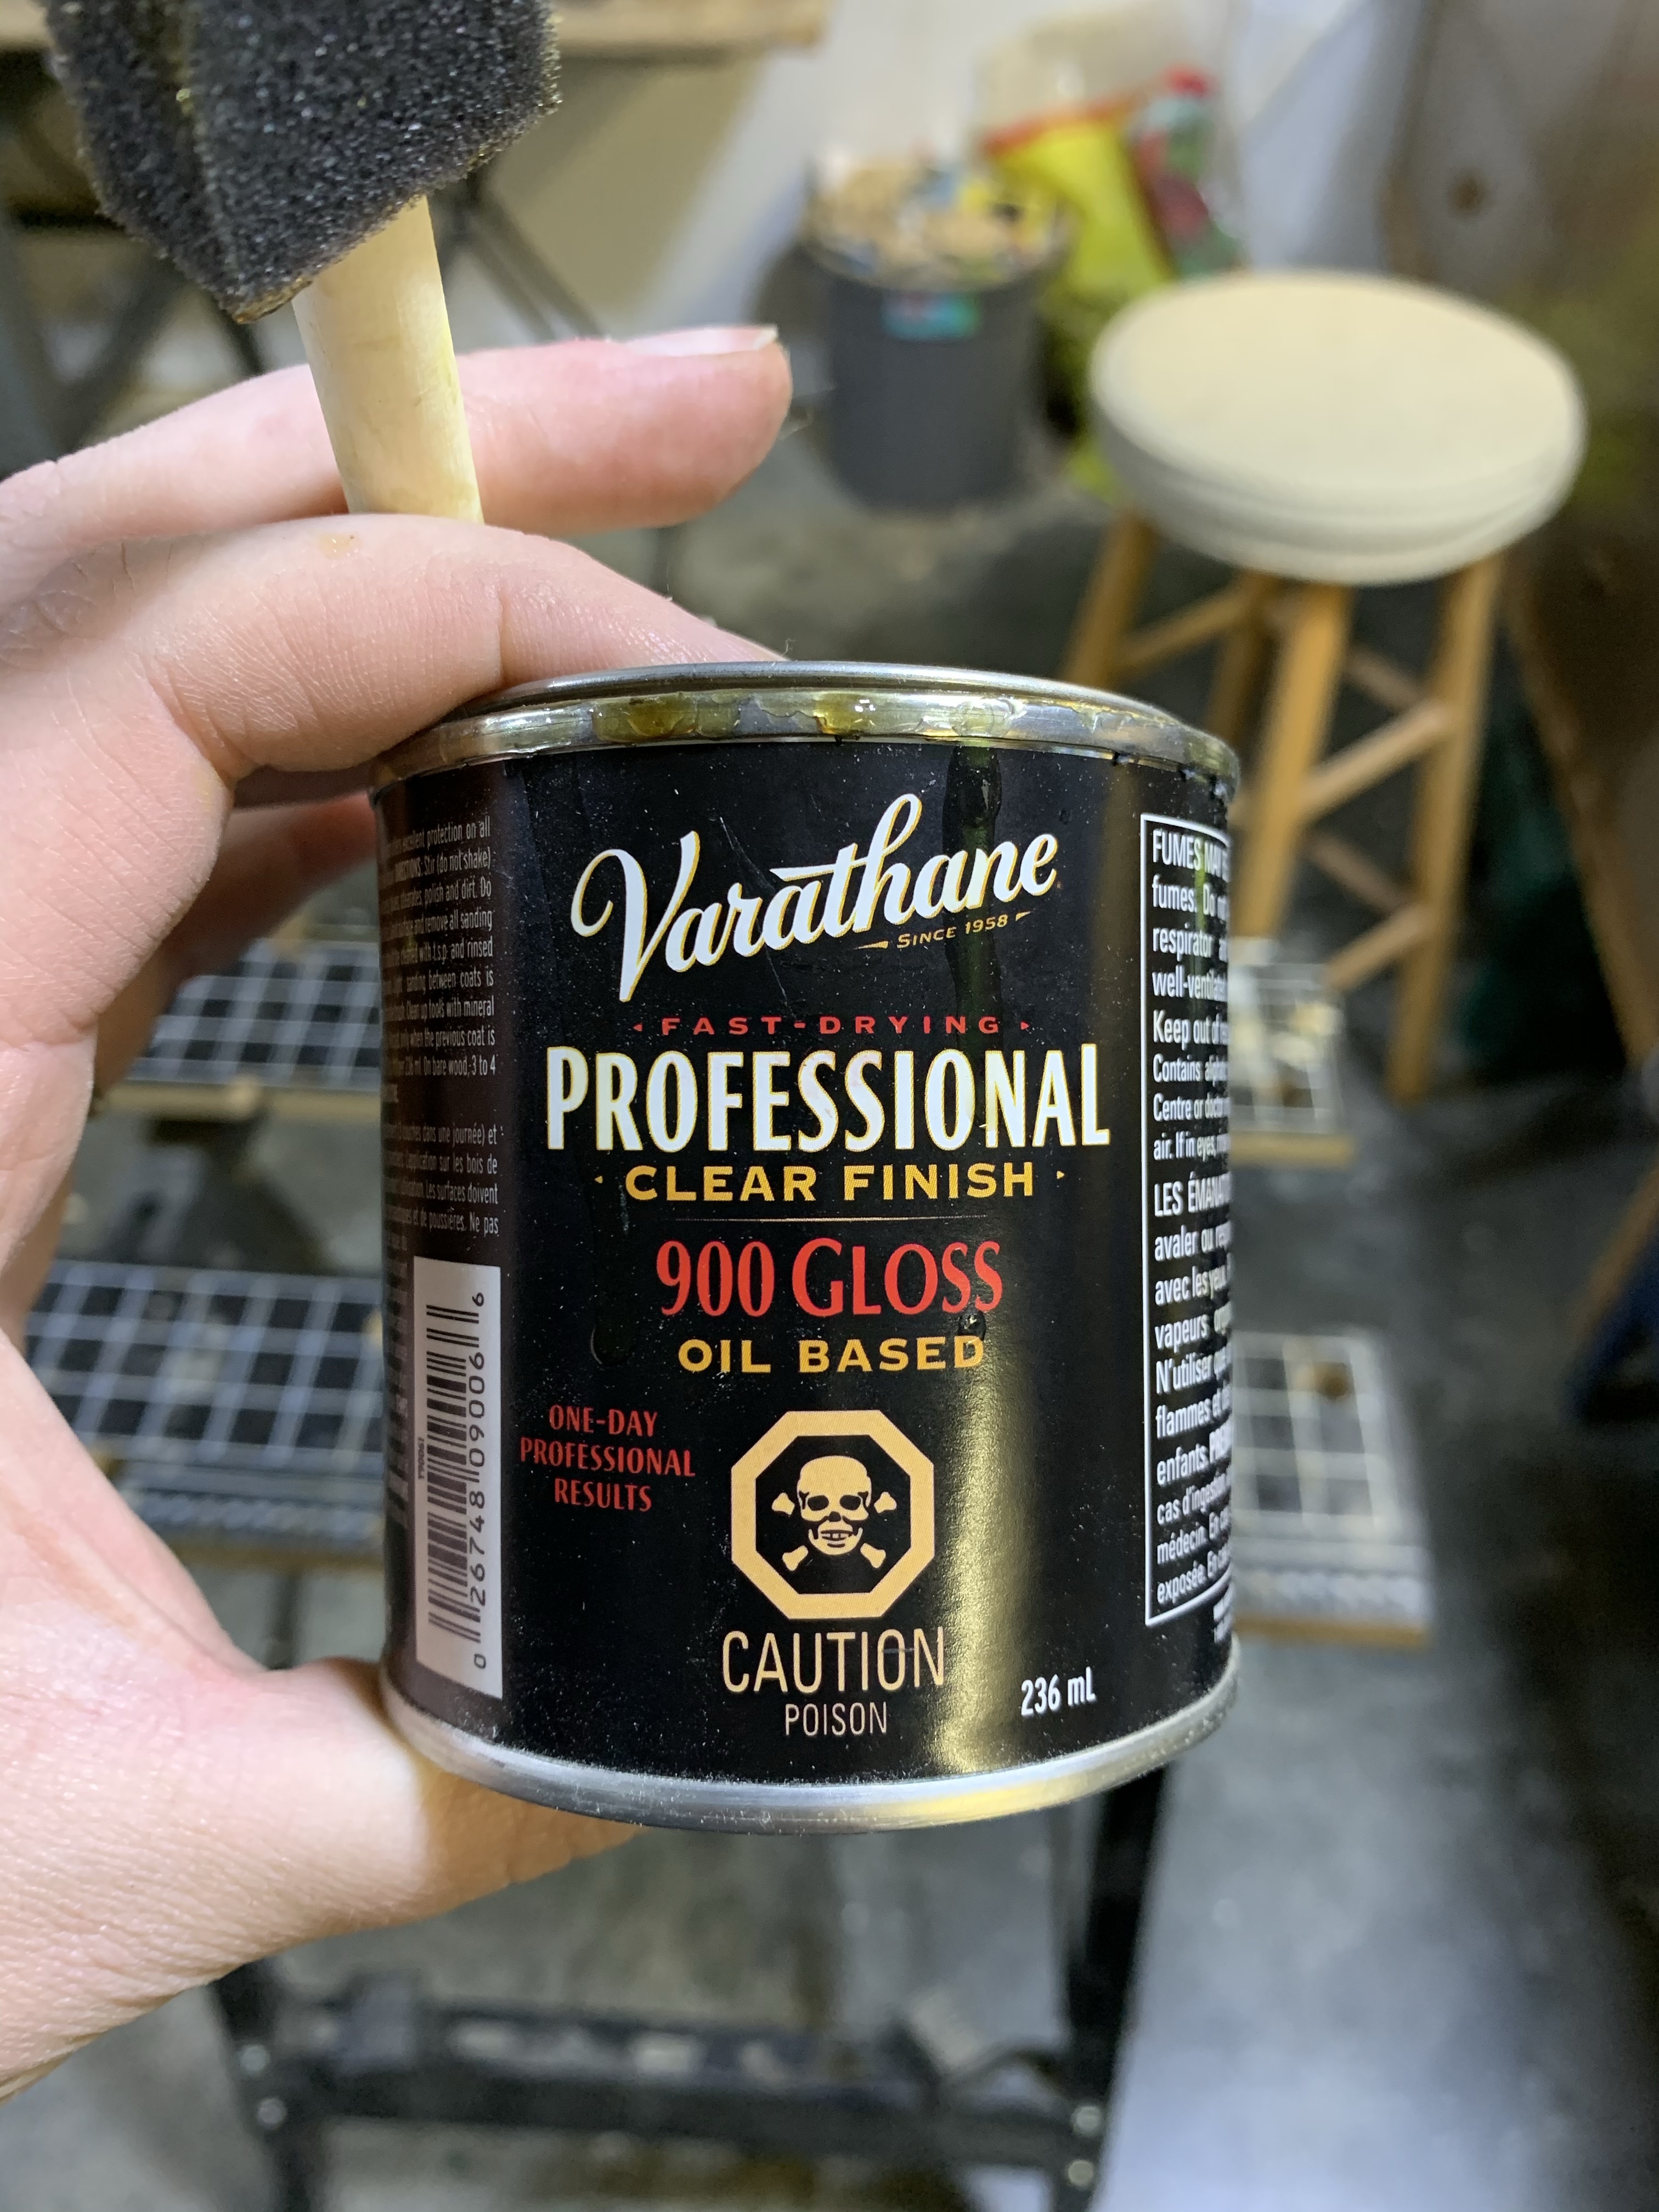
I chose to use a gloss, oil based, clear finish. It added a beautiful lustre and richness to the plywood, especially along the edges where it highlighted the different layers and grain. Next year, I will offer some coloured stains as well in case people would like it to match their tree decor.
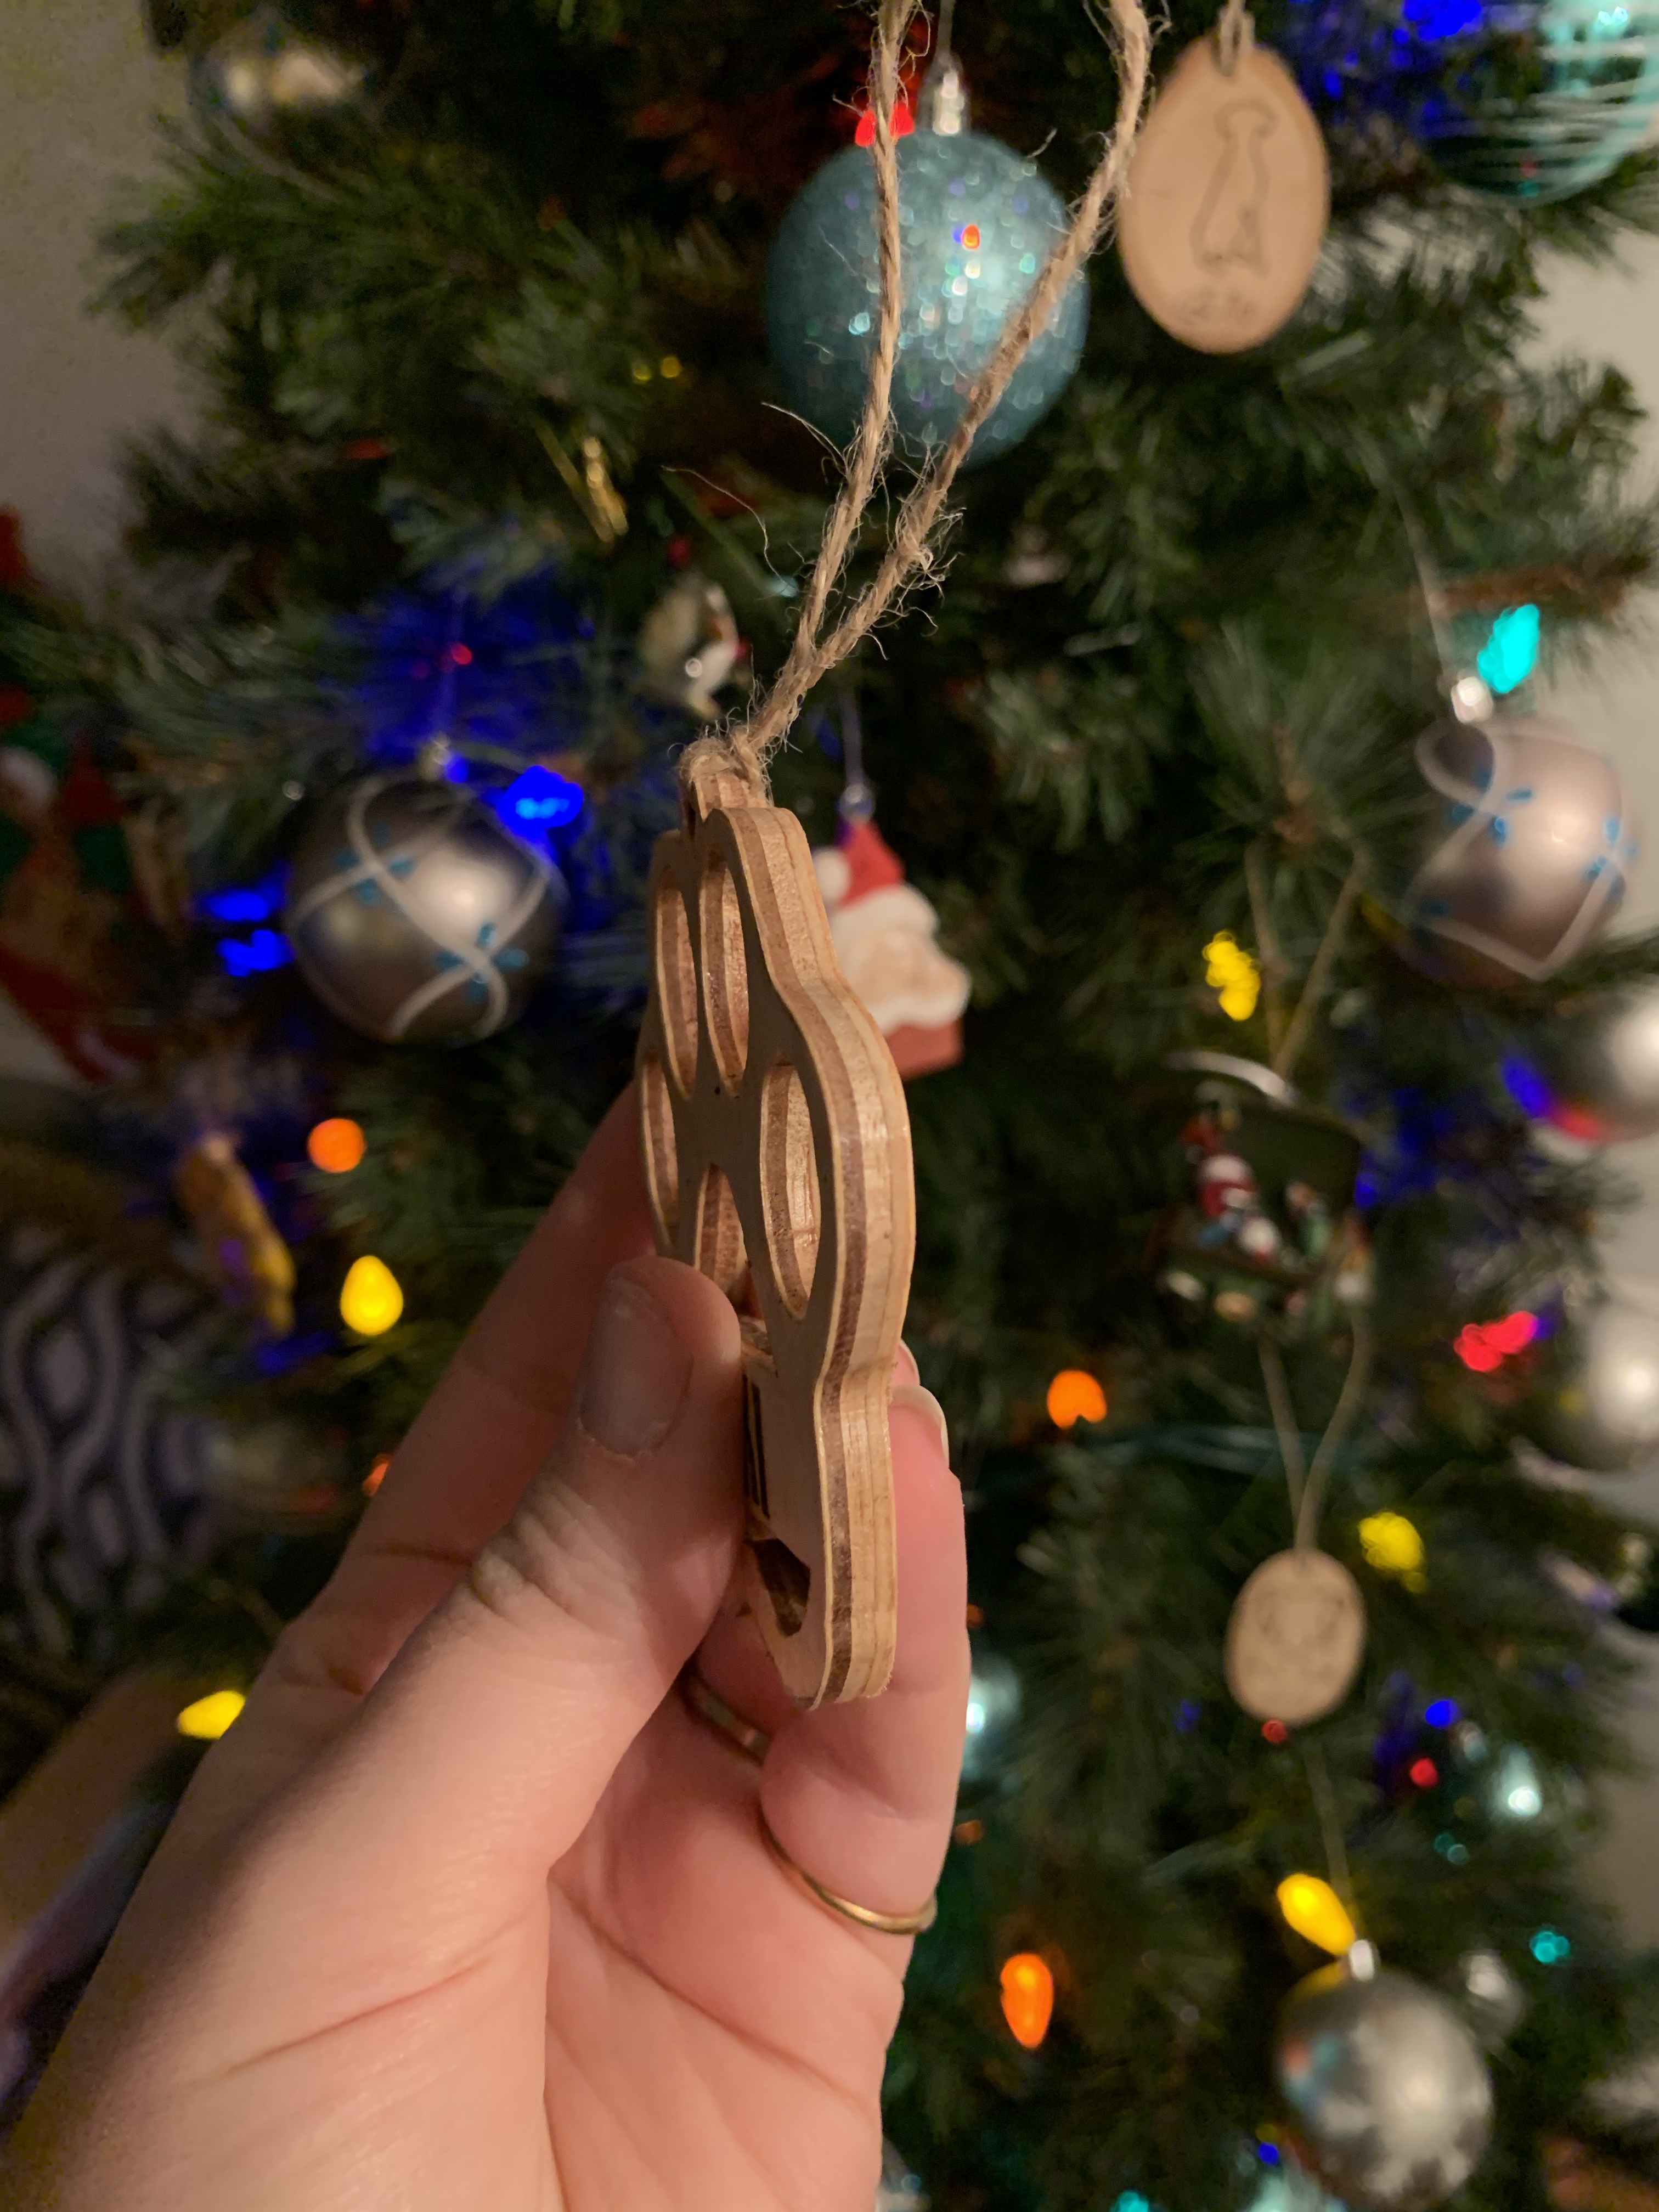
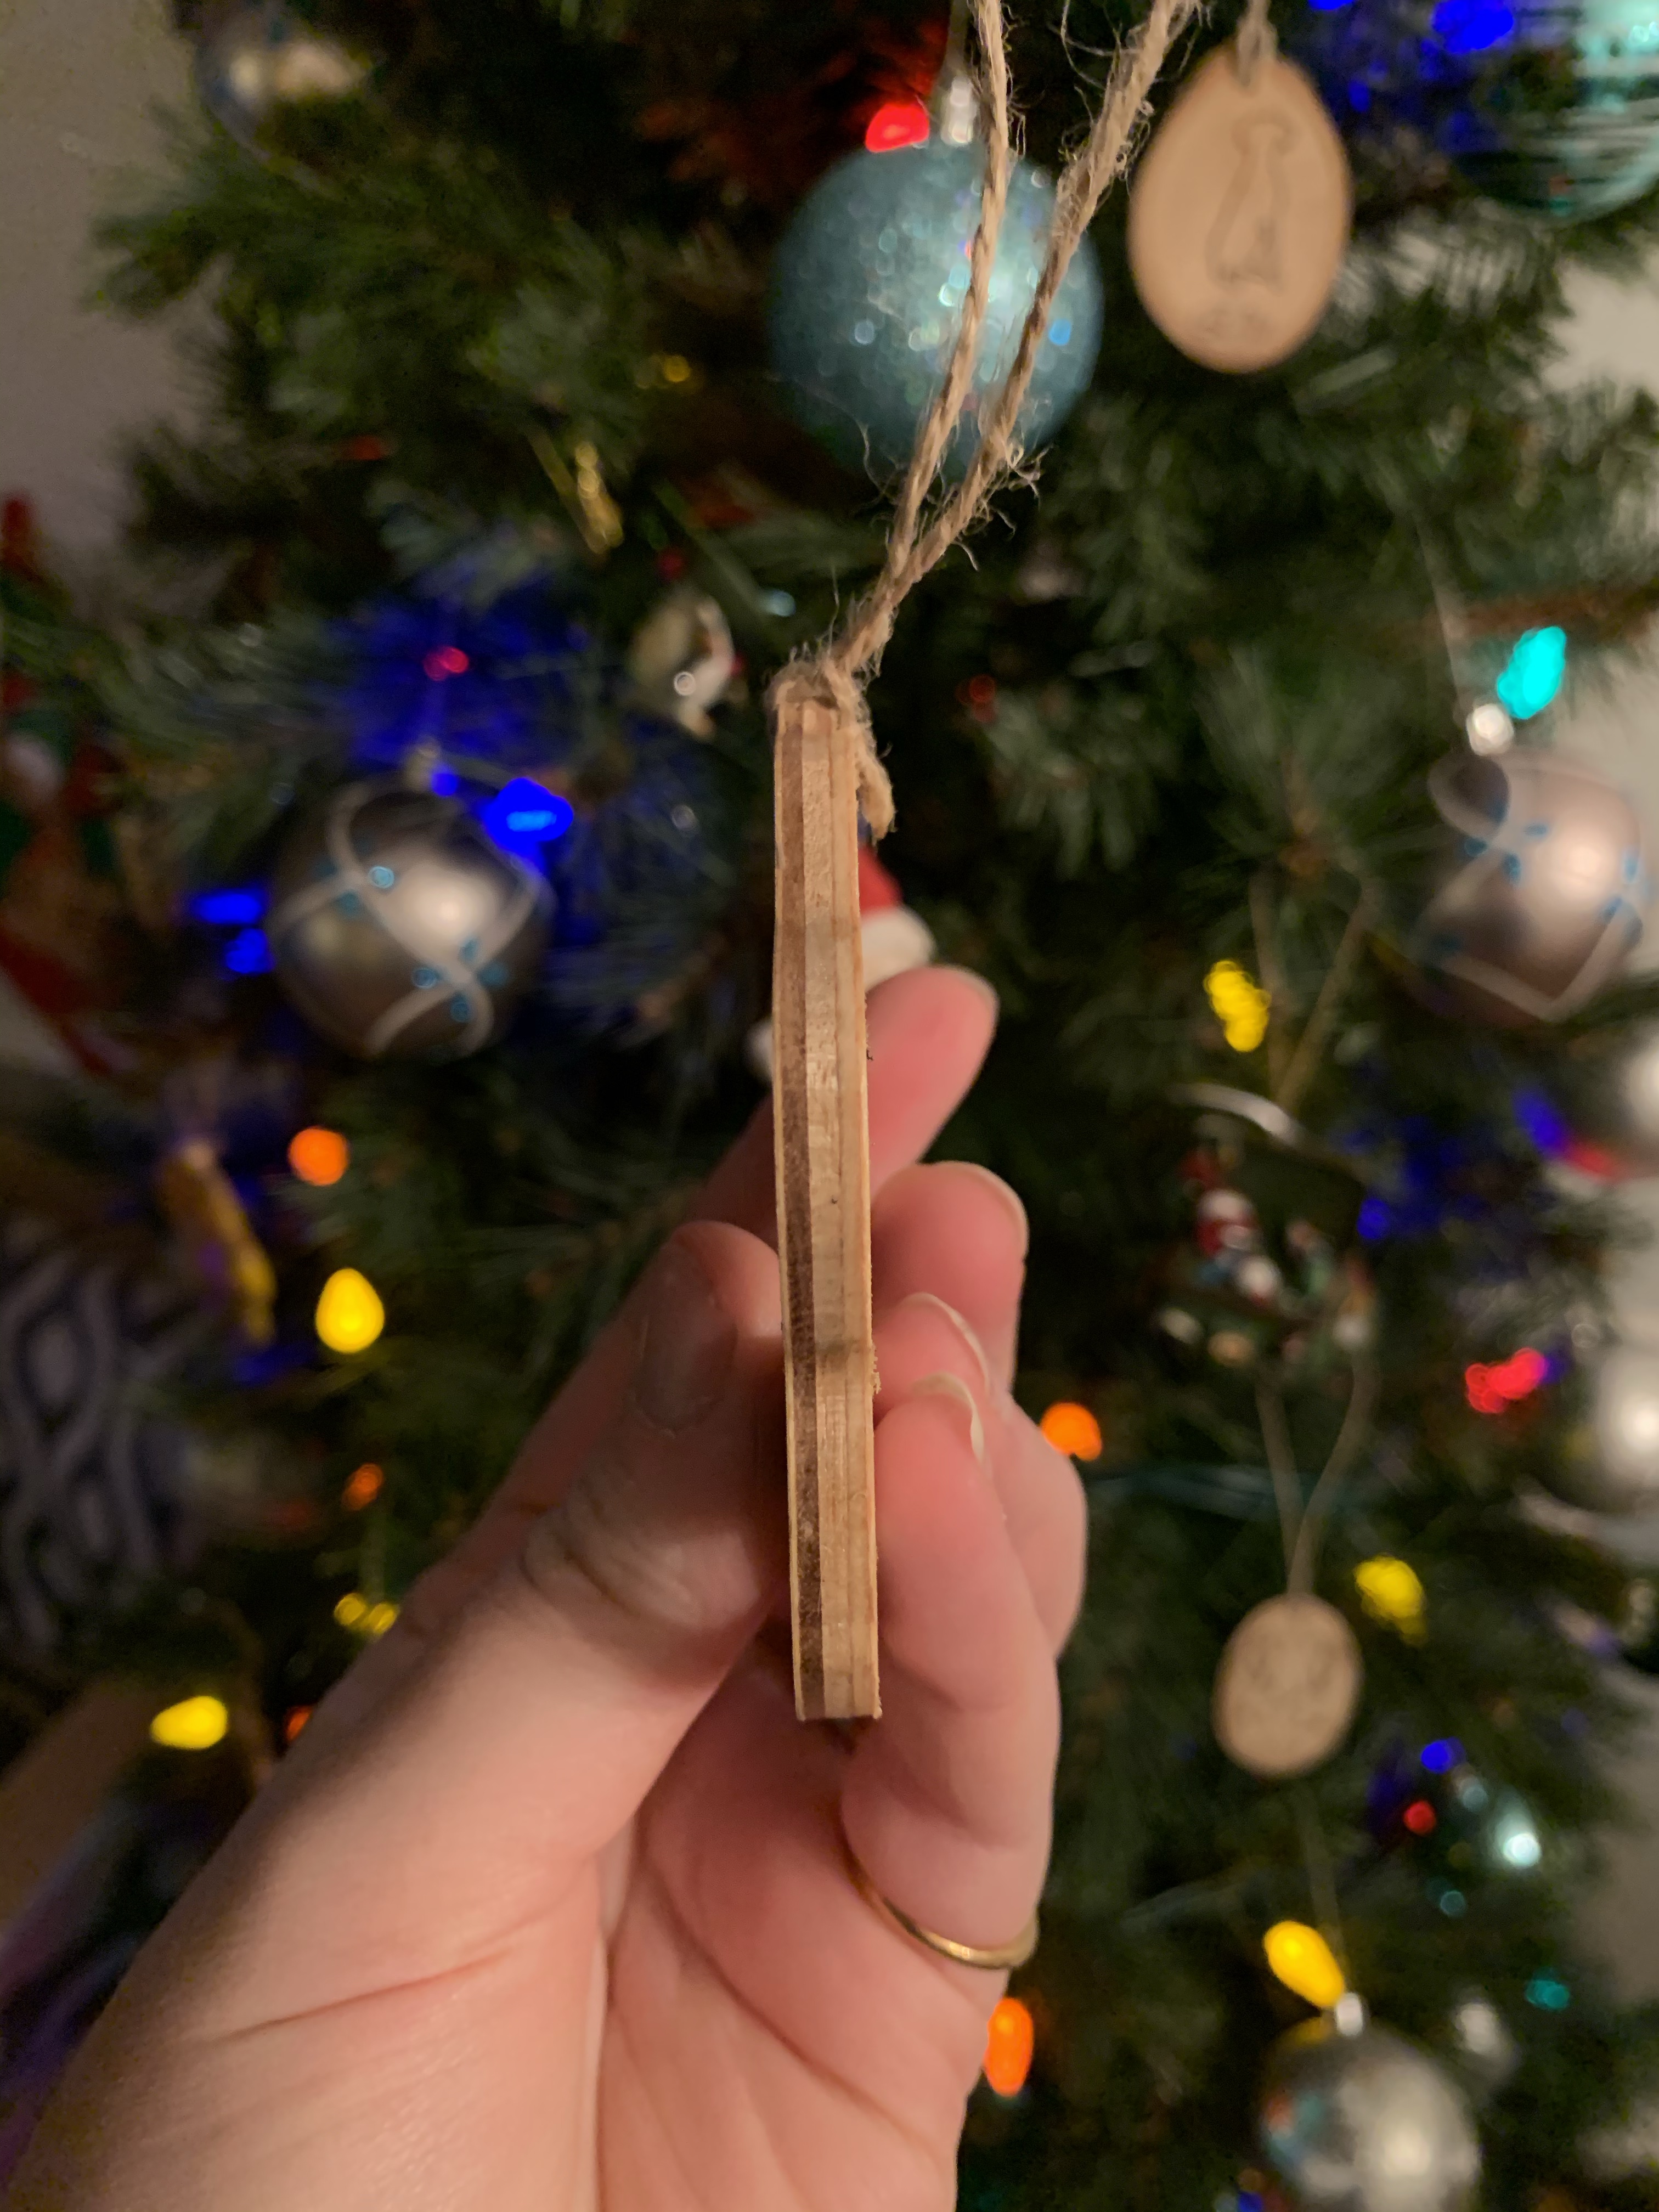
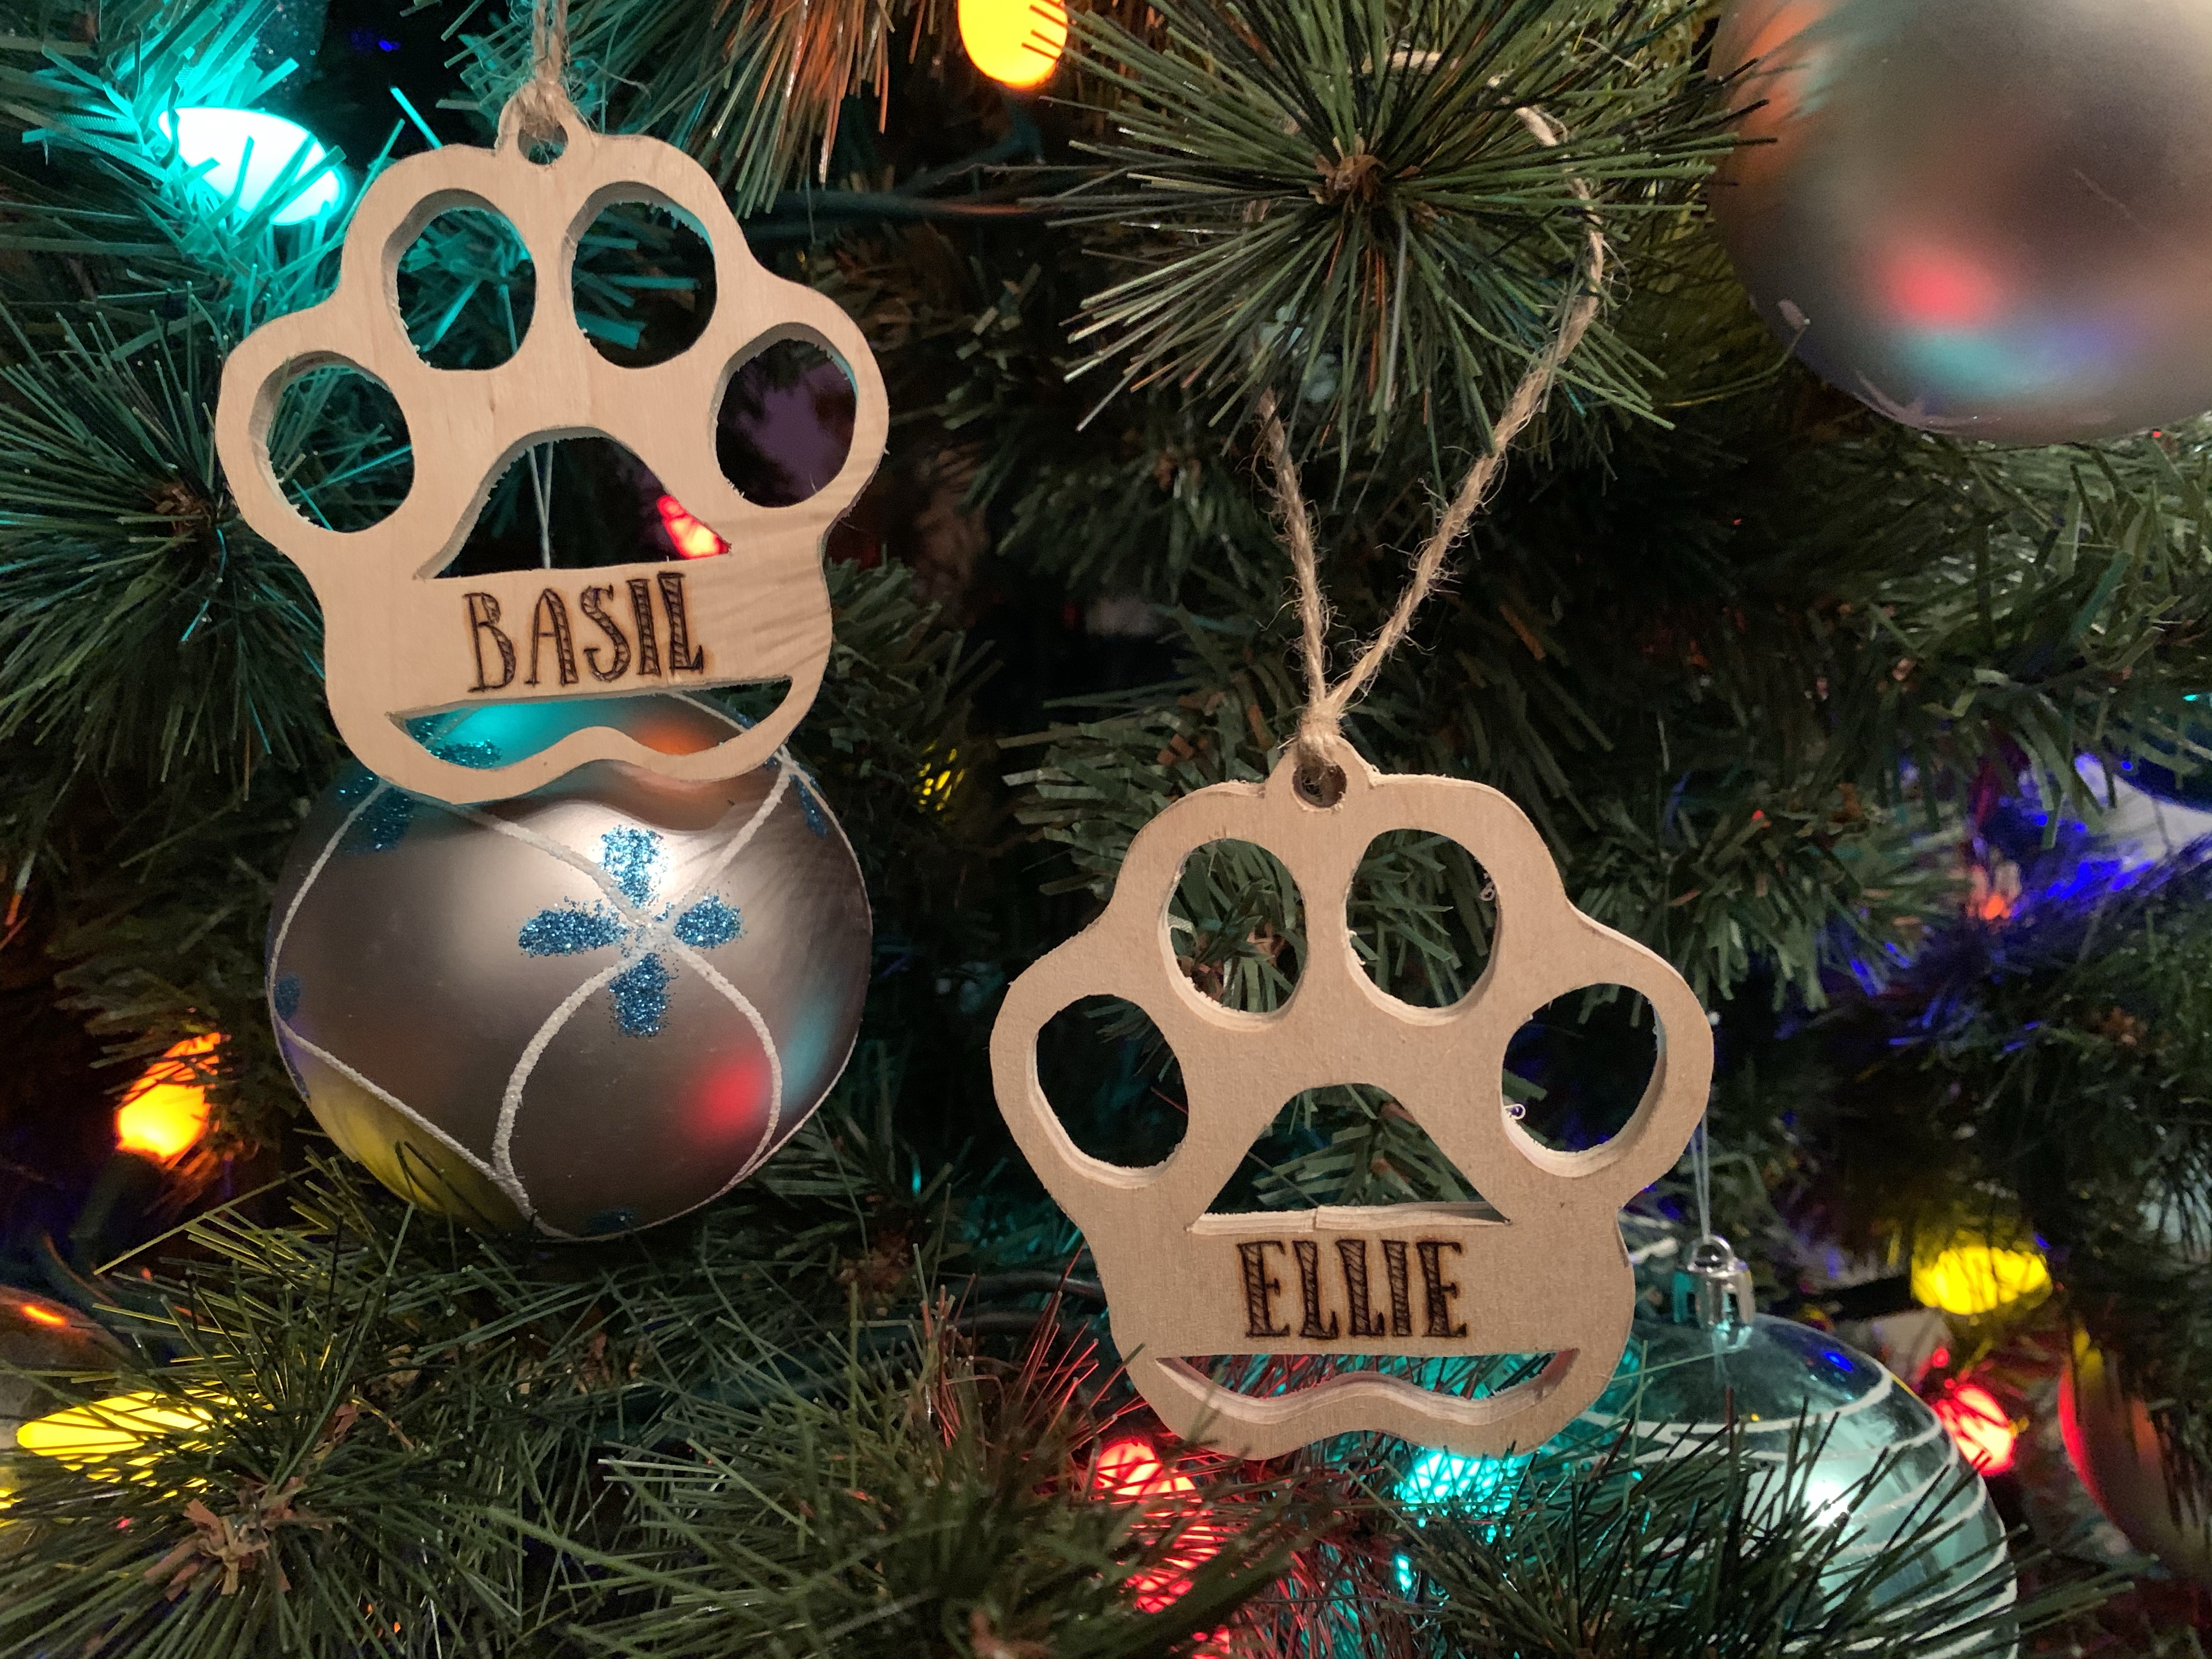

Once dried, I added a piece of twine to use for hanging and it is now ready to be wrapped. I did post Ellie and Basils to my Facebook and the feedback was great. A lot of friends and family who have dogs commented that they would definitely like one for their dogs. My uncle, who is a bit of a jokester, kindly pointed out that he prefers brass-knuckles to wooden ones as they are more sturdy. I hadn’t noticed the resemblance, but now I see it every time I look at them. Oh well, I still love how they turned out, and they are most definitely a paw print. I may do a cat-paw version for those with feline friends.

