
Despite all the time I have been enjoying in the yard, I have also been finding some time to get out in the shop and play with my tools. I decided to try some more cutting boards. This time around, I picked up some Padauk, Walnut and Maple (not ambrosia this time). With those, I also had some leftover Red Grandis, so I had some fun colours and mixes to use.
Instead of willy-nilly throwing together some wood and waiting to see what I got, I decided to come up with a specific pattern this time, and all three would be the same pattern but different colour mixes. Although my willy-nilly choices for my last boards worked out well, I would like to start learning how to make different patterns. The one that I chose is still fairly simple, with a lot of the wood being cut in the same size dimensions. Since stripes and checkers were part of my first boards, I decided to combine them for these new boards.
I wanted to get my checkers down the middle with stripes on each side. Now, stripes in end-grain is a bit of a learning process. Although these boards stripes finished off much straighter, there is still some learning to do on how to get them perfect. I’m not sure it is ever possible, but a little more fine tuning will need to be done. I am beginning to understand why a lot of end grain boards have complex patterns…it makes it much more difficult to identify the minor inconsistencies in the lines that inevitably seem to happen with these types of boards.
All of the boards were approximately 15/16″ or 1″ thickness, so I utilized that as one of the dimensions. From there, I ripped the boards into 1-1/2″ strips that were 15-3/4″ long. As I was doing different mixes of wood, it works out that you will need 6 strips of your main colour, 4 strips of an accompanying colour which will make up the checkers, and then 2 strips of a highlight colour, for a total of 12 strips. You could certainly make this larger by adding more, but this was the pattern I used.
Once all the strips were cut, I arranged them in the following pattern.


I left that in the clamps overnight so that the glue had plenty of time to cure. I have learned the hard way, that you really need to let the cutting boards get a nice firm cure before you start on the next step. I think that is why so many people who make them have a ridiculous number of clamps. I now have two sets so I can be gluing 2 boards at once, but I have seen posts of people gluing 10, 20, 30 boards at once. I’m a hobbyist though, so I don’t imagine I will ever get that many going at one time. I don’t have room to store all those boards while waiting for them to sell! Don’t forget to wipe down the excess glue. It will help keep your planer blades sharp and save you time when sanding.
Once the glue has been given time to do a proper cure, you can run the board through your planer as it is still edge grain at this point. This will give you a nice smooth, even edge once again. I do not have a jointer, and so far have not had any major issues with my edges coming together for a good glue. If you are going to be that person that does this as a business one day or if you plan to make a large amount at once, then I do think investing in a jointer would be worthwhile as it will guarantee a perfectly square edge for gluing. If you’re a hobbyist like me, you can just wing it and end up with a little extra sanding that needs to be done.
This is the step that changes your board from and edge grain to an end grain board. Both are good boards, I just prefer the end grain so far as it really showcases the grain of the wood, and generally lasts longer than edge grain boards. If you wanted to do an edge grain, then the last step would have been essentially your end product and it would be time to sand with a very fine grit and oil it. Because I am making end grain, I have a few more steps. In this step, we are going to cut the glued board into new strips. For this second cut, I went with 1-5/8″ strips. My last boards I did a little thicker, resulting in a thicker end-product board. I wanted these to be 1-1/2″ thick after sanding so I gave myself a little extra to remove during the sanding process.


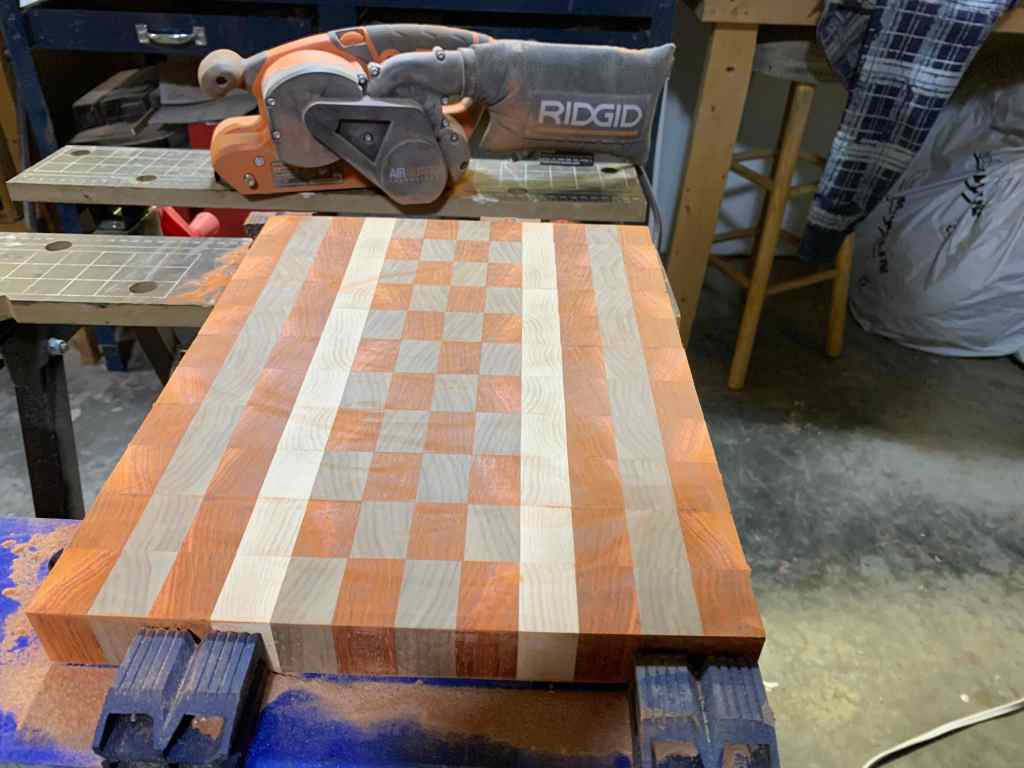
Once you have cut your strips, you will need to flip them on their sides so that the end grain is showing. To make the pattern, you will need to flip every second strip around so that the wood alternates. I will quite often mix and match my end-grain pieces so that the grain also makes an interesting pattern within the board. Sometimes it works out that the pattern looks great just from flipping the wood, other times, it takes a little re-arranging. It is worth looking at your grain to add a nice pattern within the pattern. Once you have it how you like it, it is time to do your second glue of the board. This glue is a little more finicky as you need to make sure your lines line-up while gluing. As you start clamping some of the boards may shift a little as well, so there is a lot of small adjustments that need to be made through this entire process before you can leave it to cure. I still find the odd line that doesn’t quite match up after it has all cured, so don’t be discouraged if it happens the first few times you work on these boards. Give the clamped boards a good wipe to get that excess glue off. The next step is sanding and if you have a bunch of hard glue blobs, it makes the next step even more tedious that it already is.
Sanding, sanding, sanding, sanding, sanding and more sanding. End grain is the hardest part of wood and sanding it is tedious and long. You don’t want to force the sanding otherwise you will have even more work as you go from coarse to fine grit. The end result you want is a super smooth, glassy surface. Digging in with the coarse grit to try to move things along, only means you will need to spend more time getting those marks out with the fine grit paper. I use a belt sander with 80 grit to start. I then move to 120 grit on my belt sander. From there I switch to my orbital sander and use 180 grit and then 220. I know some people got to an even finer grit, but I have found 220 is more than sufficient.

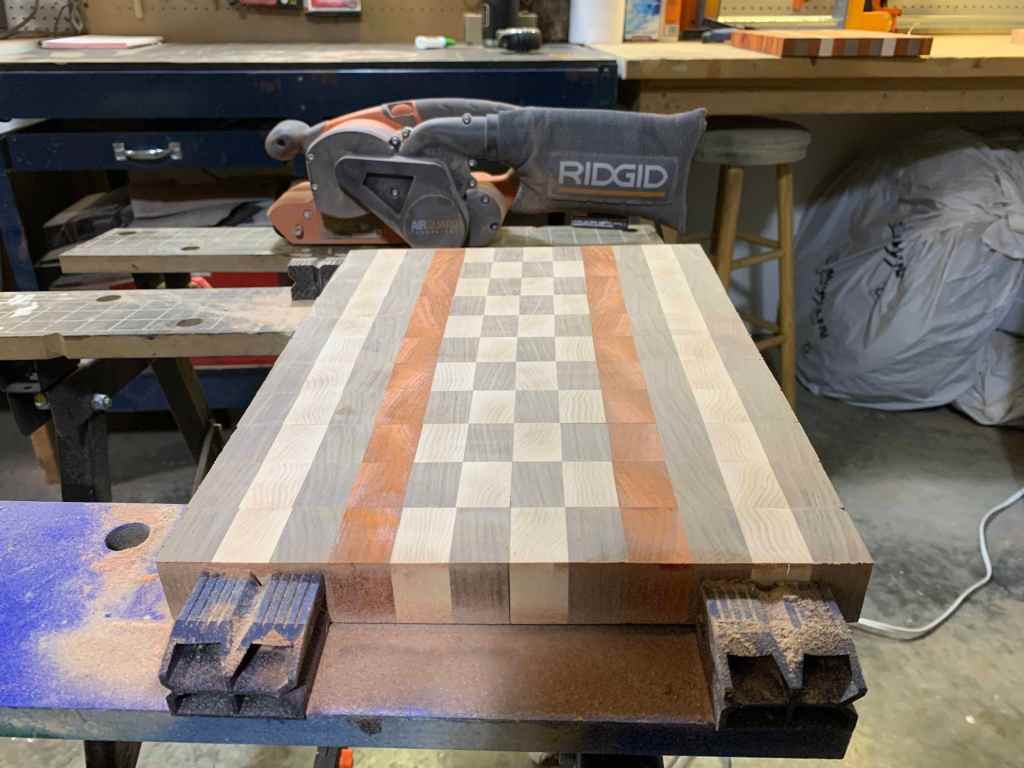
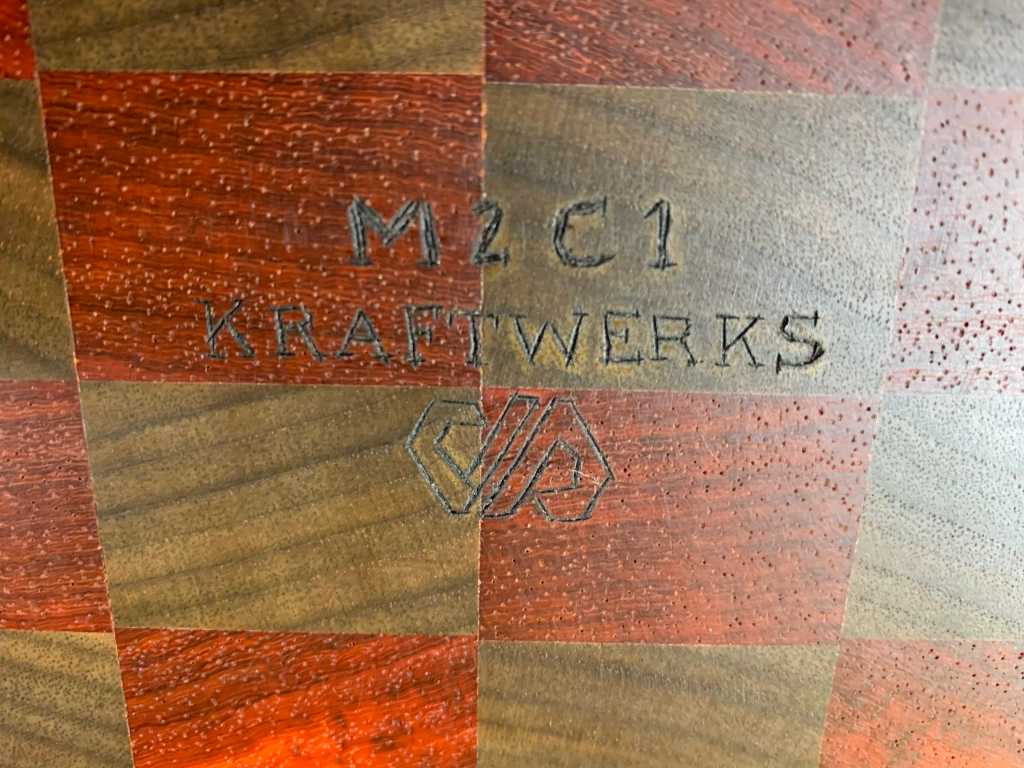
The boards are almost done! I add handles into the sides with my router, for easier lifting. There is usually a little extra sanding that needs to be done after this step, but it is usually minimal. I also like to wood-burn in our M2C1 Kraftwerks name as well as a JP initial to brand the board. I put that on the bottom side. Once that is done, I give them a good soak in some fractionated coconut oil and beeswax, layering it on thick and then leaving it for a few hours so that the board has time to suck up as much as possible. I then buff it to a nice glossy sheen. My last step, and it is very much a personal preference, I add some rubber feet to the bottom. I do this because I make these as a permanent fixture on the counter, and it is nice if it has a little grip to stop it from sliding around. It also helps keep the board out of any water or juices from carving meats. I personally haven’t done a juice channel in any of my boards, but I may try it out in the future.


I love the way this pattern turned out and already know that I will be making more of these with all sorts of wood mixtures. I am thinking I may try some charcuterie trays with this pattern and cut a handle in one end. The ideas just spiral out of control, especially now that my free-time is once again divided between the shop and the landscaping projects we have planned.

