
Before we could put our beautiful plants outside, we had a little prep-work that needed to happen. For the most part, the work that we did last year with irrigation and creation of areas for planting will stay in place, so that work won’t need to be done again, but maybe just modified a bit. The tomato area however did need complete overhaul.
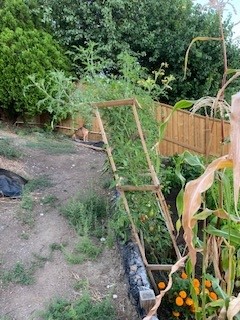
The towers that I built last year to help support the tomato plants were made from our old tomato towers and stood at approx. 6′ tall. once we had buried them into the ground for added support, they only stood about 5′ tall. They were made completely of 1″ x 2″ pieces of wood. This size wood worked fine when each tomato plant had their own tower, however, moving to the larger, multi-plant towers, the wood wasn’t strong enough to withstand the larger amount of weight.
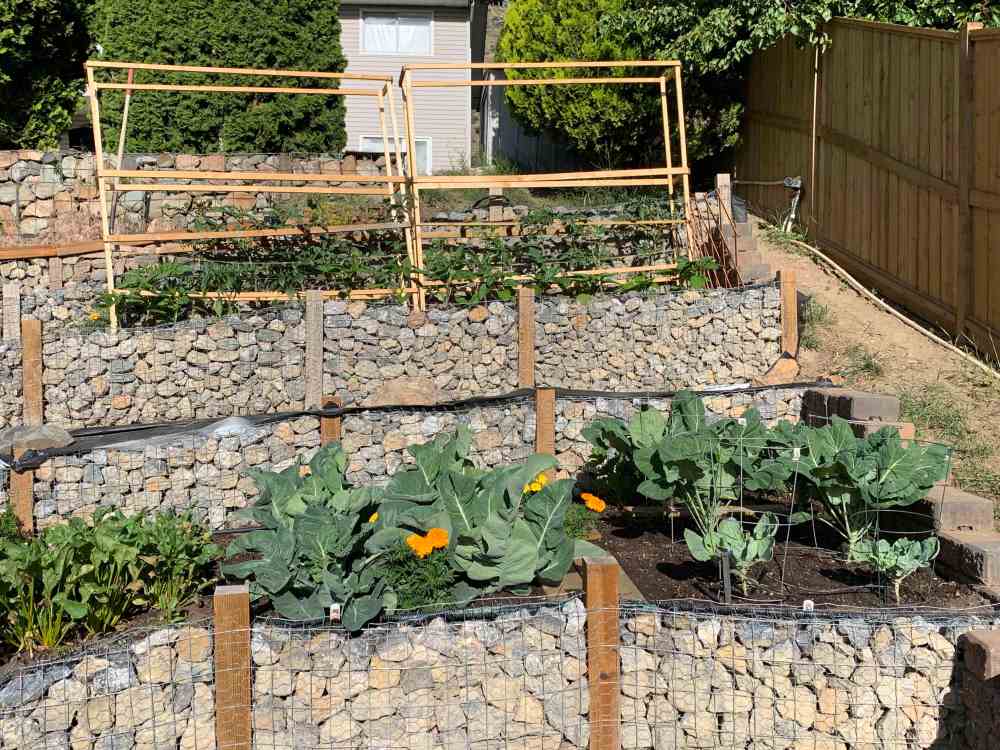
Our plants tend to get to be very tall, sometimes up to 9′ in height. When they did that last year, the flopped out of the top, creating quite a lean on the towers. Luckily the rock wall behind the towers is quite tall as well and provided support so that the towers did not tip over completely. They just had a drunken lean look to them for a good part of the summer.

I decided to upgrade portions of the towers for better strength and support. So much of the old tower wood was still in such good condition, that I was able to still re-use parts of our old towers for the cross-beam sections and the smaller dividers that provide a specific space for each plants stem to grow up through. The up-rights (legs), I changed out for 2″ x 2″ x 8′ pieces of wood. I wanted them to be a bit taller to support the large height we get, and the thickness will hopefully stop them from tipping and bending.
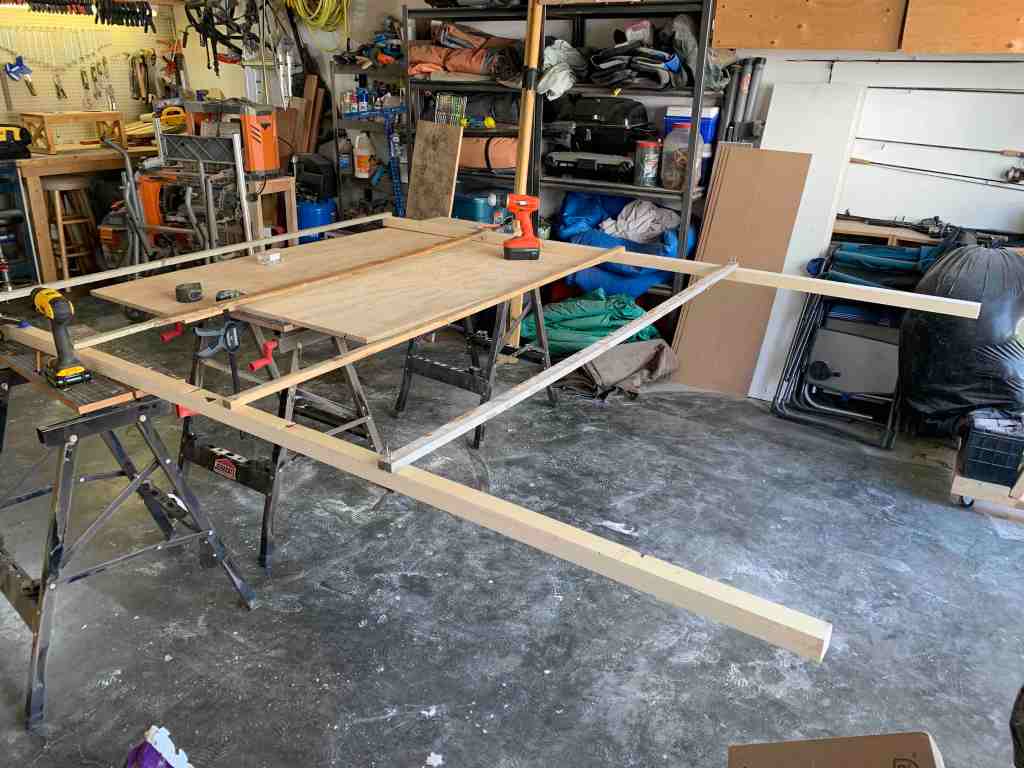
I realized after I started that I only had one 2″ x 2″ x 8′ piece of wood. I really didn’t want to go and buy a bunch of wood because it is still so ridiculously expensive. So I checked what other wood I had and found a few 2″ x 10″ x 8′ boards that I had purchased quite a while ago and have never used. I have actually forgotten the purpose of the purchase. I believe I was making some heavy duty little stools for one of my co-workers with some of them. Anyway, they were perfect! I took out the table saw and ripped down the 7 pieces that I needed for the towers.

Once I had the uprights cut, it was just a matter of assembling since all the other pieces were already at the right lengths. They also conveniently already had screws pre-drilled into them from their last structure. Putting them together ended up going faster than I expected. Especially since I thought ahead and moved the boat out of the shop so that I could setup a table to do all the work on, helping save my back and knees. Had I not had the table, I would have been scooting around on the ground in the backyard to assemble the towers. Though, the final assembly, I did find easier to just do in the yard, so there was still some scooting done.

They were much bigger than I had envisioned. I am not sure why, I could clearly see how long my 2″ x 2″ x 8′ boards were, but they still shocked me a bit once I stood them up. I am sure if any of our neighbours were around, they were likely wondering what the heck I was working on. But at least I had a good amount of leg that could be buried in the garden to help give it stability.

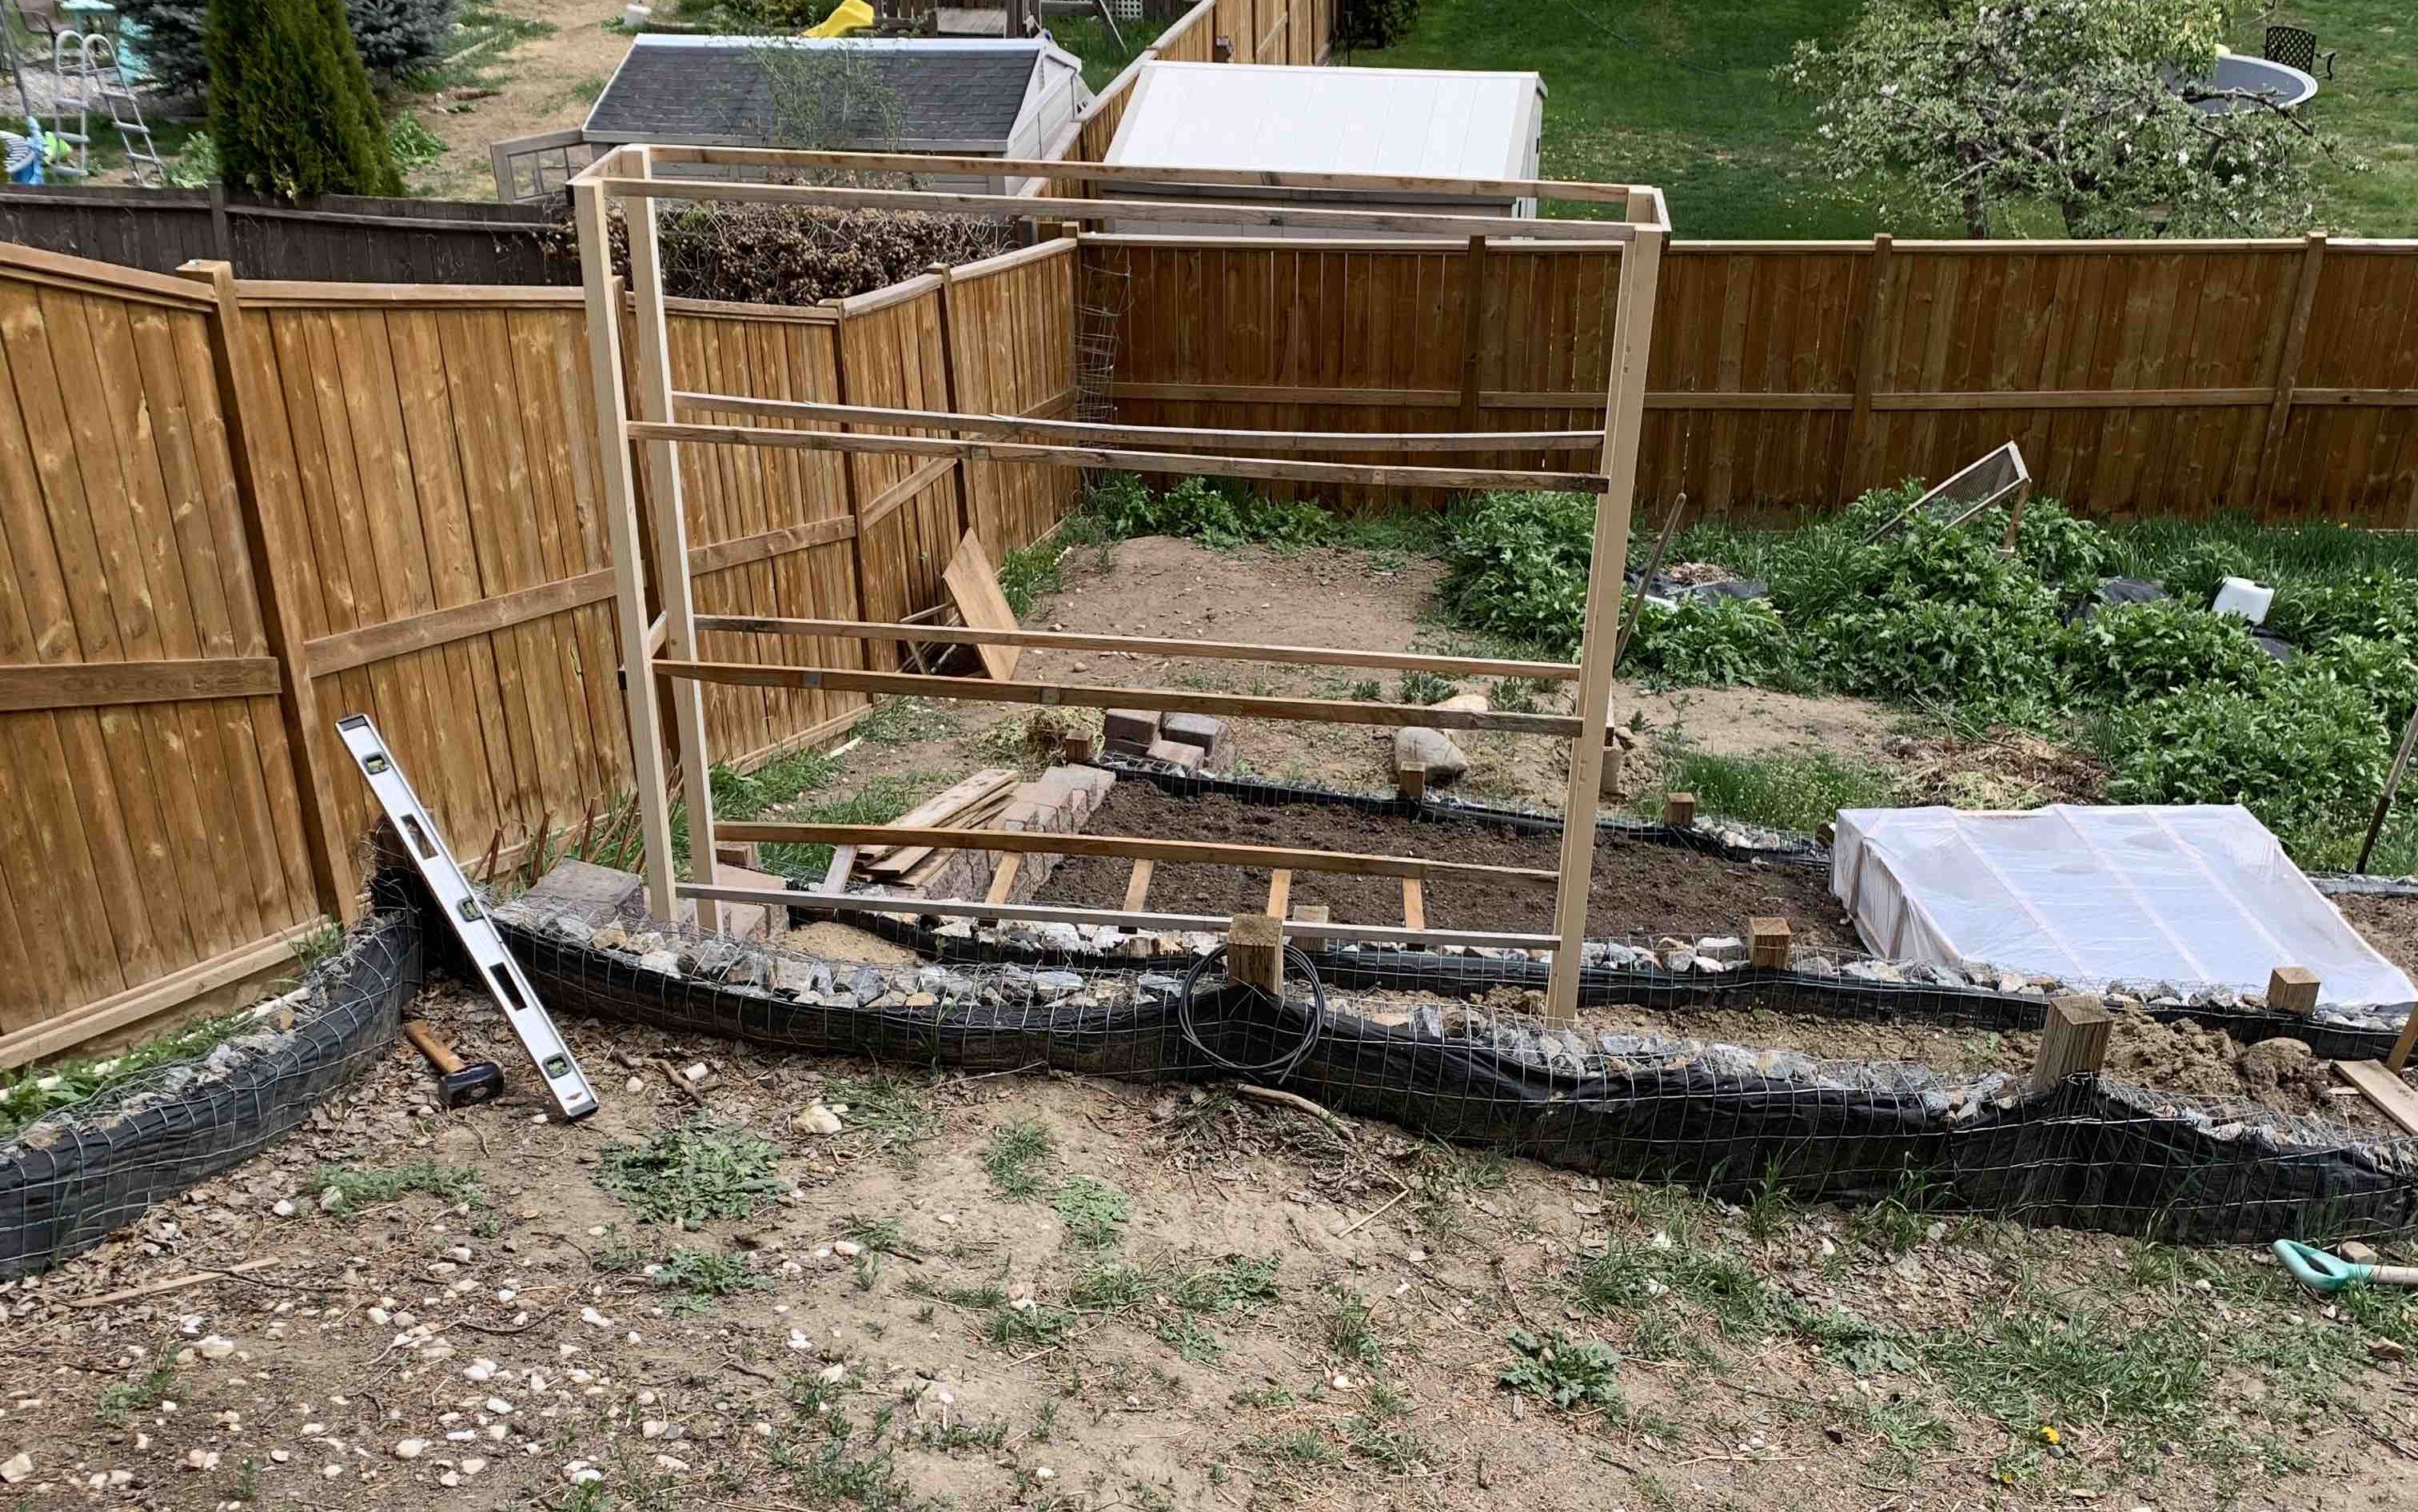
Once I had the 2 towers put together, I went and dug some trenches in the garden where the legs were going to go. I planned to put them at least a foot deep into the ground. I didn’t even mind if they went a tad deeper. Once I had the trenches dug, it was time to put the stands into the ground. That was fun, and had Kurt been home, I would have had him take a picture. They are pretty lightweight, so I could carry them by myself, they are just large and difficult to manoeuvre…but I managed, I just didn’t get a photo of how ridiculous it must have looked. Especially when it was time to lift them over the wall and lower them down into the trenches I had dug.


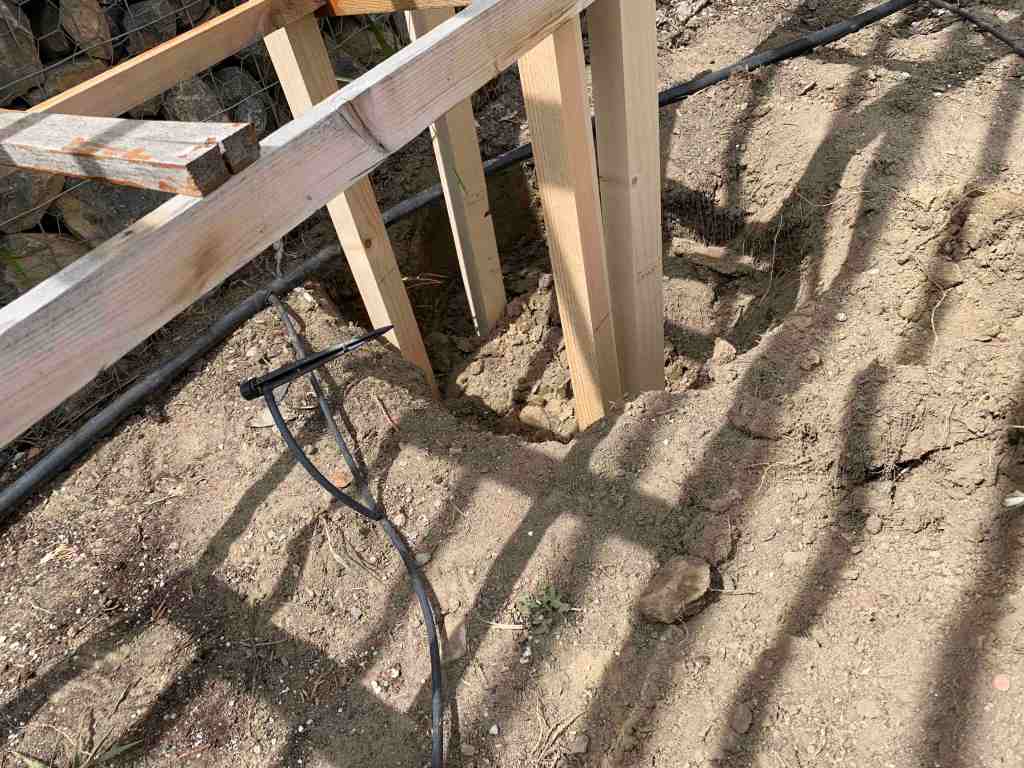
The garden bed slopes slightly, but does have a fairly level spot at the top where the tomato towers go. Last year, I hadn’t checked the levelling of the towers, so that may have also played a role in the towers tipping. This time I grabbed our small sledge and the level and made sure that they were nice and level. Using the sledge to level them also helped drive them a little deeper into the ground. Once I had them how I wanted them, I back filled the trenches around the legs and pounded down the soil for a firm hold.
Taking a step back, they are monstrous! But once our plants get nice and tall, they won’t be so crazy looking….hopefully! This year, we will also top the plants once they reach the top of the tower so that they don’t grow too far past the top. This will also help the plant focus on the fruit rather that continuing to put effort into growing the stem. We would also like to not have to duck going up our path, with the tops of the tomatoes bent over and reaching way out.
We have never topped our tomato plants before, so this will be a first for us. I am curious to see how it works out. In past years, we have had a lot of green fruit left on the plants when it is time to remove them. I usually ripen them in the house and then can them for soups or pasta sauce. If we time it right with our topping this year, then we should hopefully reduce the amount of green tomatoes we have at the end of the season, or at least that is what the literature says. We will see. Either way, it will be nice to have the plants stick to about 7′ in height and fit nicely in the towers.
Next step, getting the tomatoes and our other plants into the garden!

