Strawberry jam has been on of my go-to canning recipes that I make either once a year or sometimes every other year depending on how many other jams I have made. Well, it is that time again, where I need to make another batch. This one is slightly different, since I decided to mix the wild strawberries with the ever-nearing strawberries from our tower. It is super easy and well worth the time.

INGREDIENTS
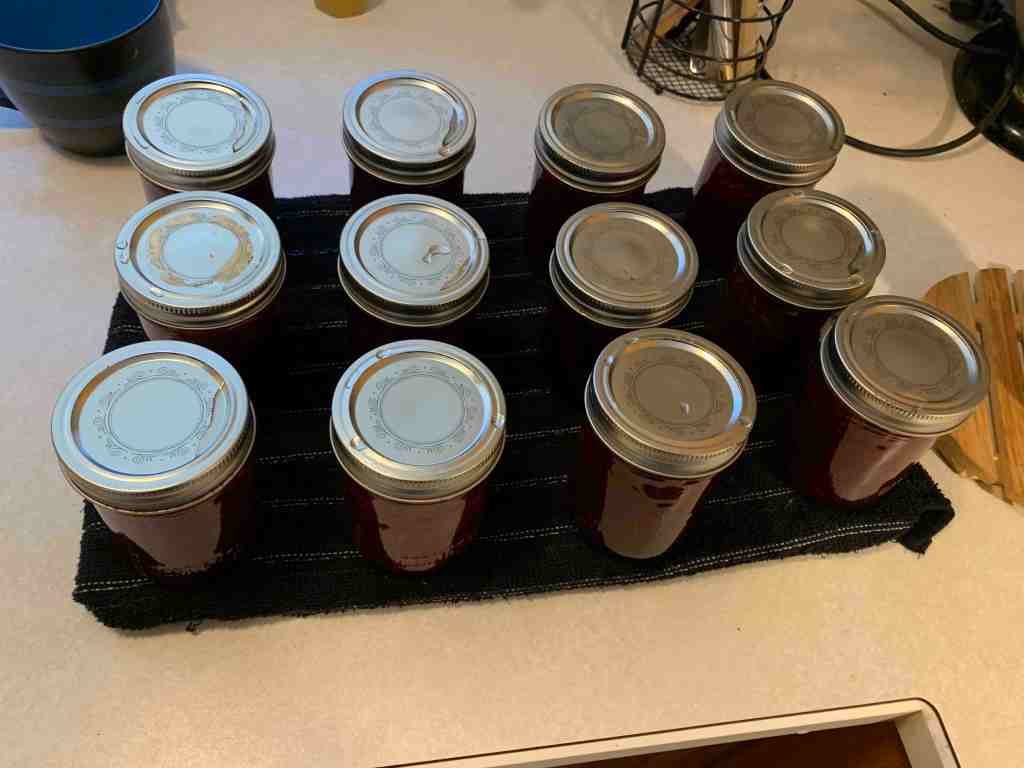
*Makes about 12 1/2 pints.
- 8 cups strawberries (your choice of variety – I used half wild and half ever bearing)
- 7 cups sugar
- 1 packet liquid pectin
- 1 lemon juiced and zested
Directions
- Place a small plate in the freezer.
- Get a water bath pot going so that the water is at a soft boil by the time your jam is ready.
- Wash and cap all of your strawberries. Even if store-bought, give them a good rinse to ensure you get any debris or other bits off the strawberries.
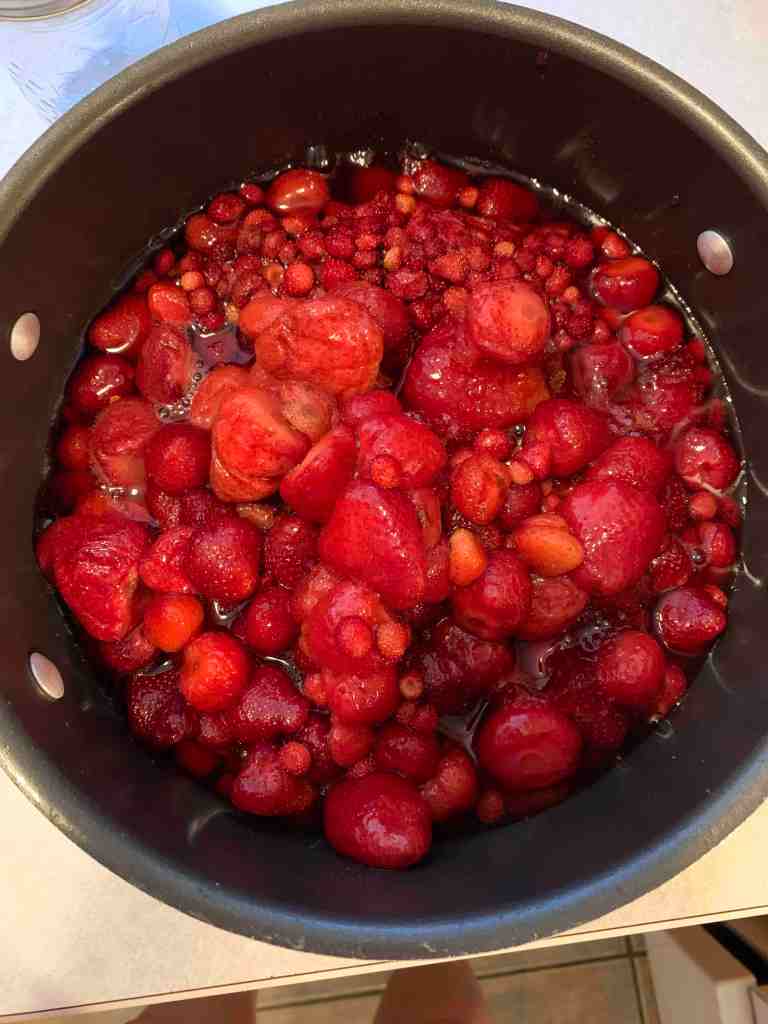
- Place all your strawberries into a large saucepan. Note that as it cooks it does expand so you do want extra head room in the pot.
- Mash the berries until a desired consistency. I personally like to leave some chunks, but if you like smooth jam, then you will want to mash the berries well.
- Add lemon juice, zest and pectin to the pot. Bring to a boil.
- Once boiling, add the sugar and stir to ensure it is all mixed in well and you don’t have any dry clumps. Bring back to a boil.
- Once at a hard boil, let it boil for 2 minutes, stirring regularly.
- Test the gel of the jam by adding a light smear of jam onto the plate you placed in the freezer. Let it sit for at least a minute, then using your finger, gently push the jam. If it has a bit of a skin and wrinkles, you are at a good gel point. If it does not, put the plate back into the freezer and continue to boil for another minute or two before testing again.
- Once the jam has reached the gel point, remove the pot from the heat and gently skim the top to remove the foamed top.
- Spoon jam into prepared jars. Tighten the lids only so that they are snug. It does not need to be super tight or you risk the wax not sealing properly.
- Place in a water bath for 10 minutes.
- Remove from the water bath and let cool on a wire rack. Listen for the pop of the lids! Leave to cool and set for 12 hours before moving to a cupboard.