
SUCCESS! I had a successful fail with these bagels a few weeks ago, and managed to find time to re-try with some significant changes to the process and recipe. The last batch was good, but these ones are glorious! The best part, they can be done in a single day. Let’s jump into it.

INGREDIENTS
STARTER – Makes approx. 200G
- 40 g starter (unfed)
- 80 g bread flour
- 80 g warm water
DOUGH
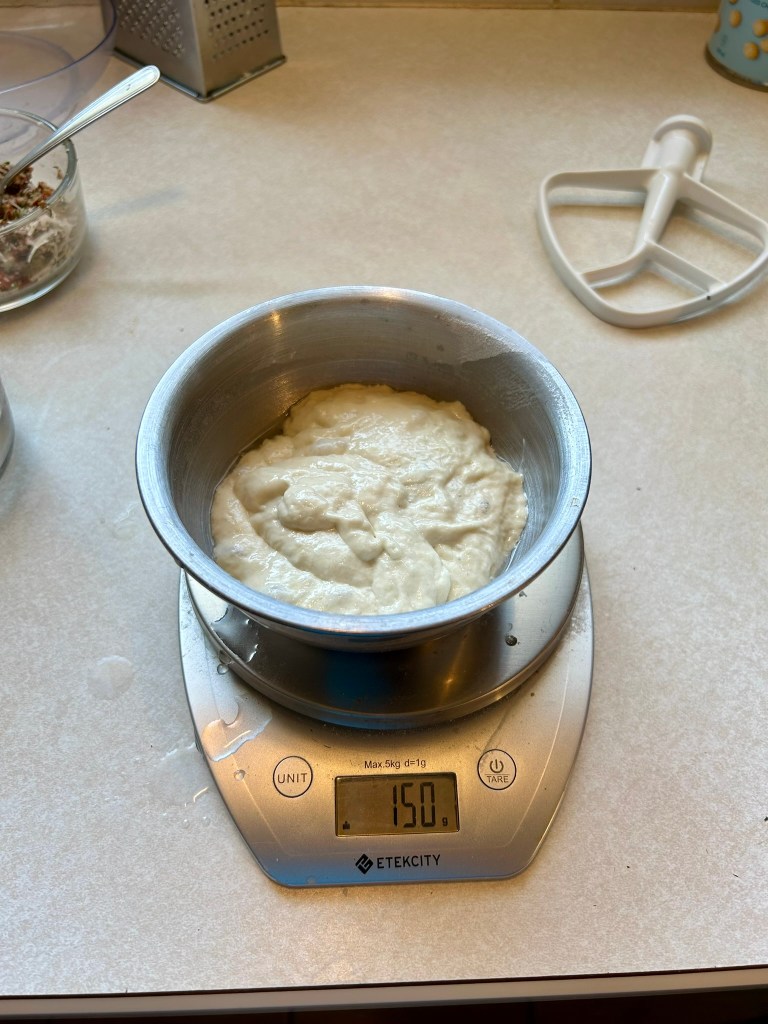
- 150 g of above noted fed starter, double or tripled in size
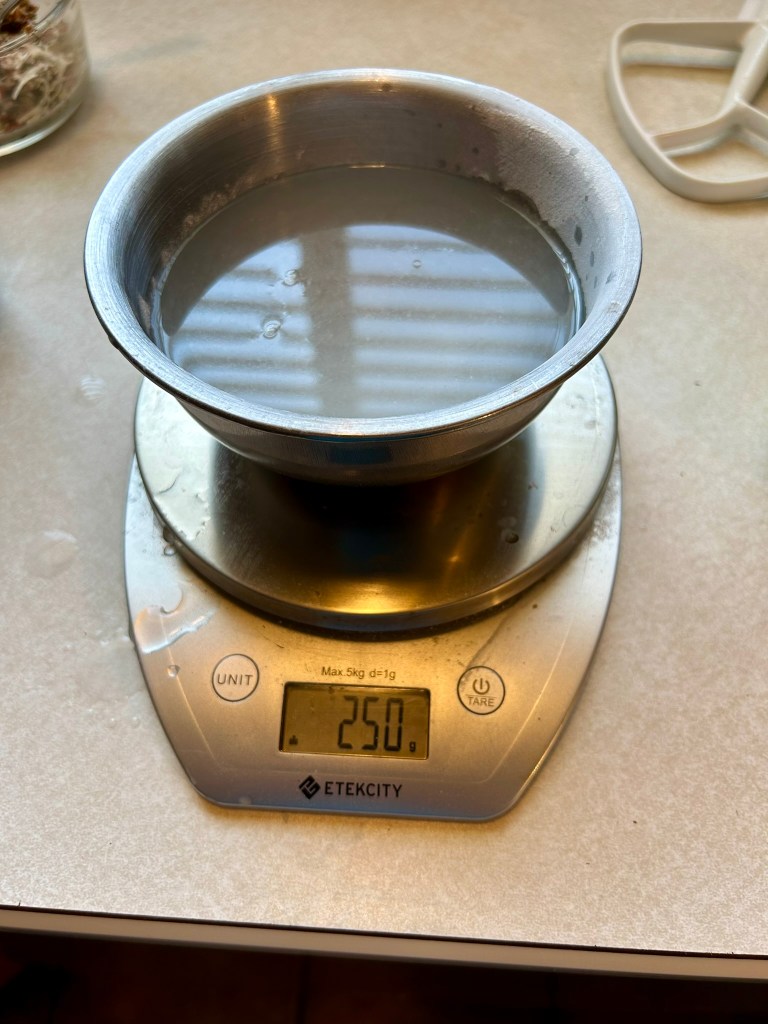
- 250 g warm water
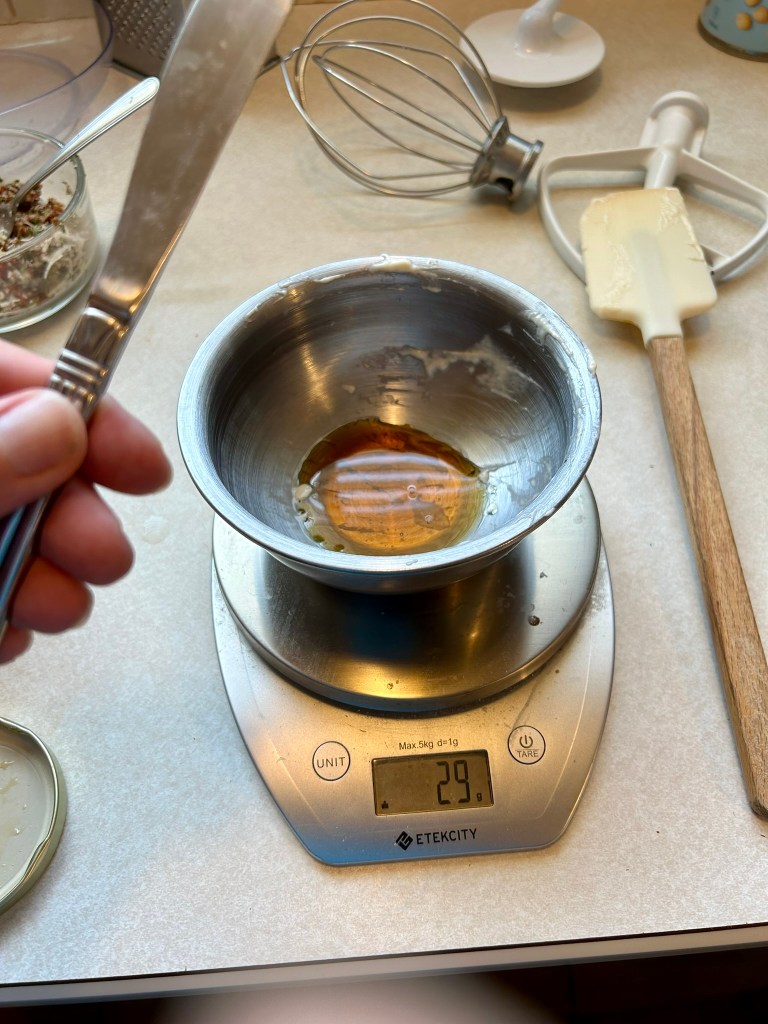
- 28 g honey or maple syrup
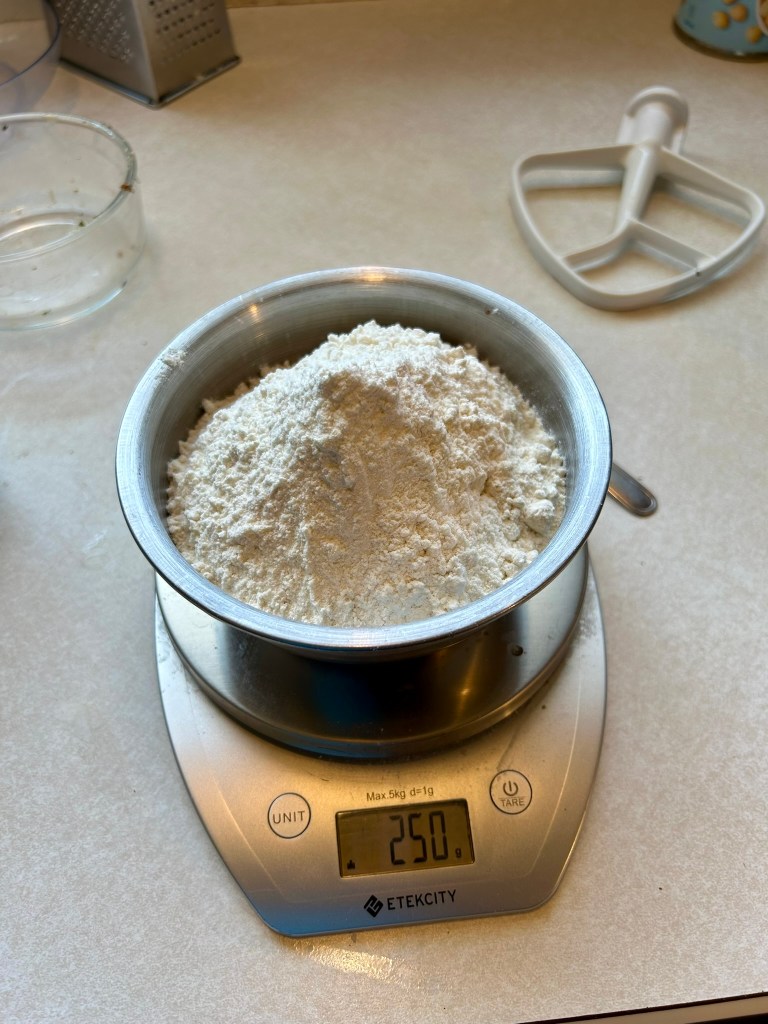
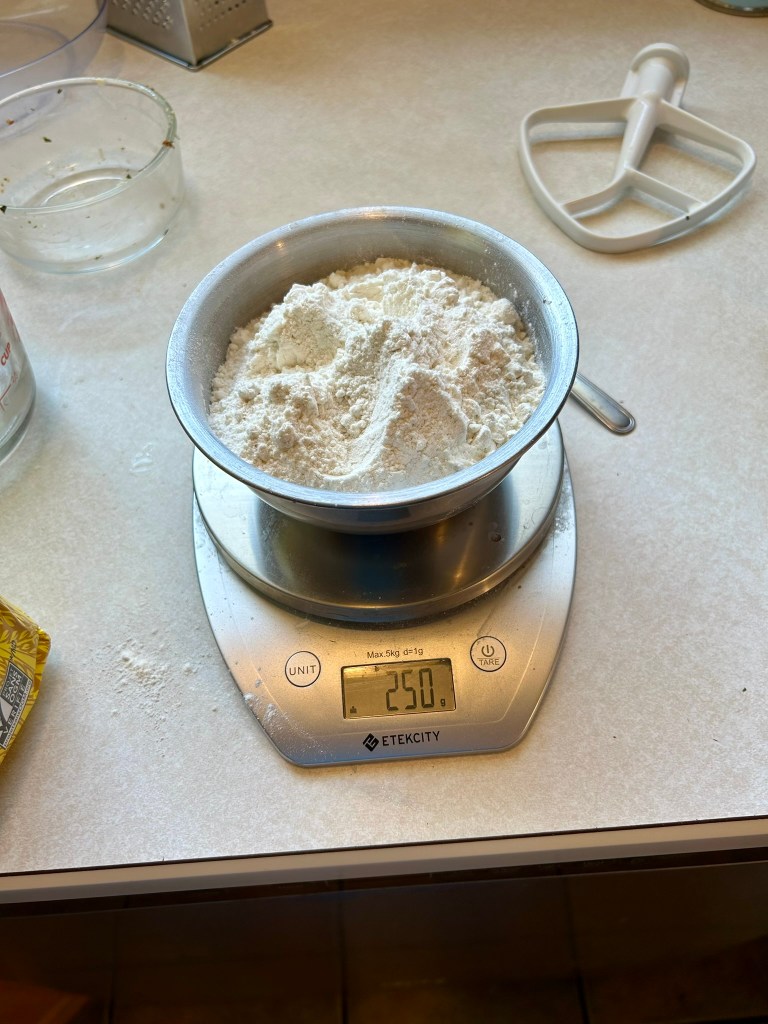
- 500 g bread flour
- 10 g sea salt
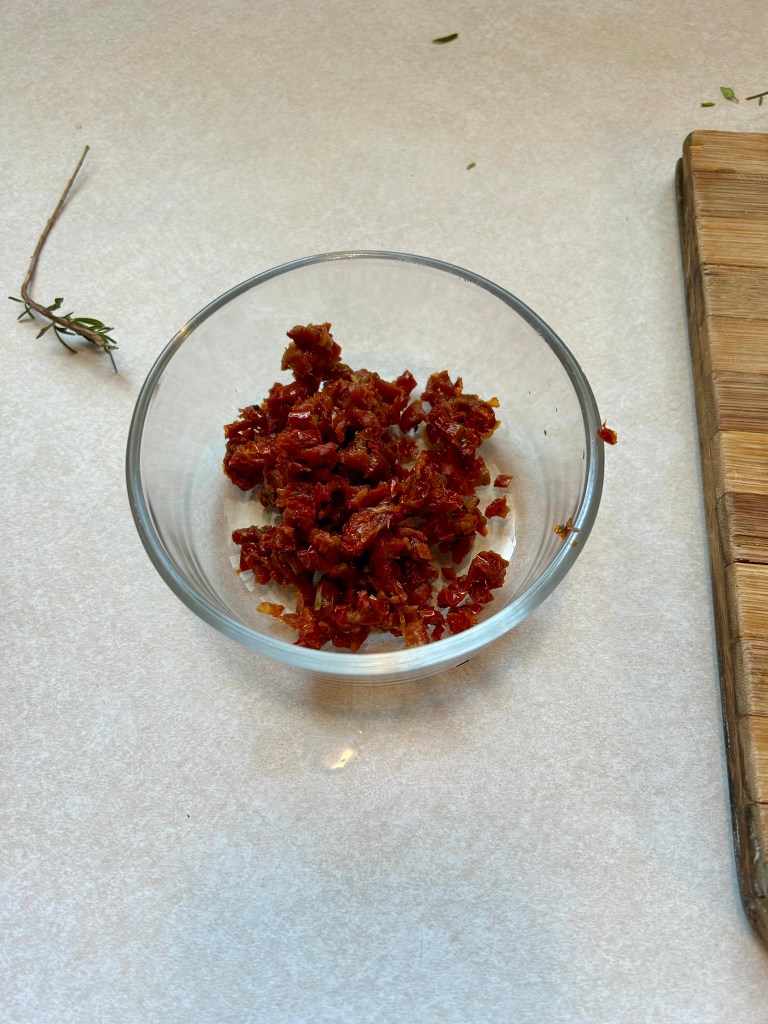
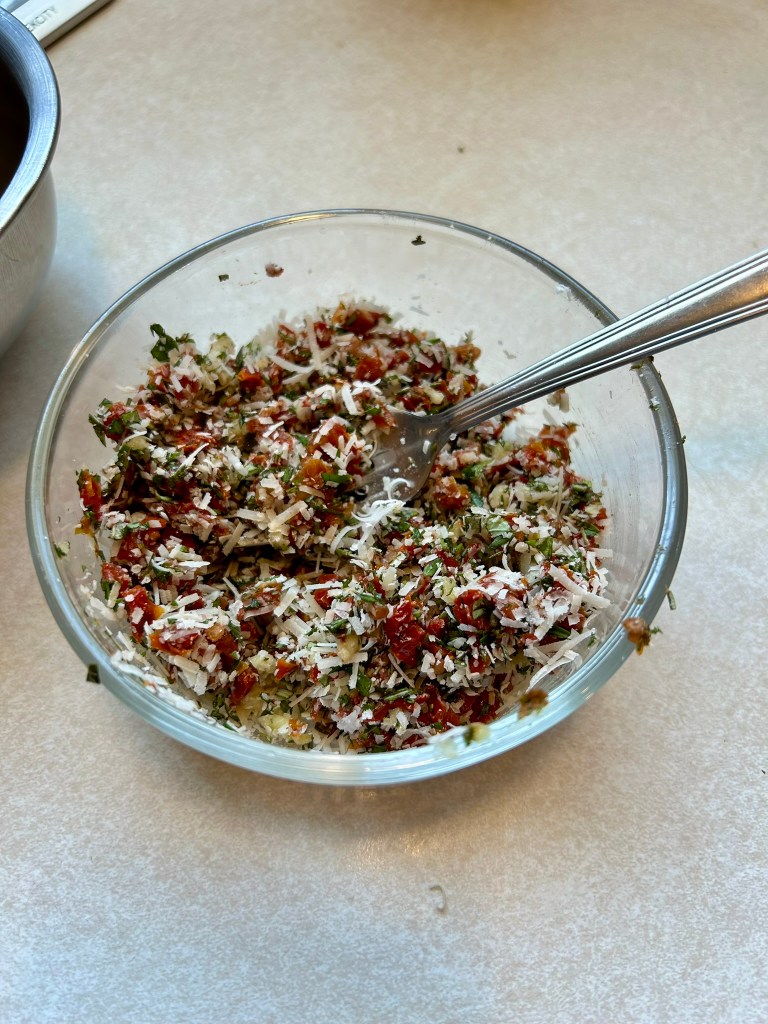
- 200 g sun-dried tomatoes – finely chopped
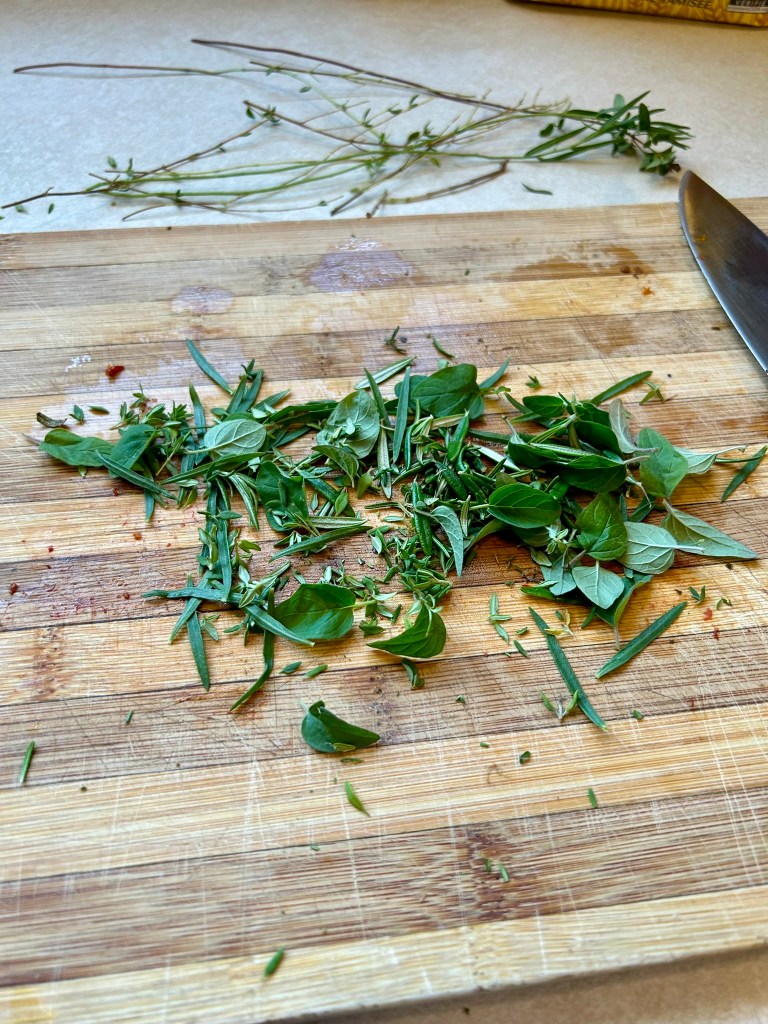
You can use sun-dried tomatoes in oil, just let them sit on paper towel for a bit, and dab off most of the oil. - 10 g mixed herbs finely chopped – Fresh preferably, but dried is also fine.
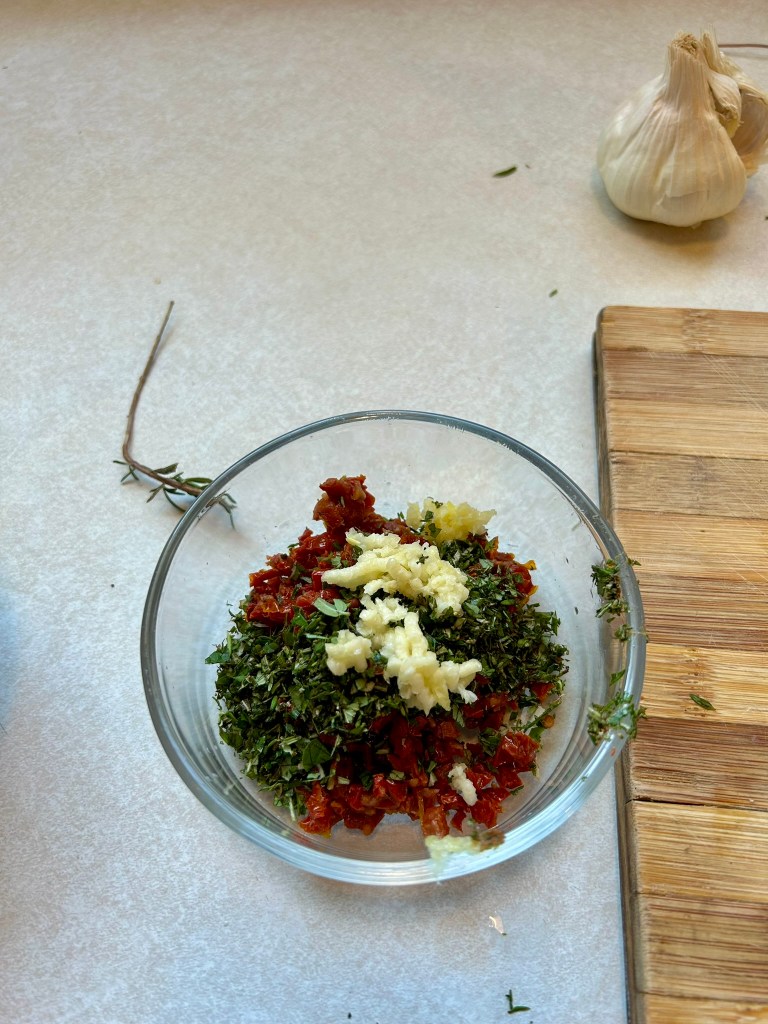
I used 2 g tarragon, 2 g rosemary, 2 g thyme, 2 g oregano & 2 g basil – all fresh cut from the garden - 4 gloves garlic
- 30 g grated asiago
WATER BATH
- Large pot of boiling water
- 1 tbsp baking soda
- 1 tbsp sugar
DIRECTIONS
*NOTE: To manage this in a single day, start first thing in the morning. I started at 6 am and finished at 7:45 pm.
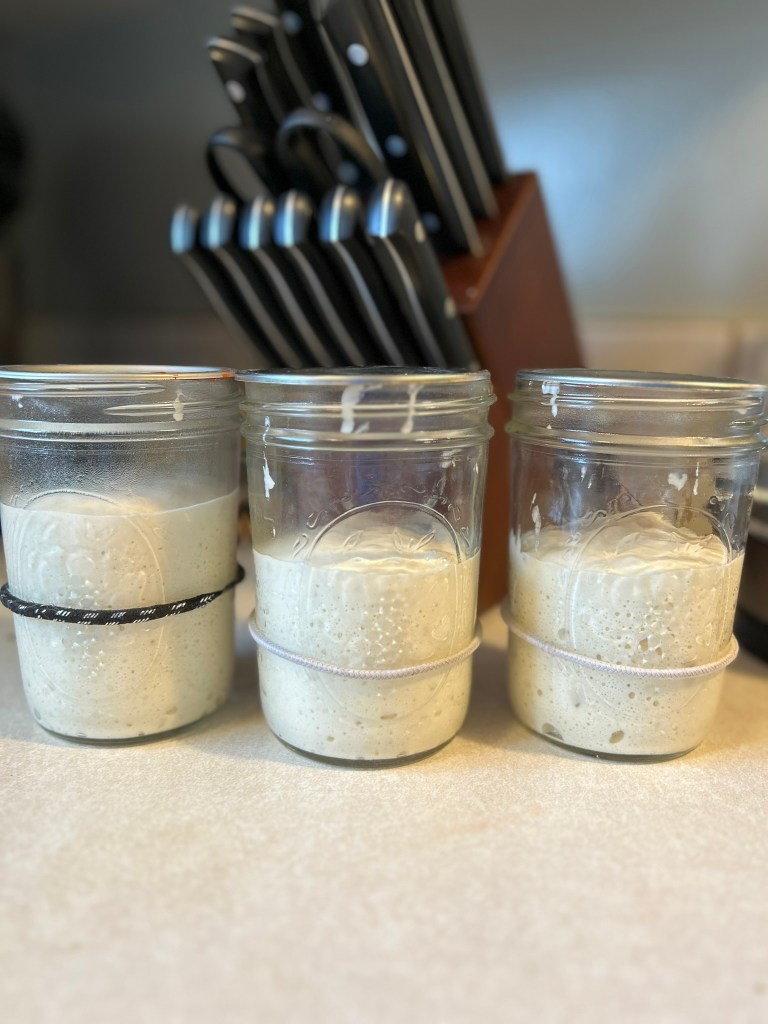
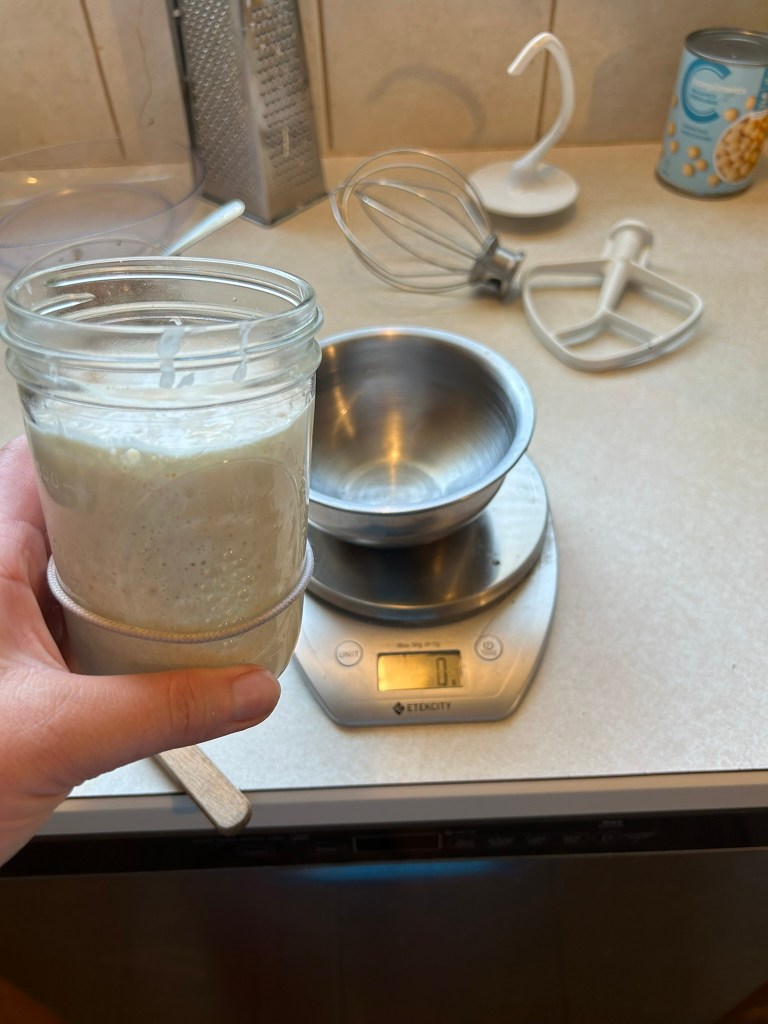
MIXING THE STARTER
- Using a kitchen scale weigh your unfed starter, water & flour.
- Mix thoroughly and place in a jar to rise. Ideally, it should be at least double, if not triple, in size. Approx. 3-4 hours depending on the temperature of your kitchen.
MIXING THE DOUGH
- Using a kitchen scale, weigh fed sourdough starter (150 g), water (250 g) and honey/maple syrup (28 g) to a stand mixing bowl and whisk until combined. If you don’t have a stand mixer, whisk by hand.
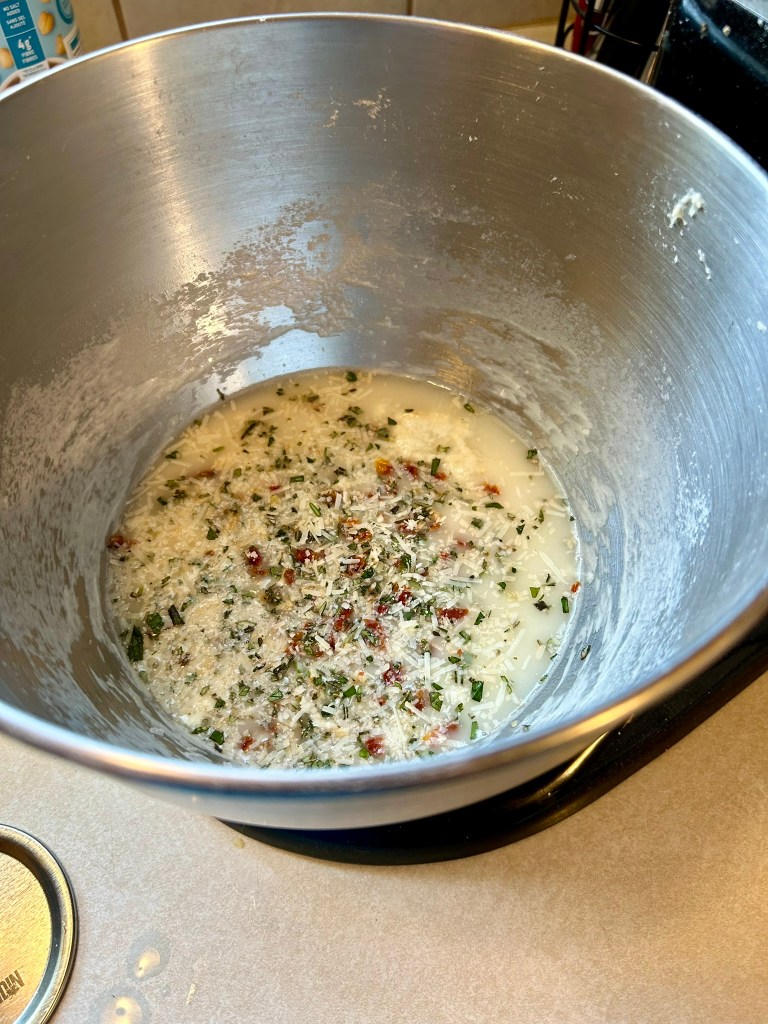
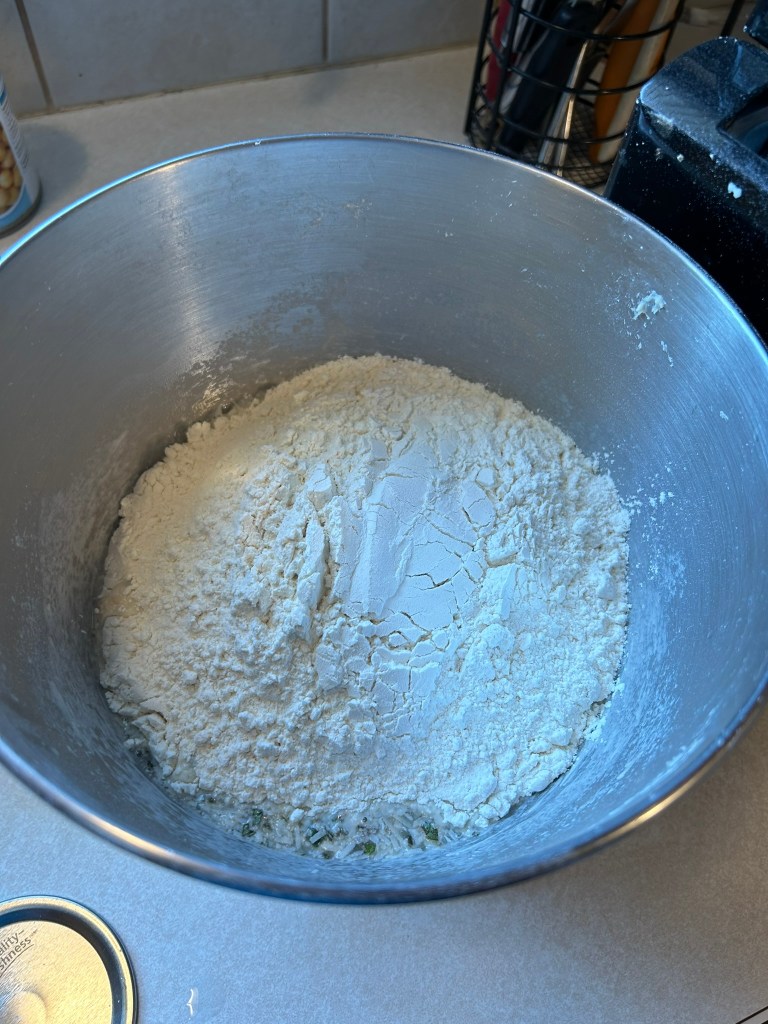
- Add bread flour (500 g), sea salt (10 g), sun-dried tomatoes (200 g), mixed herbs (10 g), garlic (4 cloves) & grated asiago (30 g) to the mixing bowl.
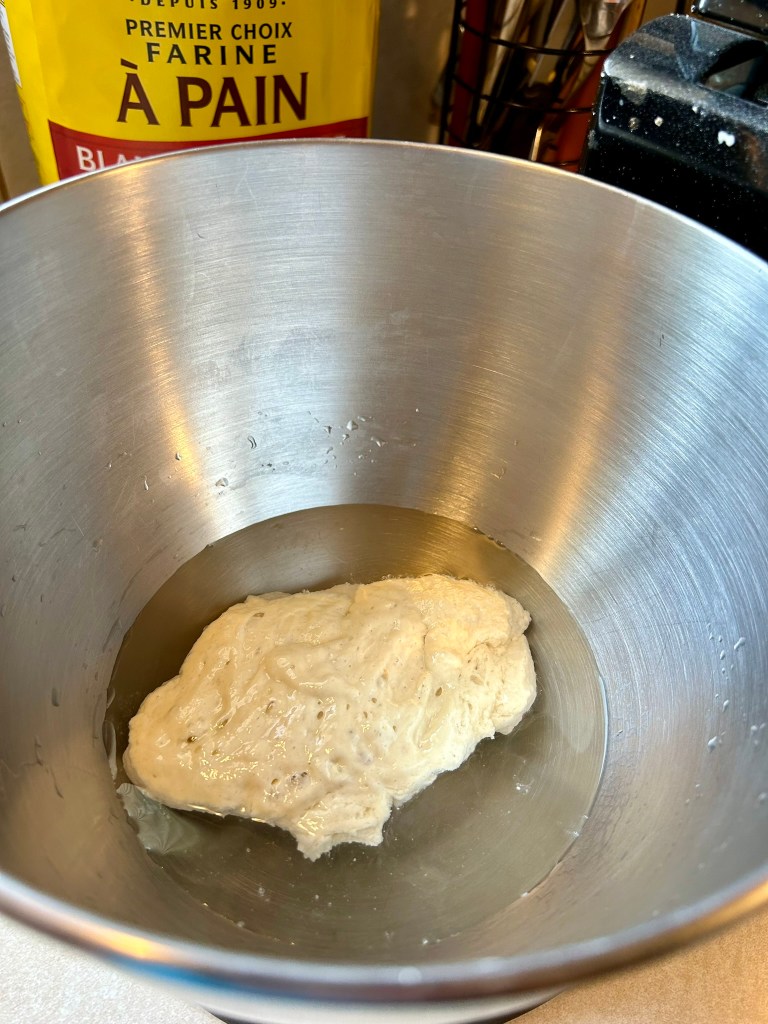
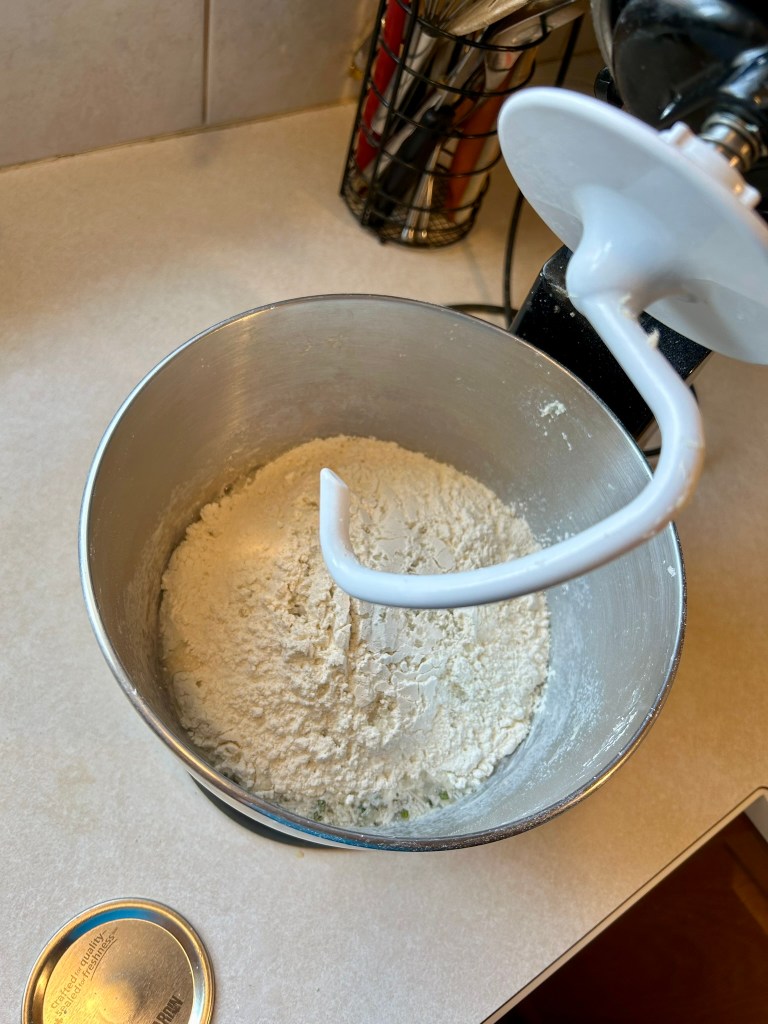
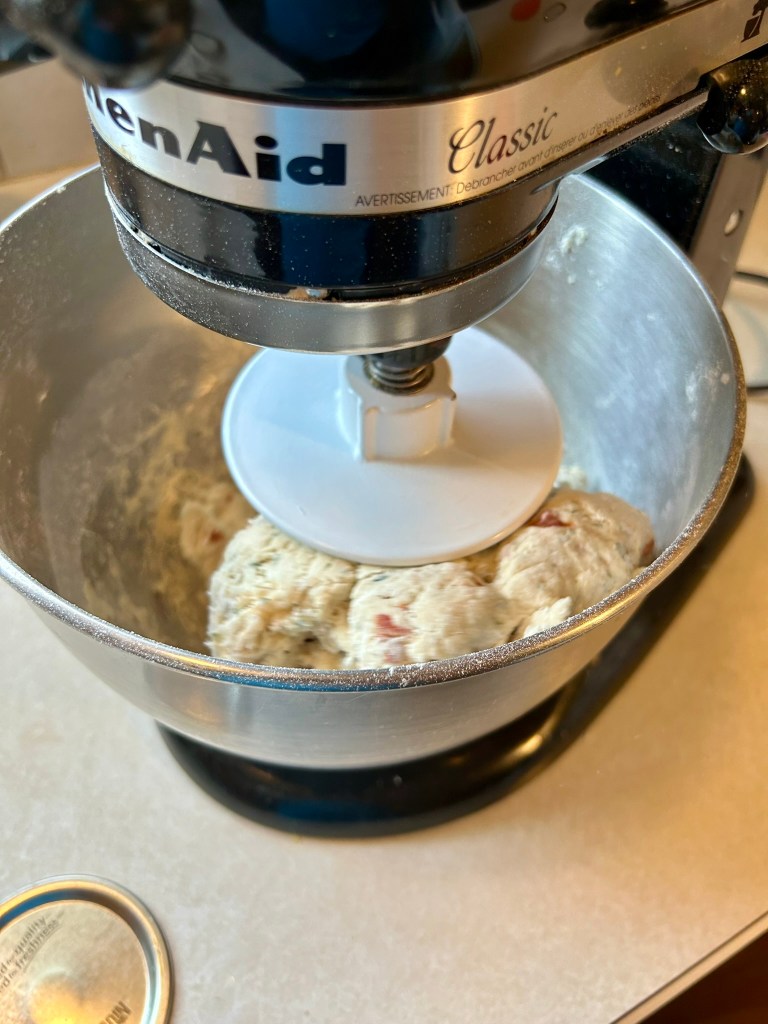
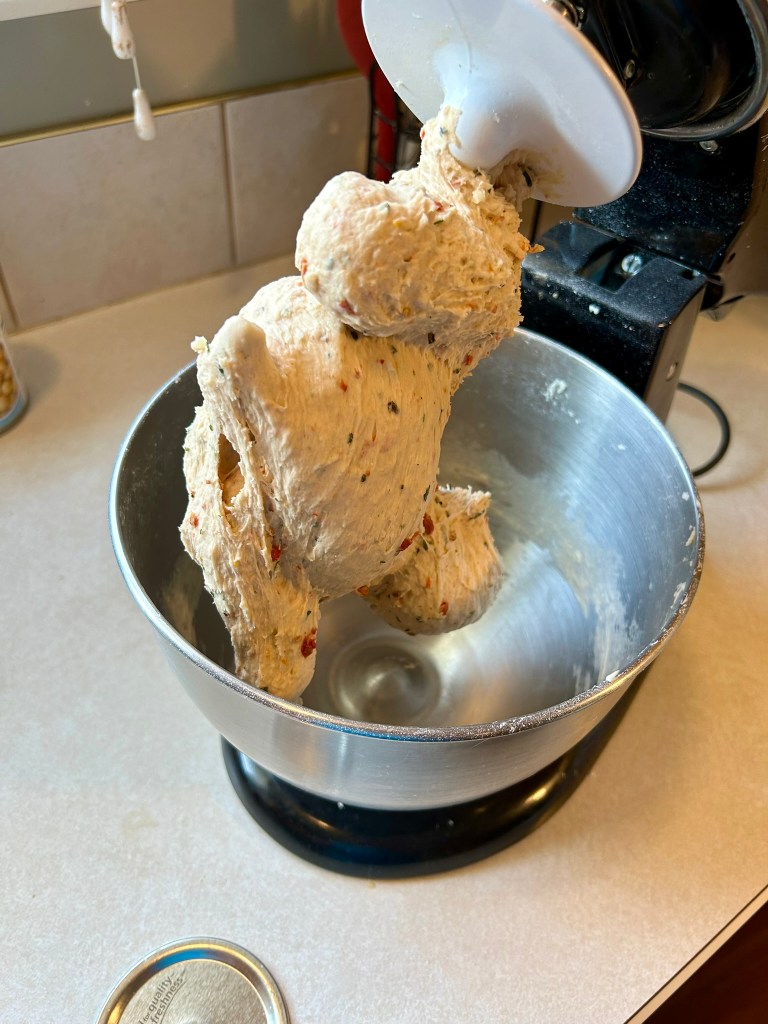
- With the dough hook attachment, slowly mix until the dough comes off the sides of the bowl. If you don’t have a stand mixer, knead the dough until it is smooth.
BULK RISE
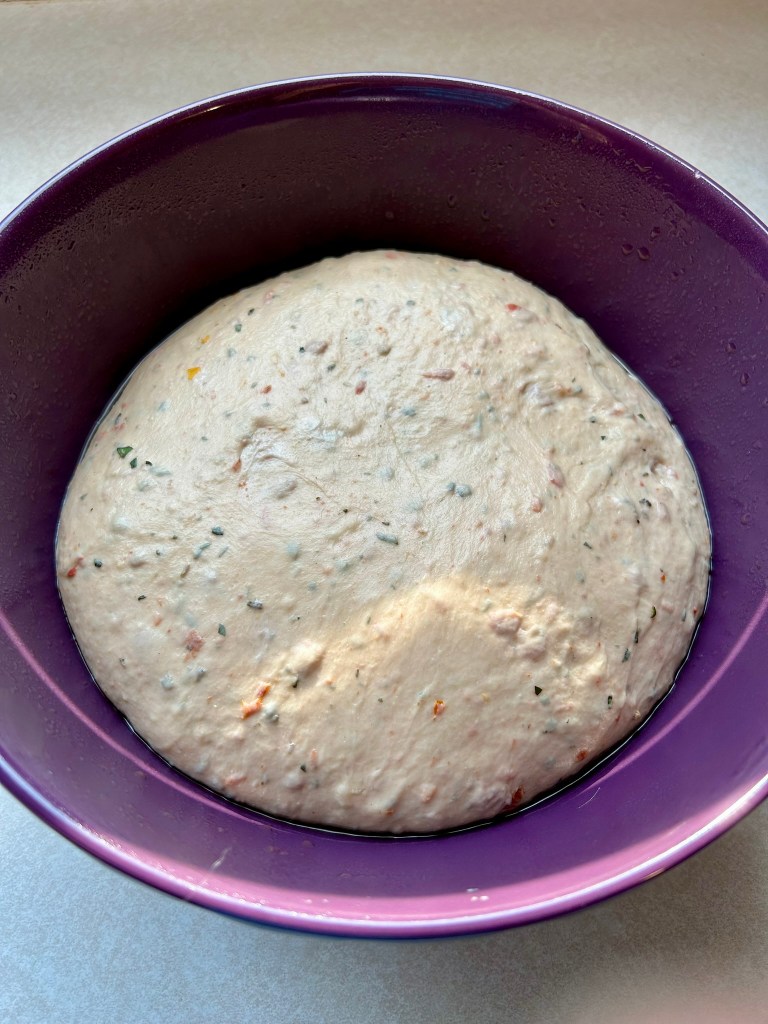
- Spray a bowl lightly with some oil and place your dough in a ball in the bowl. Cover with plastic wrap and let the dough sit for approx. 5 hours, or until it has doubled in size. Times may vary depending on the heat of your kitchen.
SHAPING
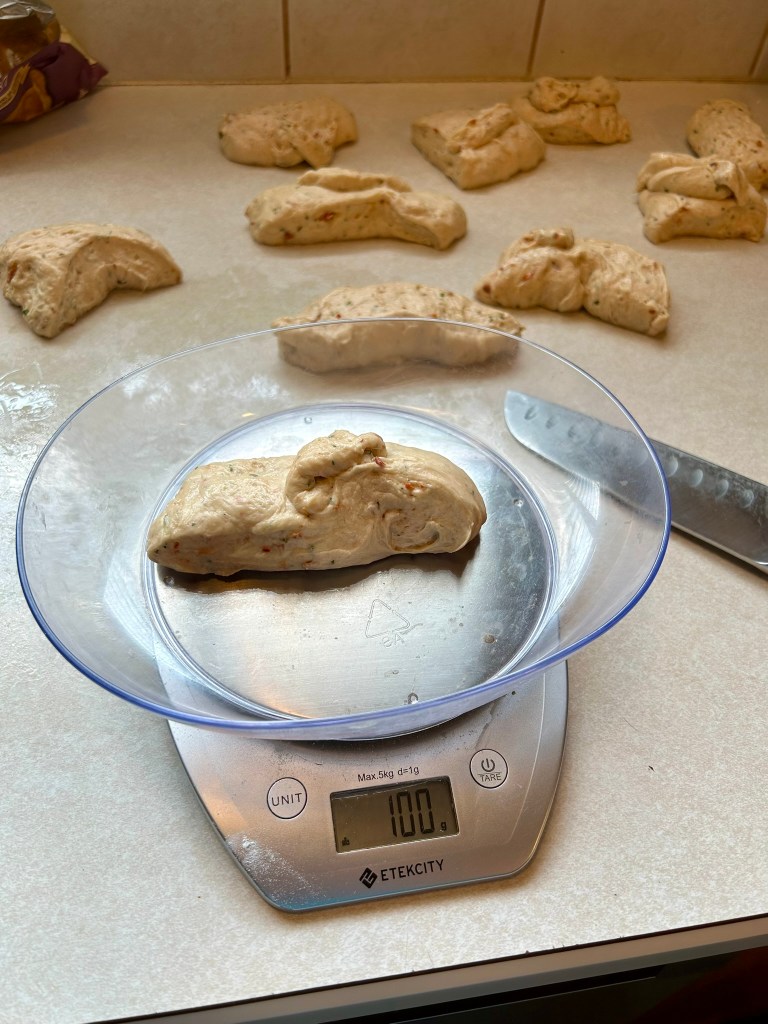
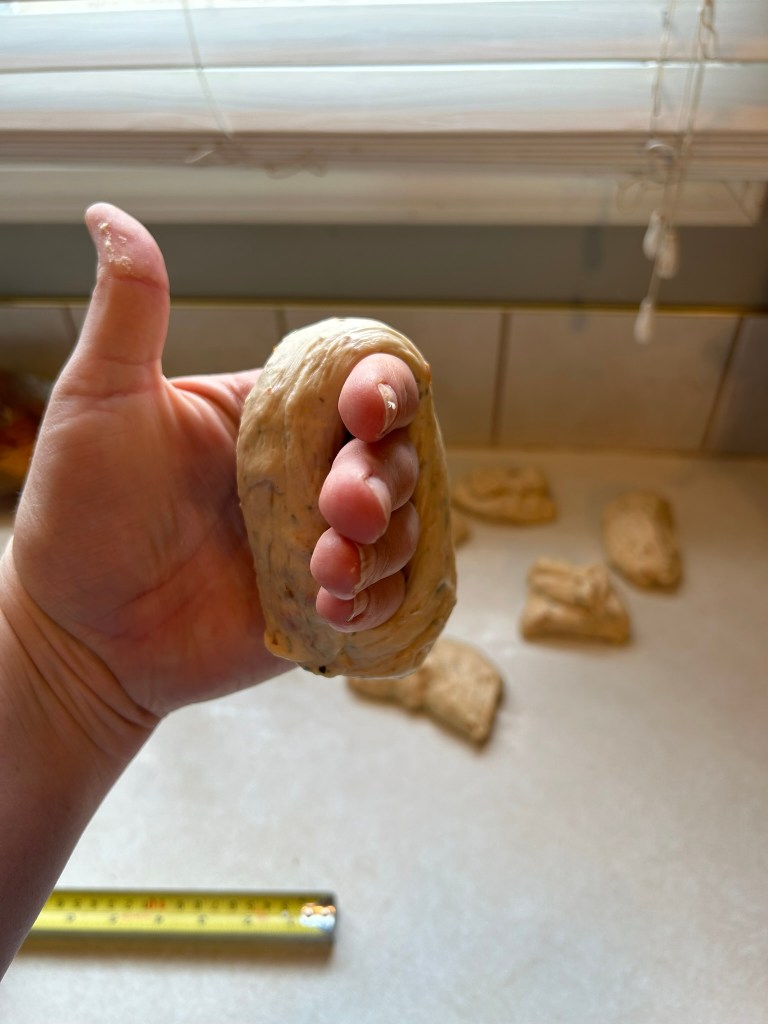
- Place the dough on a clean counter, without flour. Using a kitchen scale, weigh out 100 g portions. You can also eyeball it and cut your dough into roughly 10 roughly equal portions.
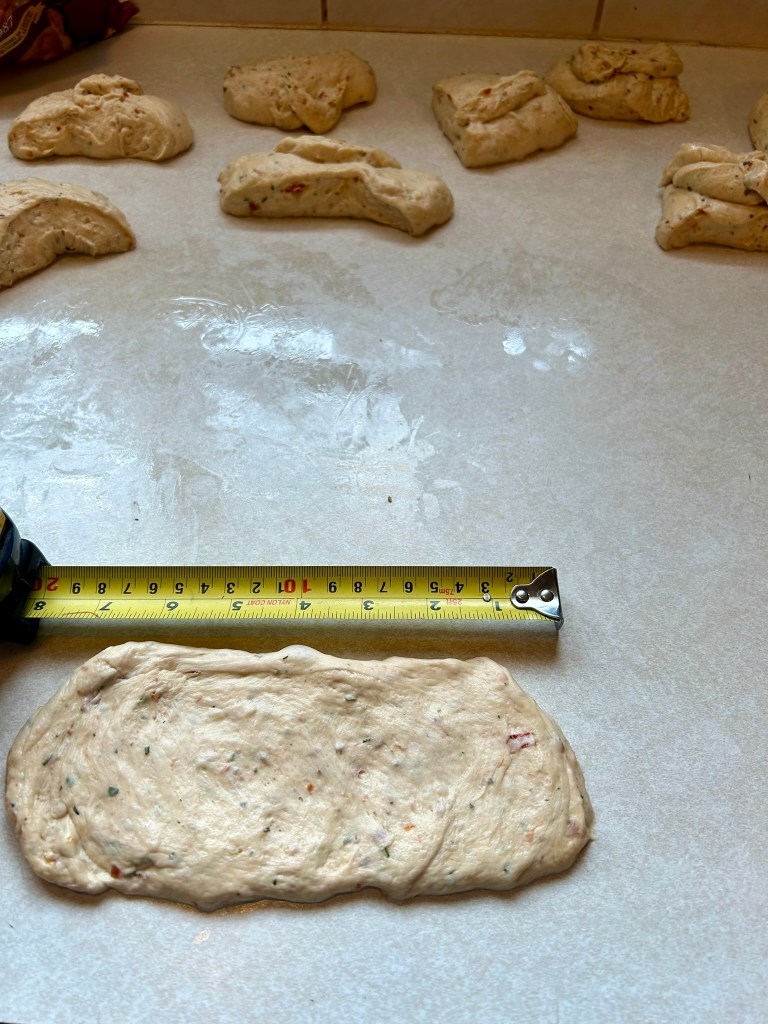
- Grab a portion, and using your fingers, carefully stretch the piece to a rectangle that is approx. 4″ x 8″. Roll from the bottom to the top so that you have a long, tight log. Pinch the seam shut.
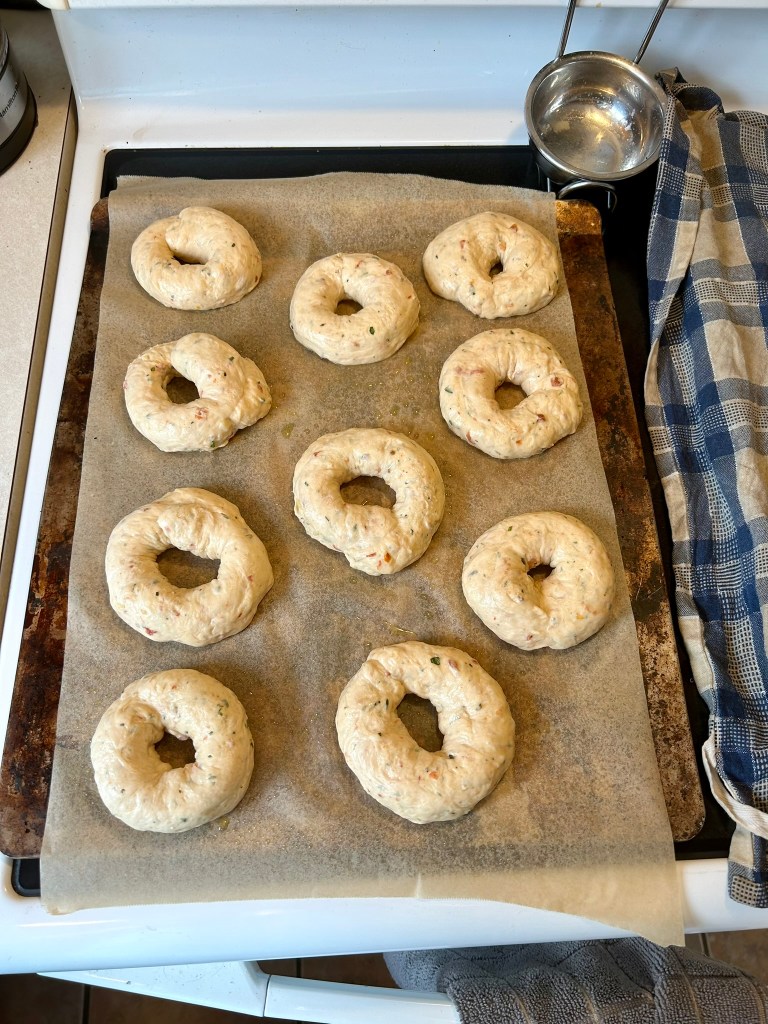
- Roll the log around your fingers to create a circle. Pinch the ends together and place on a parchment paper or silicone baking mat lined baking sheet. Repeat until all of the dough has been shaped.
SECOND RISE
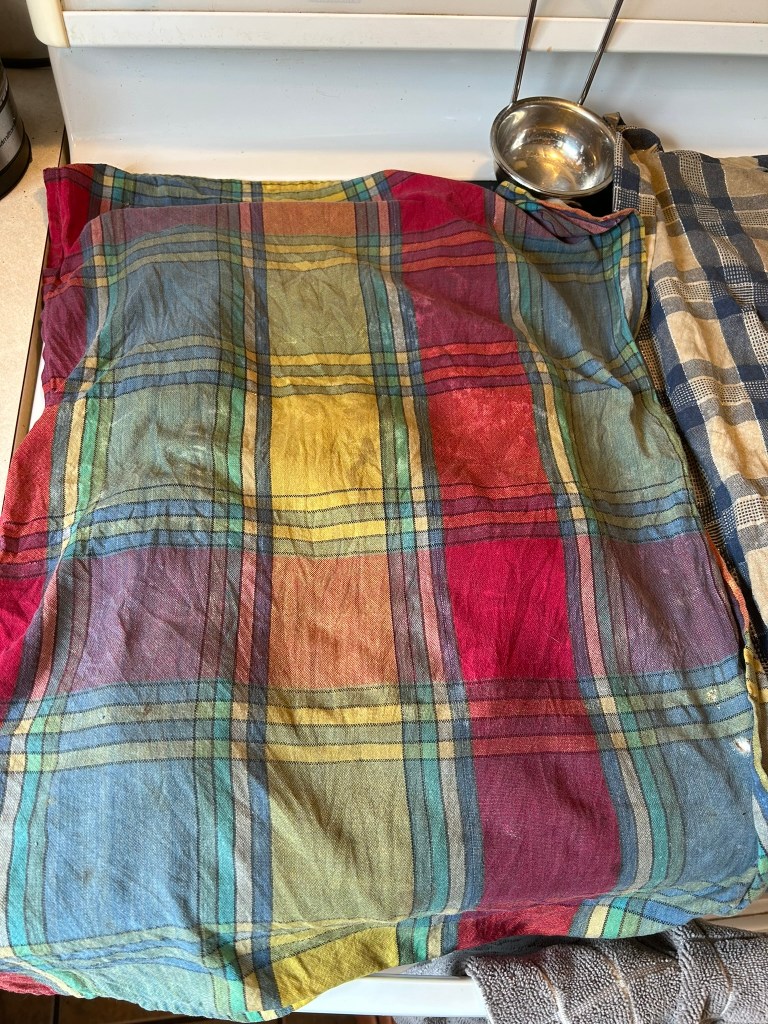
- Cover with a slightly damp, lightweight, tea towel and let the bagels rise until the dough is slightly puffy. They do not need to double in size. This will take approx. 30 minutes to an hour.
- When the dough is starting to look puffy, preheat the oven to 425*C.
- Boil a large pot of water with baking soda (1 tbsp) and sugar (1 tbsp).
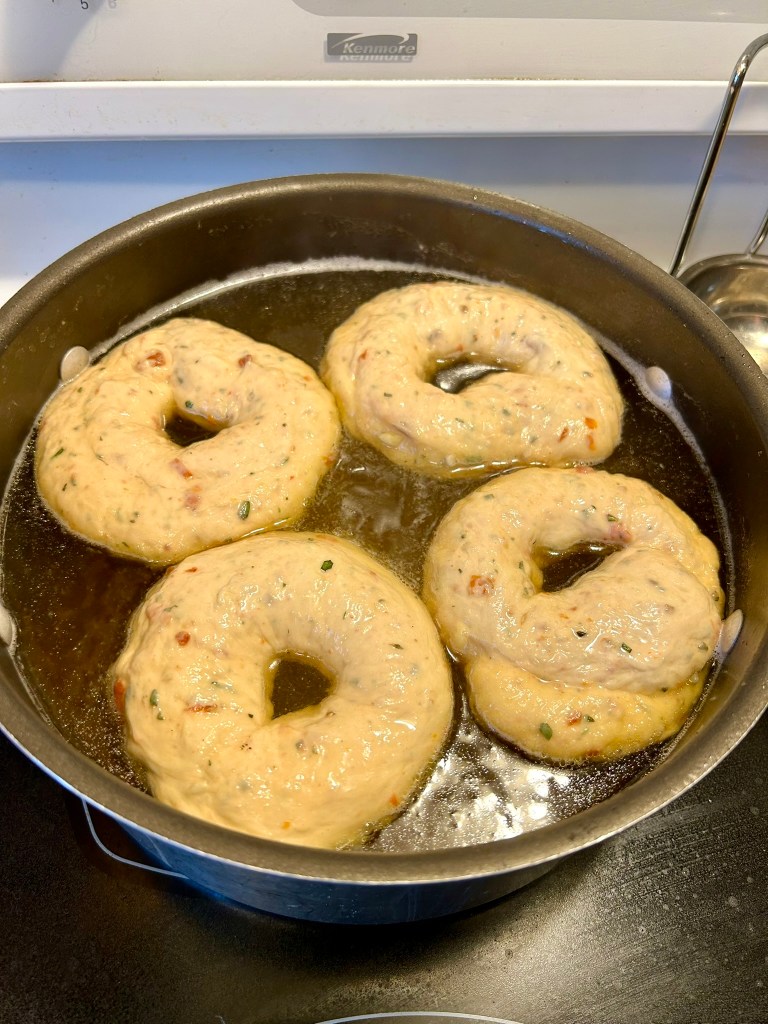
BOIL & BAKE
- Once the water mixture is boiling, gently place 3-4 bagels into the water at a time. Do not overcrowd. Boil for 1 minute, then using a slotted spoon, flip the bagel in the water and boil for another 1 minute (both sides will boil for 1 minute each). Remove the bagels from the water using a slotted spoon and letting excess water drip off, place on a lined baking sheet.
- Once all the bagels have gone through the water bath, re-arrange as necessary on the baking sheet for baking. They will not puff further, so a lot of space is not needed, but it is ideal if they are not touching.
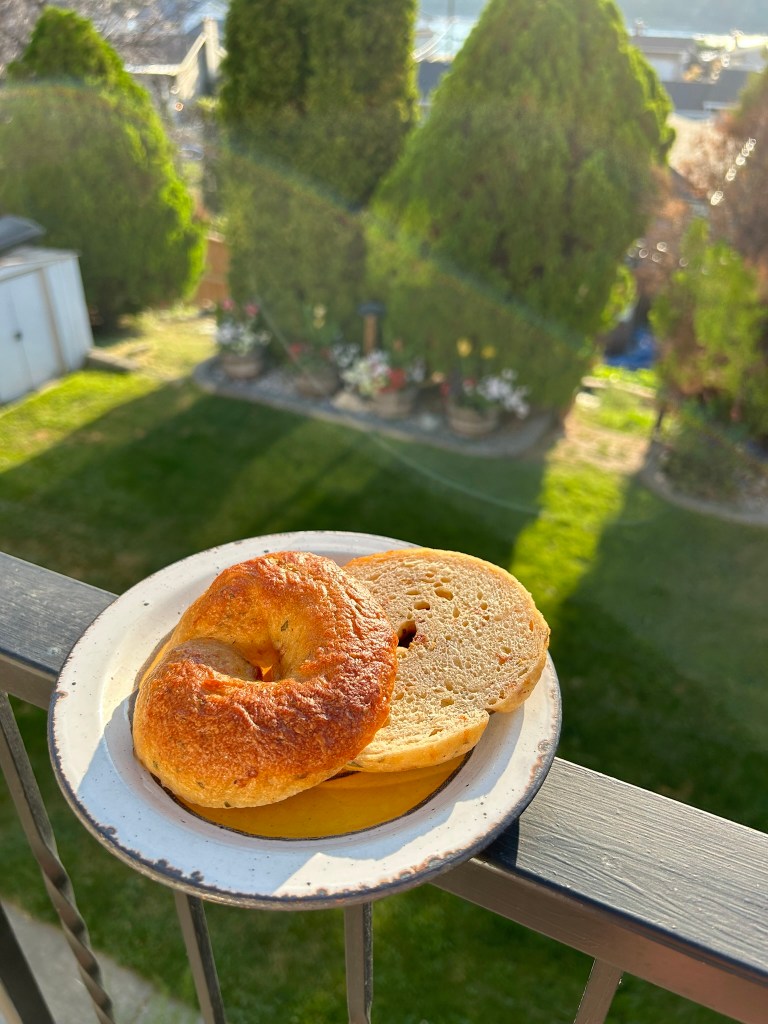
- Bake in the oven for 20-25 minutes, or until the top is golden.
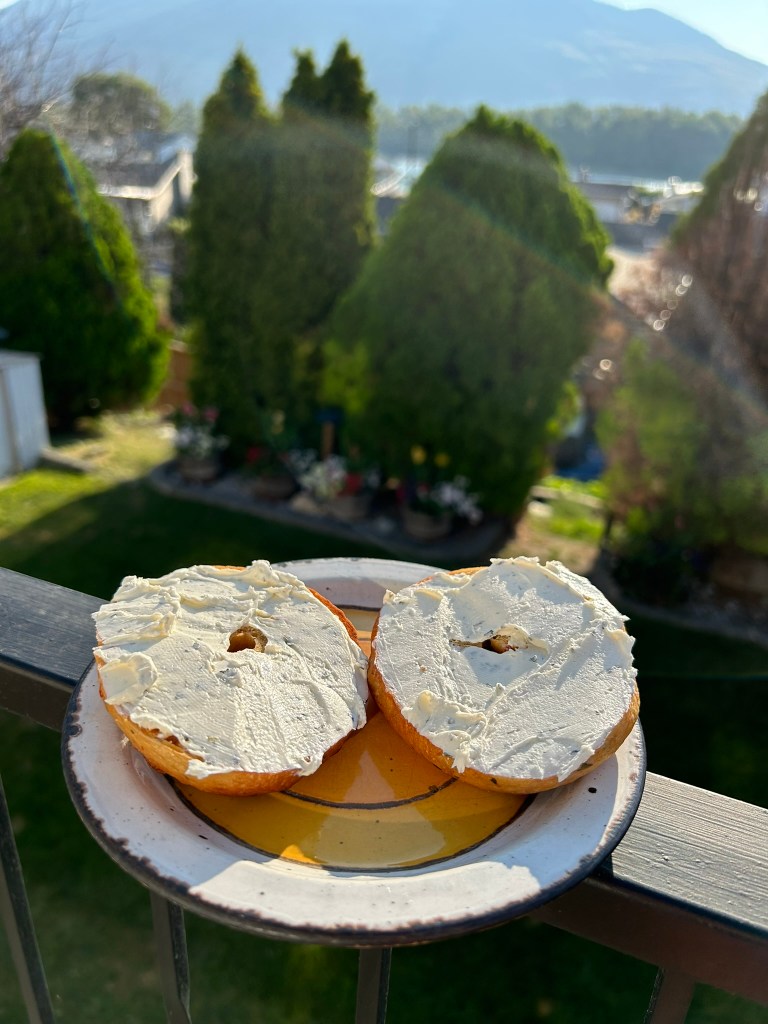
- Once the bagels are done cooking, allow them to cool on a baking rack for 15-30 minutes. Best enjoyed warm with some butter, cream cheese, or hummus and veggies.
NOTES:
- These bagels freeze well. I tend to make a few batches at once and freeze most of them for easy grabbing when needed.
- If you want fresh bagels for when guests come, you can also freeze these before the water bath. When you are ready to bake, pull them from the freezer, thaw, then proceed from the water bath step.
- You can also put the dough in the fridge overnight, and bathe & bake the bagels in the morning for a fresh breakfast.
- You can also lightly brush with some melted butter and sprinkle with additional asiago cheese to top the bagels.
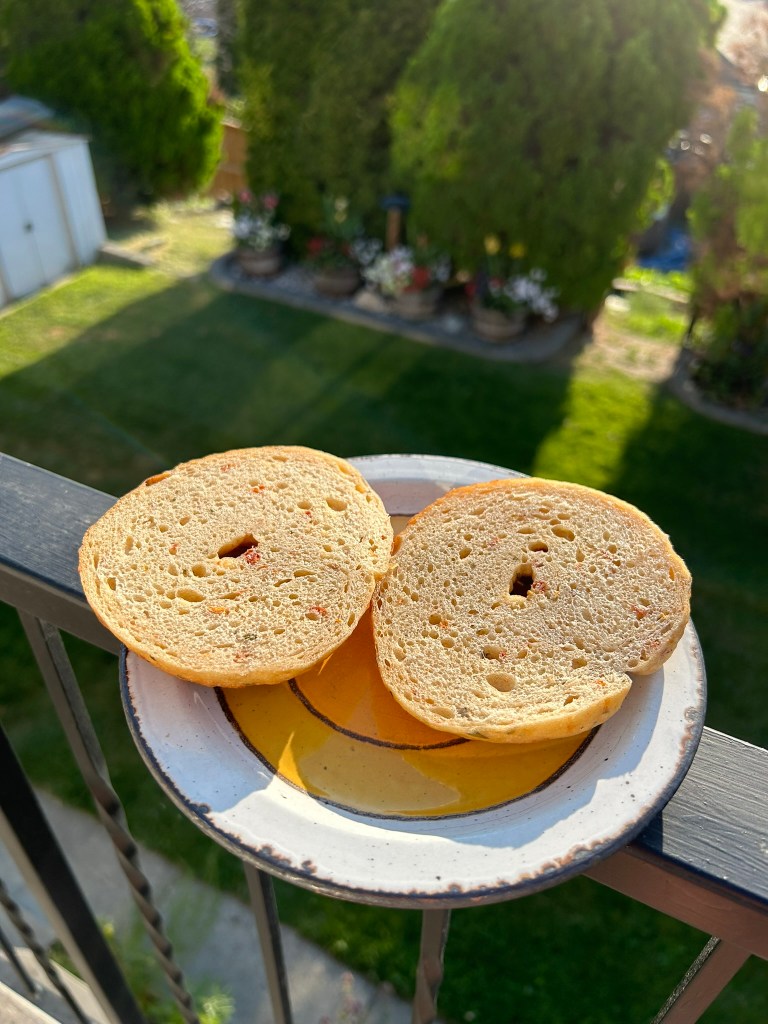
PHOTOS OF THE PROCESS


CHIT CHAT BIT
Sun-dried tomato and asiago bagels are one of my all-time favourite types of bagel. They are also one of the hardest to find. Many places carry them for a little while then phase them out, so it is so nice to finally have a recipe to make my own, with the bonus of being able to use a bunch of our garden goodies to make this especially flavourful.
In the winter, I will have to use some of our dehydrated herbs, but my plan is to make a bunch of batches during the summer when our herbs are nice and fresh, so that I can enjoy these all winter long. I will likely do some batches already baked, and some that will be in the dough stage for when company comes. You always feel like the hostess with the mostest when you are making the house smell amazing and are pulling fresh pastry or breads out of the oven as your guests wake up.
I am also looking forward to our tomatoes really producing right now, so that I can dehydrate a bunch of them, and truly add all the flavourful ingredients straight from our garden. There probably isn’t a difference between getting fresh herbs and sun-dried tomatoes from the store, but I swear my stuff is better. Probably because it is mine, and I grew it, so it makes it all taste so much better. I think every gardener would agree.
For the first taste of this batch, I whipped up some herb and garlic cream cheese, once again using our own fresh garlic and herbs. The cream cheese was store-bought, but I also want to try making my own eventually. My mouth is watering thinking about the future bagels that I am going to enjoy. Kurt and I are going to have to get out hiking, biking and in the winter cross-country skiing, otherwise my pants are going to start feeling pretty tight!
This batch was much fluffier, and soft compared to the last batch. I feel that the last batch got over-kneaded, making it a bit of a tougher, chewy consistency. I know that the water-bath can also affect the consistency, but I boiled this batch of bagels longer than the last ones, which would usually increase the chewiness, so I think it was the kneading from the original recipe that was the problem. I didn’t think the stretch and folds were necessary after the initial knead in the mixer.
I may have to try some other flavours of bagel. I am curious about a beet bagel…it would be a very vibrant colour, but I am also curious about the flavour. I’m betting it will be delicious with a smear of goat cheese. Mmmmm! So that will likely be a future batch. It will just be deciding if I use pureed beets, juice the beets, or dehydrate and powder the beets.
I hope you enjoy this recipe!

