
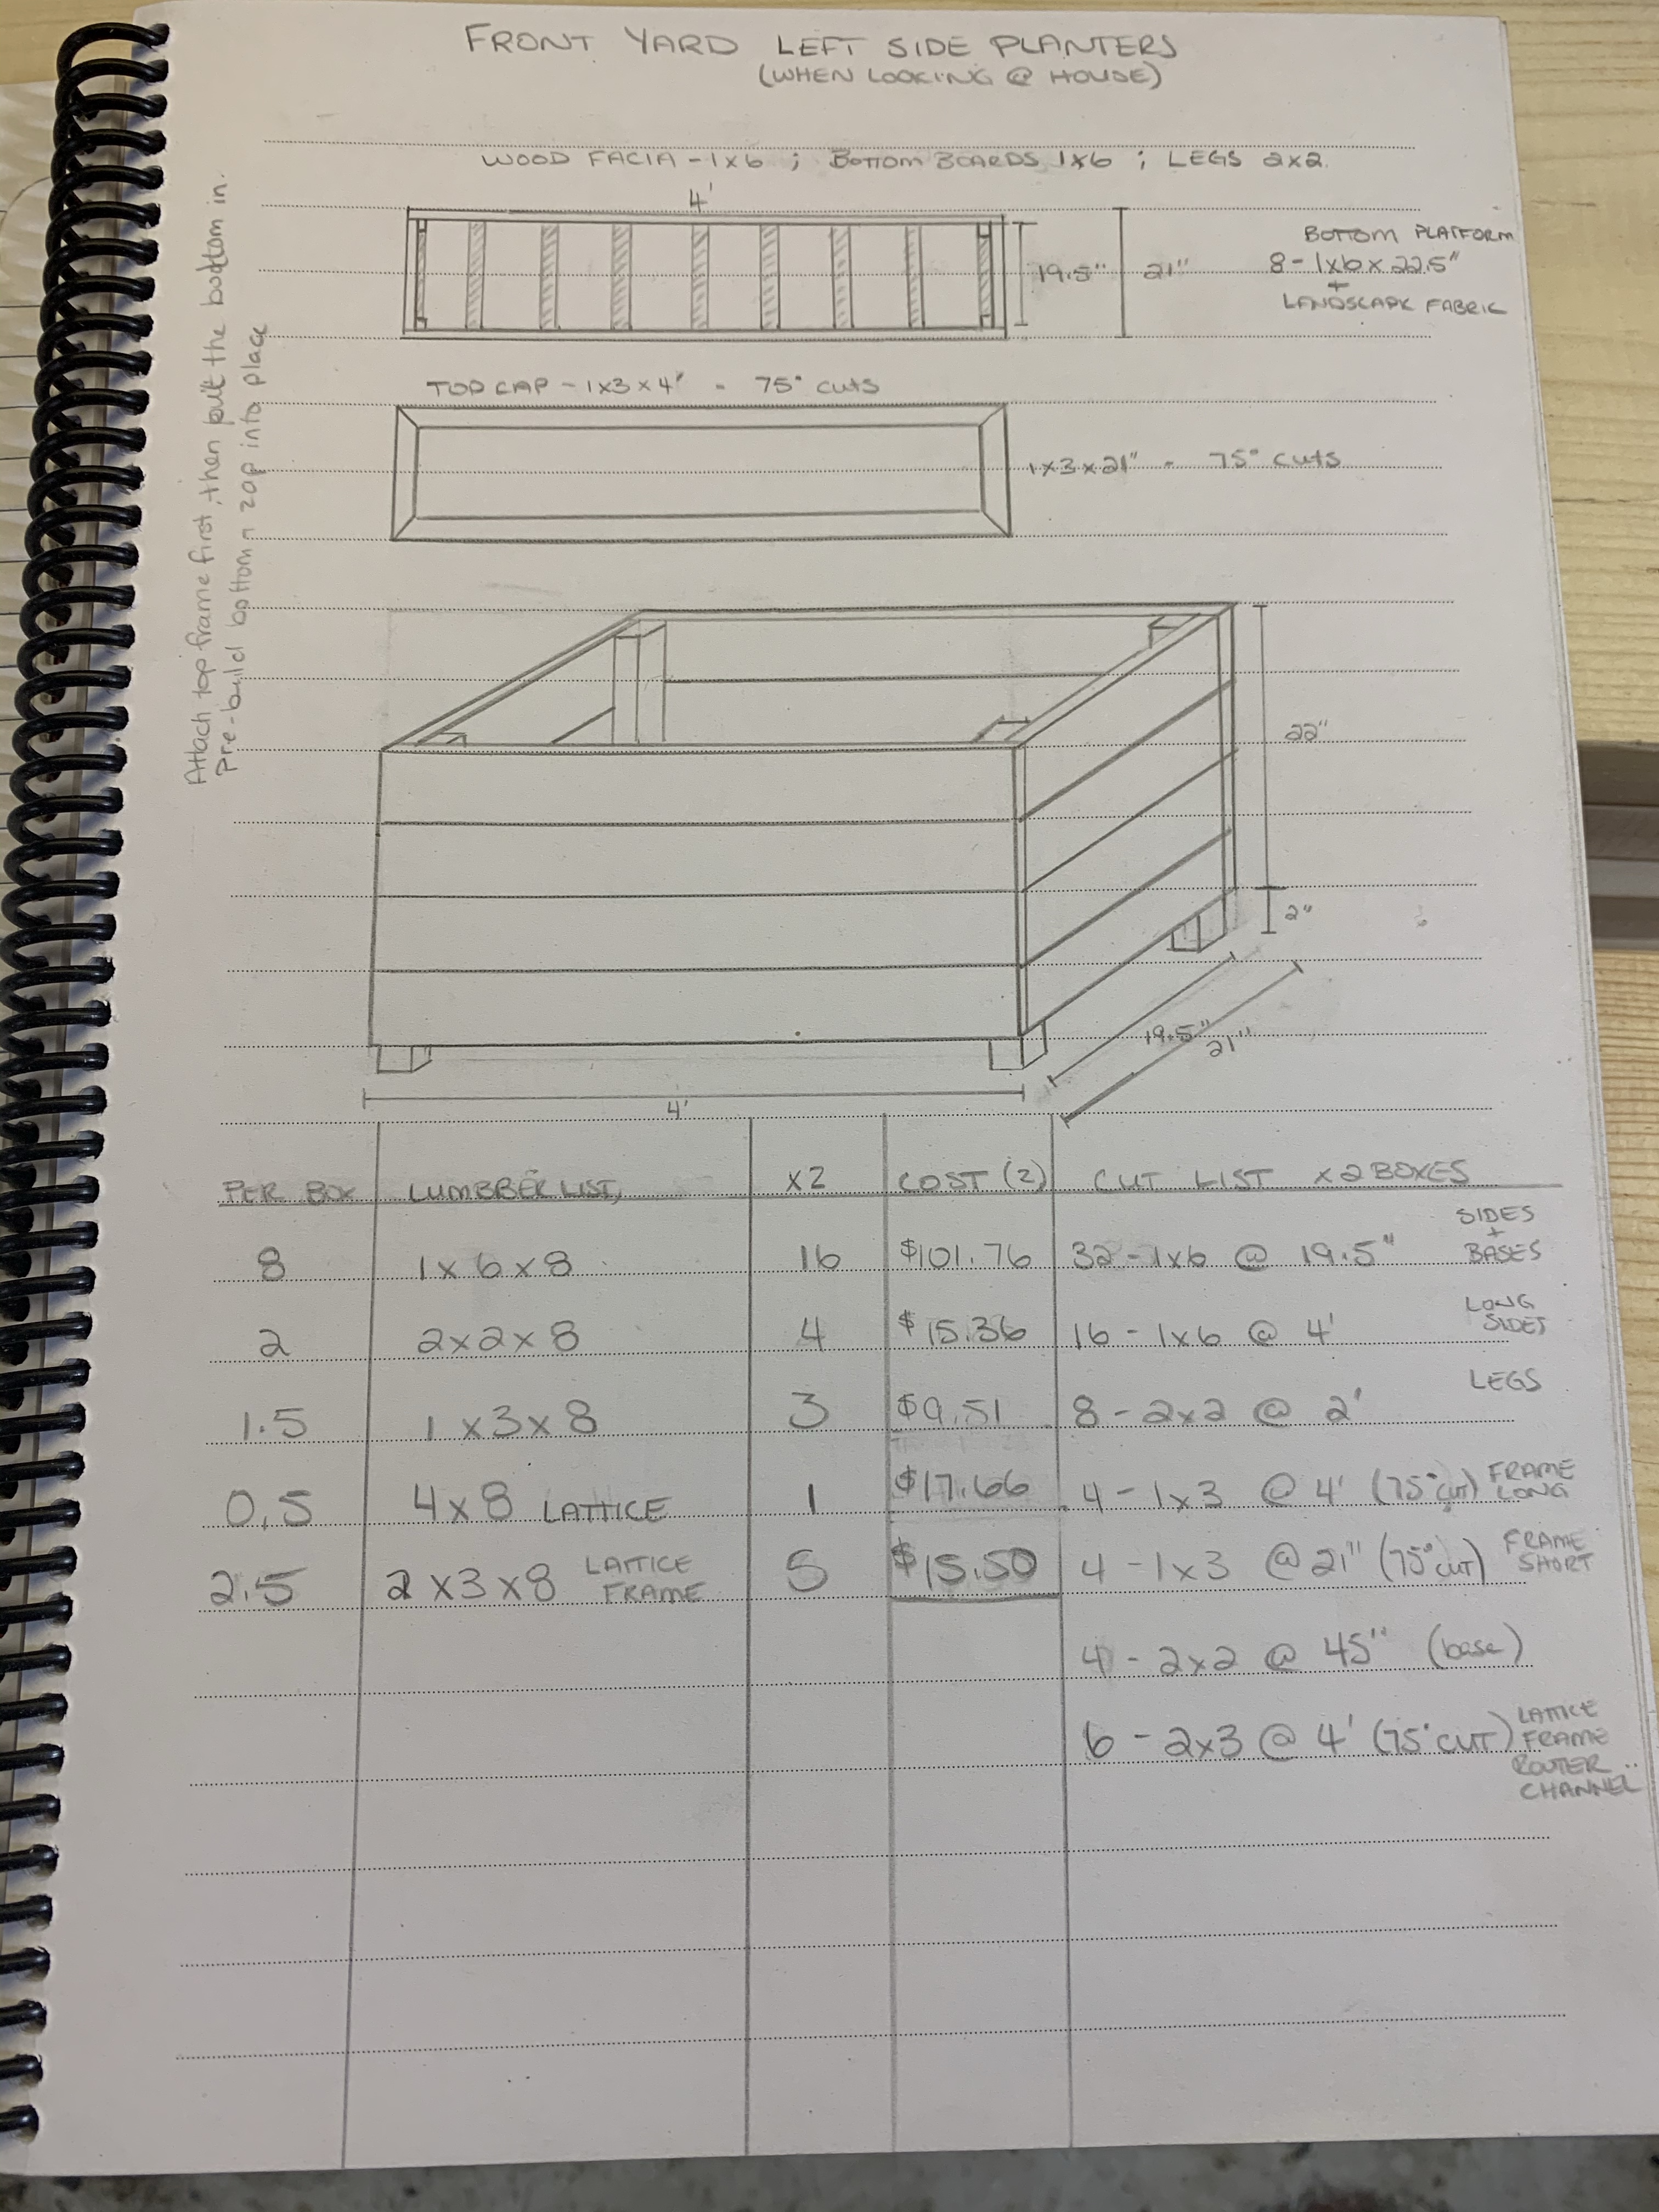
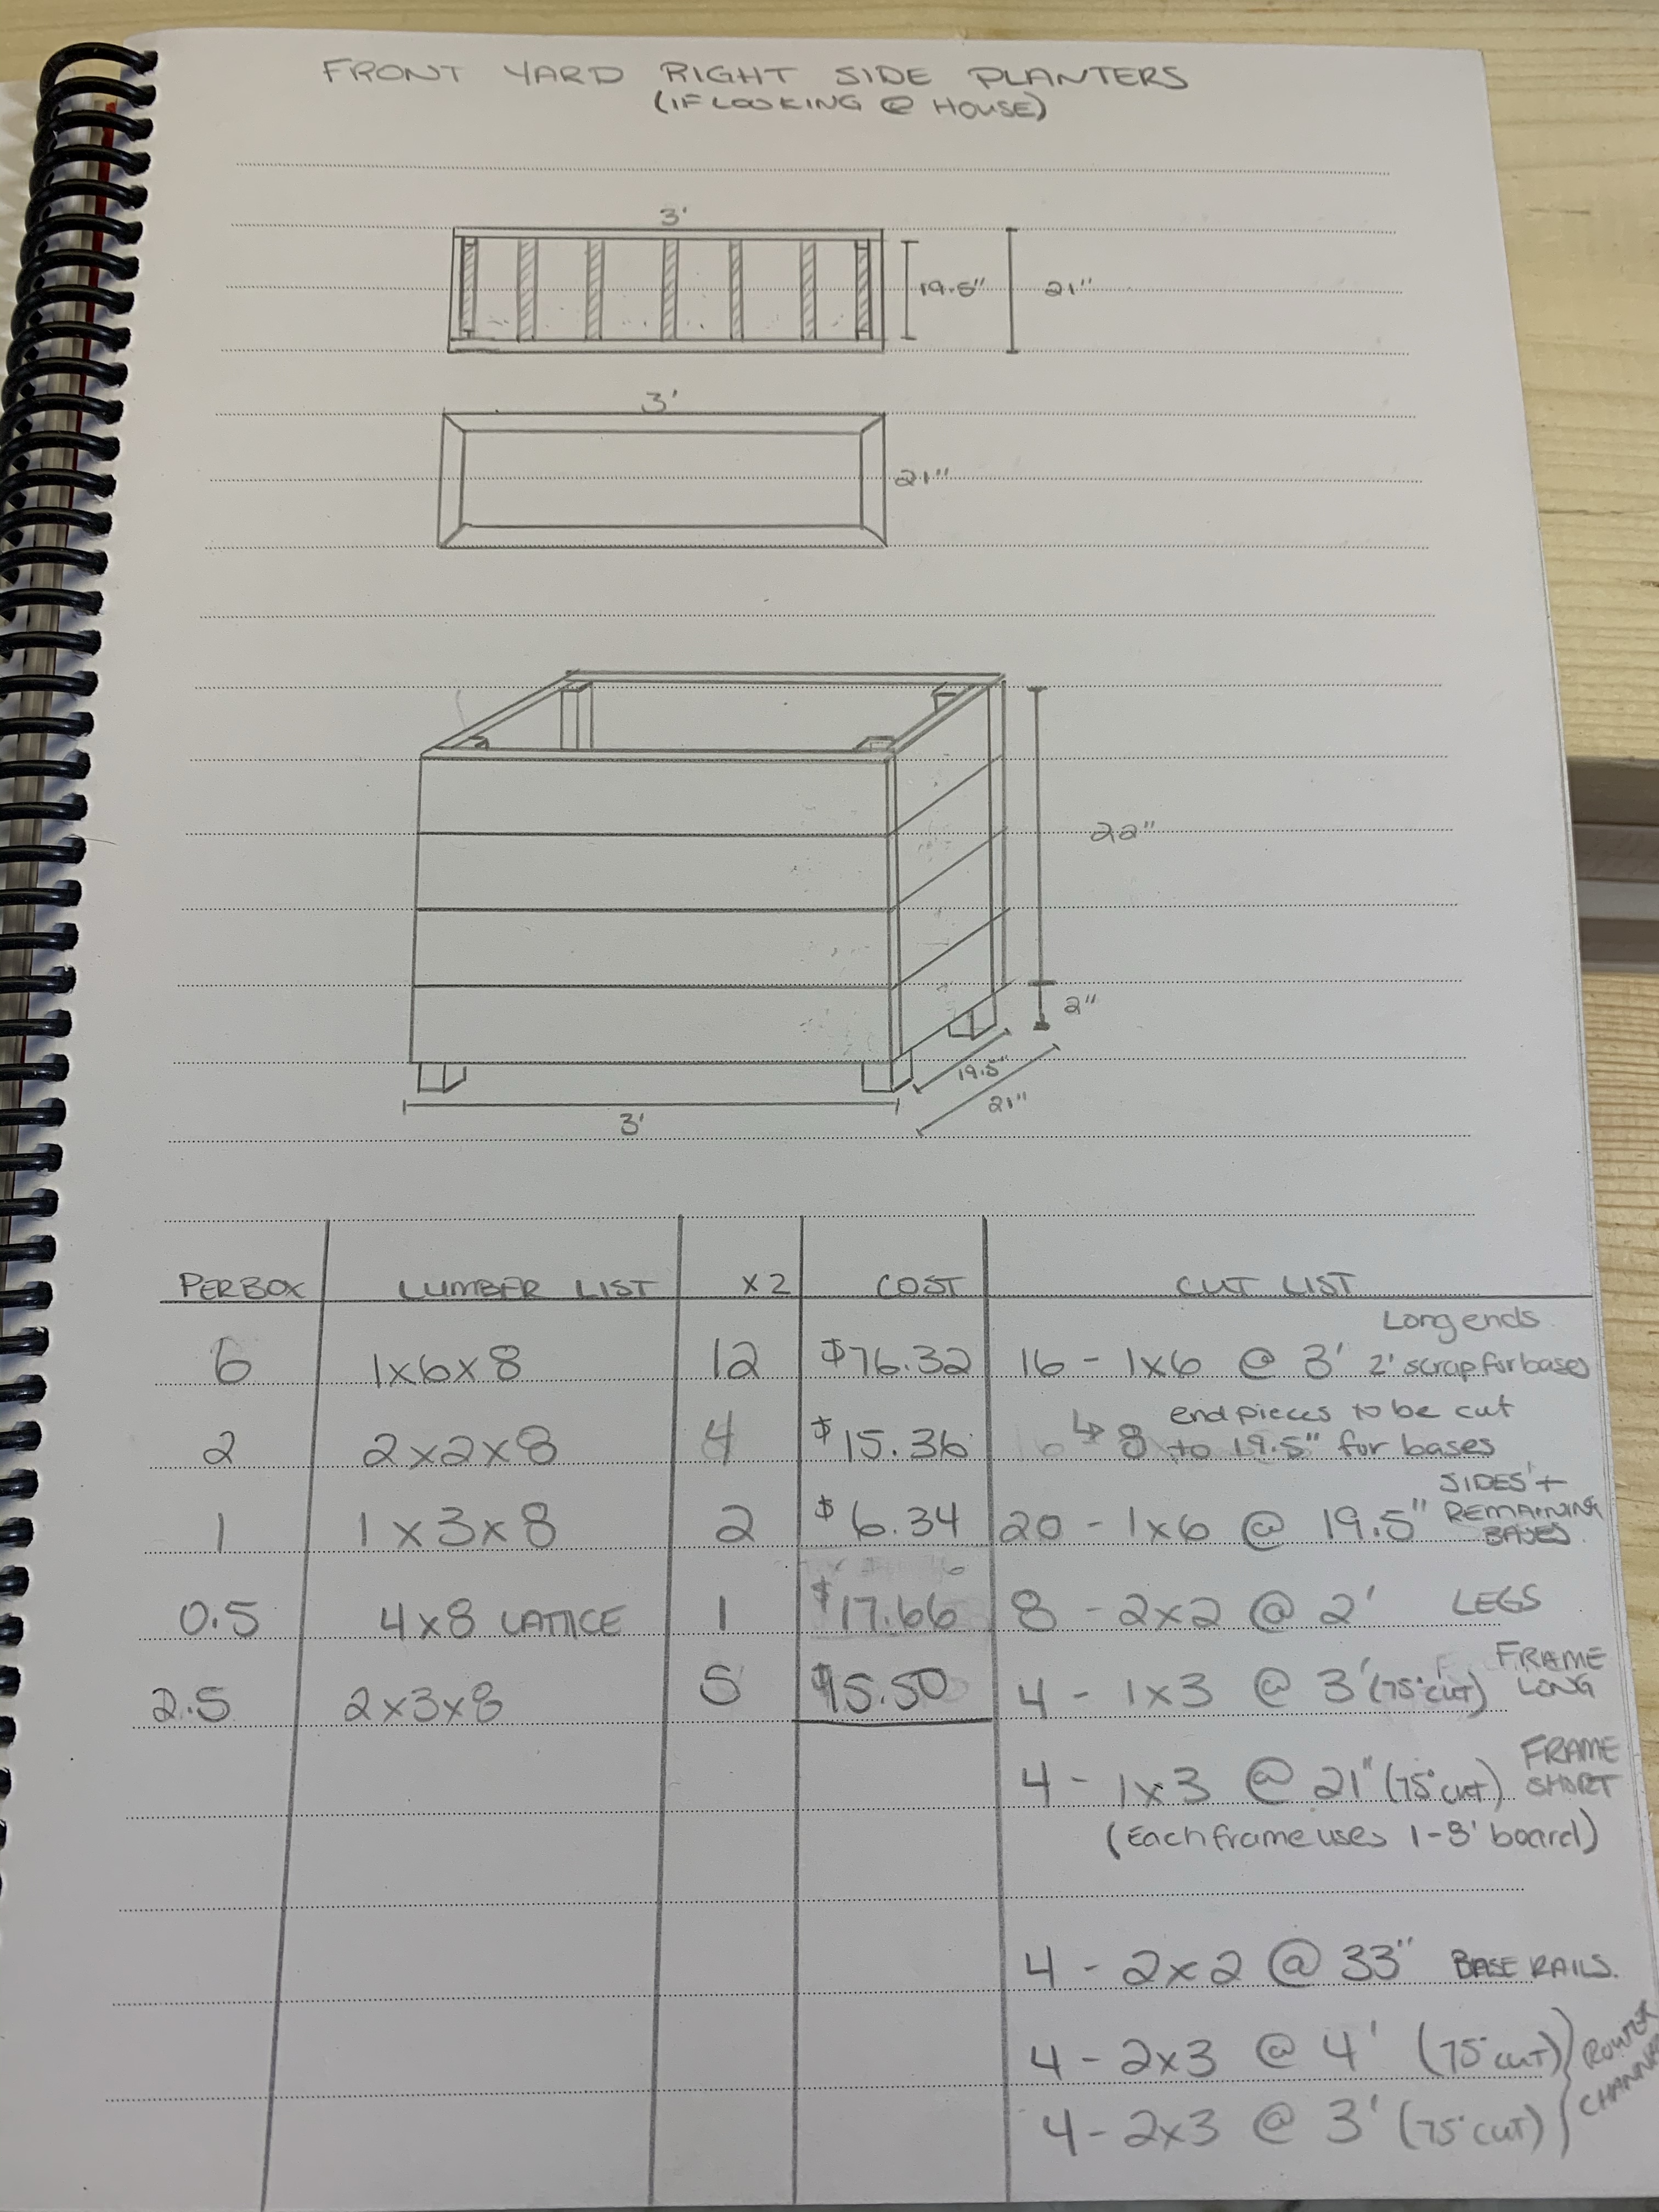
Once we got the leak issue sorted out, we focussed our energy on building beautiful planters with lattice for climbing flowers. I spent a day drawing out the planters, how they would be built, figured out a cultist and what it would cost us from our hardware store. I will put a separate post out with the actual building plans, cut list and lumber list for those who aren’t interested in the story, but want to build some of their own planters.

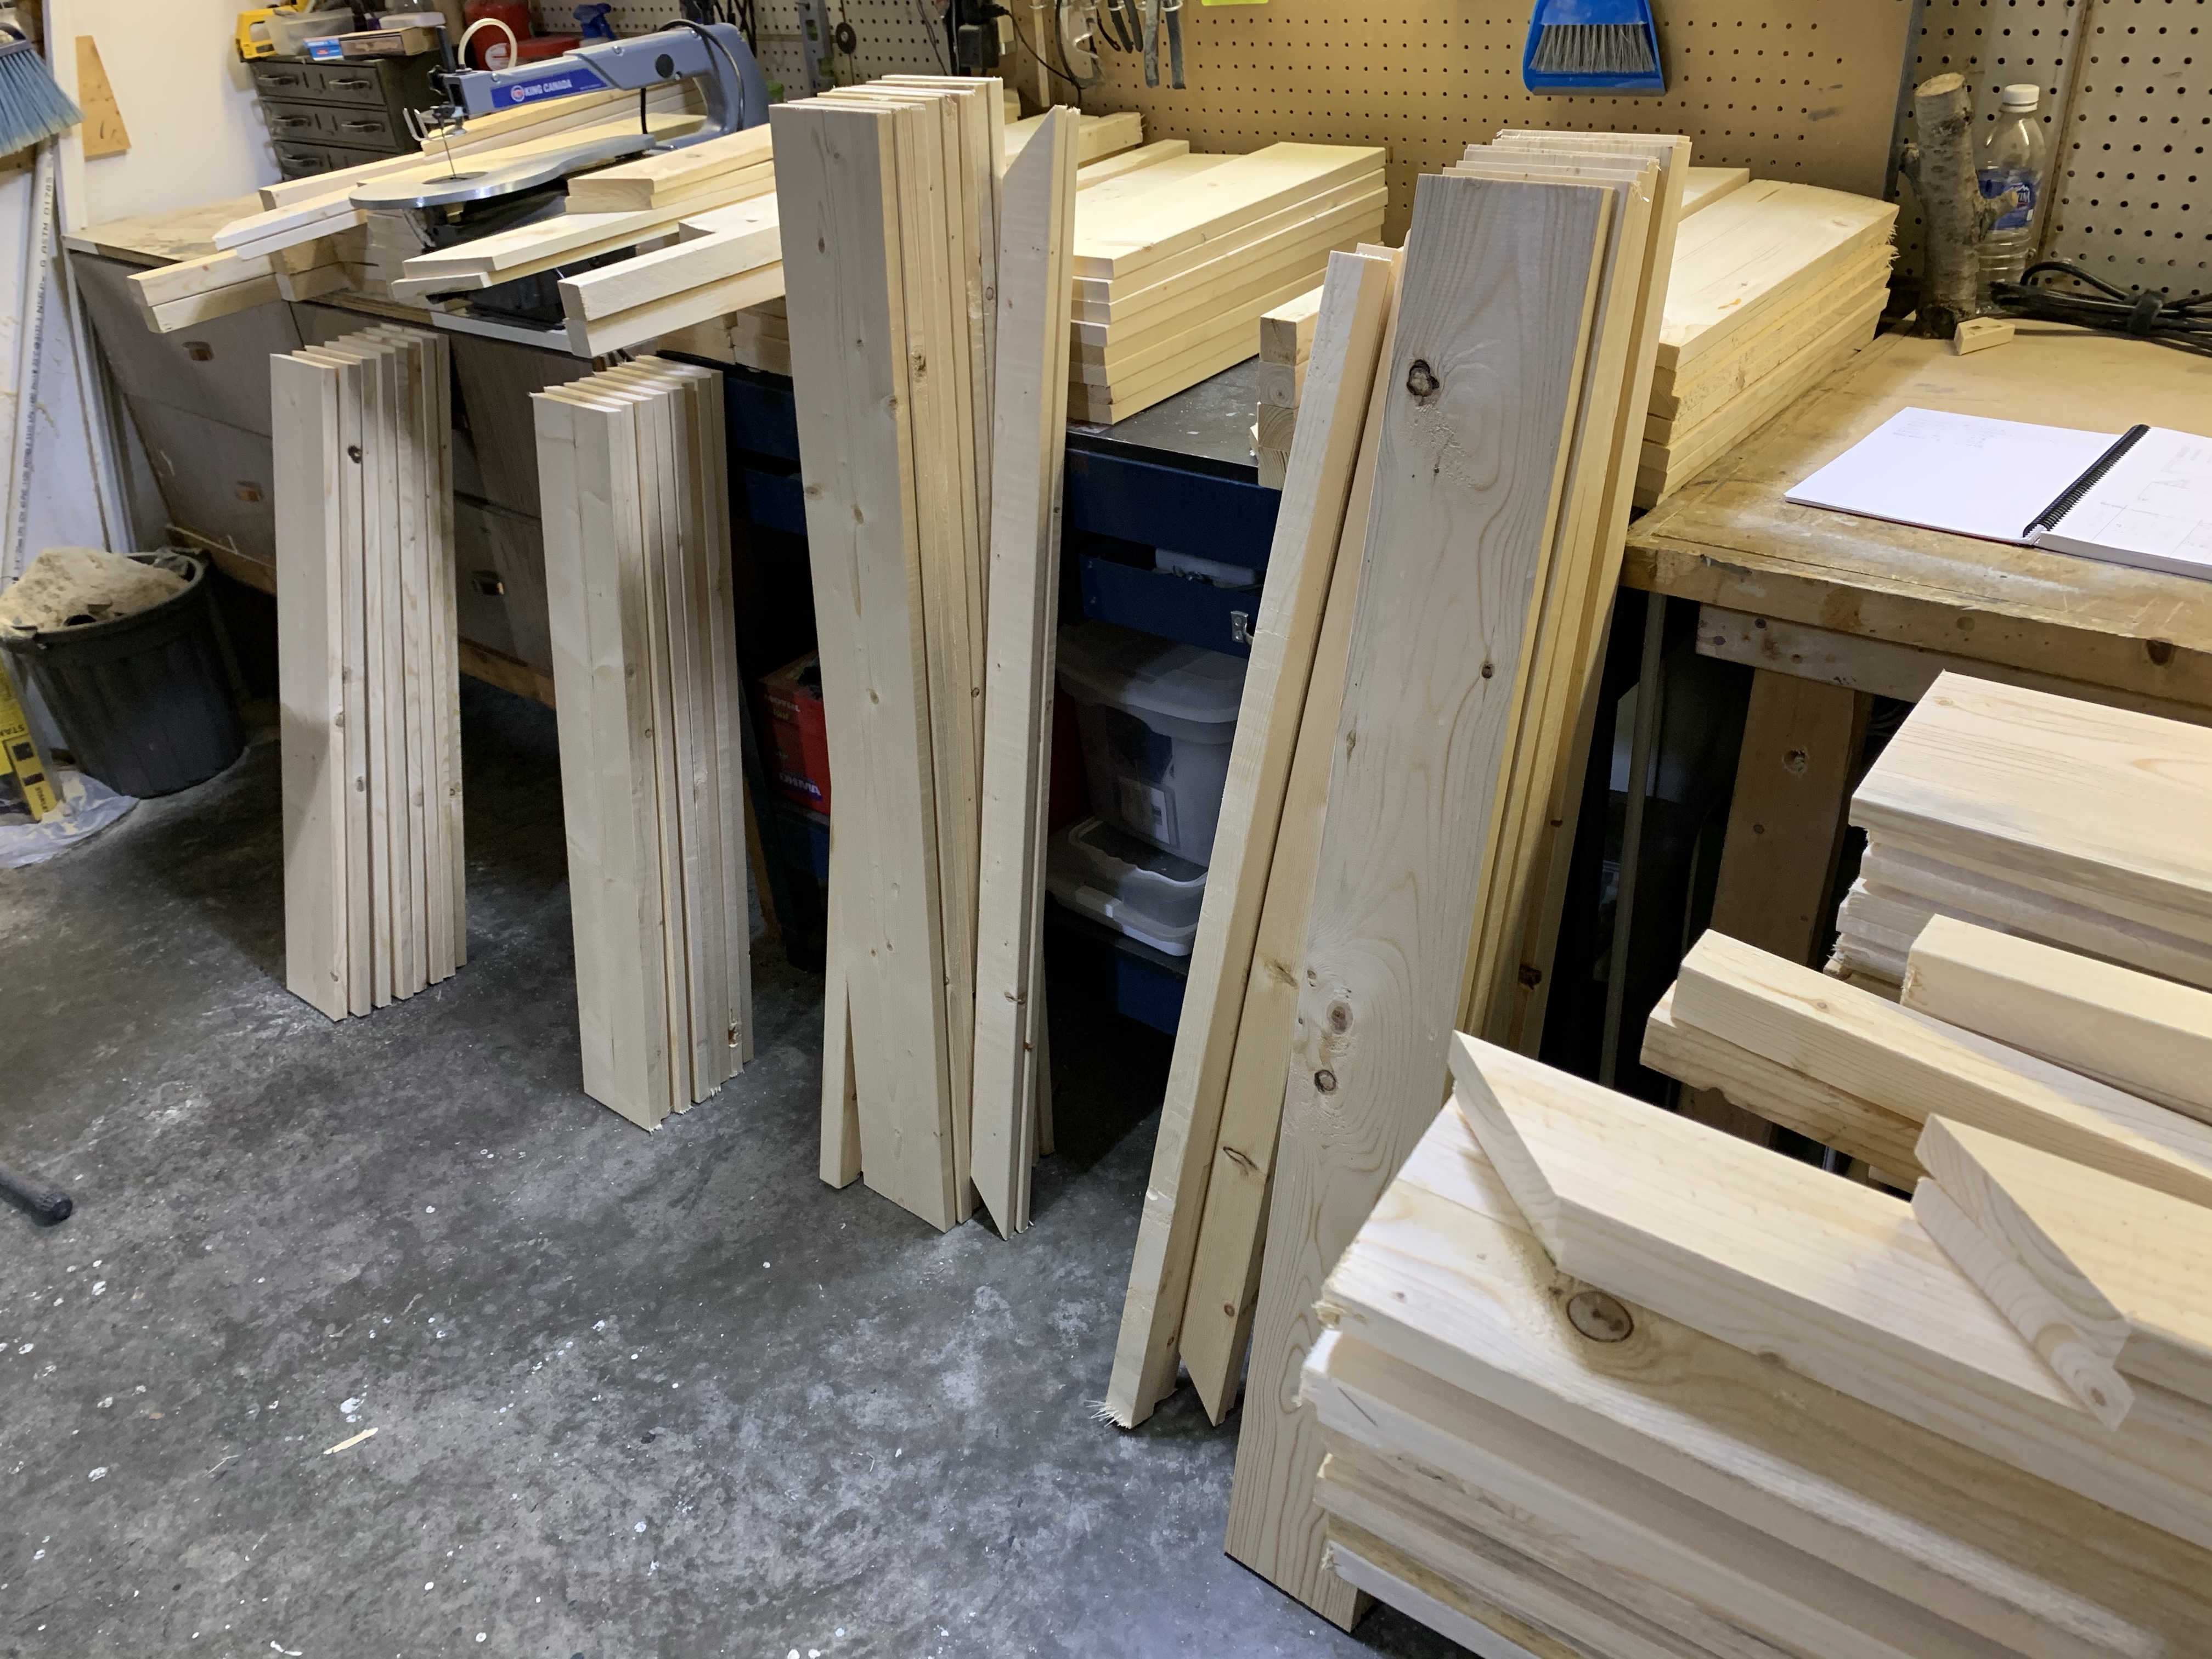
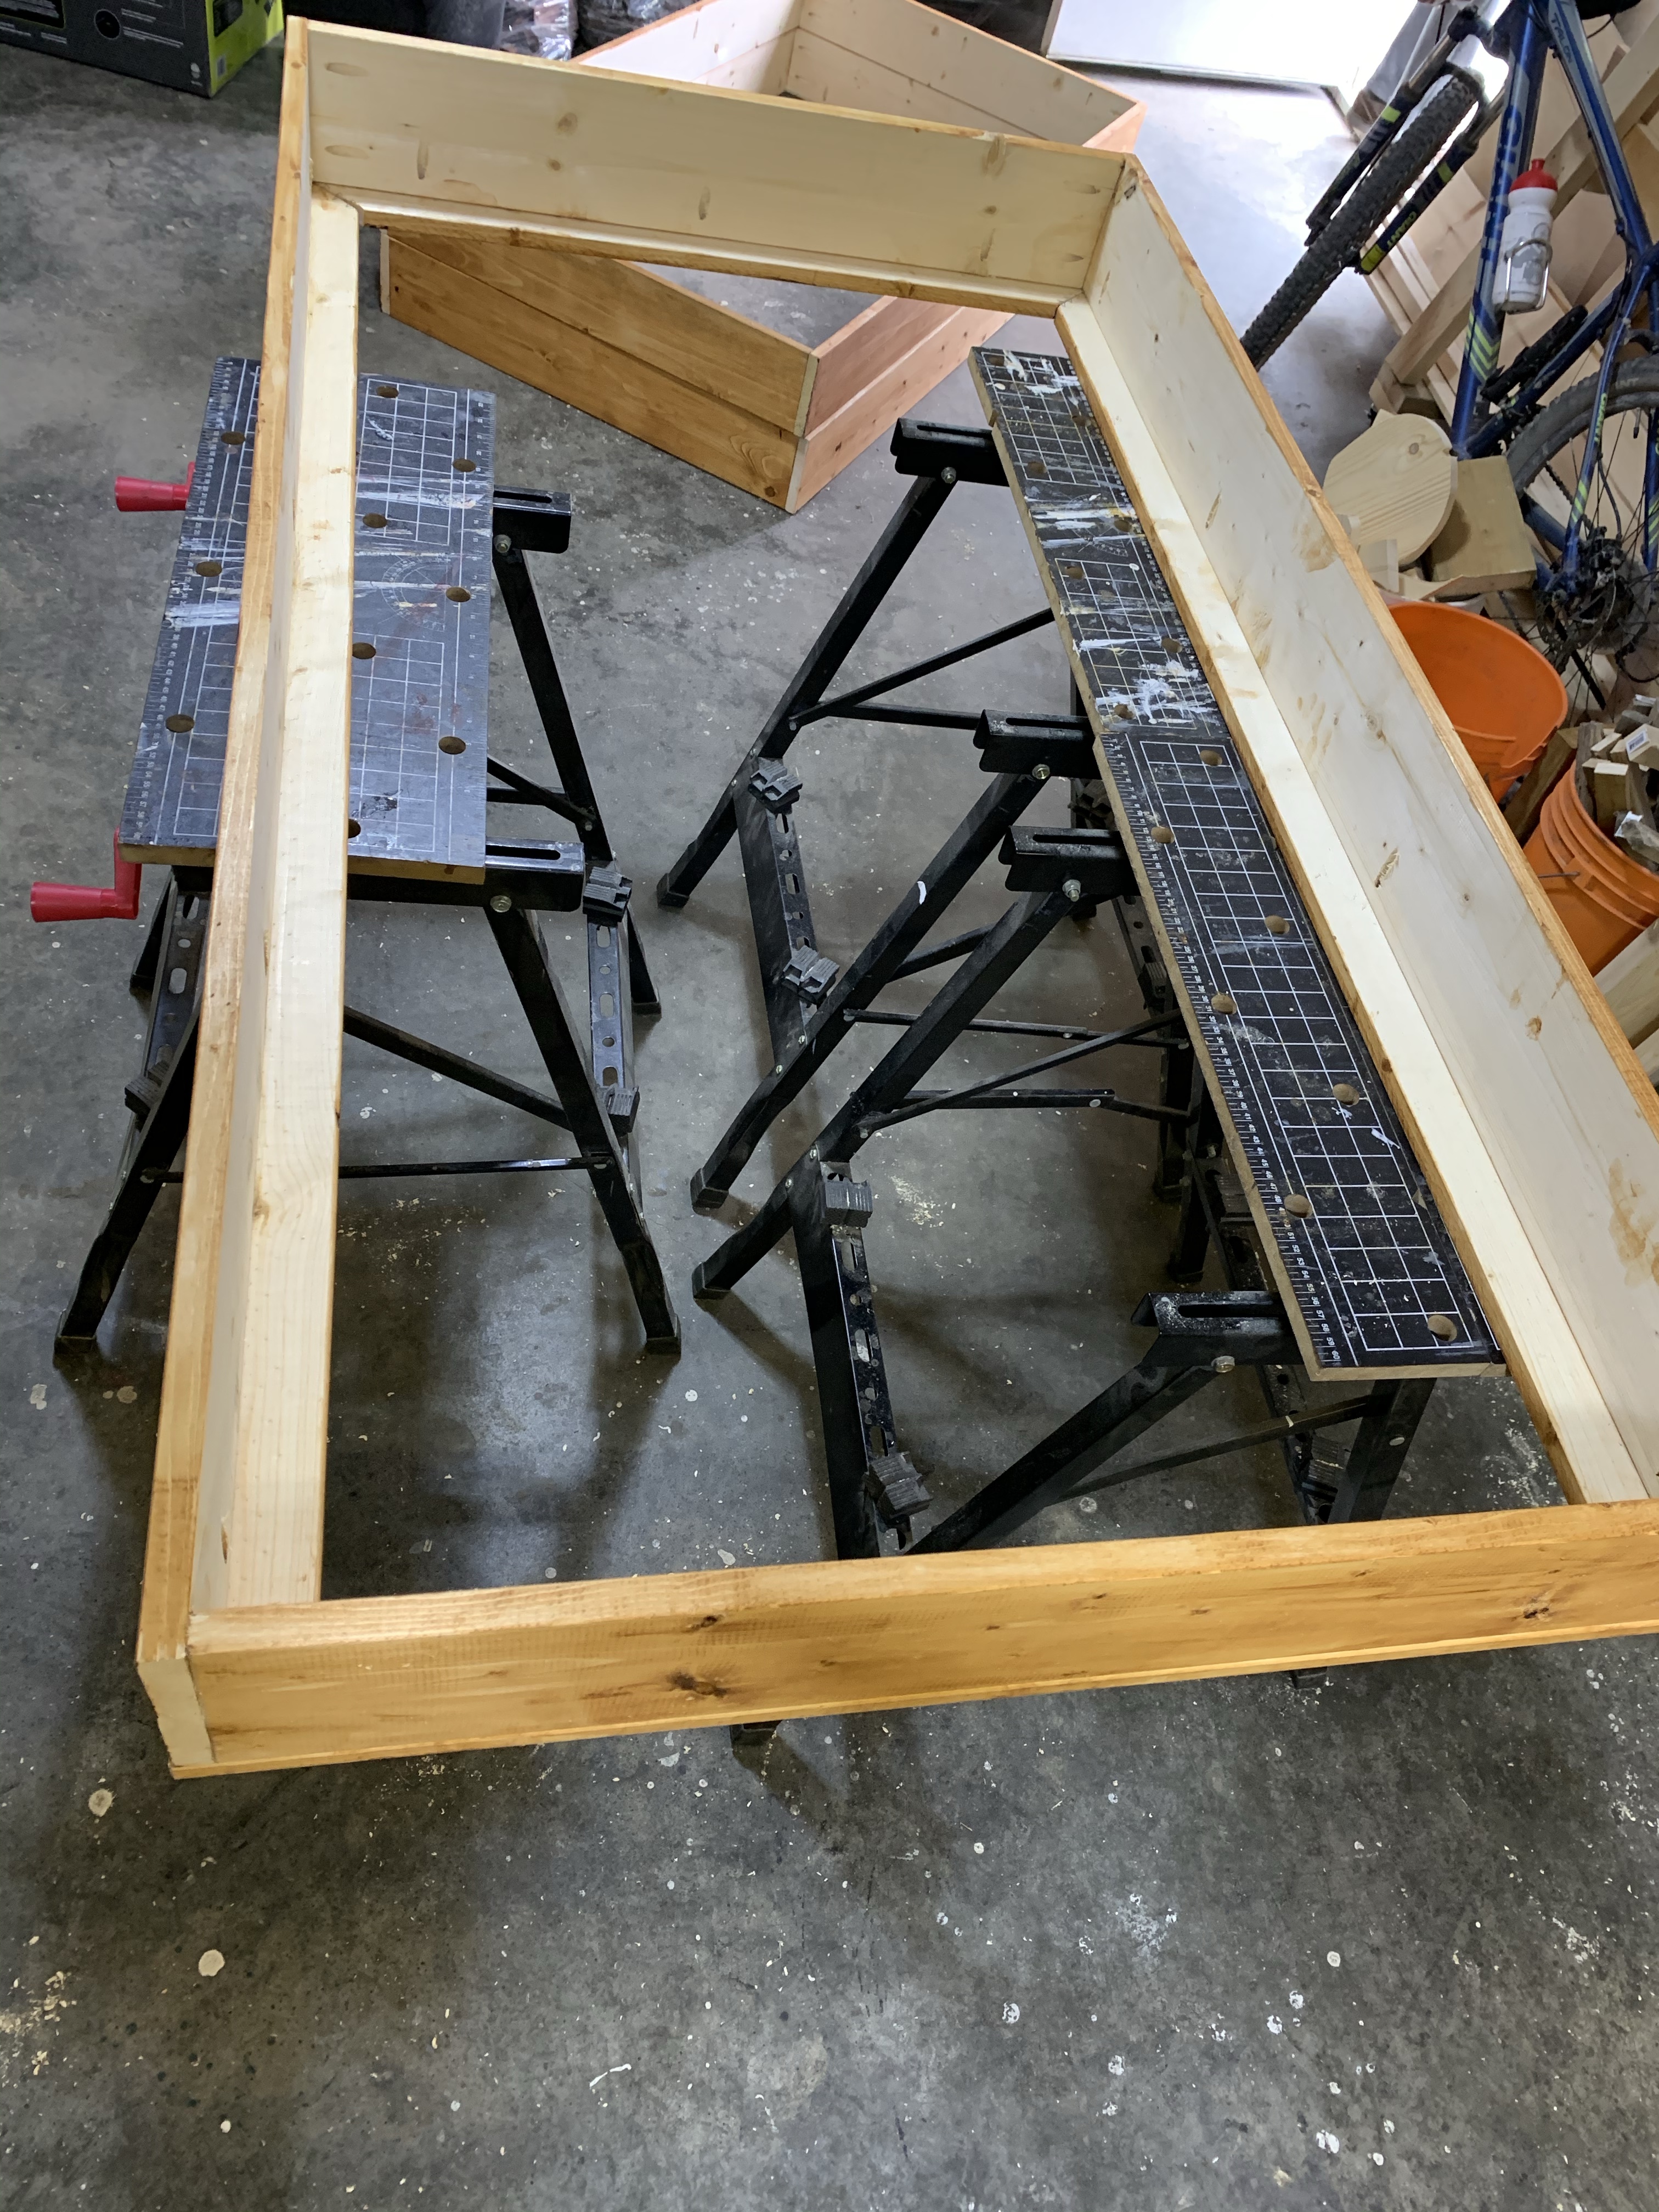
Once I had designed them and picked up the materials (online order with curb side pickup…don’t be one of those people that wander stores during a pandemic), I got right into the build. I started by cutting all the pieces of each box with the compound saw and stacking them in ‘packaged’ piles.
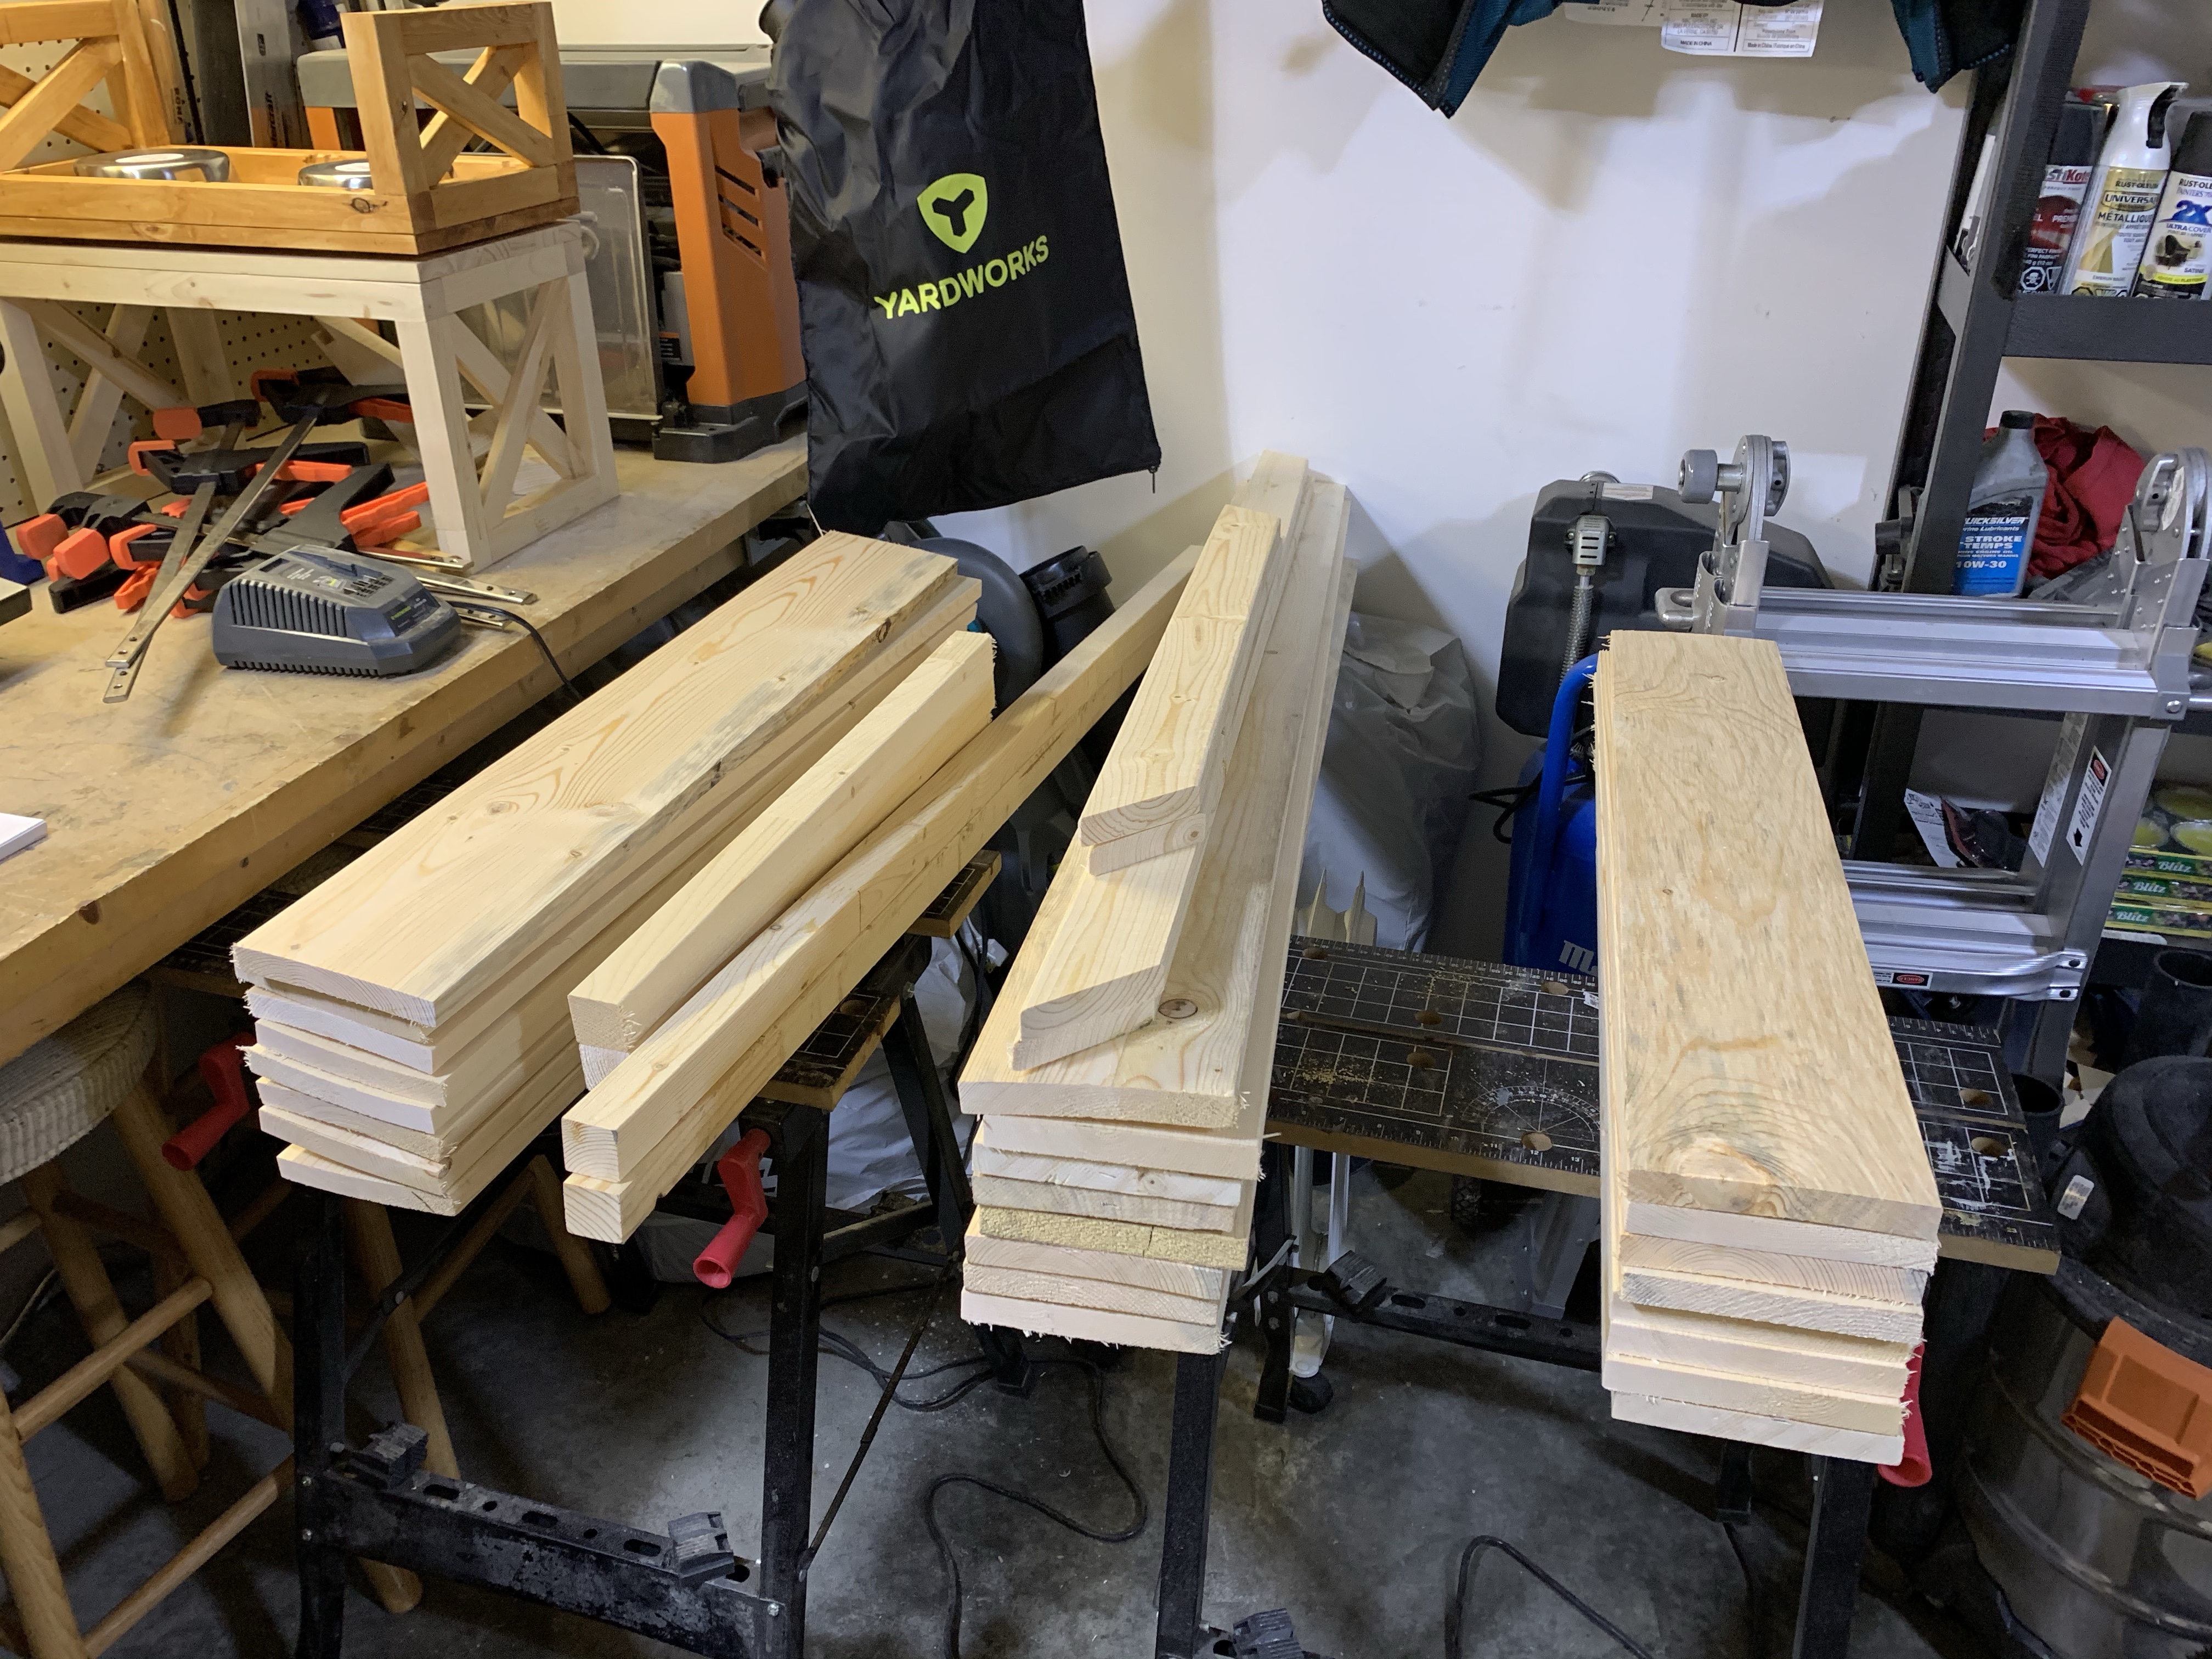
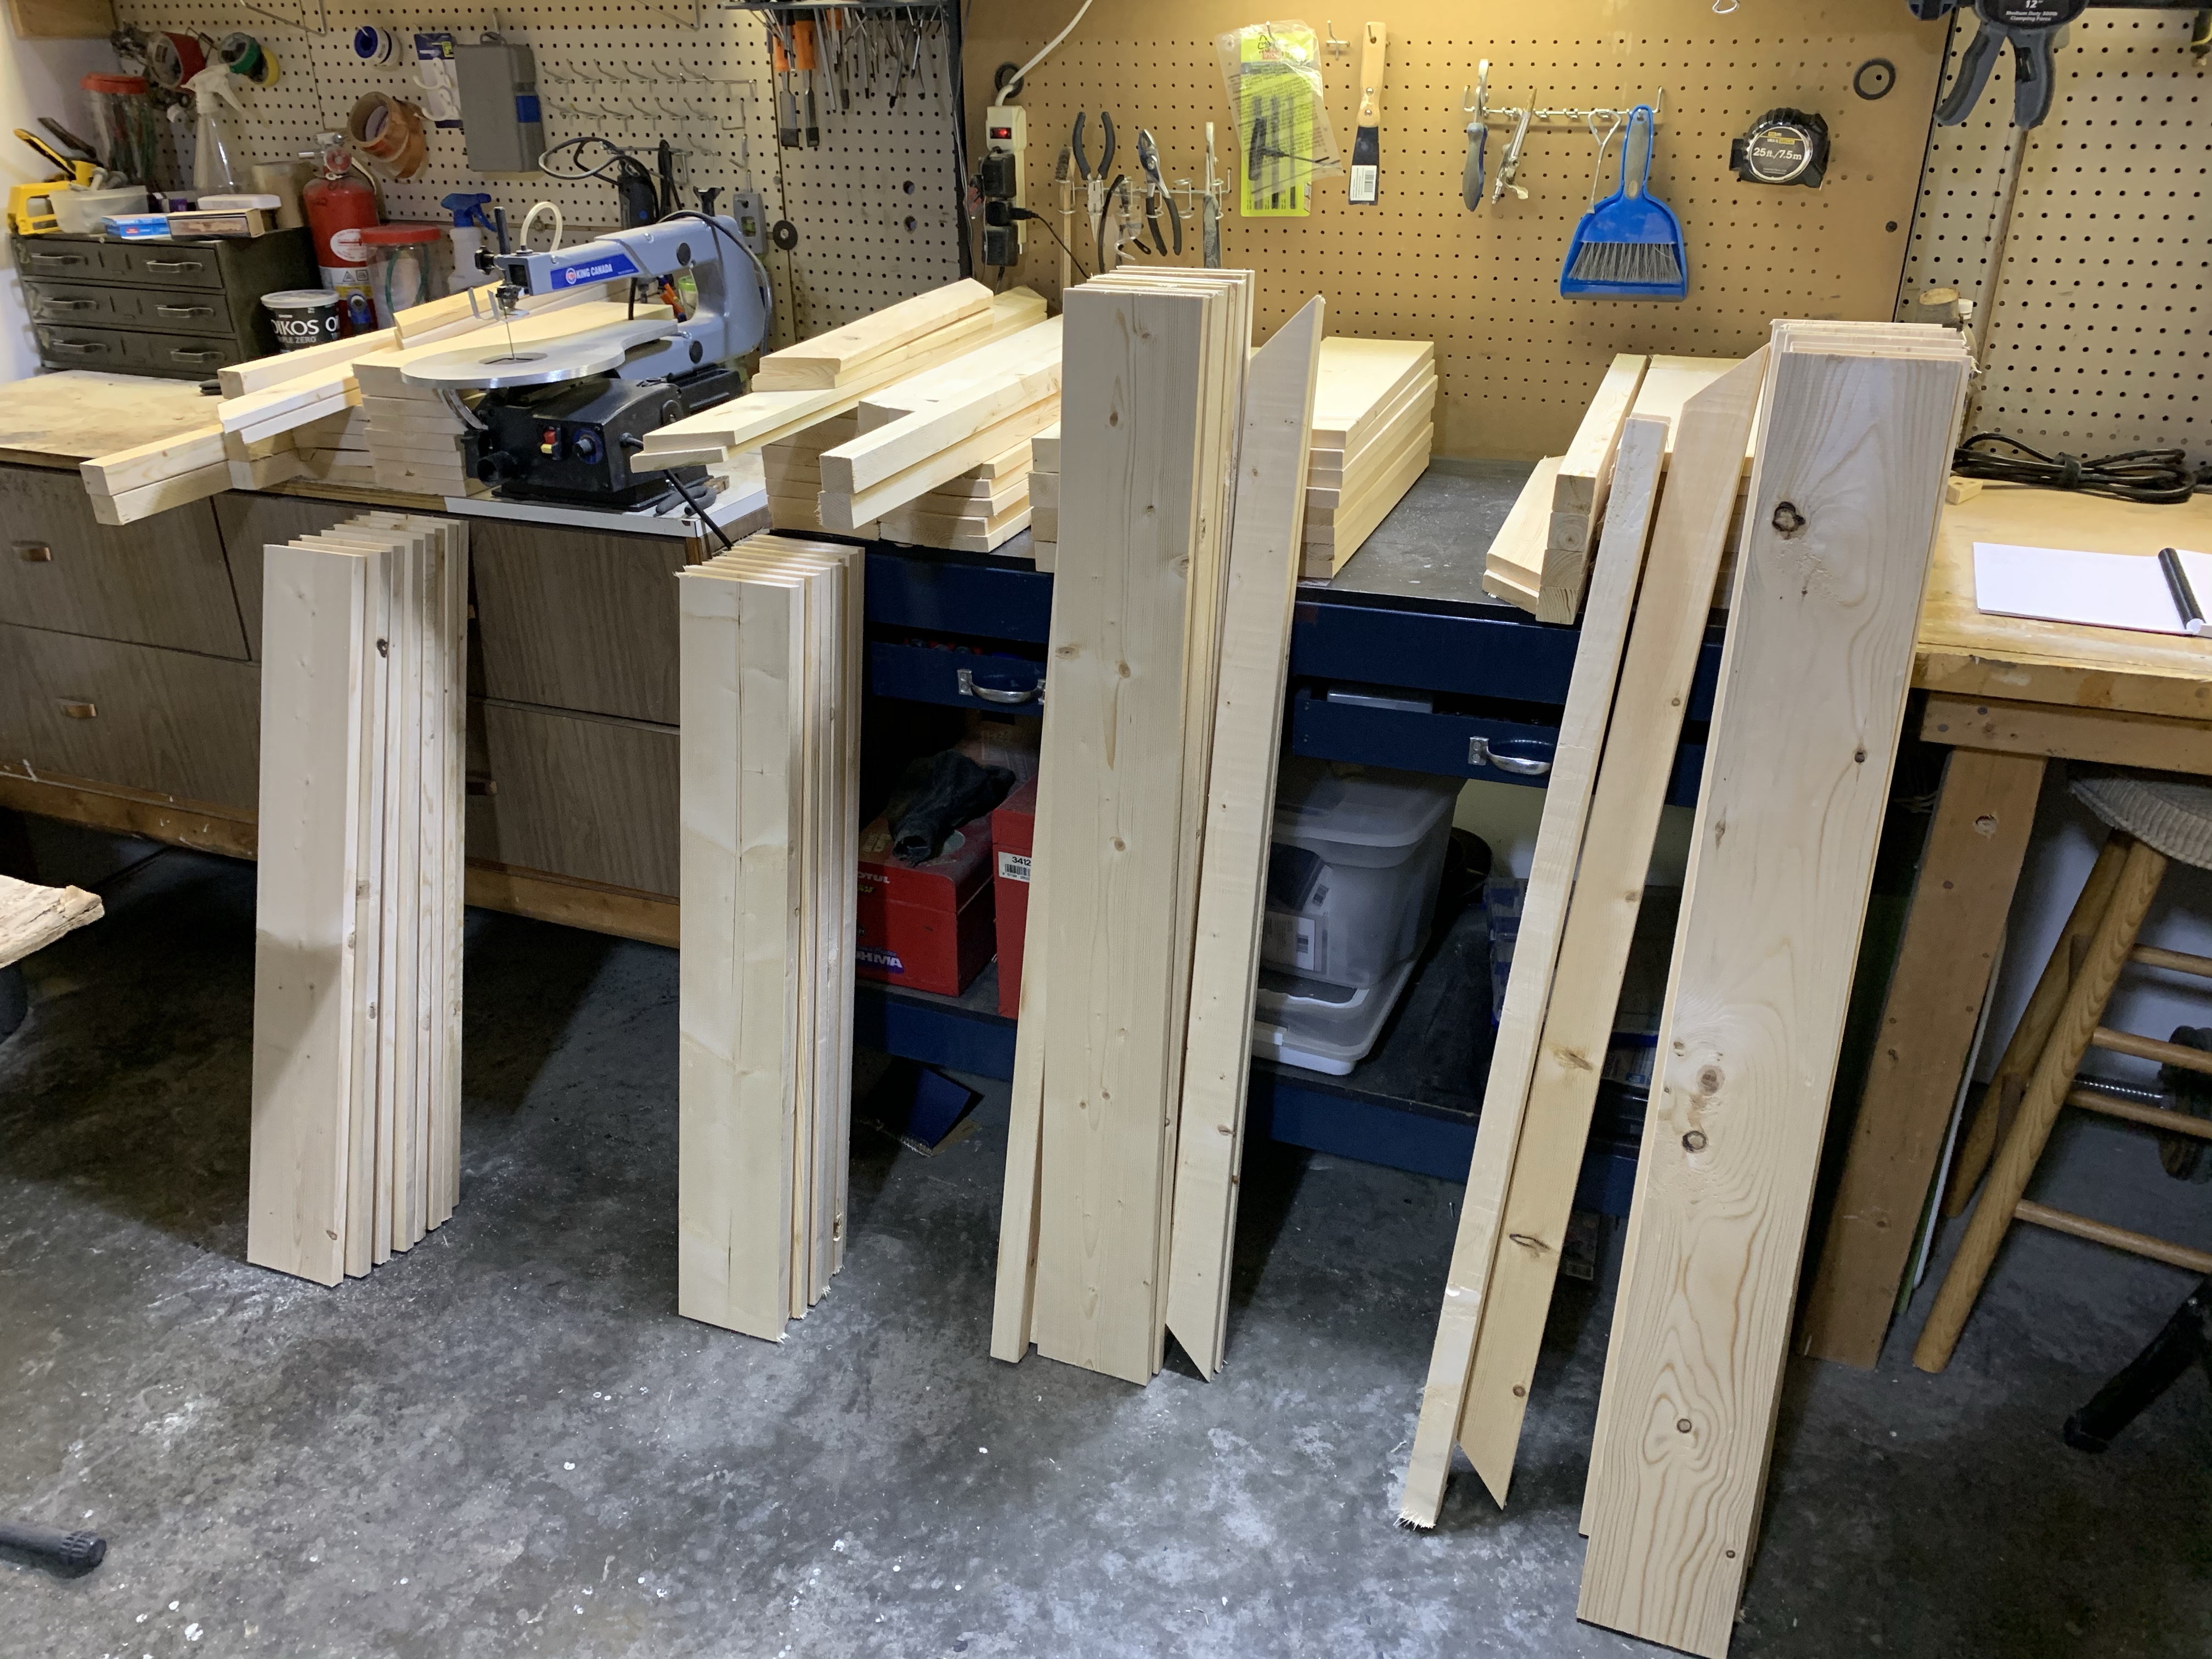
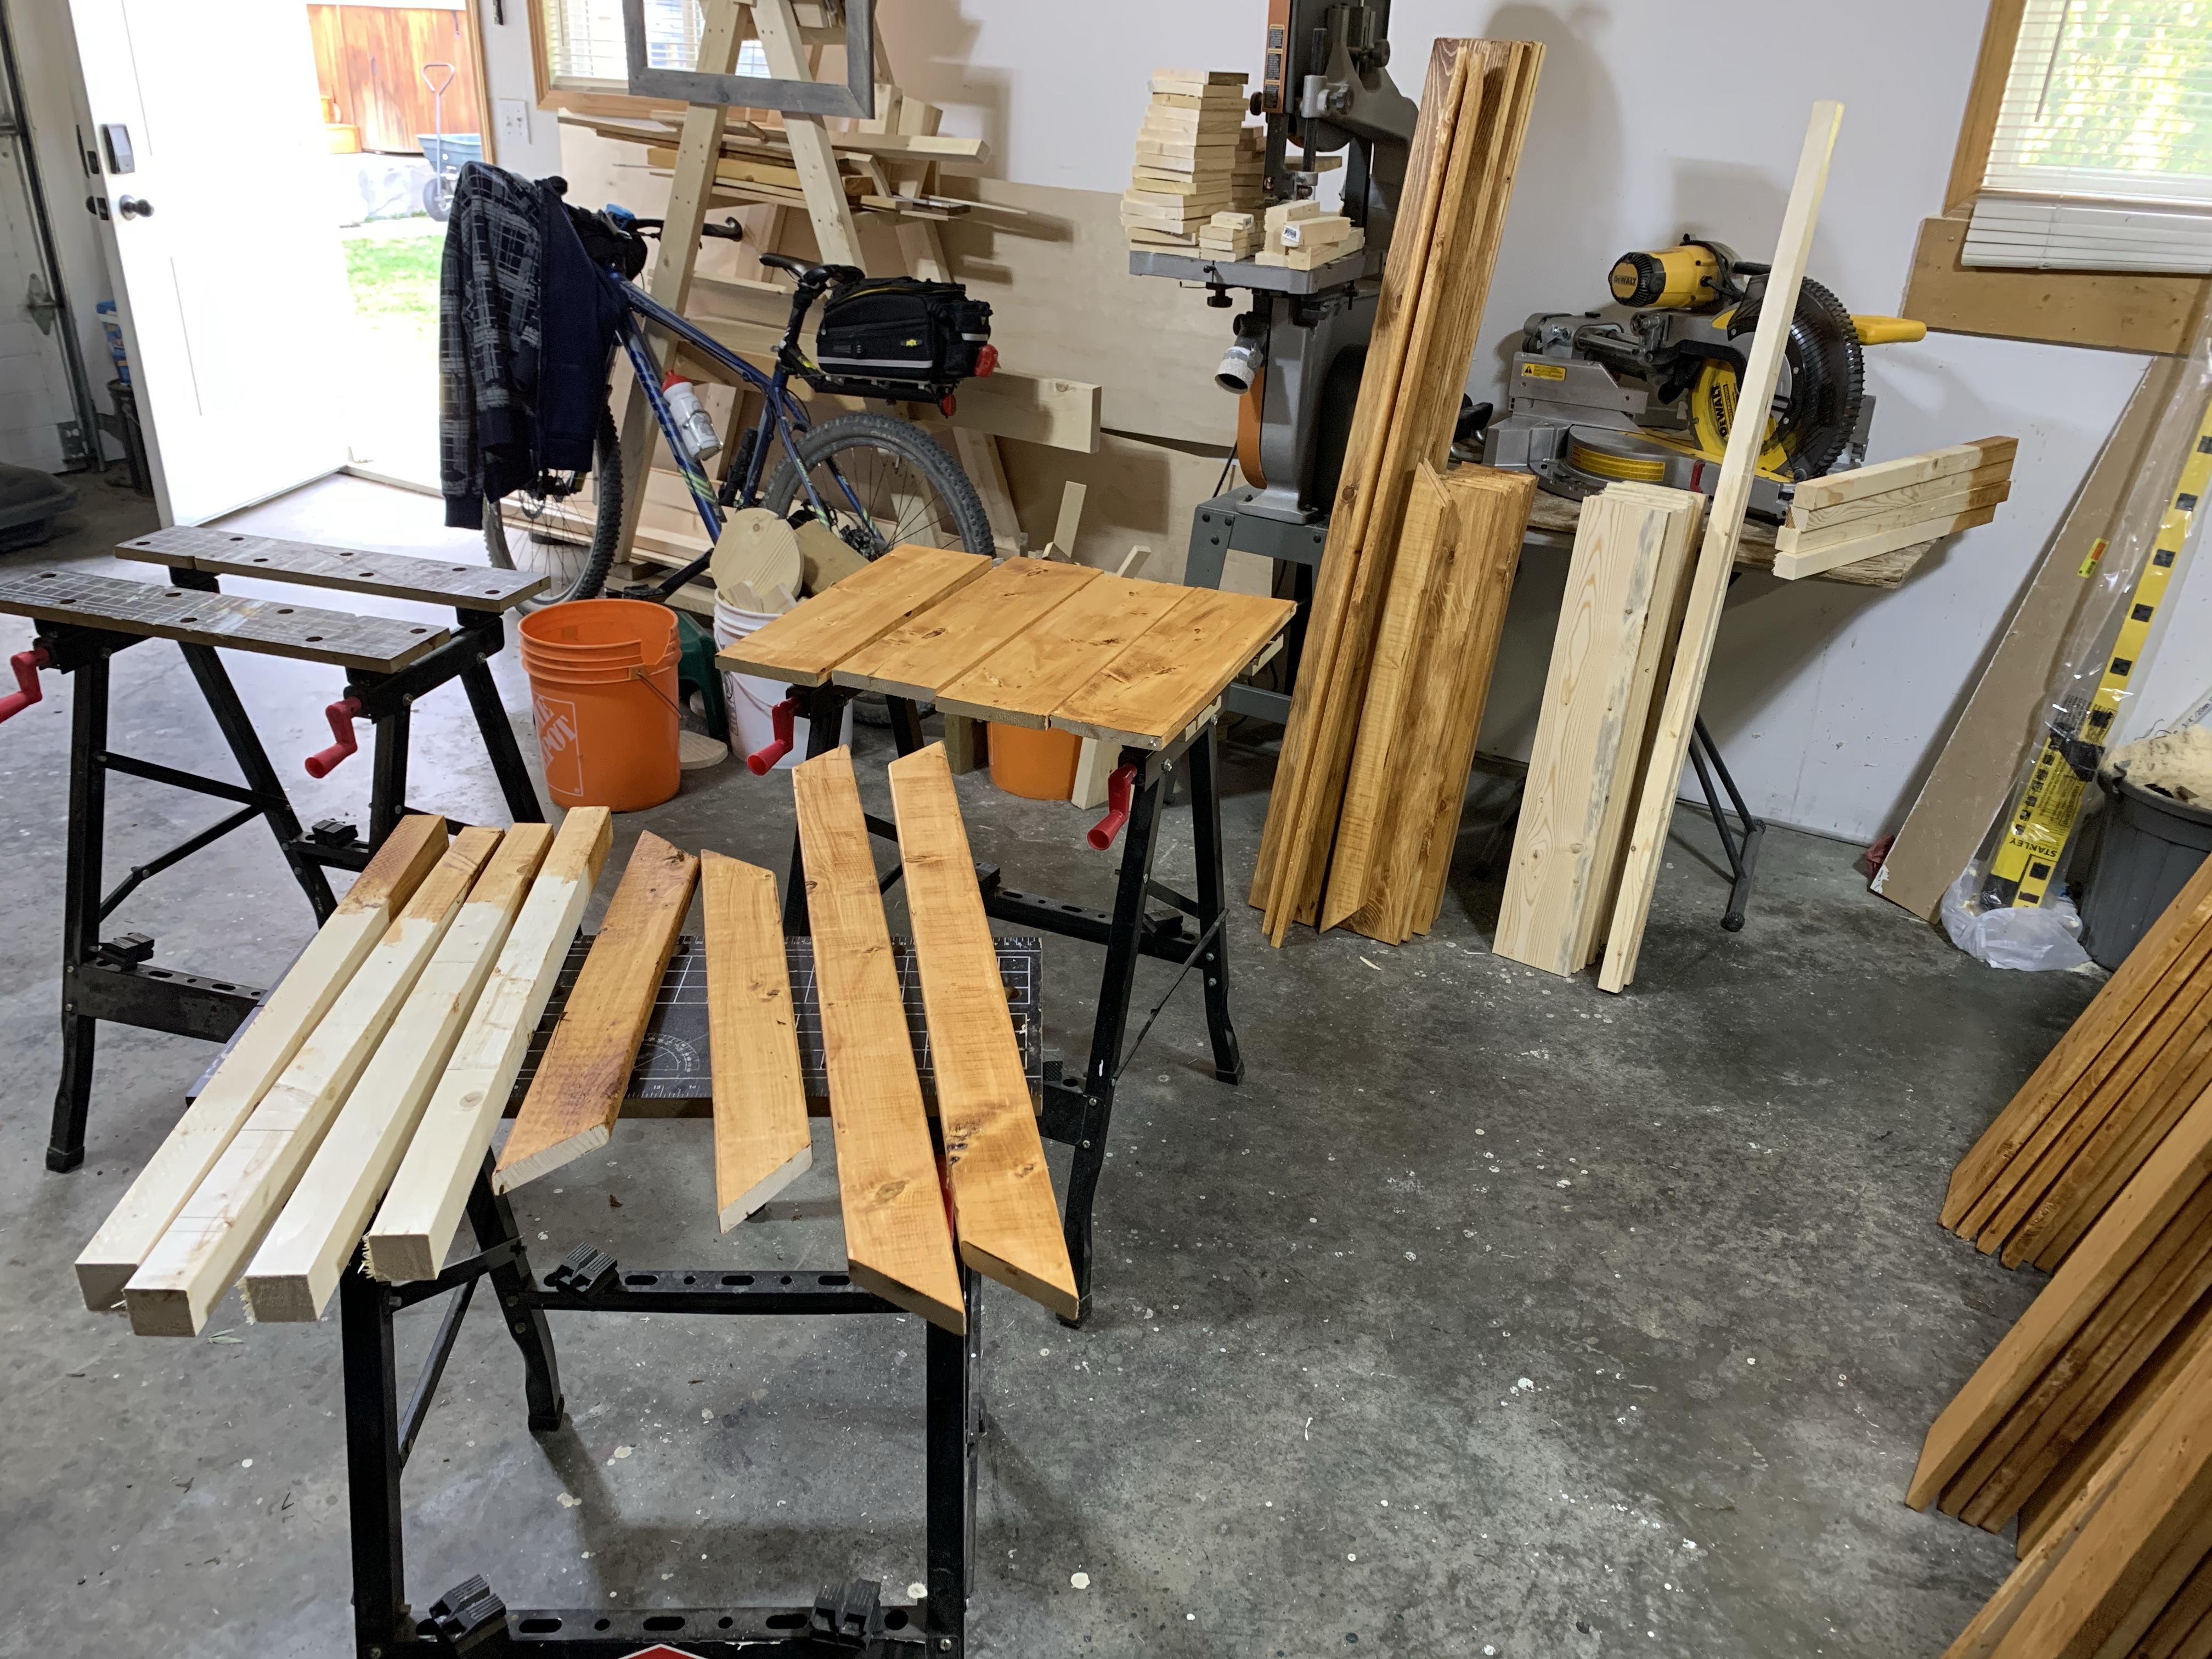
Once everything was cut I decided to stain all the pieces that needed to be stained. It’s a bit more time consuming, but the end results ensure no missed spots or hard to reach areas that end up blotchy or uneven. I like using a gel stain because everything ends up blending well and the overall stain is even. We decided on “Ipswich Pine” for the colour as we wanted it to still be on the light side of the scale. Our road is dusty so we didn’t want to go with natural or a dark stain because it would show the dirt.


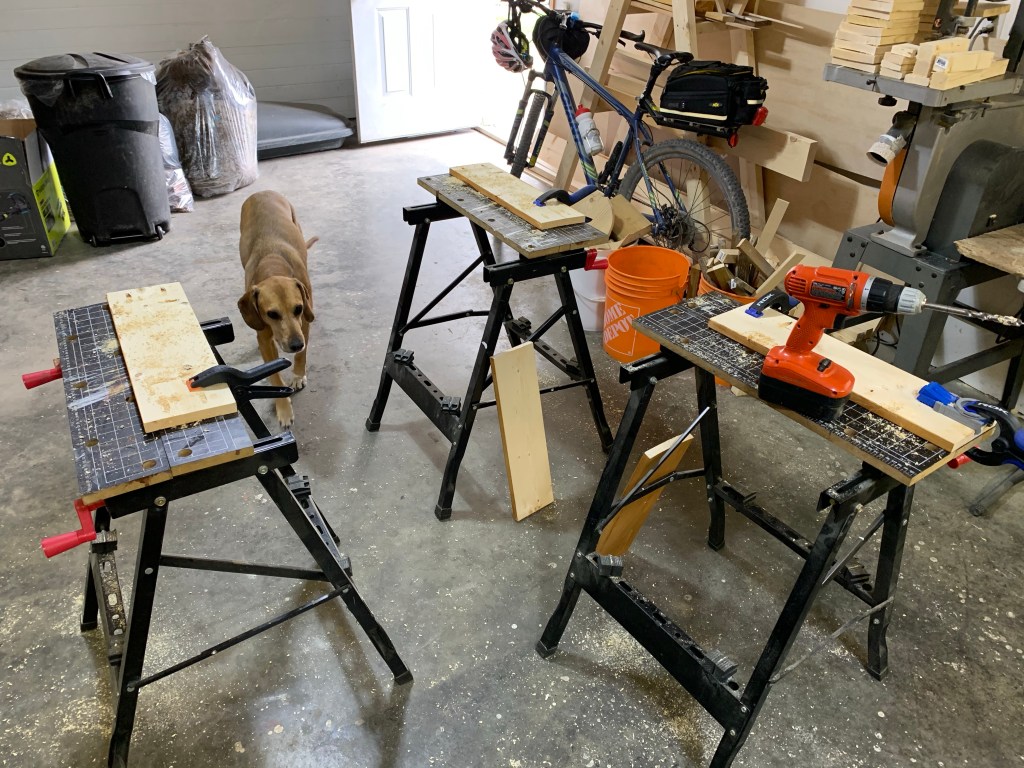
The next step was to pre-drill all the pocket holes for joining the planters. It took 280 holes between the 5 planters, but it is worth it for how solid they turned out. If you have ready any of my past posts, you will know that my Kreg Jig is probably one of my most used tools (I don’t get paid to say that). Luckily, K joined me in the shop for this part and we got into a rhythm of him setting up and clamping the boards while I drilled. We had a few stations going so it was a smooth and mostly quick process. We drained both drill batteries and my arms and lower back needed a good soak, but we got it all done in 1 go.
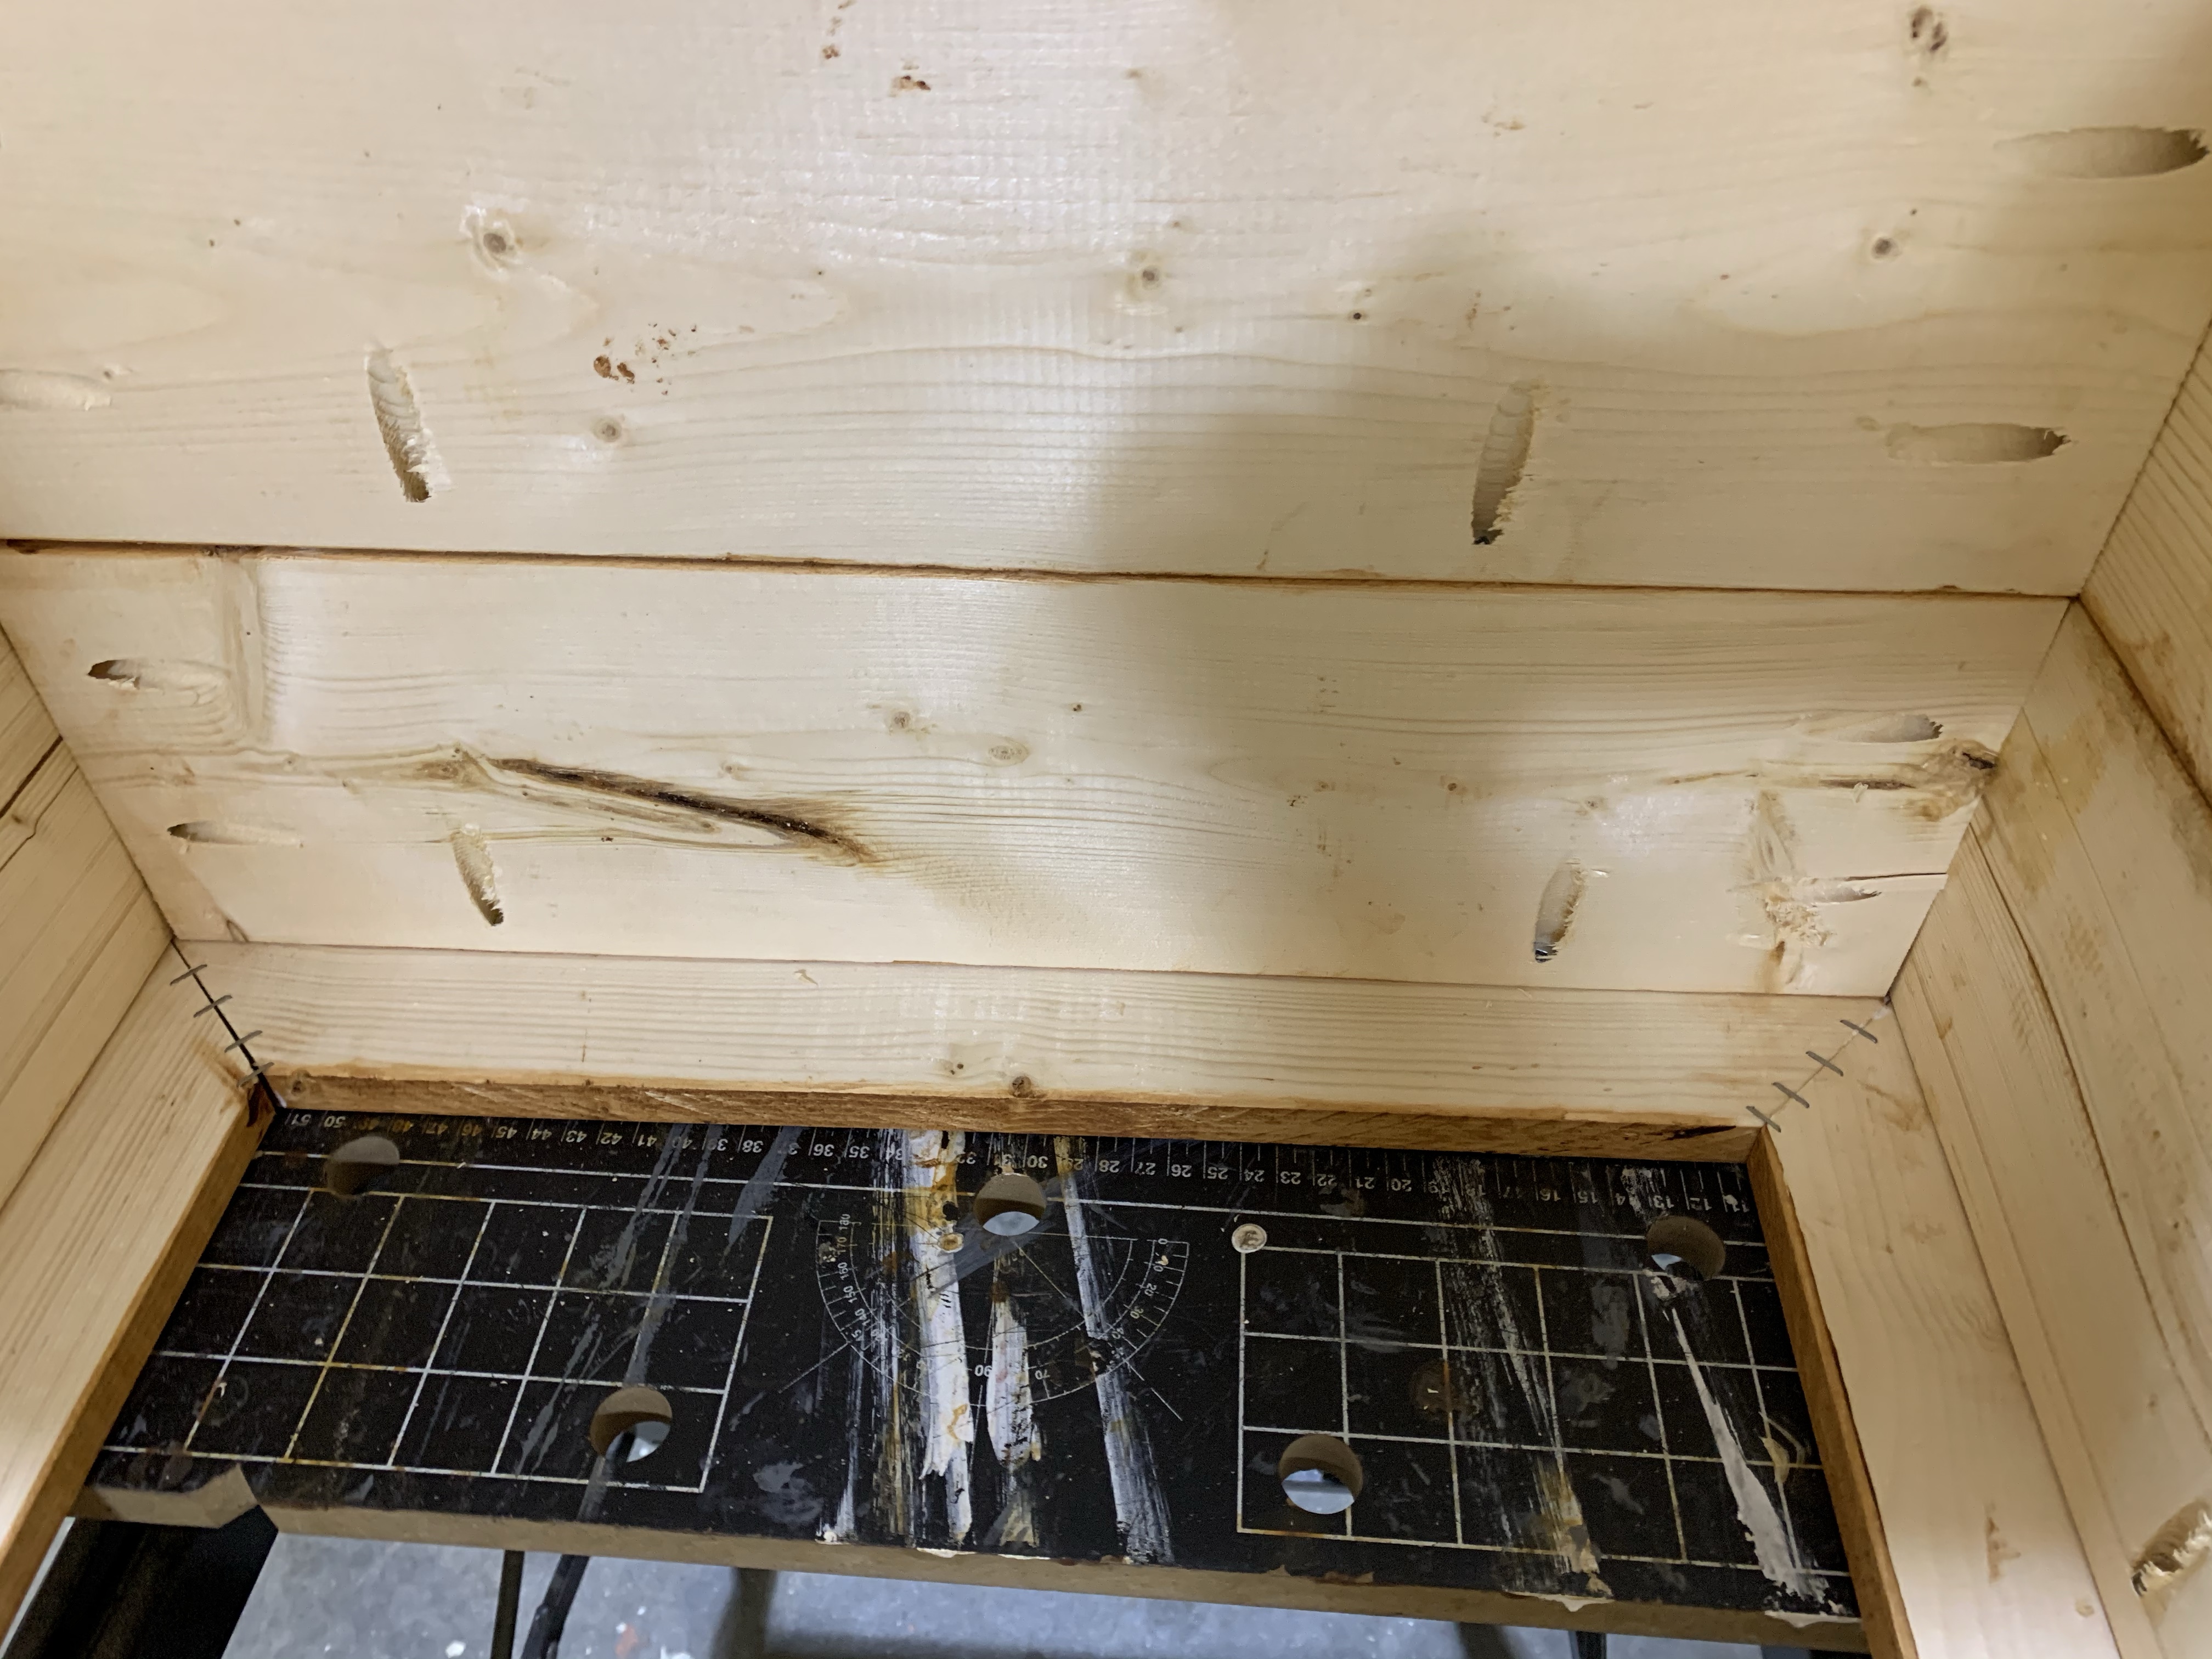
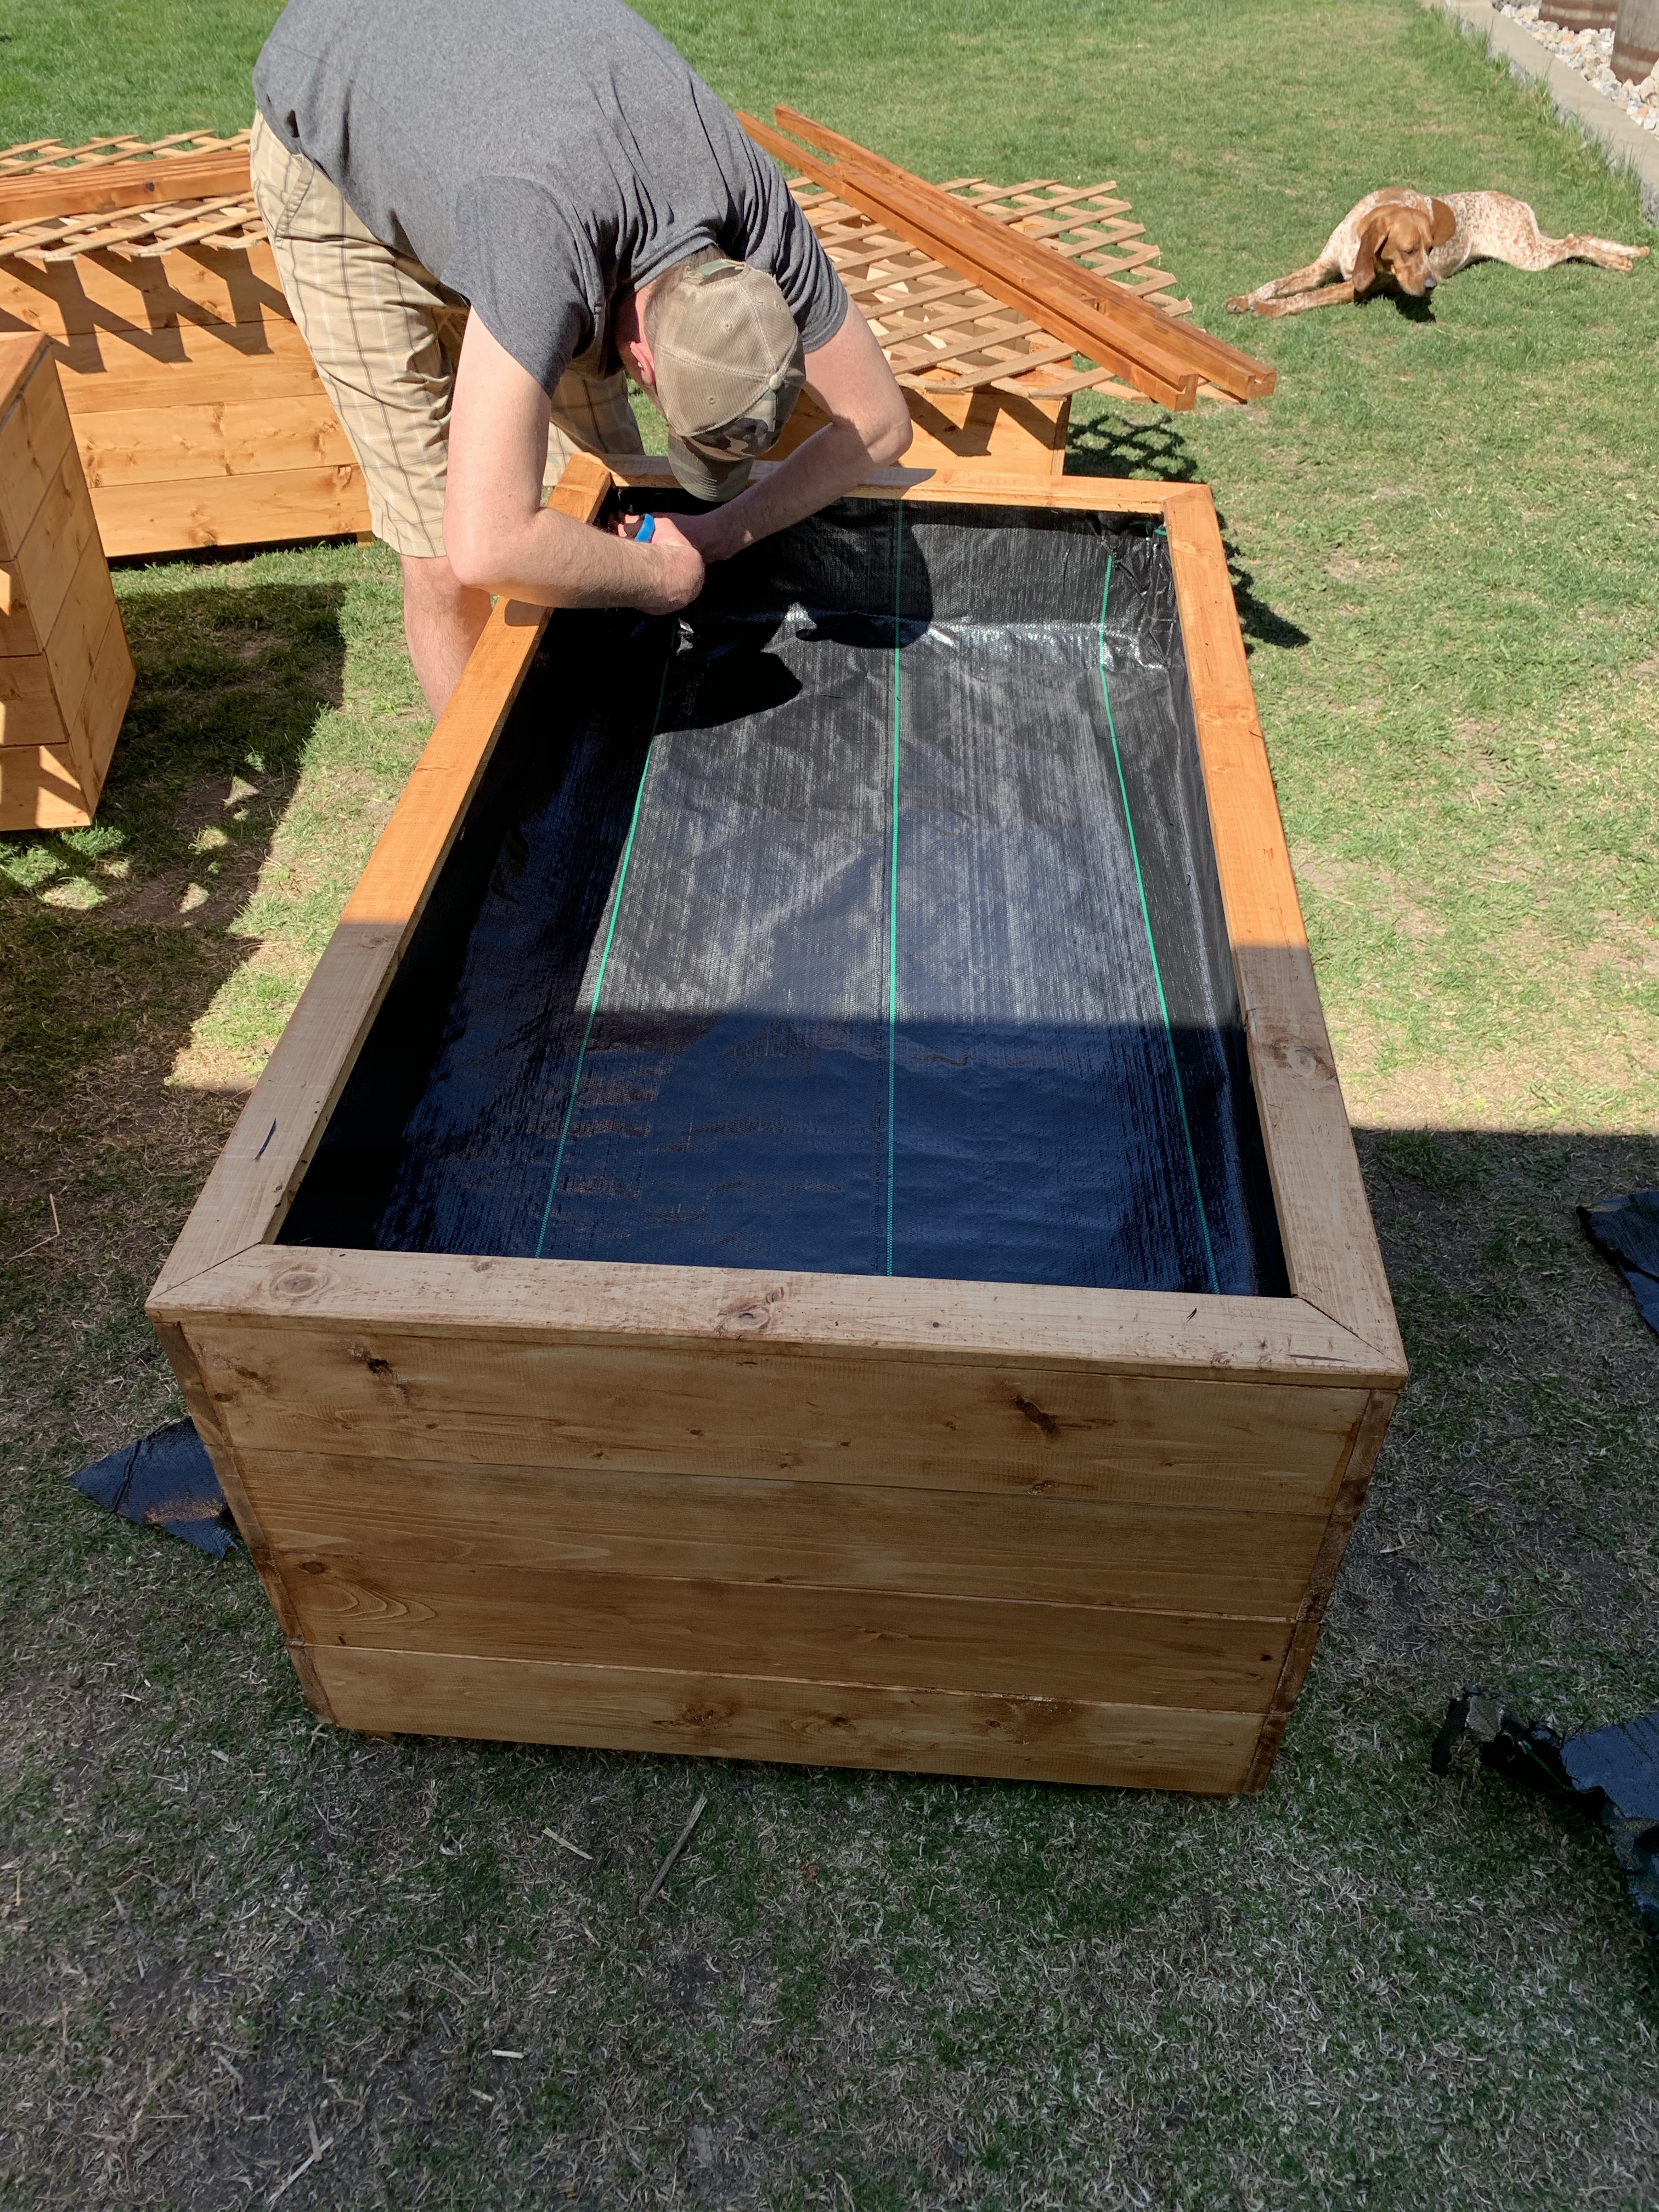
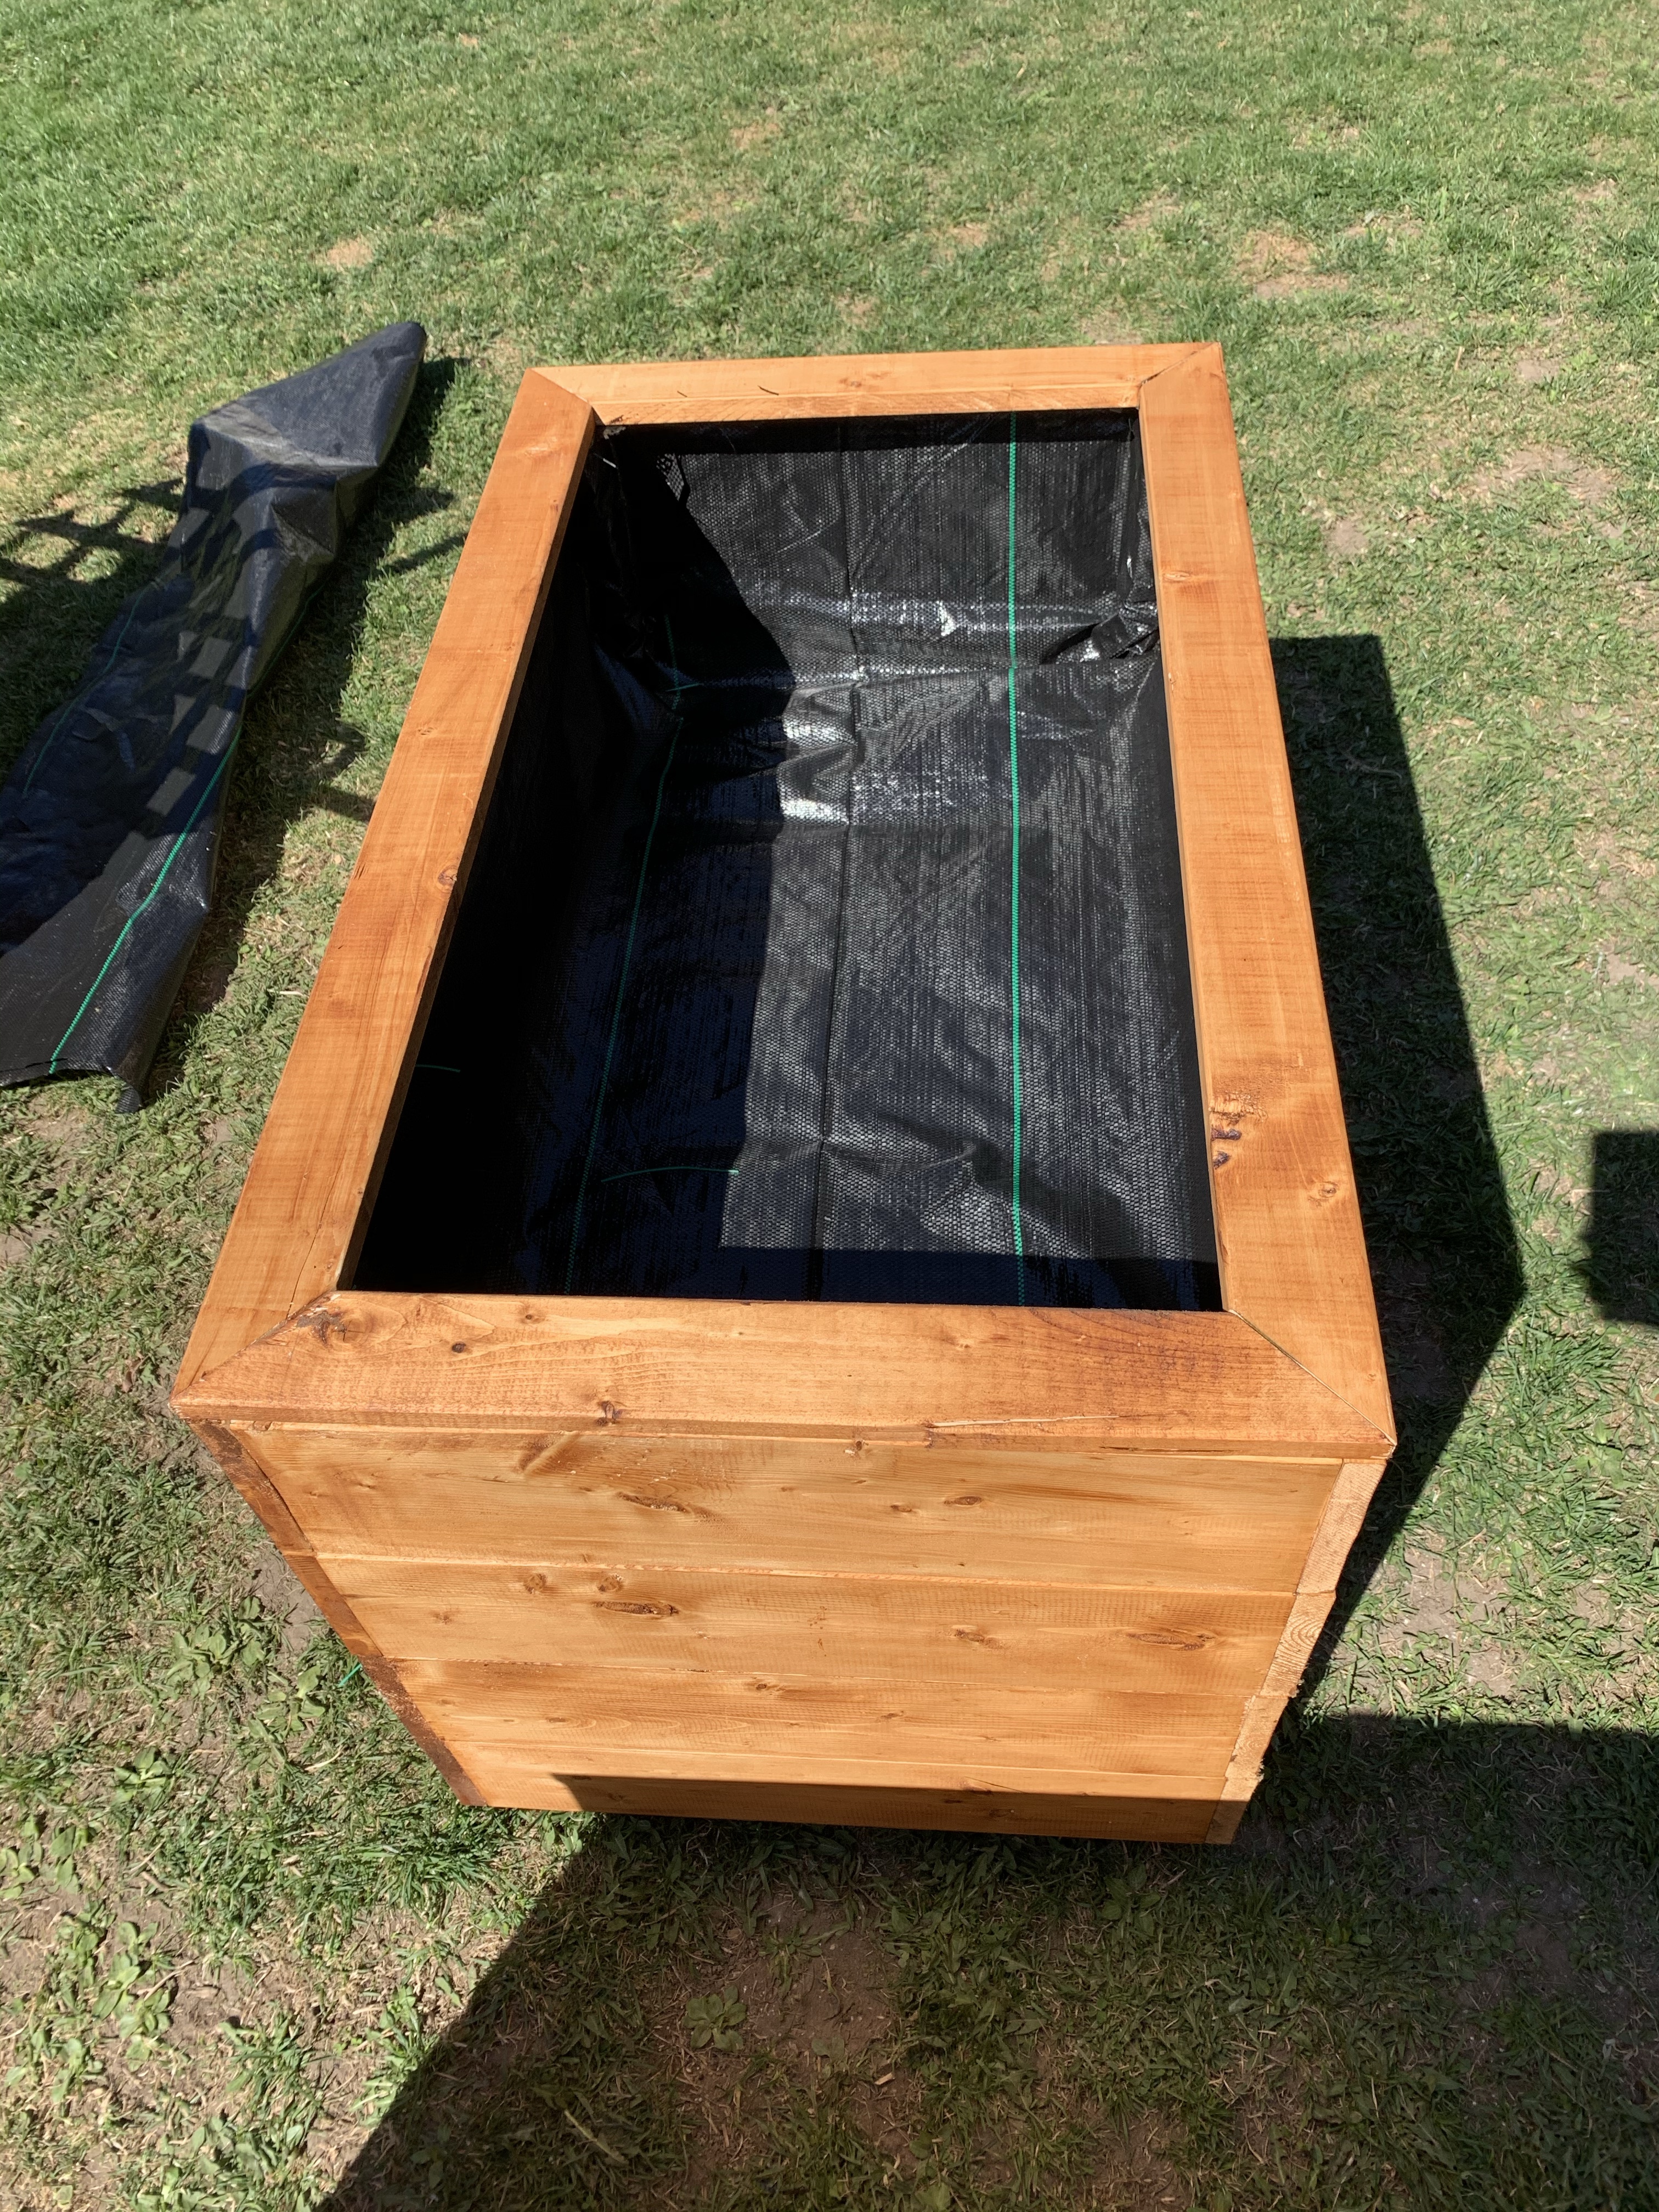
The next part went quickly thanks to all those pocket holes, we assembled all the planters. Once together, they were nice and solid and should last a long time. We added the bases at 16” from the top. We didn’t want 22” of soil as it would be too much for what we want to grow in them. We did a slat-board base with 2×2 rails for the base boards to attach to. This will allow for good drainage once we got the lining in.
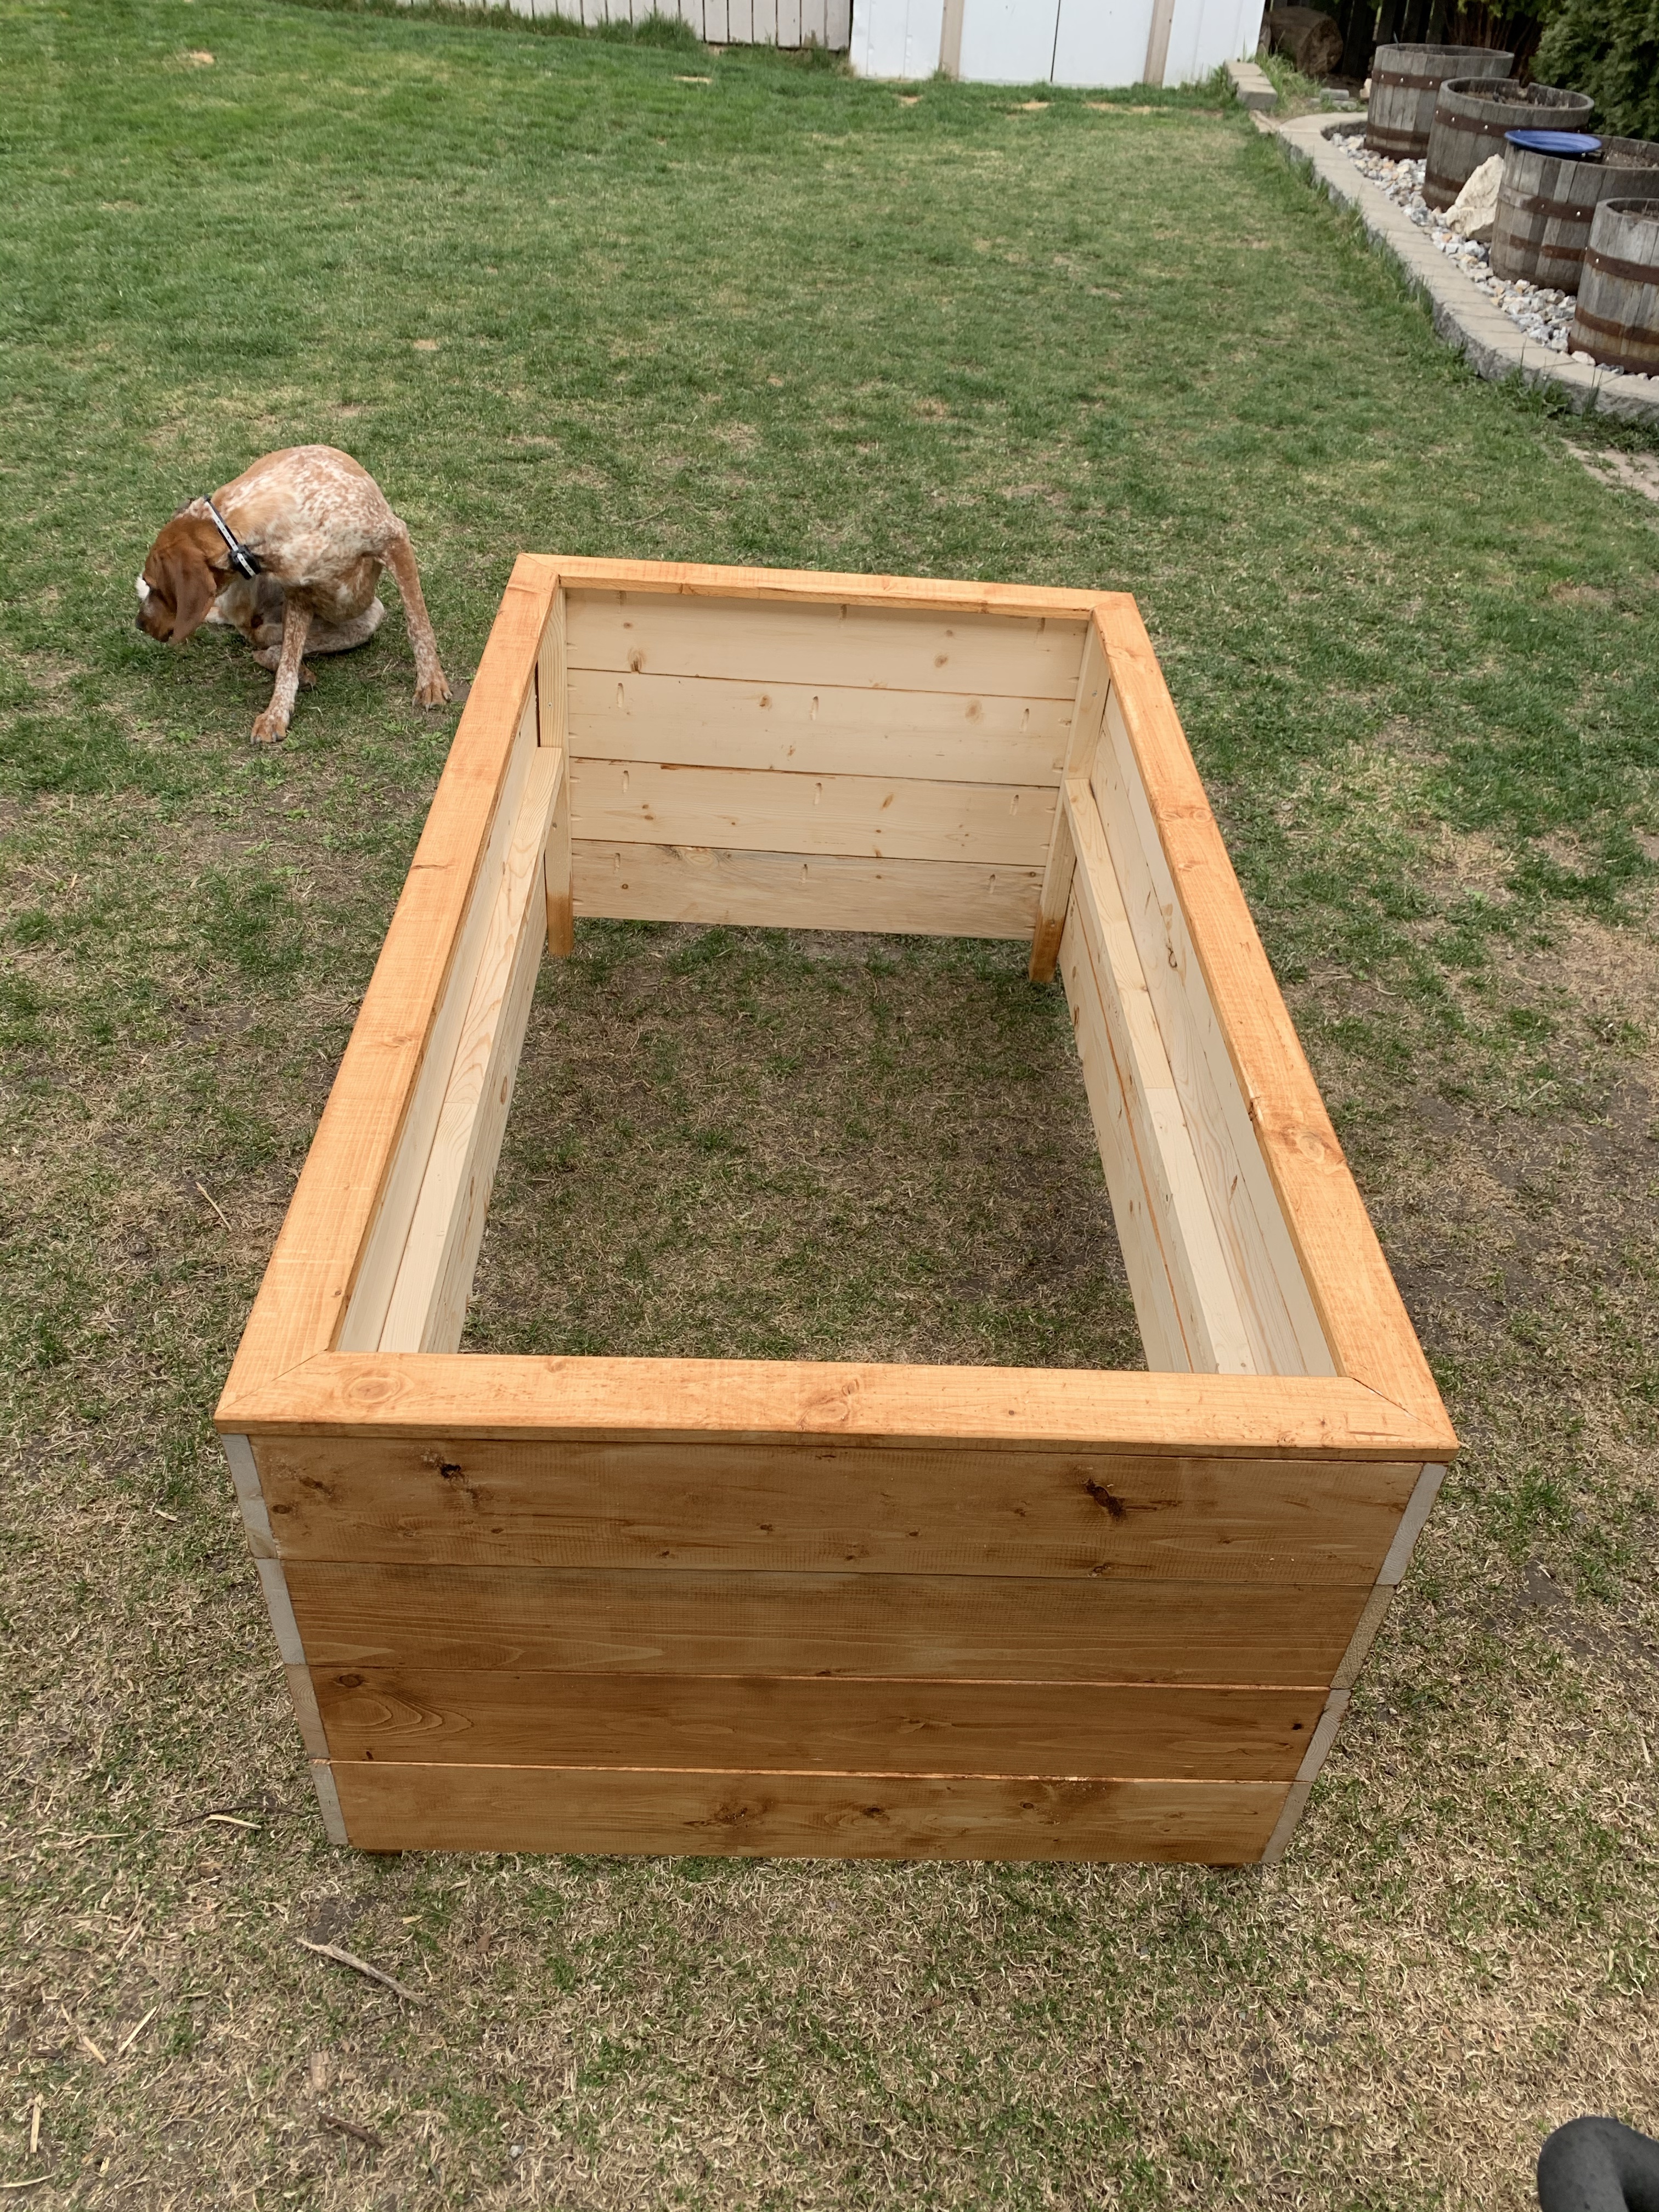


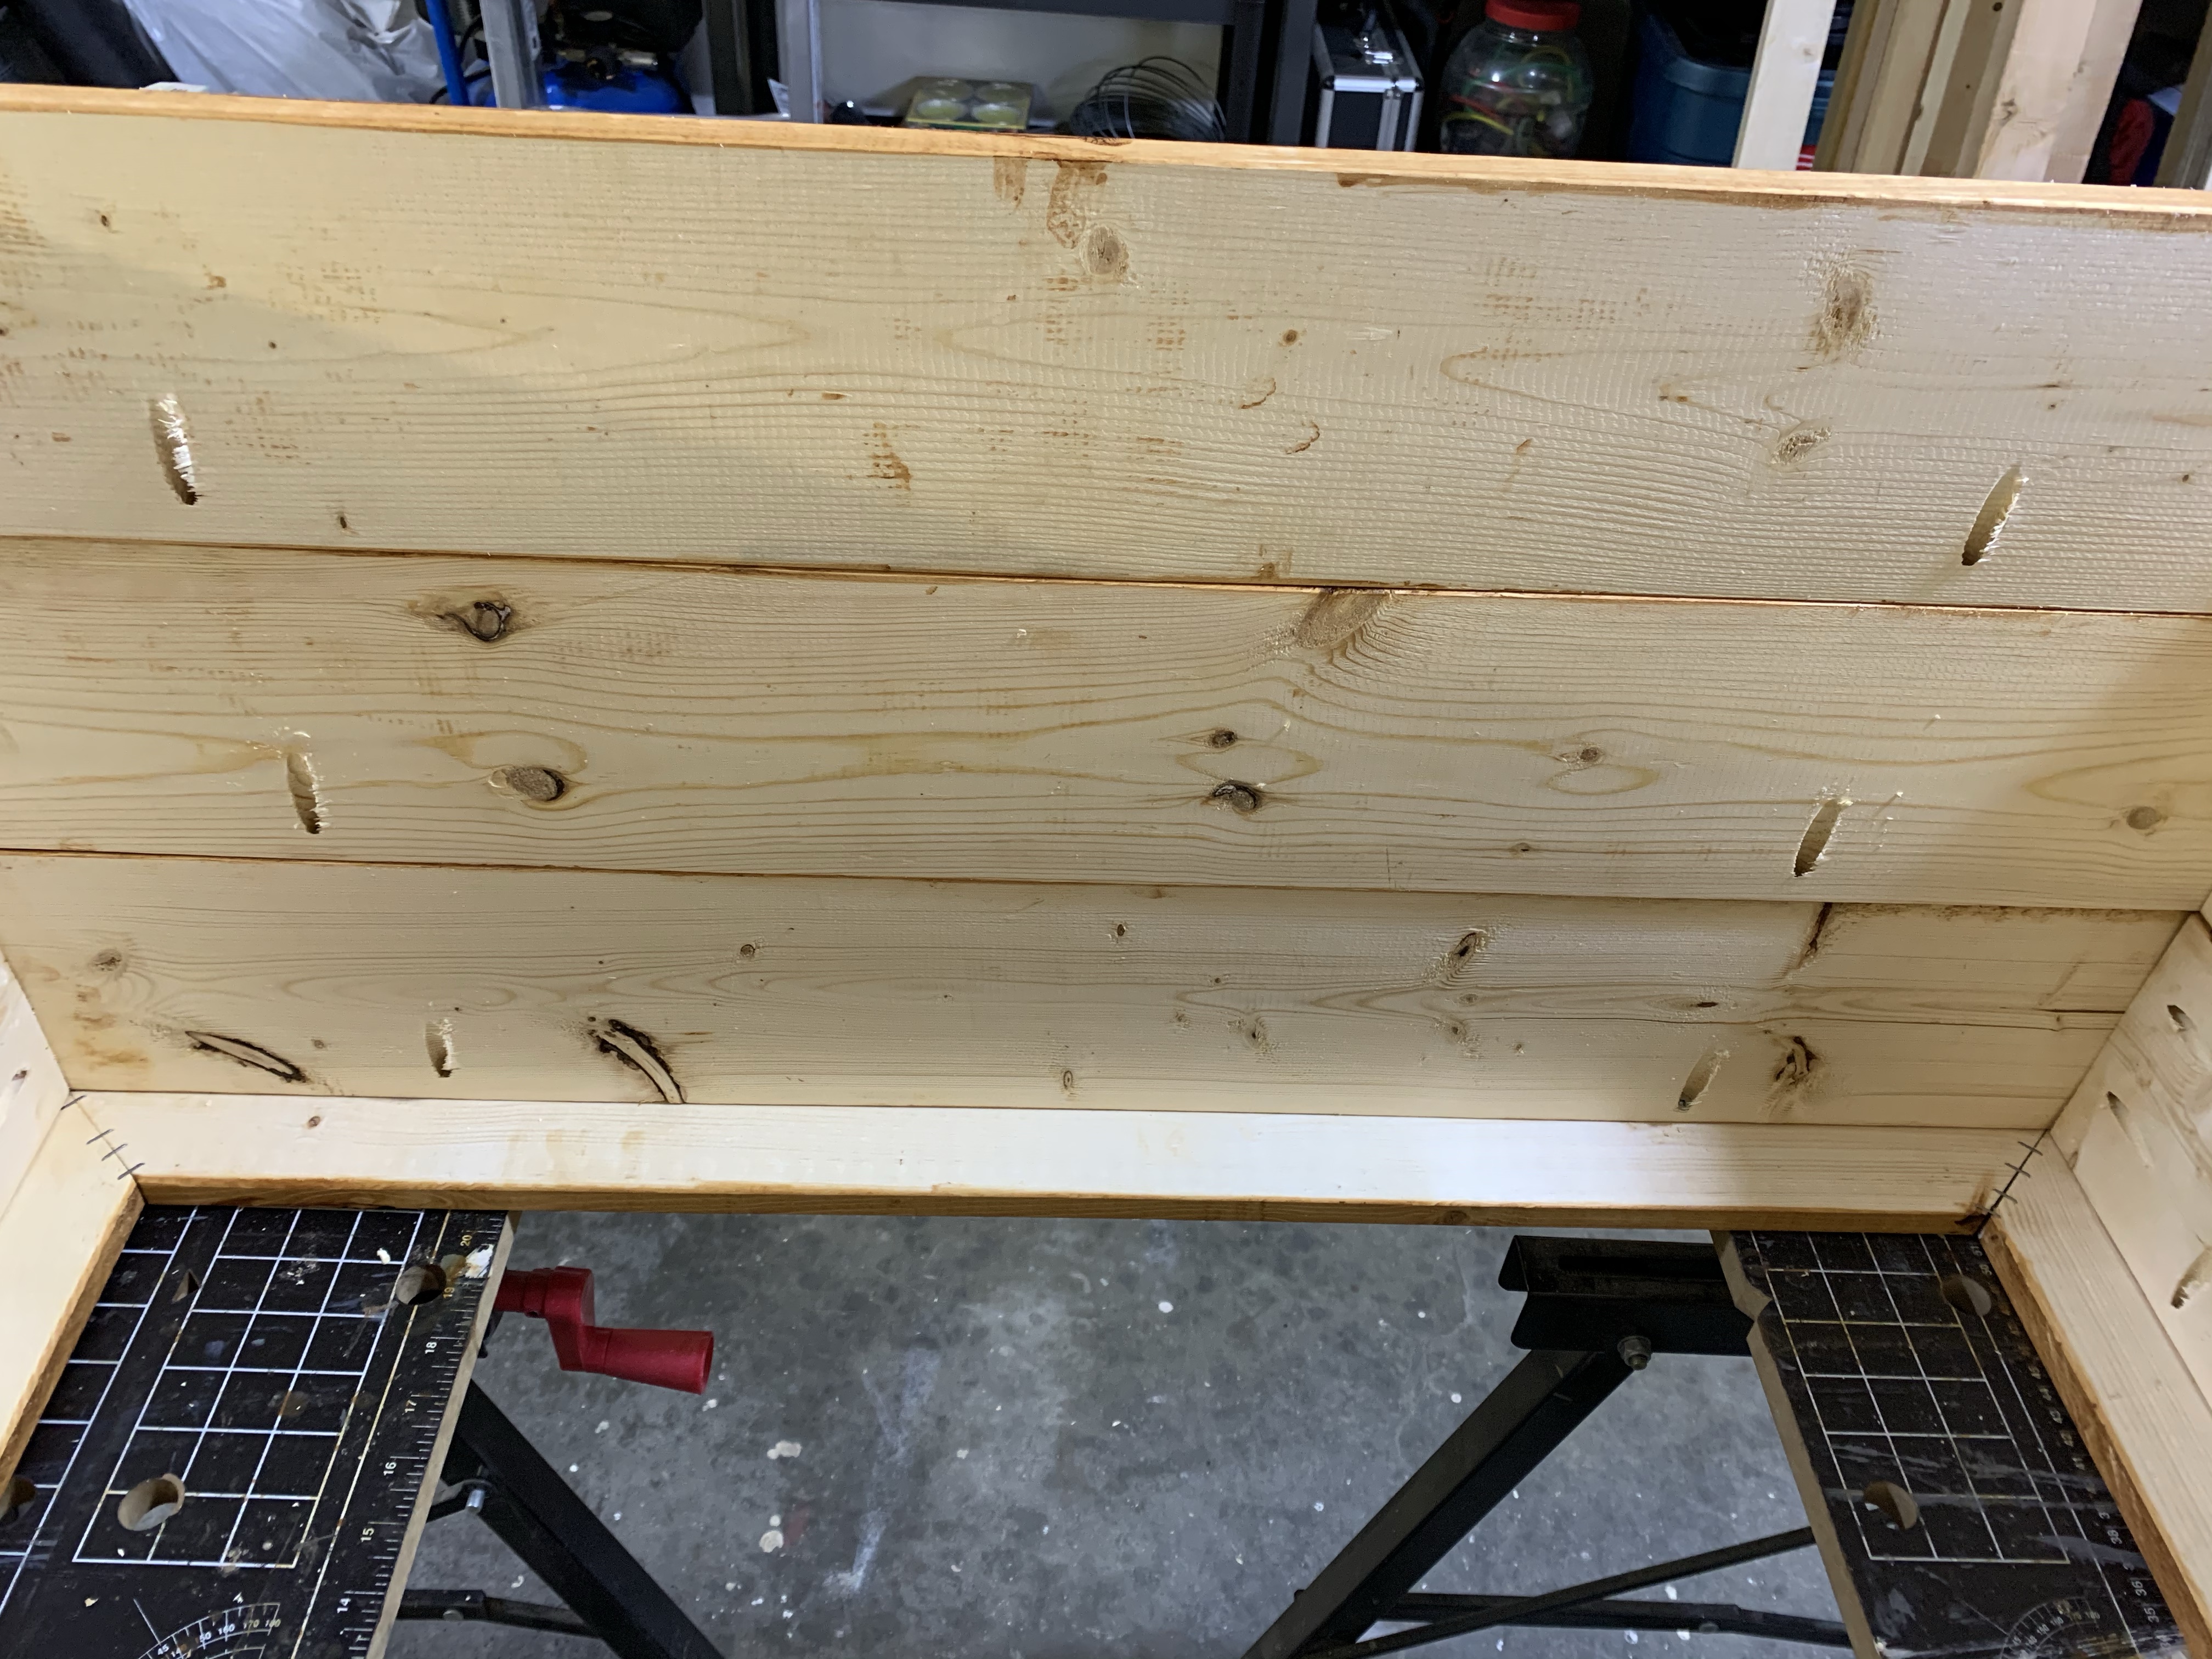
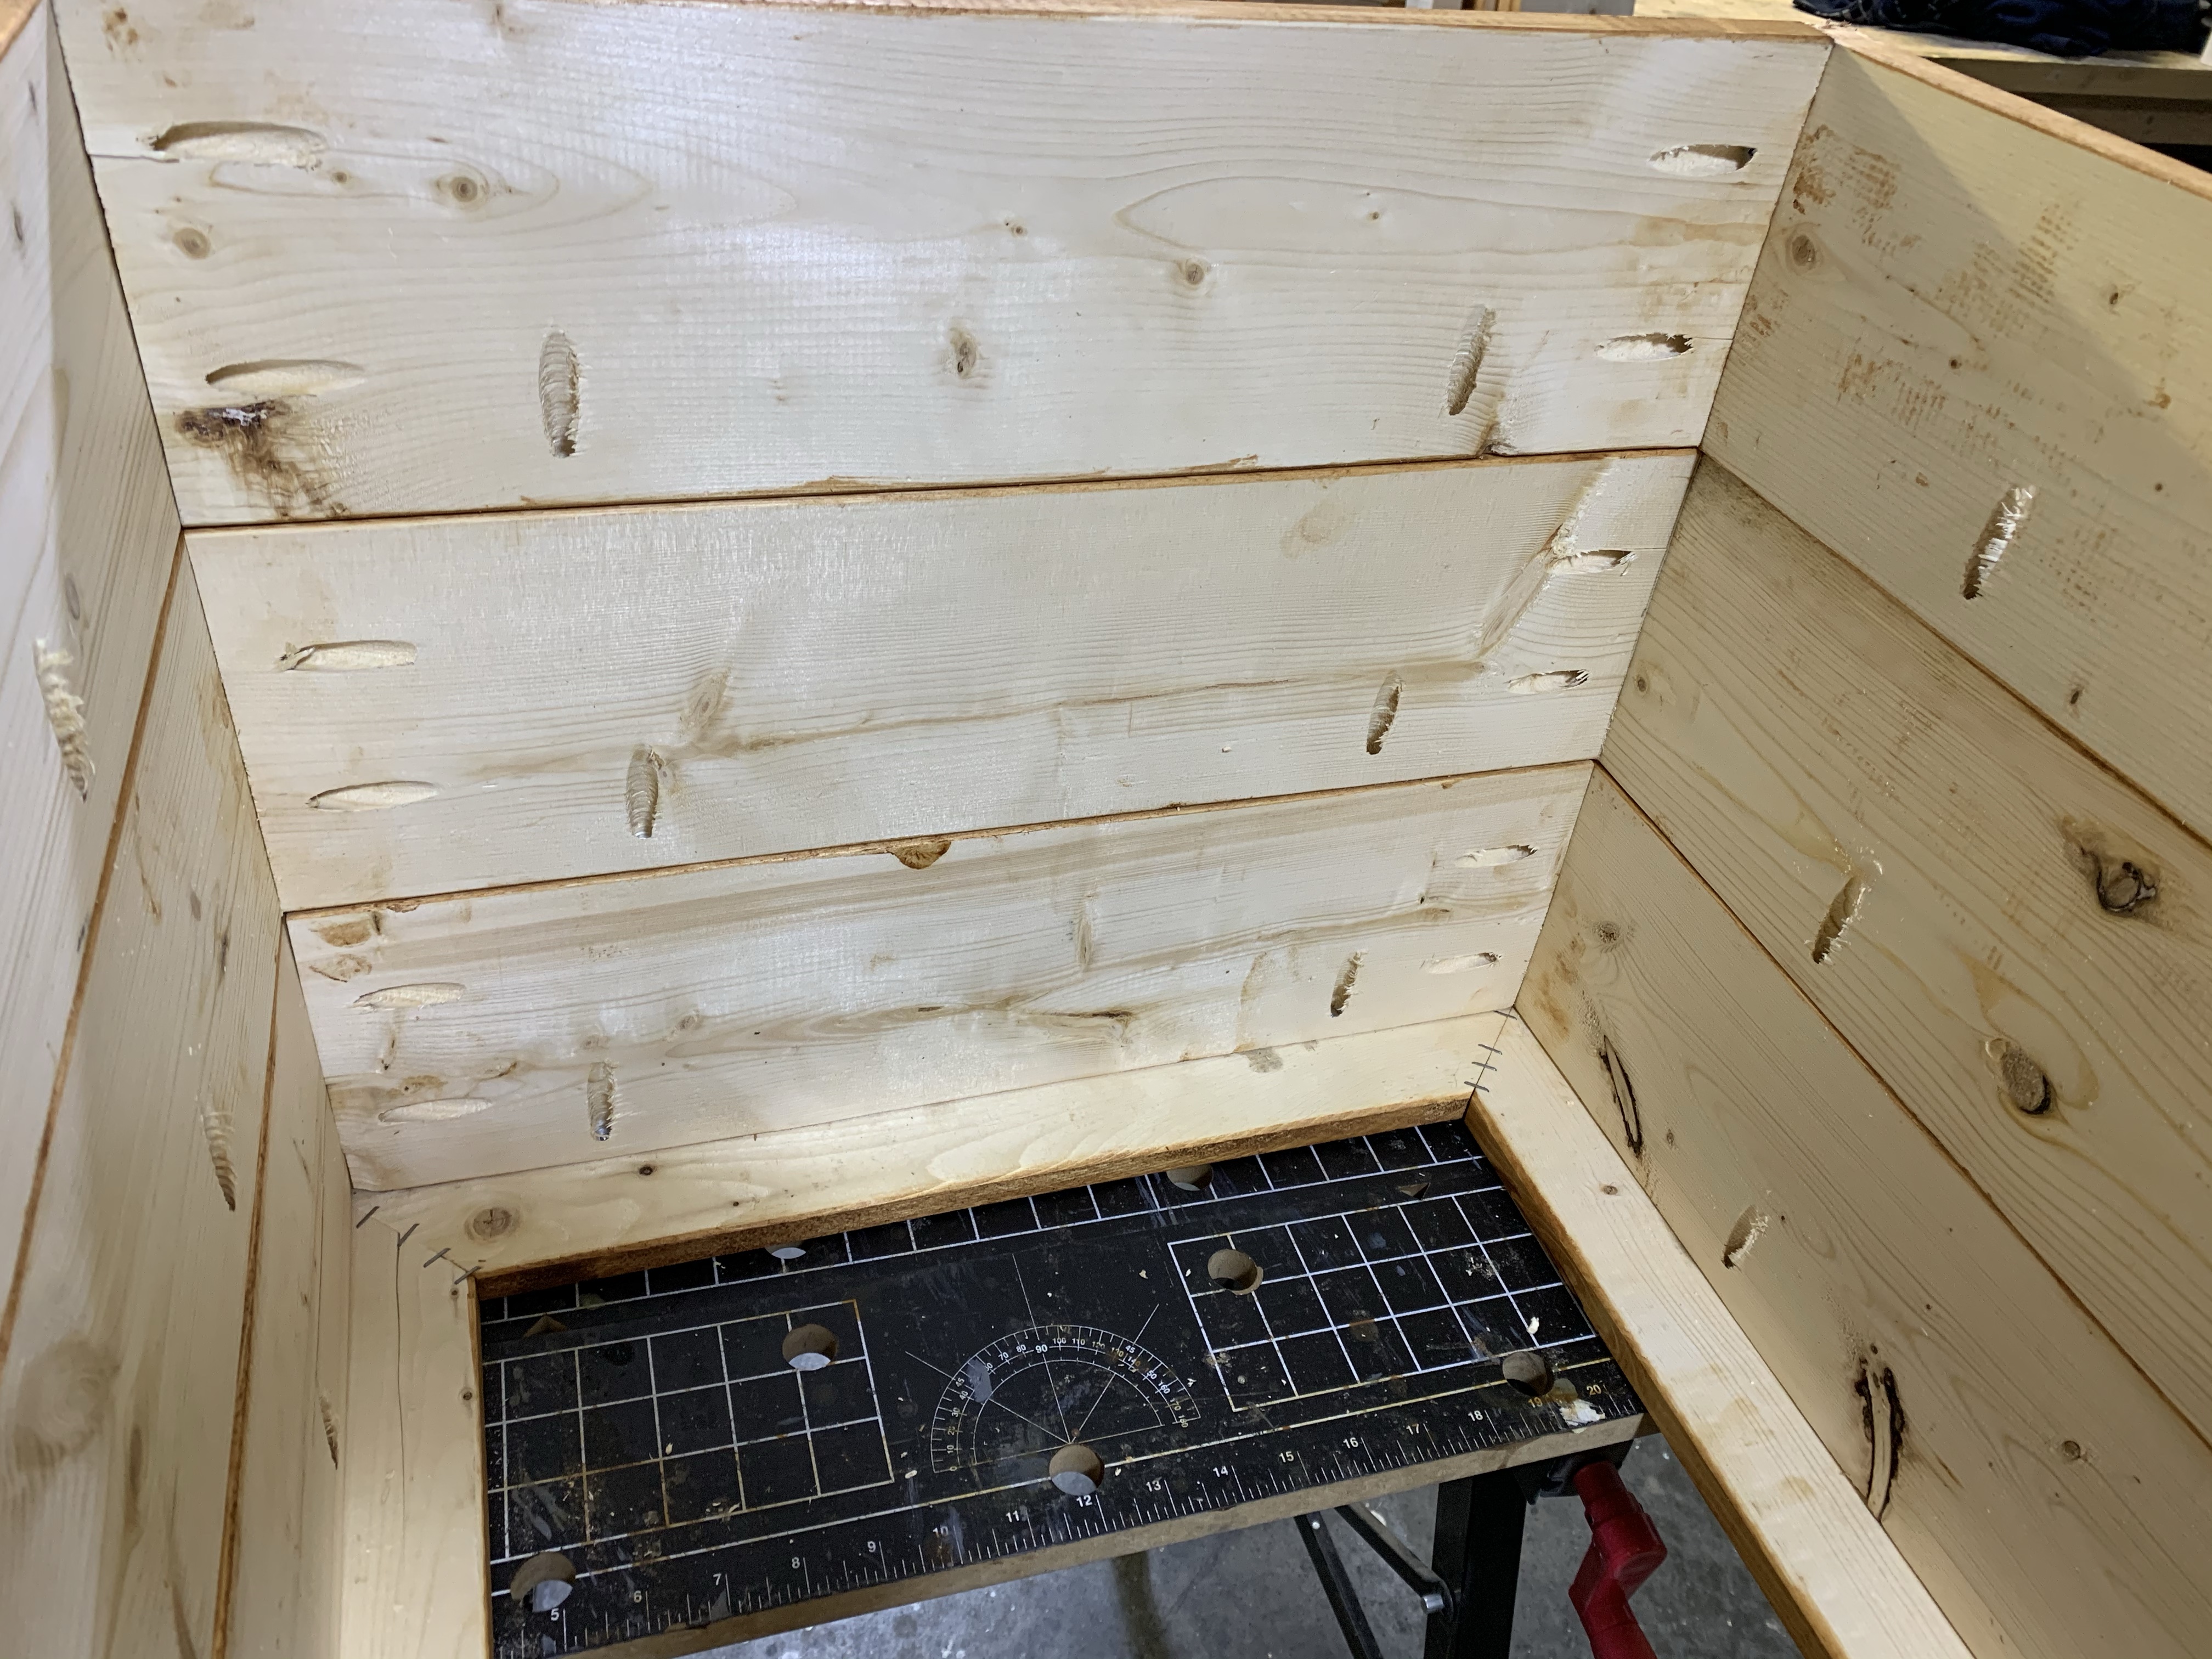
All the planters I have built have had the same slat-board base with a commercial grade landscaping fabric liner. I like using this heavy duty landscaping fabric as a liner because it is strong, holds water while slowly letting it drain which lets the plant get a good absorption without becoming soggy, and it has lasted 3 years in some of my other planters without any issues or sign of wear. It’s also super easy to put in any shape planter or raised bed with a nice uniform look.

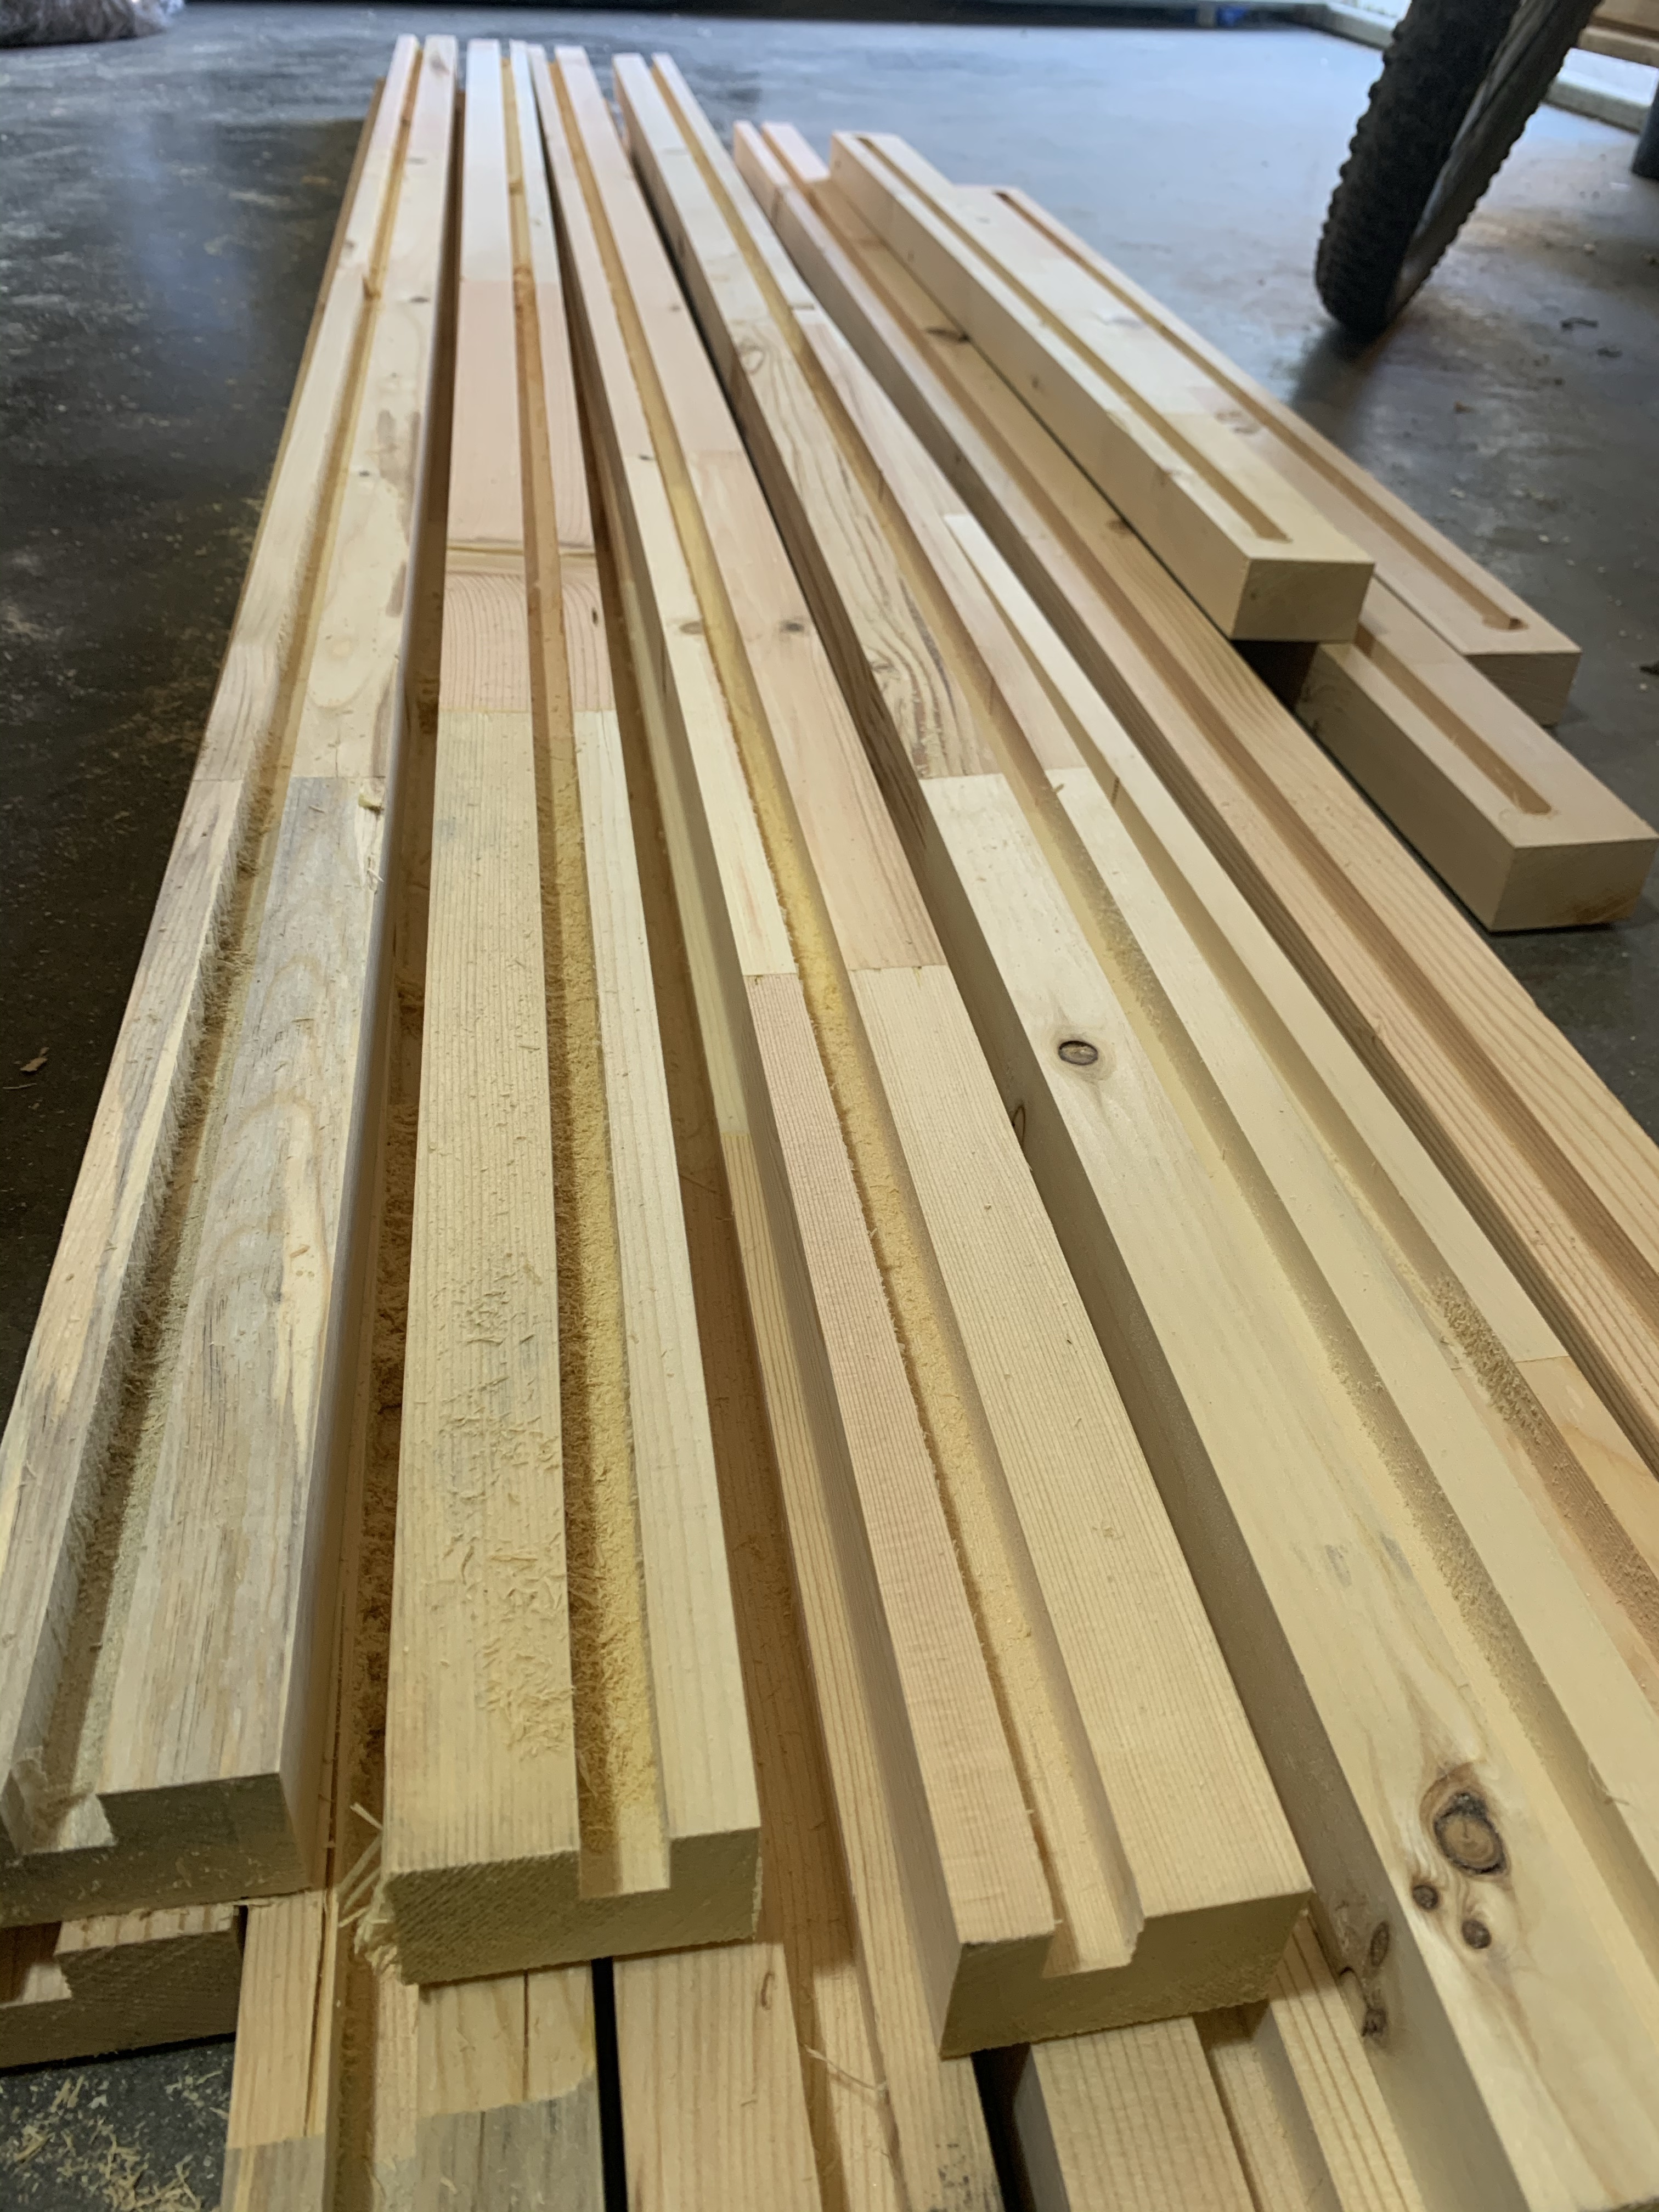
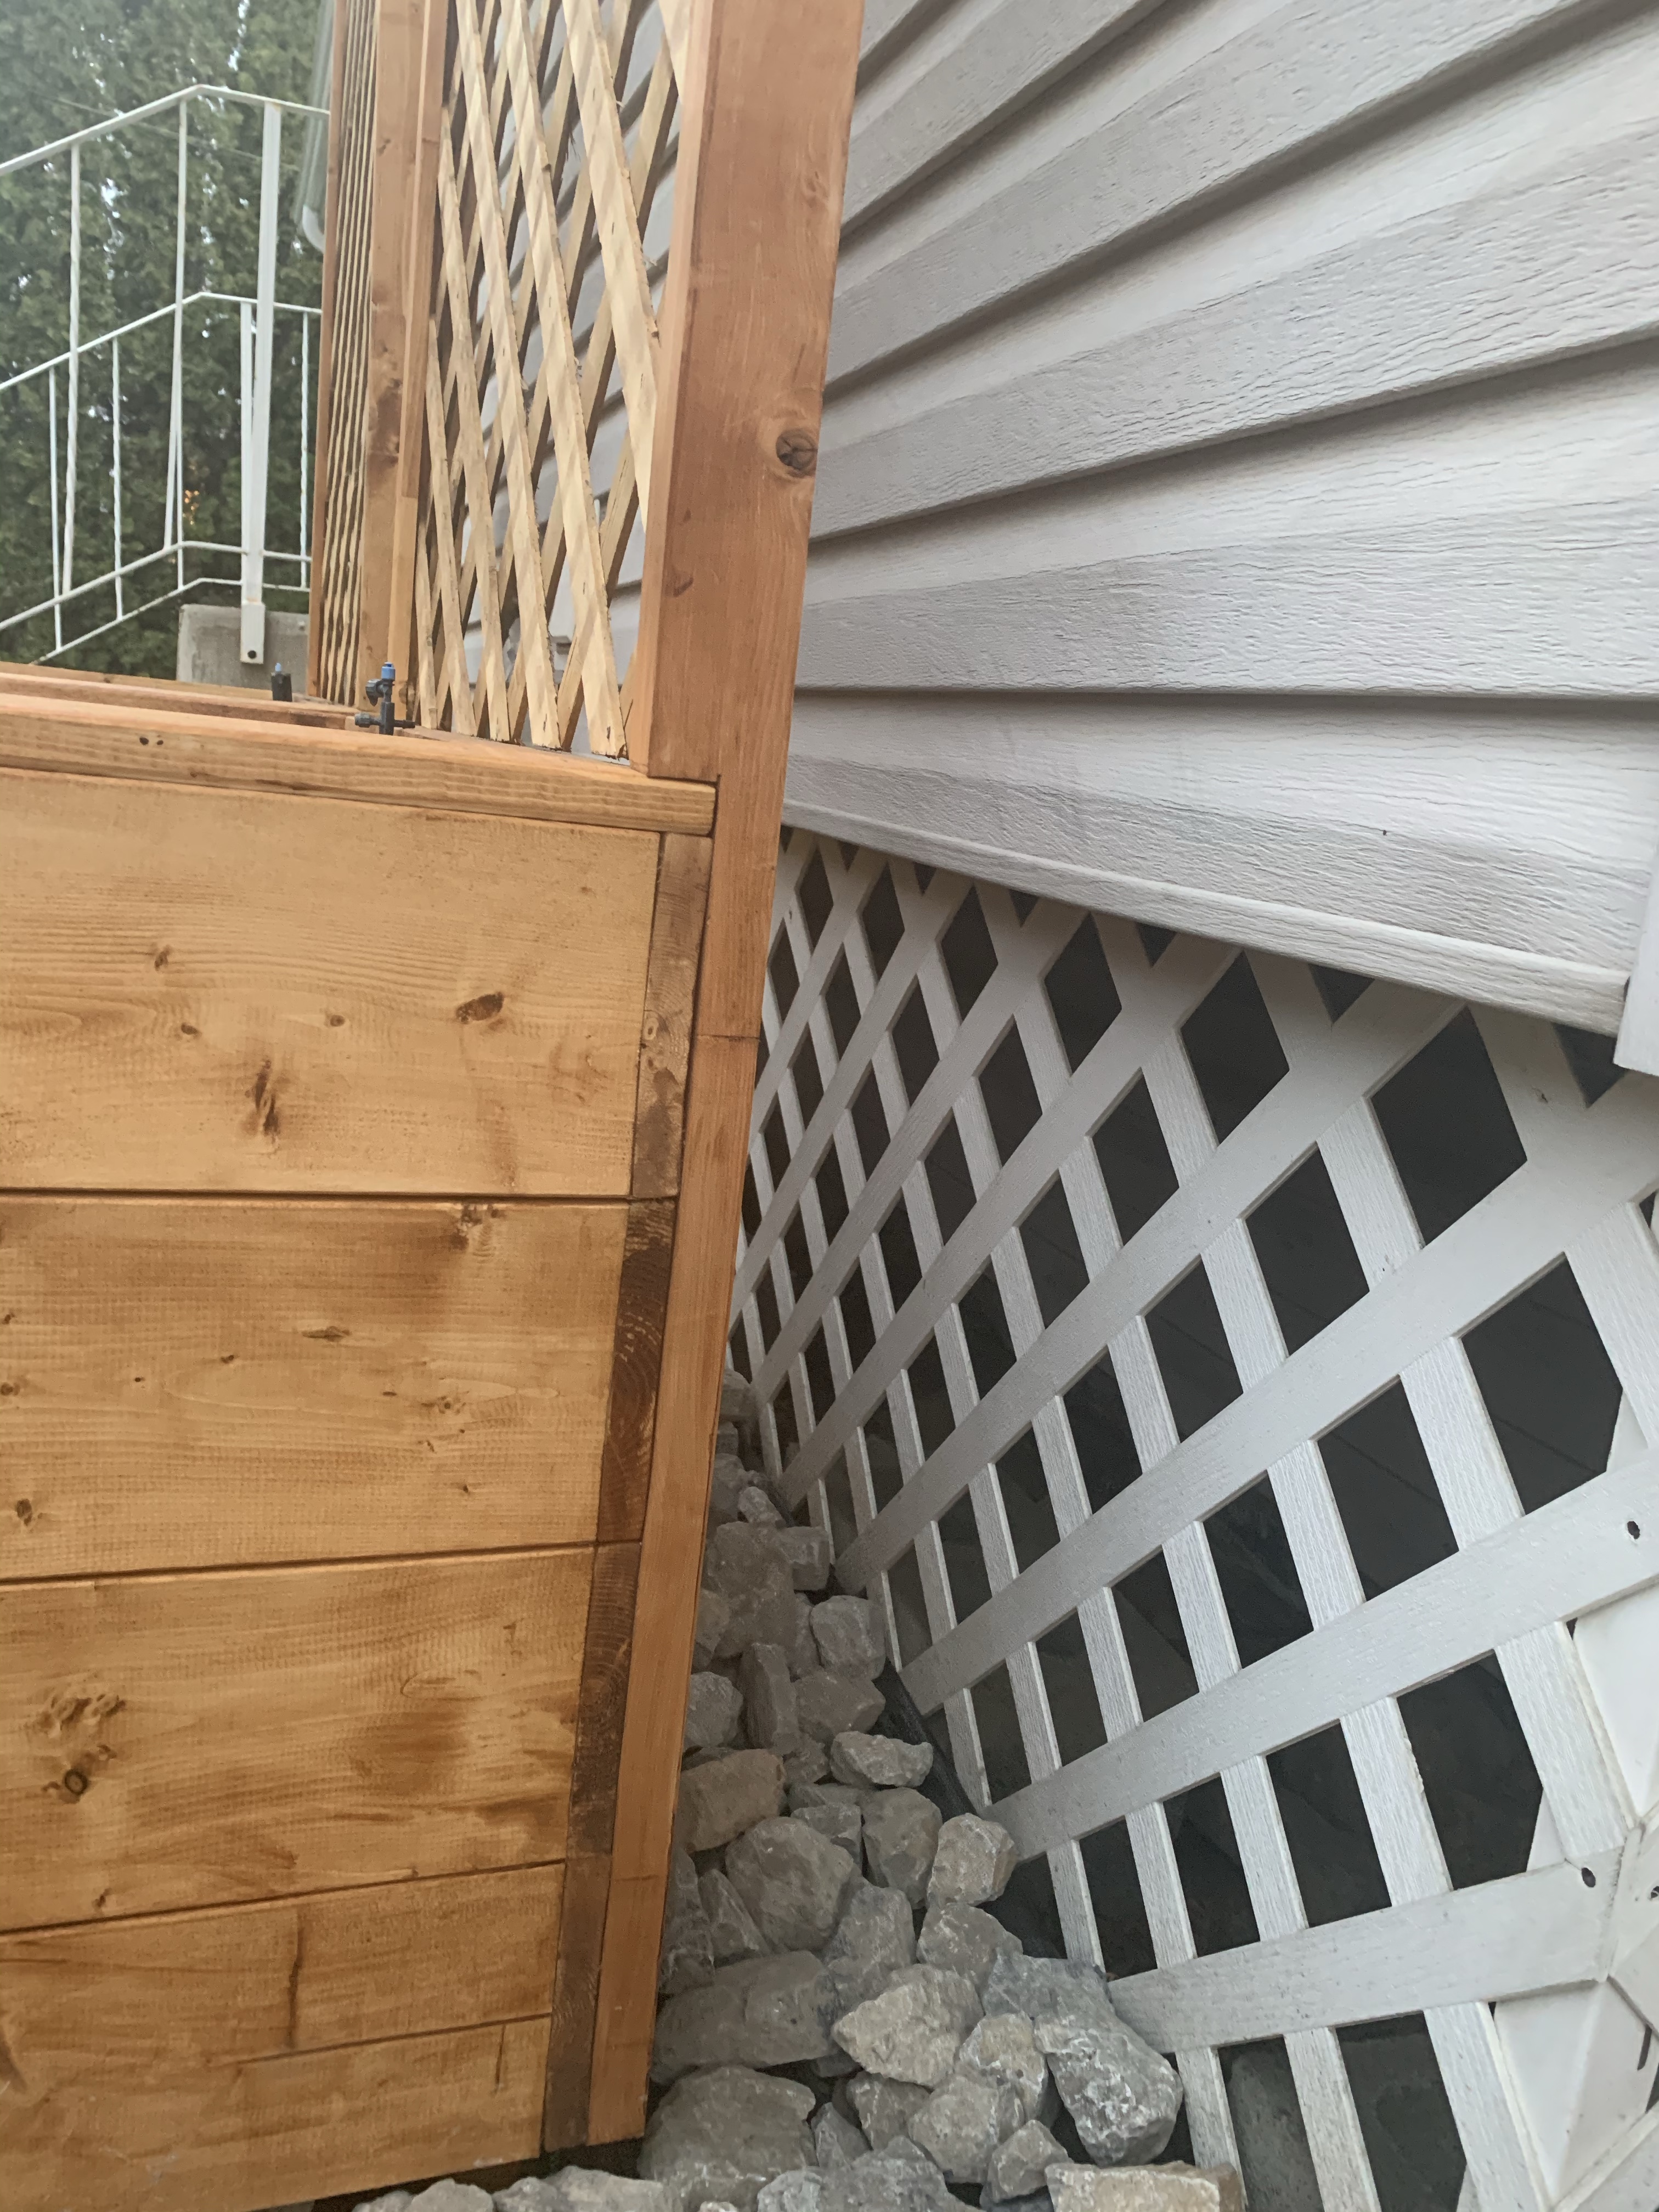
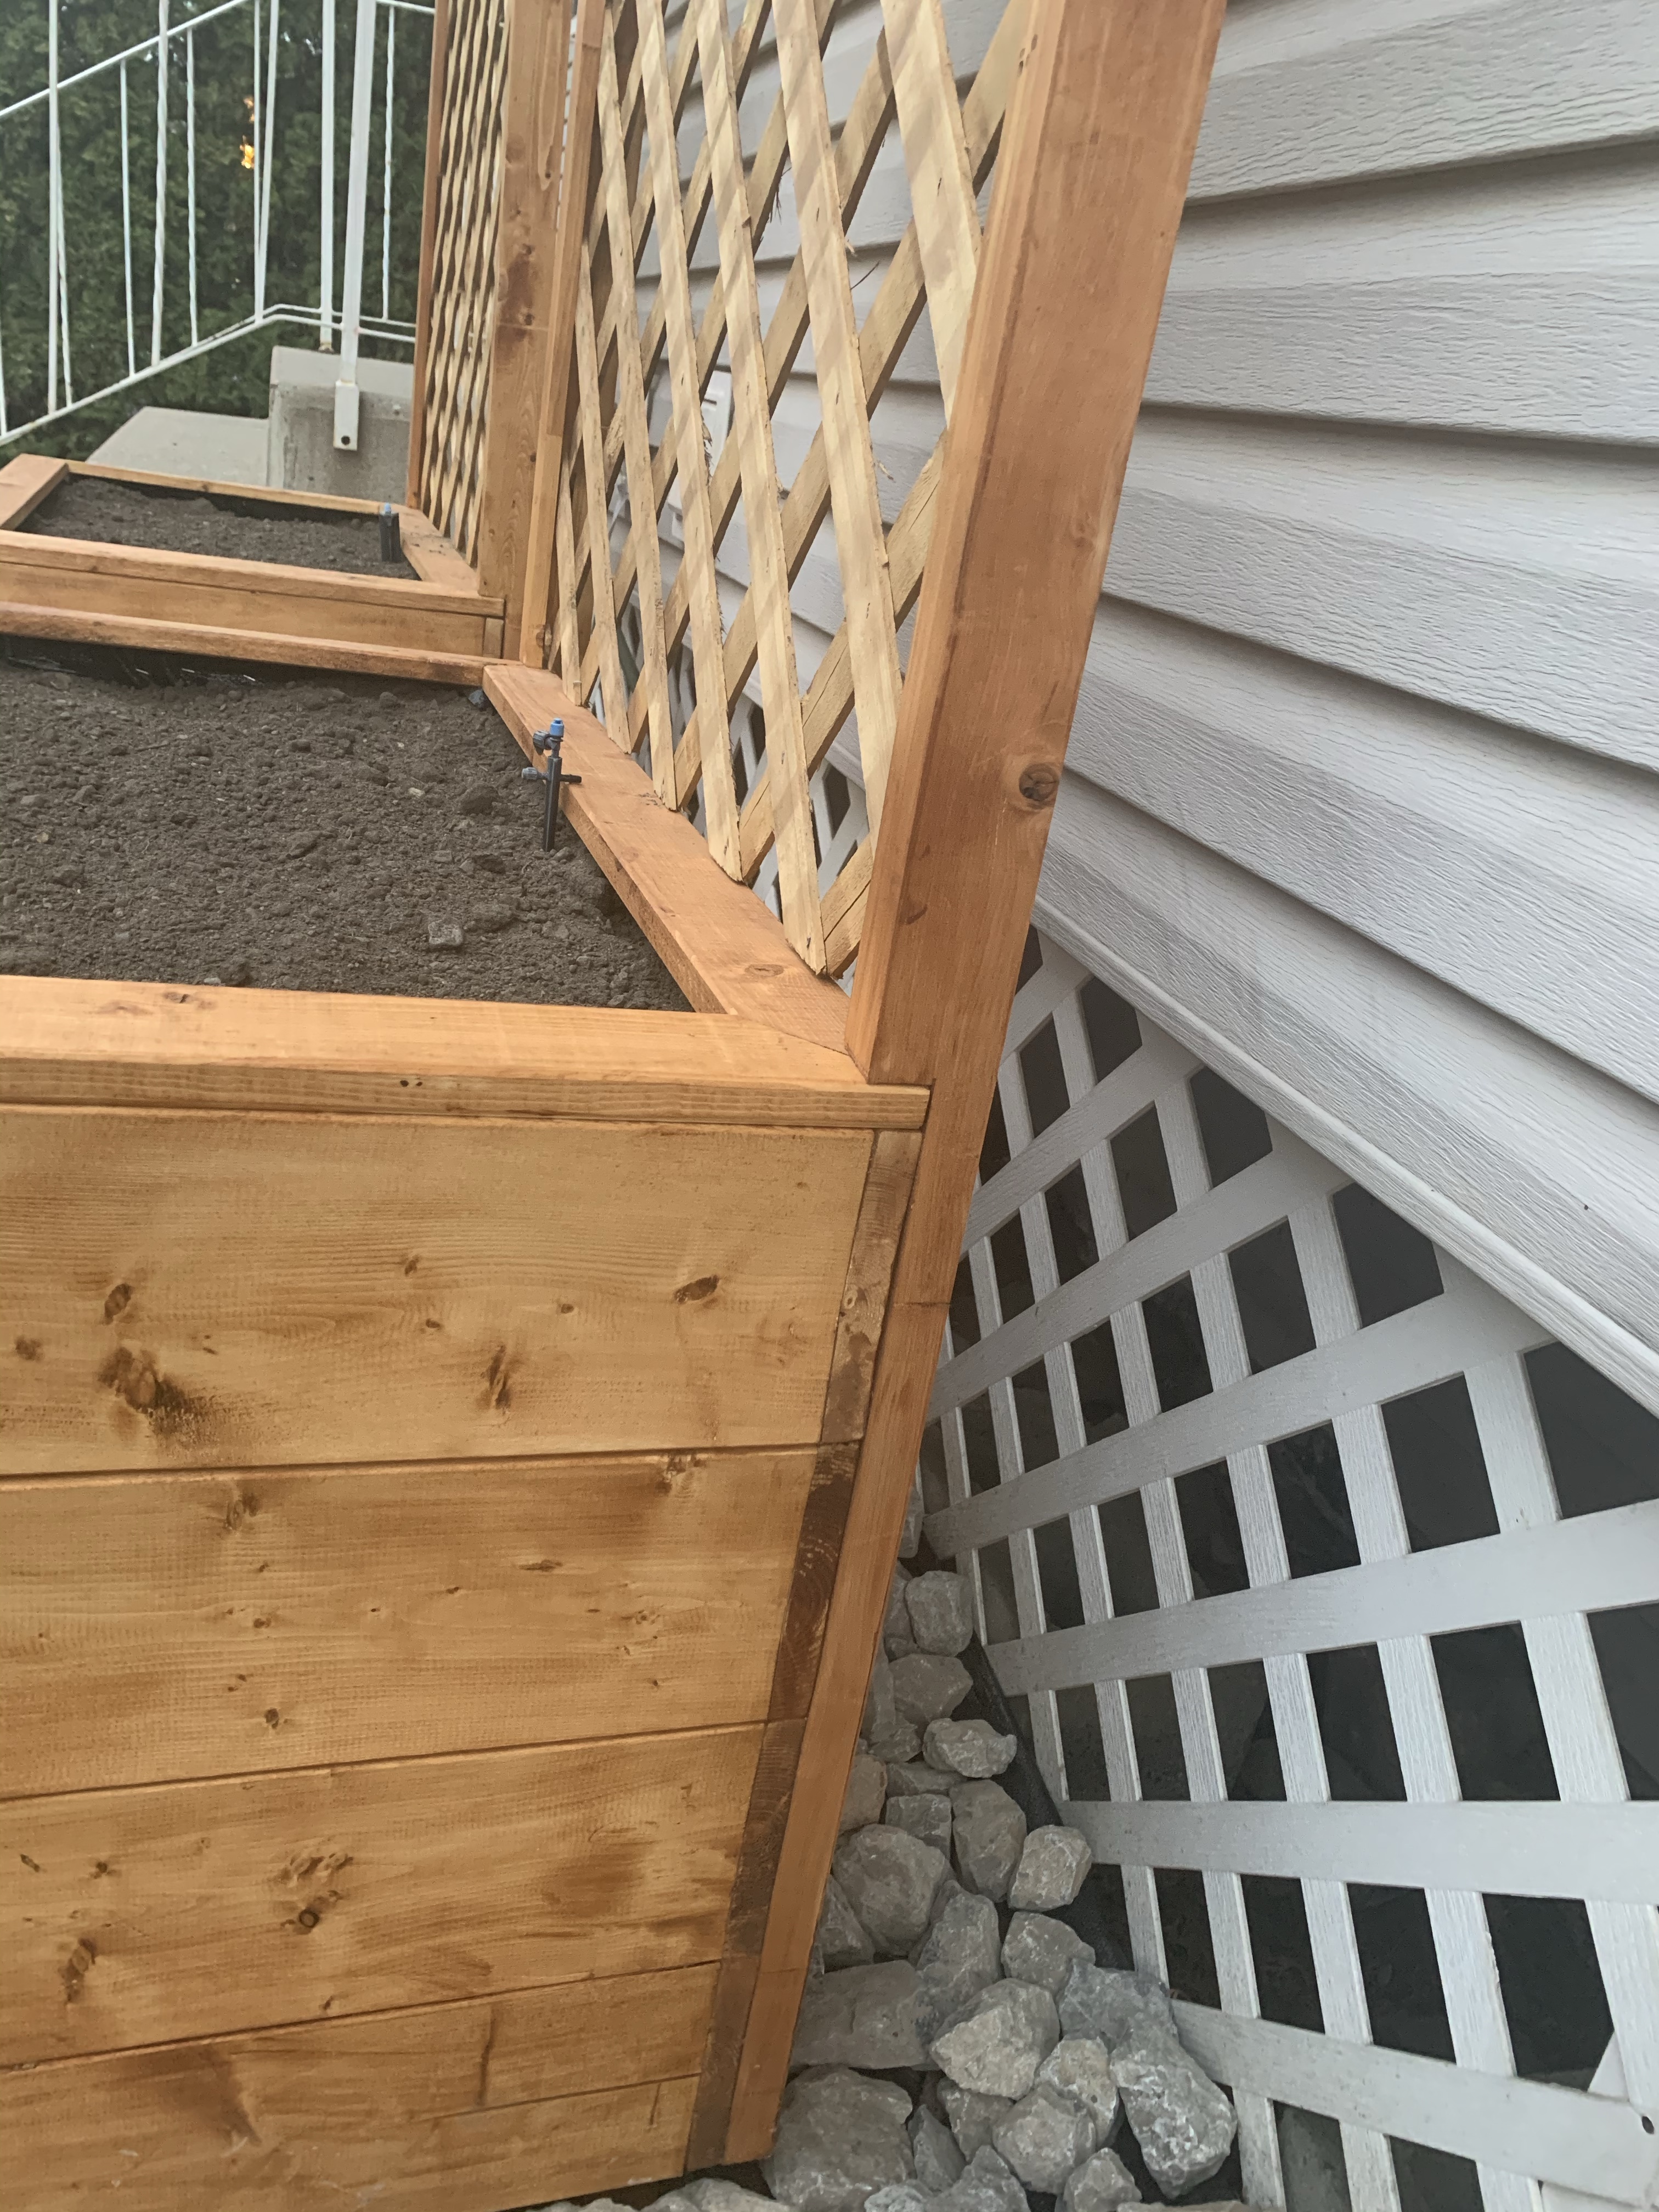
The next part was new to me and took a little figuring out. We wanted to build a trellis onto the back of each box to encourage climbing flowers. I wanted it to be nice and sturdy, so we bought un-framed lattice and built our own frames out of 2×3. First, we used the planter to shave off approx 1/2 and inch from the width as it was a little too bulky looking.
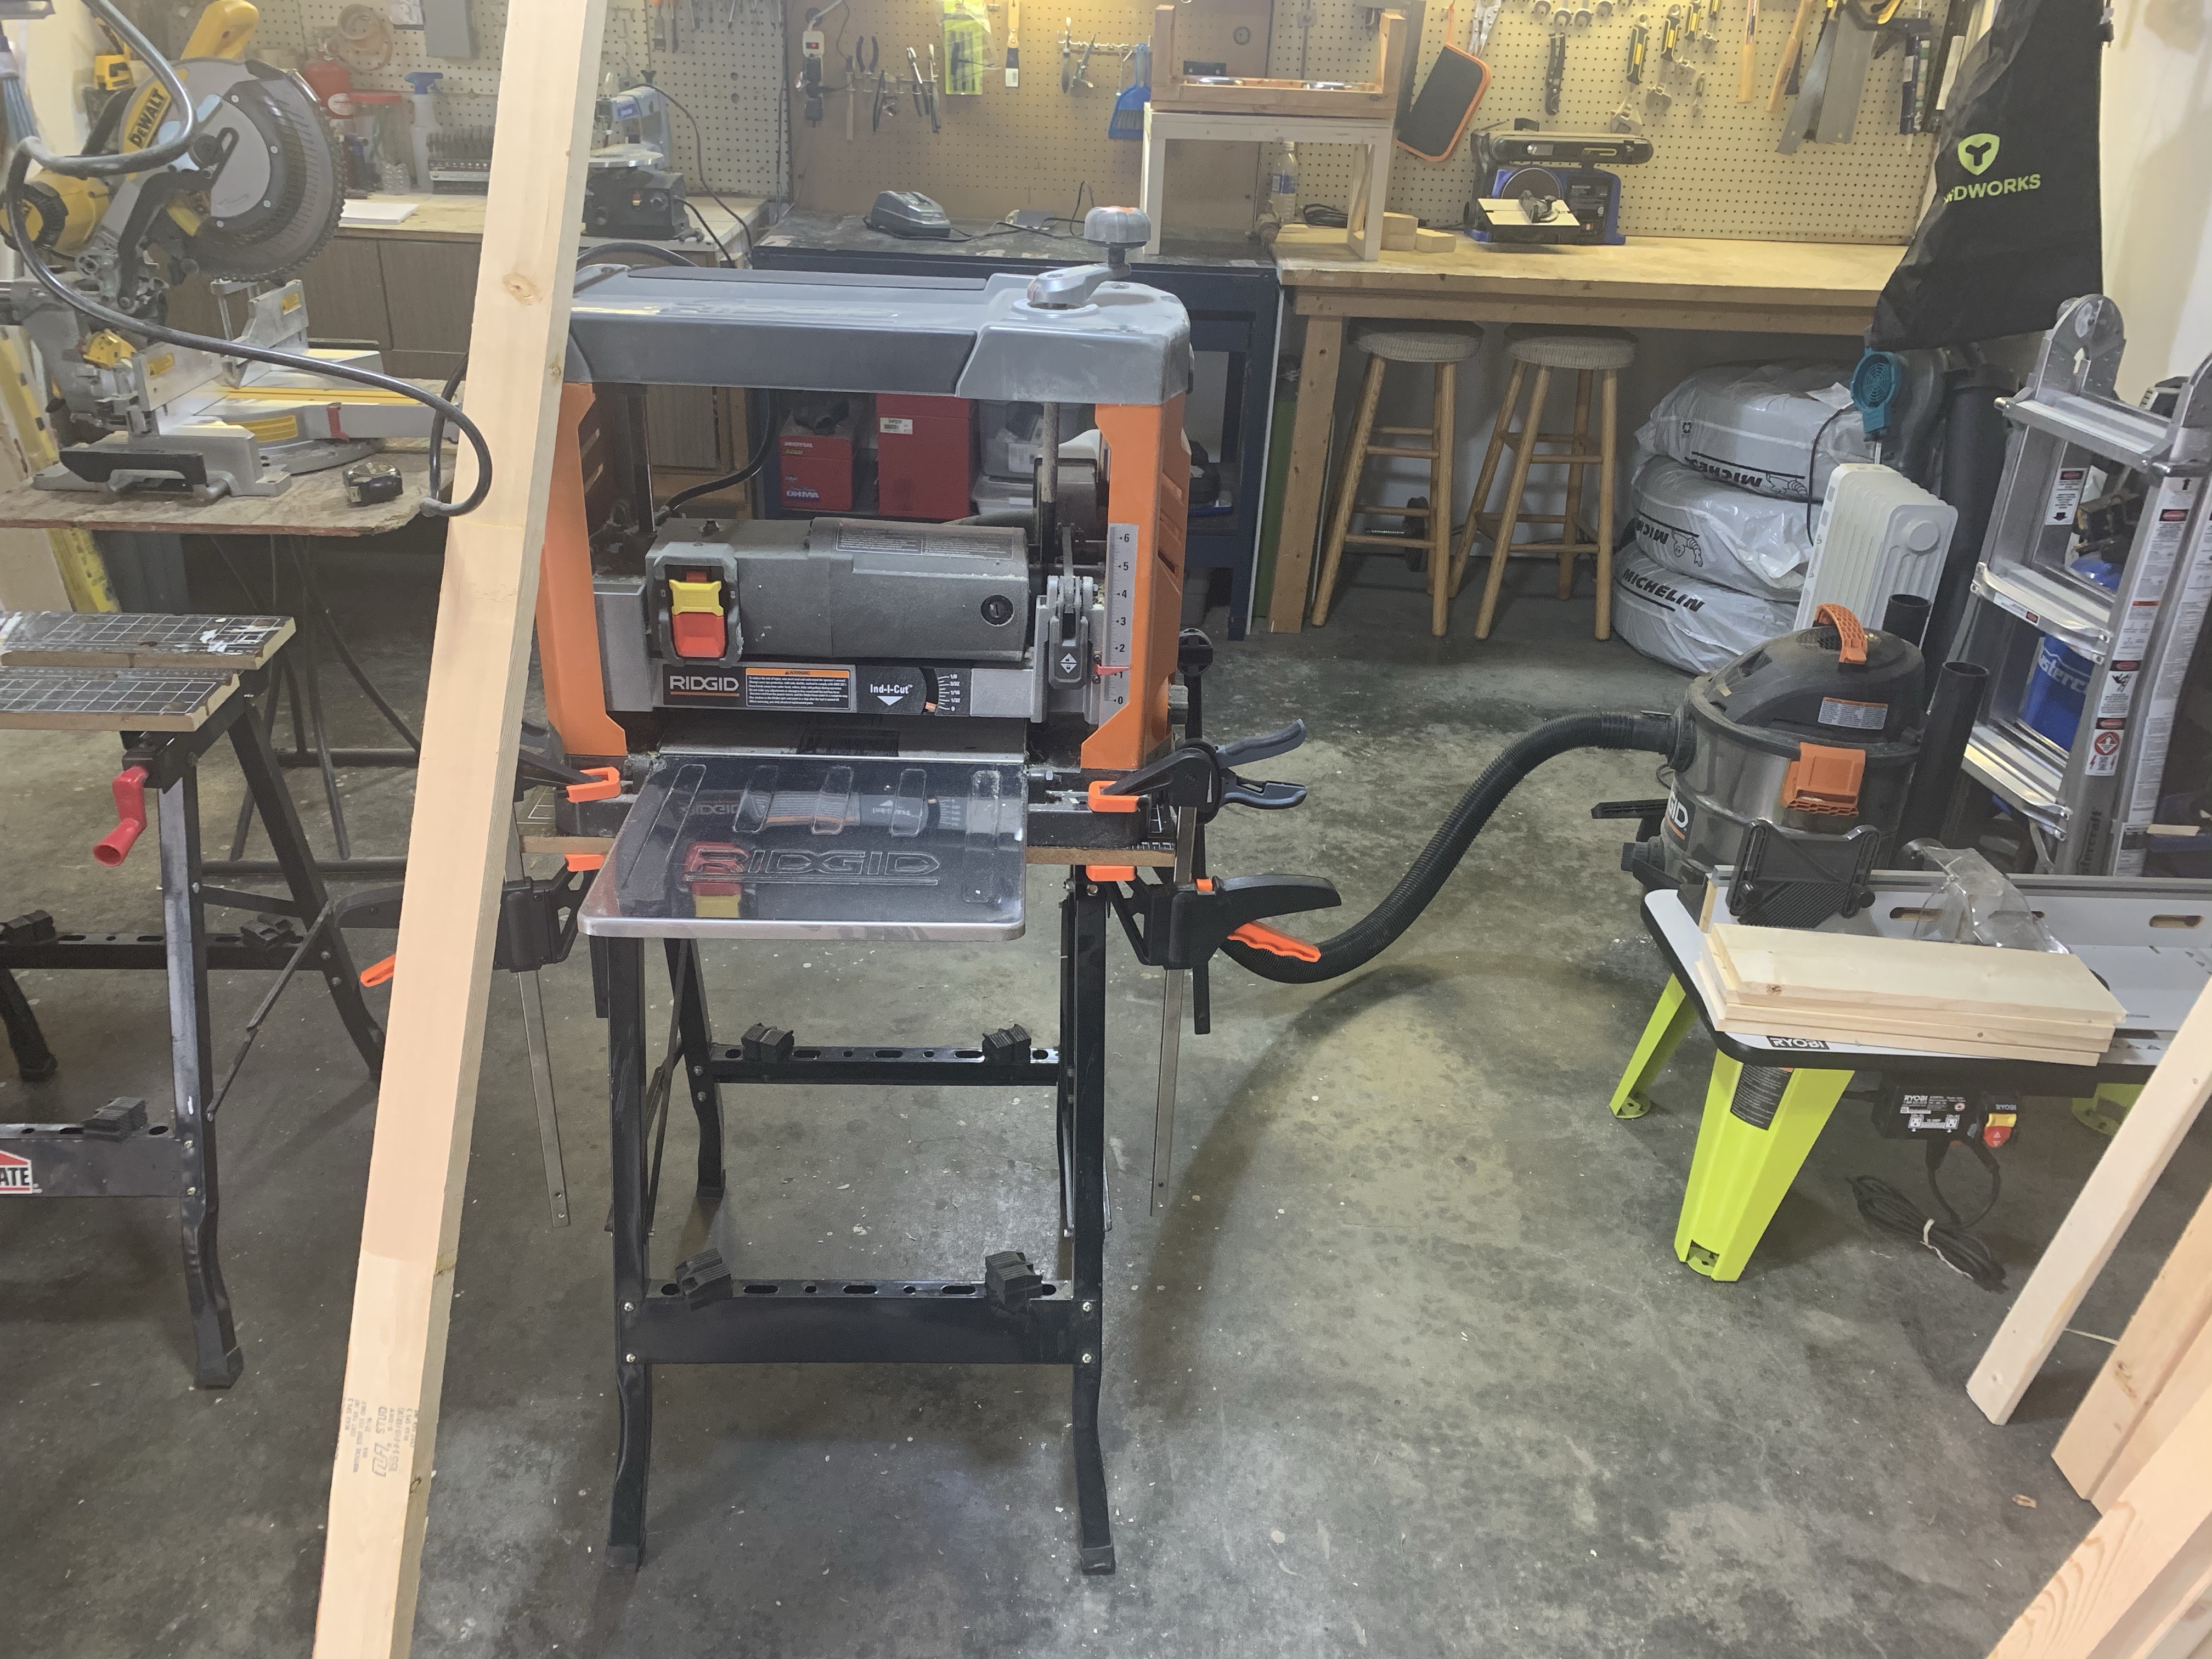

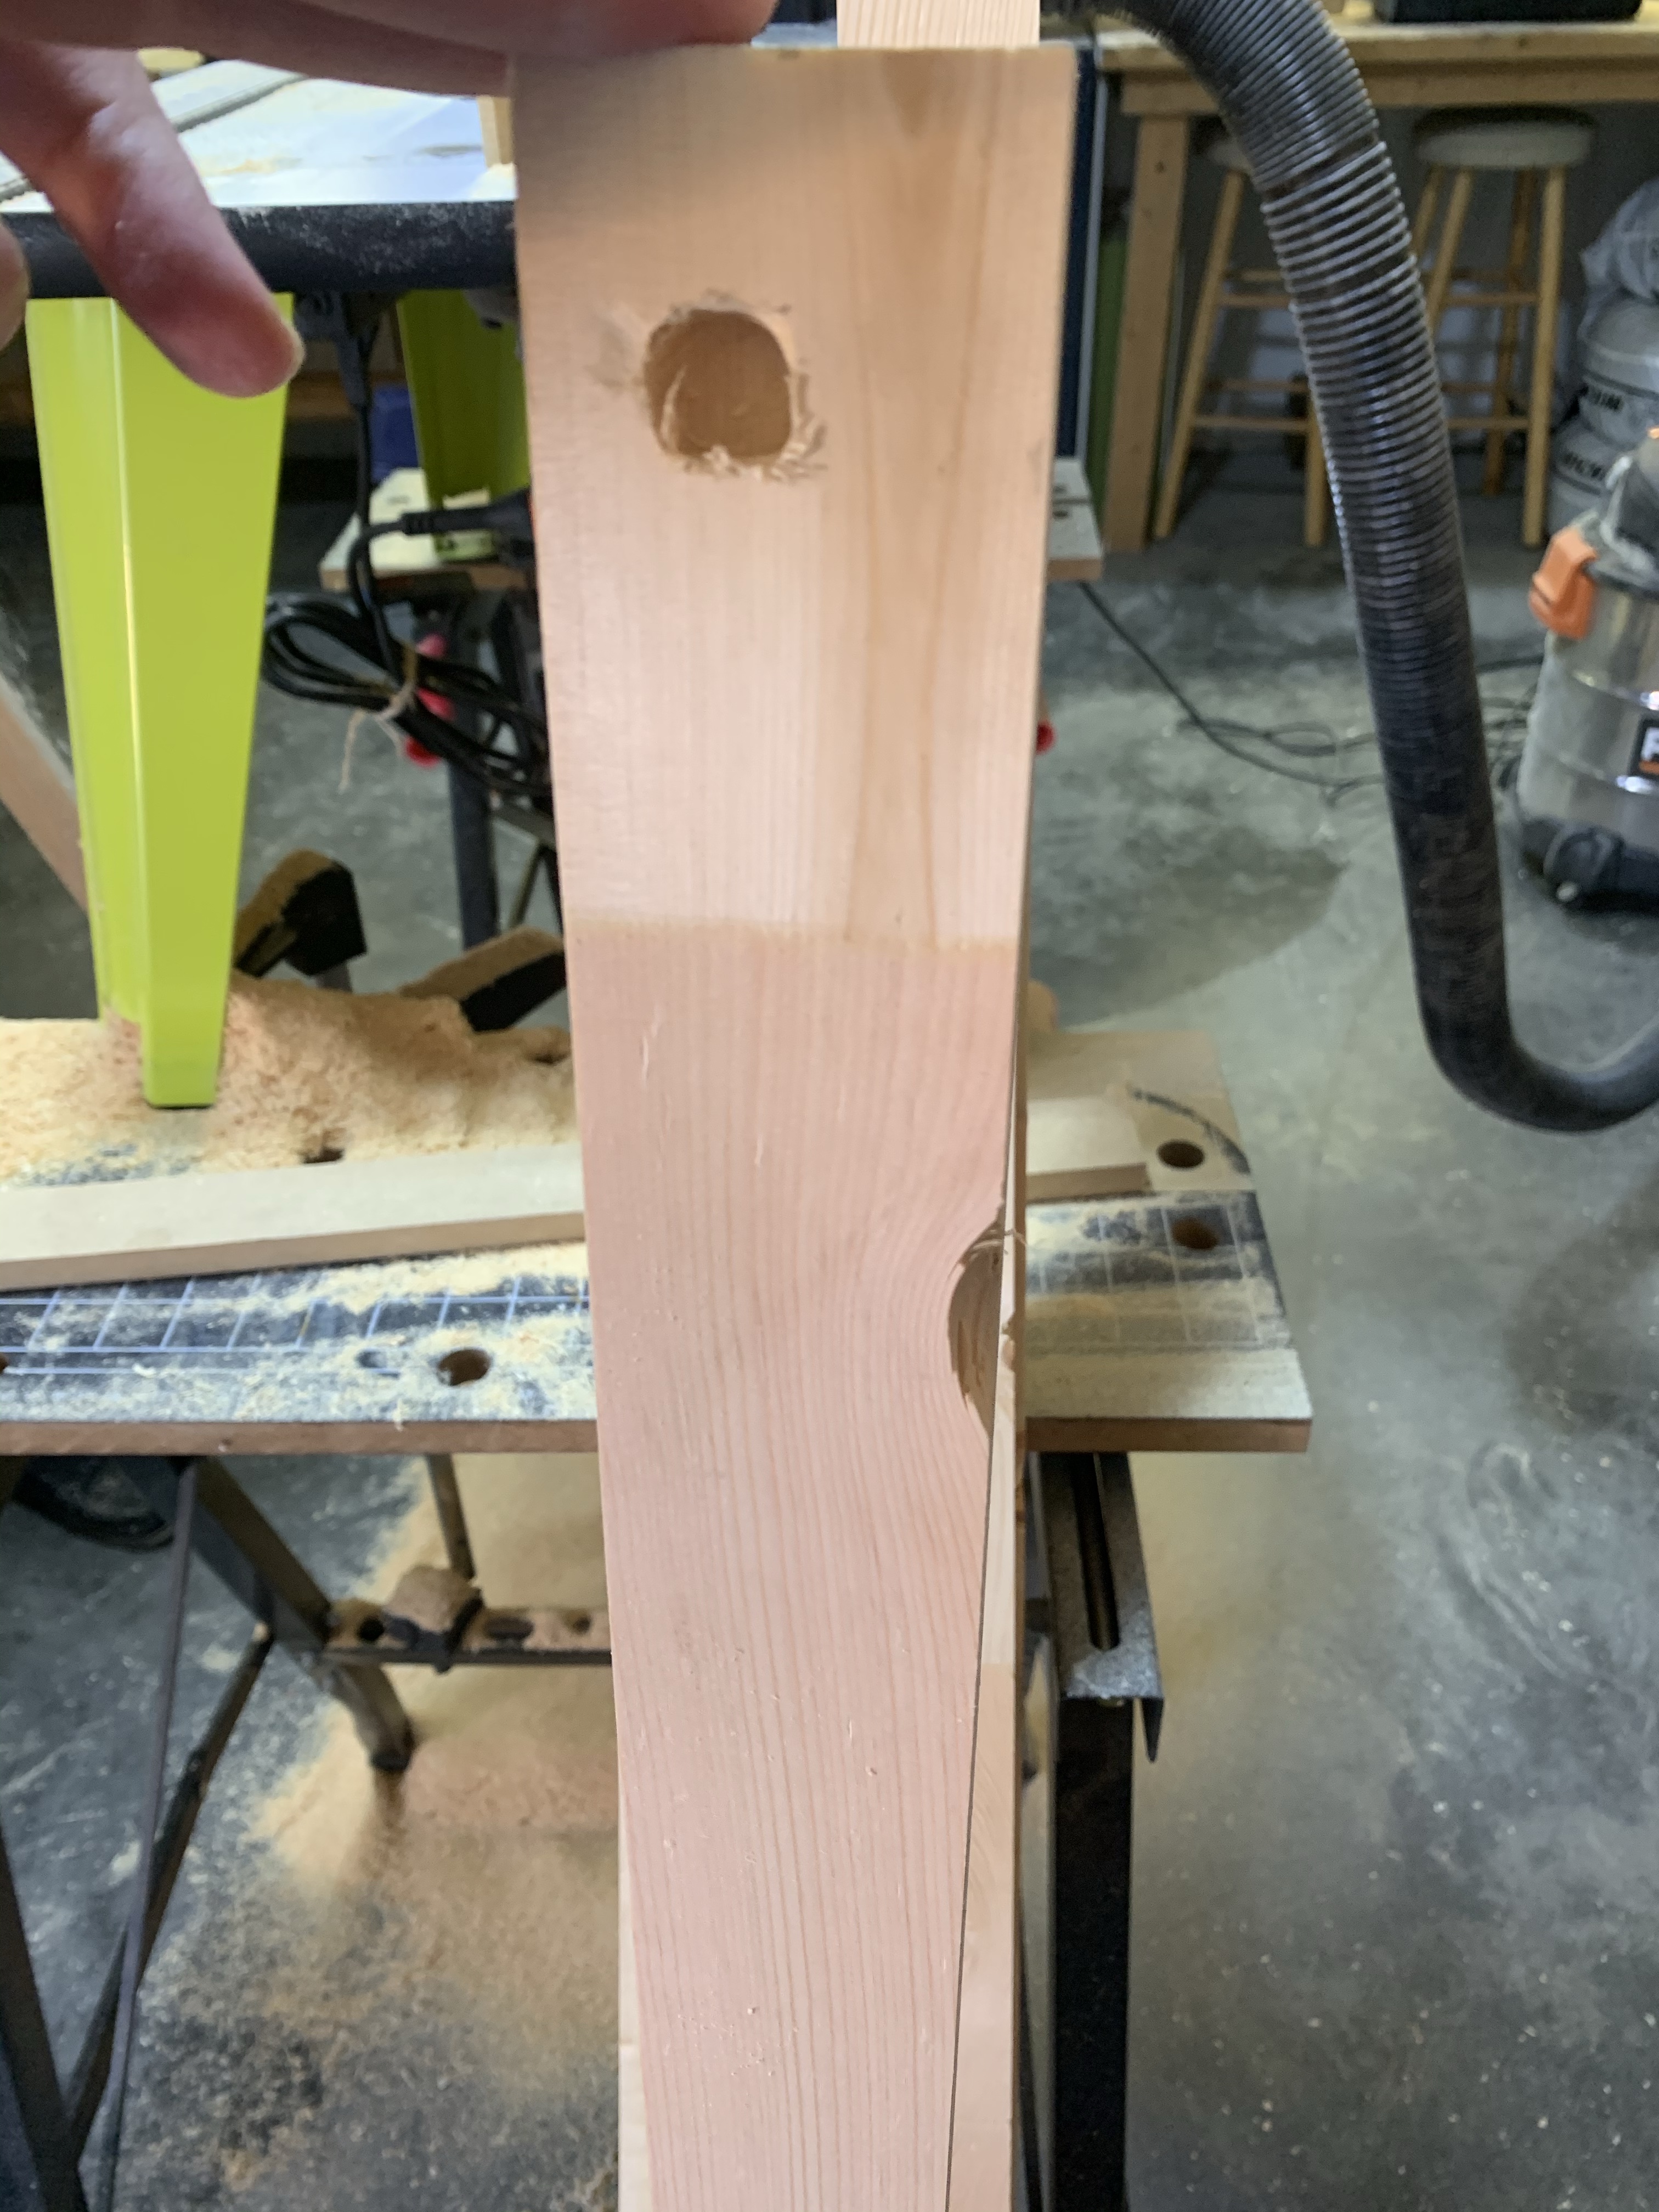
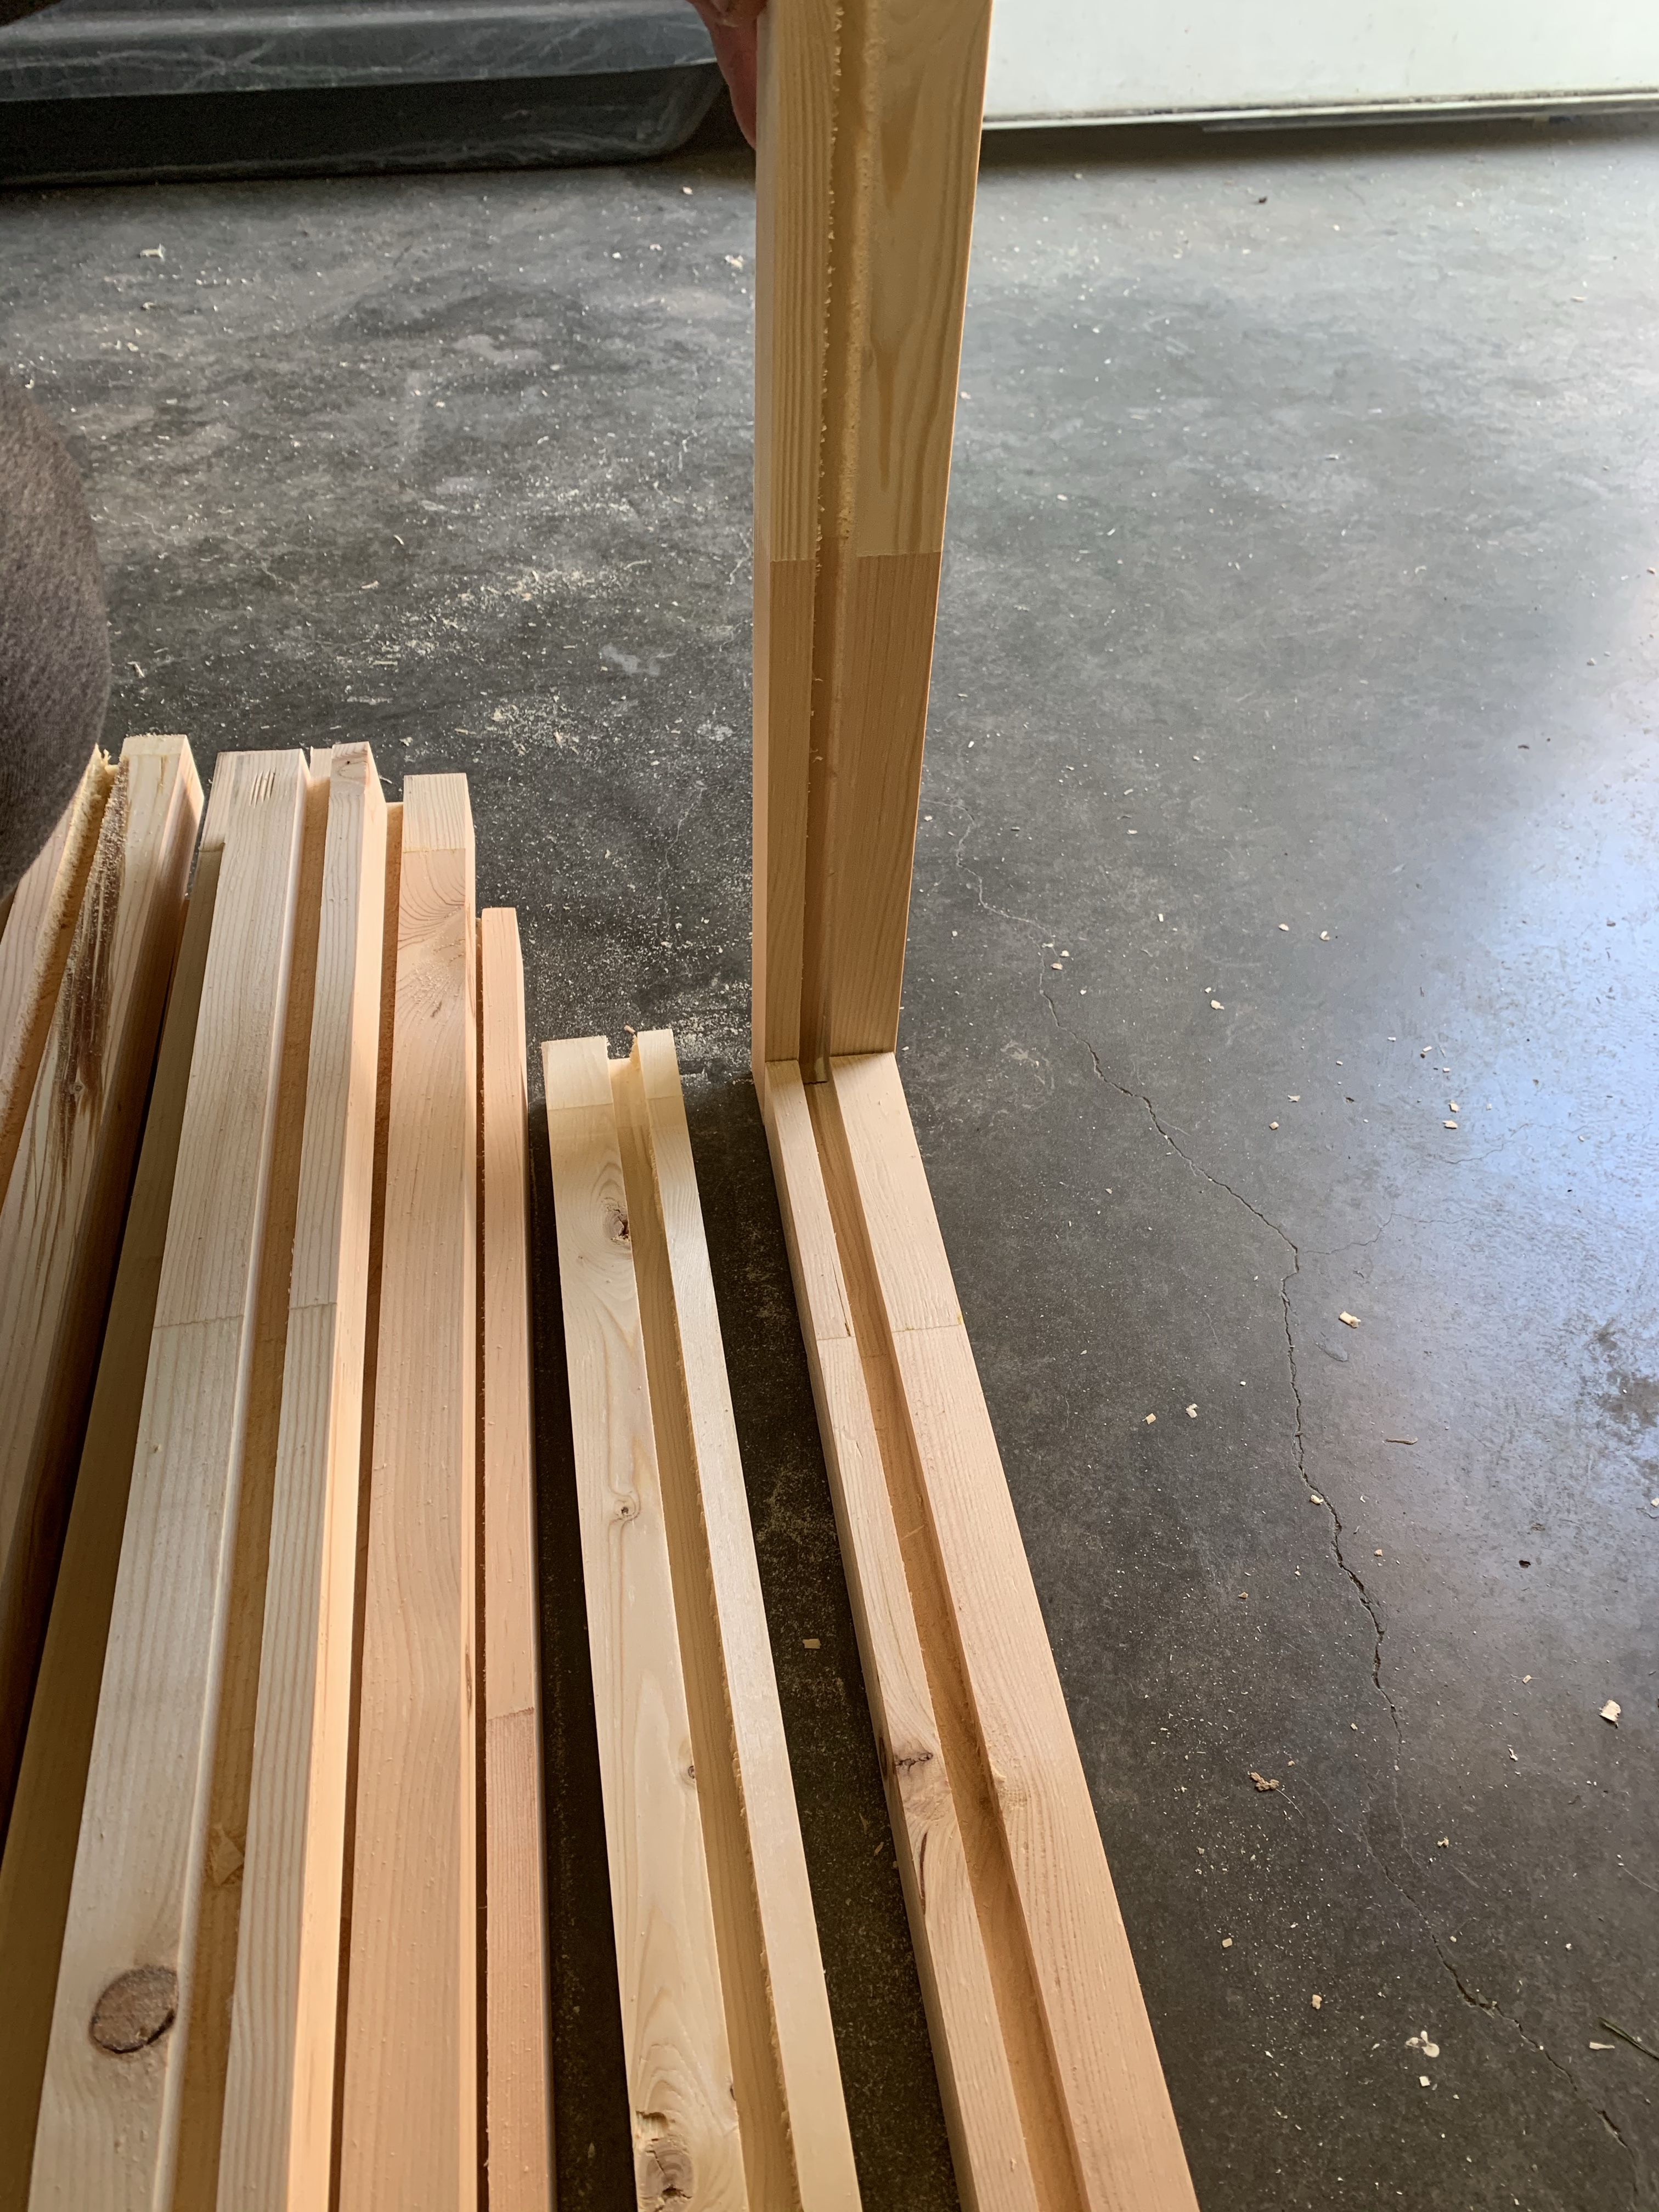
Next we had to create a channel for the lattice to sit in. The side pieces were easy because we could run the router from one end of the board to the other, but for the top cap, we wanted a closed corner, so we had to start the channel in from the edge. I do have a plunge router, but we wanted a super straight channel and I didn’t have any sort of guide for the plunge router so we improvised. We used the router table and pre-made some beginning holes for the router channel. I did those with our dremmel. Once the starting holes were done, routering the channel was a breeze and the corner join looked amazing.


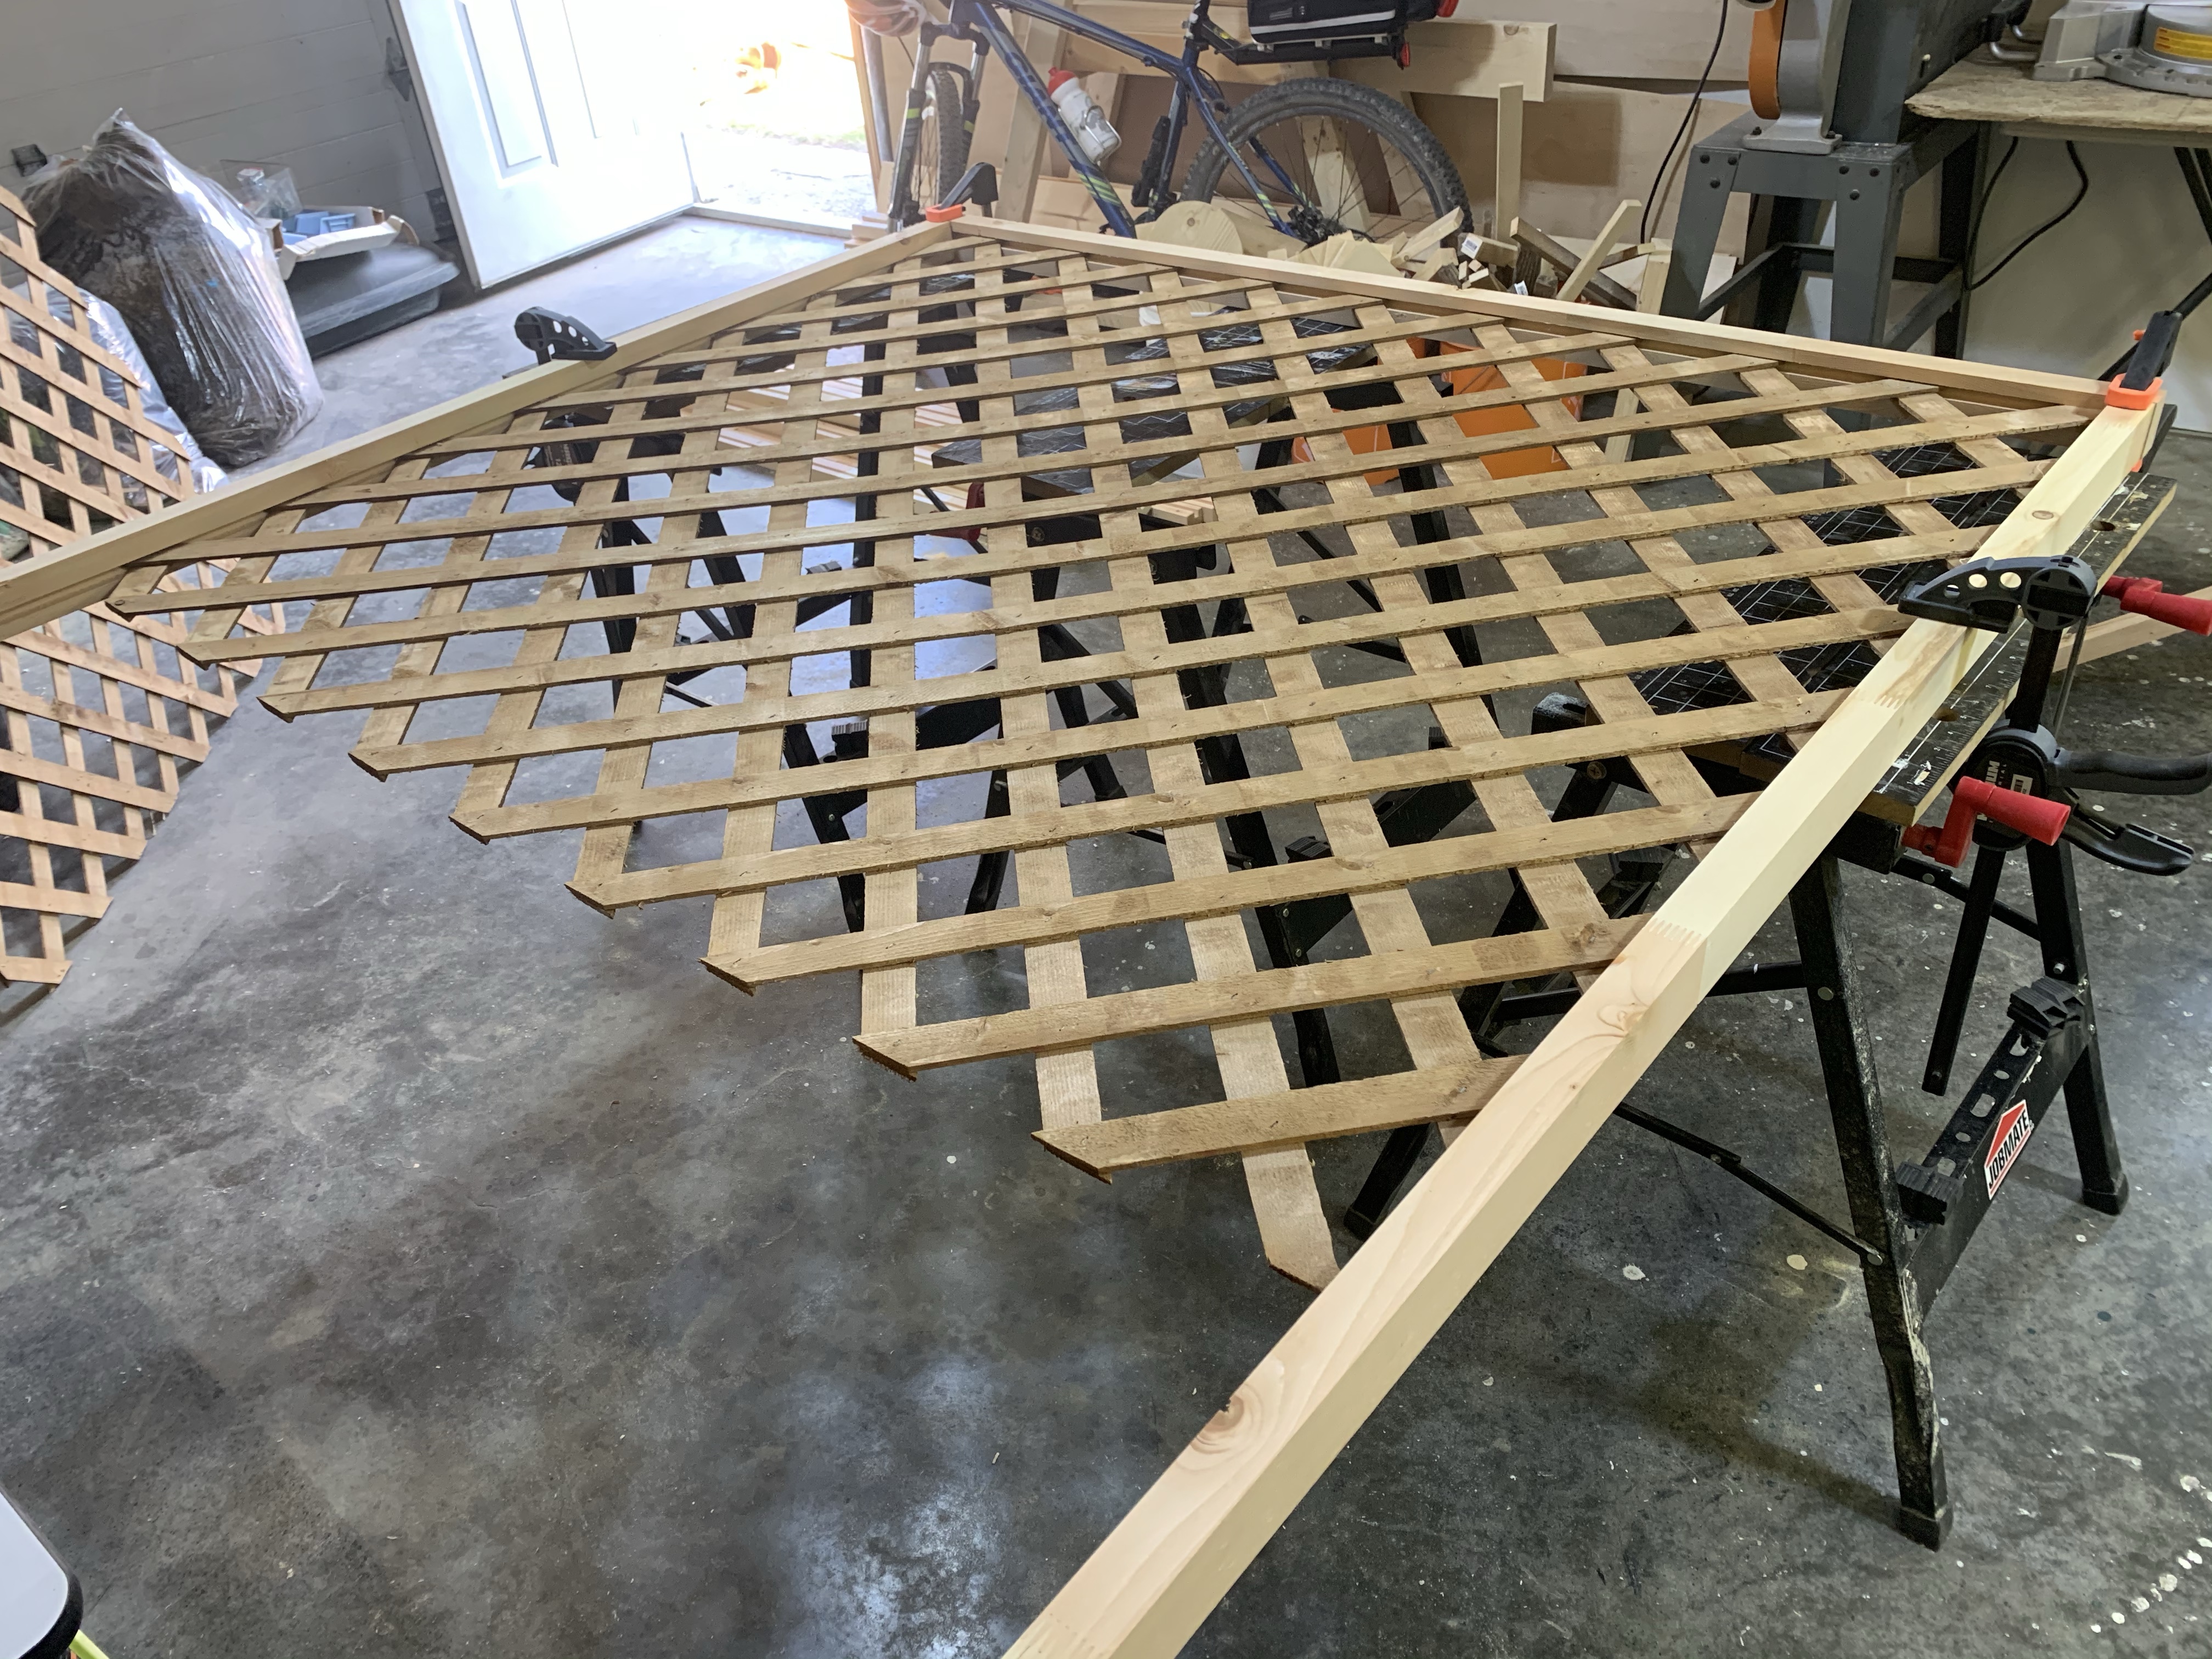
Next step was a challenge because I don’t have a table saw and cutting lattice in a straight line can be challenging. We left all the lattice at the 4’ height, and cut the length to match each box. We used our jigsaw, which in retrospect I would use the circular saw instead, to cut the lattice to size. The first one was not a straight line, but we managed to shave off the few jutting points for a snug, but perfect, fit. Since we also done have a chalk snap line (no idea if that is what it is actually called), K suggested we measure to a few points and draw in our line as best we could so we had more to follow when cutting. It worked out much better than eyeballing to my next measure point. We did a quick fit of all the trellis before moving onto the next step.

The last step of this part of our project was to cut the uprights so that the lattice portion sat on top of the lip of the planter. I used the lattice channel as my guide and cut a portion out so that I still had a piece to attach the lattice to the planter, and have the lip of the planter act as the bottom of the trellis frame.

Next step will be to lay the landscaping fabric down in the front gardens, place the planters (level) and then fill the garden around the planters with rocks!

