
When we were young, a family moved in next door to us who also had children the same age as my sister and I. Those neighbours are now family, and although we have all moved to new homes and even cities, we have a holiday tradition together, which is to get together to eat lots of food, have a few drinks and watch National Lampoons Christmas Vacation. For 31 years, we have been watching this movie, quoting this movie (year round, not just at Christmas) and enjoying this fun family tradition. Some years, we have even dressed up as our favourite characters. When K and I moved in together, he also got to enjoy these movie nights.


Recently, the dad…I’m going to call him Clark for privacy reasons because I haven’t asked him if I could write about him…asked my dad and I about making him a Christmas hat to wear at work. He is planning on retiring, so this will be his last Christmas season at his job. He gave us a few ideas, but wanted it really over-the-top Christmas in true Griswold fashion. The idea was originally to make this hat and he would direct anyone interested in one to our Etsy site. After creating the hat, I have decided it is going to be the only one I build! It ended up being quite the build.


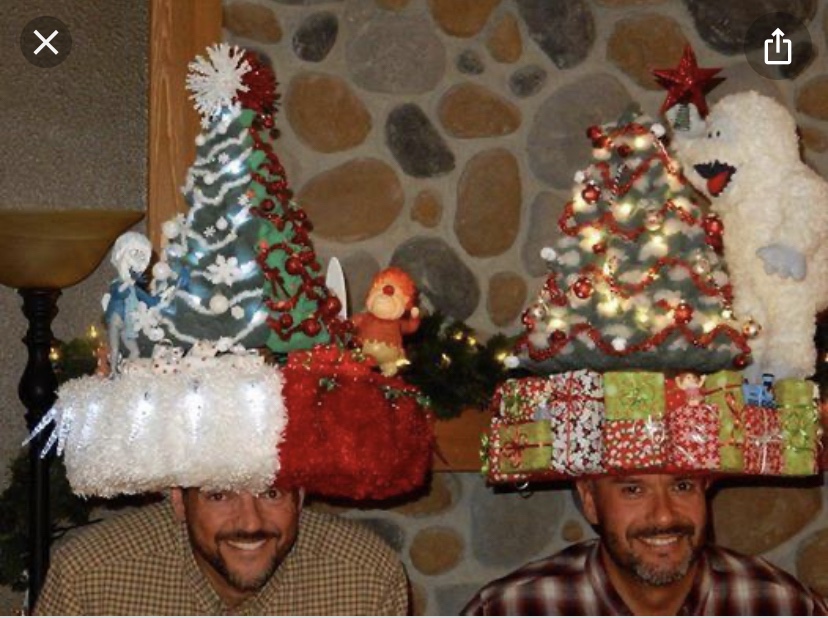

We decided on a snow globe hat, mostly because I couldn’t find a sombrero this time of year. The photo that I used as a template made it seem like it would be a fairly easy construction. We went a little more detailed with ours. We knew that it had to have a Christmas tree as the focal point, and the tree had to light up. I also wanted a proper snow globe scene, not just random Christmas stuff with snow. The Hat, or base of the snow globe also needed more decoration. If you are going to spread Christmas cheer with a hat, then it had better be packed full!
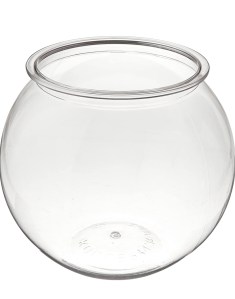
The first step was finding the globe part of the snow globe. Plenty of glass options, but we needed a non-breakable, lightweight version. After much searching in local stores, I resorted to having to order a plastic fishbowl online. It really was the best option, so the order had to be done.
Once I had the fishbowl I could start figuring out the hat. It was going to be top-heavy, even though the fishbowl hardly weighed anything, so I needed the hat to be snug. My problem here is that a fishbowl is perfectly round at the opening and hats are more oval in shape to properly fit our heads. I could not find a hat that would work. I was curious what the people in our inspiration photo had used, so I went back to it. Turns out they had used a fez-style hat that they had wrapped and decorated. Those are also hard to find and to order one was quite expensive. I didn’t want this hat costing a huge amount of money so I decided to try my hand at hat-making. Why not right?
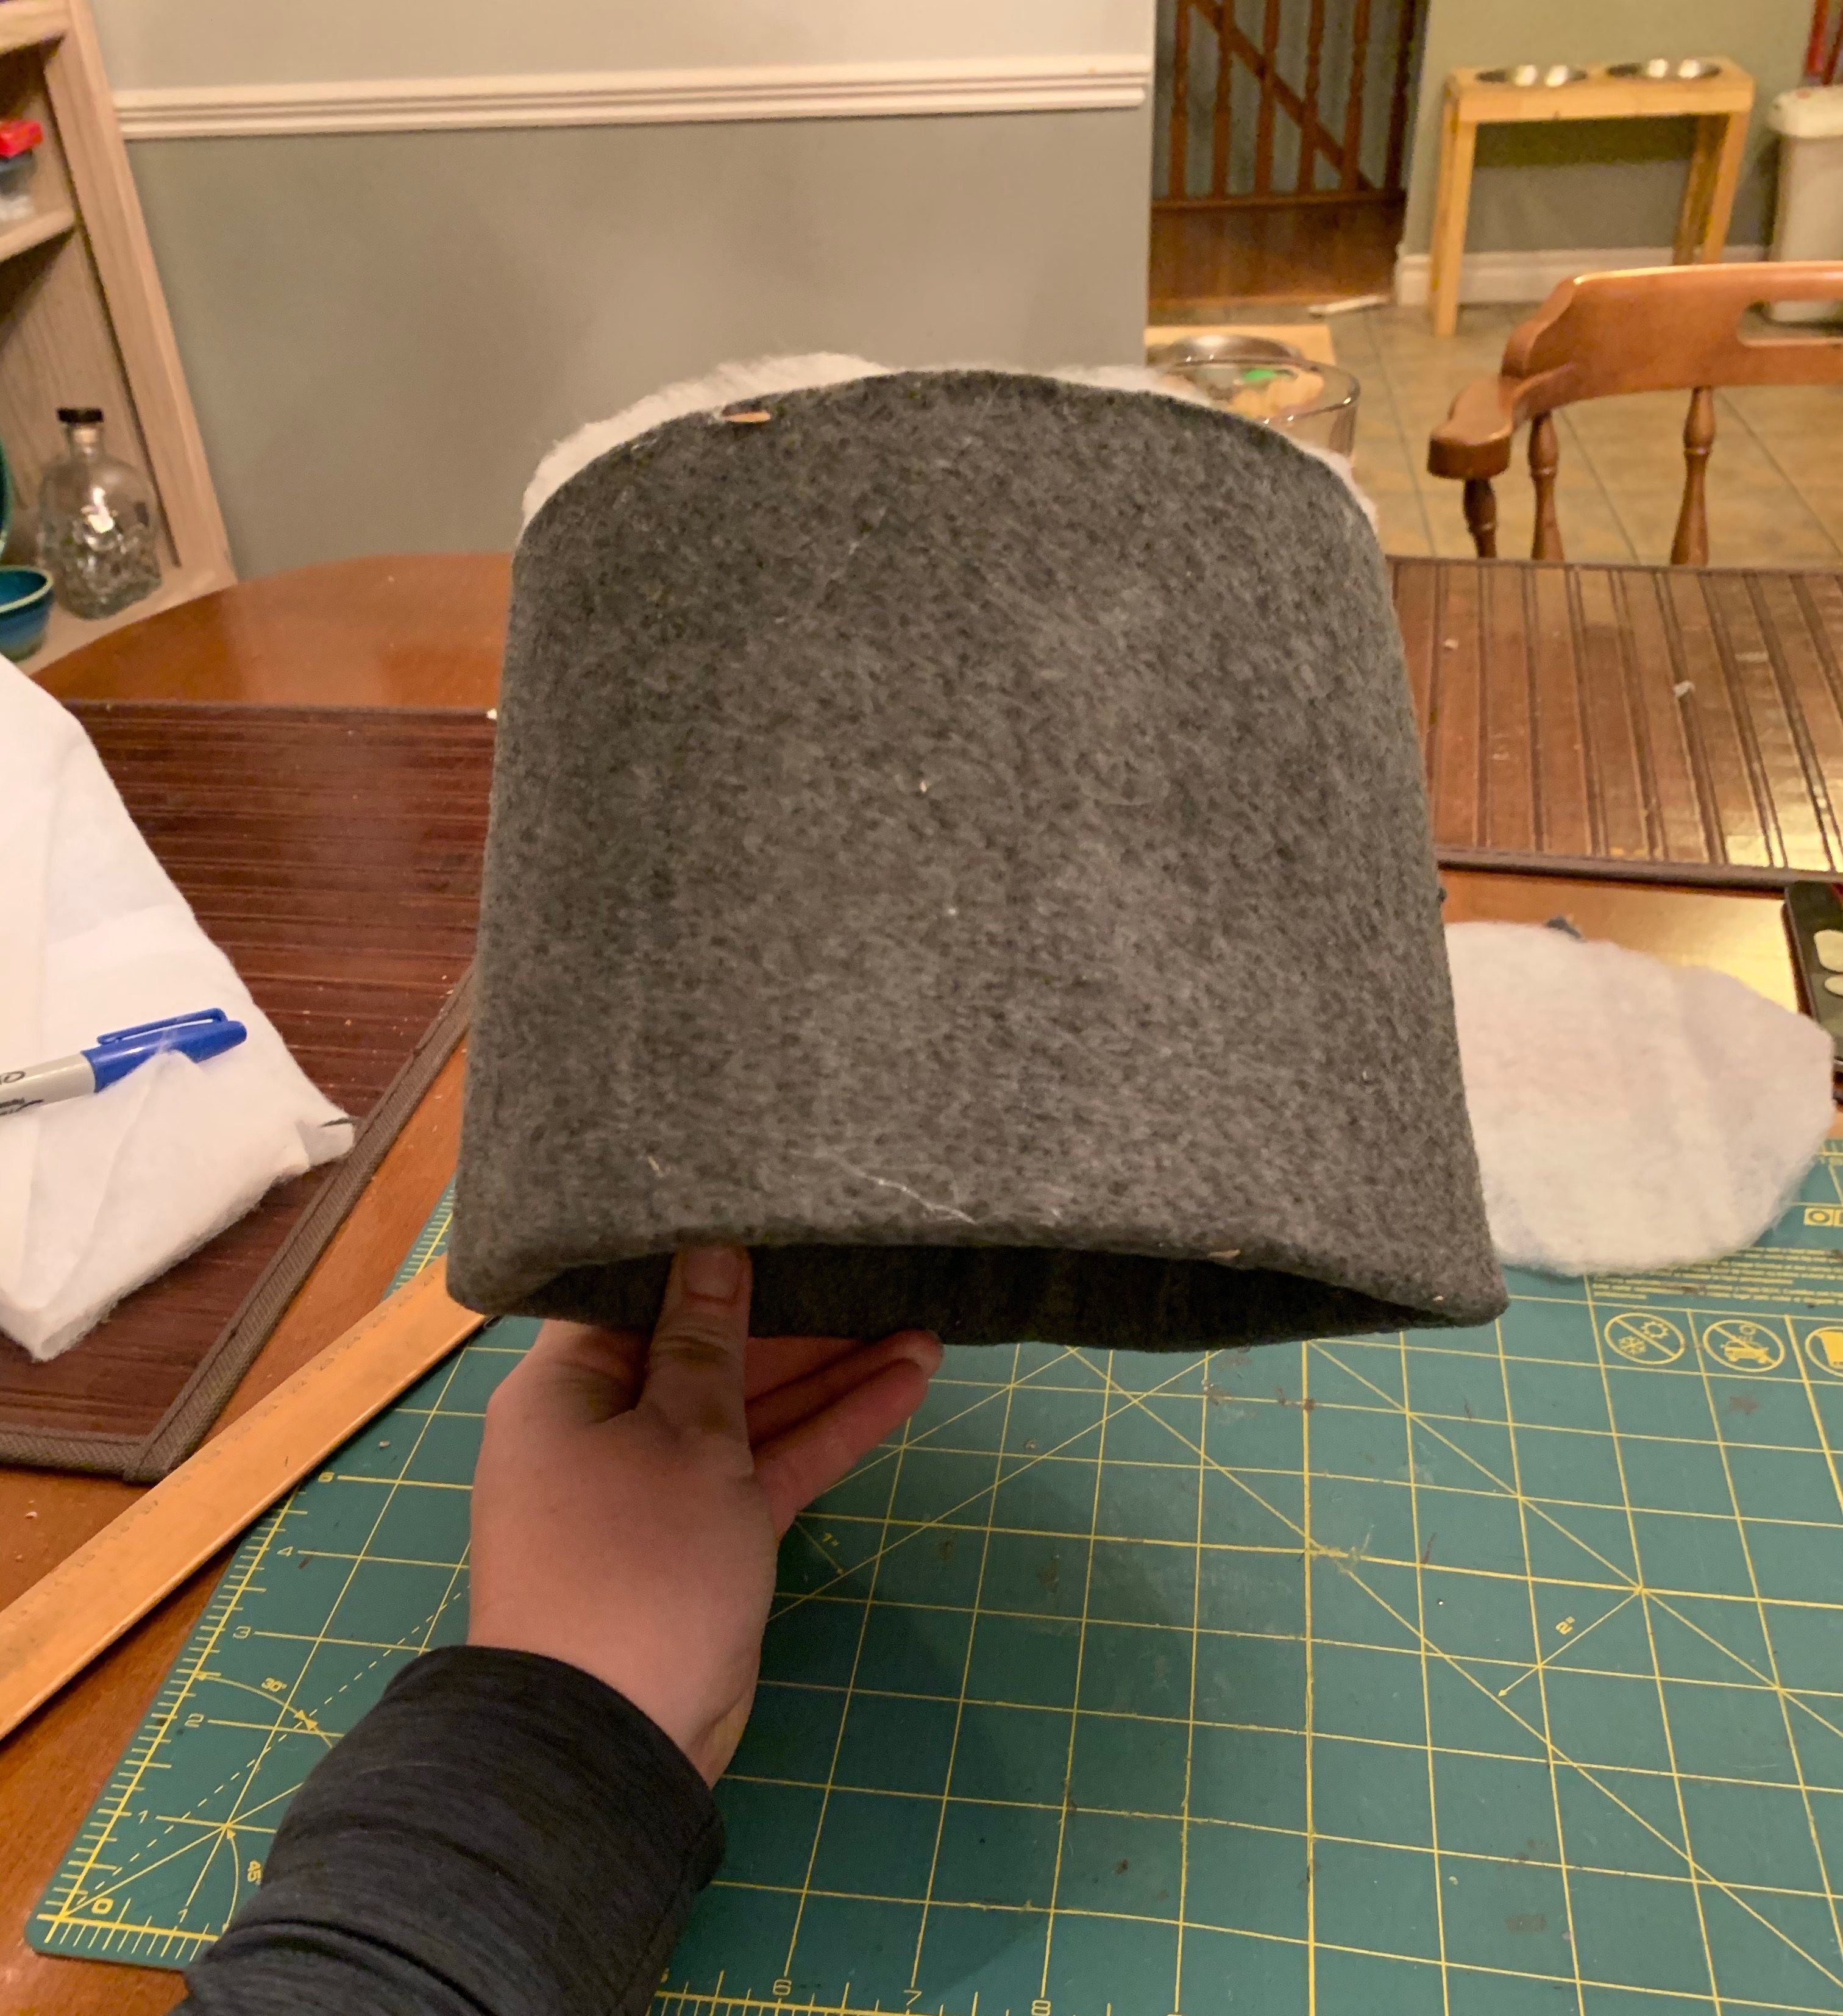
Hat making is very complicated. I tried a few versions that did not work out. By the 4th one, I was almost ready to throw in the towel and order one. I wanted the hat to be wide enough to sit on a head but then taper narrower for the globe. Seems simple right? Nope. Again, our heads are more oval shape. The 4th version of my cardboard base was closest to being right, so I wasn’t willing to give up on it. I decided to make some cuts and add some extra cardboard to make the base of the hat more oval for a better fit. Voila! The cardboard hat looked ugly, but it was a good fit and it was going to be covered in material, so it didn’t actually matter that it looked ugly and hacked.


Right away, my next step was to cover the hat with material. We had discussed doing a Christmas green, but it was hard to find the right green coloured felt. When picking up the decor pieces, I decided a simple grey with accent colour decor would work better. Moss green just doesn’t give the Christmas vibe. I didn’t think, but I could have done red with some leftover material I had from making Swedish gnomes a few years ago. It’s ok though, I like the way the grey turned out. I also wrapped the felt around all the edges and covered the inside completely for a finished look. Turned out not bad for my first hat build.


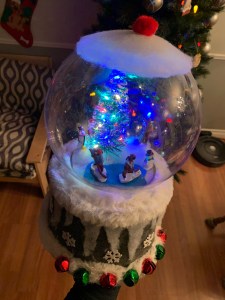
The next step was to thread the lights that were going to wrap the Christmas tree. They are just a simple battery-pack set of lights that are strung on wire. I made sure I didn’t get the ones with traditional looking Christmas lights because they wouldn’t have threaded through the top of the hat, and the lights would have been too big for the tree. Once threaded through the hat, I wrapped the tree a few times over to get a lot of light. Because the wire is so thin, you hardly notice it on the tree. The focal piece was now done. Now to create the scene.
I had a bunch of figurines to test out. Hockey was a big thing with their family, so I made sure that some of the figurines were playing hockey. I quickly realized though that levels were required for an interesting scene. It just wasn’t looking right when they were all on the top of the hat. I also worried that when I added the fake-fur trim around the globe that part of the scene would be blocked. So, I cut 3 extra discs from cardboard and built up the “ground” of the scene so that it would start above the lip of the fishbowl. That helped. I then used some of the plastic packaging and cotton batting to make mounds of snow for some of the figurines to be placed on, adding a few levels. It made all the difference. Once I was happy with how everything looked, I got out the hot glue gun and stuck it in place. Placing the globe was the most stressful because as I pushed down over the discs, the glue stuck and pulled on the cotton batting a bit which moved the figurines a little. Luckily, it didn’t move them much and everything still looked perfect.


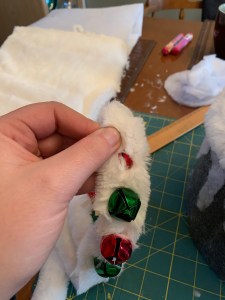
Once the snow globe was created, I focused on making the hat more festive. Using cotton batting, I added a top trim of icicles. I then wrapped around the base of the globe with some fake-fur trim that I had leftover from the Swedish gnomes beards. This gave a finished look to the top of the hat. For the brim, I had bought a headband of large jingle bells. Using the same fake-fur, I cut a strip that would go around the base of the hat. I then cut small holes so that I could pop the jingle bells through, using the headband as a base to glue the fur to. I then glued the headband to the base of the hat and continued gluing the fake-fur around to the back of the hat. Worked like a charm! Now we had some jingle bell music to go with the lit up Christmas tree. My last addition was some foam snowflakes along the icicles.


The hat was almost done. Using a fishbowl meant that the top of my snow globe had a flat top to it. In order to hide that, I used some cotton batting to round the top and added a cute red Pom-Pom. Then I glued the battery pack for the tree lights into the top of the hat. The hat is taller than the wearers head, so the battery pack sits inside the hat without resting on the wearers head. Once fully assembled, I tried it on to see how tippy it would be. Not bad. It stayed on really well, but just to be safe, I added a chin-strap from some elastic waistband I had. With that, I could have danced a jig with the hat and it wouldn’t have moved. Perfect!
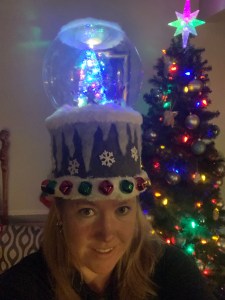


I have given the hat to Clark and he was so happy with it. We did one last adjustment, which is to add an ornament with snow to the top of the globe instead of my snow and pom-pom. He won’t be able to walk through doorways, but it will certainly add to the final look of the hat! He is now set to spread Christmas Cheer for years to come.


The hat looks terrific! I like the ornament on top too, really polishes it off
Sent from my iPhone
>
LikeLike
Thanks! The ornament definitely finished it up perfectly.
LikeLike