
Learning to make cutting boards and paddles has been a bit of a backwards learning for me. I jumped head-first into making end-grain cutting boards, having never made a cutting board before. I just loved the look of them and all the different patterns that you can do. Now that I have done a few, I had some scrap wood, and I wanted to make a thank-you gift for a few of the people that helped build our fence, so I decided to try my hand at some edge-grain charcuterie boards. I had no plan, I just went into the shop, started ripping wood, and then went from there.
I knew that I wanted something smaller than the cutting boards I had made, and conveniently a lot of the lengths that I had scraps of were 15″ in length and about 3/4″ – 7/8″ thick. I decided to rip the strips at 3/4″ so that I could use some of the thicker pieces for wider stripes. I had a variety of maple, padauk, walnut, red grandis, wenge and purple heart. I also had some maple that was 21″ long, and only ended up with 4 strips of that, which is how the paddle idea was born.
I planed down all the wood on the sides that I would be gluing to ensure a nice solid and flush hold. From there, I took all the strips that I had and started dry-stacking them to determine the patterns that I wanted to go with. I had a fair bit of the red grandis and the maple, so both of those made it into every board. The padauk, walnut, purple heart and wenge had limited amounts, so I used them more for accents to each piece.


Three of the four paddles had three strips on either side of the handle pice. The larger of the paddles had some skinny strips of maple, so I ended up adding a 4th strip to both sides, resulting in a wider paddle. Each one ended up slightly unique, which I loved. None ended up being the same width, but all ended up the same lengths.
Now that I have the extra clamps, I was able to glue two paddles at a time. I also jumped the gun a little on the gluing, and only let it cure for about 10 hours instead of the normal 24. Technically the glue I use says it is good after 6 hours, but I usually leave it for a full 24 as I want the end-grain boards to be very durable. These little paddle boards are more of a serving dish and won’t be experiencing the same beating that a cutting board usually has to endure.


Once the glue was done, I ran each piece through the planer again so that everything was the same height, and the surfaces were smoothed out. I love this part of edge-grain, you can actually run the “final” piece through the planer. With and end-grain, I get to run the piece through the planer, but then cut it up again and glue it again. End-grain cannot go through the planer as it will chip and break the piece. I know some people will try it, but I don’t think it is worth a piece flying out of the planer. I’ll just stick with the monotonous task of sanding, sanding, sanding, sanding, and wait for it…more sanding.
Next, I started to think about the shaping. The first one I shaped was the Padauk, red grandis, walnut, maple board and it ended up as the paddle. I rounded the end, and the corners on either side of the handle. I used the scroll saw to get the general shape of the board on either side of the handle prior to sanding. Next I rounded the handle for a comfortable hold, rather than the planer sharp edges that it originally had. I did all the shaping with a belt sander, palm sander and random orbital sander. Not having a lathe, meant that I had to shape the entire handle with sanders, which actually turned out to be easier than I thought it would be. I used my belt sander to do the bulk of the shaping, then the palm sander in the areas that the belt sander was to bulky to get into.


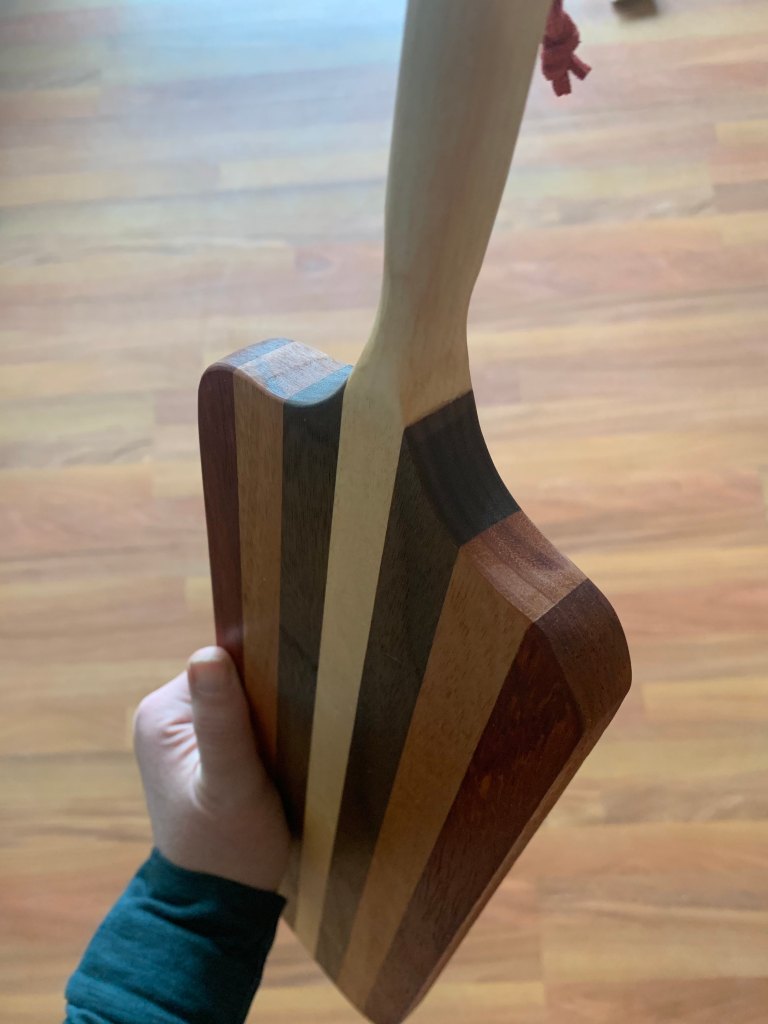
I did a variation on the other three boards. The largest one I rounded the most, so it has a but of an oval shape. The walnut, red grandis and purple heart ended up with a boxier shape, only rounding the corners slightly. Then I really experimented with the walnut, red grandis, padauk and maple one, cutting out a few chunks with the scroll saw to give it some funky curves and points. It turned out fun, but I am not sure if I would do it again. Seemed a waste of some really good wood. I think if I want to do a funky shape, I will use some smaller lengths, add it to the paddle and then sand those areas flush with the board.


Once I had shaped the board, I used a palm sander to round all the sharp edges around the full paddle, on both sides. I then did a full sand of the entire piece, using 100, 150 & 220 grit sandpapers. This part was also exciting as it didn’t take nearly as long as it usually does with end-grain. The edge is much softer and easier to work down. The ends are almost like sanding concrete. It sands slowly and very minimal comes off. Although these are hardwoods, I was careful not to over-do the sanding and take too much off.
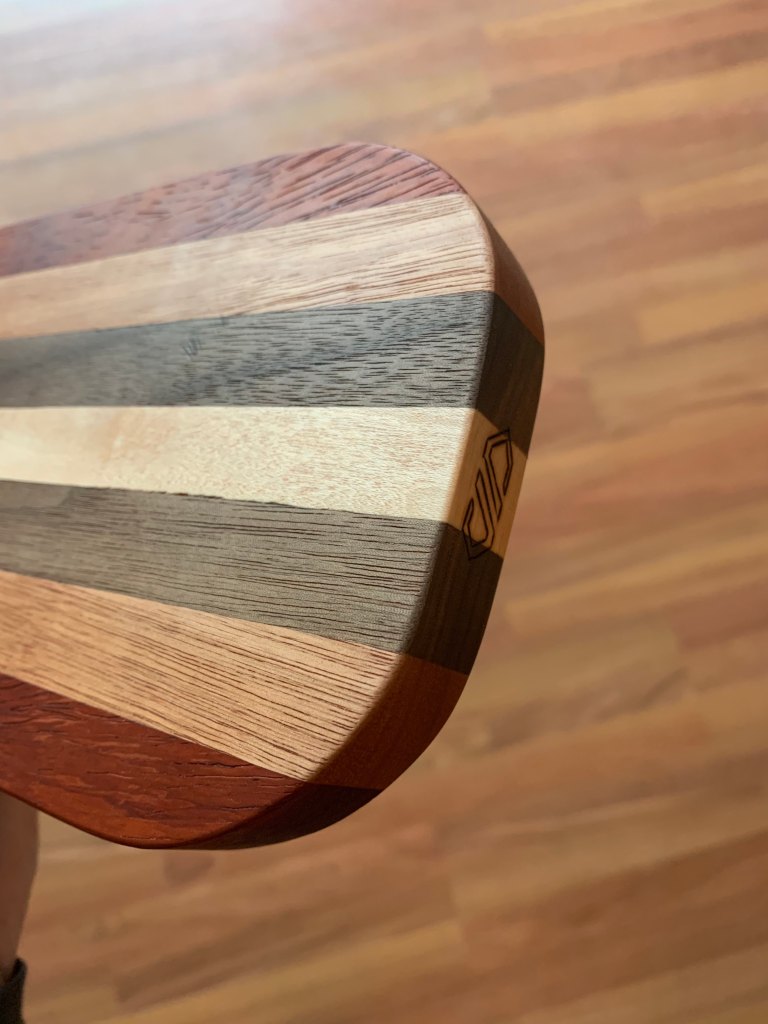
I then added my initials to the end of each board. The two that I didn’t give away, I am selling on my etsy store, so I wanted them to be branded. I didn’t have enough room for the M2C1 Kraftwerks, but my JP fit well. As this paddle can be used on both sides, I didn’t want to add my logo on either of the flat sides. Eventually I will have to get a branding iron, but for now, I do it with my pyrography set. I am getting better at doing my initials free-hand rather than first tracing it. I know it seems like initials would be simple, but I made my initials into a design, so it is a little more complicated than just burning JP into the wood.

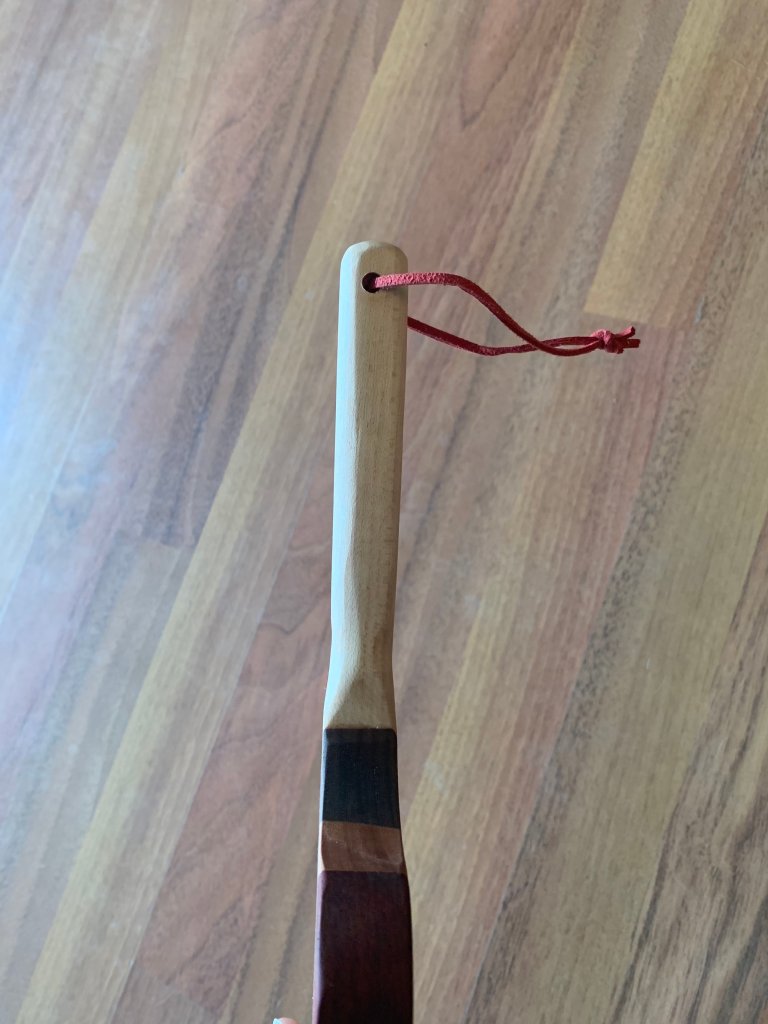
I added a hole in the handle with a loop of leather. My thought was that it could hang on a wall or in a cupboard, rather than throwing it into a drawer. The colours are so beautiful and rich that they would look good on the wall. My gran always used to have serving trays hanging on the wall. Although they were metal, it always seemed to fit nicely on the kitchen wall.

Last, I buttered them up with some of my wood butter, popping the colours and creating a beautiful shine. I think waxing the pieces are my favourite part because the wood just explodes with rich colour. I’m always wowed at how the colour of the wood changes so much once it has some oil and wax on it. The padauk is currently my favourite wood. It is very muted when working with it, but once you put oil and wax on it, it just comes to life with a vibrant, flaming red colour. The grains become mesmerizing. I foresee more use of it in my future!

My mom ended up with the funky shaped one and my sister took the more square shape one with the walnut and purple heart. It was a hard decision as they are all so different and each offers something unique. I have one more waiting in the shop to be sanded. It doesn’t have a handle, so I am going to add something in for easy carrying/grabbing.
I think the next batch I made will be wider and I will try a round shape. Kurt got a nice round charcuterie tray from work at Christmas, and I do enjoy it’s shape for plating. I am sure all sorts of shapes will be tested. I would also like to do some leaf shapes, and perhaps some waves.

