
I am always looking for some new woodworking projects to do in the shop. My brother-in-law asked me a few months ago to make a deck box for his Magic The Gathering cards, providing me with a sample box for dimensions as well as some of the cards for the graphics. I feel that I am getting quite good at smaller boxes because of all the advent calendars and the small boxes that need to go in those. These obviously, were going to be quite different and I had to choose a style of box that I wanted to go with.
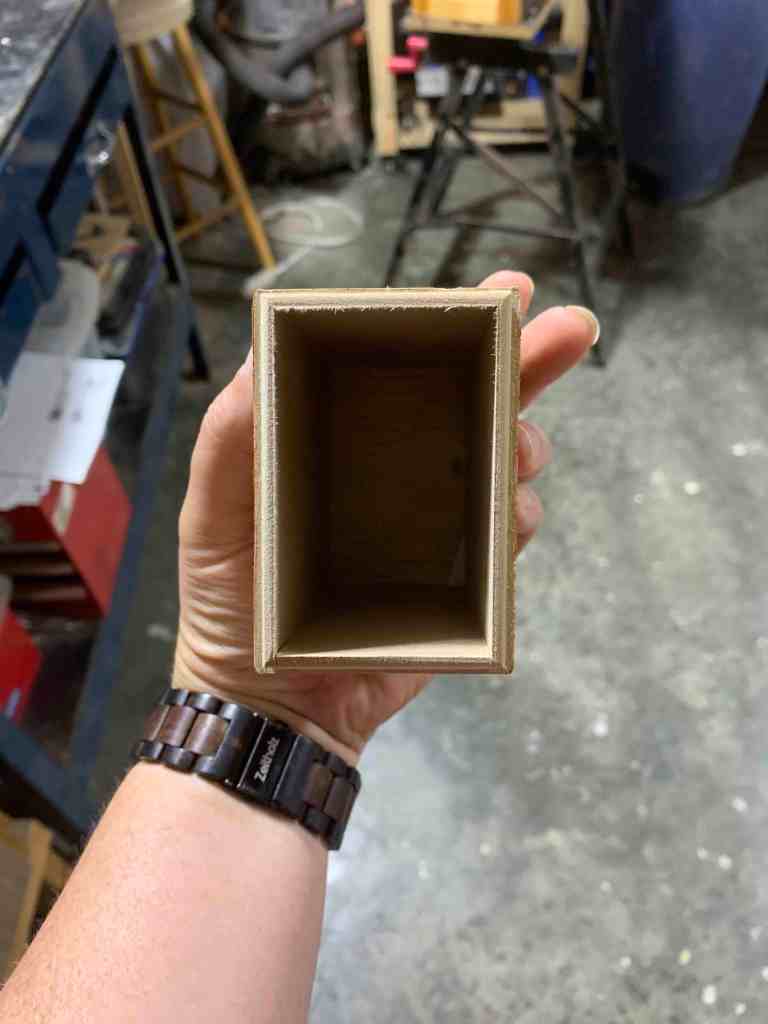
I knew that I didn’t want to do something with hinges. I am not sure why, but I wanted to create a box that closed without the need for hinges and a latch. I think part of it was due to the designs I wanted to do on them and wanting the box to seal without any extra pieces. Because of this, I chose to go with a box inside a box approach. This approach worked 2-fold. It allowed me to avoid hinges and latches as the lid of the box would slide over the inner box, helping secure the lid. It also allowed me to cut some of the symbols into the box and have backing that could be painted.
I decided to use 1/8″ plywood for the outer box as I wanted wood grain to be visible. The inside box was made with 1/8″ MDF as I wanted something that would have an even stroke with paint and for any pyrography. Using the sample box and the cards that my brother-in-law leant me, I came up with the dimensions for my outer boxes. They would be 4″ tall x 3-1/4″ wide and 2-1/4″ deep. I would cut the lid so that it was 1/2″. You will notice on my drawing below that I had said to cut the lid at 1/4″ but that was a mistake when I was determining my measurements. I believe I had it in my head that the cut would provide a 1/4″ overlap with the inner box if I cut it at 1/2″. Silly me.


The inner box is not a complete box, but rather just the sides of the box with no top or bottom as it uses the outer box for those two parts. In order to create the inner box, I cut 2 pieces at 3″ x 3-3/4″ and 2 pieces at 1-3/4″ x 3-3/4″. This would create the inner walls that the lid would slip onto to secure the box closed. Note that these were a little long in the end, but it was a good thing as I was able to sand them and round the corners for a nice snug and finished look.
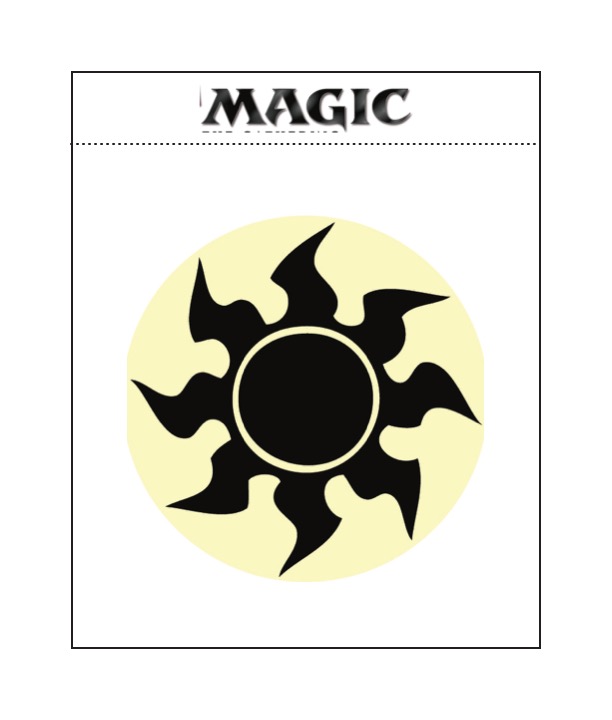
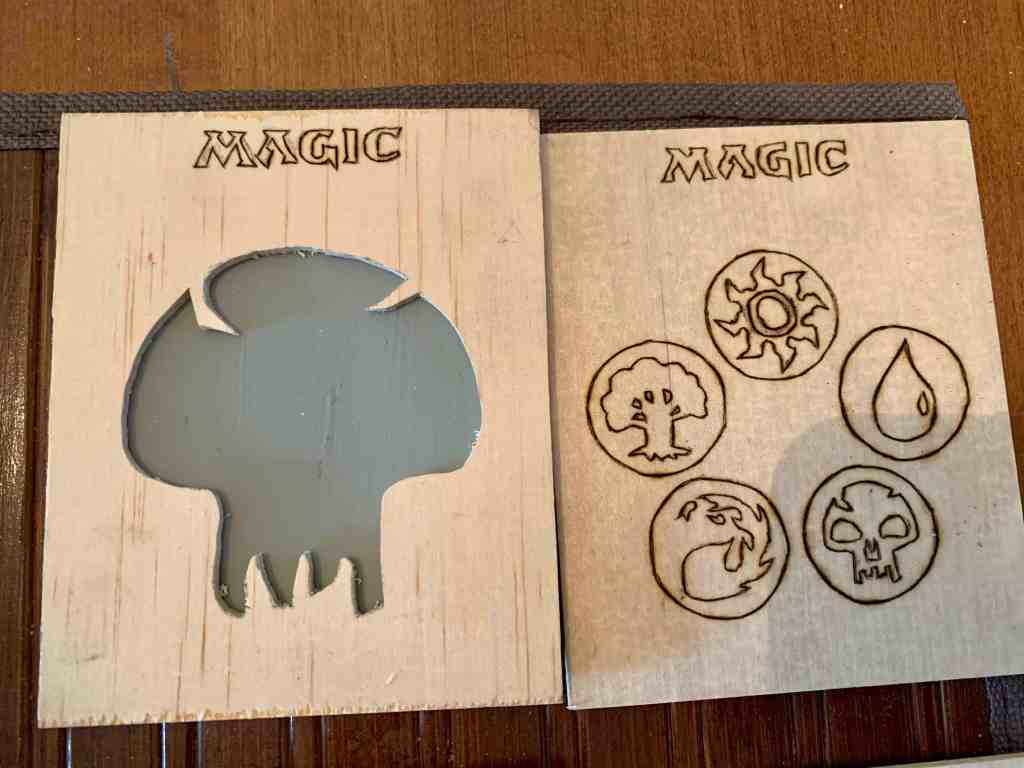
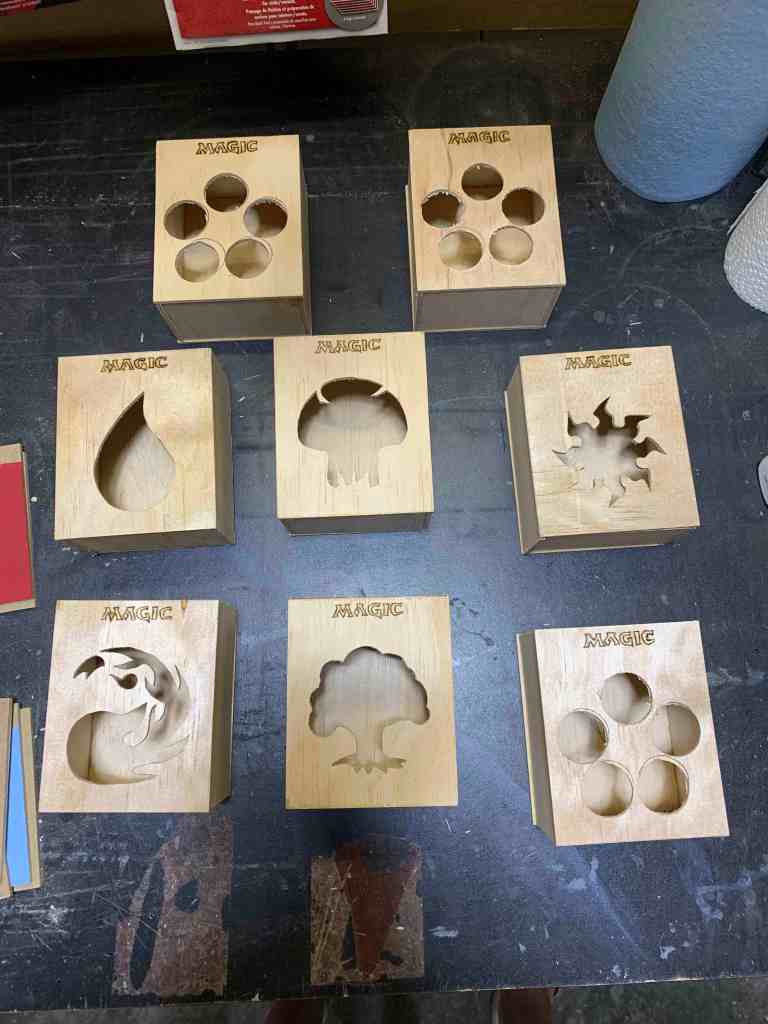
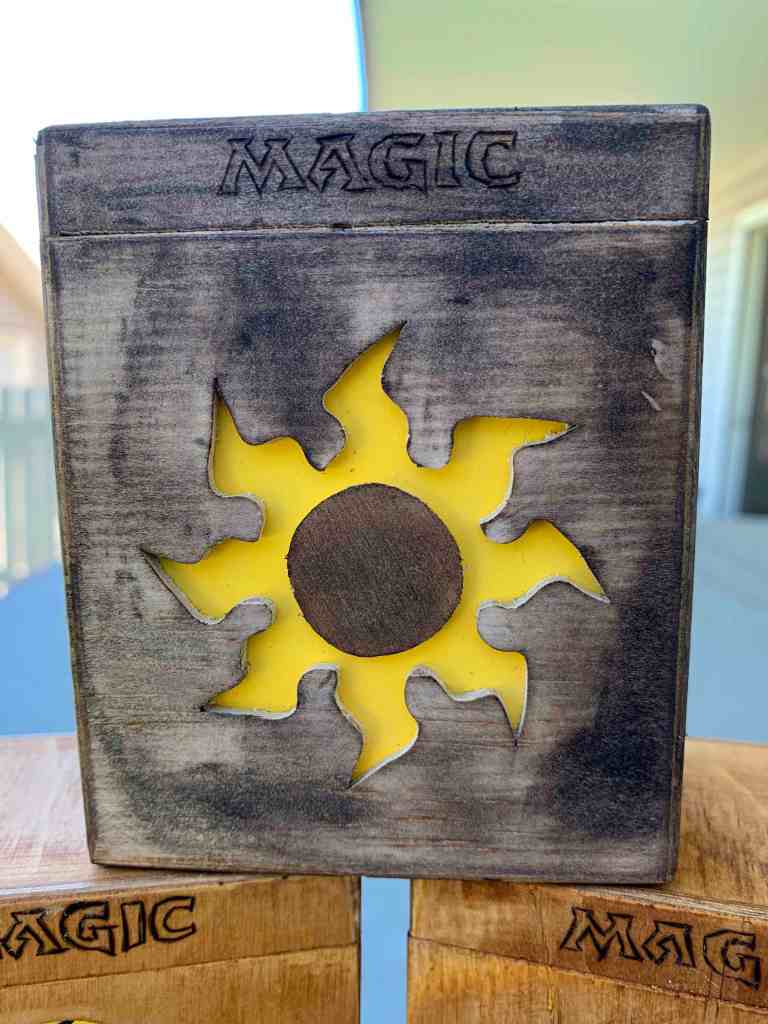
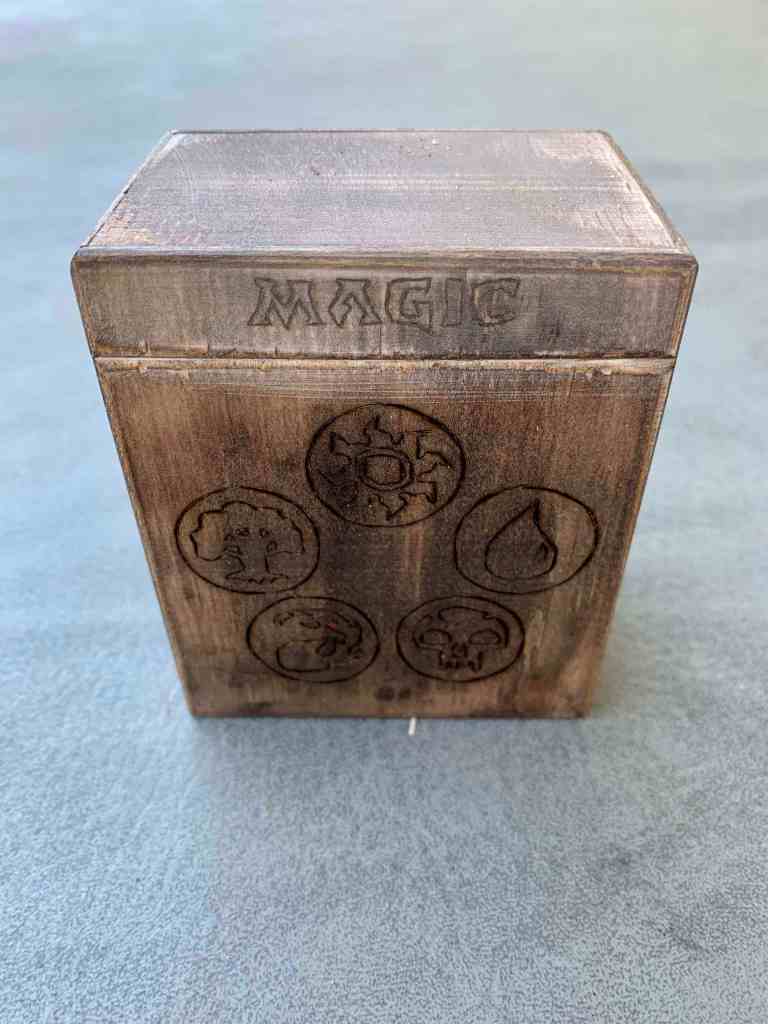
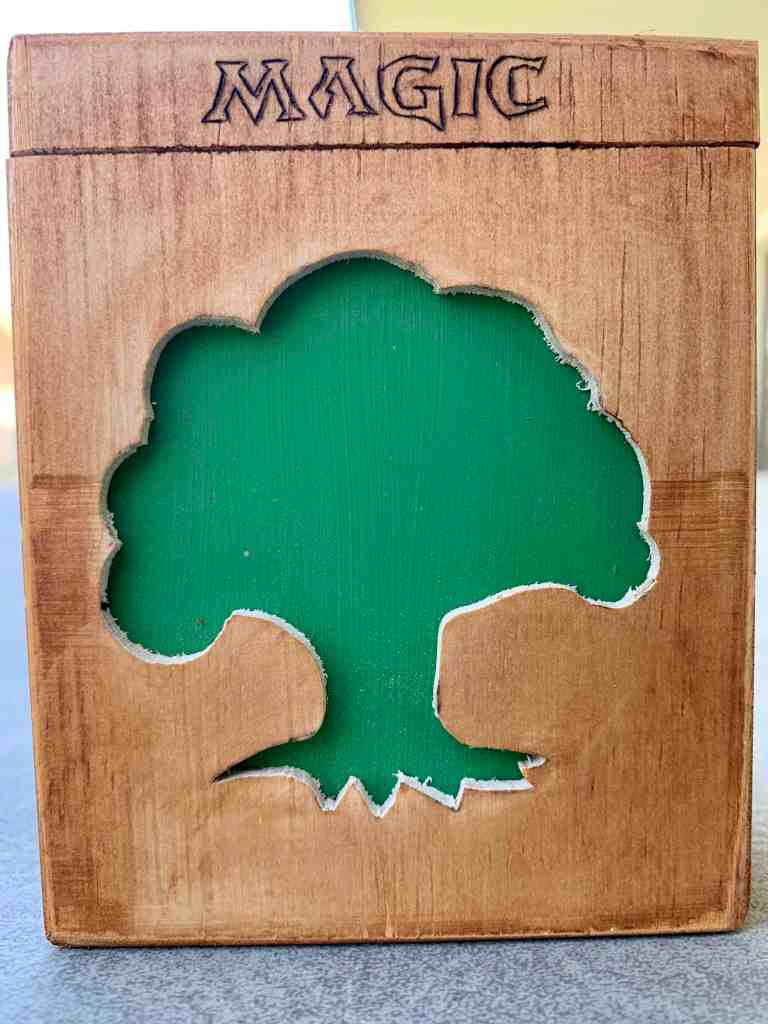
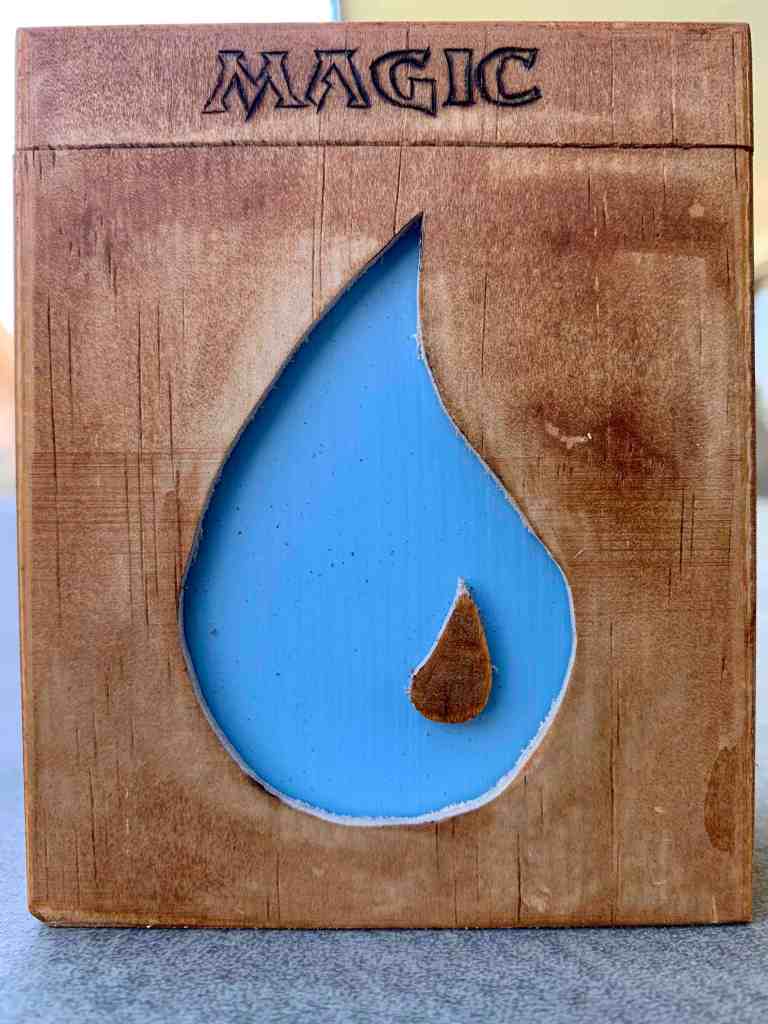
I’m used to making 24, 48, 72, etc little boxes at a time with the advent calendars, so I wasn’t about to try this out by just making one. I had some scrap 1/8″ plywood leftover from making some advent calendars, and was able to cut enough pieces for 8 boxes, so that is how many I decided to make. Once I had all the pieces of plywood and MDF cut, it was time to determine the designs that I was going to put on them. I really wanted to do a large symbol cutout on a box, with the 5 circular symbols wood-burned onto the back. I also decided to add the word “Magic” to the lid. I used InDesign to create a template that I could copy onto the boxes. I made each symbol fit within a 3″ x 2-3/4″ box to ensure I had a border and some space to cut the lid off. Since there are only 5 symbols and I had 8 boxes, I decided to do the 5 circles with symbols on the remaining 3. I cut out the circle and planned to wood-burn the symbol onto the inner box so that it would show through the front panel. I printed the designs off and using carbon paper, copied it onto the front and back of the boxes. At this point, I had not yet assembled the boxes.


The next step was quite tedious. I love my scroll-saw and really enjoy using it. However, for something like this, it would really be nice to have a laser cutter/burner to make the process faster. Especially if I were going to sell these. At this point, all of my finished boxes are spoken for, but I will have to decide if I am going to make more to sell. I know my brother-in-law has already mentioned them to some of the other Magic players he knows, so I may be making more based on requests. We will see. Anyways, my next step was scrolling out the larger symbols and then using the wood-burner to add the embellishments of “Magic” and the 5 symbols on the back panel. I also painted the inner box sides that was going to be the backdrop for the symbol. I wanted them to pop, so I added the colours that the symbols are supposed to be. For the smaller 5-circle versions, I wasn’t sure if I was going to paint the symbols but after testing it in the box without the colour, felt that the design didn’t have enough POP to them.


The next step was fairly quick. The assembly of the outer boxes. Again, I am very quick at this part from so, so, so, so many little boxes that I have assembled. In this step, I made the whole box, so that it was fully enclosed. To make it a nice fit, I didn’t want to build the lid separate, and this makes for a much more precise and quick way to build a box with a lid. I did have to do a little sanding due to some little edges, but that is to be expected when building smaller boxes out of a flexible wood. I used some good ol’ gorilla superglue to assemble the boxes. I have found it works so well for the smaller advent calendars, and there is no getting it apart once it is dry, so I am confident in it’s longevity. Trust me….I have tried to pull some mistakes apart and it is not possible without breaking the box.
Once dry, it was time to cut the lids off. I have never done boxes this way that are so small, so I didn’t want to use my table-saw. A little too close to the digits for comfort and I couldn’t think of a quick jig that I could setup. So I decided to try my mitre saw….not such a good idea. I mean, it worked for the most part. A nice clean cut, straight line….but just as the lid came off, it spun a bit and the saw blade bit into the corner tearing a bit of the lip of the lid off. So that was scratched as my option. Eventually, I decided to use the bandsaw. Not as nice of a cut, however it worked like a charm and a little sanding cleaned up any of the rough edges. Be careful with sanding though, you want to keep testing your lid to make sure it lines up nicely with the bottom portion of the box.


Once the lids were cut and sanded, I added the inner walls, once again using the gorilla superglue to secure them. I did clamp the fronts so that all parts of the cut in designs adhered properly. The flame and sun had a lot of little pieces that wanted to pop up slightly, so a clamp helped keep them in place while the glue dried. The nice thing about superglue for these small projects vs wood glue is that it dries so fast. It allows you to move on quickly. For larger scale items, the wood glue and patience is obviously the better choice. Once dry, I then used my stationary belt sander to reduce the height of the inner box as they were a little long and the lids weren’t connecting. I recommend doing this because it gives you the ability to make adjustments as needed. Too short and you are stuck because it’s not really possible to add back in. I also rounded the edges so that the lids slipped on easily but still had a snug fit.

The last step was to add a stain to the box. Although I like the natural colouring, I thought a slightly darker stain would help those symbols really pop. I had a dark coffee stain that I had used on some larger projects and it gave a burnt/antique look to those projects. I thought it would be perfect for these boxes since the cards themselves have a bit of a “relic” look. WRONG…so wrong. It was awful. In retrospect, I should have tried it on the box that already had a mistake on it, but nope…I used one of the symbol boxes, which would be part of a set. Ugh. So awful. Anyways, I switched to the ipswich pine stain, and it was so much better. It still let the colours pop, but also let the pyrography shine through as well. In the end, I was able to sand the stain of the one box and re-stain it with the pine to match the others. Whew.


All-in-all, I am happy how they have turned out. My cousin will be taking the 5 with symbols and one of the ones with all 5 circles on it as a gift for her boyfriend. I will be making a carrying case to go with them so that he can carry all 6 boxes together. Stay tuned for that box building adventure! Since this was my brother-in-laws idea, I am going to give him the other good box that showcases the 5 symbols and make another set of the ones with the larger symbols on them. As for the mistake box with the chunk missing from the lid…I think I may try to add a resin corner to it and make the mistake a cool feature. We will see. For now I will leave you with a quote from the game:
If it ain’t broke, I’ll break it. If it is broke, I’ll fix it”
Trickster Mage, Magic The Gathering


One Comment Add yours