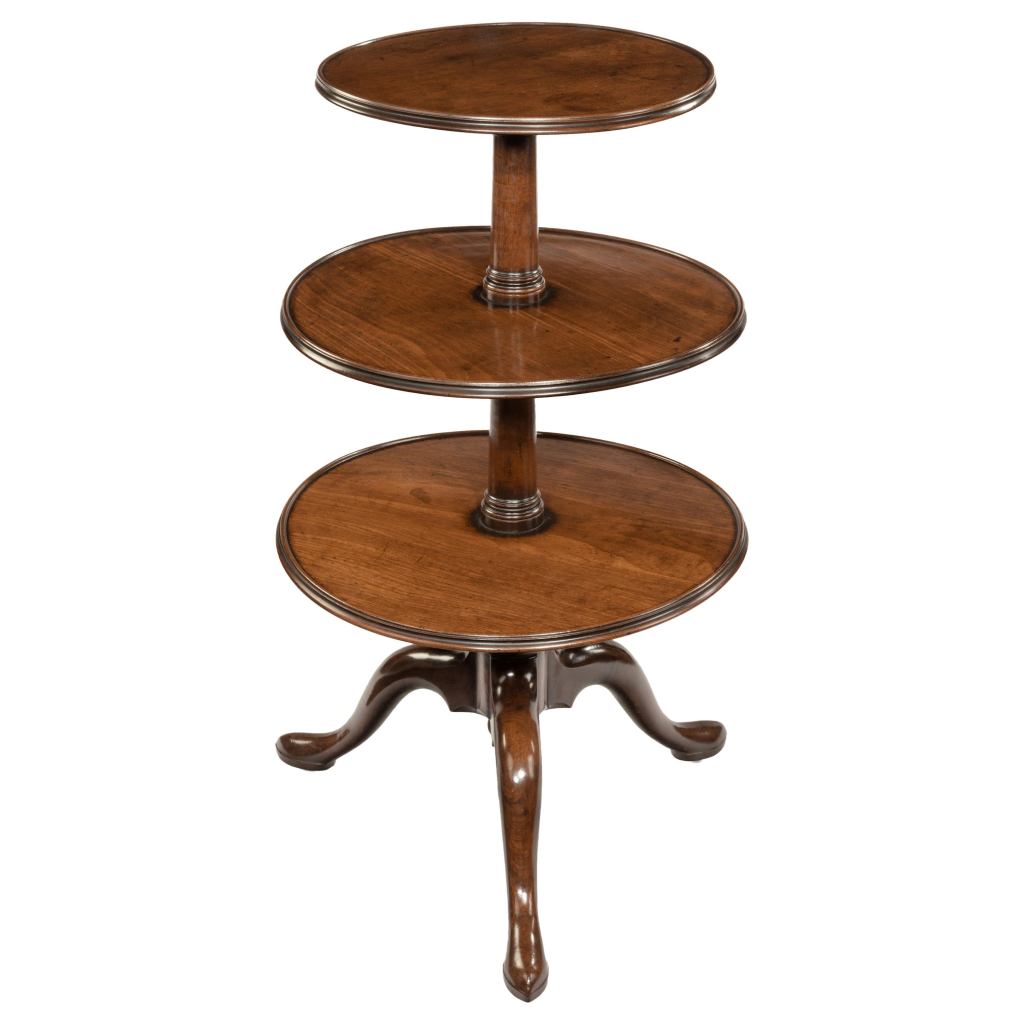
Whatever name it has been called in history, it hasn’t ever sounded like a nice term. In early history (1700’s) this clever little device was called a dumb waiter. Now english was a little different in those times, and the dumb was a reference to the fact that it was quiet. Unfortunately, it was likely still referencing something that is not acceptable in our society any longer, and yet, the term dumb waiter still exists. As an event coordinator I have used the term “dumb waiter” many times in my descriptions of what needs to be setup. I am referencing what is now dubbed a “waiter stand” which is a tray on a stand where guests of an event can leave their dirty dishes. The dumb waiter of history was a little bit fancier, with a tray or tier of trays that was mounted on a swivel.
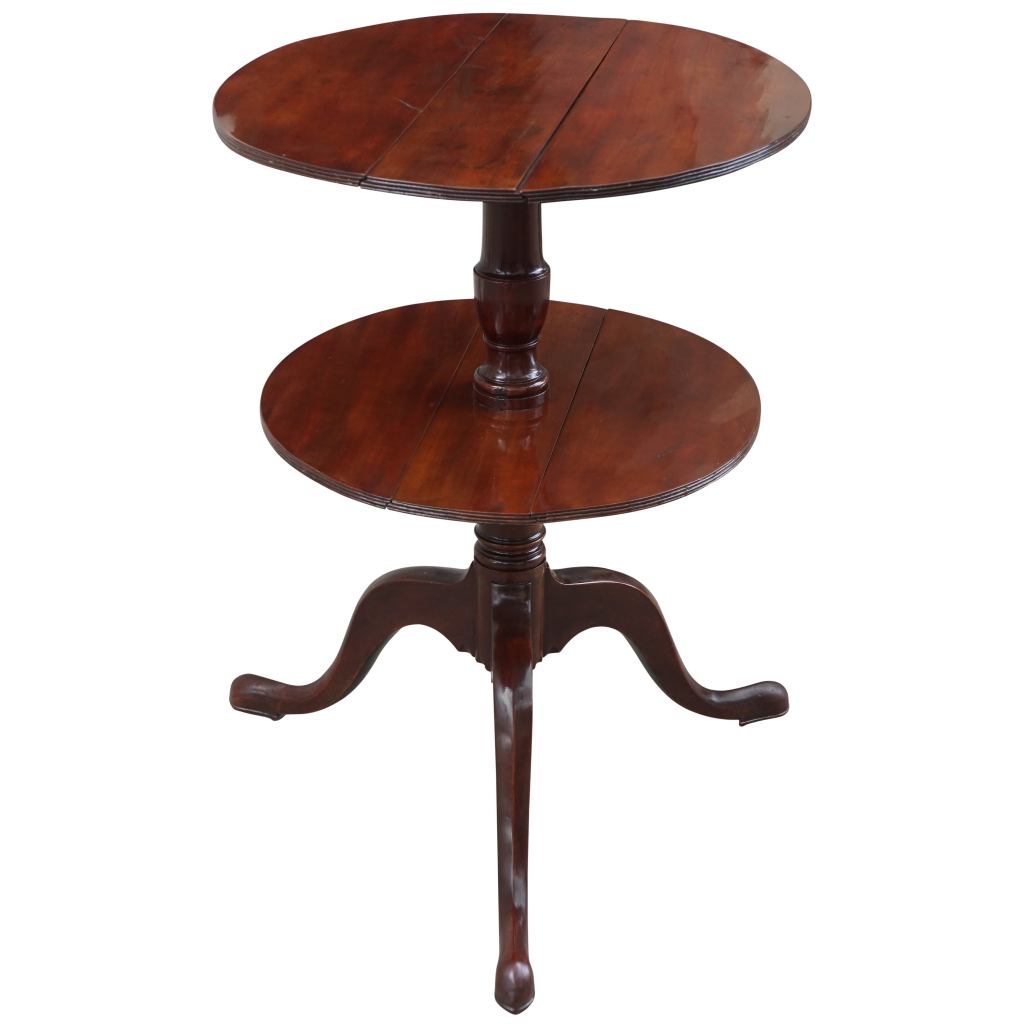
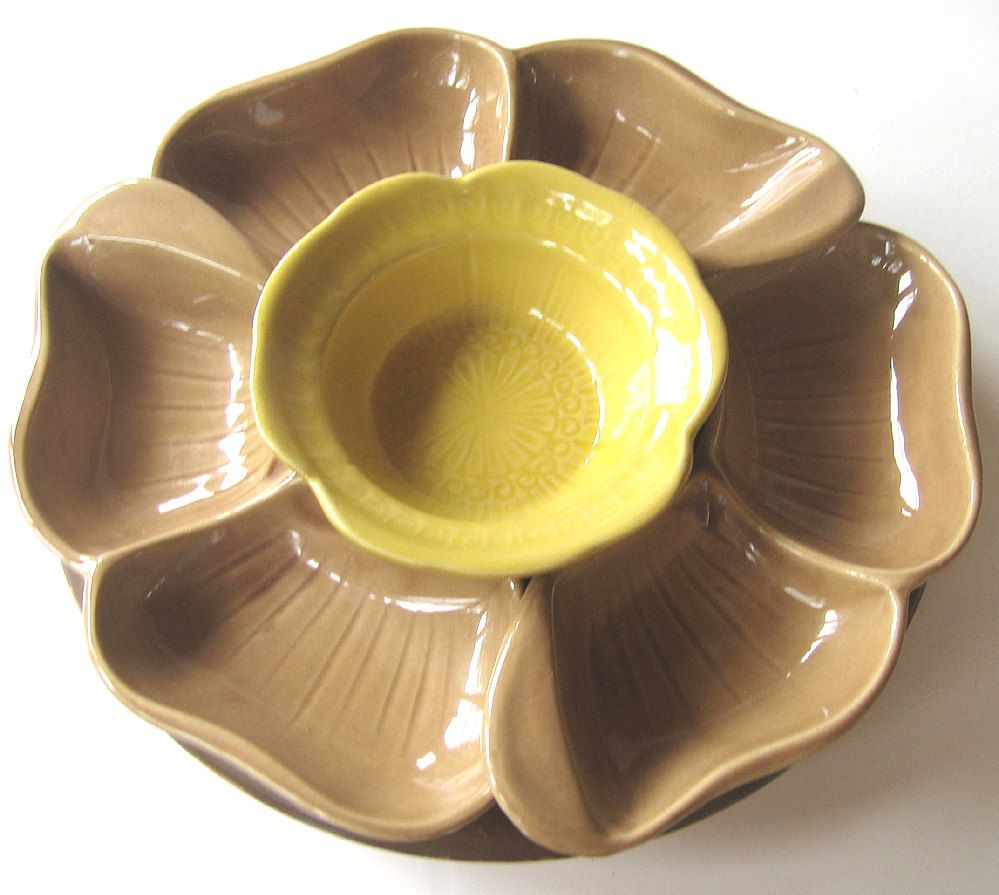
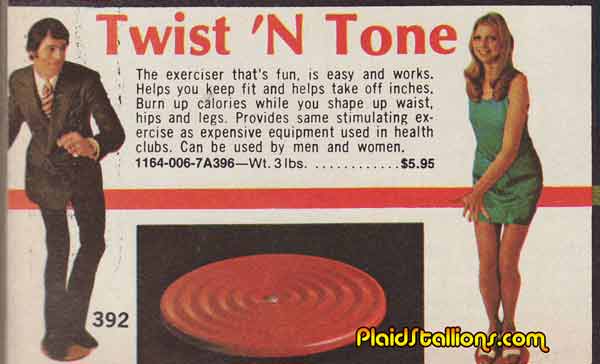
Most of us know it as a Lazy Susan, which like it’s predecessor, also has a terrible name. The Lazy Susan grew in popularity in the 1960’s & 1970’s, even as an exercise disc! No one knows where the term Lazy Susan originated…at least I couldn’t find any firm knowledge of the origin name. The most likely explanation that I found was that the “Z” in lazy and the “S’s” in Susan had a nice sound when said in tandem. From a marketing perspective that certainly sounds reason enough to call it that. However according to a few articles and posts that I have read, there is speculation that “susan” was a common maids name and that is where the name came from. There is other speculation that it was styled on previous combinations in English that used “Susan” (ex. black eyed susan). Whatever the reason, it has stuck.
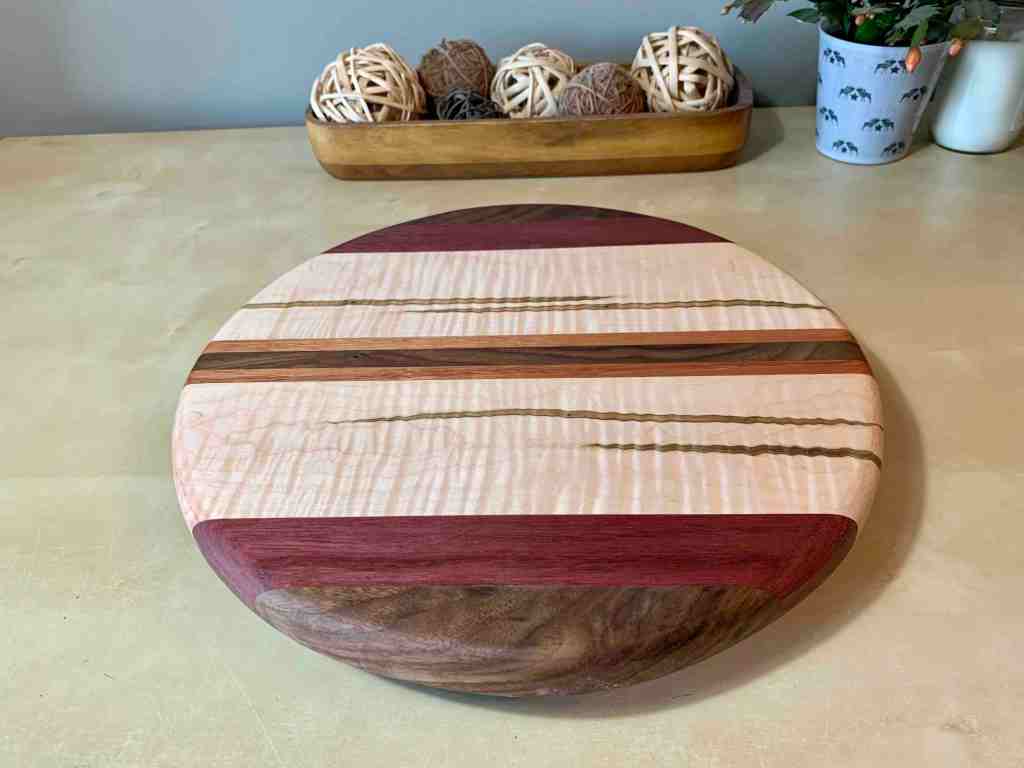
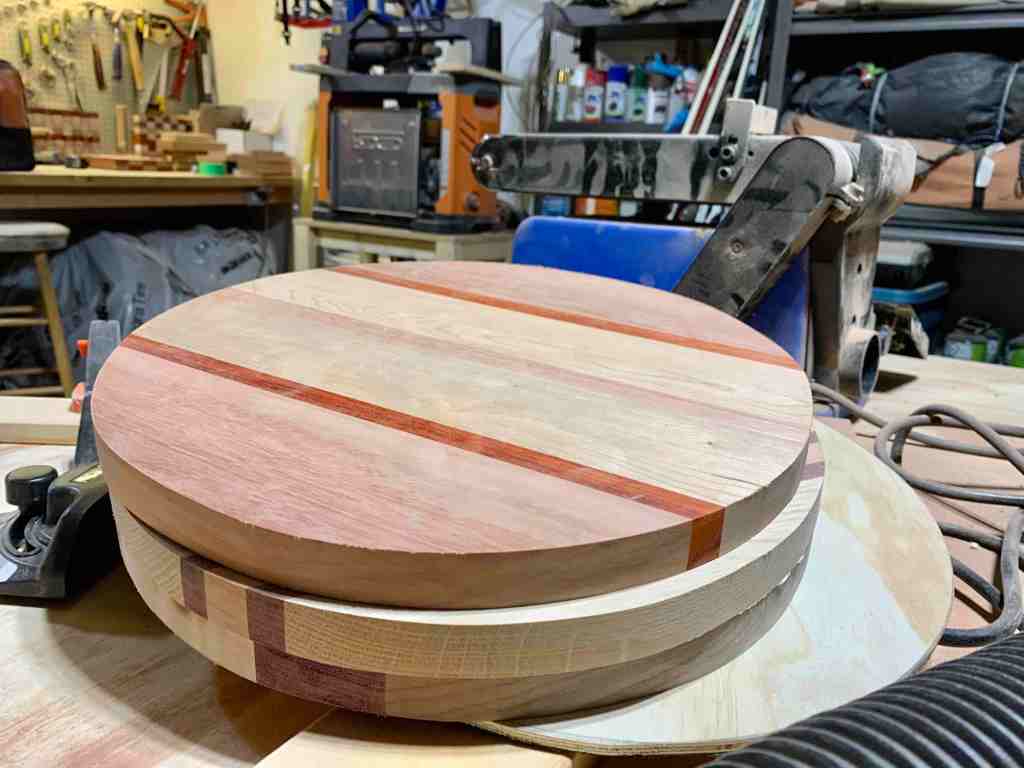
So why am I giving a little (and I mean a very little bit) of history and knowledge about the Lazy Susan? Because I am building some! They have been on my list of potential shop projects for a while. It’s really just a round cutting board on a swivel. Luckily I got the push I needed to go from making cutting boards to trying out a few lazy susan’s. After a social media post on a community page, I had someone ask if I made them. I told her I hadn’t yet, but had plans to. Since she was interested in one, I decided to try my hand at it this last week. I think they turned out pretty well! I may have to make a few more for the craft fair at the end of November. The three I have made are 14″ in diameter because that is the size that the person requesting one wanted. I am going to have to test out a few 16″ ones as well.
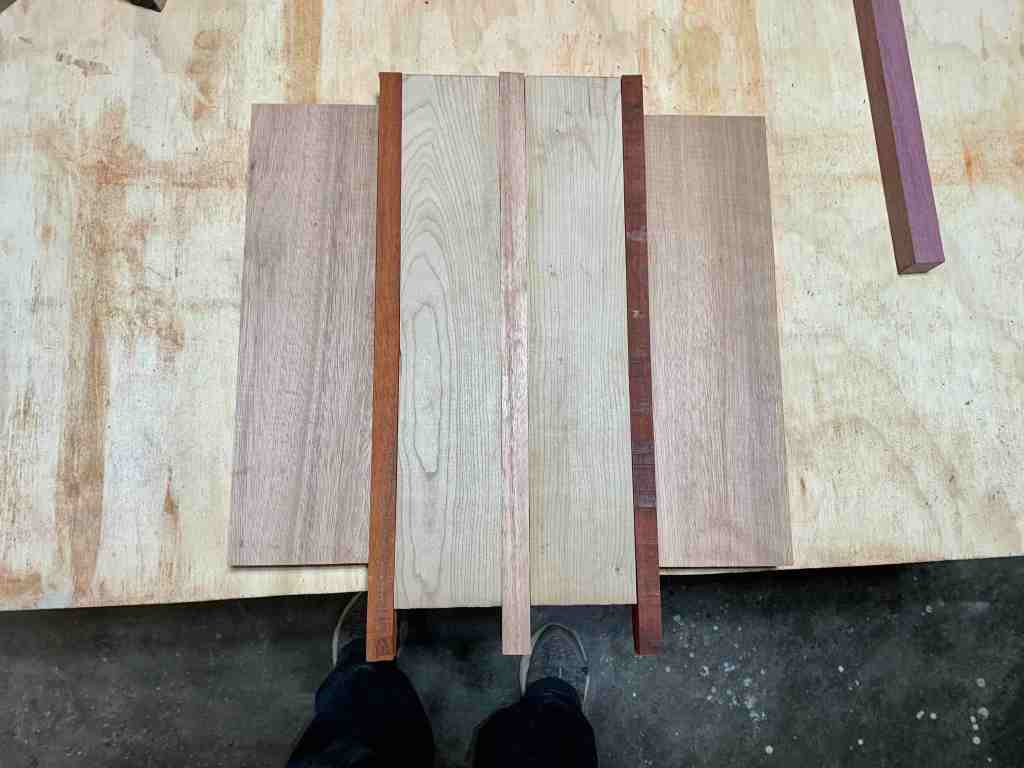
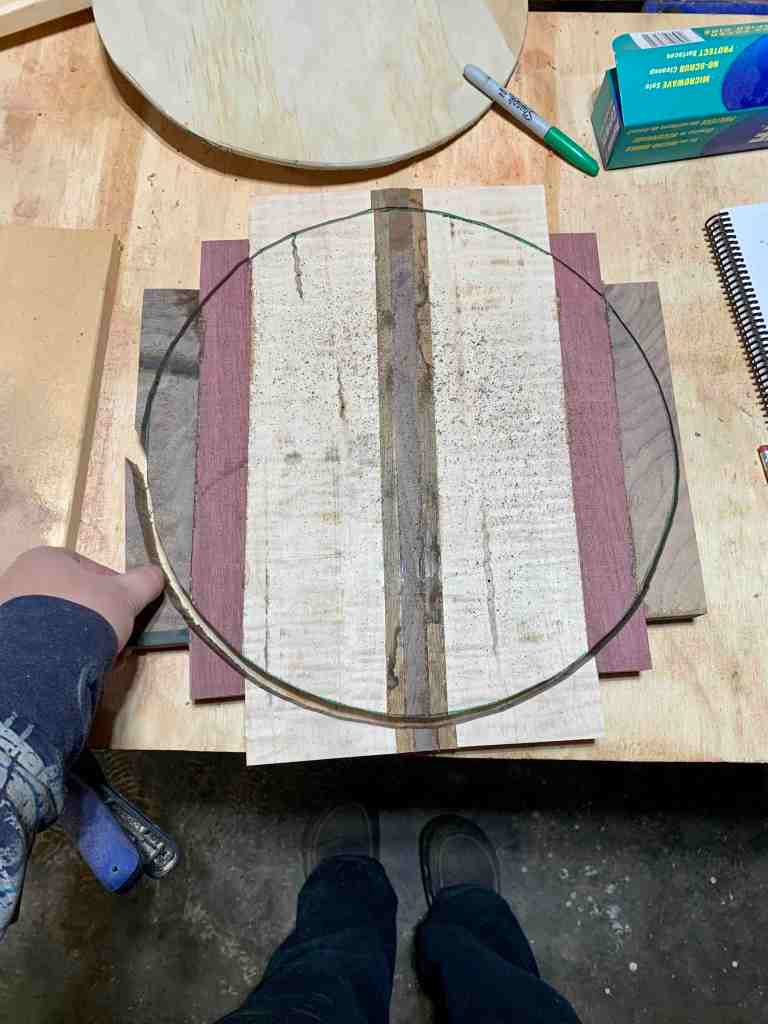
I started off by creating myself a template out of some scrap 1/4″ plywood. I wanted a template because I had a bunch of scraps of wood from the cutting boards and thought I may be able to use some of the smaller pieces for the edges of the lazy susan. Also, I didn’t want to deal with a bunch of wasted expensive exotic woods, so I decided to step the sections down from the middle to reduce how much I had to cut off. The template allows me to stack the pieces on the template to make sure I have enough overhang to make a nice circle.

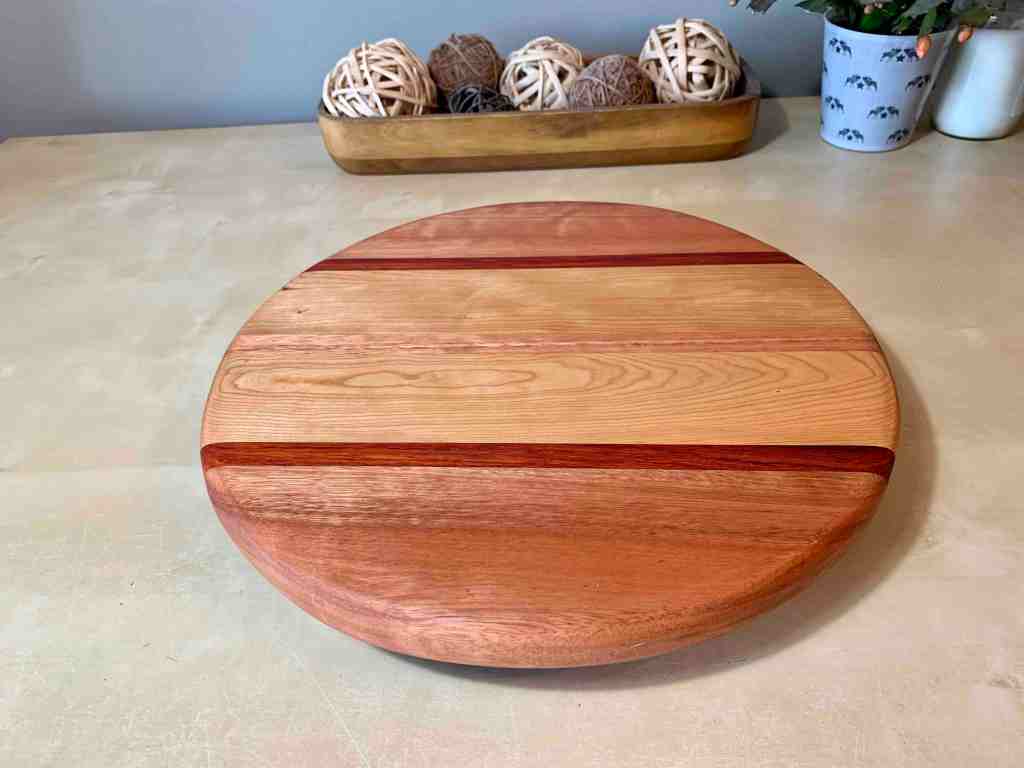
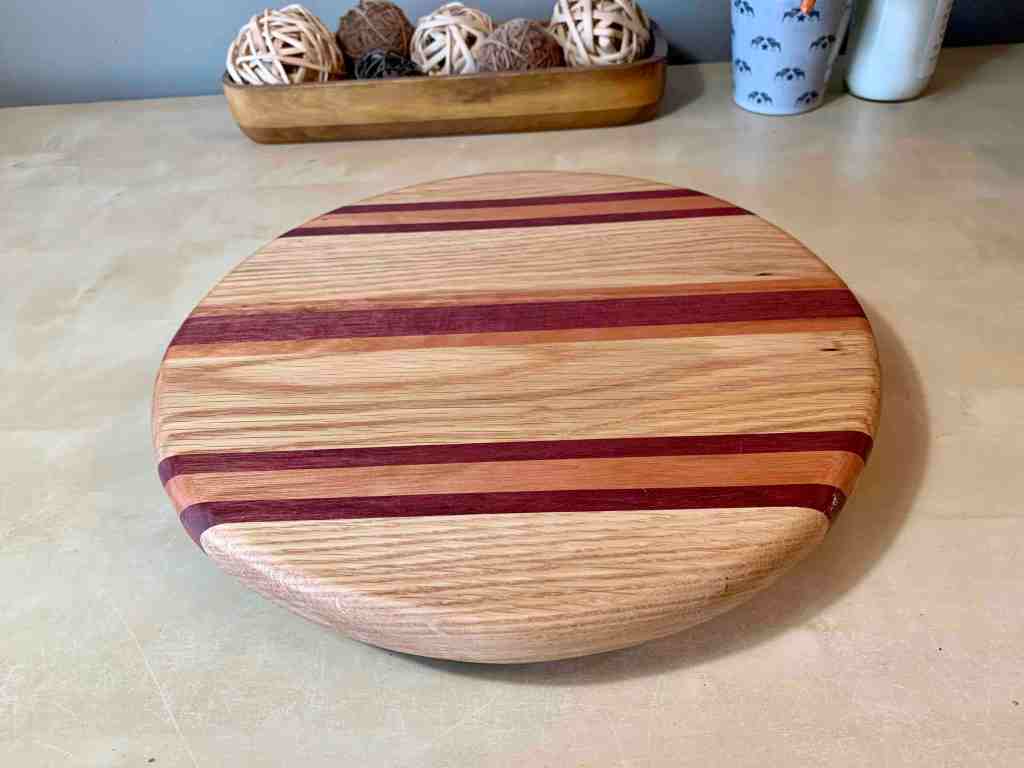
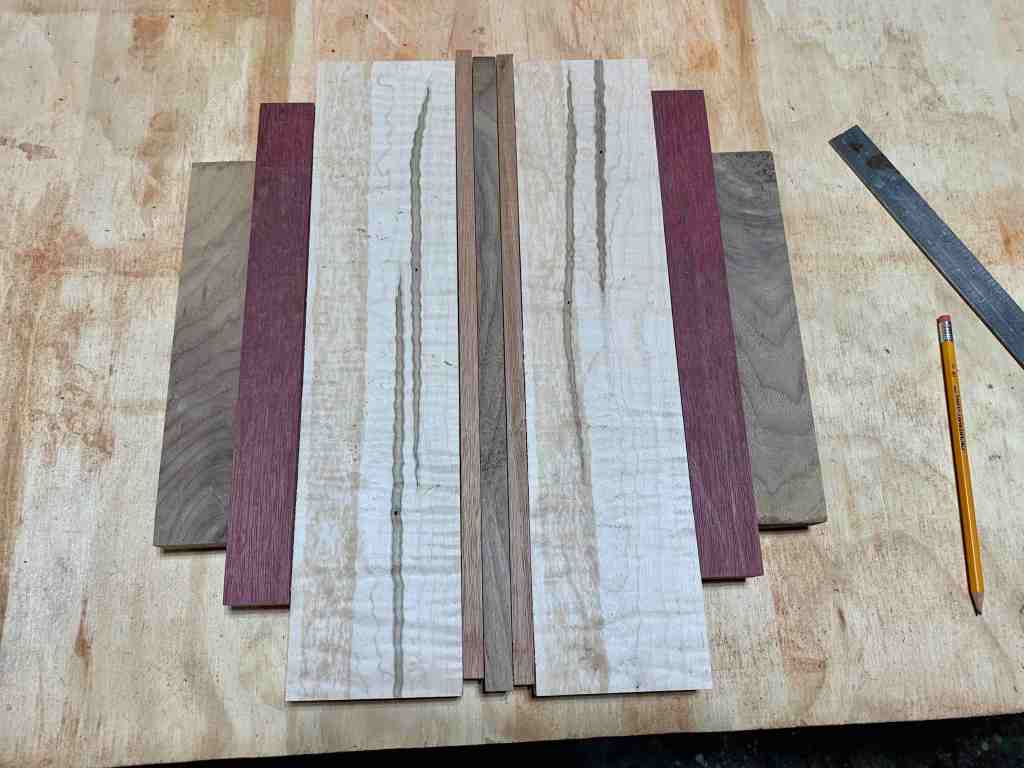
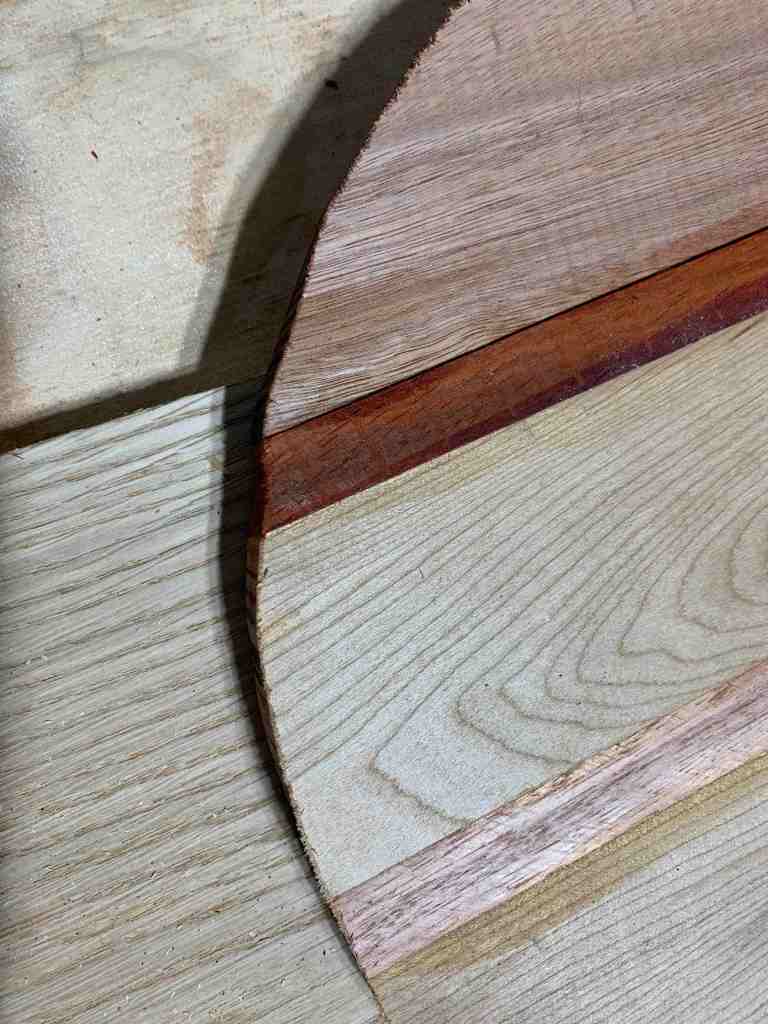
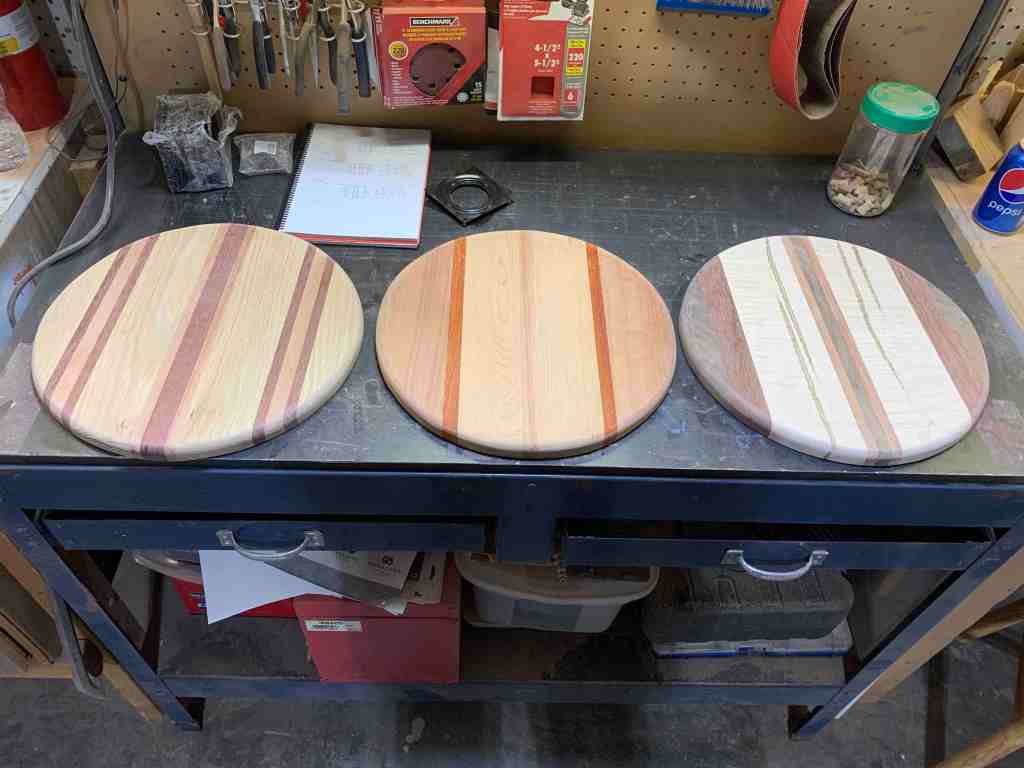
Once I had the template cut, it was time to start putting together some patterns. The client wanted some simple stripes, so I have kept the first three fairly simple with just a striped pattern. I did mix and match some colour schemes to make them a little more decorative. I checked all the pieces on my template to make sure that all the lengths were positioned where they would fill the circle the best.
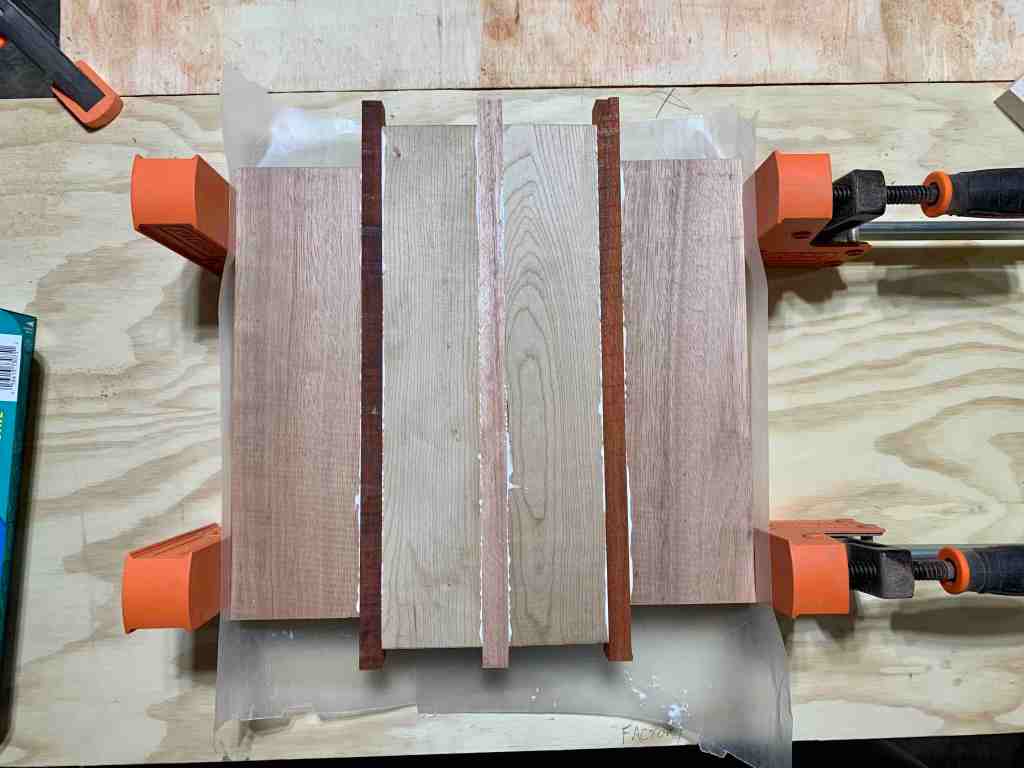
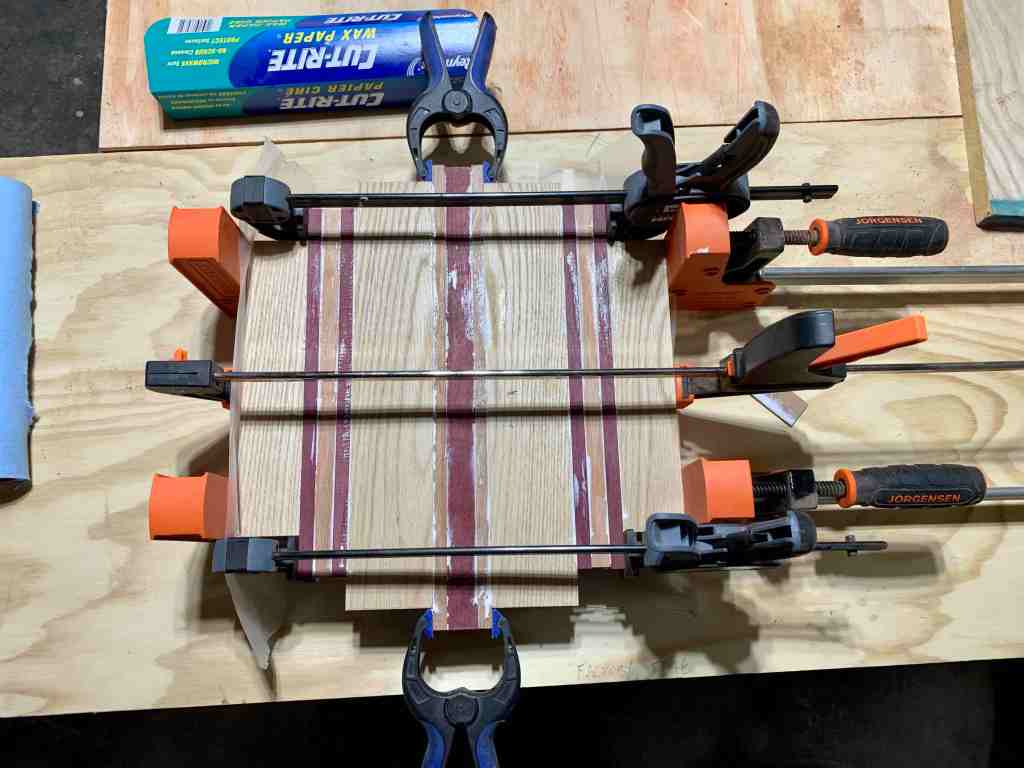
Once I had created my patterns, it was time to start the glue-up of the boards. Unfortunately, I only have 1 set of parallel clamps that were big enough for this. My other set is only 12″. Clearly I am going to have to buy a few more sets….but I digress. I glued all the edges and placed the wood together. Before tightening the clamps, I grabbed my template and once again checked to make sure that the way I had them lined up would all fit nicely so that I could cut the circle out after. Once they were all lined up properly, I tightened the clamps and realized that some of the longer sections weren’t getting pressure right to the ends. No problem. I grabbed a bunch of my heavy duty ratchet clamps and added them to the longer sections that stuck out to make sure that everything was getting a nice snug pressure for a solid glue.


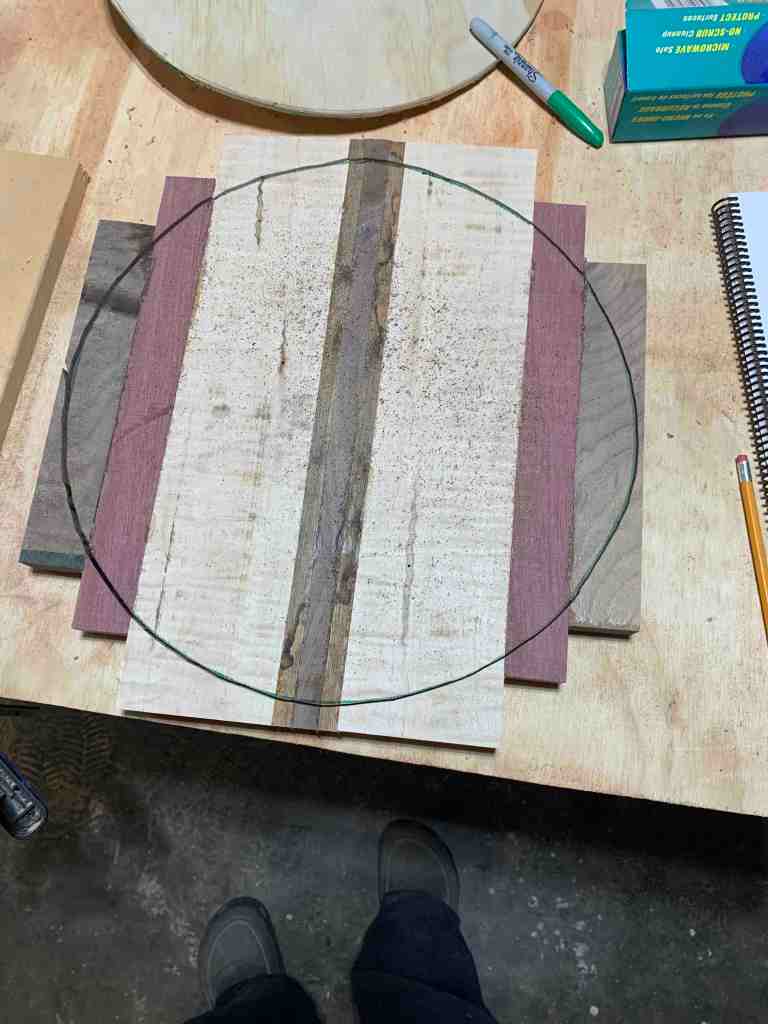
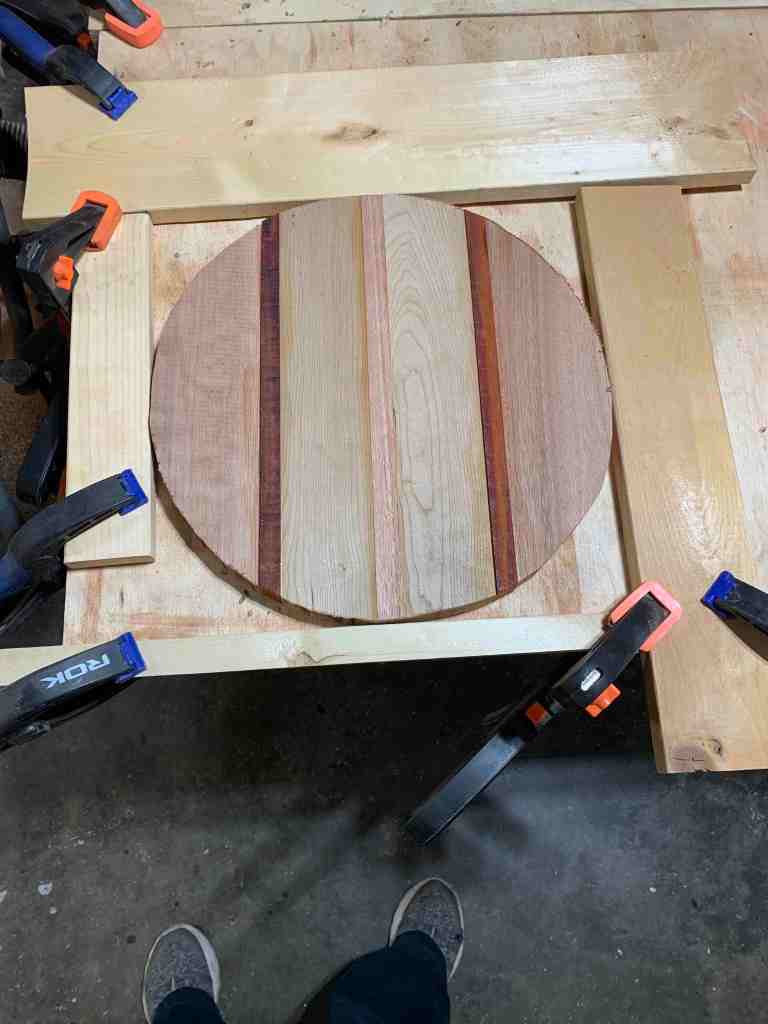
After curing for at least 12 hours, I pulled the board out of the clamps and repeated the process with the next one so that I would have another to work with the next day. With the one that had finished gluing, I used the template to draw the circle onto the board. This would be my guideline for cutting out the circle.
Off to the band saw we went, and I slowly cut my circle. Is it a perfectly smooth and round circle? Not a chance on a band saw, especially without a jig. Does it matter that much? Nope, I’m going to be sanding the edge and then using a router to round the edges.

Next it was time to sand, sand, sand. Edge grain, at least, sands a little easier than end grain, but it is all still hardwoods so it is still a fair bit of work. Luckily tuning my table saw has really helped with flatter glue-ups and less sanding needed. I sanded the top and bottom to 120 grit, and then worked on making sure the edges were as close to perfectly round as possible.

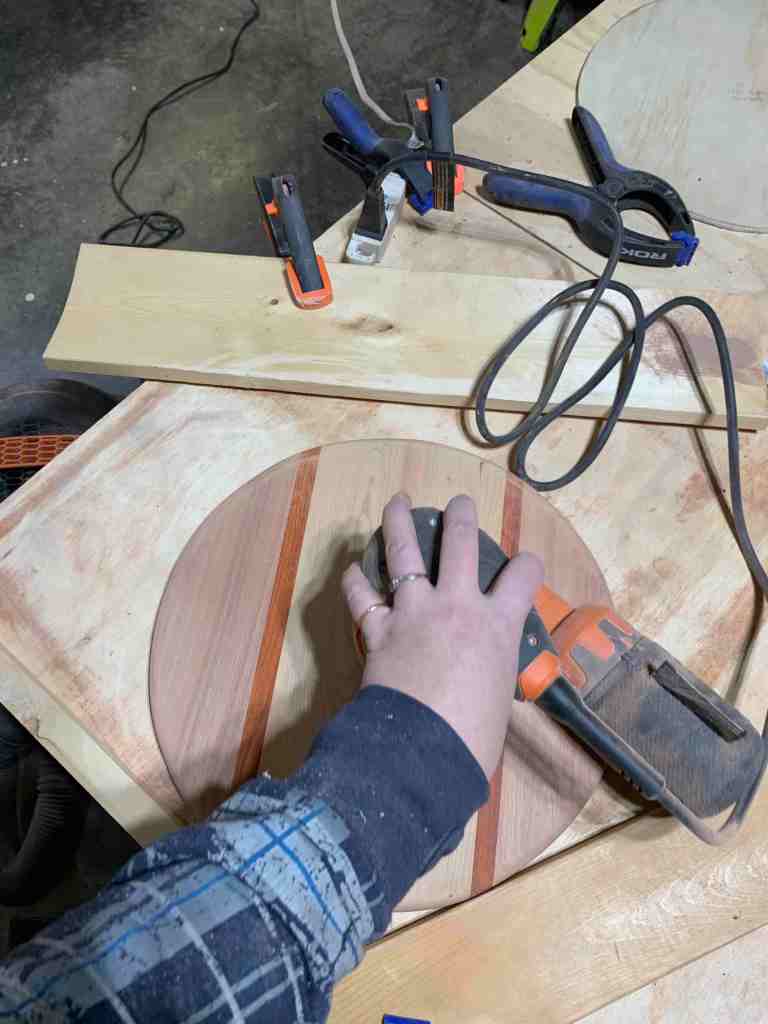
I used my belt sander to smooth the edges of the boards into a more round circle. Mostly taking down any wobbles I had while cutting the circle on the band saw. From the first one I cut to the third one I cut, I already saw an improvement with how much finessing of my circle was needed. My last few cuts were much more smooth, and needed less sanding to get a proper circle.
Once I had my circles finessed, I used a round-over bit on my router and curved the top edge of the circle. I was a little worried about this step since my circles were not necessarily perfect, but they turned out great.
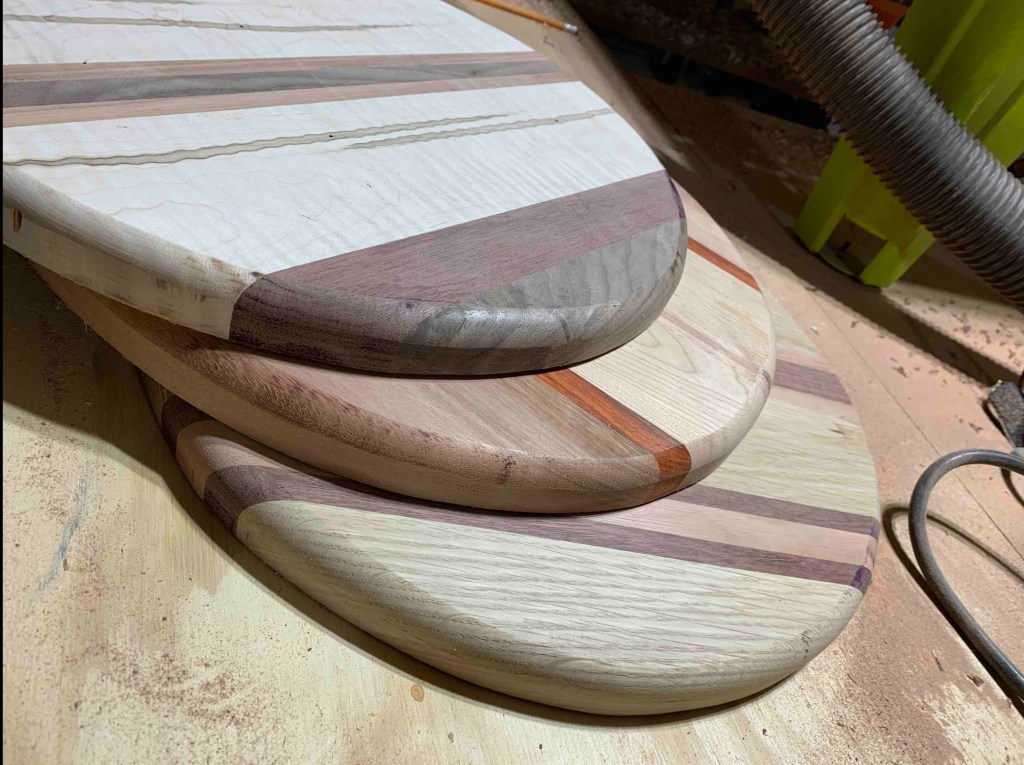
Then it was back to sanding, sanding, sanding. I went through to 220 grit for a silky smooth finish, popping the grain between each sand with some water spritz. Using the orbital sander, I also blended the routered round-over to a consistent finish with the rest of the board.
Now it was time to test how round my boards were. It was time to add the turning mechanism. I grabbed some pieces of carpet that I was throwing out so that I could put the nicely sanded boards down onto something soft. I didn’t want to sand any scratches out. I measured the center of the circles as best I could and then used painters tape to stick the mechanism to the bottom of the board. I then flipped it over and gave it a spin. Ta-da! I lucked out and they all had a beautiful spin and the placement of the turning mechanism was in the correct place.

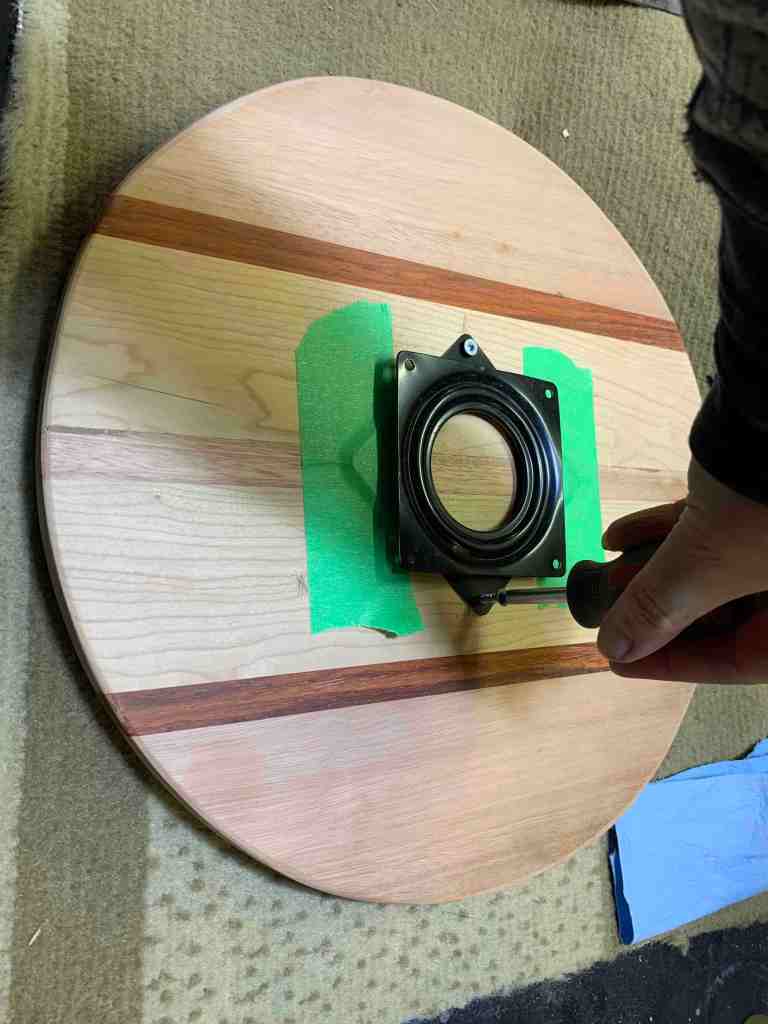

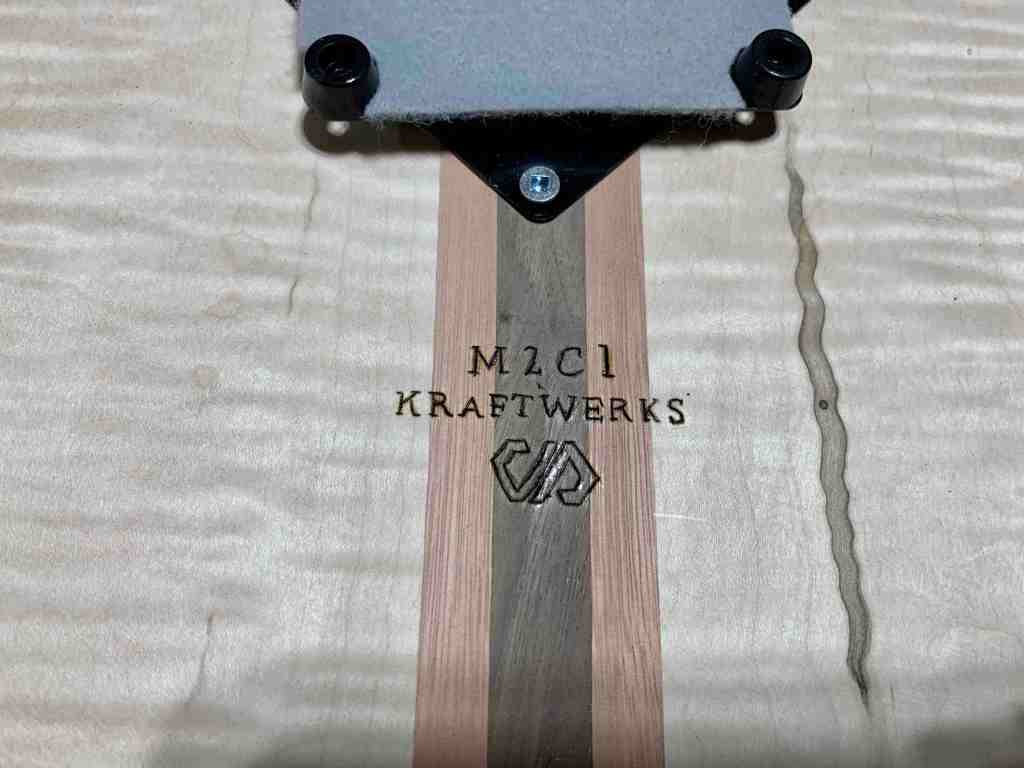
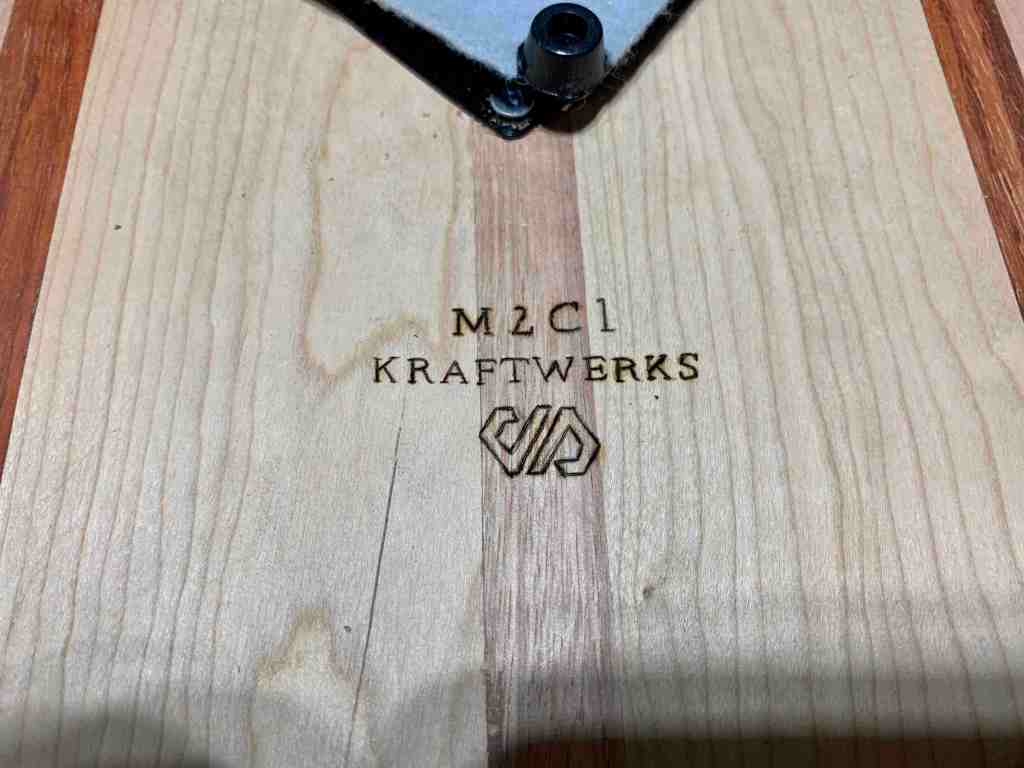
I then marked the holes and pre-drilled the 4 corners. I then attached using 5/8″ #8 screws. Once in place, I pulled out the trusty wood burner pen and added my brand to the bottom. I am seriously going to order a proper brand soon. I feel like I can woodburn my brand with my eyes closed these days. A proper brand would look so nice.

I was hoping for a low-profile look so my plan had been to finish the bottom of the mechanism with some felt and rubber feet. However, once I put it together, I realized that the mechanism was a little narrow and didn’t provide great stability for heavier items being placed on the outer edges. So back a few steps.

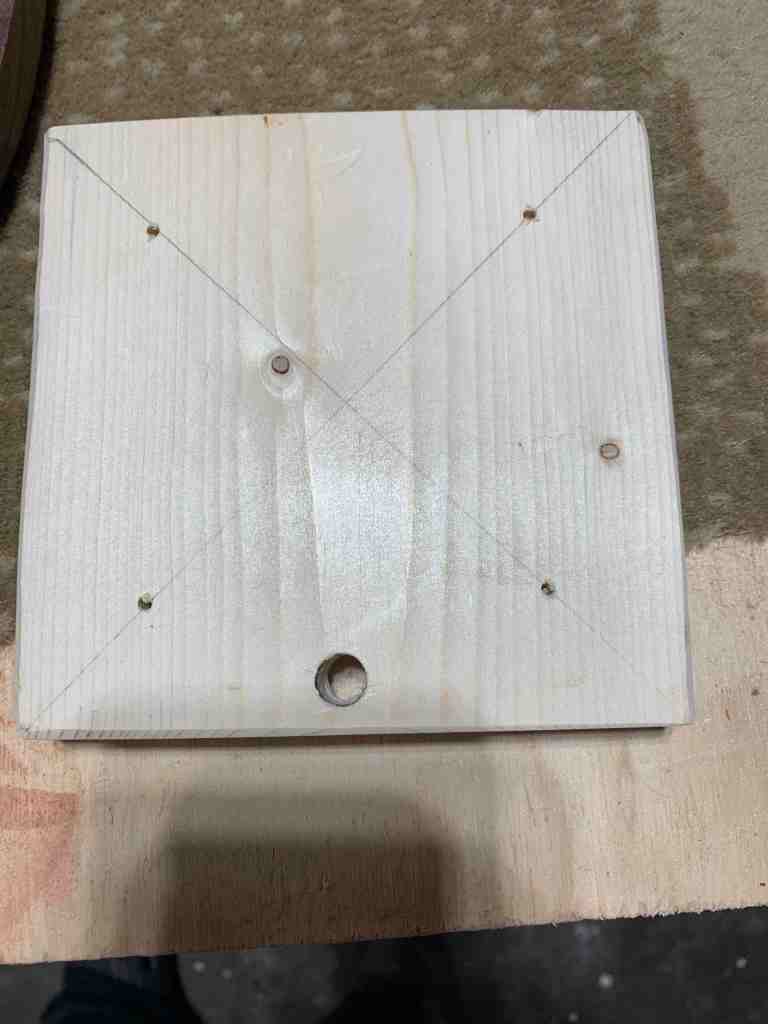
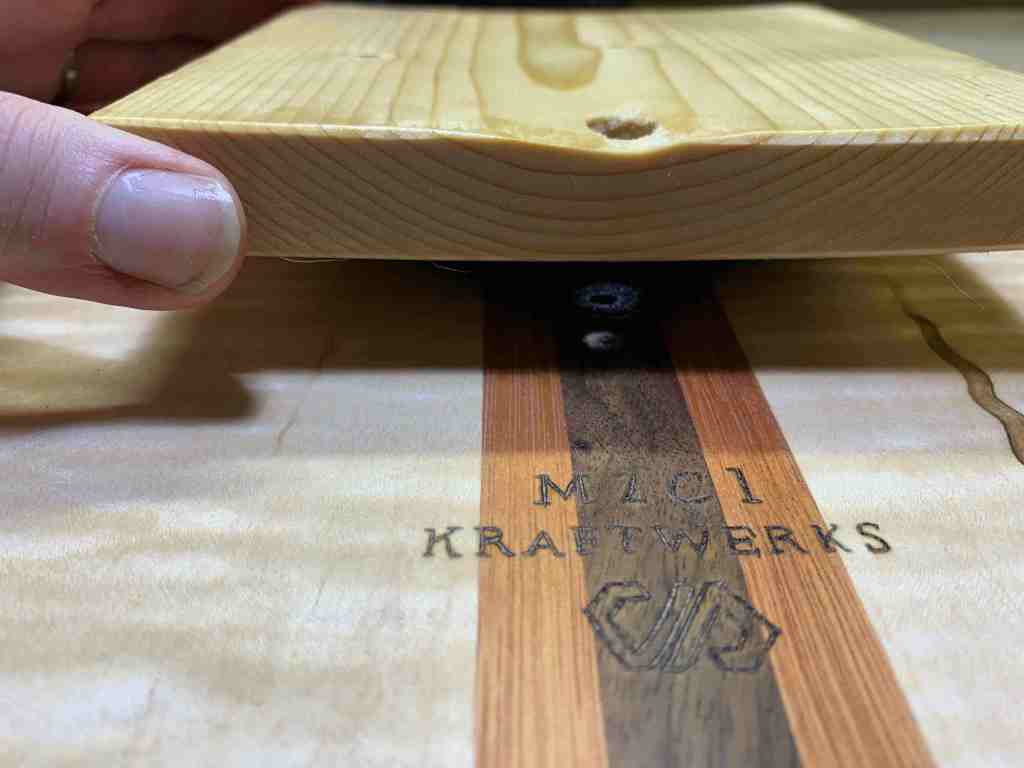
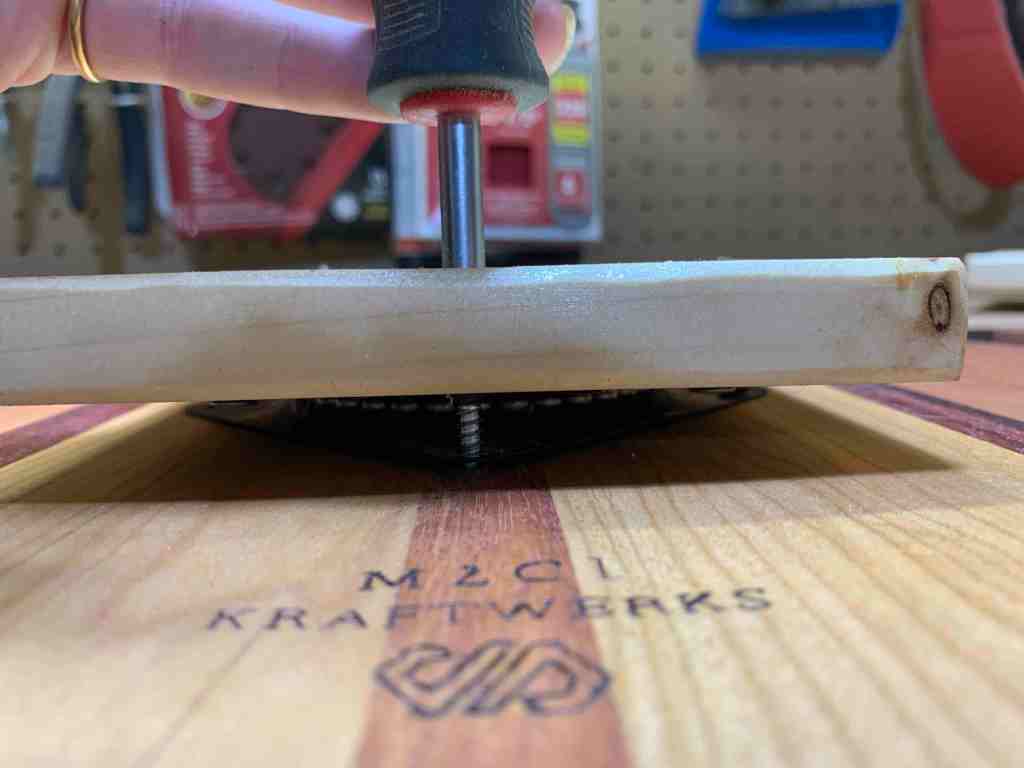
I removed the mechanisms from the bottom of the boards and added some bases. I went with some premium pine 5″ squares for the base. This provided much more stability to the outer edges of the board being used to support heavier items. It is not visible unless you are eyelevel with the table. I finished it off with some non-marking rubber feet for a solid base on the table.
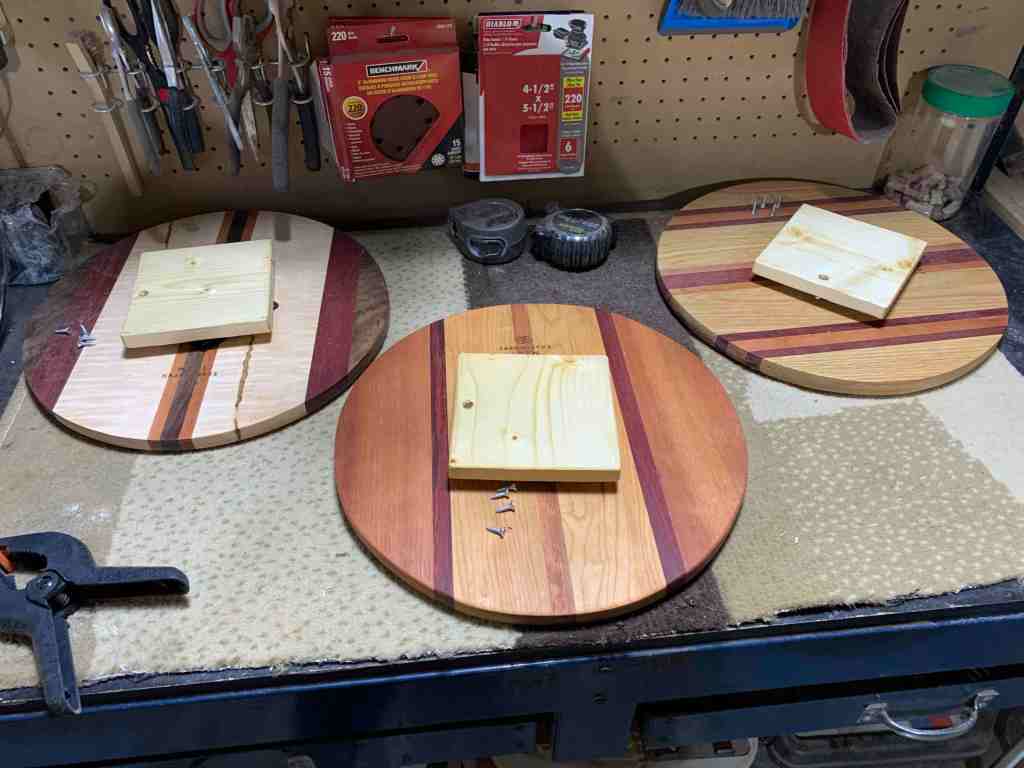
It was fun adding the base. The hold I drilled to get the screws and screwdriver through to secure the mechanism back to the top board was just big enough. Luckily I have magnetic tipped screwdrivers, which made the process much easier. Plus I used my overhead light to shine into the hole and waited until I could see the drilled hole in the light. Then I knew I was properly lined up.
All in all, they turned out amazing. So much better than I had hoped they would for my first go at making them. I will be doing a few more of these over the next few weeks. I am planning for some 16″ & 18″ diameter ones as well. All the colour themes worked out beautifully, but I love the ambrosia maple, walnut, purple heart & red grandis one. The streaks in the ambrosia maple with the dark woods surrounding it is just so dramatic looking.