
I recently shared about my dad and I starting an Etsy shop and all the fun we were having building items. Advent calendars seem to be the item that I have spent most of the last couple months making. I believe I am now up to 11 calendars, with a 12th in mind. I am going to be switching gears to some other wood working projects shortly, but for now a few more calendars.
In my post last year, ‘Tis The Season, I commented on how I was accomplishing all the small pieces that need to be perfectly square. At the time, I was using my bandsaw to cut the pieces slightly larger than needed and then using my belt sander to bring it down to the size needed with a squared edge. It was tedious and slow moving, not to mention that some of the boards were not as square or as straight as I would have liked, which meant more fiddling while assembling. Luckily the calendars last year were only the frames and I wasn’t also trying to make little boxes. That’s where it gets super important to have square pieces.

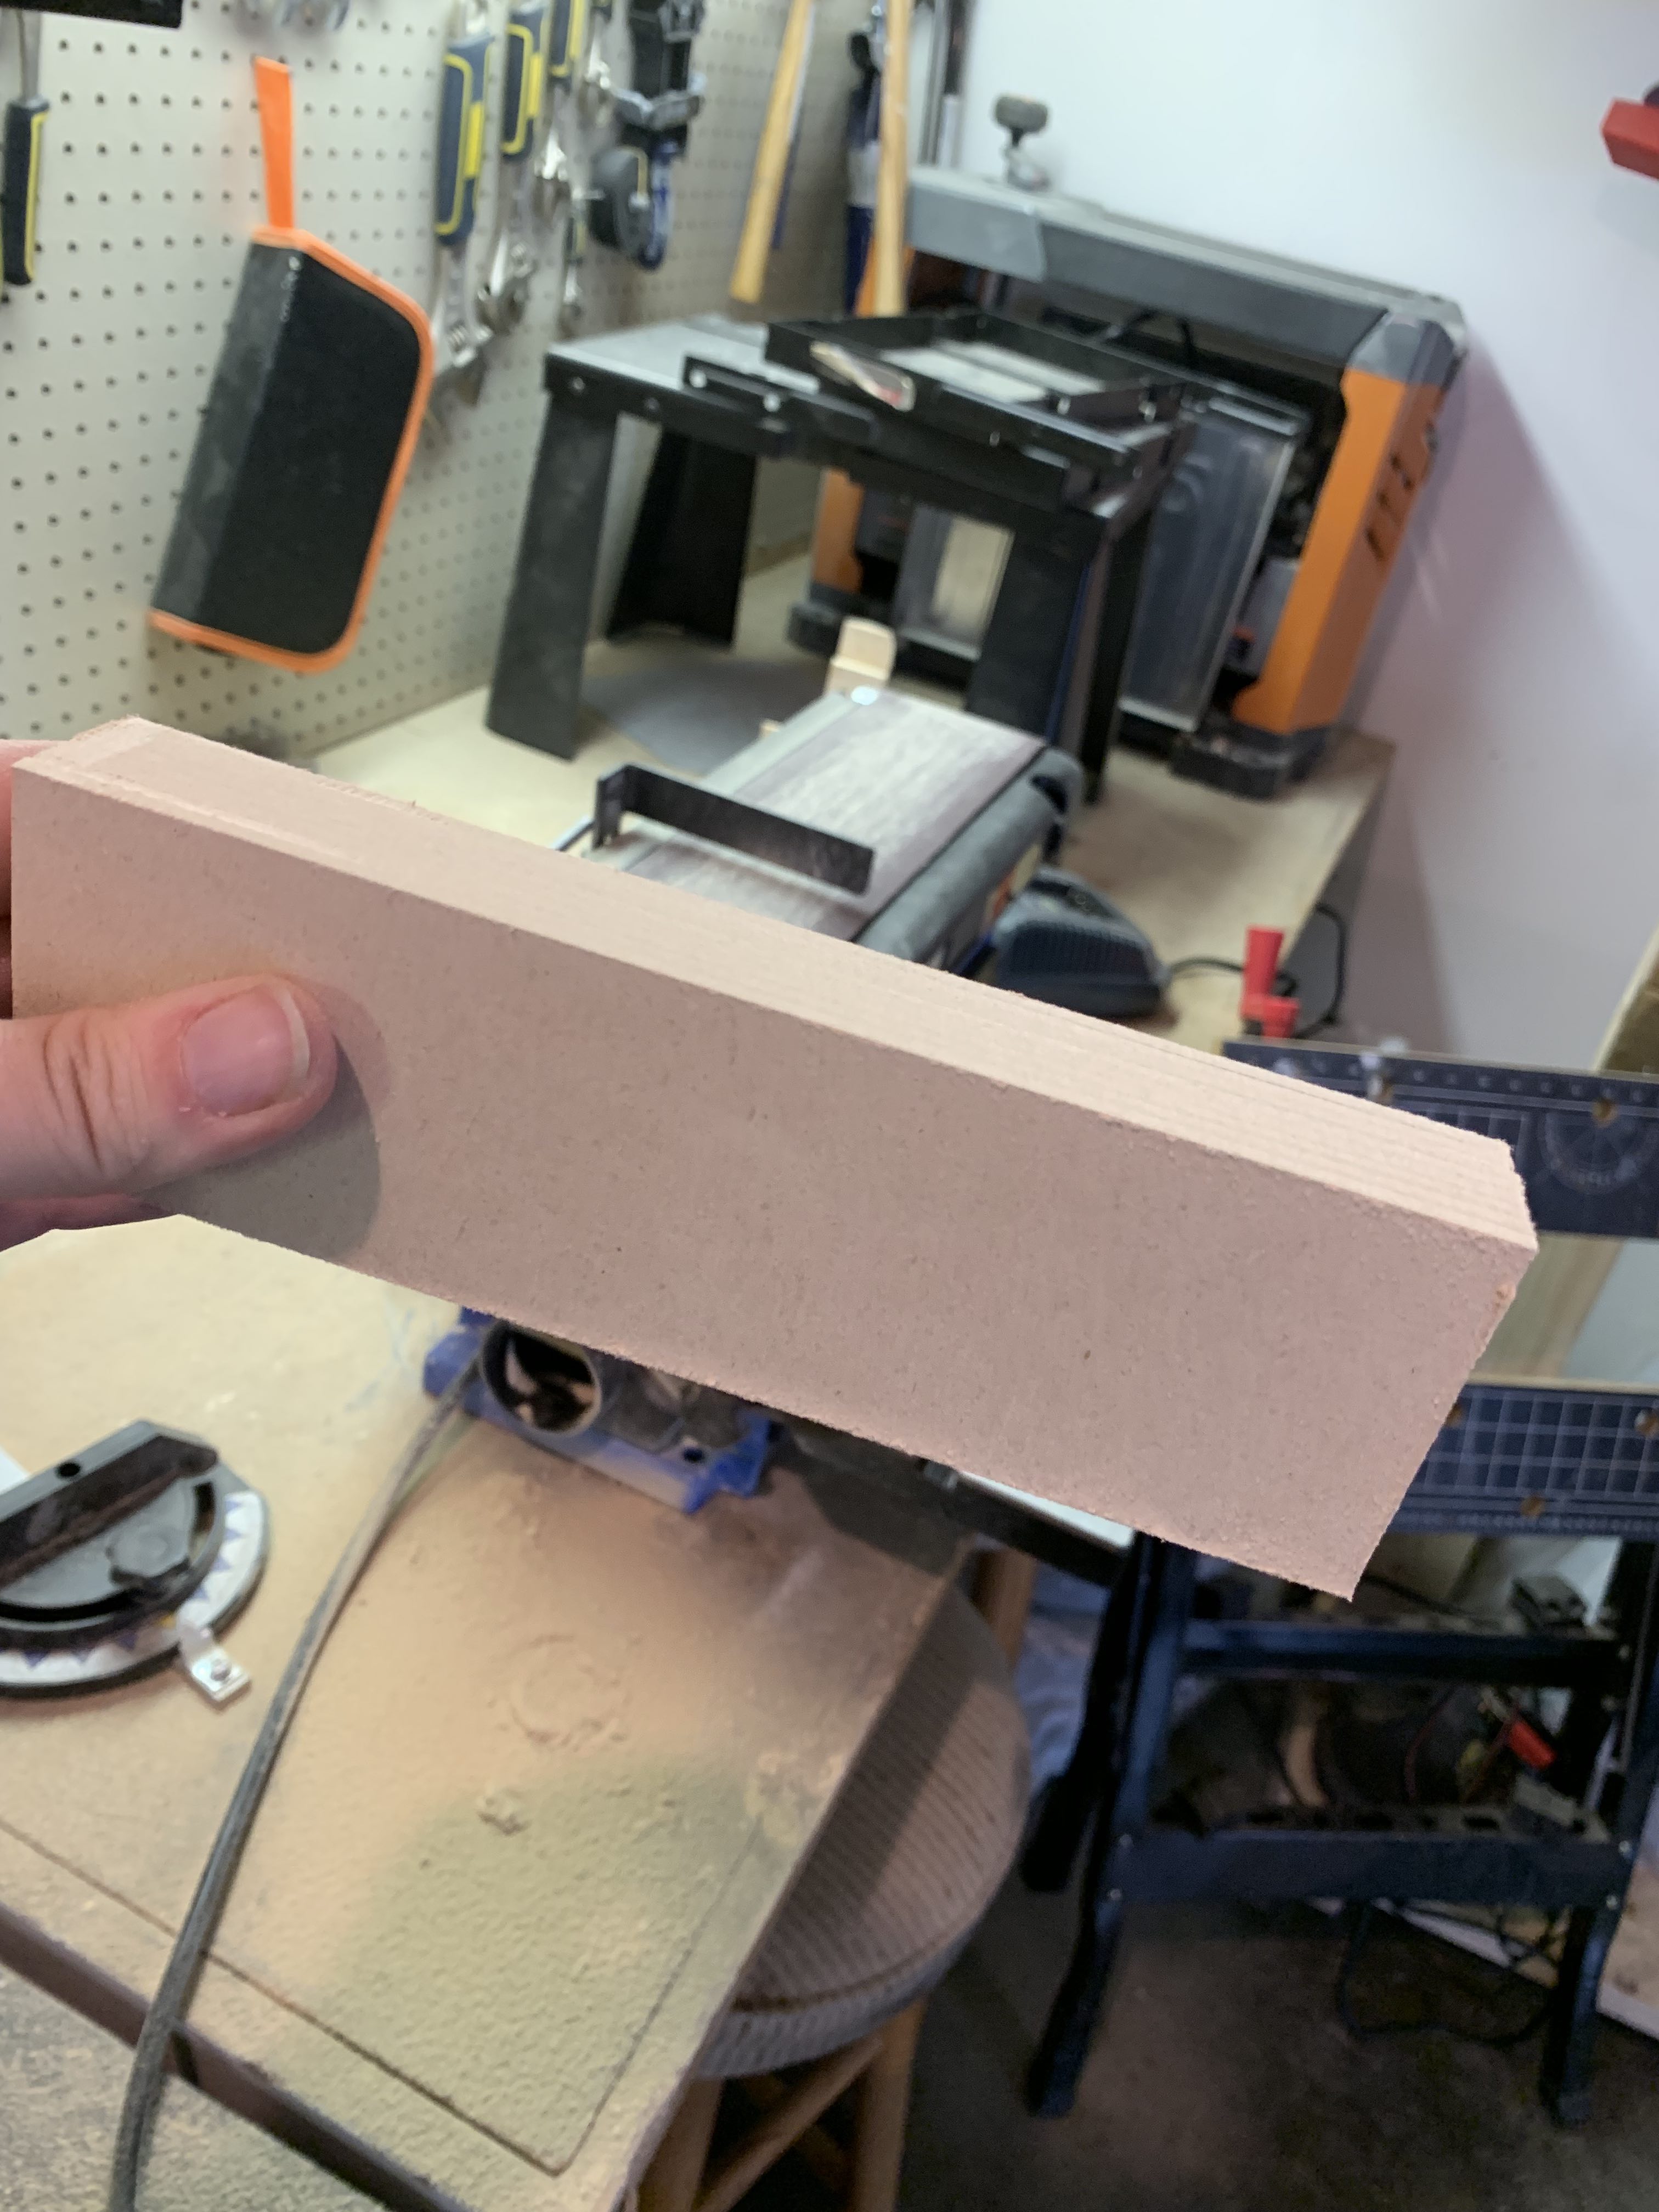


In the early fall, I borrowed my dads table saw to take with us to K’s parents house for building their fence. I didn’t know if I would actually need it but because they live 2.5 hours away, I wanted to make sure we had all the tools we might need, just to be safe. Well, I was able to hold on to the saw for a little longer and used it to cut all the pieces for the advent calendar frames K’s mom needed this year. It was AMAZING to have the proper tool. Not only was I able to speed up the process, but my cuts were also accurate and square from the get go, making assembly so much faster. I was able to do 10 frames in the time it would have taken me to do 2 last year.

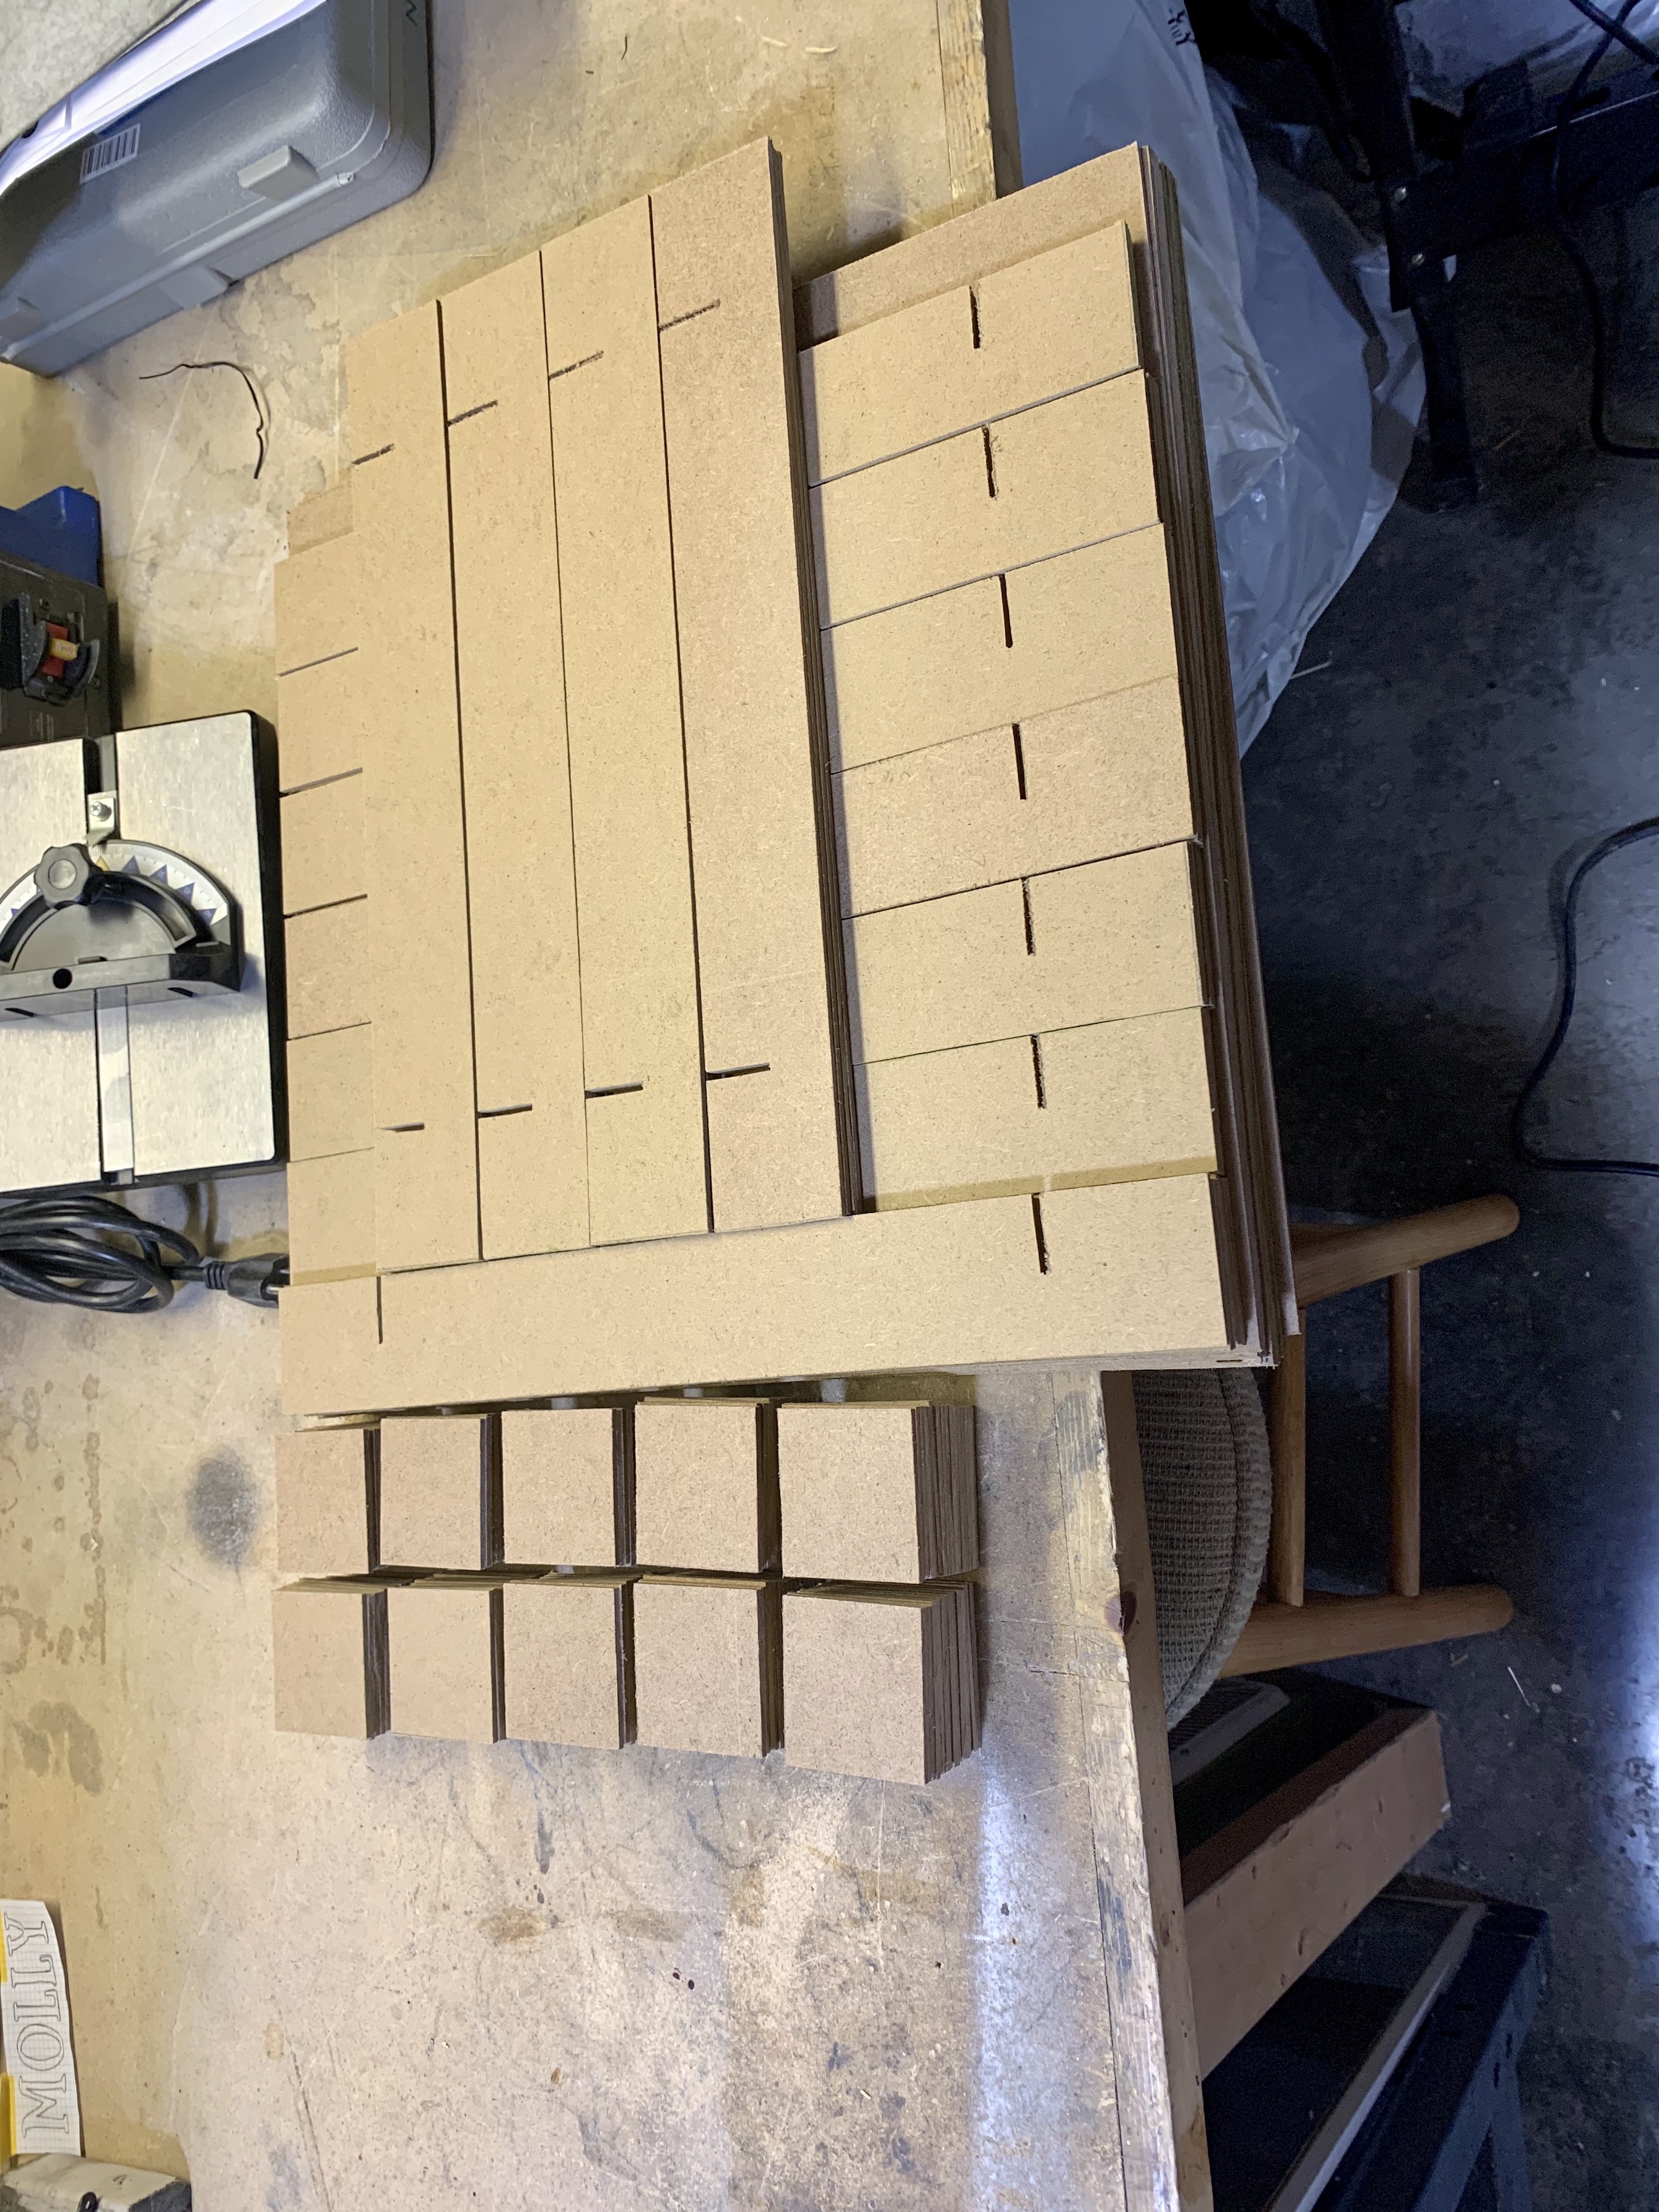
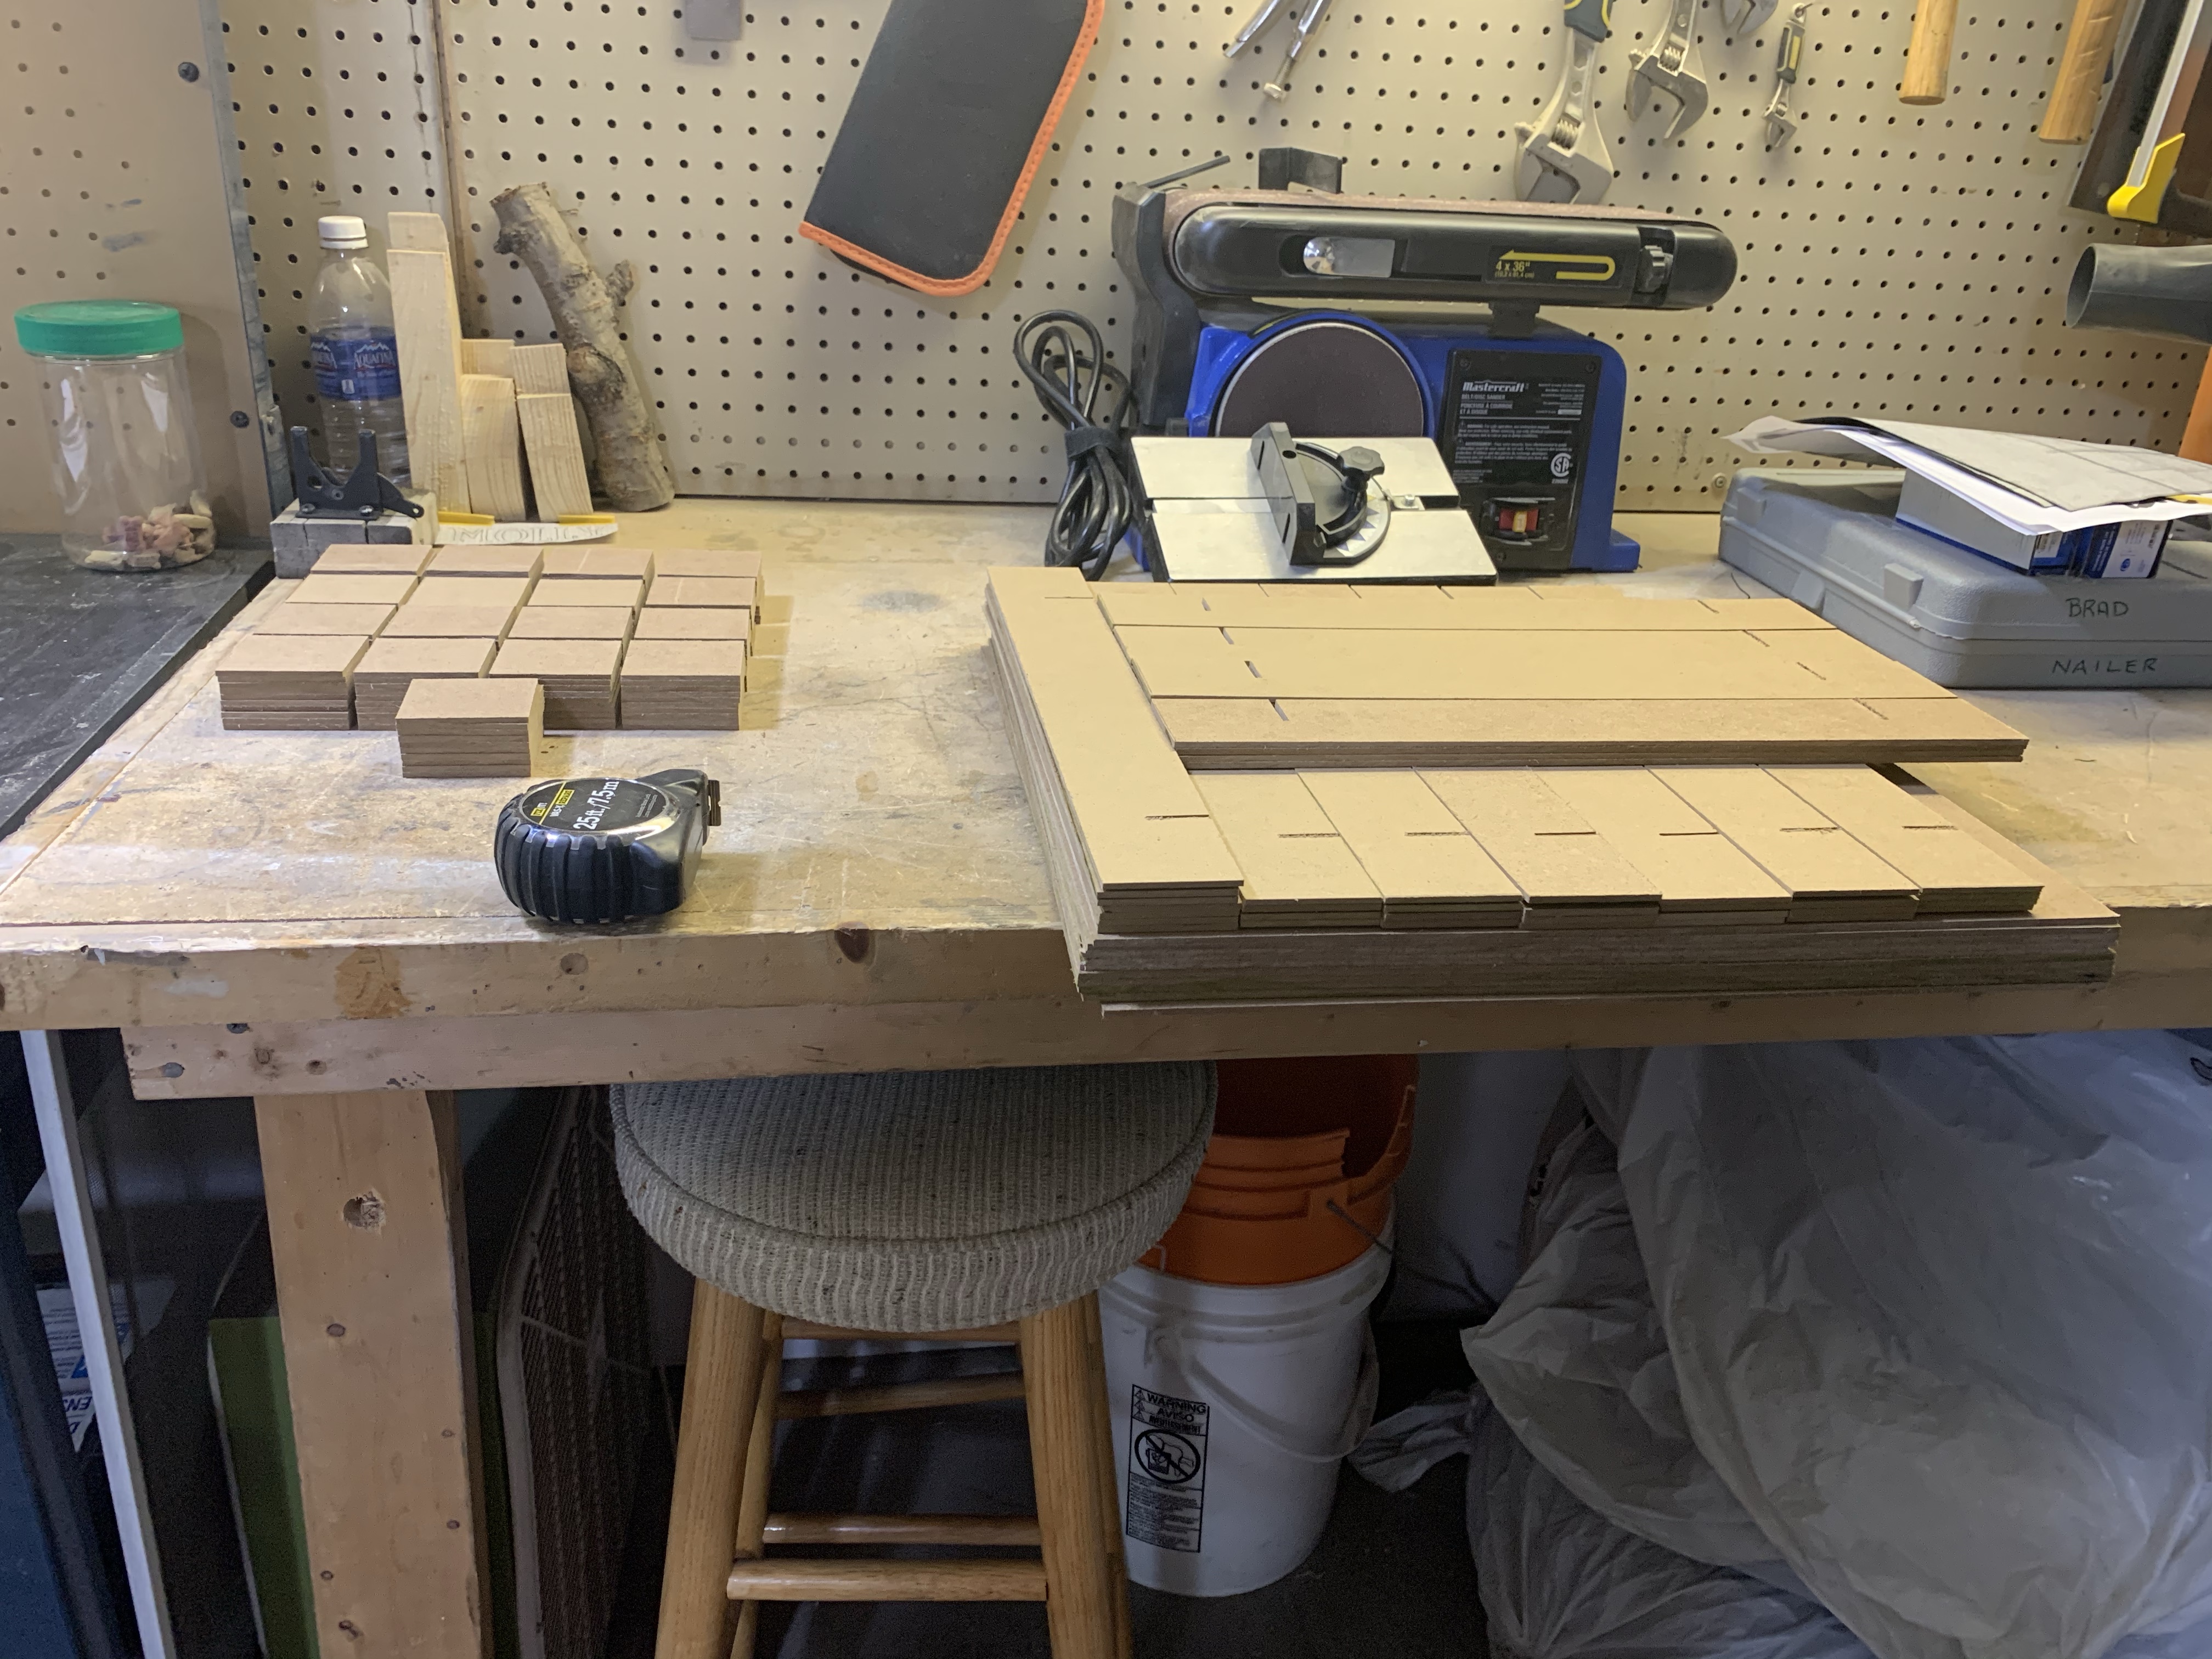
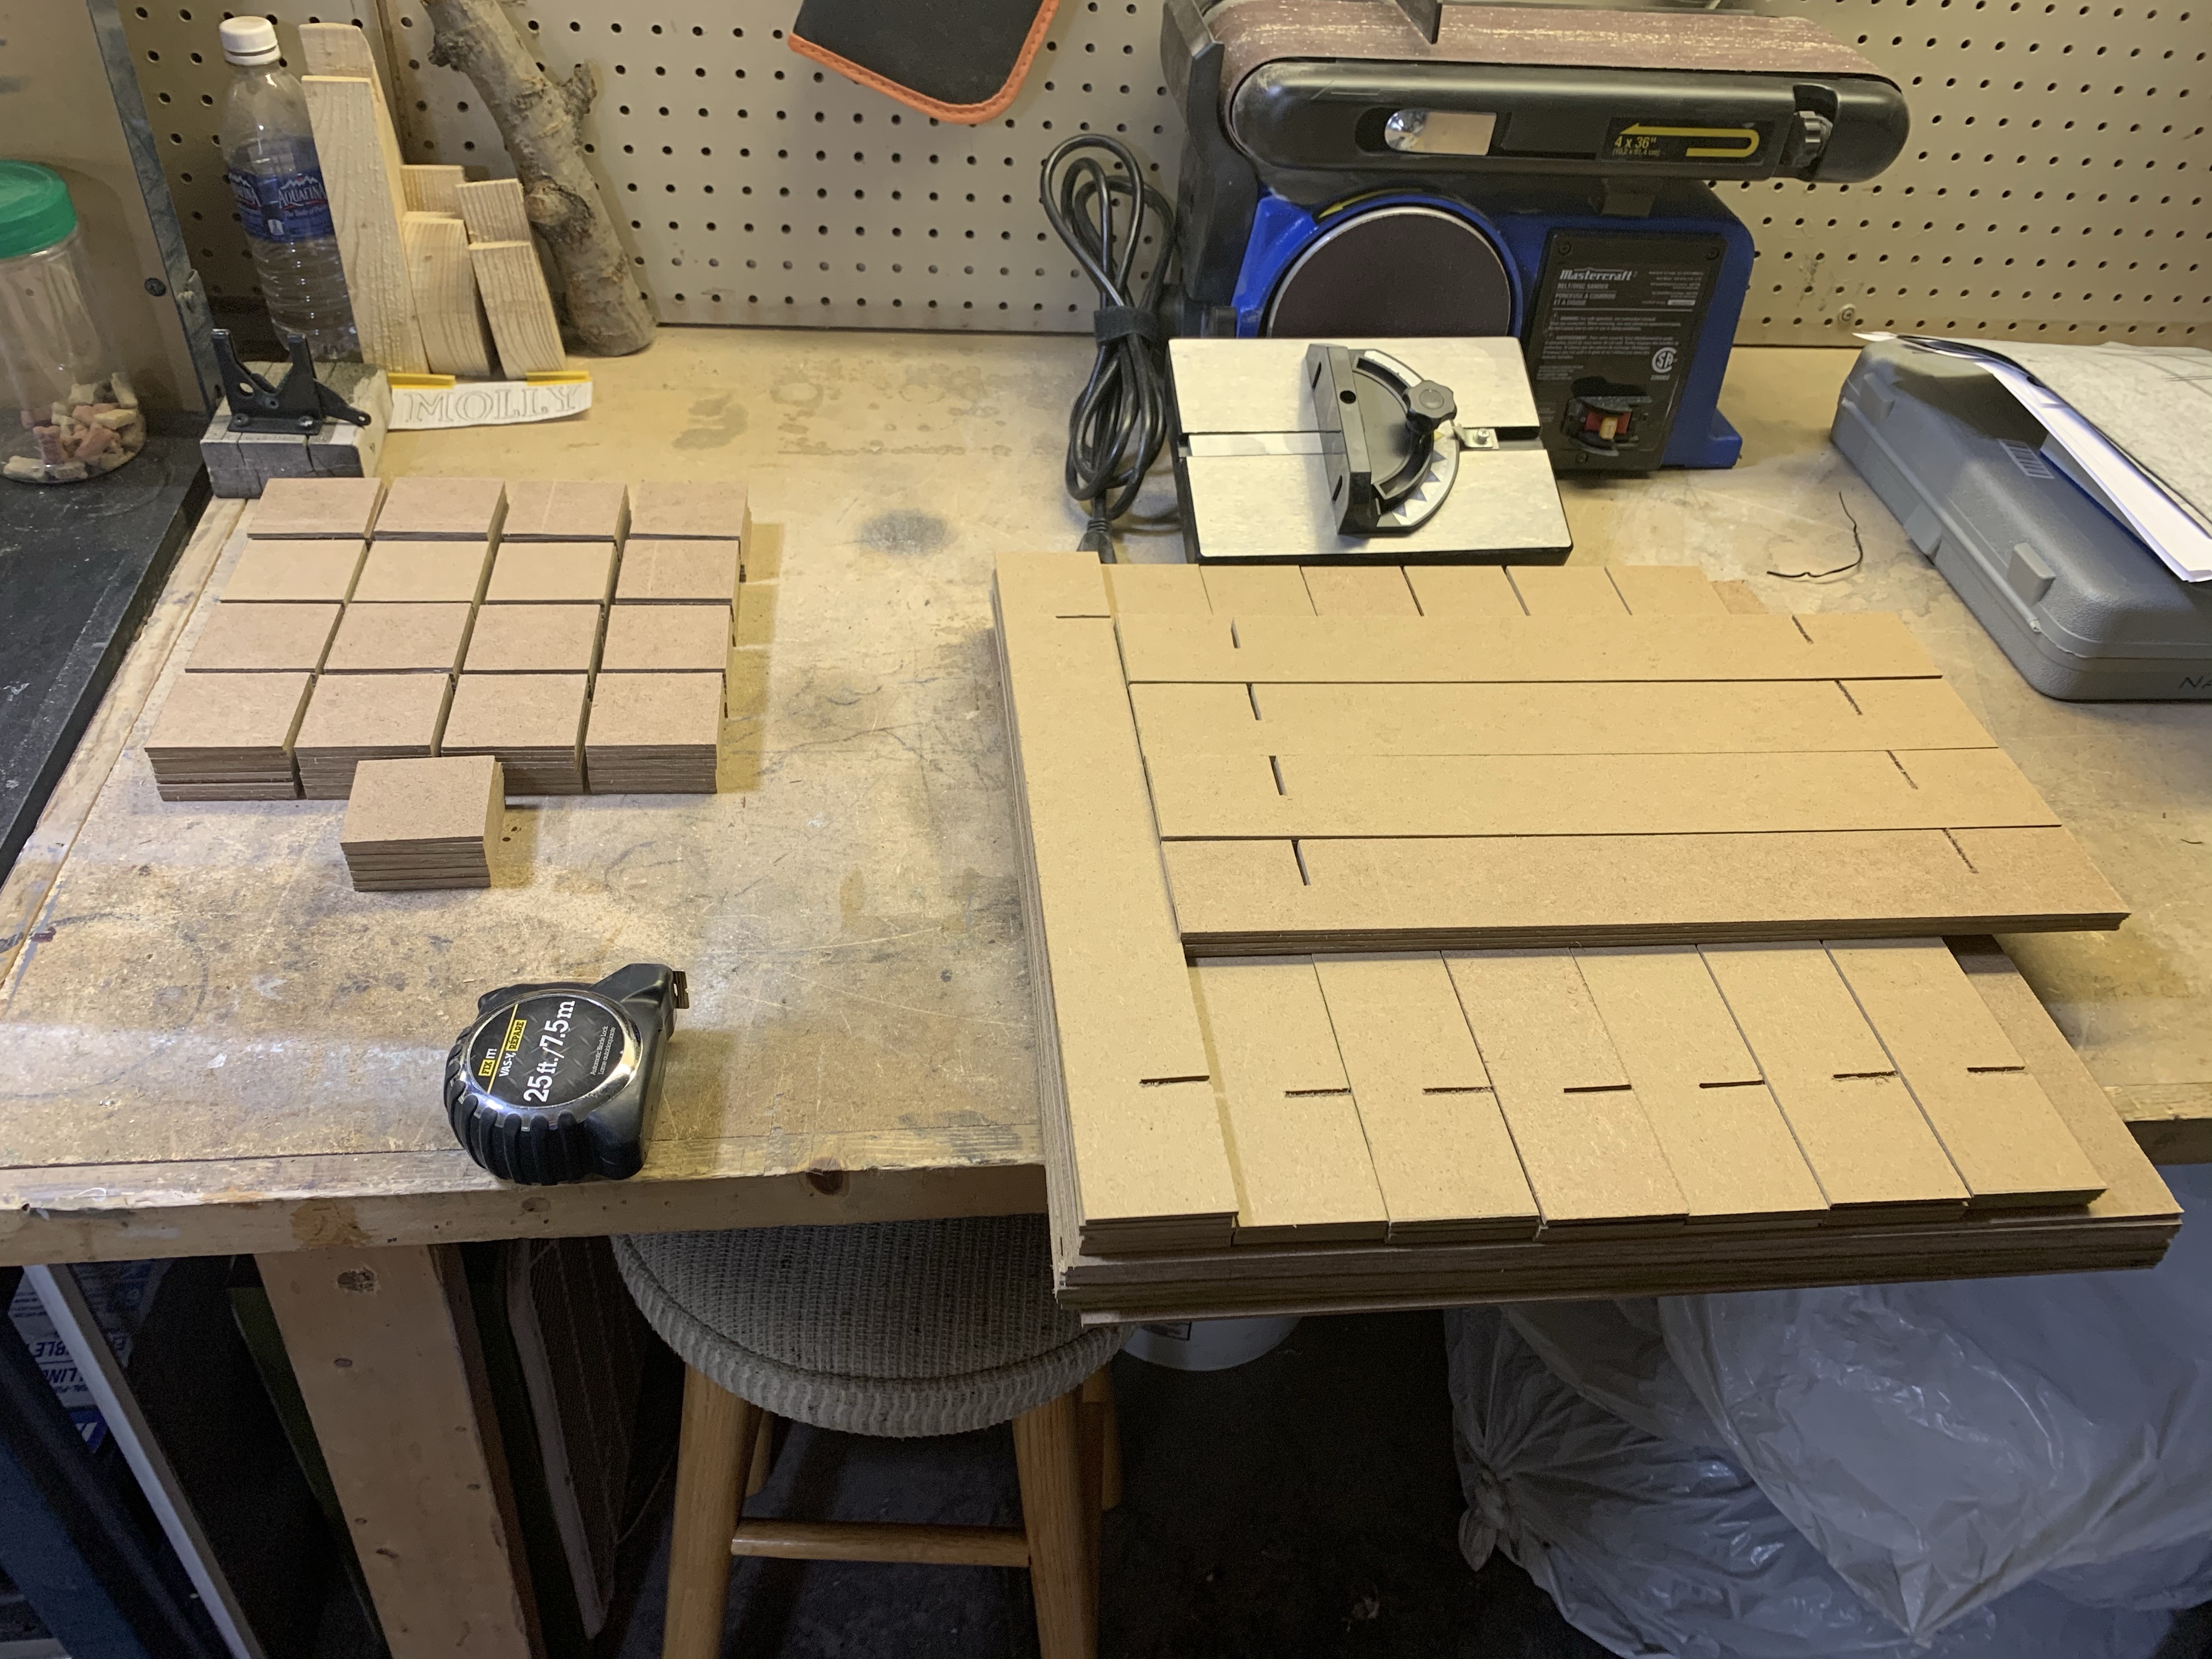


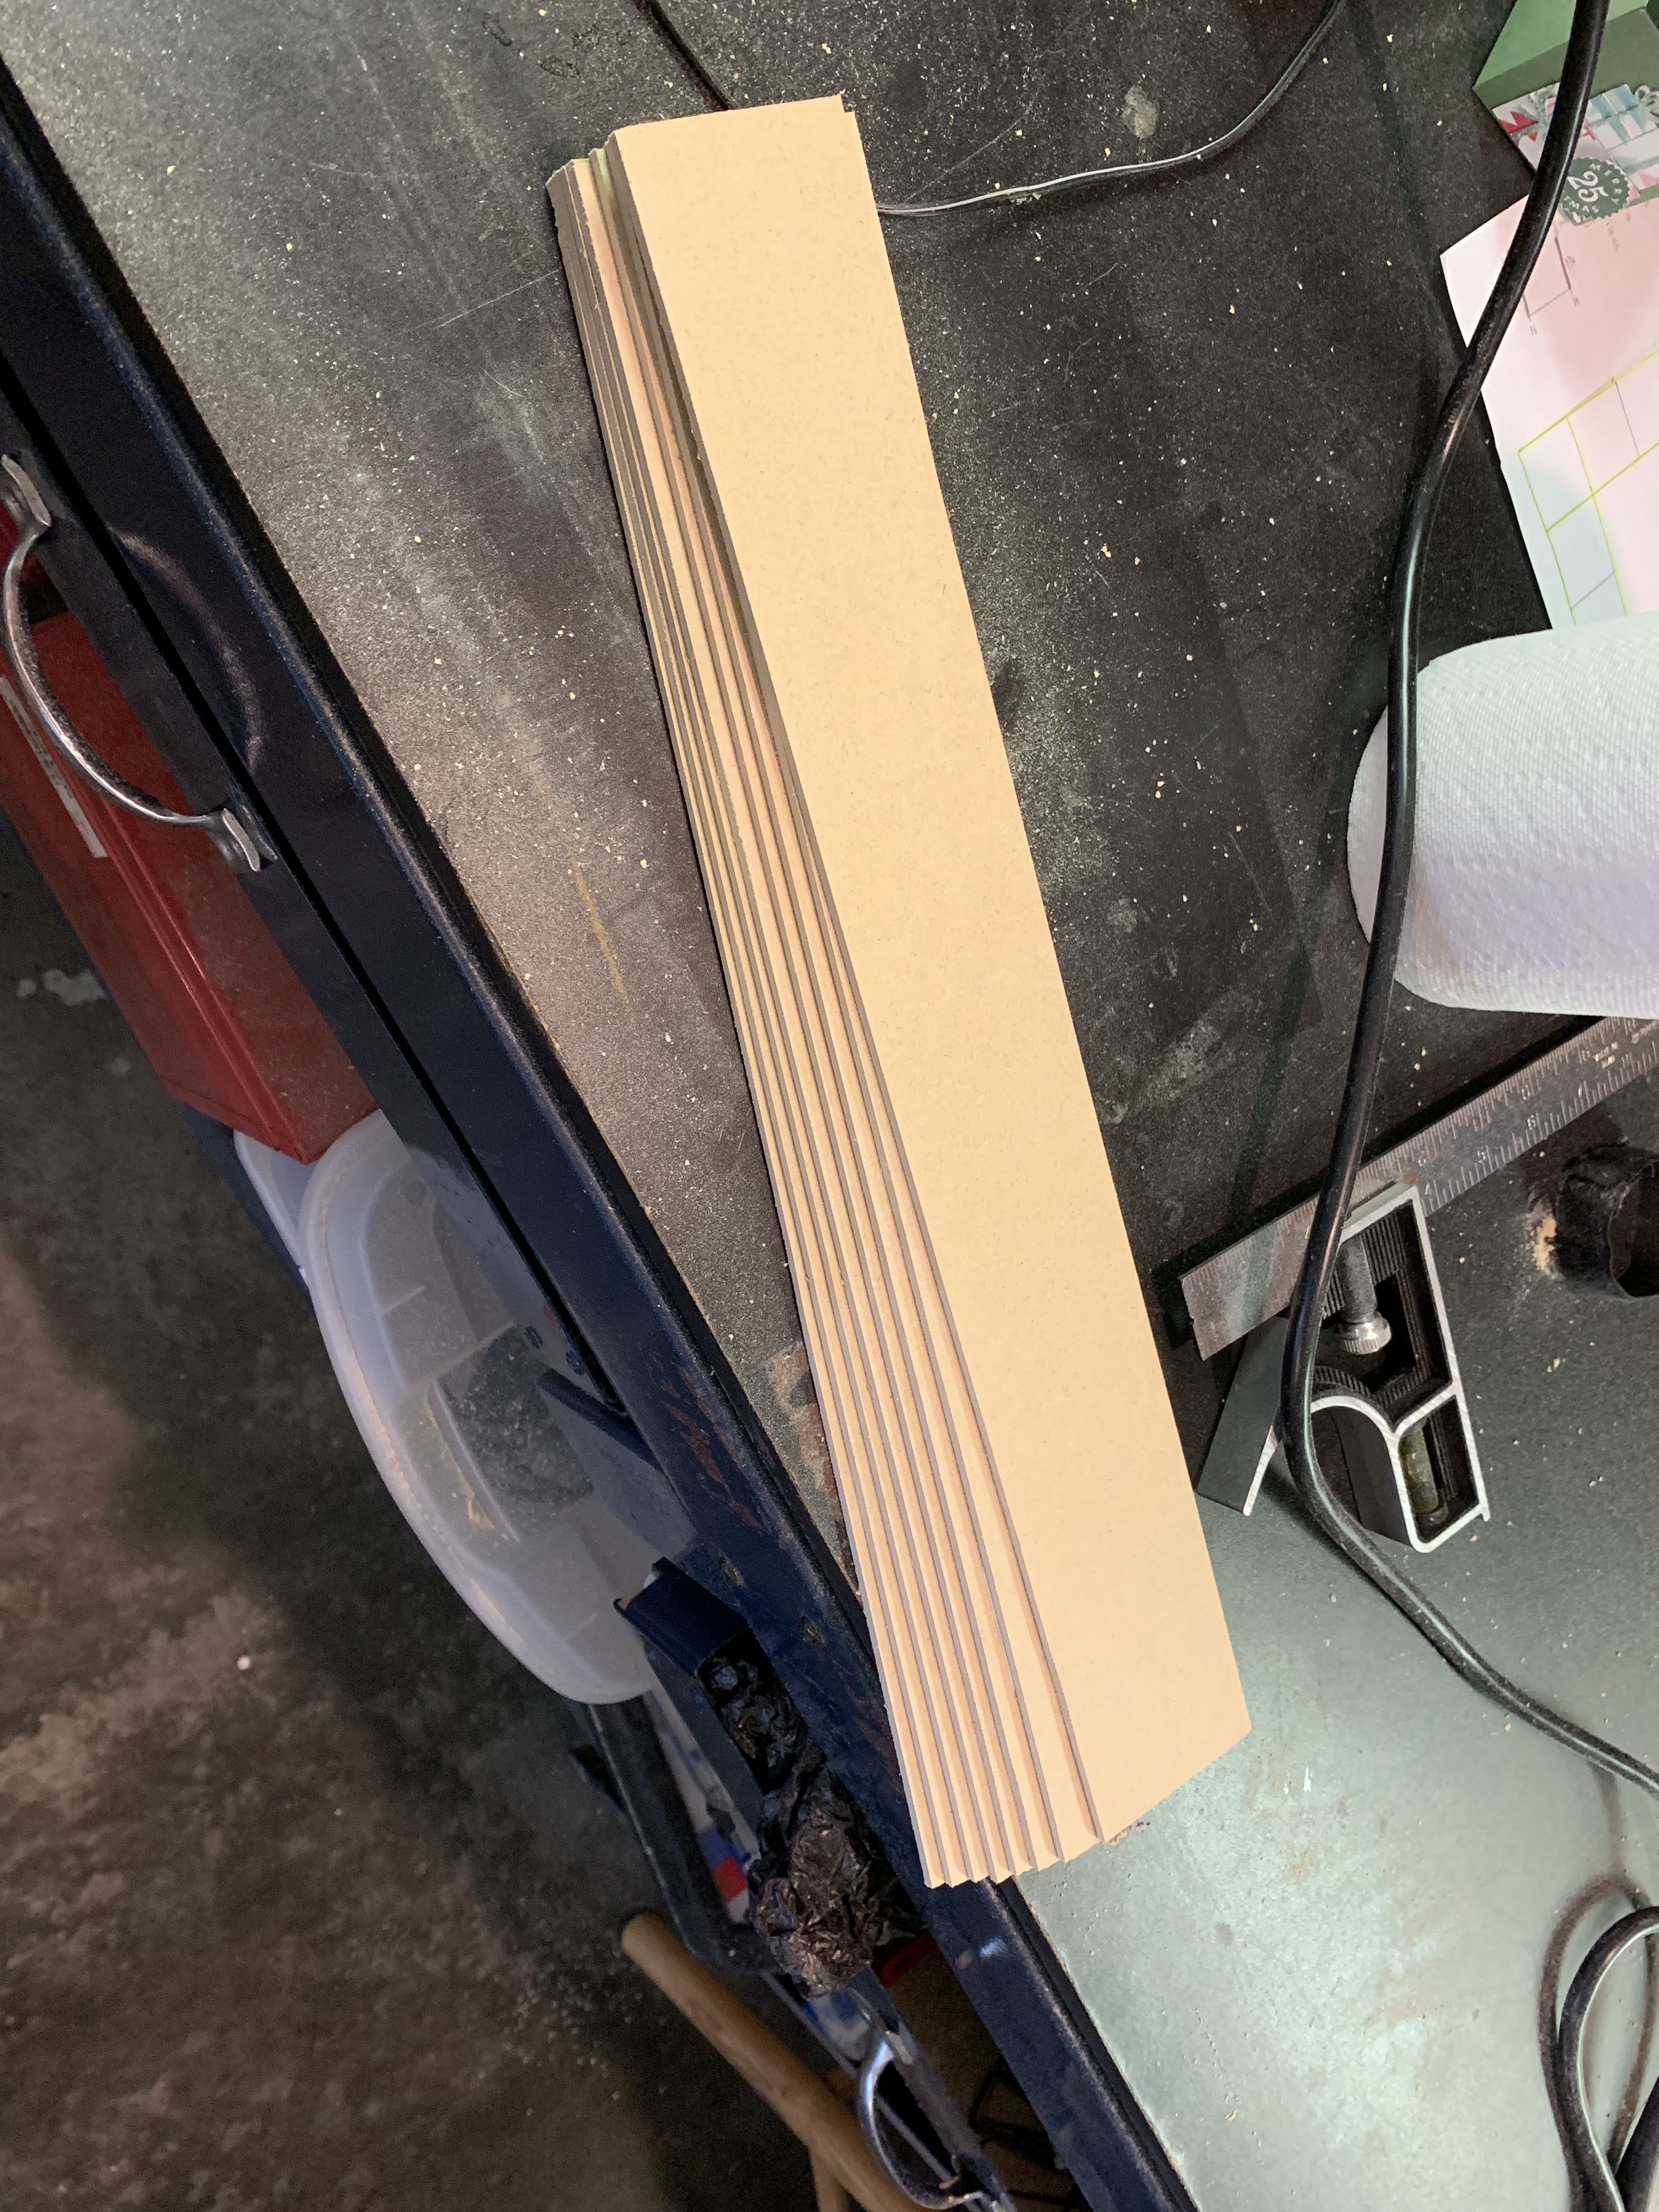
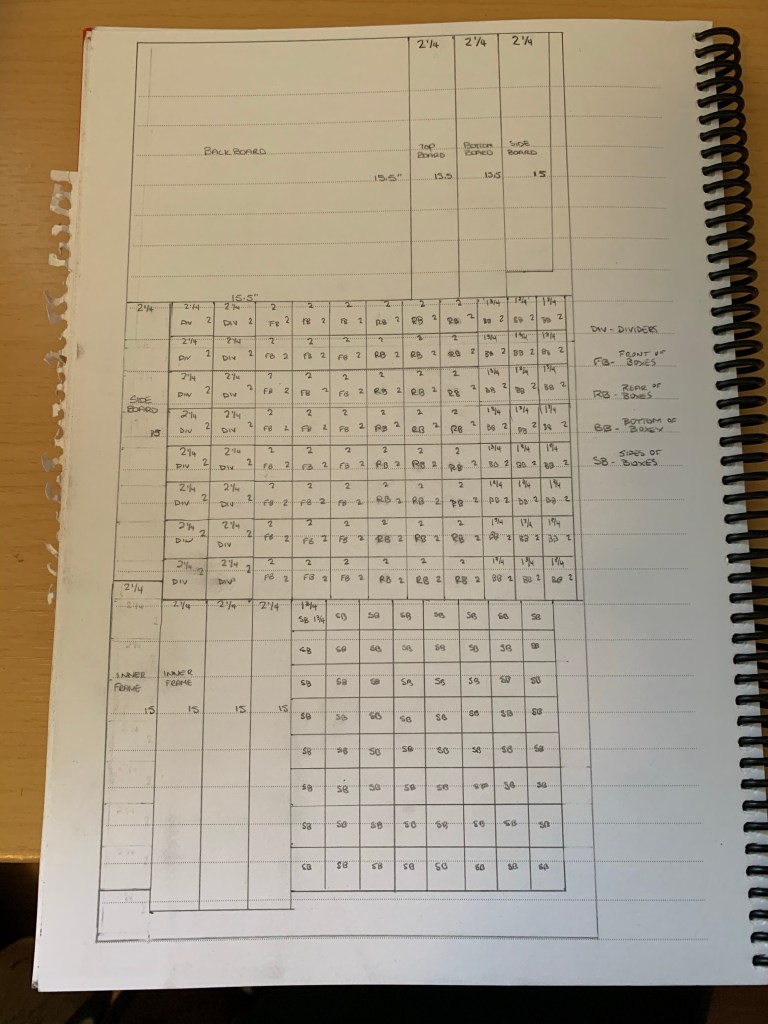
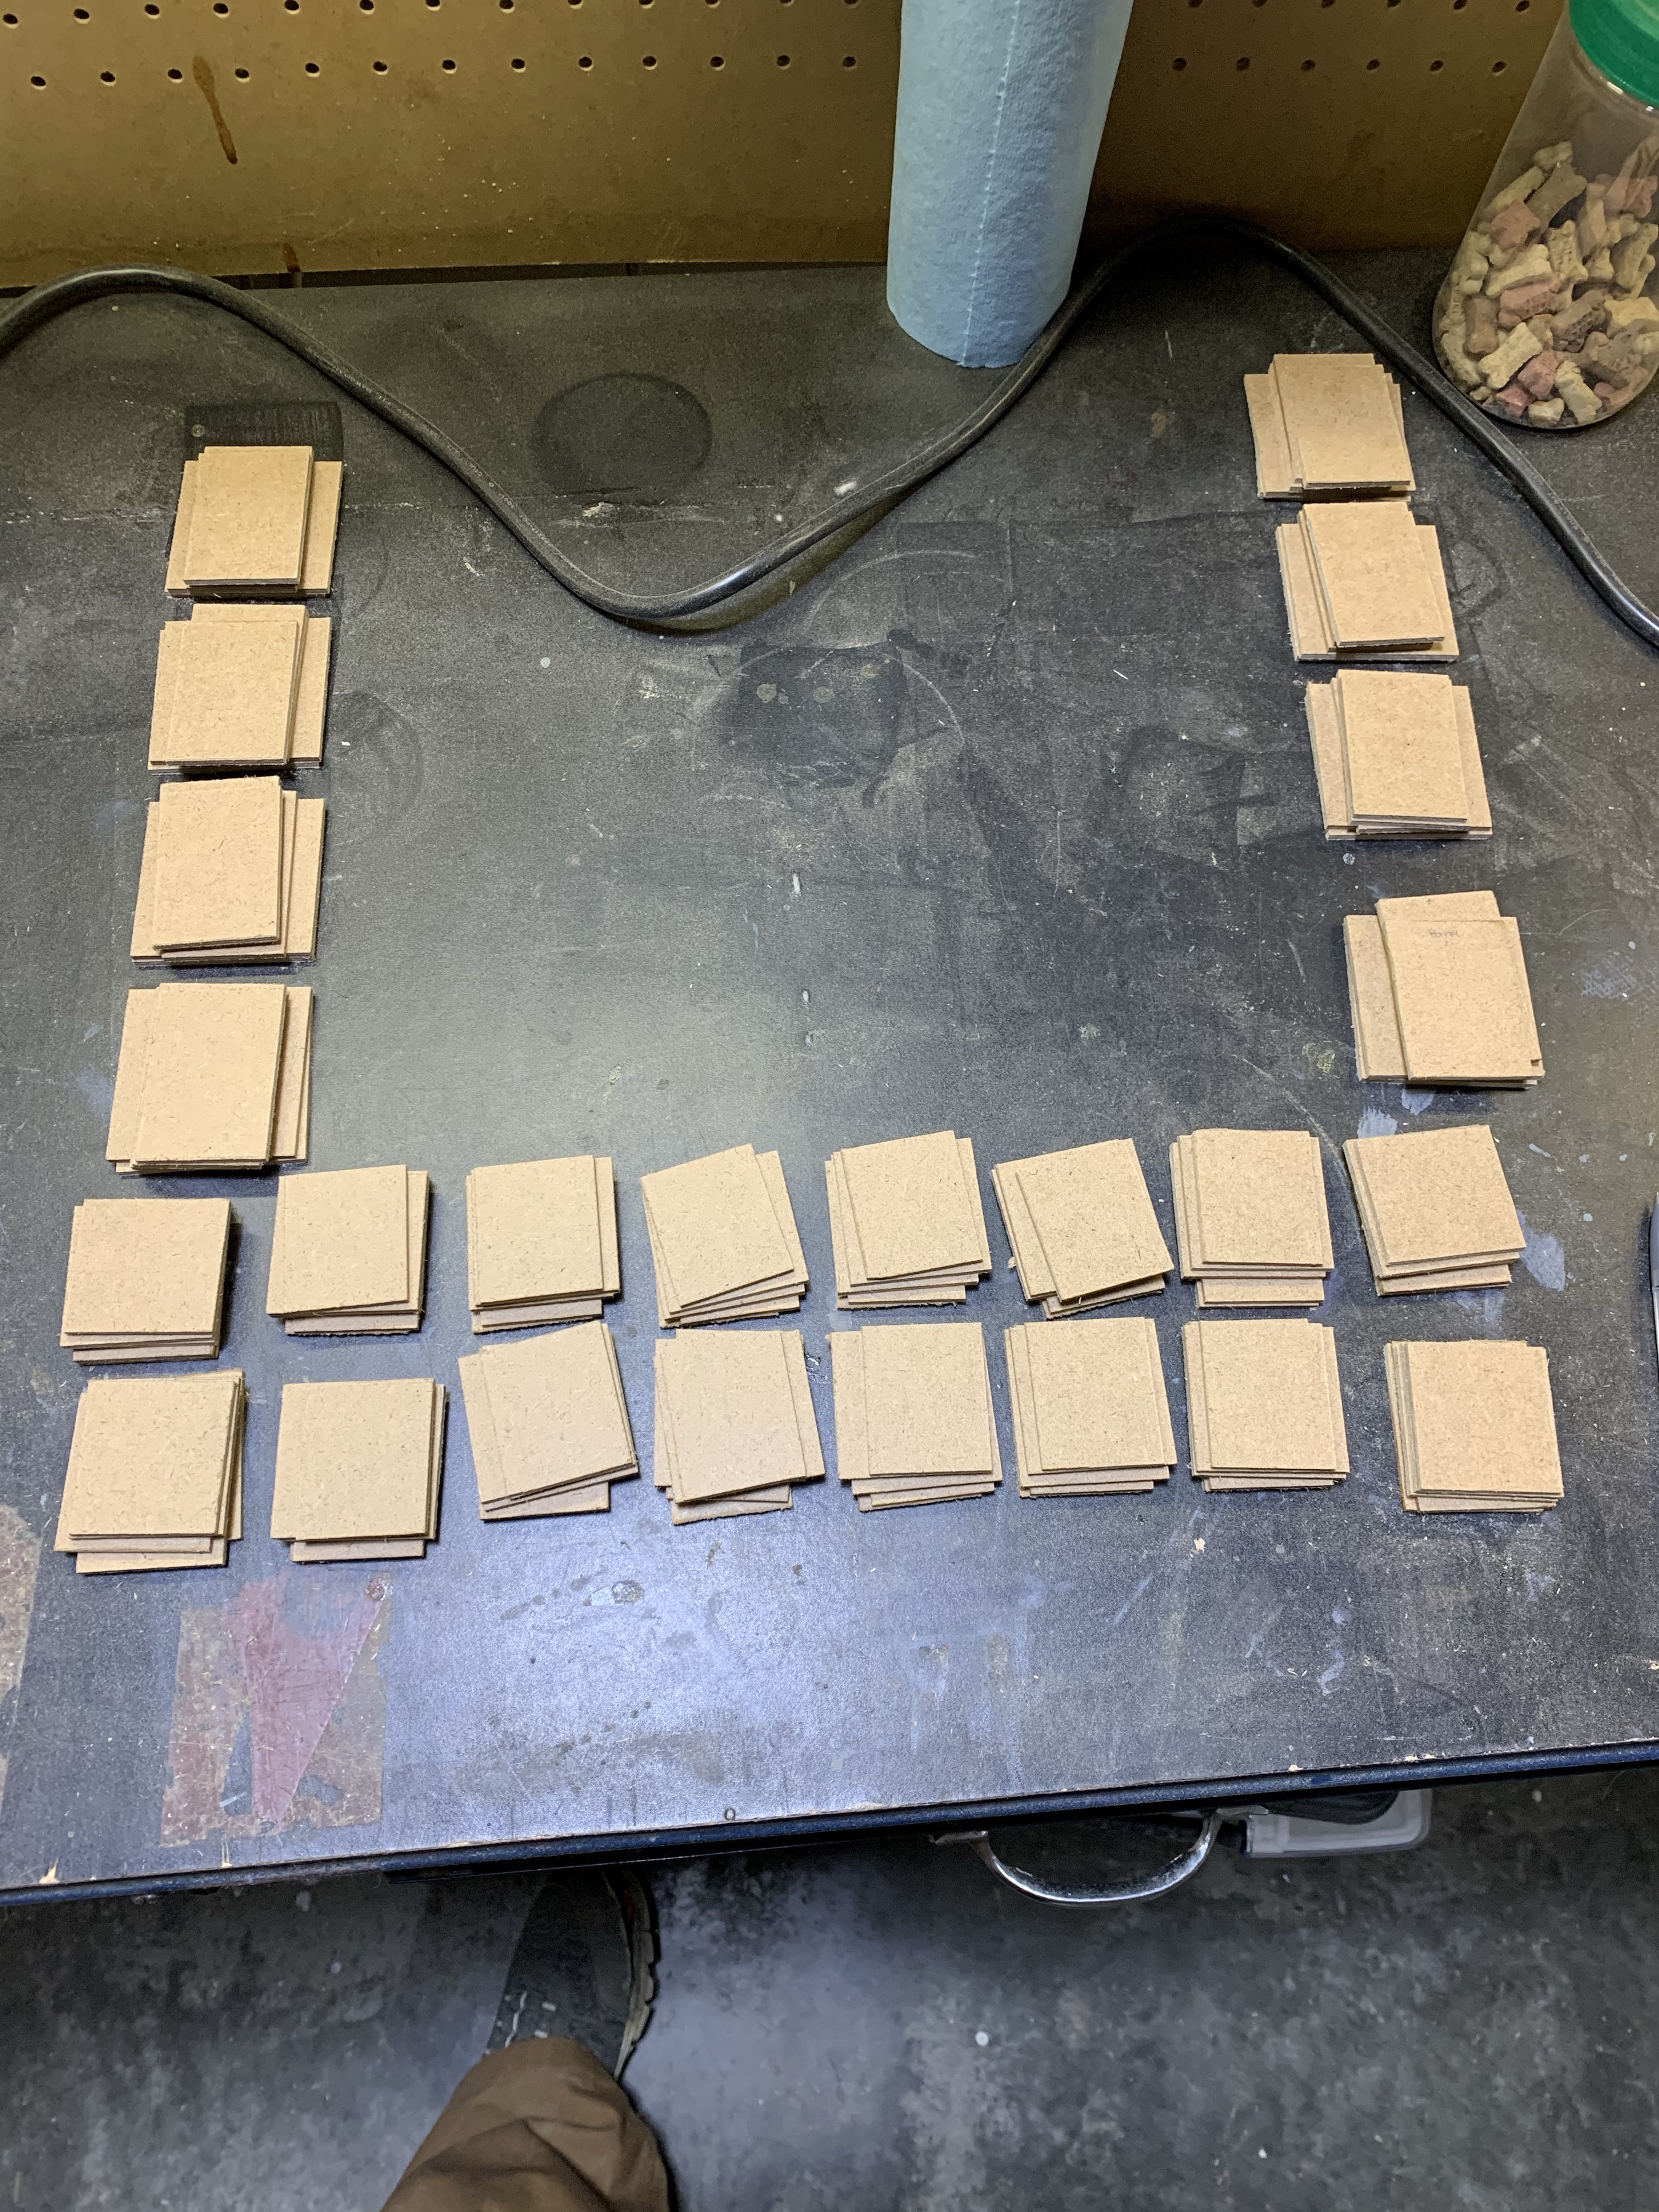
K’s mom only ended up using 8 of the 10 this year, which of course, got dad and I thinking about the other ones. The difference with that is that I would need to build little boxes to go with our calendar. Luckily I had the table saw to help with all those small cuts. There is a lot of them with an advent calendar. In order to maximize my sheets of wood, I am now drawing out all the cuts that need to be made. These are always slightly different since the drawing doesn’t include the saw kerf. I really need to look into some software that will help me do this, because I know that there has to be some out there!
The first two advent calendars that I made boxes for were fairly straightforward. All the boxes were the same size so once I had a template, it was easy to just cut all the pieces I needed. I ended up cutting enough box material for both calendars to make it quick and easy to assemble the remaining two calendars. Assembling them is a little finicky, but again, the more I do, the faster I get. Learning how to get past the tricky bits helps speed the overall process. I have also moved to gorilla glue as it dries faster than the wood glue I was using for the frames and it has a super solid bond. I know because I had to try to pull a piece out that was in crooked and ended up having to cut it out because it was impossible to break the hold.


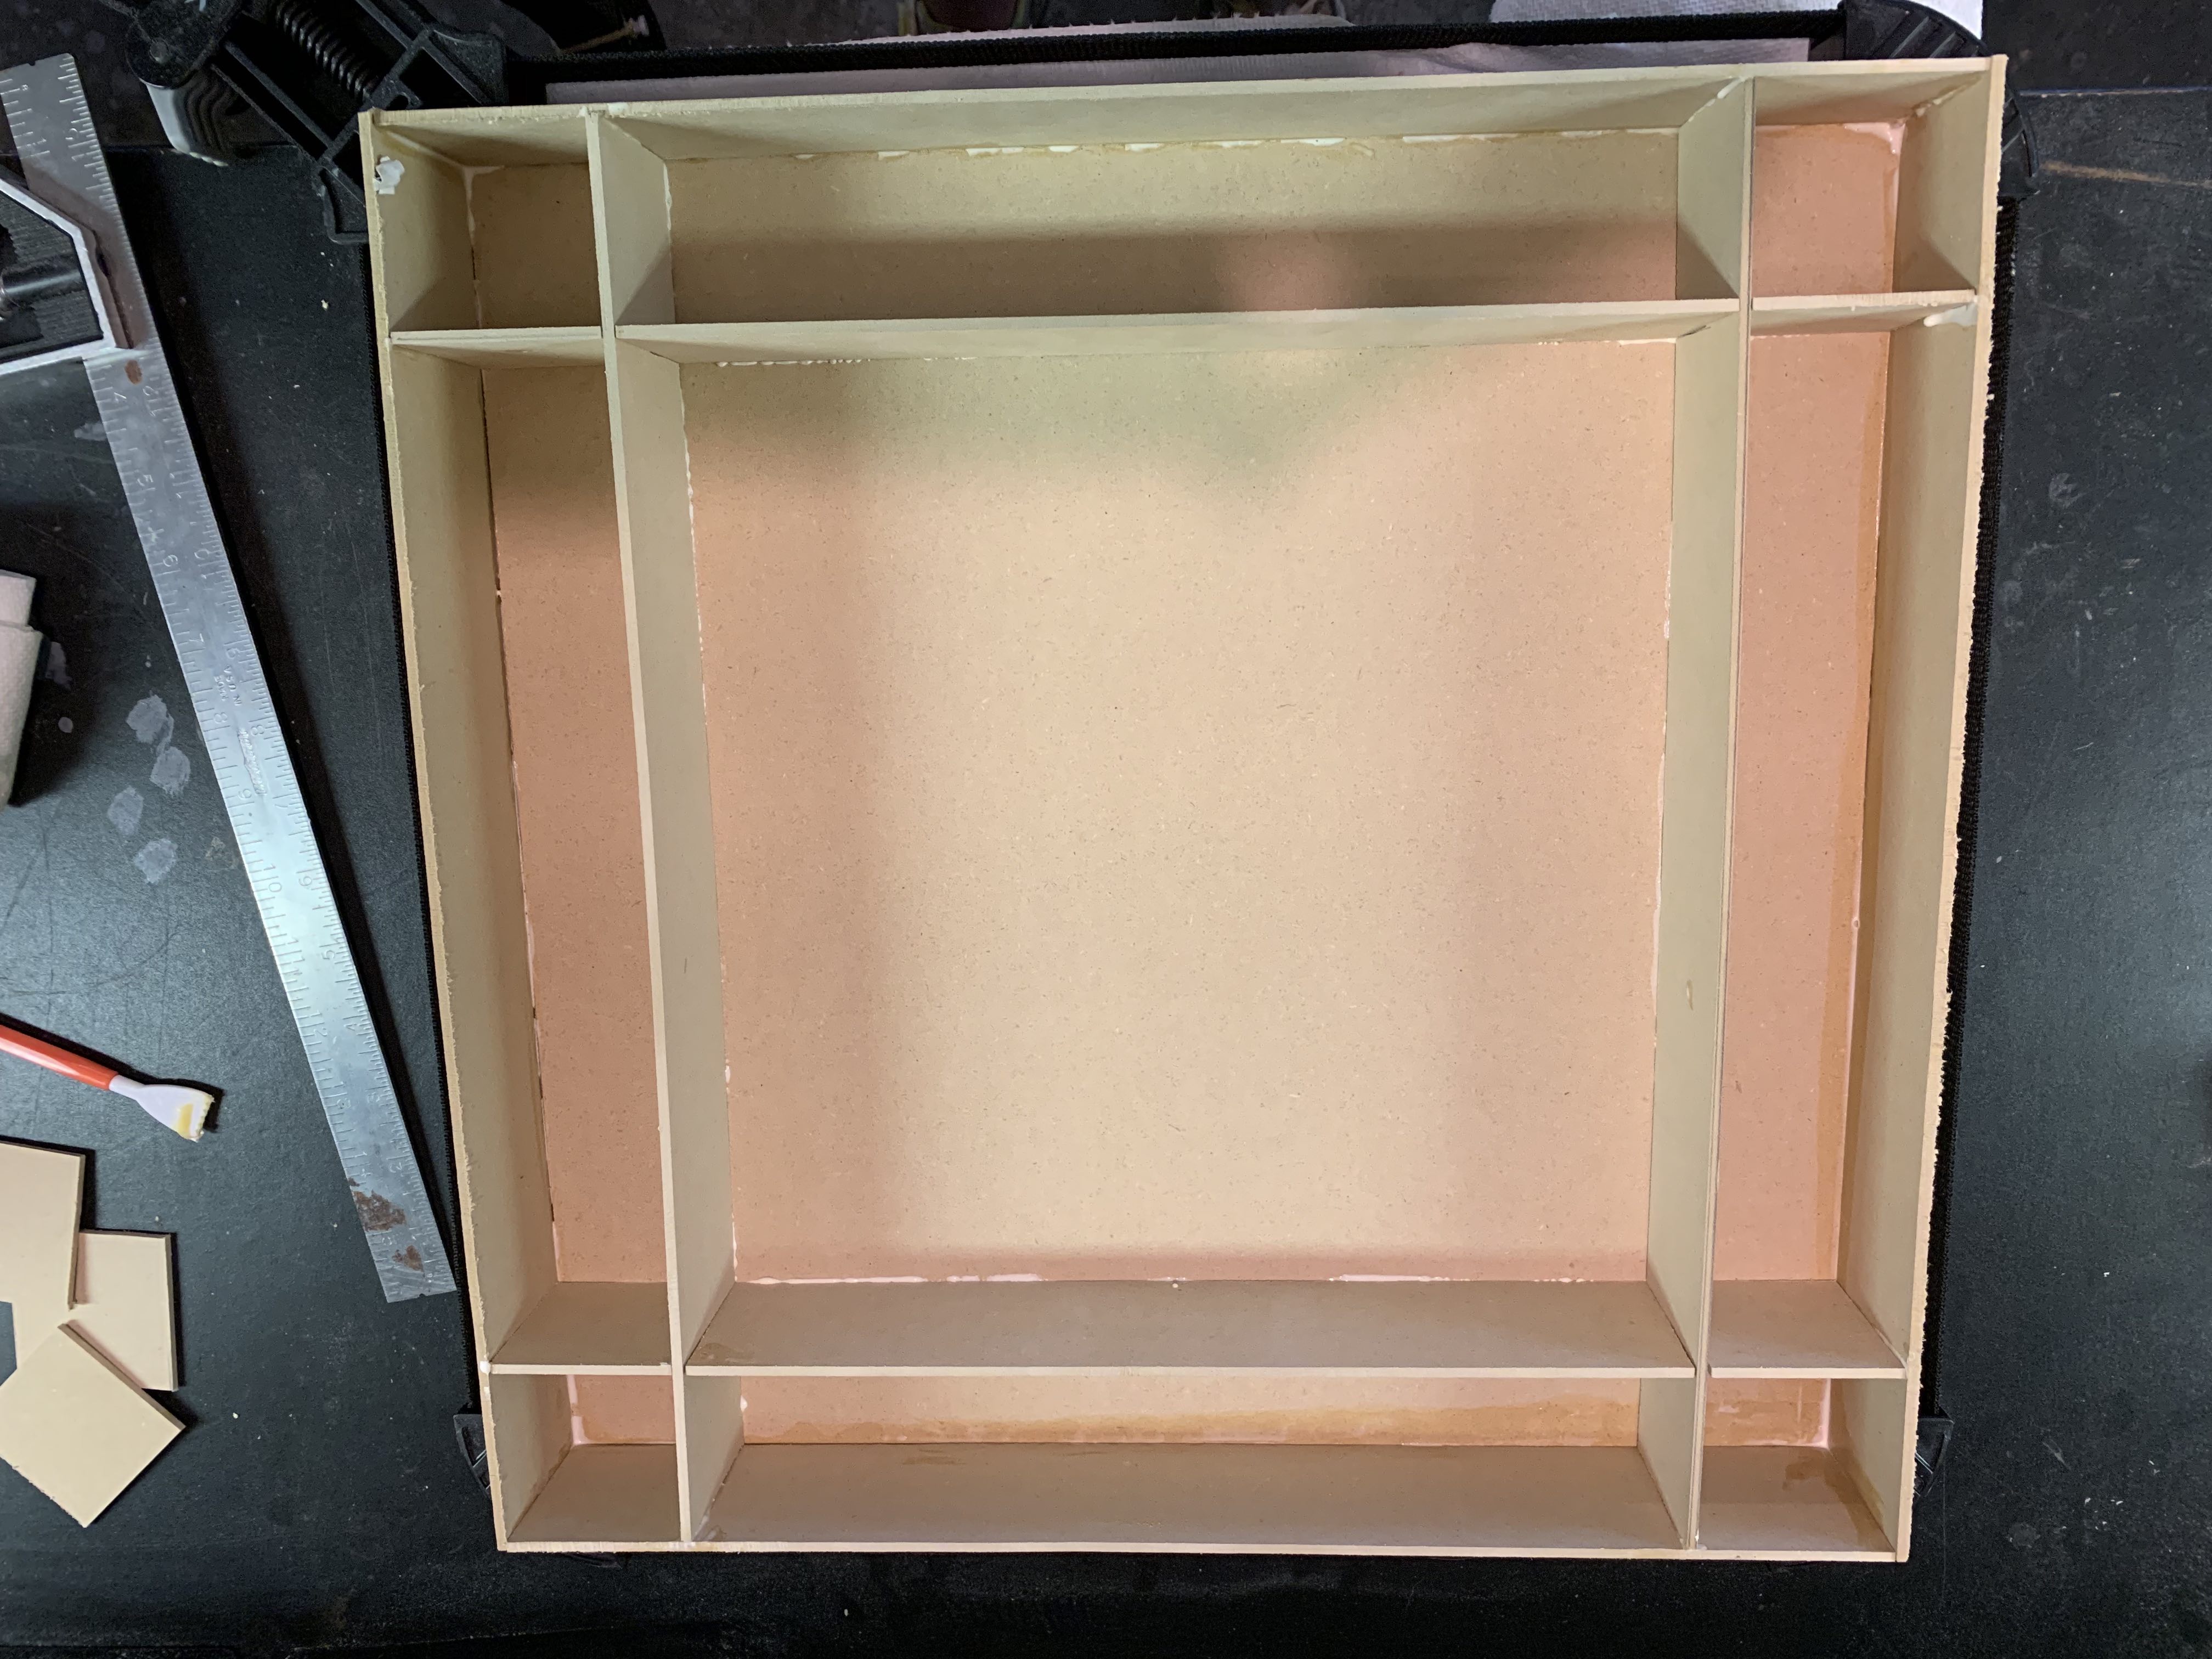
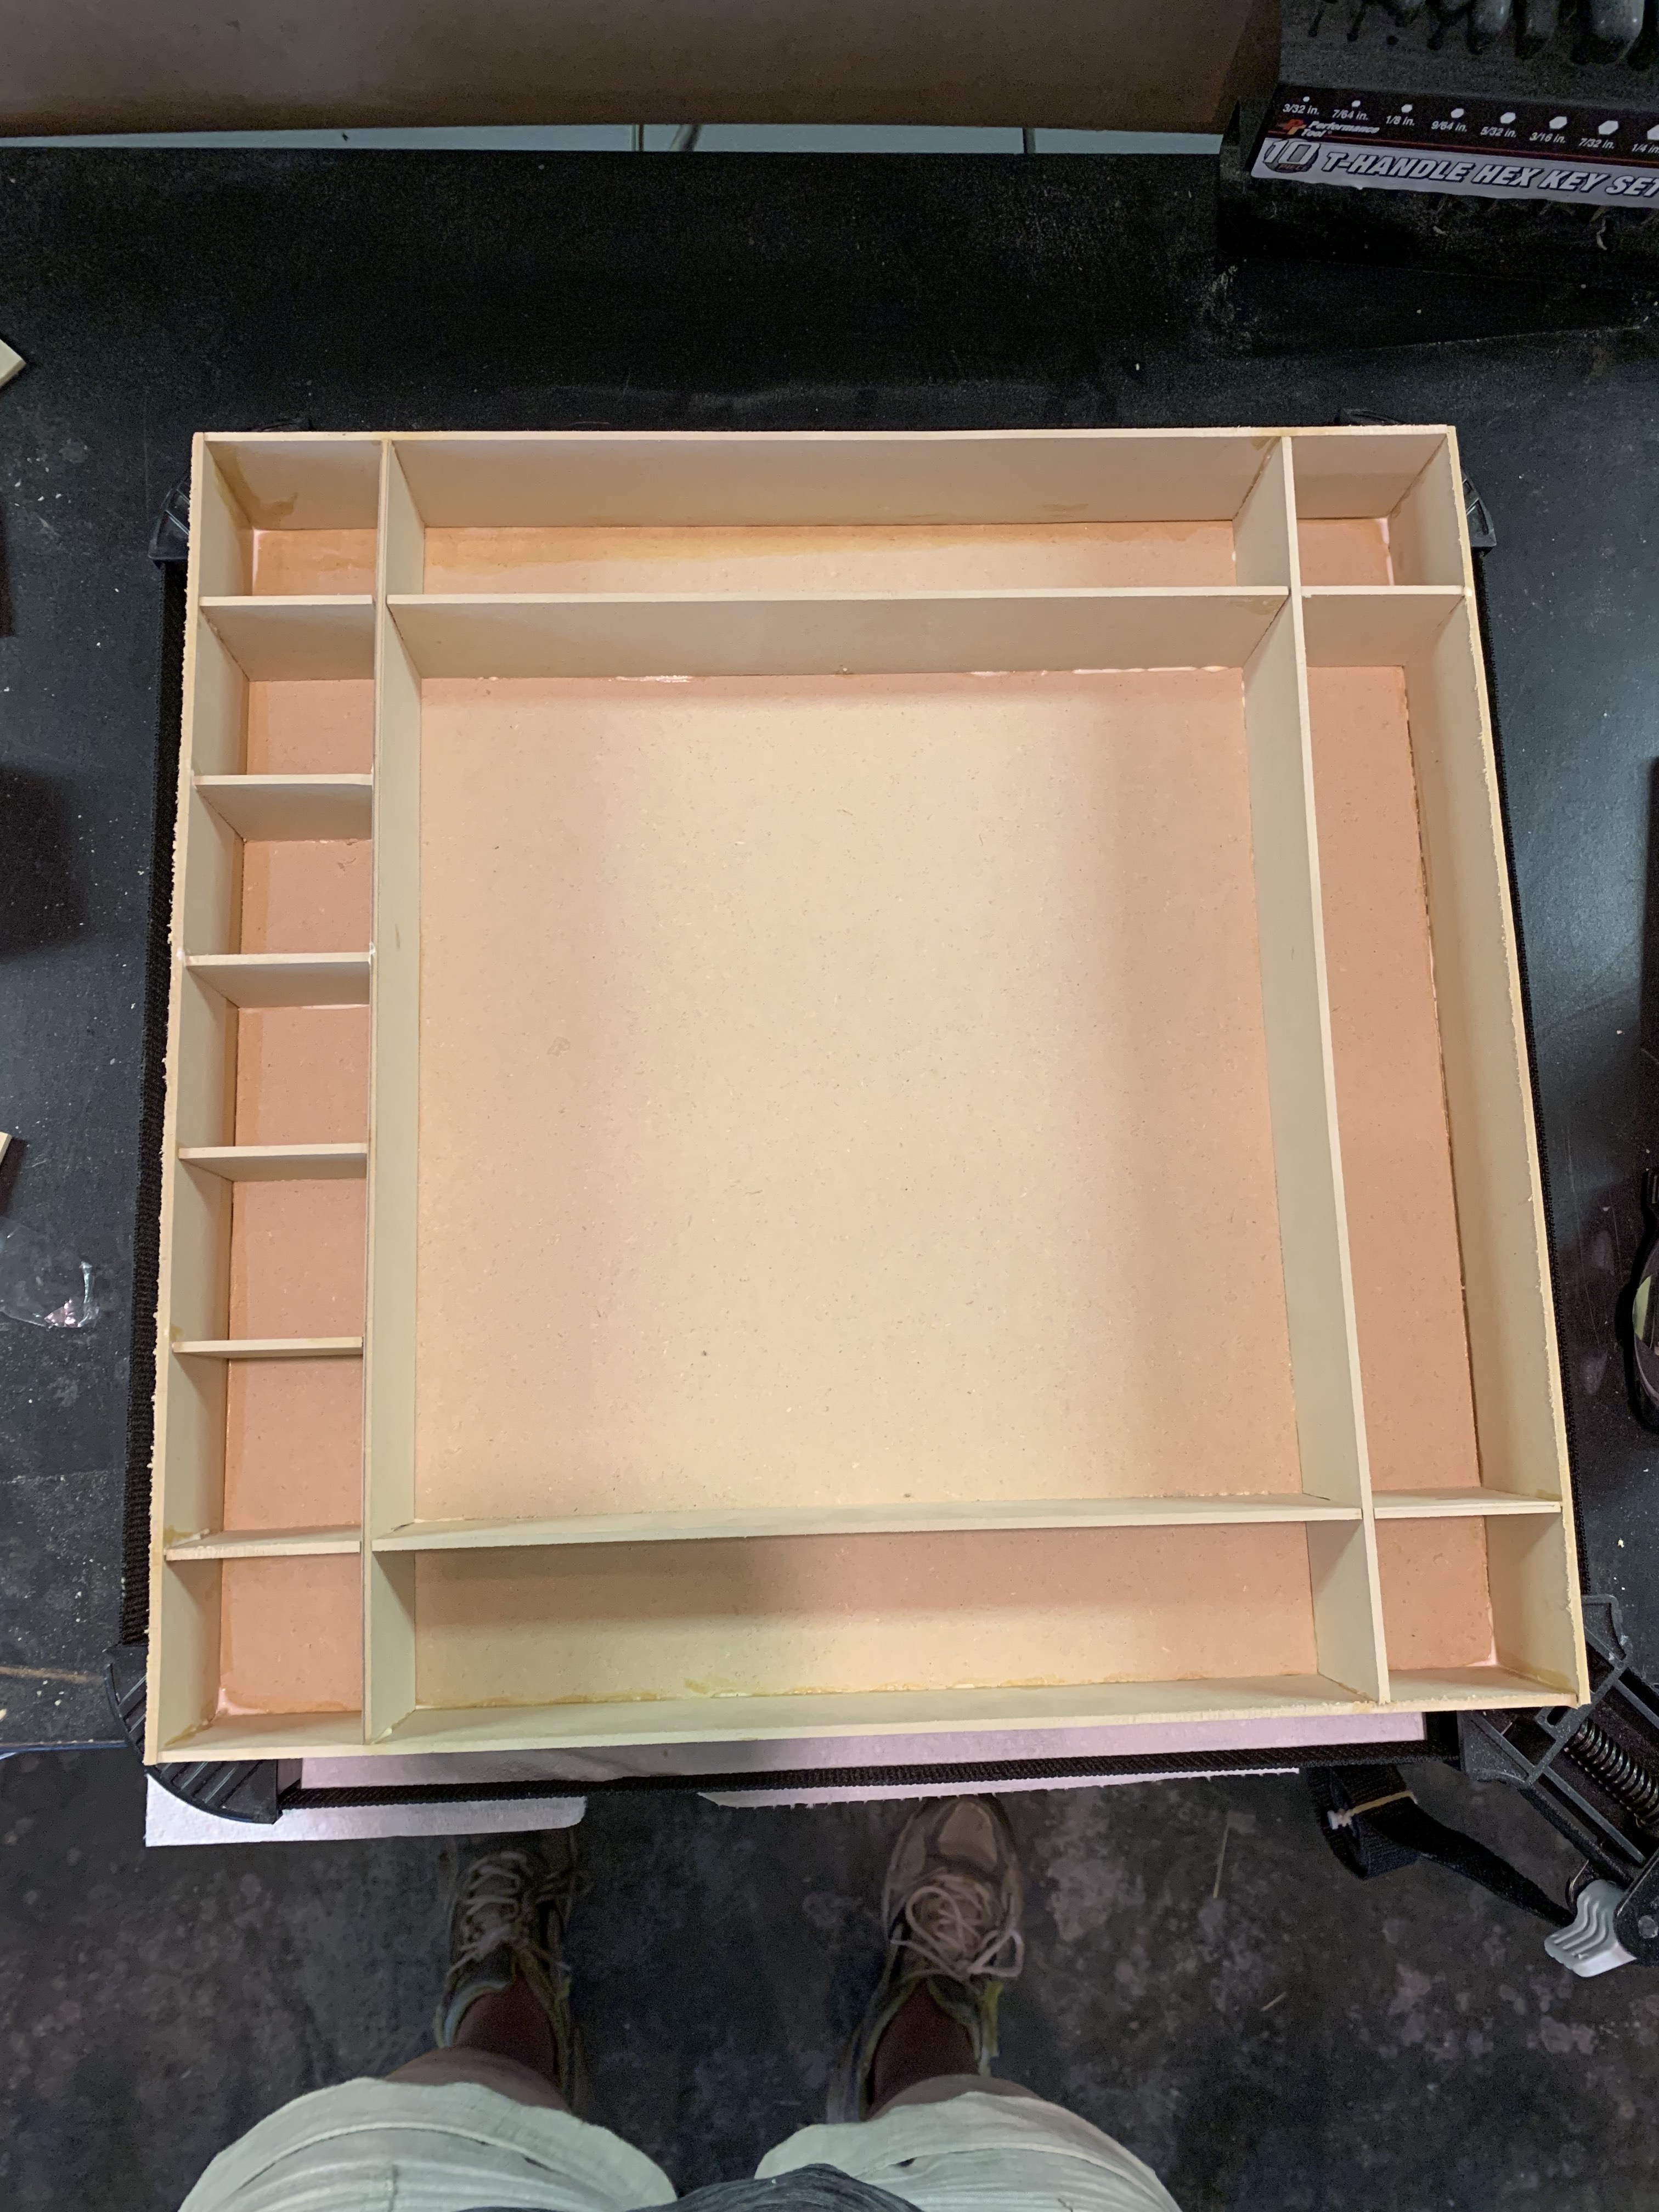
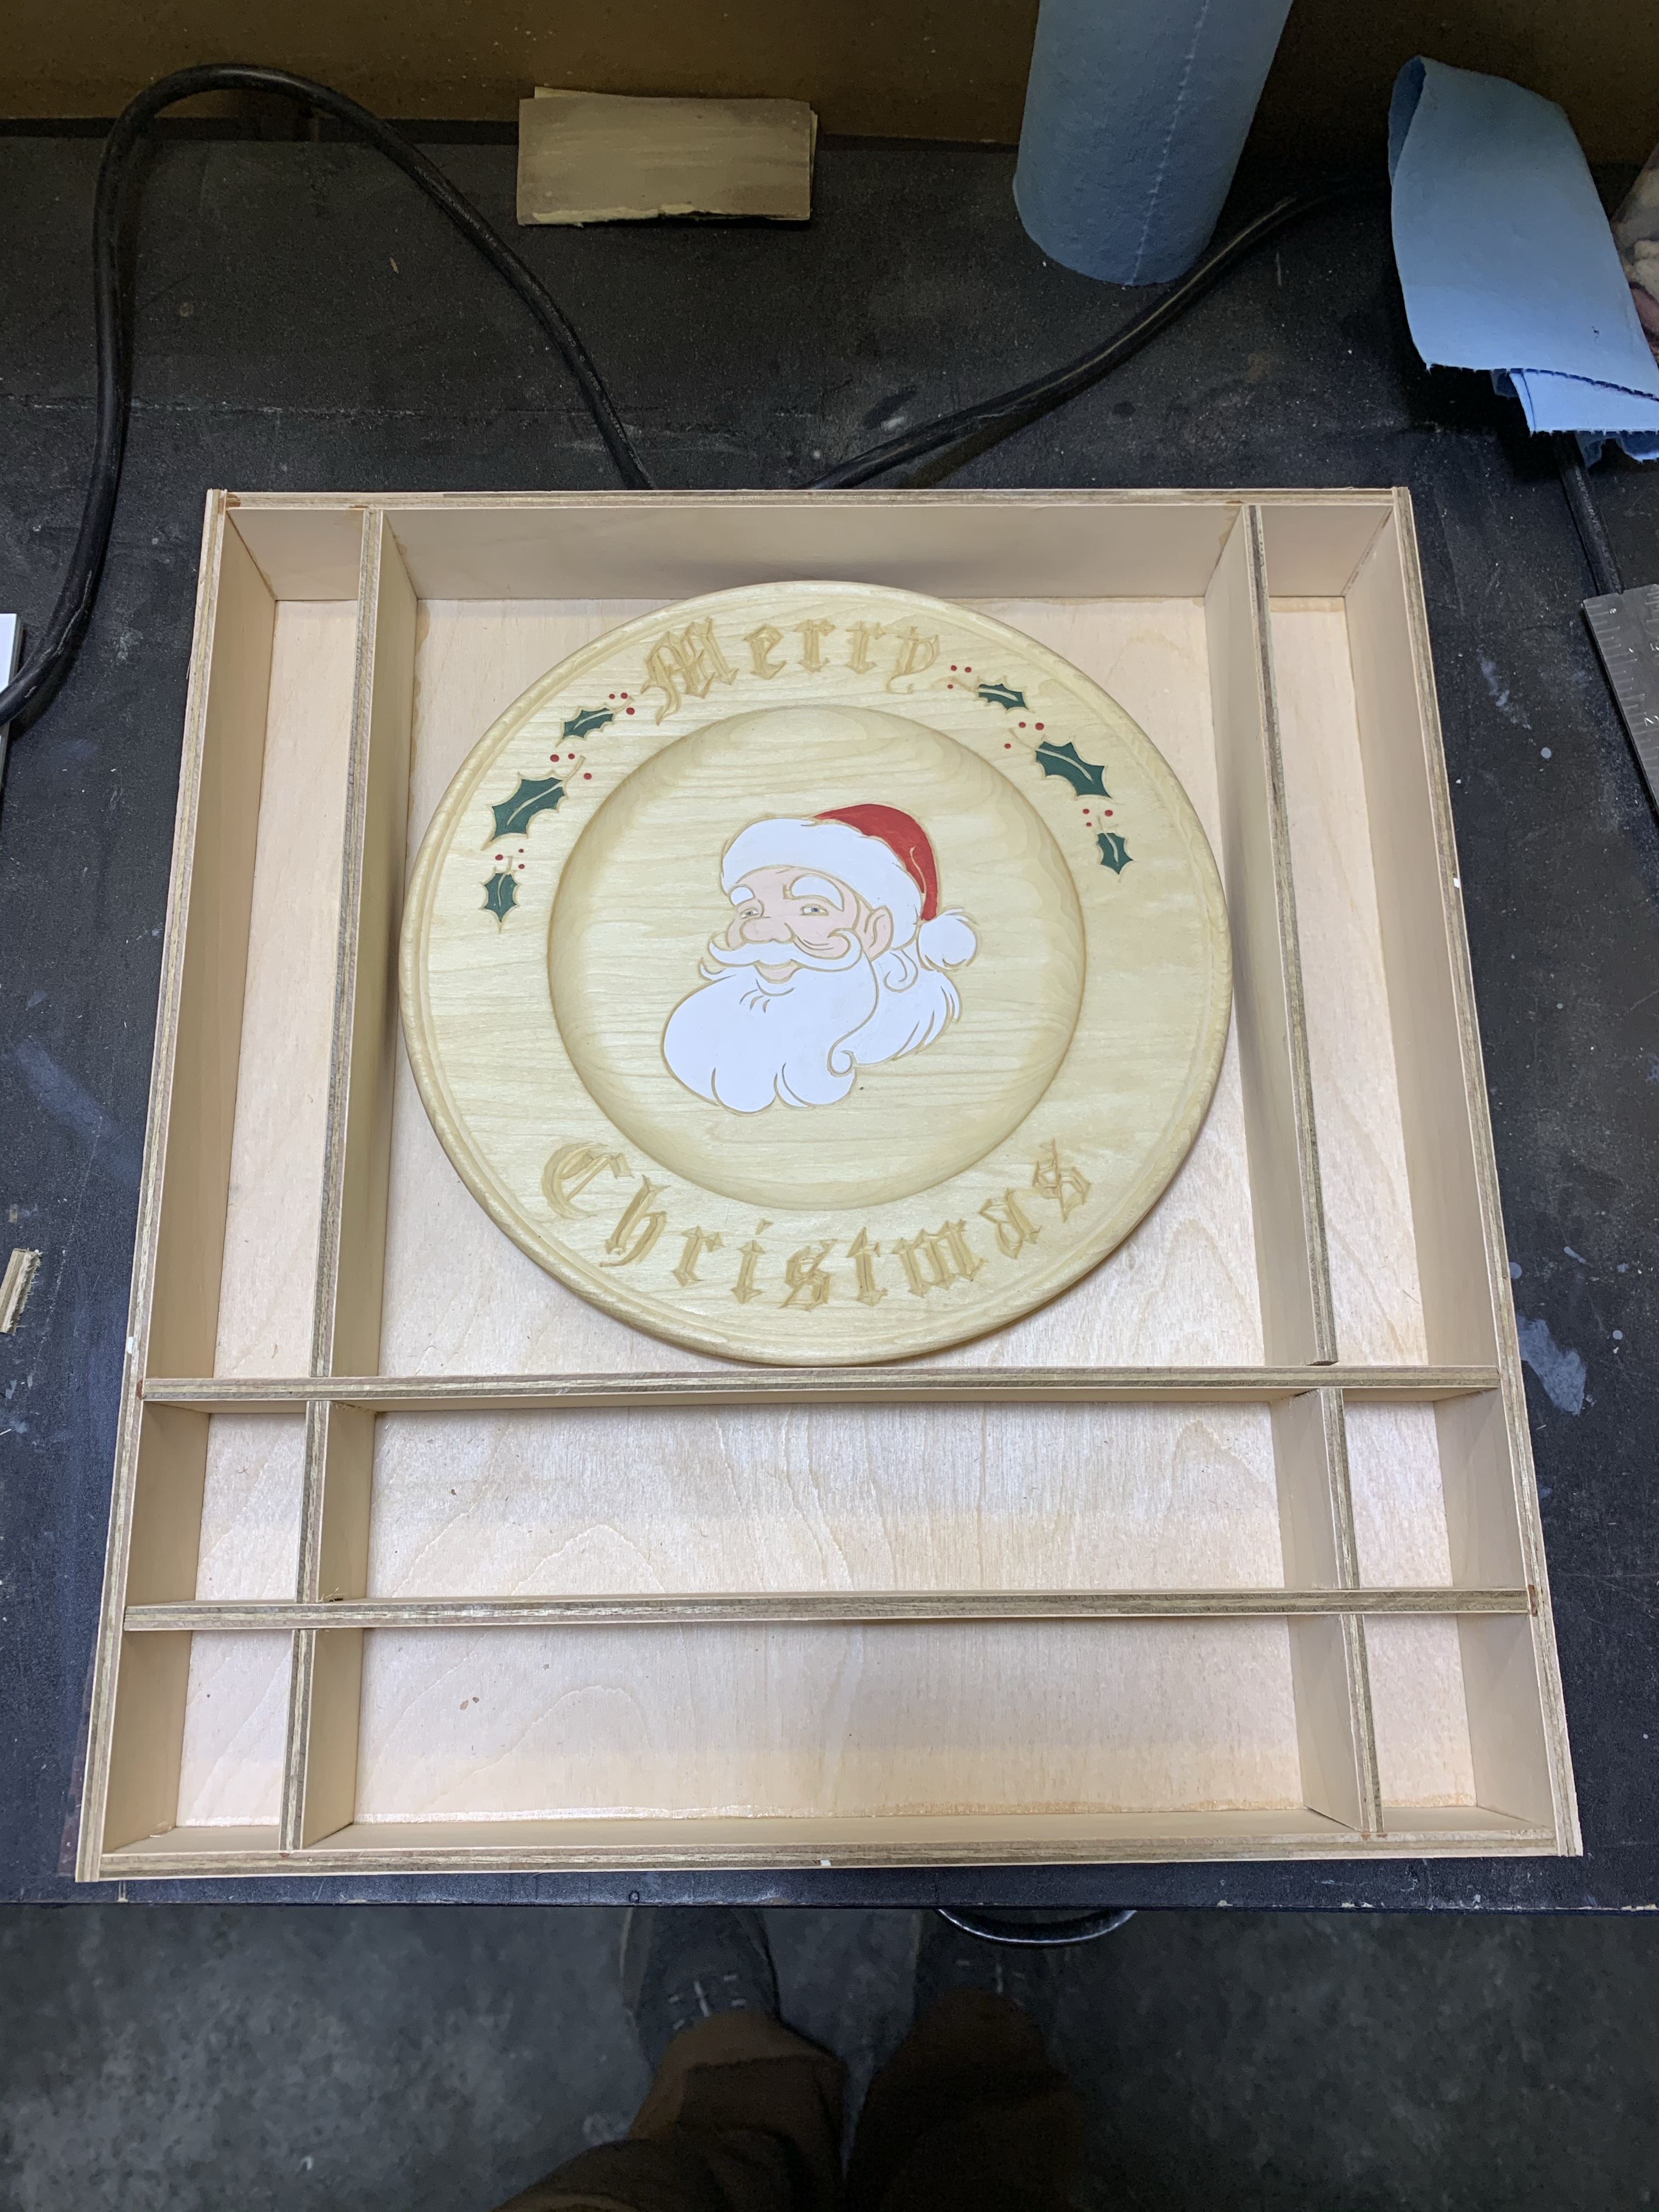
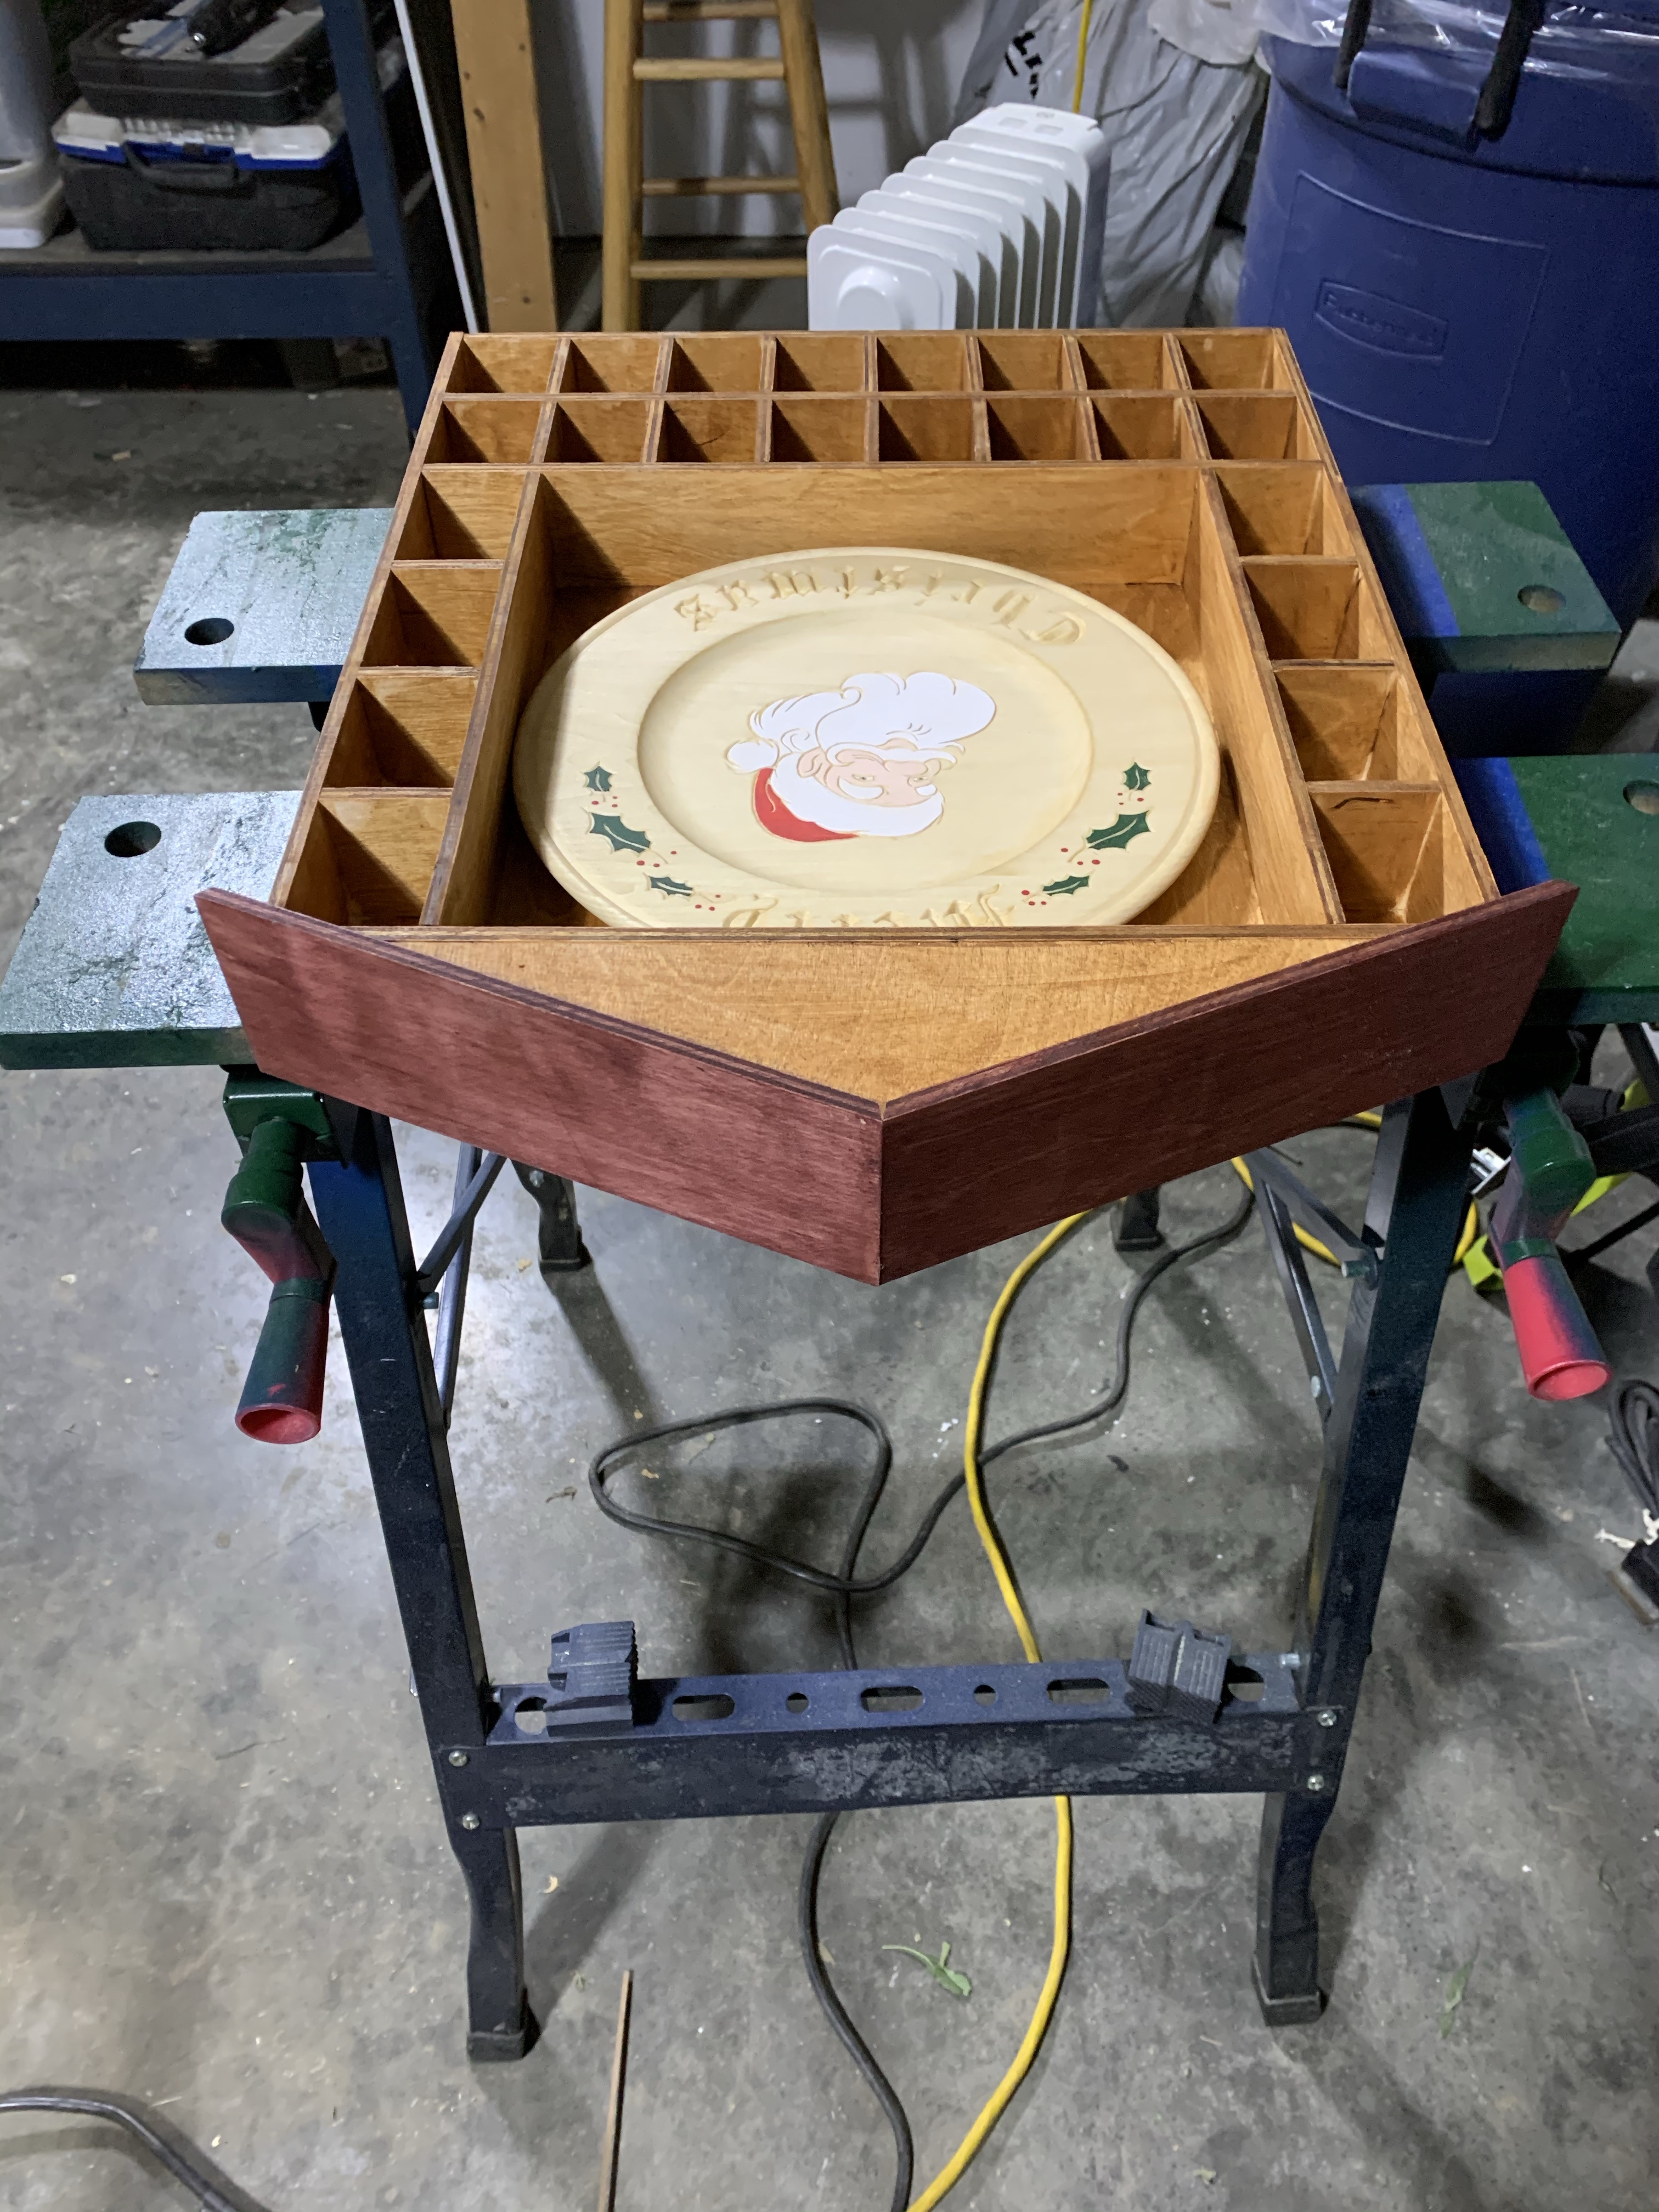
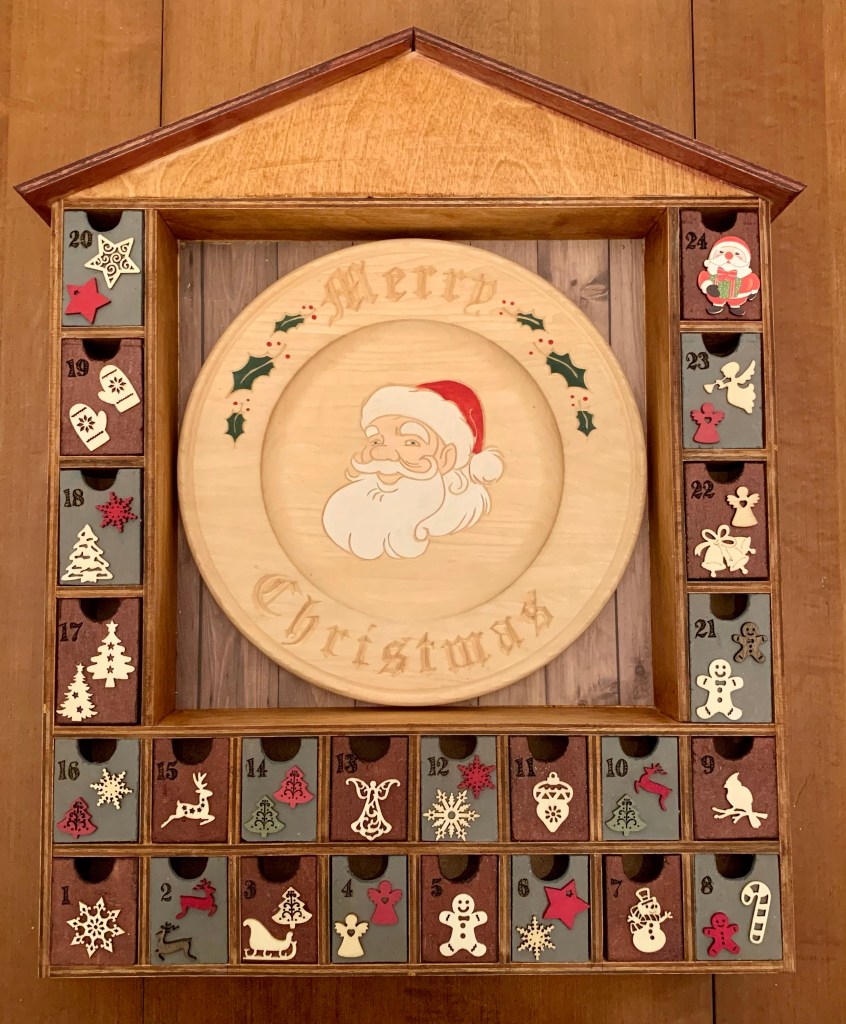
I decided I was having so much fun with these that I wanted to try another style. I love the calendars that have a “house” look so I decided to try making one in that style. My dad had carved another beautiful “Merry Christmas” plate so I had to make sure the opening was still at least 11” so that the plate would fit. The challenge with this one, and making sure the plate would fit, is that not all of the boxes are the same size. The ones along the bottom are, but the 4 going up each side are much longer.
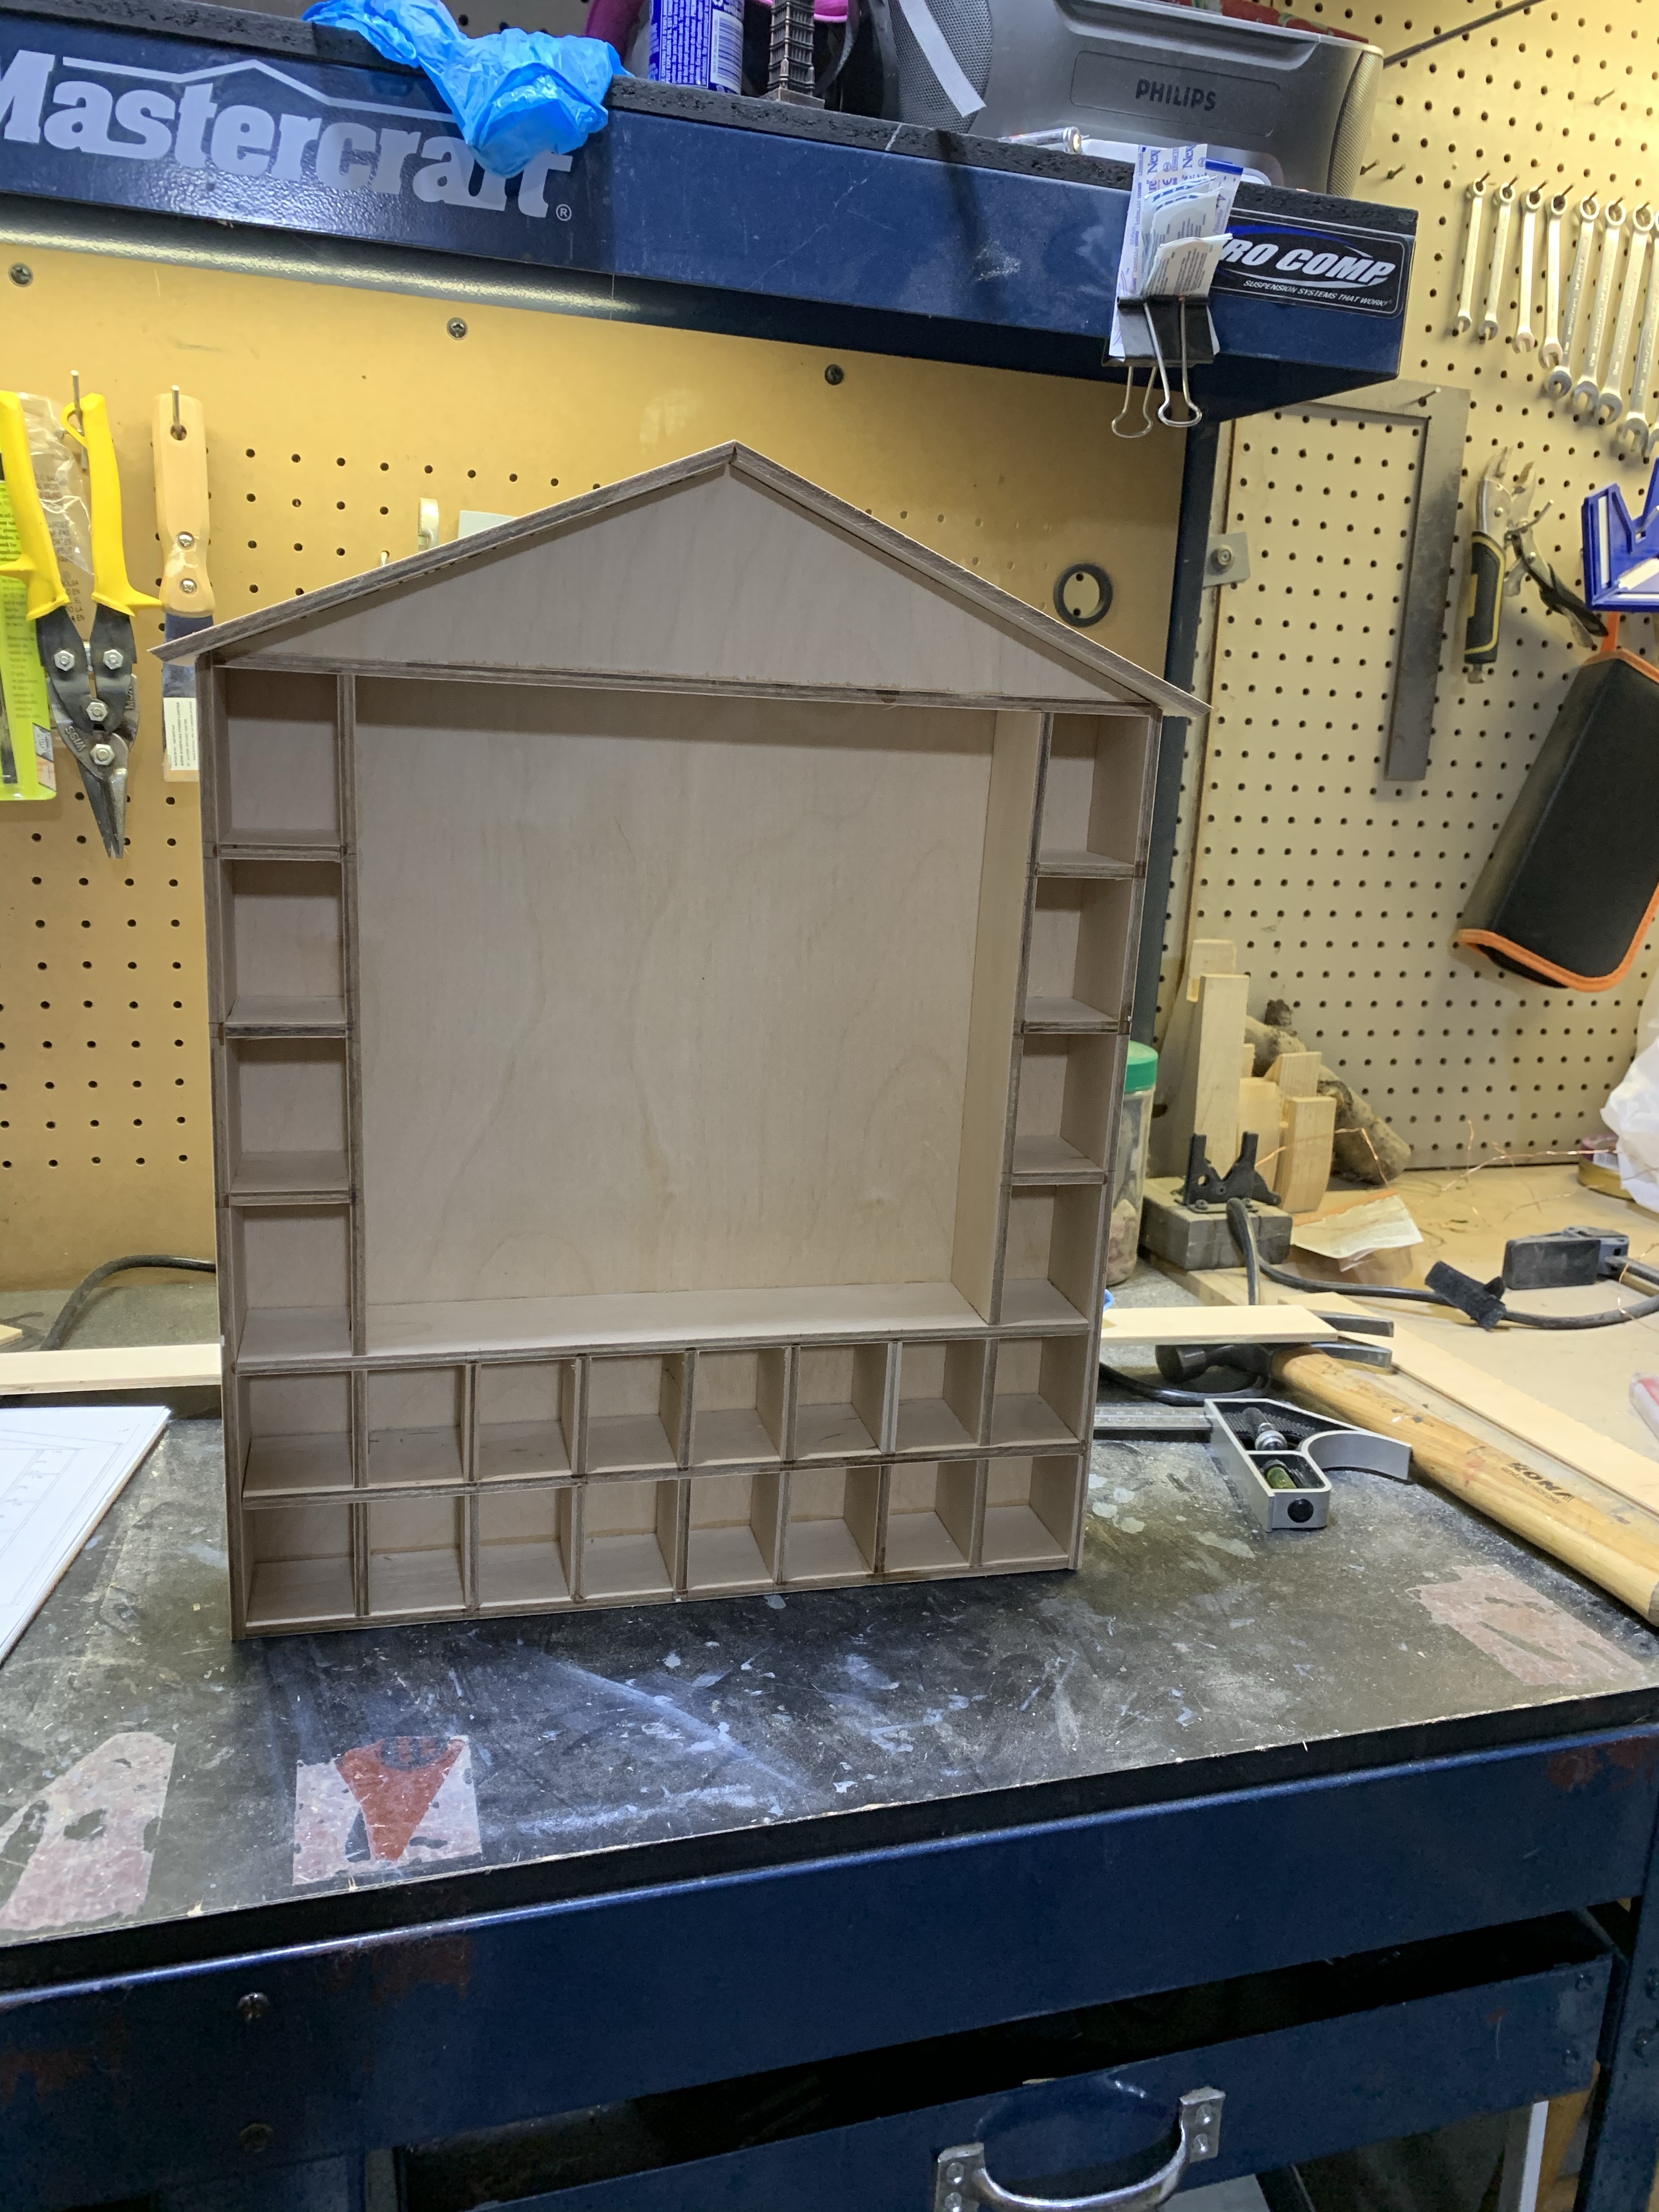
It took some figuring out, but I got it all sorted out. Now I need to write it down so that the next ones I build are a faster process. It is always slow with the first one because there is still adjustments to be made from the drawing. The table saw was definitely a timesaver with this one. Between that and my mitre saw, I was able to quickly cut the pieces I needed or shave off bits where required.

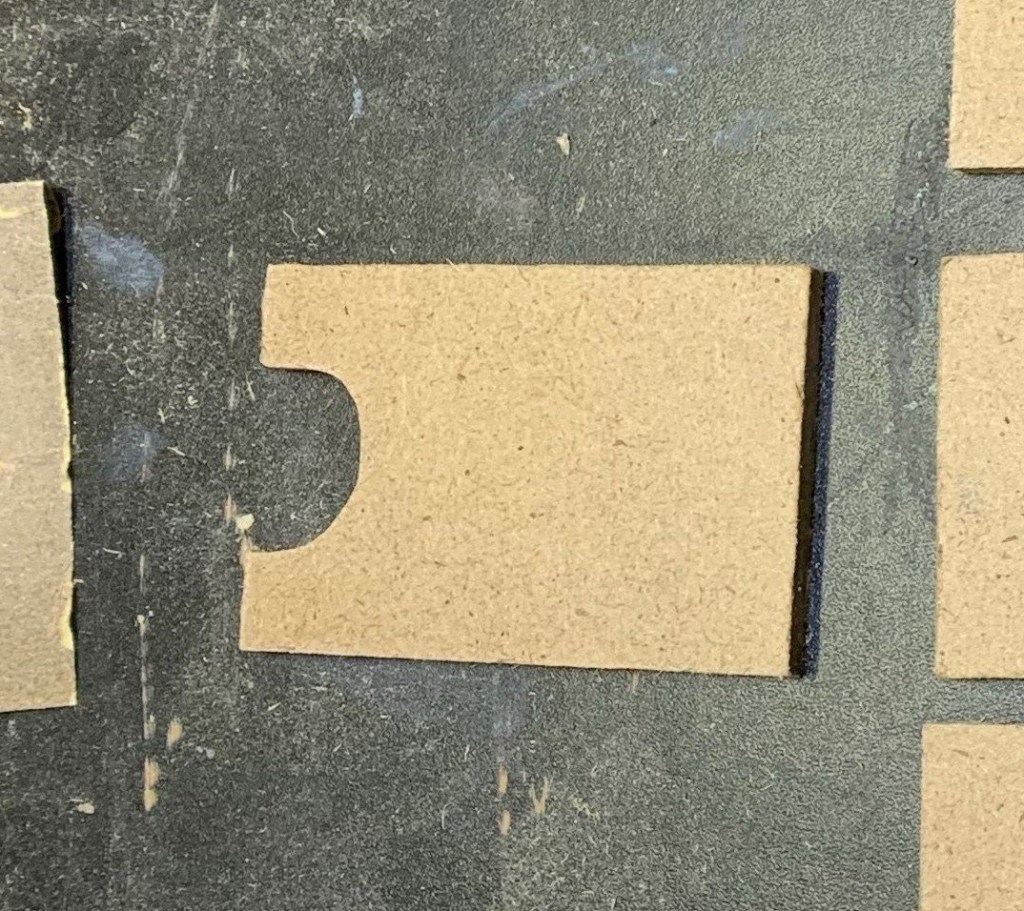
In order to make it easy to open the boxes, I used my scroll-saw to cut half circles for a finger to fit into in order to slide open the drawer. All of the half-circles were cut prior to assembly of the boxes. I chose this option over a knob to pull open the drawer as I like to decorate each box. That is harder to do by the time you add a number and the handle. The half-circle opening allows you to still add a nice amount of decor.
For the numbers, I chose to use pyrography, or wood-burning. This means a long lasting number on each box that won’t fall off, peel off or wear out quickly. It would take years of wearing it down to lose the number. It also stays solid and visibly dark for years without fading. I use graphite paper to trace the numbers onto the box prior to burning them on. This ensures a nice, uniform look with a consistent font. My first one I did free-hand and it did turn out nice, but it was slow-going. Being able to trace over the number with the pyrography pen is much faster and easier.


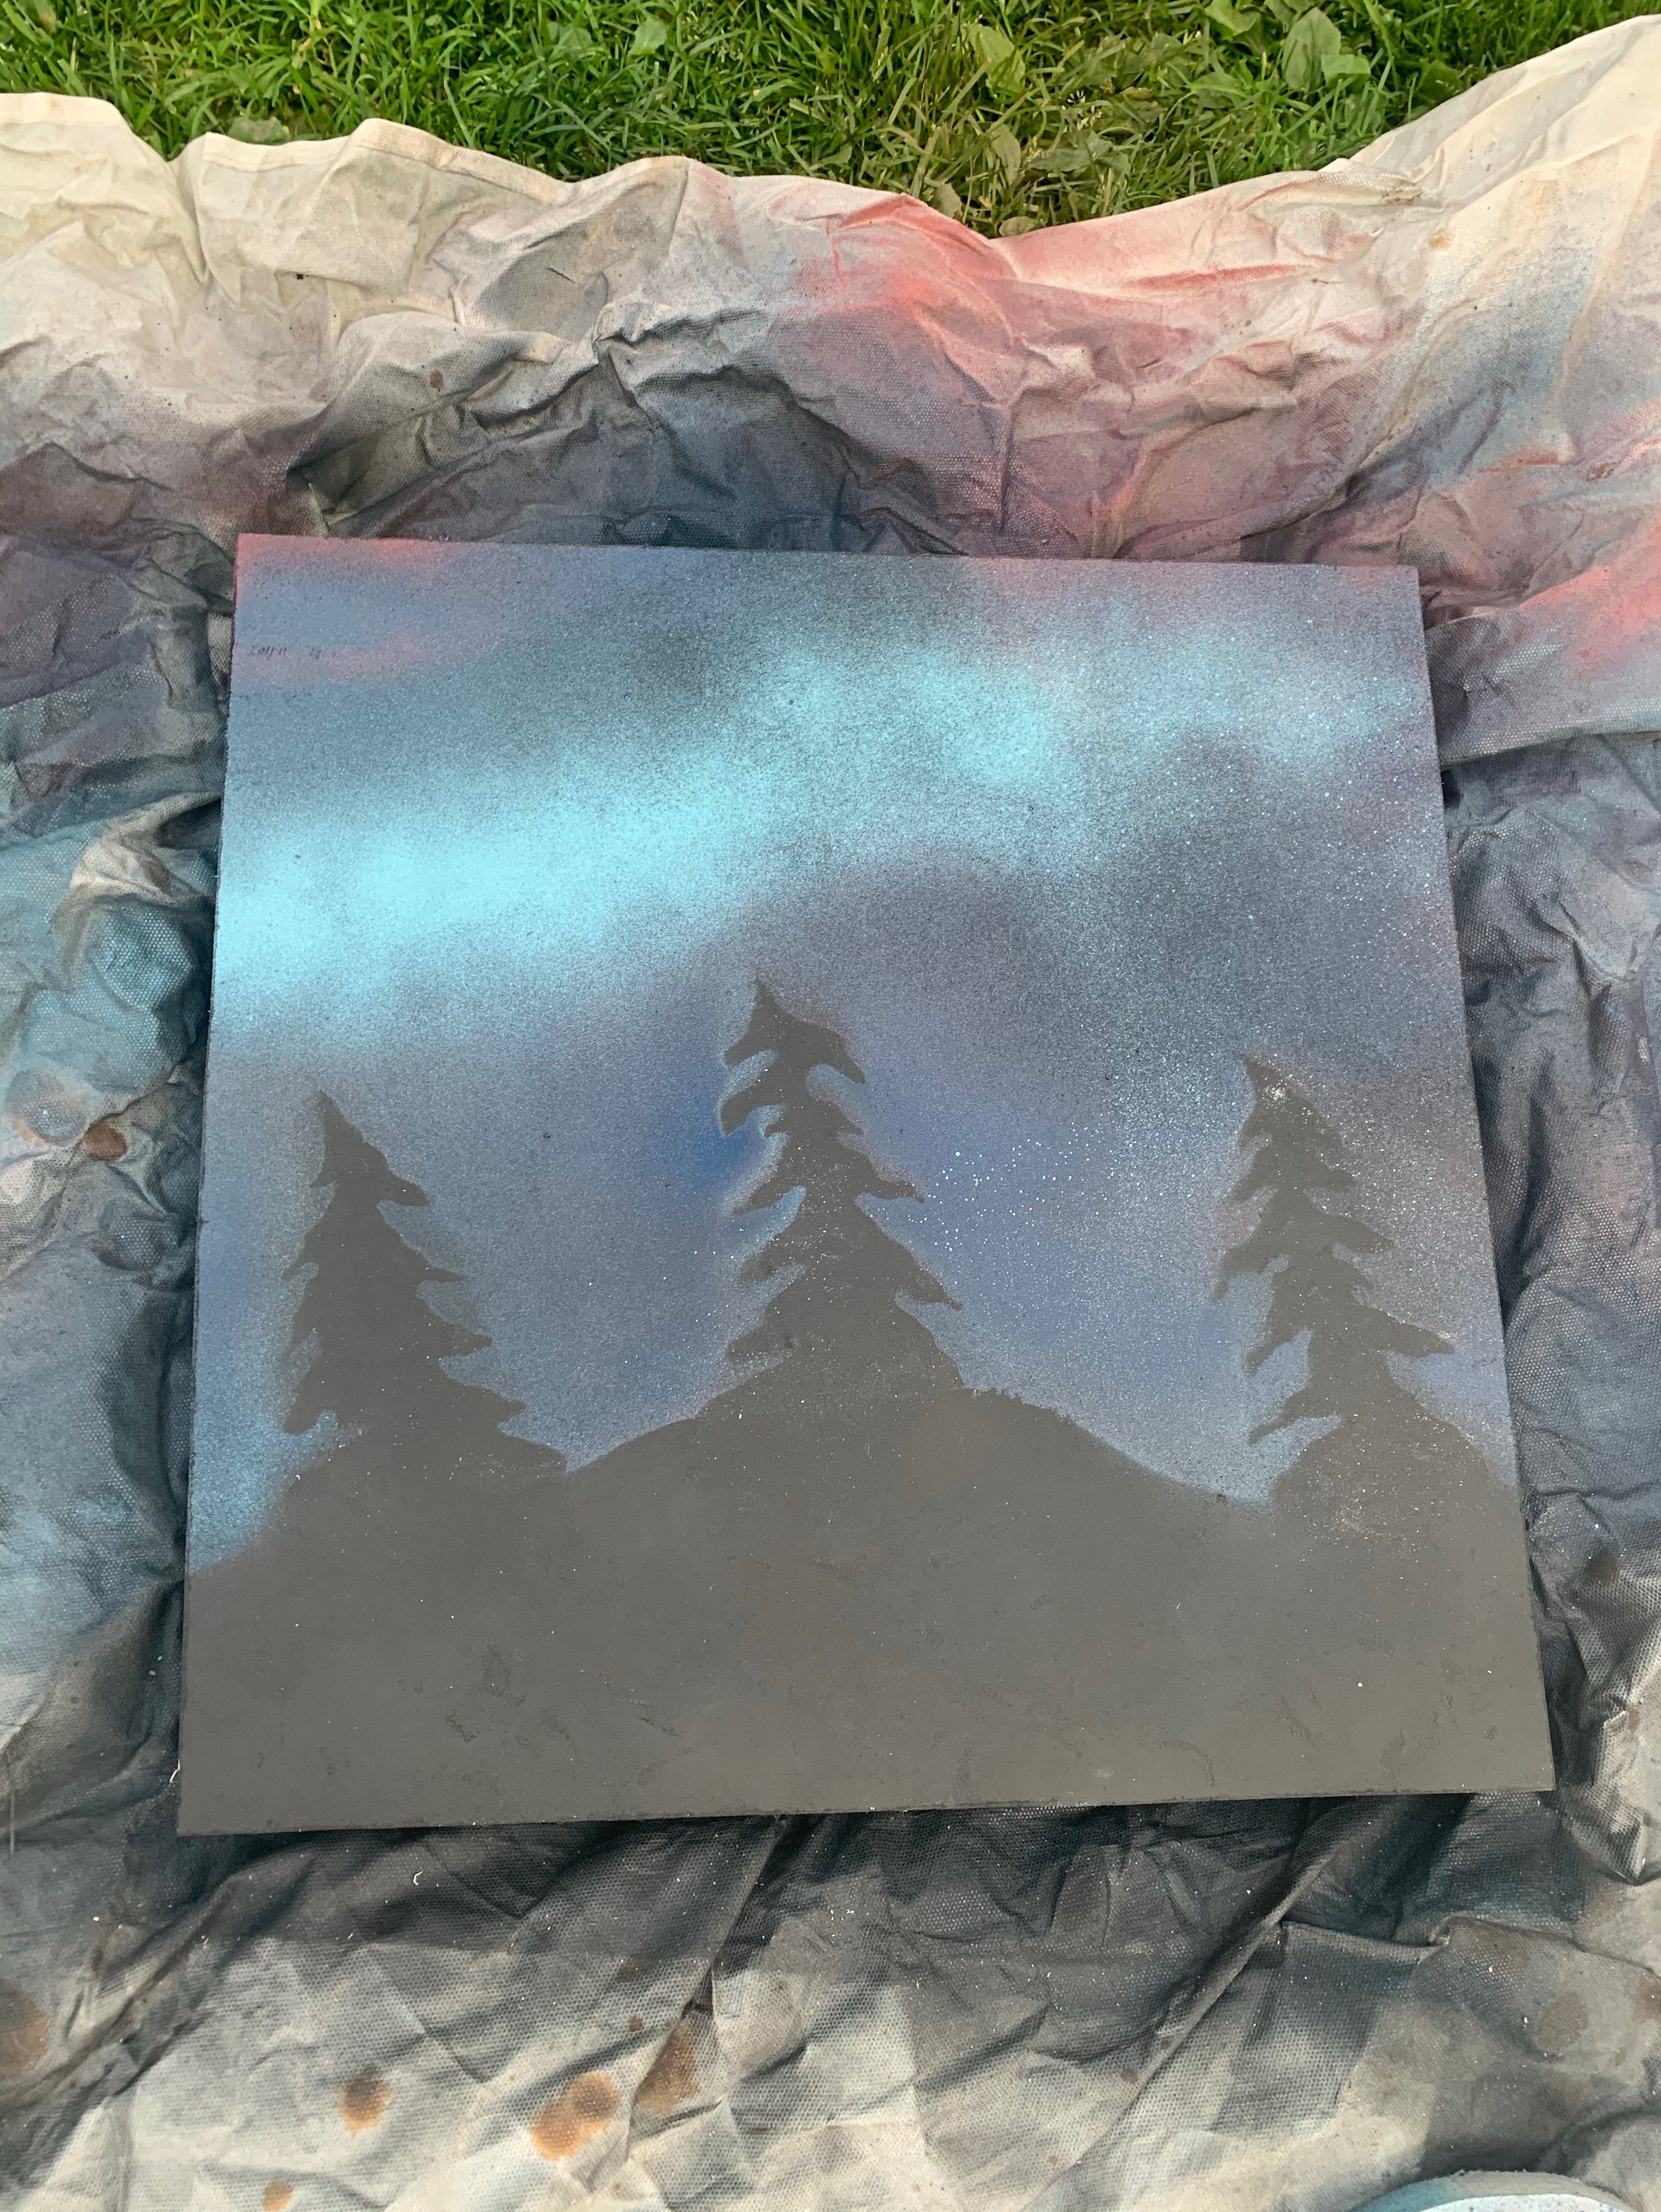
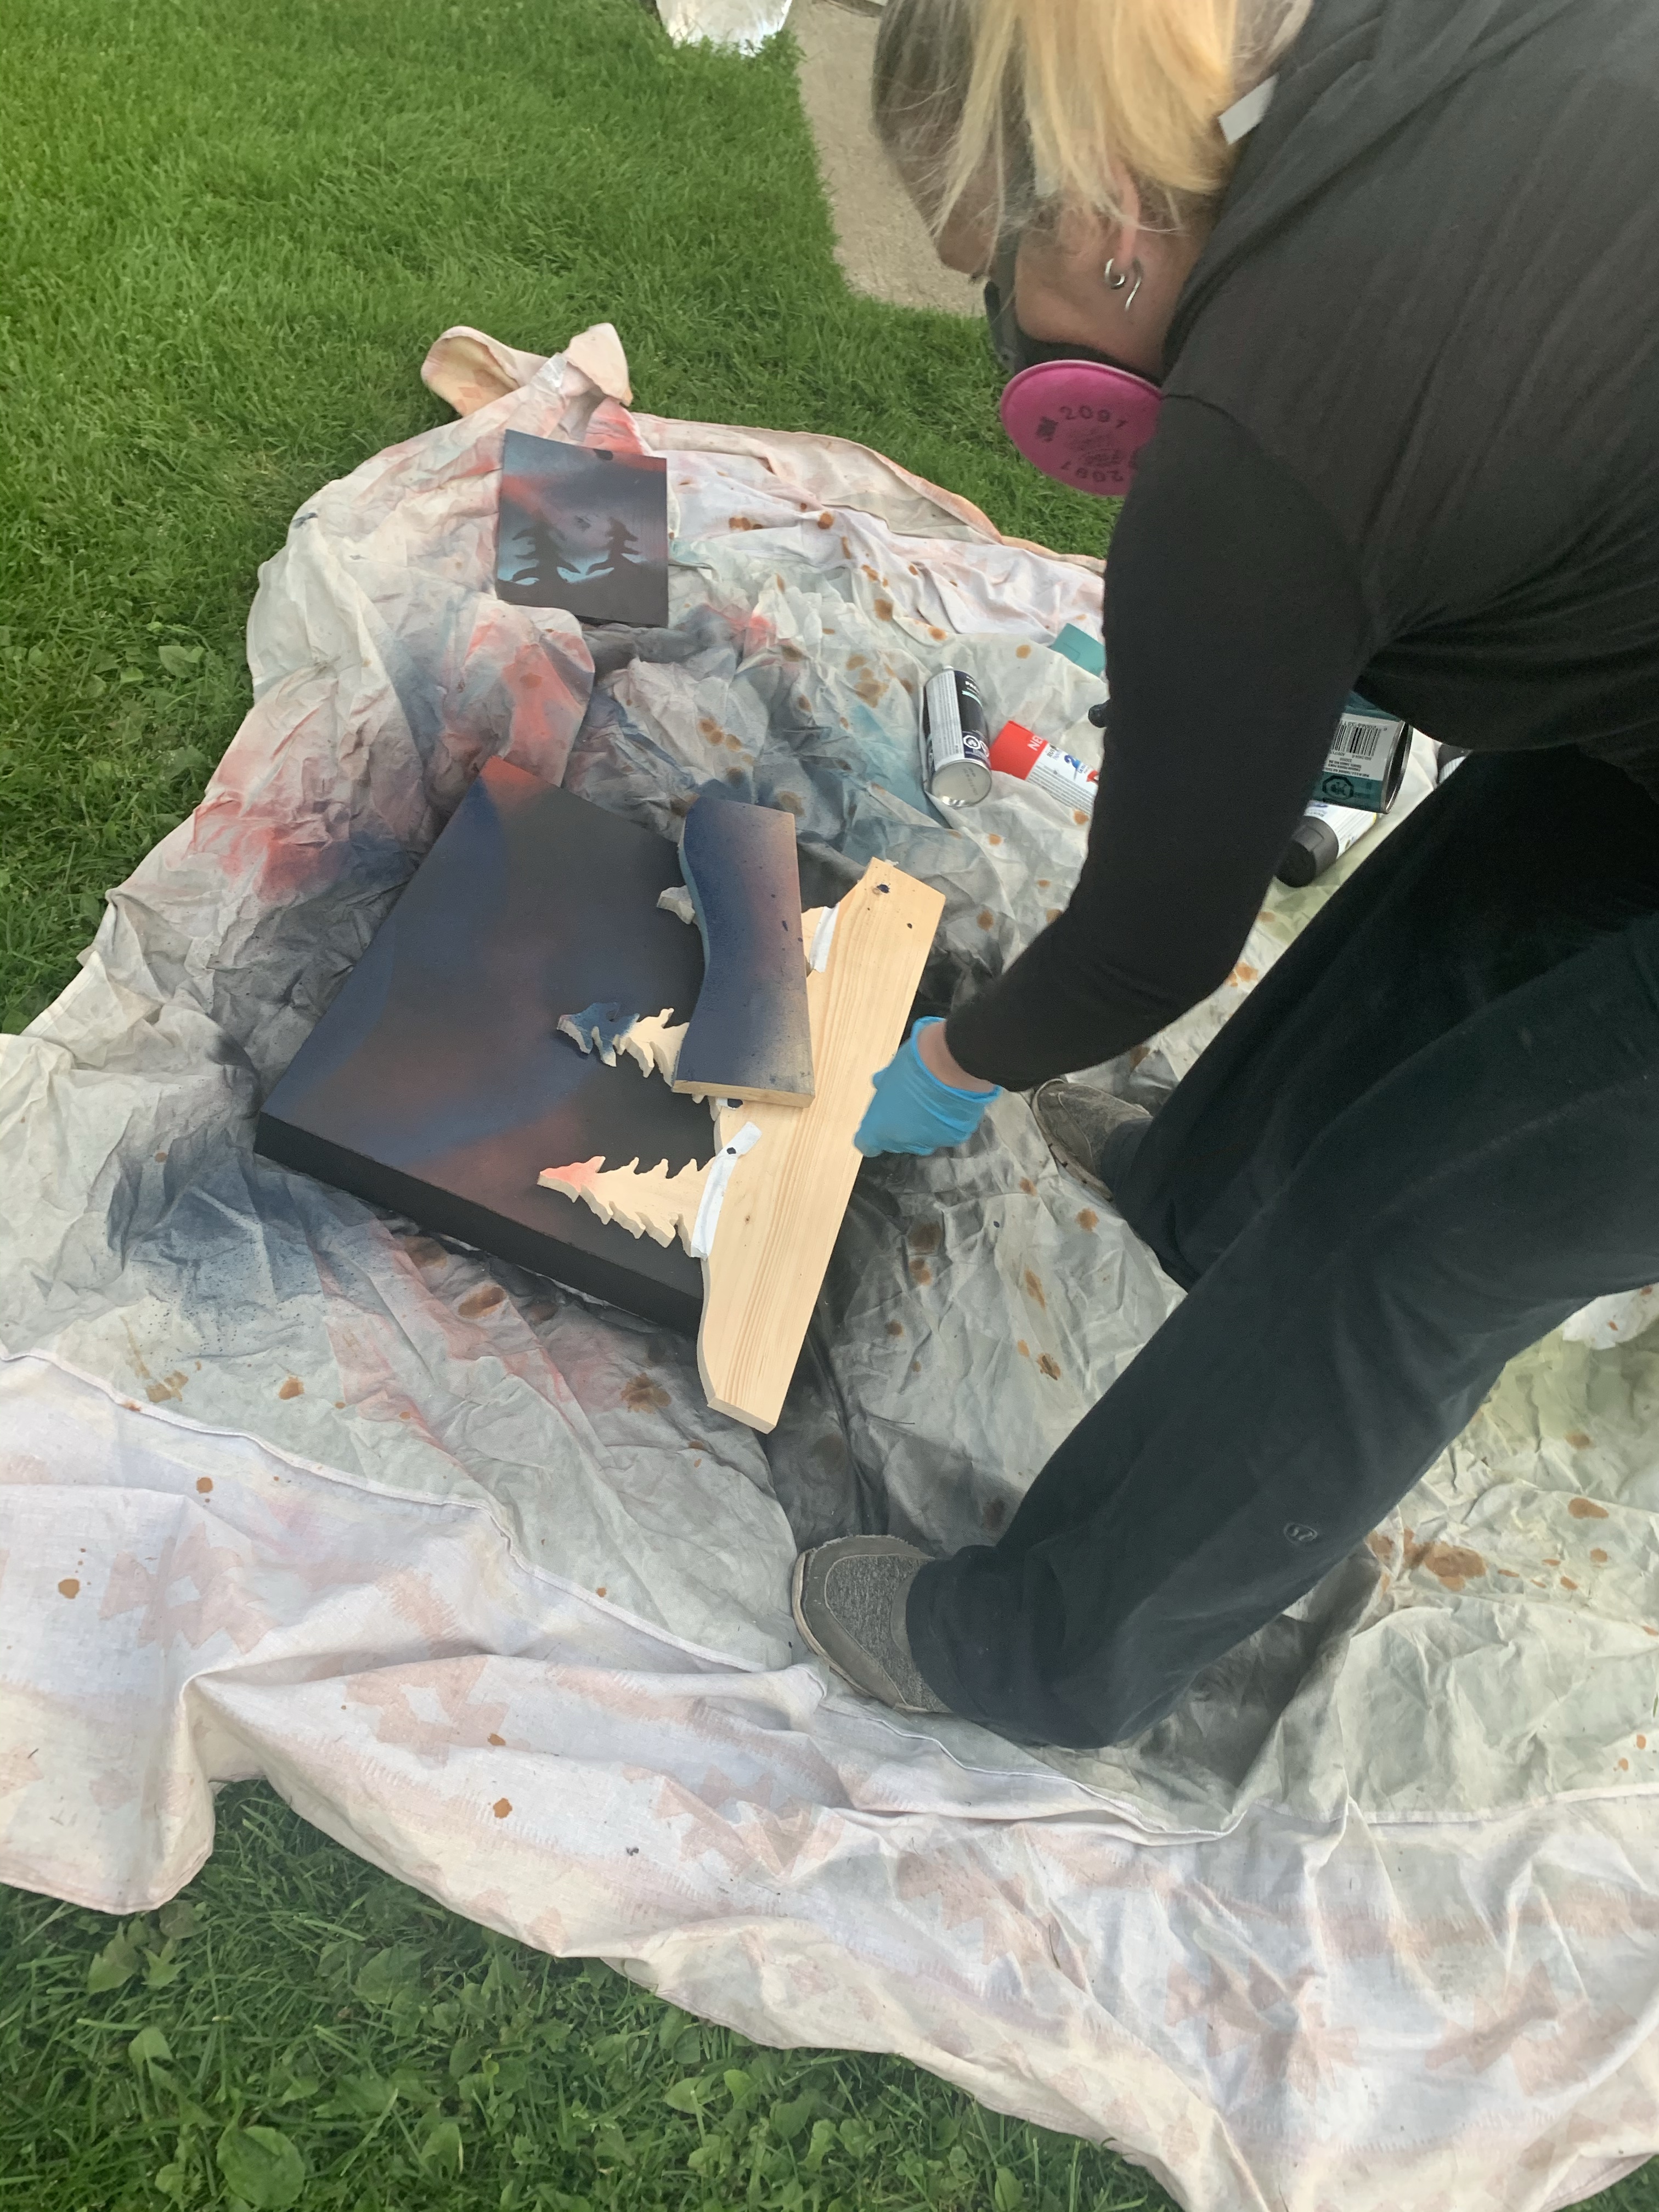
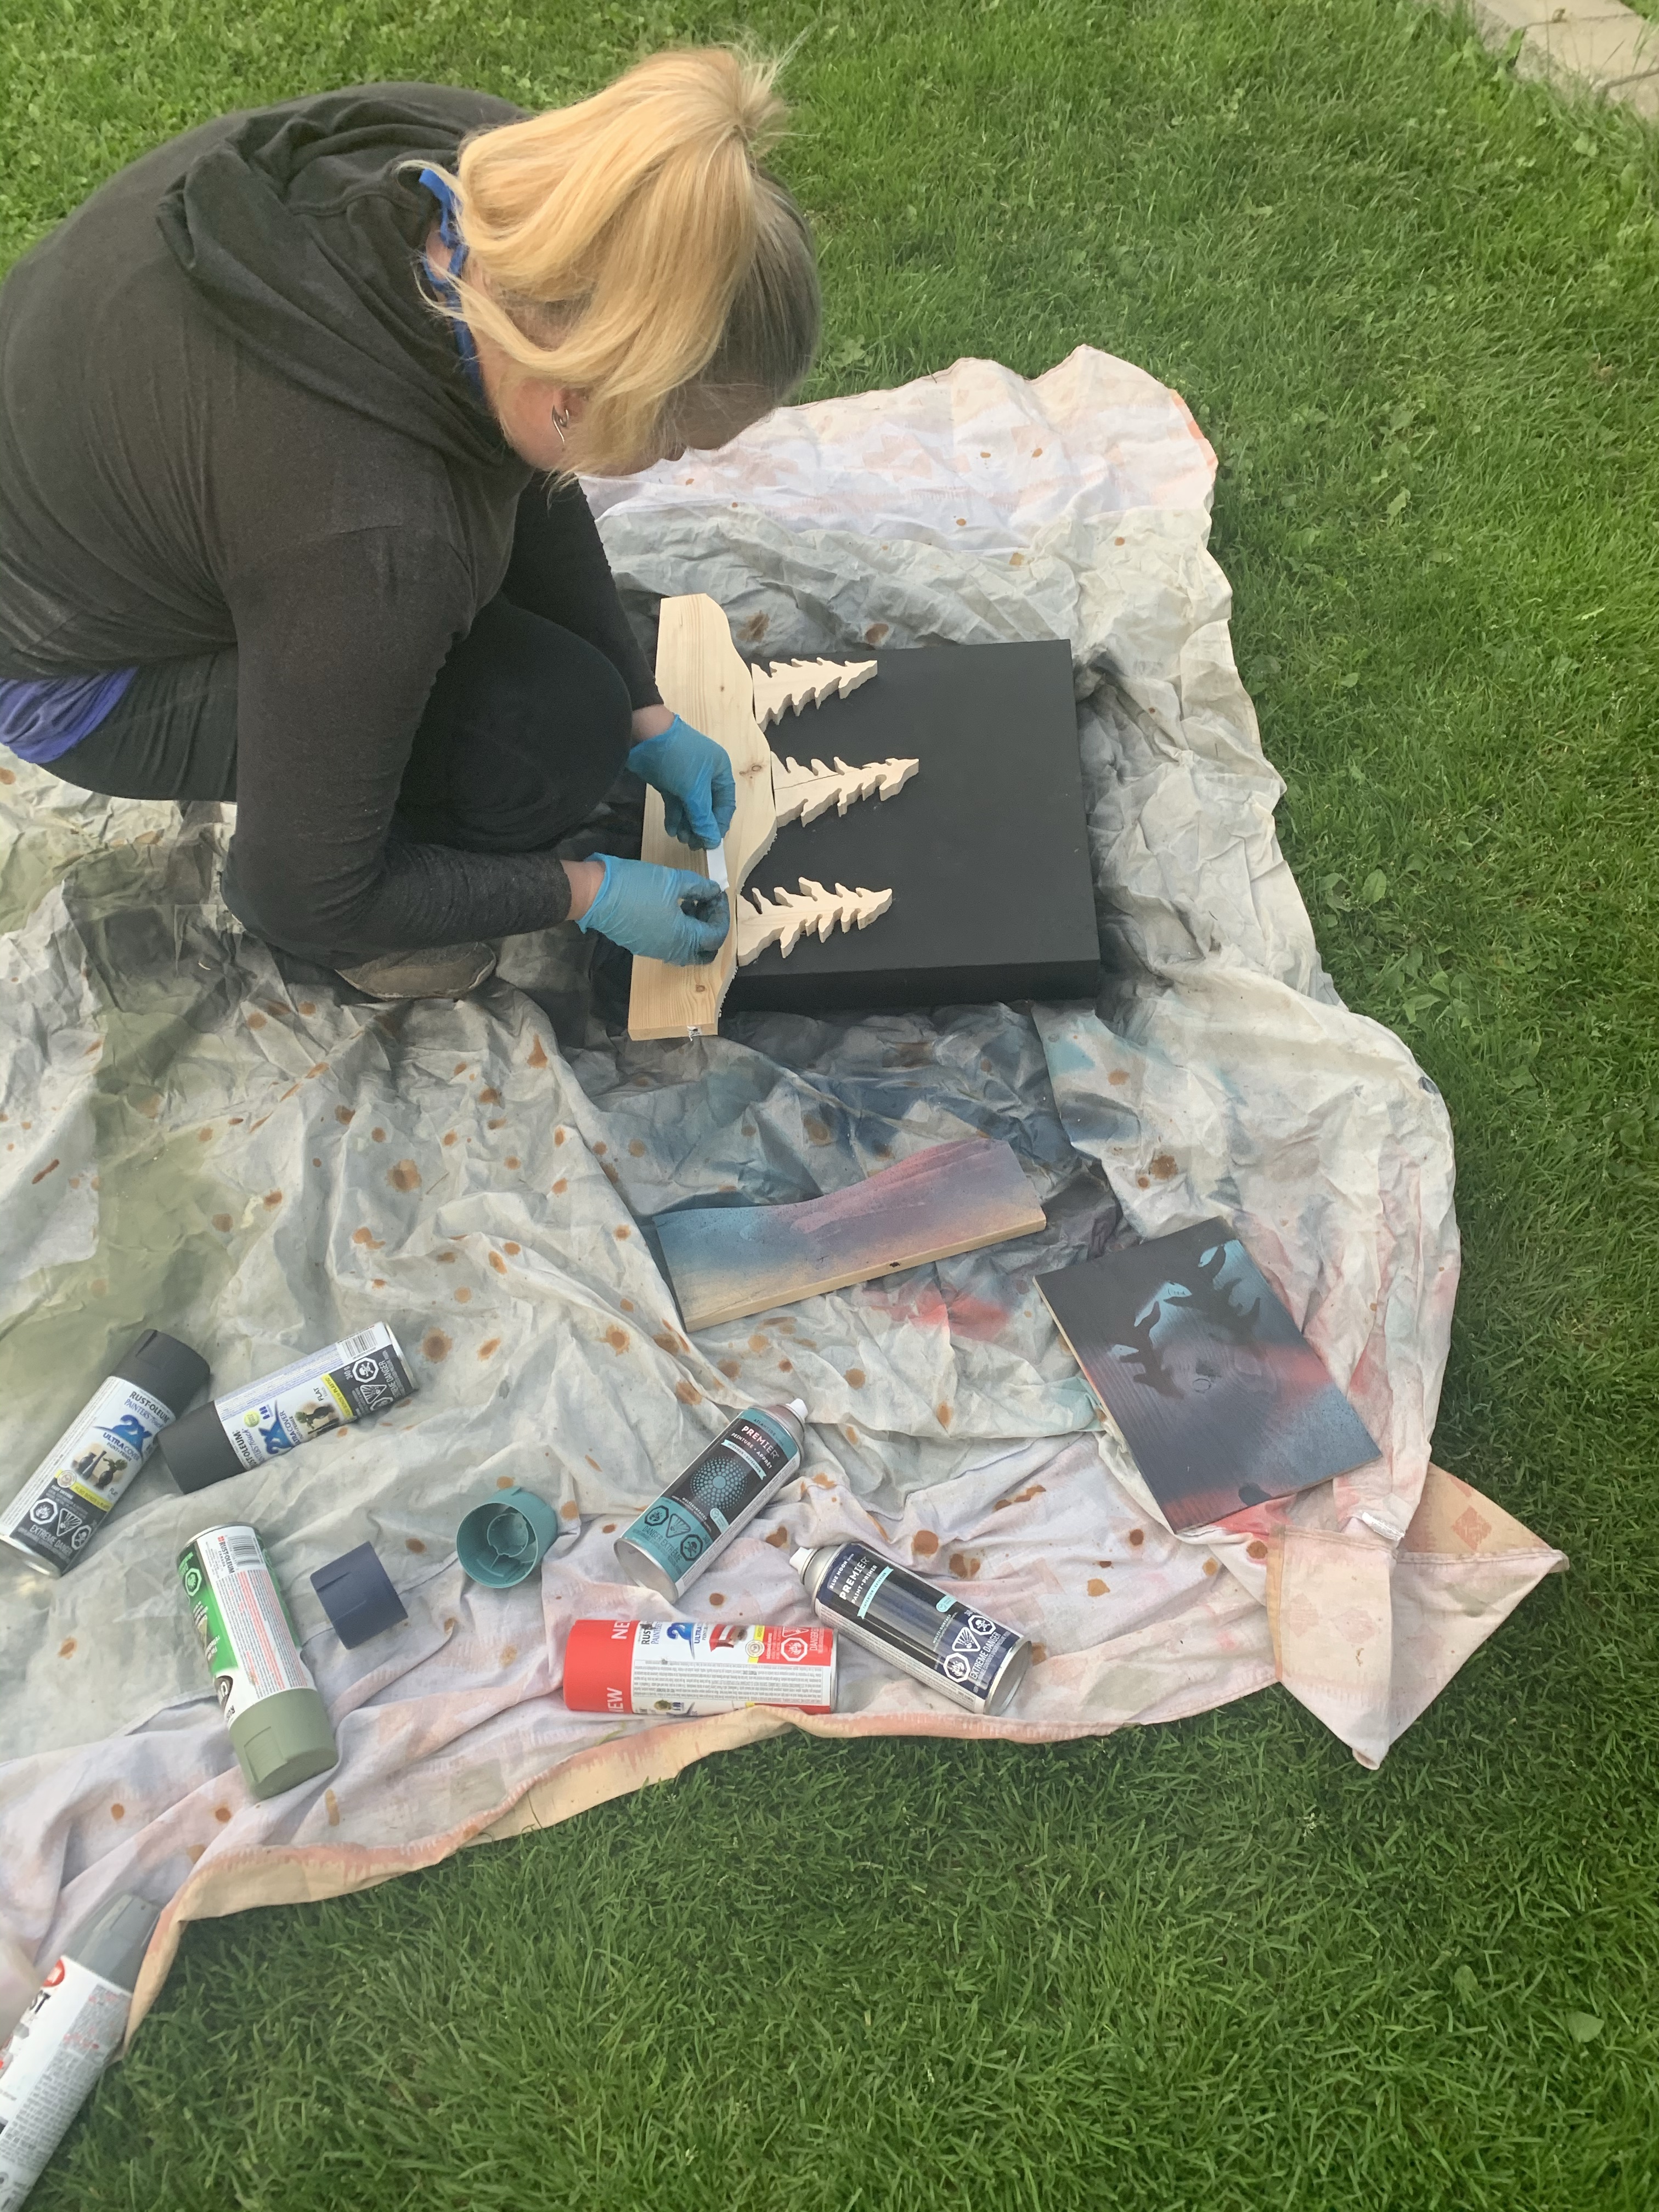
The 10 calendar frames were made from 1/8” MDF hardboard. I spray painted the frames whatever colour best fit the themes. For the two I built boxes for, I also spray painted the frames. One had been an experiment for one of the ones I collaborated on with K’s mom and had a winter scene spray painted onto the back. We didn’t end up liking the black box with the rest of her boxes, so I used that one and created my own scene for it. I used two different coloured stains for the boxes, alternating between weathered grey and Cabernet. Then I decorated them using some laser-cut wooden holiday decals. With the one I collaborated on with my dad, I also used stain to colour the boxes but only used Cabernet. The frame was spray painted green, so the Cabernet complimented the Christmas look. I also decorated those boxes with the laser-cut wooden Christmas decals.


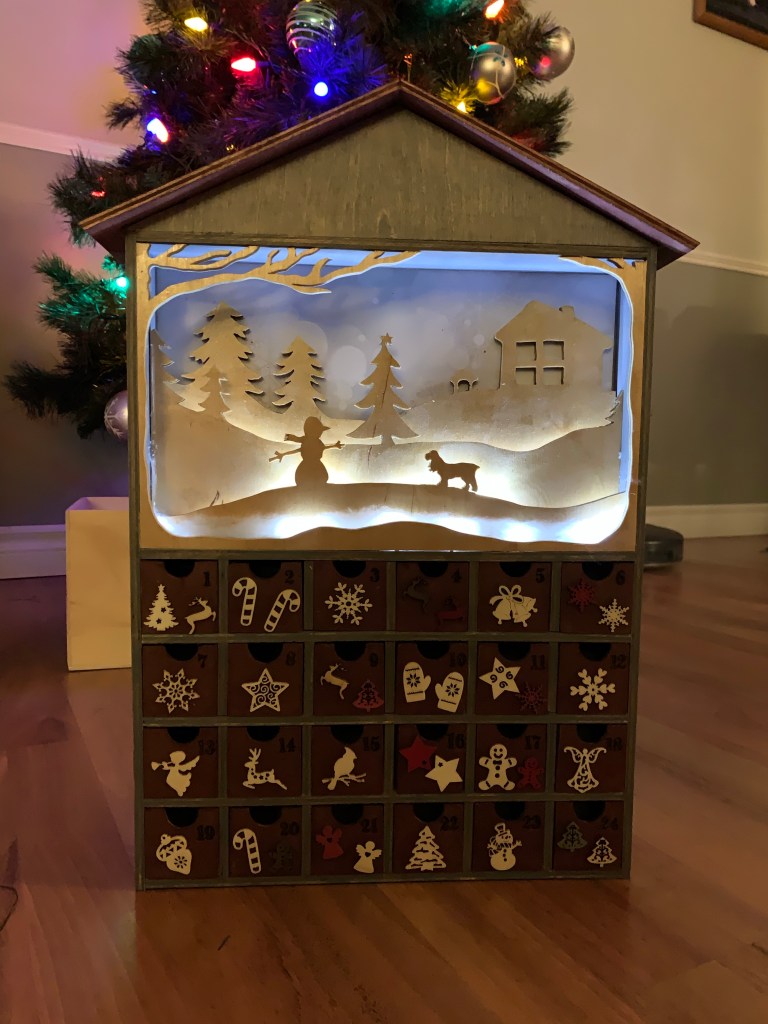
The newest ones are a bit different not only is style but in materials. For both the house shaped ones, I used 1/4” premium plywood, ensuring both sides were good quality. I wanted to keep the wood grain, so I used stain for the entire frame as well as on the boxes. The calendar with plate, I used Ipswich pine for the main frame, Cabernet for the roof and half the boxes and weathered grey for the other half of the boxes. I wanted it to be colourful, so I again alternated the boxes colours. Due to the sizing of this calendar and the size of the boxes, I ended up using 1/8” MDF hardboard for the drawer boxes. The 1/4” plywood was too thick to leave a decent size opening in the drawer for treats or small gifts. I will see if I can grab some 1/8” plywood next time I am at the lumber store to keep the whole thing consistent. Not that you can really notice once it is all stained and decorated.
The dog advent calendar did not have anything specific to fit in the middle, so I was able to make all of the boxes the same size, which allowed me to assemble this one a little faster. This one will be going to my grandma, and if I have time, I may make one for our dogs. Why not right? They are already spoiled anyways!
Now that advent calendars are winding down, I am going to start using my new table saw to cut strips of different woods to experiment making decorative cutting boards, coasters and serving trays. Something I have been wanting to do for a while, but didn’t have the right saw for!

