
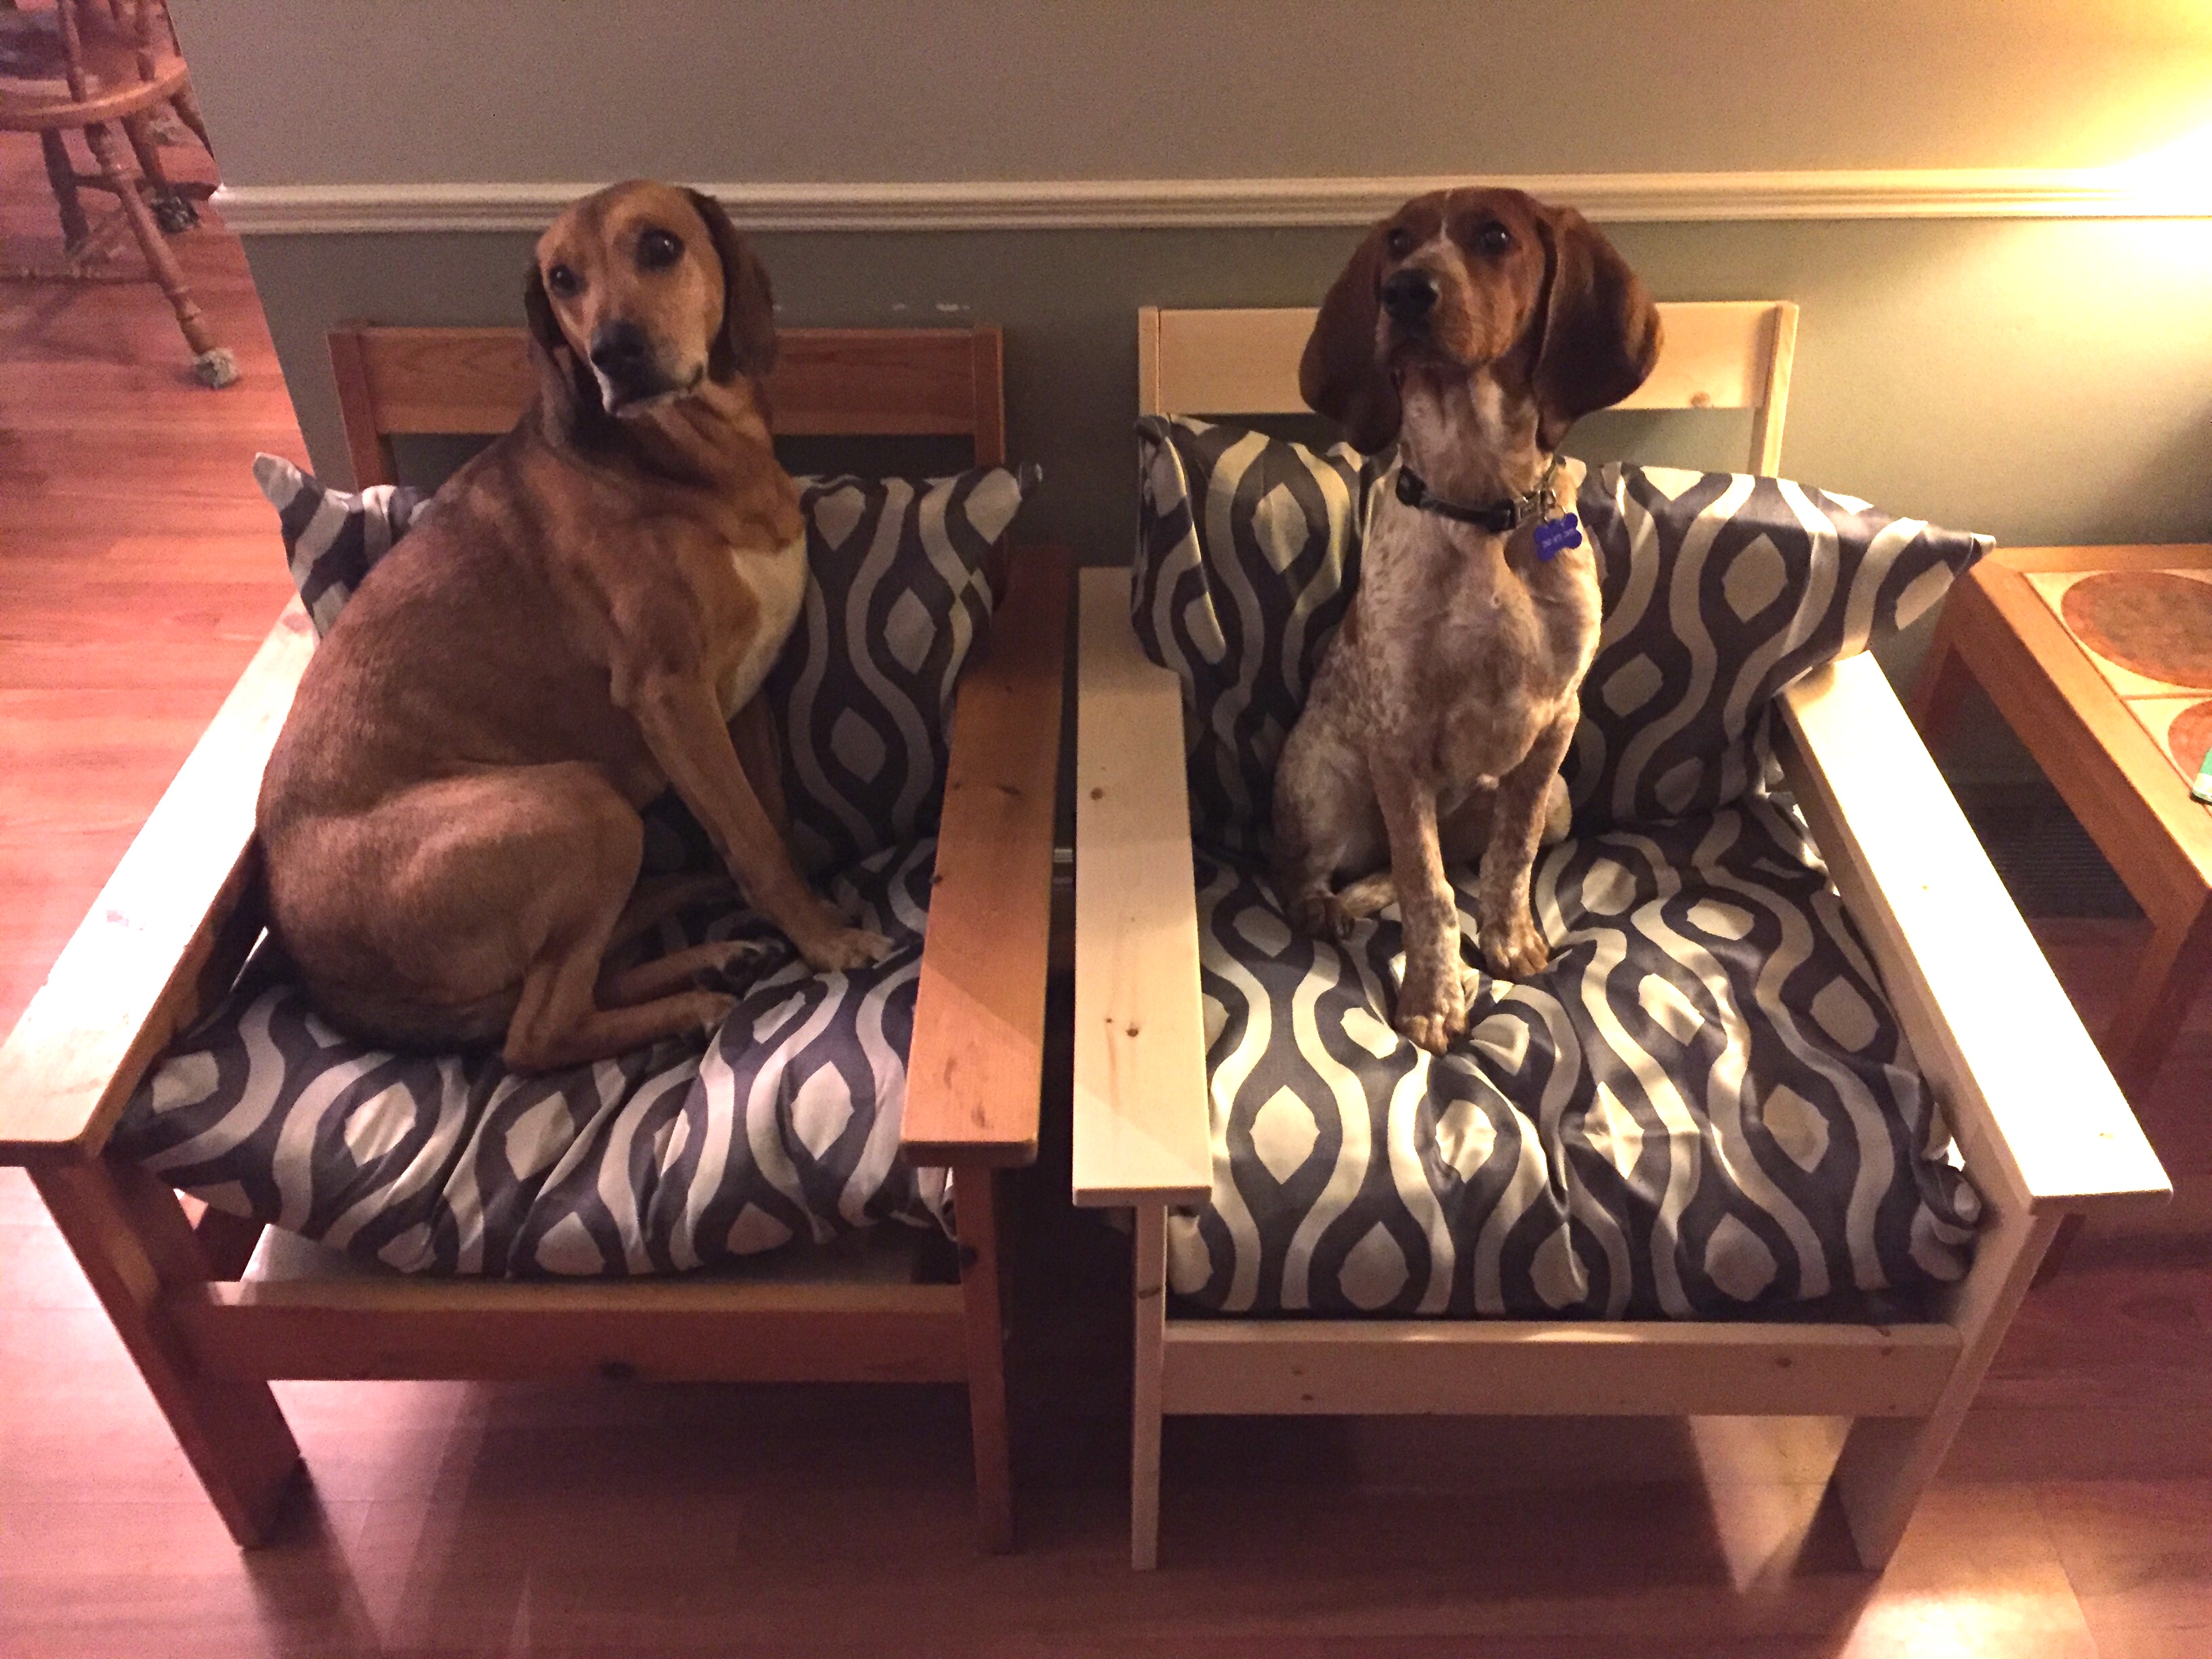
As promised, here are the build plans and supplies list to build Ellie’s Throne. Although we used it for our dogs to enjoy, they are very comfortable chairs and could be a nice addition to your home for people to enjoy instead.
If making them for your own enjoyment, then I recommend either purchasing cushions, or if you can sew or are crafty, make them from some proper foam for a more comfortable seat.
SUPPLIES NEEDED
4 – 1” x 4” x 8′ boards
2 – 1″ x 2″ x 8′ board
1 – 2′ x 2′ x 3/4″ MDF or Plywood sheet
2 – 1/2″ x 48″ dowel
#8 – 1″ & 1-1/4″ screws
Wood glue
Wood filler
Stain
Cushions – For the dogs we used old pillows with custom size pillow cases for the chair
TOOLS NEEDED
Saw – I used both a mitre saw and jigsaw
Drill
1/2″ drill bit
#8 screw bit
Kreg Pocket-Hole Jig
Hammer
Paintbrush or rag depending on the stain you use
Sander – At the time I used a palm sander, but a belt sander or orbital sander also works
DIRECTIONS
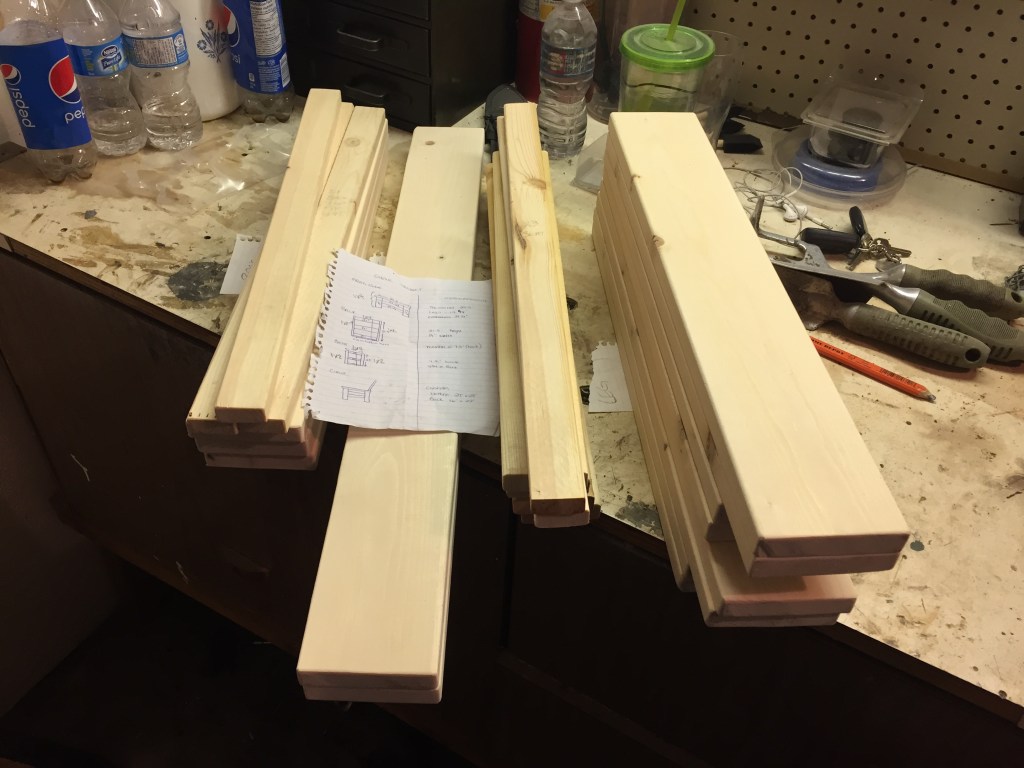
Step 1. Cut your wood
Cut the following lengths of wood:
3 – 1″ x 4″ x 21″
4 – 1″ x 4″ x 21-1/8″
4 – 1″ x 4″ x 19-1/4″
2 – 1″ x 4″ x 29-1/4″
1 – 1″ x 4″ x 22-1/4″
4 – 1″ x 2″ x 21-1/2″
1 – 1″ x 2″ x 22-1/4″
1 – 1″ x 2″ x 21″
18 – 2″ pieces of 1/2″ doweling (optional – if you are using pocket holes for everything, you will not need these pieces)
Step 2. Create the arm tops
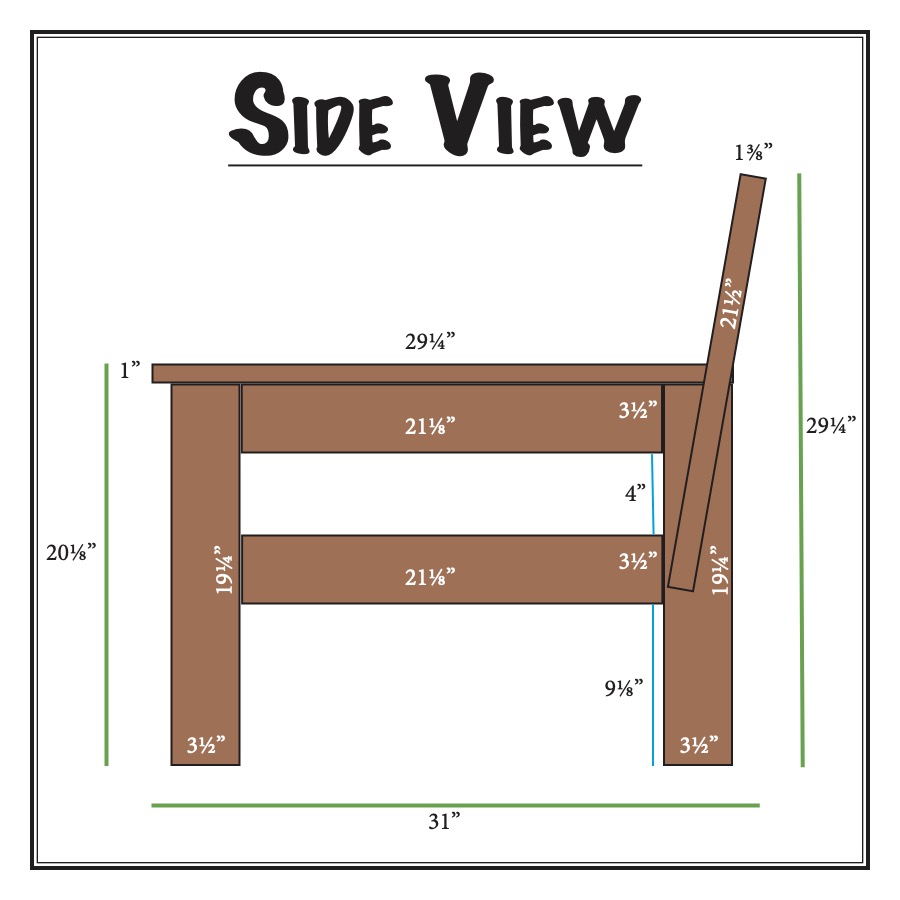
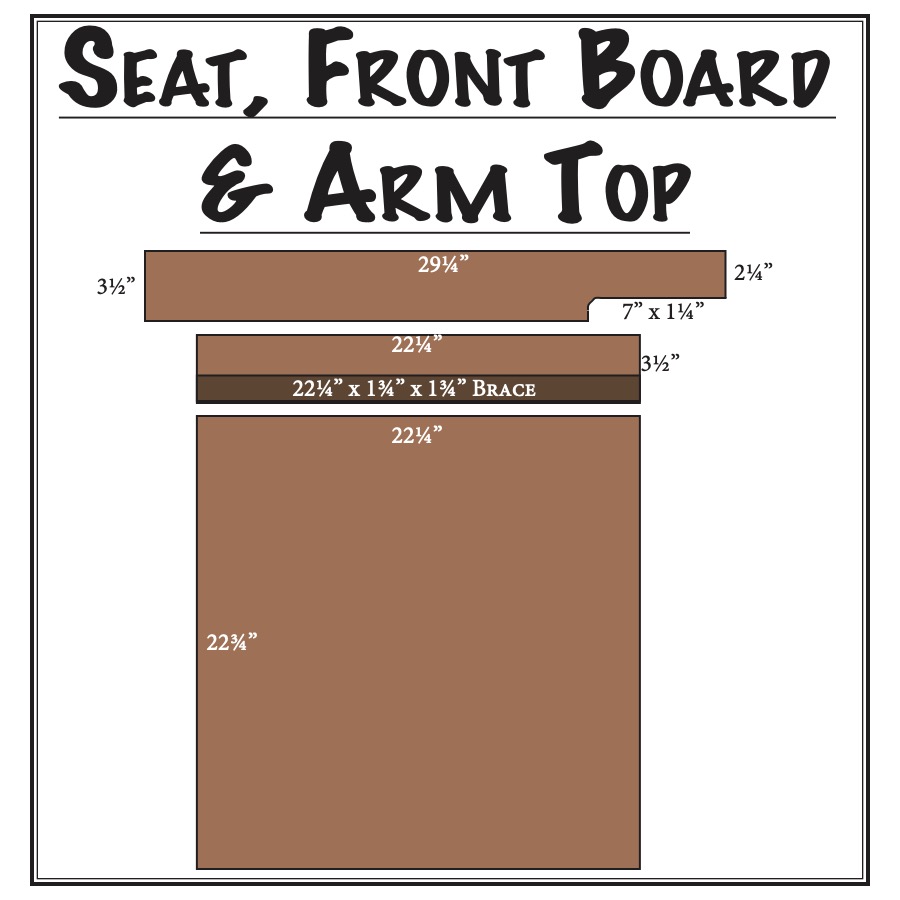
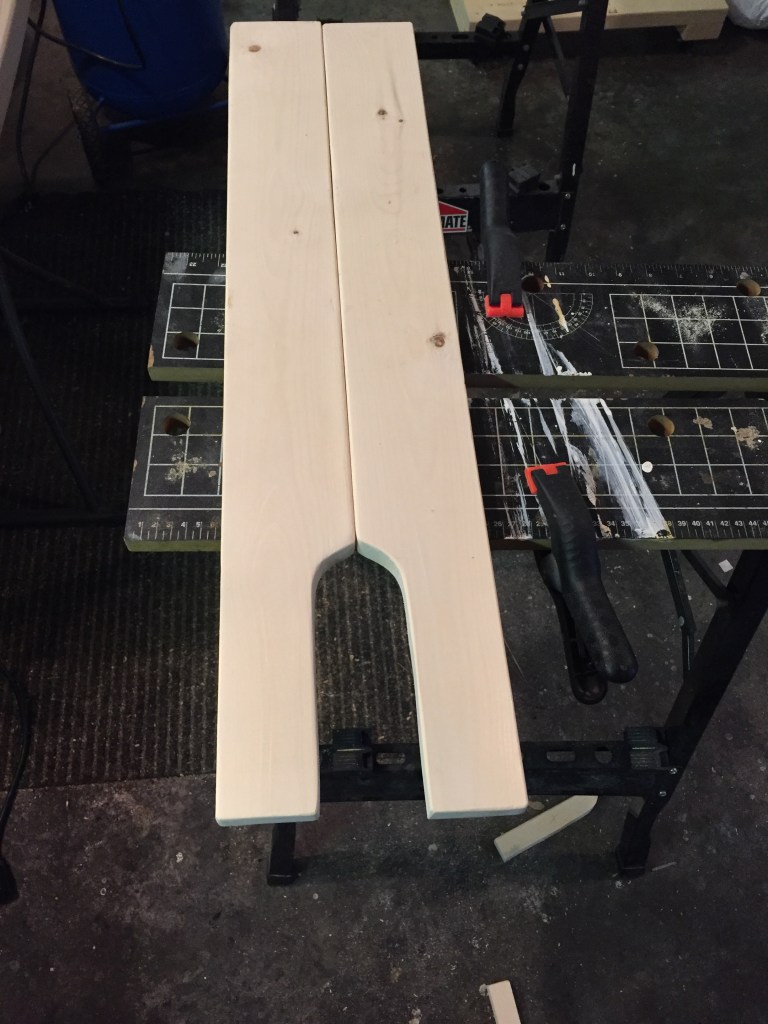
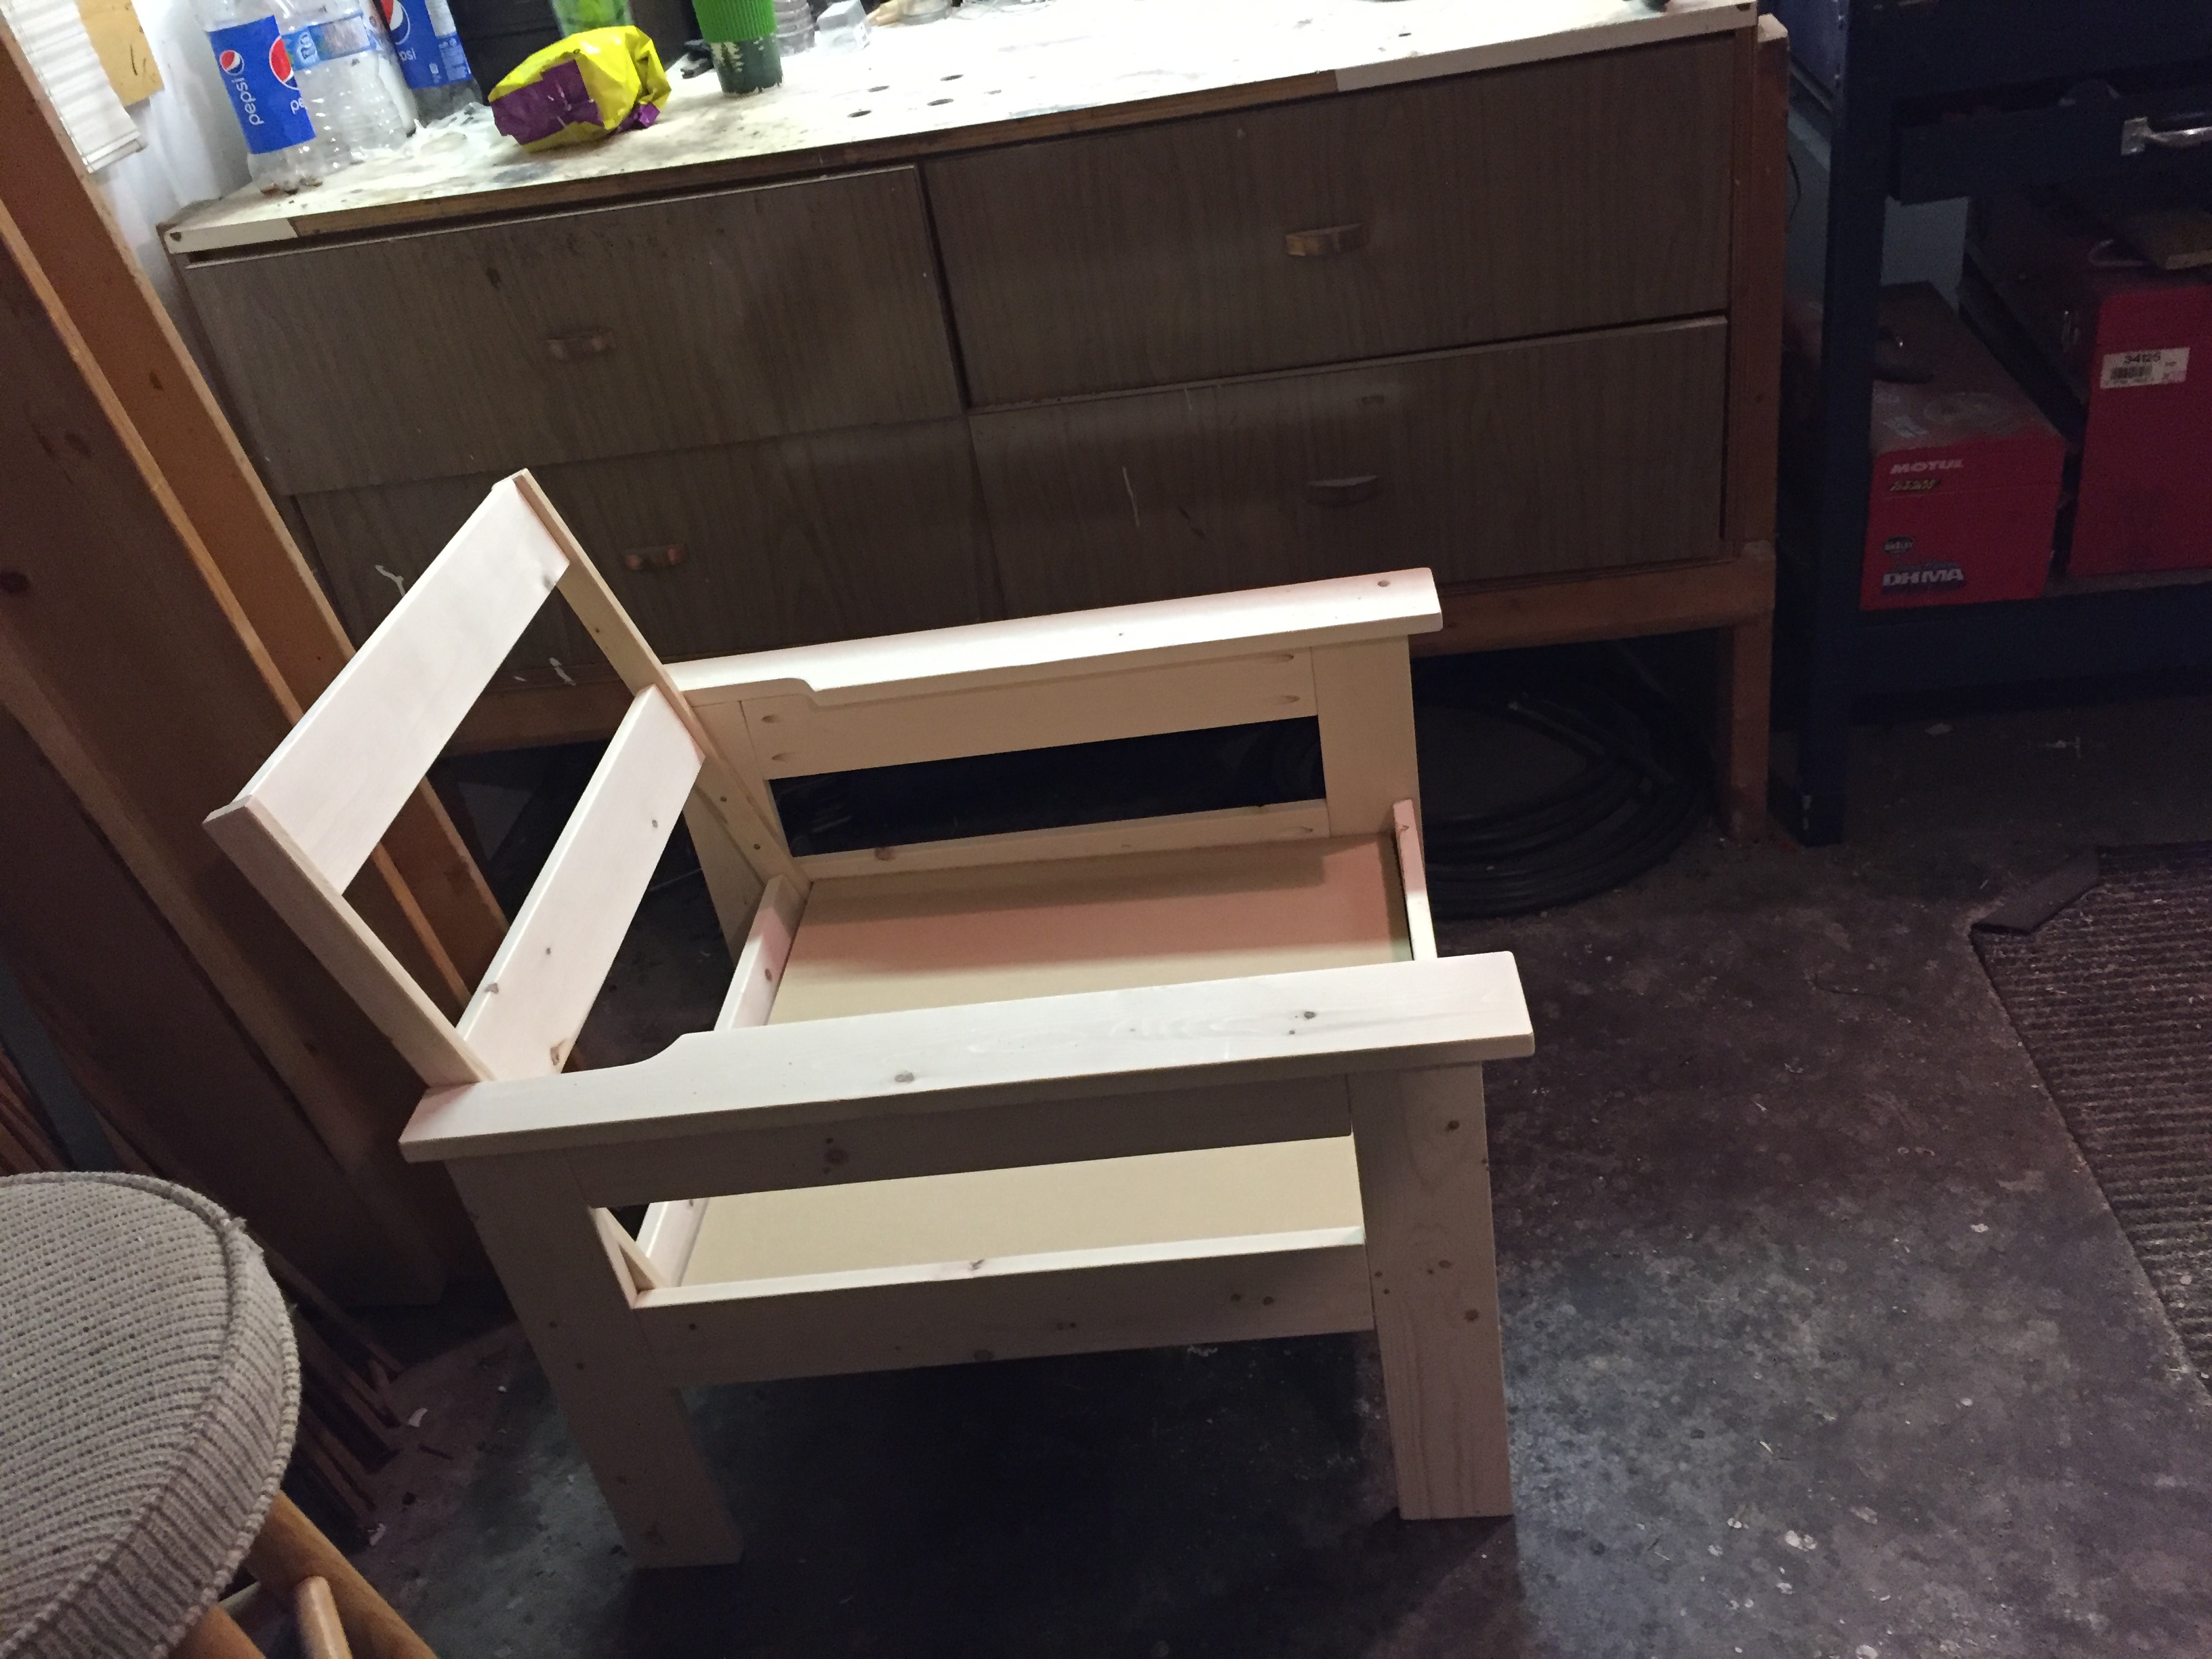
On the 2 pieces of 1″ x 4″ x 29-1/4″, measure a 7″ x 1-1/4″ rectangle at one end. Once you have the rectangle, round the inside corner so as to create a rounded curve. See picture 3 above for reference.
Once drawn on, use a jigsaw to cut out the section on both chair arms.
Step 3. Sand all of the boards for a smooth finish.
Using a sander, ensure all the ends of each board are nicely sanded as well as the lengths of the cut boards. Try not to take too much material off the ends, only sanding enough to create a smooth end.
Step 4. Assemble the legs of the chair
The two legs of each side of the chair are the 1″ x 4″ x 19-1/4″ boards. You will also need the 1″ x 4″ x 21-1/8″ boards as they attach to the legs for nice solid sides.
Using the Kreg pocket-hole jig, drill 2 pocket holes on each side of the 1″ x 4″ x 21-1/8″ boards, one near the top and 1 near the bottom.
Lay one of the 1″ x 4″ x 19-1/4″ boards on a table and line up a 1″ x 4″ x 21-1/8″ board perpendicular with one end. Clamp both pieces down once lined up to ensure they do not shift, then screw the pieces together using a 1″ screw.
Measure 4″ from the bottom of the 1″ x 4″ x 21-1/8″ board you just attached, and line up the next 1″ x 4″ x 21-1/8″ board. Clamp again and screw together the pieces.
Lay the other 1″ x 4″ x 19-1/4″ board on the opposite side of the two boards you just attached, ensuring that it mirrors the other side and is lined up with the top. Clamp down the pieces and screw the boards together.
Repeat this step with the 2 remaining 1″ x 4″ x 19-1/4″ and 1″ x 4″ x 21-1/8″ boards. You should now have 2 legs/sides of the chair constructed.
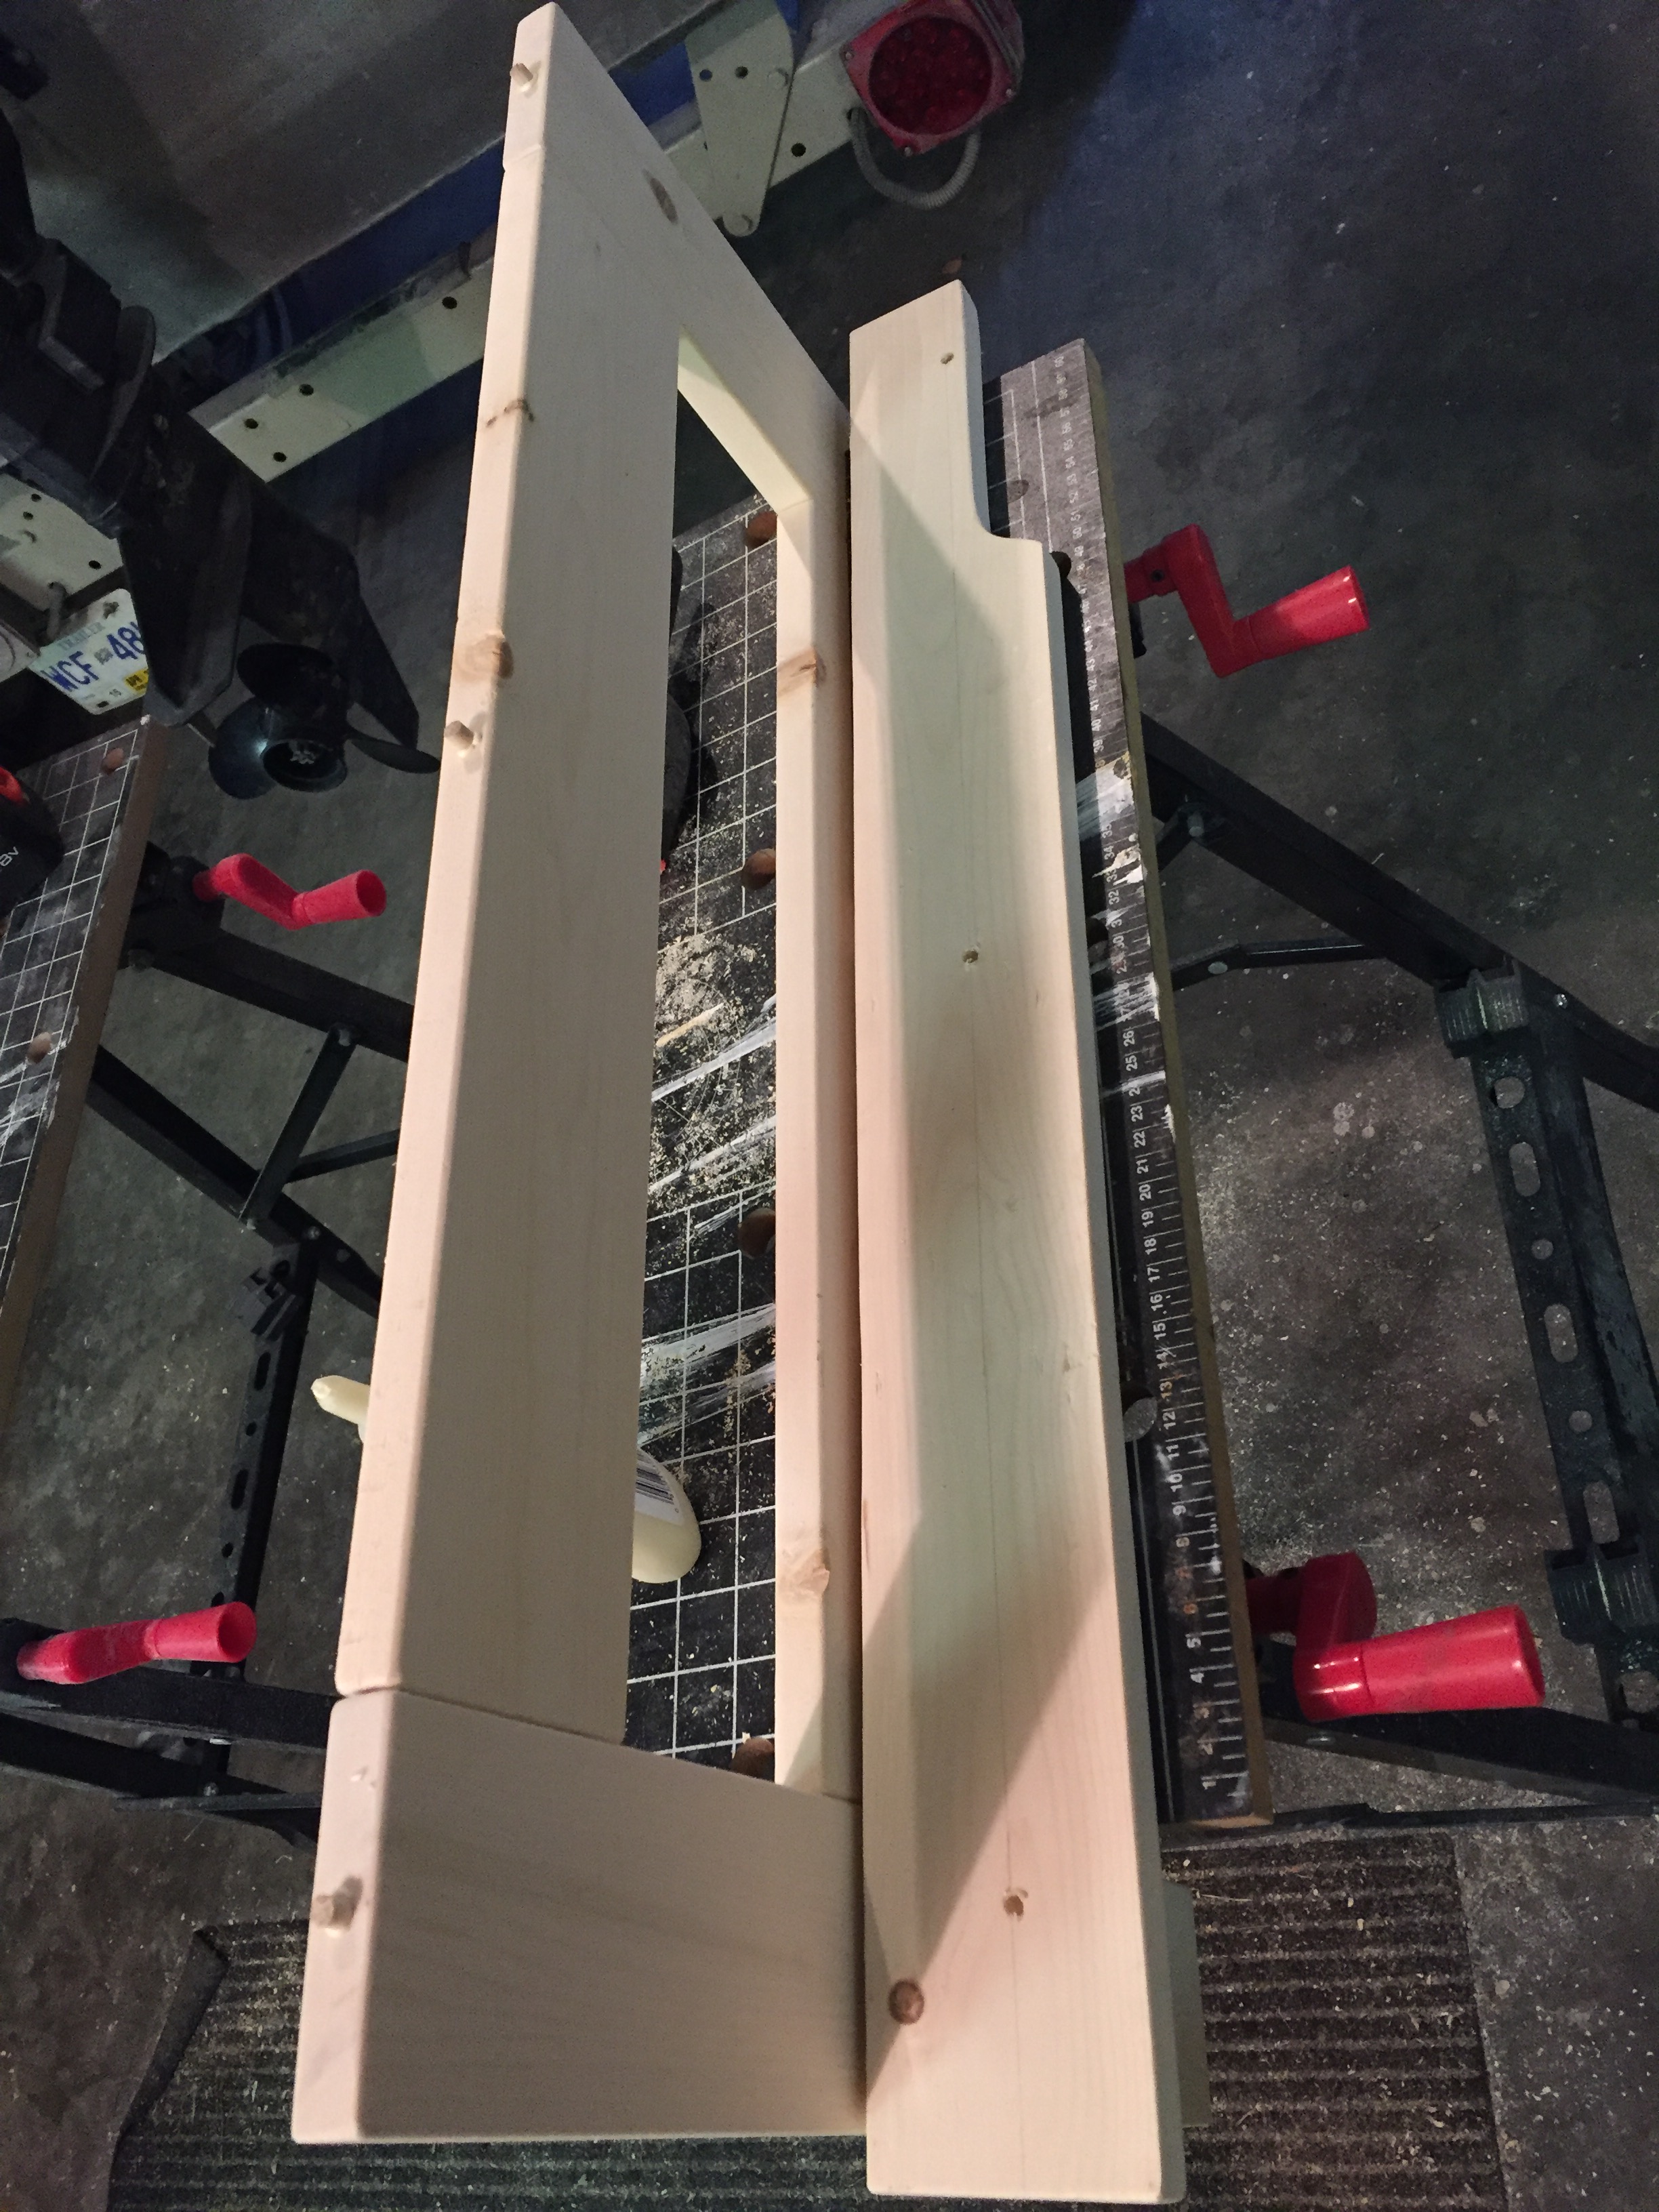
Step 5. Doweling Holes for the Arm Top
I chose to use doweling to assemble the chair because I wanted to try using the doweling method for putting together this chair. If you are not interested in fiddling with doweling, you can use pocket holes instead for a faster assembly. I used doweling on both the back piece as well as the arm tops. If using the pocket hole option, use 2 pocket holes on each side of the 1″ x 4″ x 21″ back pieces, screwing into the side 1″ x 2″ pieces. For the arm tops, put 3-4 pocket screws into the legs and cross board to ensure a secure hold. See the picture below showing the location of the doweling for reference as to where to place the pocket holes.
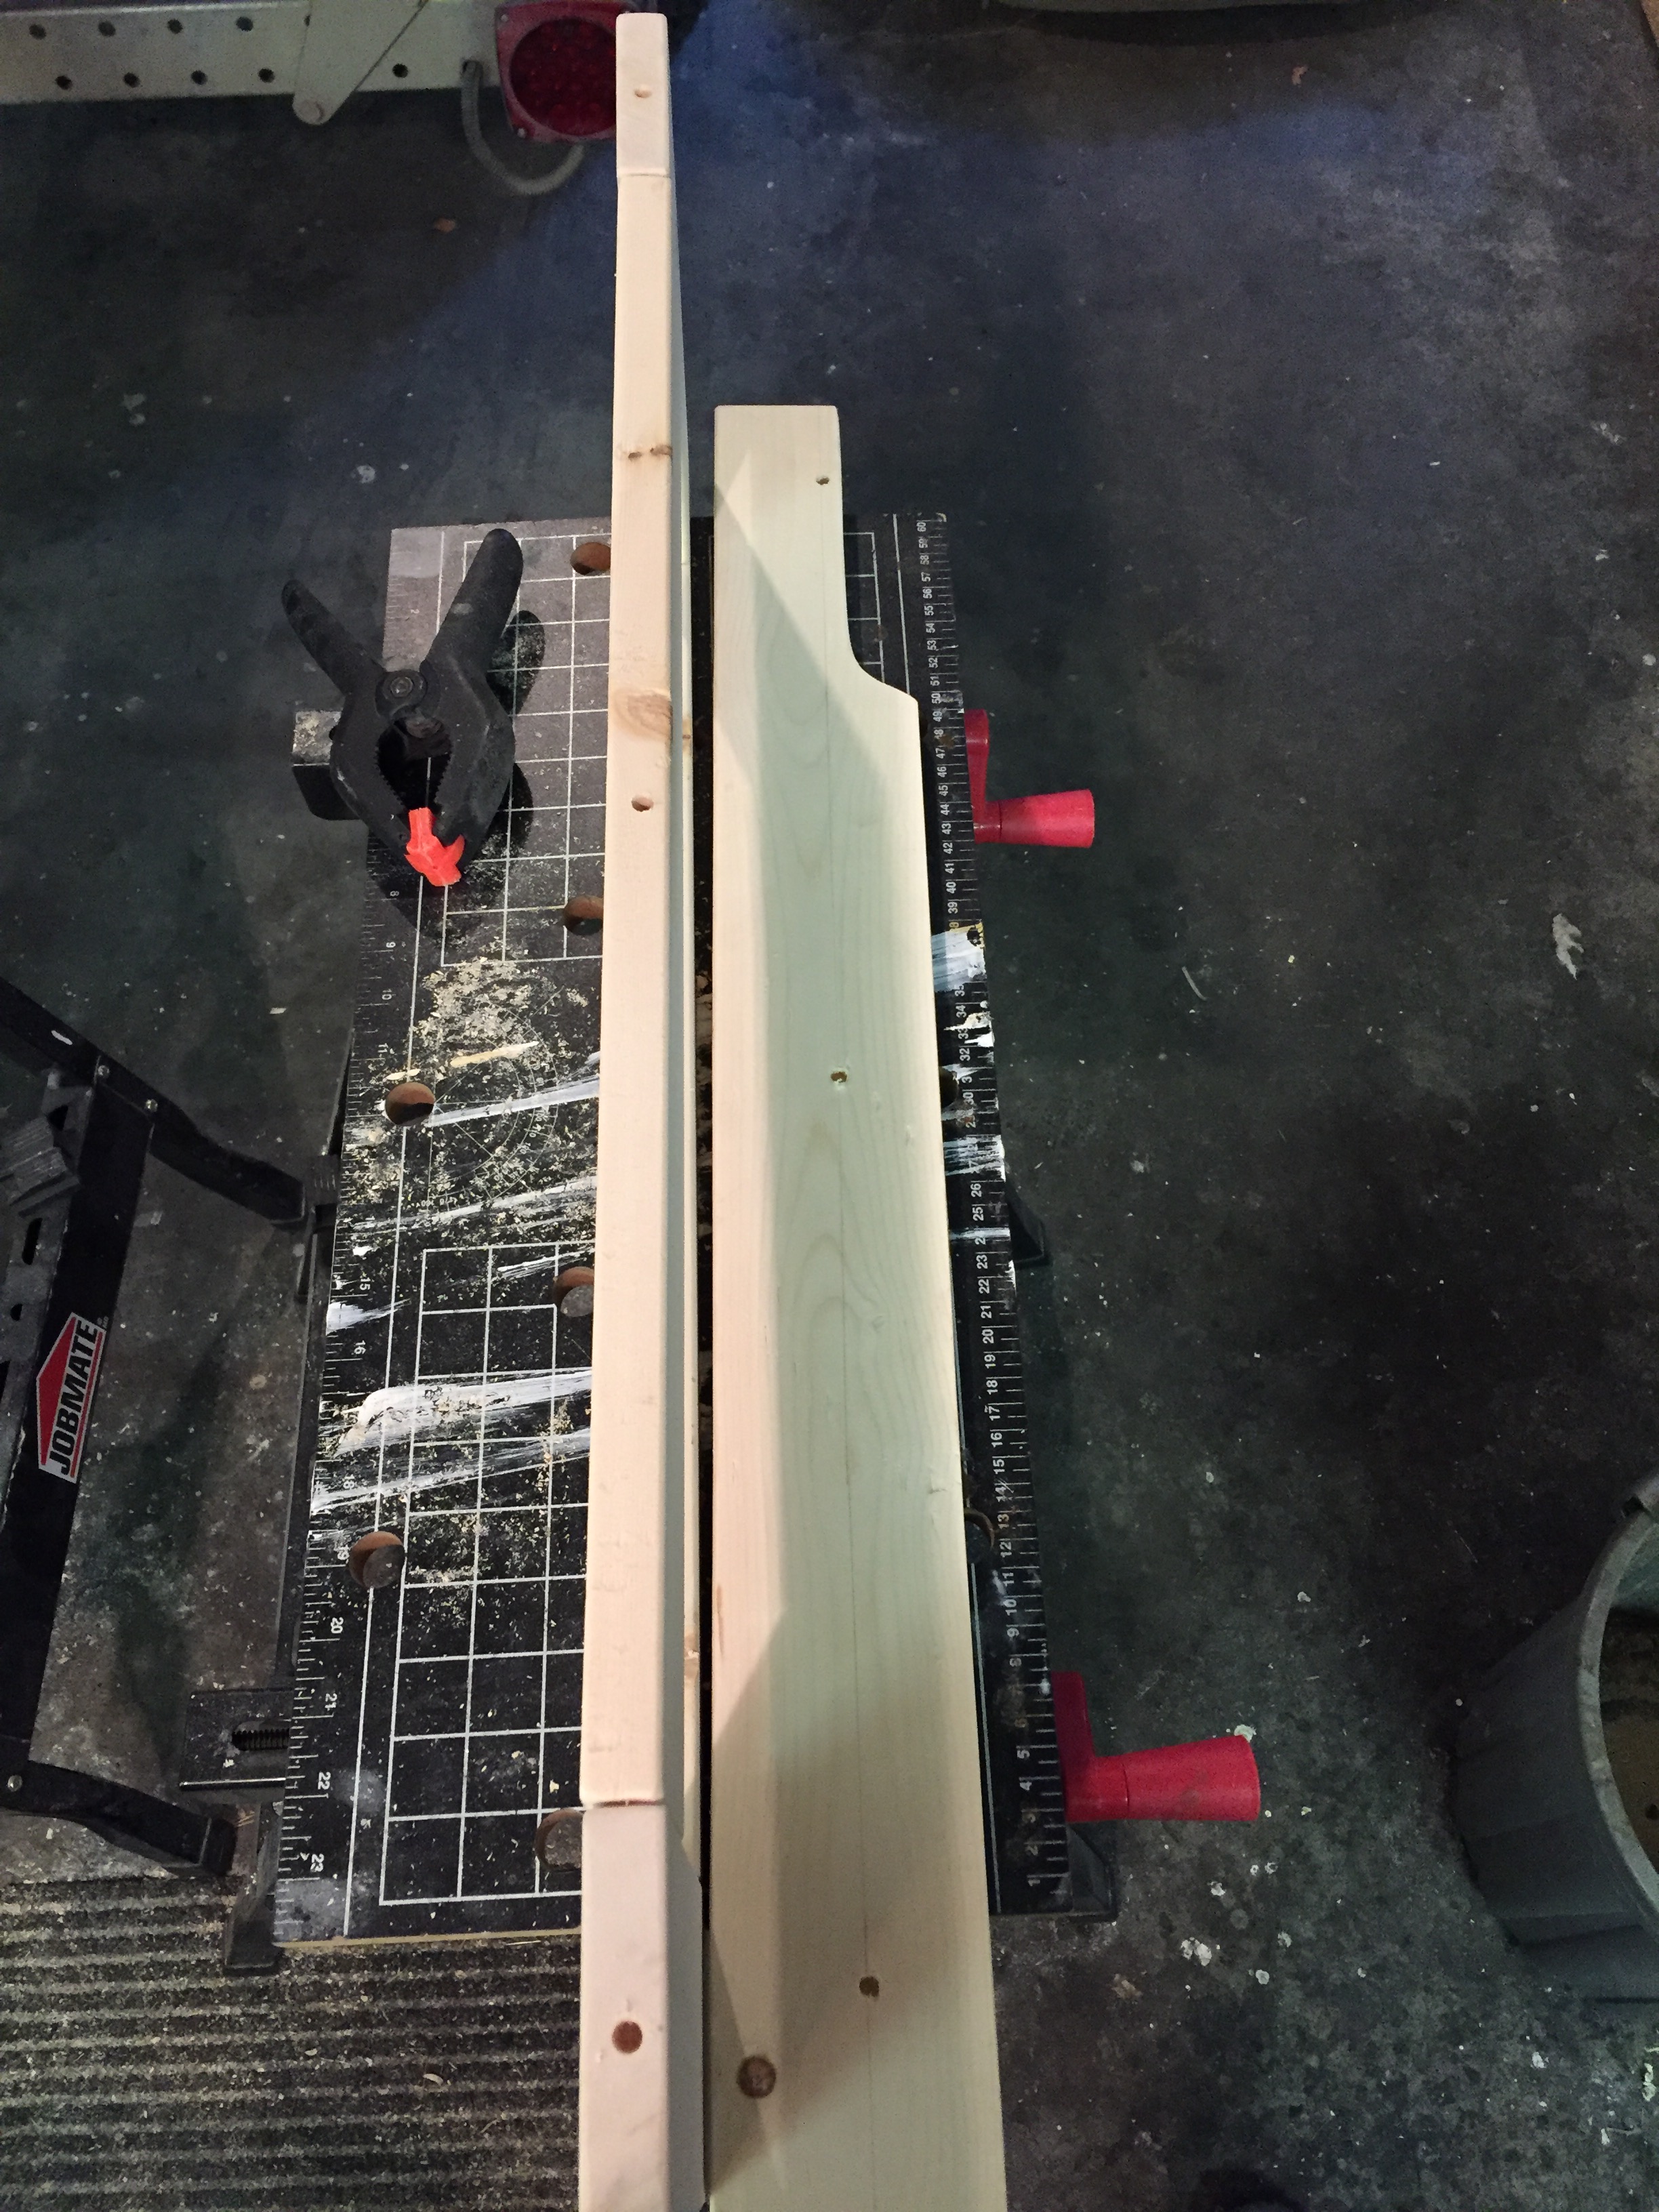
For the doweling, I did not have a jig and I managed to make it work out well. The key is being very specific with your measurements. I used some work-tables to clamp my chair leg into place. I then measured out my 3 doweling holes, quadruple checking to ensure they were centred and nicely lined up. I placed one at 1-3/4″ in from either end and then one at 14-1/16″ (centre). I then used my drill with a 1/2″ drill bit to drill the holes approx. 1-1/2″ deep. Again, without a jig, you have to rely on your own precision for your holes, so I worked to have the drill as perfectly straight as possible when drilling down into the wood. A drill-press would also be handy for this part if you have it, but I didn’t and still don’t, so this method is what I went with.
The holes in the arm top are a little more tricky, but certainly manageable. I went with a 1-1/2″ overhang on the outside of the arm, leaving a 1-1/8″ overhang on the inside of the arm. This should leave your “cushion slot” lined up and flush on the inside of the chair. If it isn’t, adjust so that it is. This will be important later when attaching the back of the chair.
It is easiest to measure from the outside edge of the arm top since you will have cut your cushion slot into the back end already. From the outside edge, and the back of the arm, you will need to measure 1-7/8″ in from the outside edge. Mark your points at 1-3/4″, 14-1/6″ and 26-3/8″. Once again, quadruple check to make sure they all line up, then drill a 1/2″ deep hole, being careful as the board is only 5/8″-3/4″ thick,
Once all of your holes are drilled, I did a dry-fit with the doweling to ensure everything lined up nicely and that the arms were straight. If there are any issues, you can create new dowel holes as they will be covered later once the top of the arm is attached.
Once you have the fit right, fill your holes with wood-glue, the more the merrier, and attach your arm tops. Using a clean rag or cloth, wipe away any excess glue. Let the glue dry as per the bottle instructions. I left mine to dry for 24 hours to ensure a good hold.


Step 6. Assembling the back of the chair
I once again used the dowel method, however, you are welcome to use pocket holes.
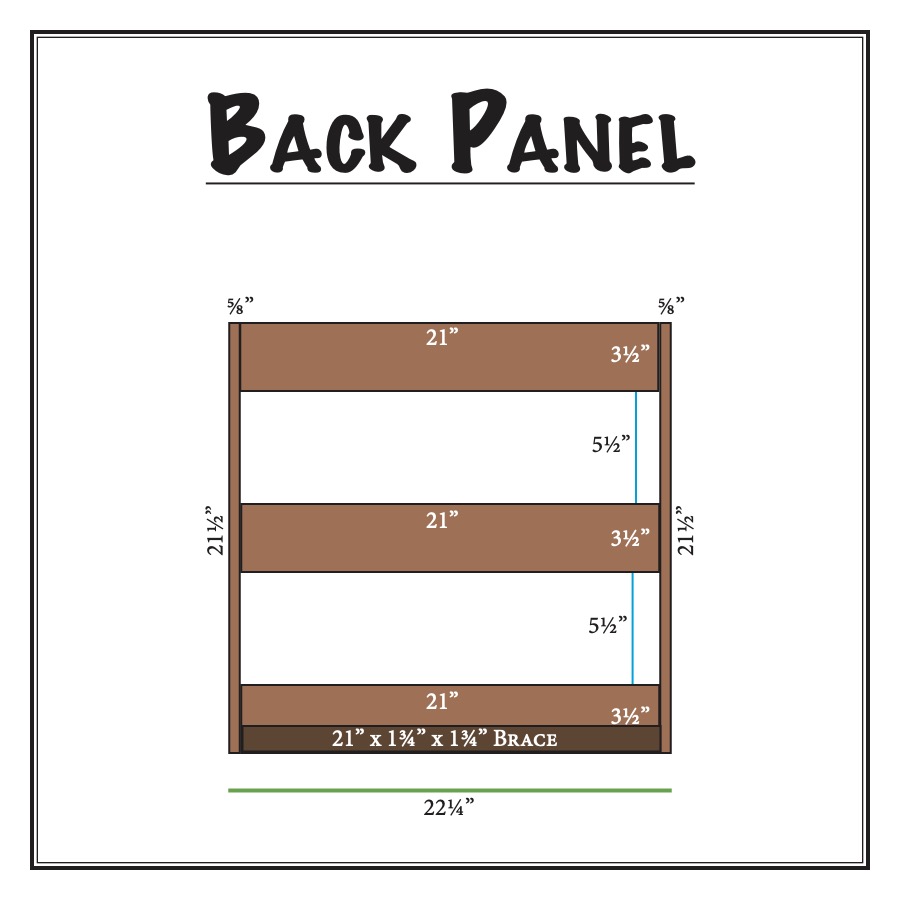
I started by adding my doweling to the three 1″ x 4″ x 21″ boards. I placed each one approximately 1/4″ from either end of the board. At this point, each doweling was dry-fit into each board.
Instead of fiddling with measuring each doweling, I lined up the boards as they needed to be attached to the 1″ x 2″ x 21-1/2″ side bars, then drew a line using a carpenter square where each doweling was placed. From there, I measured to the centre of the board and marked my holes. This is by no means a good way to measure for doweling holes, but it worked for me and saved me fussing without a proper jig.
Once all the holes were drilled, I tested out with a dry fit, and luckily everything nicely lined up. I then glued it all together and left it for 24 hours to dry.

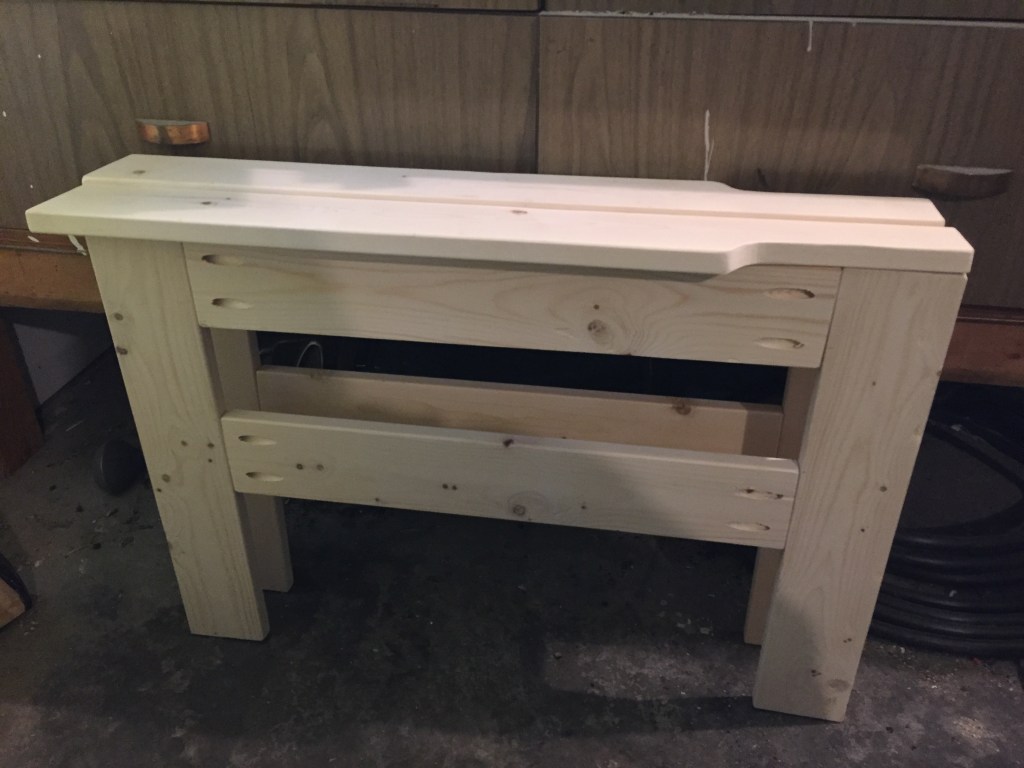
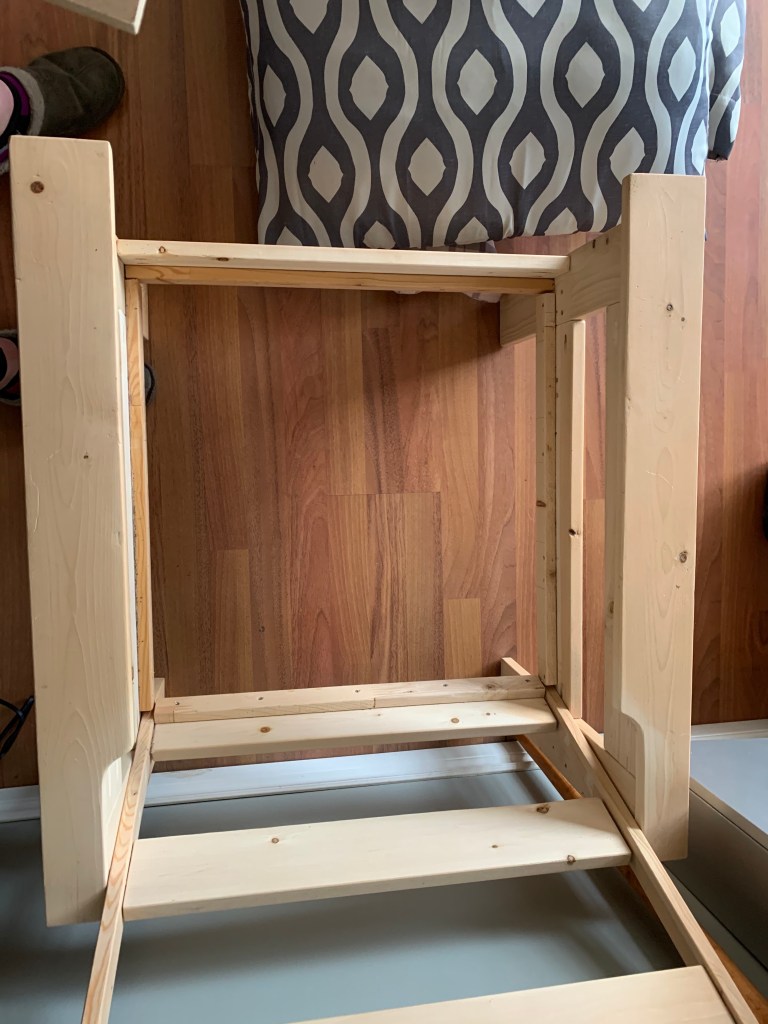
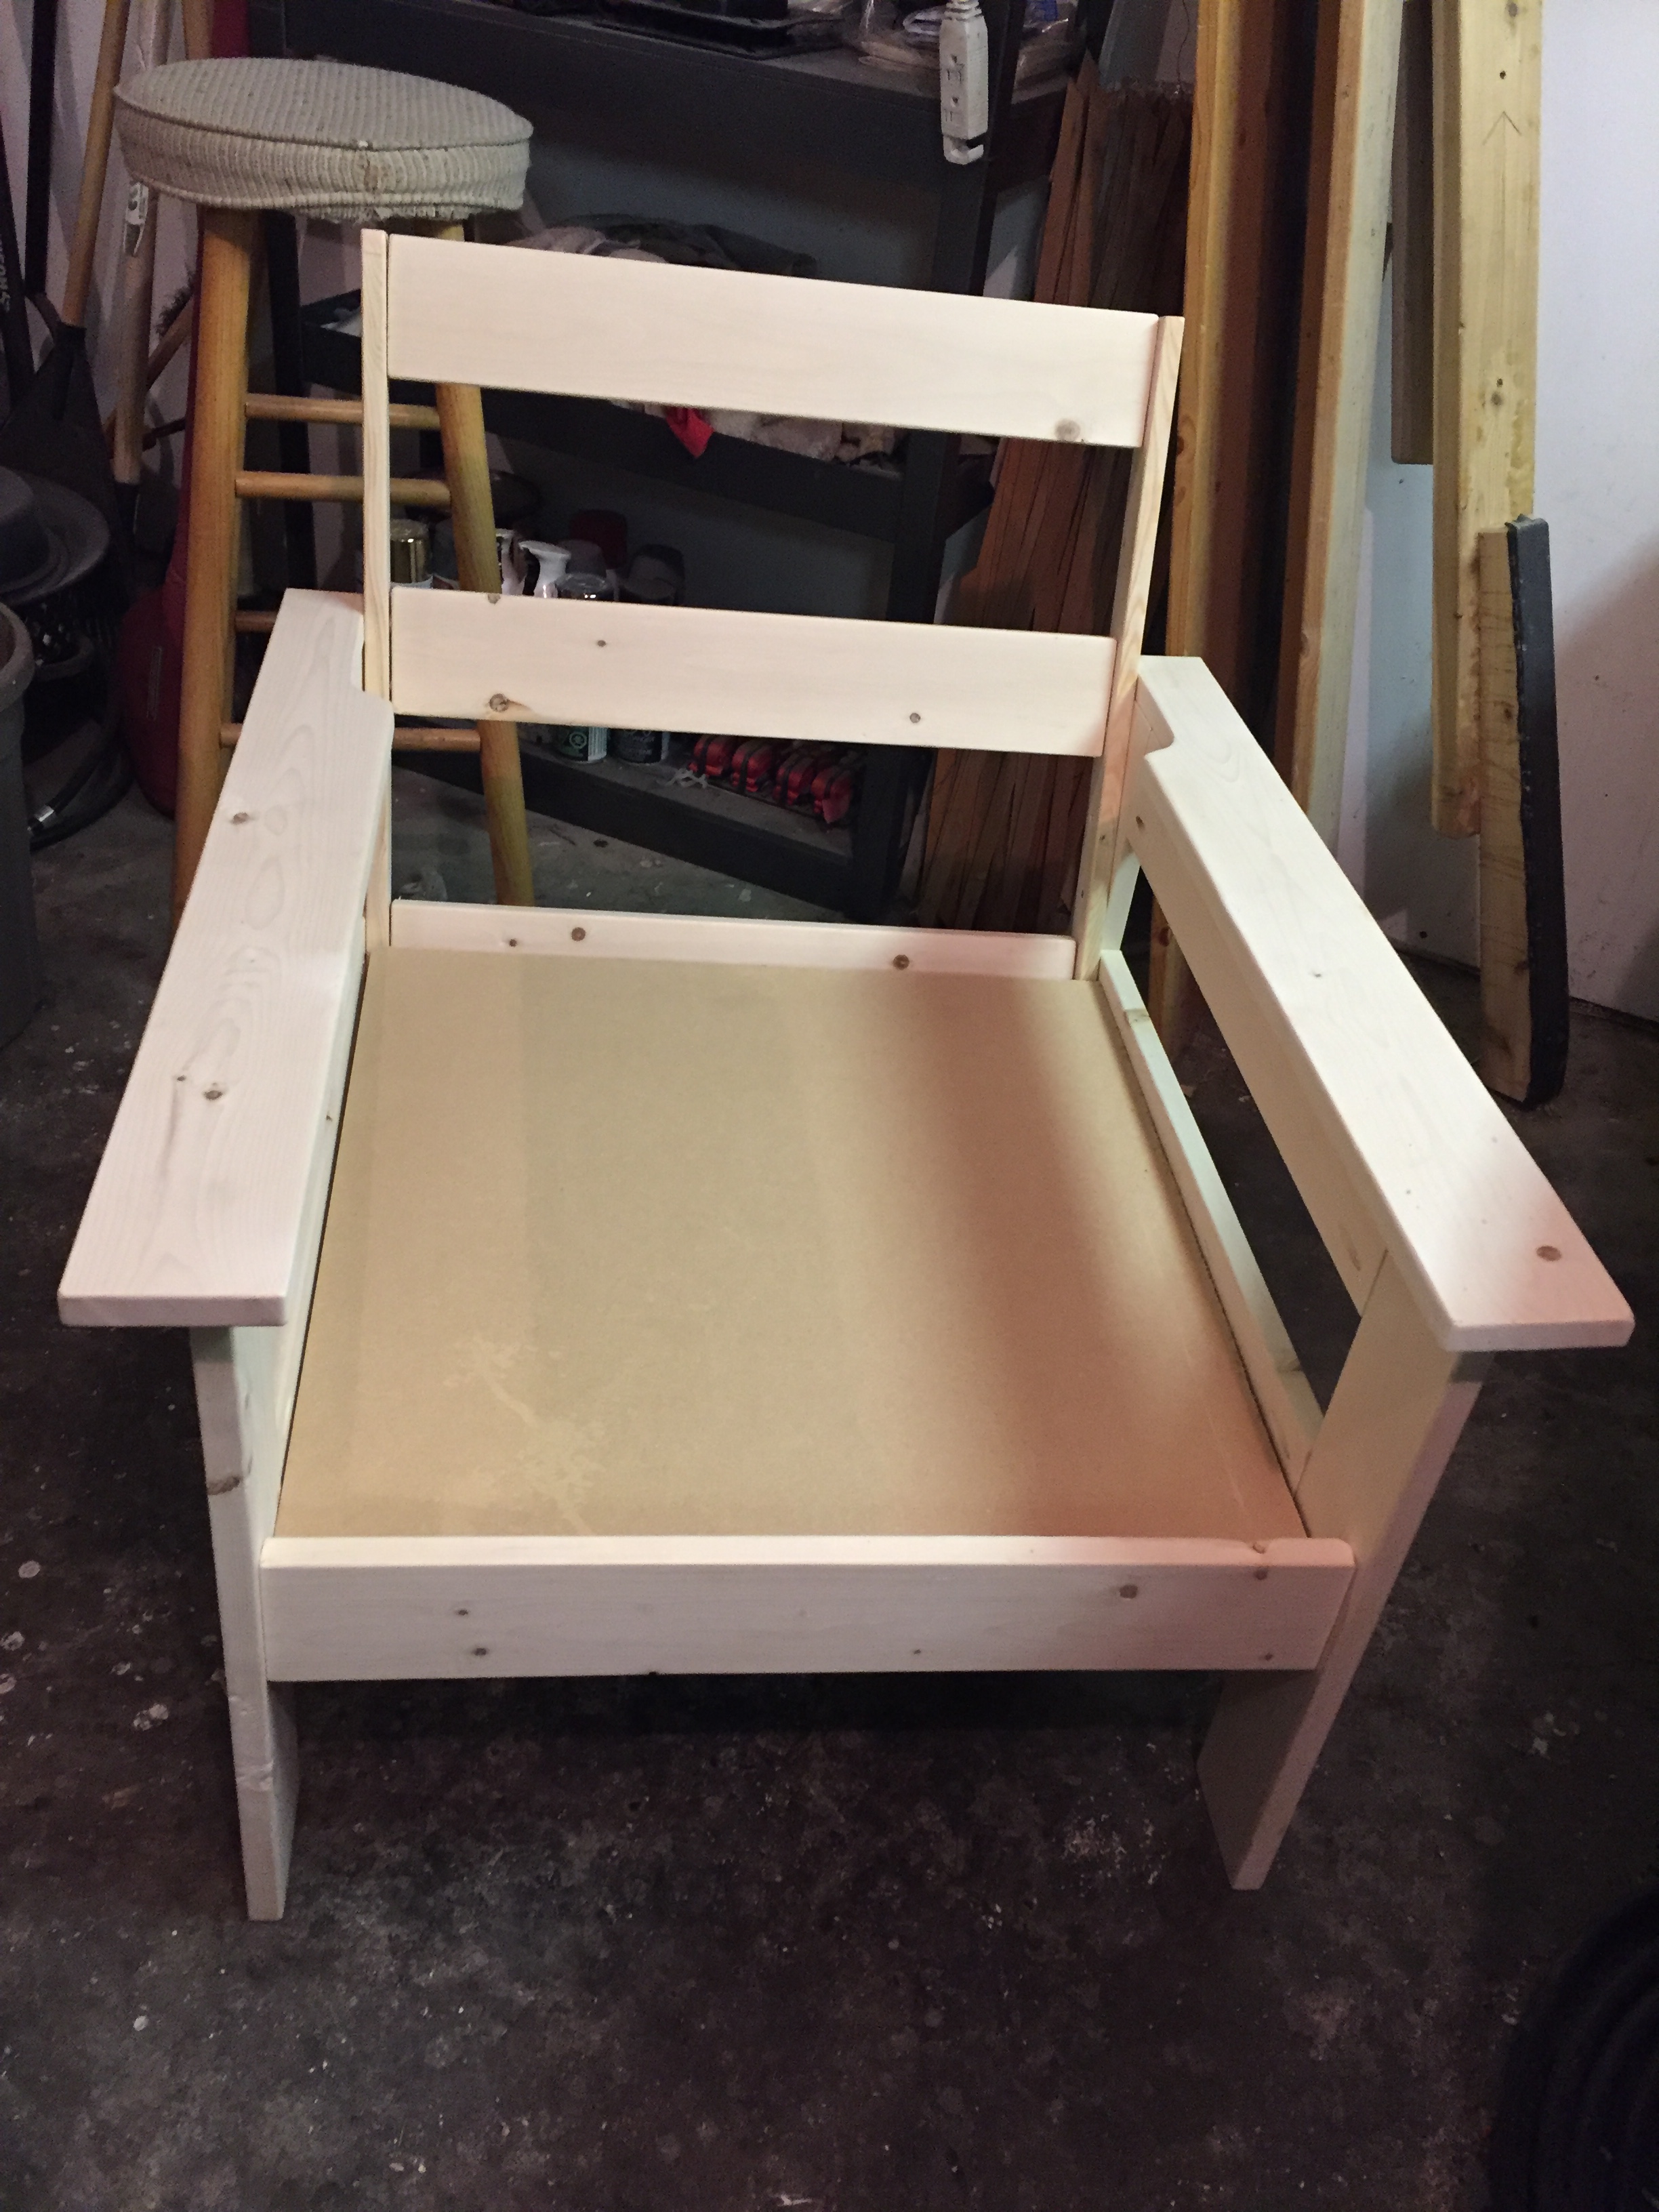
Step 7. Assembling the frame
Once all my glue was dry and the holds secure, it was time to assemble the frame of the chair using all my pieces. I started with the back of the chair. Laying one of the sides of the chair on it’s side on a work-table, I used the bottom board of the chair side as the “bottom” of where my chair back would be attached. I then clamped the back so that the bottom of the back was lined up with the inside edge of the back leg and then angled so that the back lined up with the outside edge of the leg at the top.
I then drilled pilot holes and used 1-1/4″ screws to attach. I then repeated the process with the other leg. I placed 4 screws on each side of the back to ensure a solid and sturdy hold.
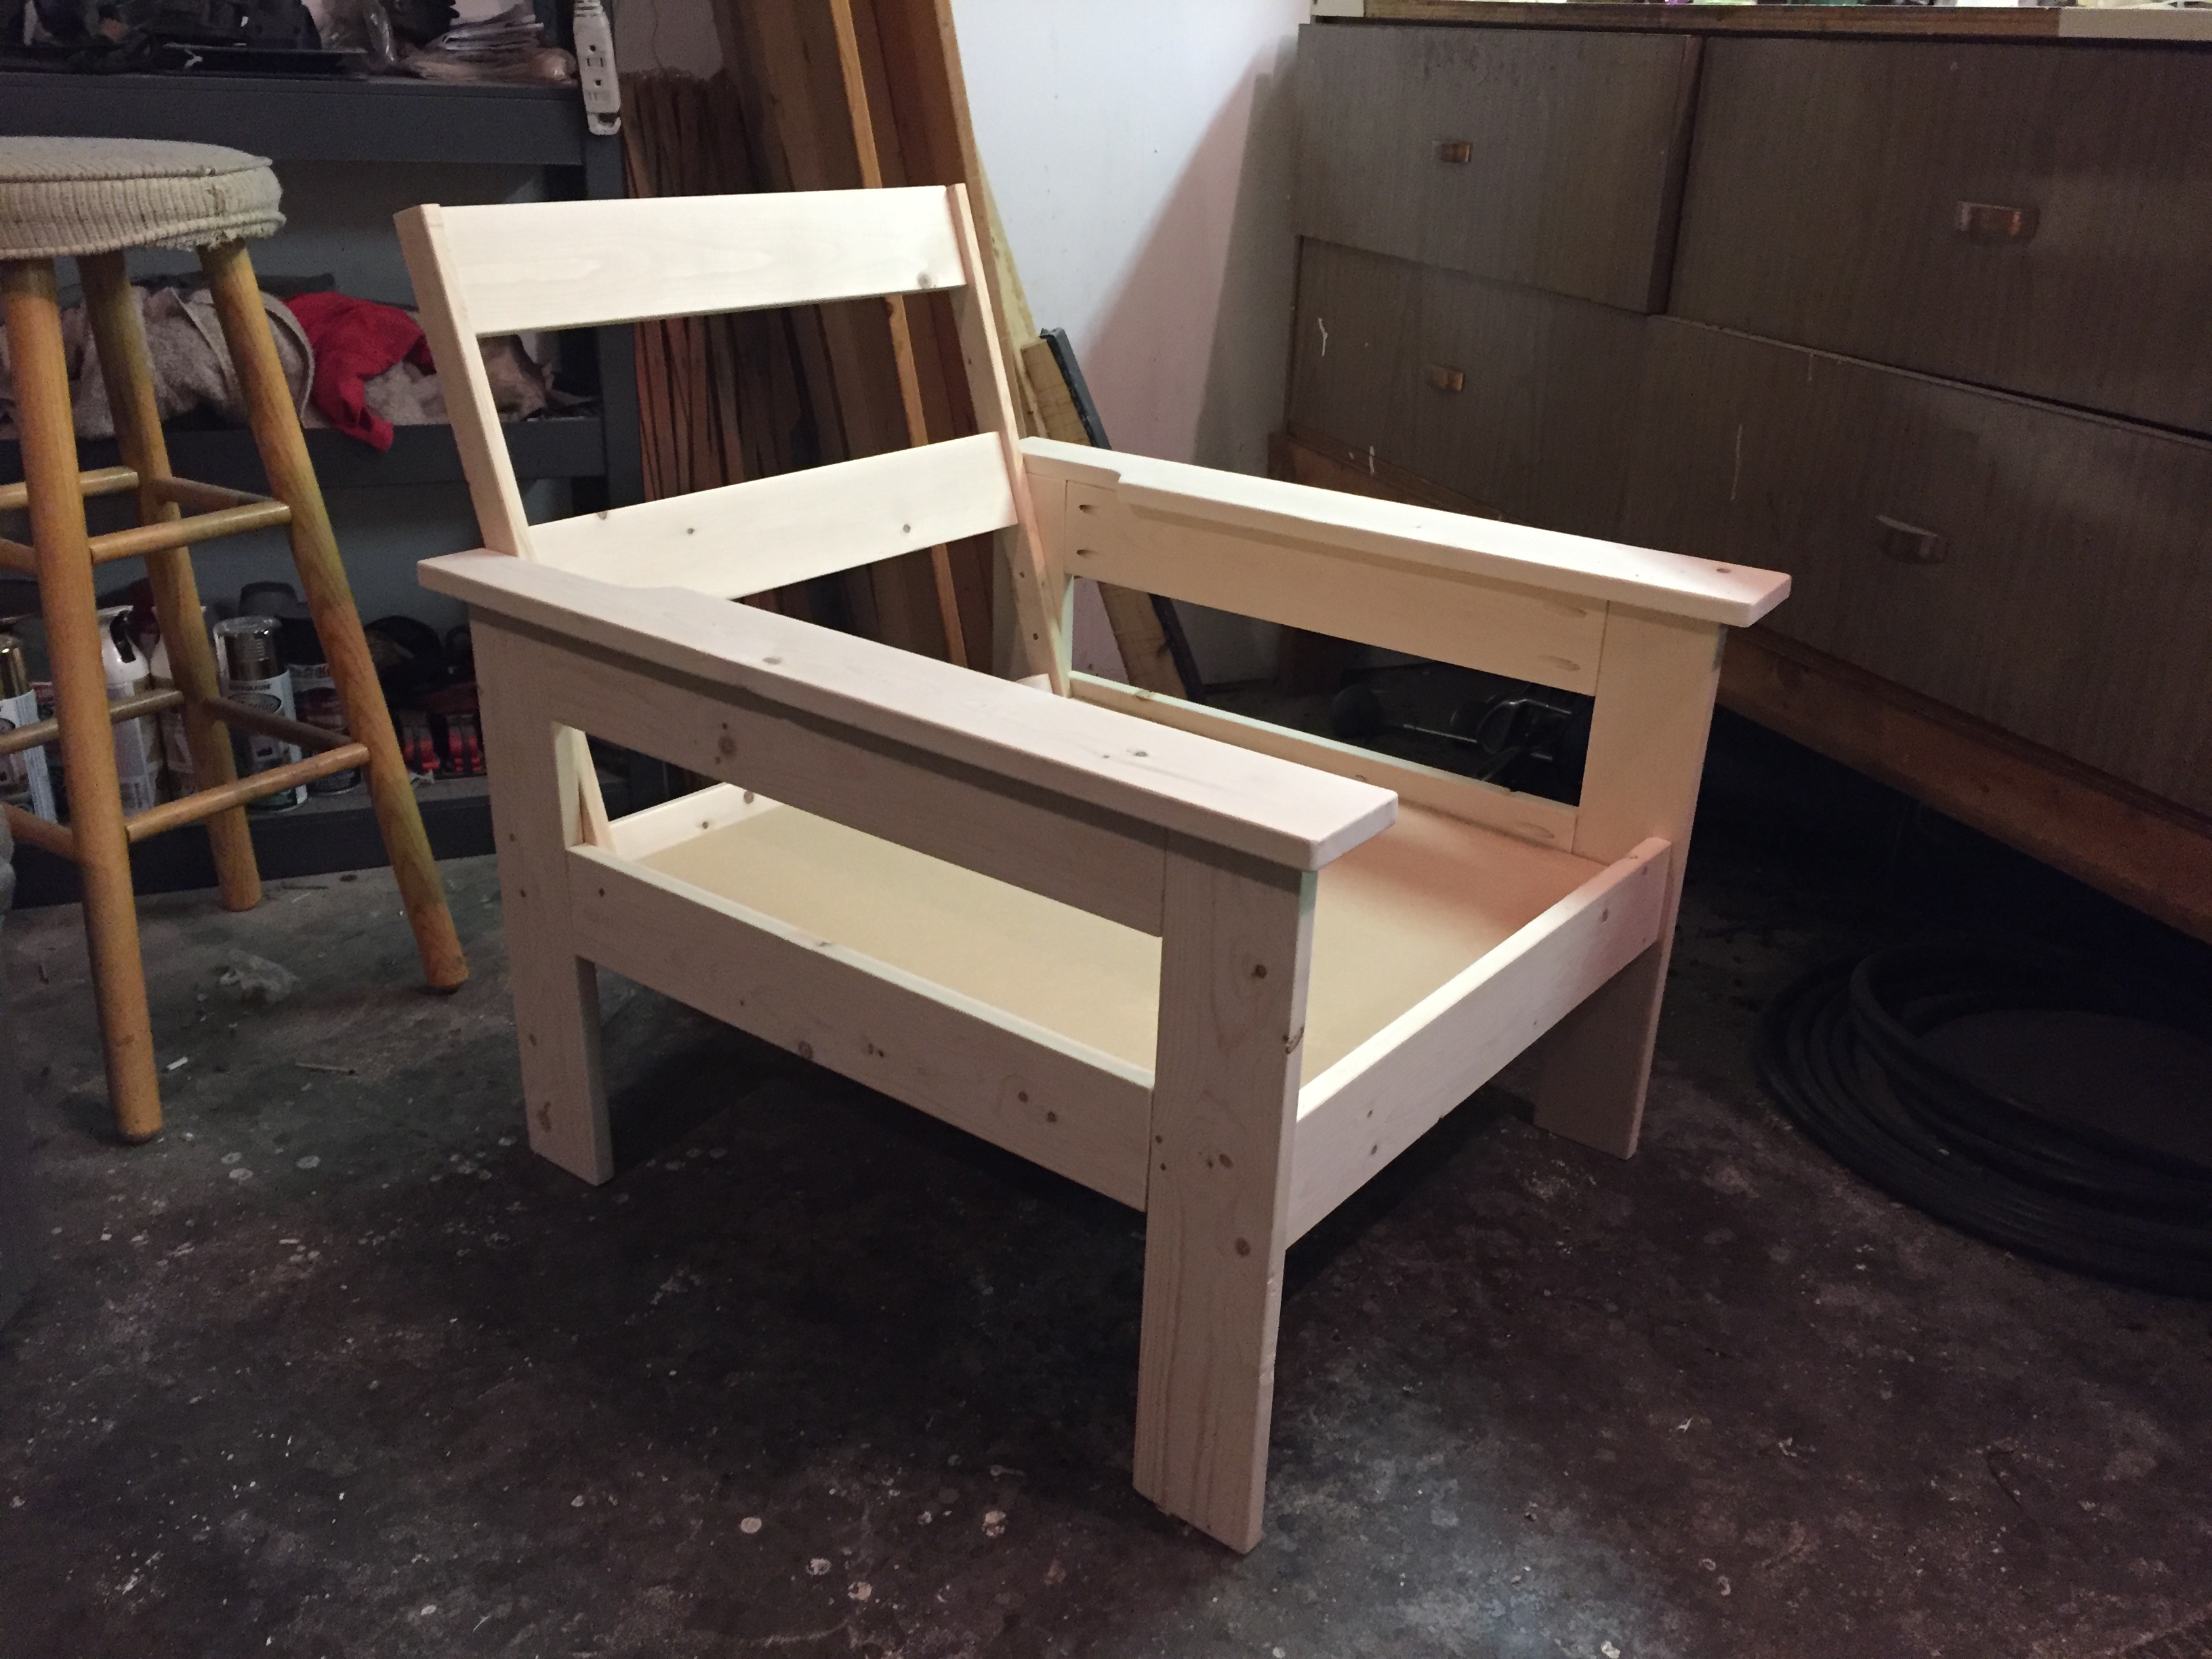
Using the kreg pocket-hole jig, I added 4 holes, 2 per side, on the 1″ x 4″ x 22-1/4″ board that would be the front piece to finish the frame. Viola! I now had the chair frame complete.
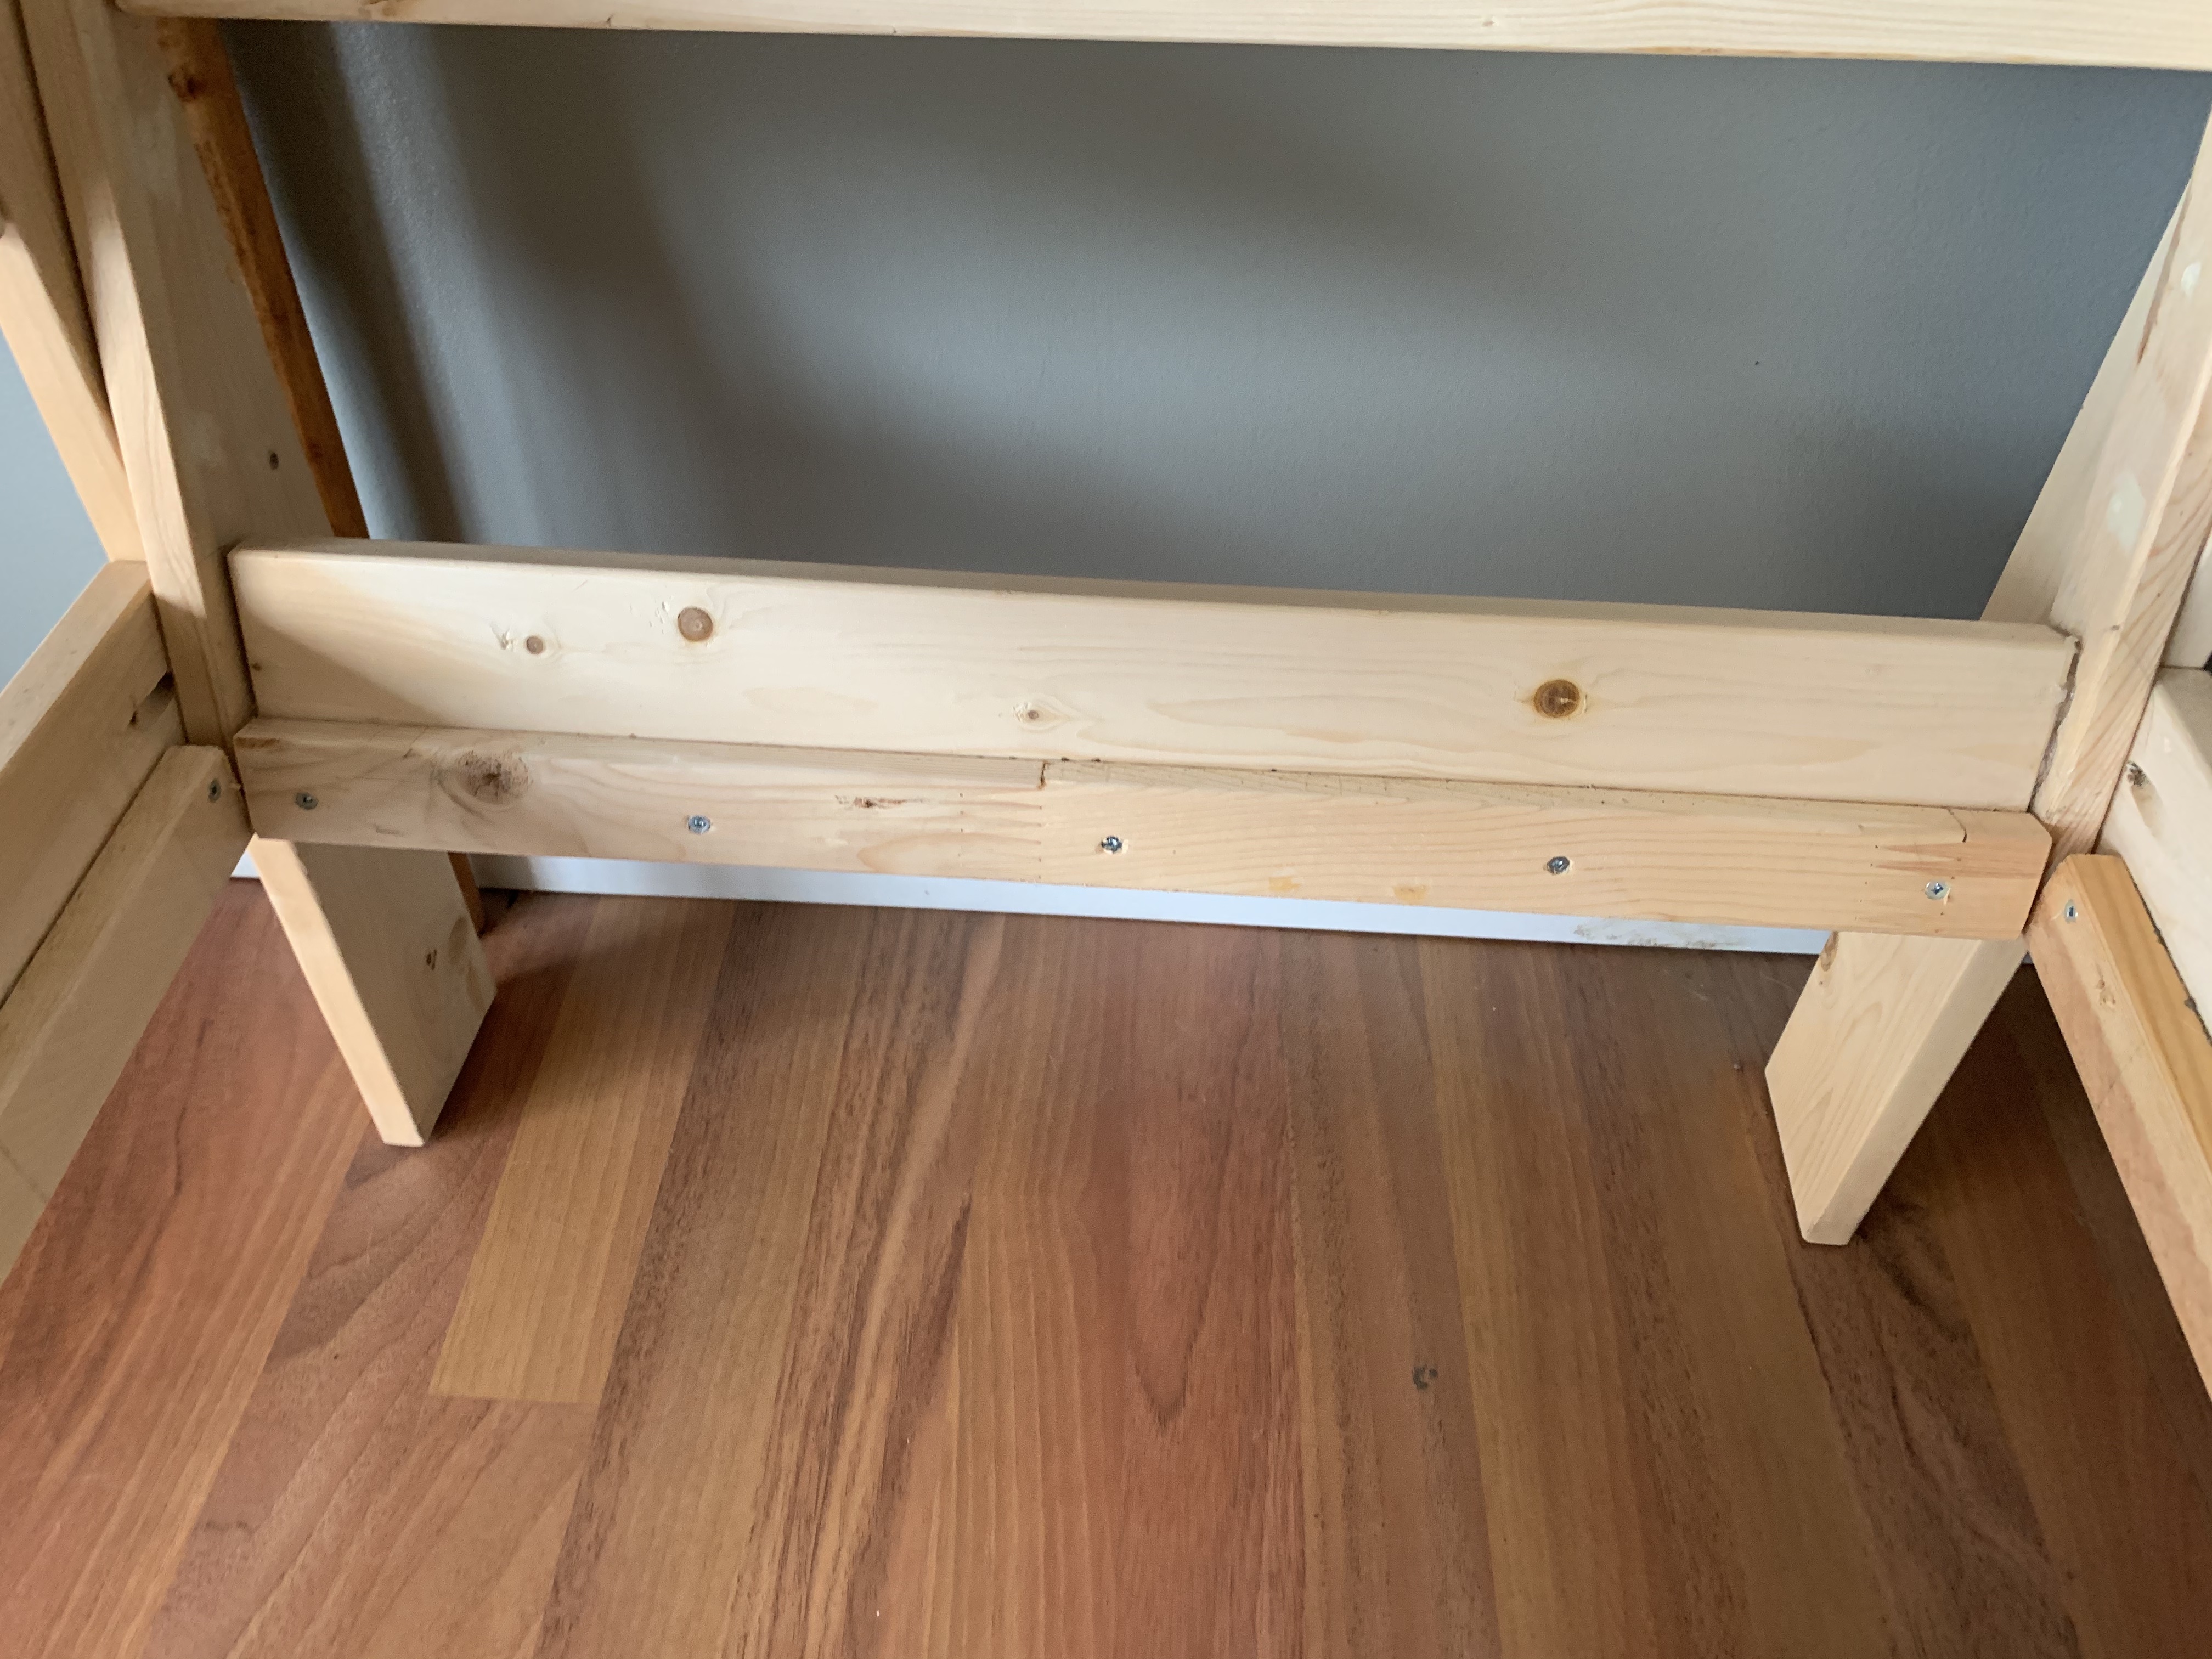
Step 8. Adding the seat
Using the remaining 1″ x 2″ pieces, I created the ledge for the seat to sit in the frame. The 1″ x 2″ x 22-1/4″ piece fixes to the bottom of the front frame board. The 1″ x 2″ x 21″ piece fixes to the bottom of the back board. The two 1″ x 2″ x 21-1/2″ inch pieces attach to the sides. I recommend assembling in this order to ensure everything lines up.
I used 1-1/4″ screws to attach the ledge pieces to the frame. I put 5 screws in each ledge piece to ensure a strong hold.
I then cut a piece of 3/4″ MDF to 22-1/4″ x 22-3/4″ and placed it into the frame.

Step 9. Staining the chair
Once assembled I did a matte clear-coat on the chair, adding about 5 layers for a complete seal of the wood. You can use stain if you would like the wood-grain to show, or you can paint it any colour you like.
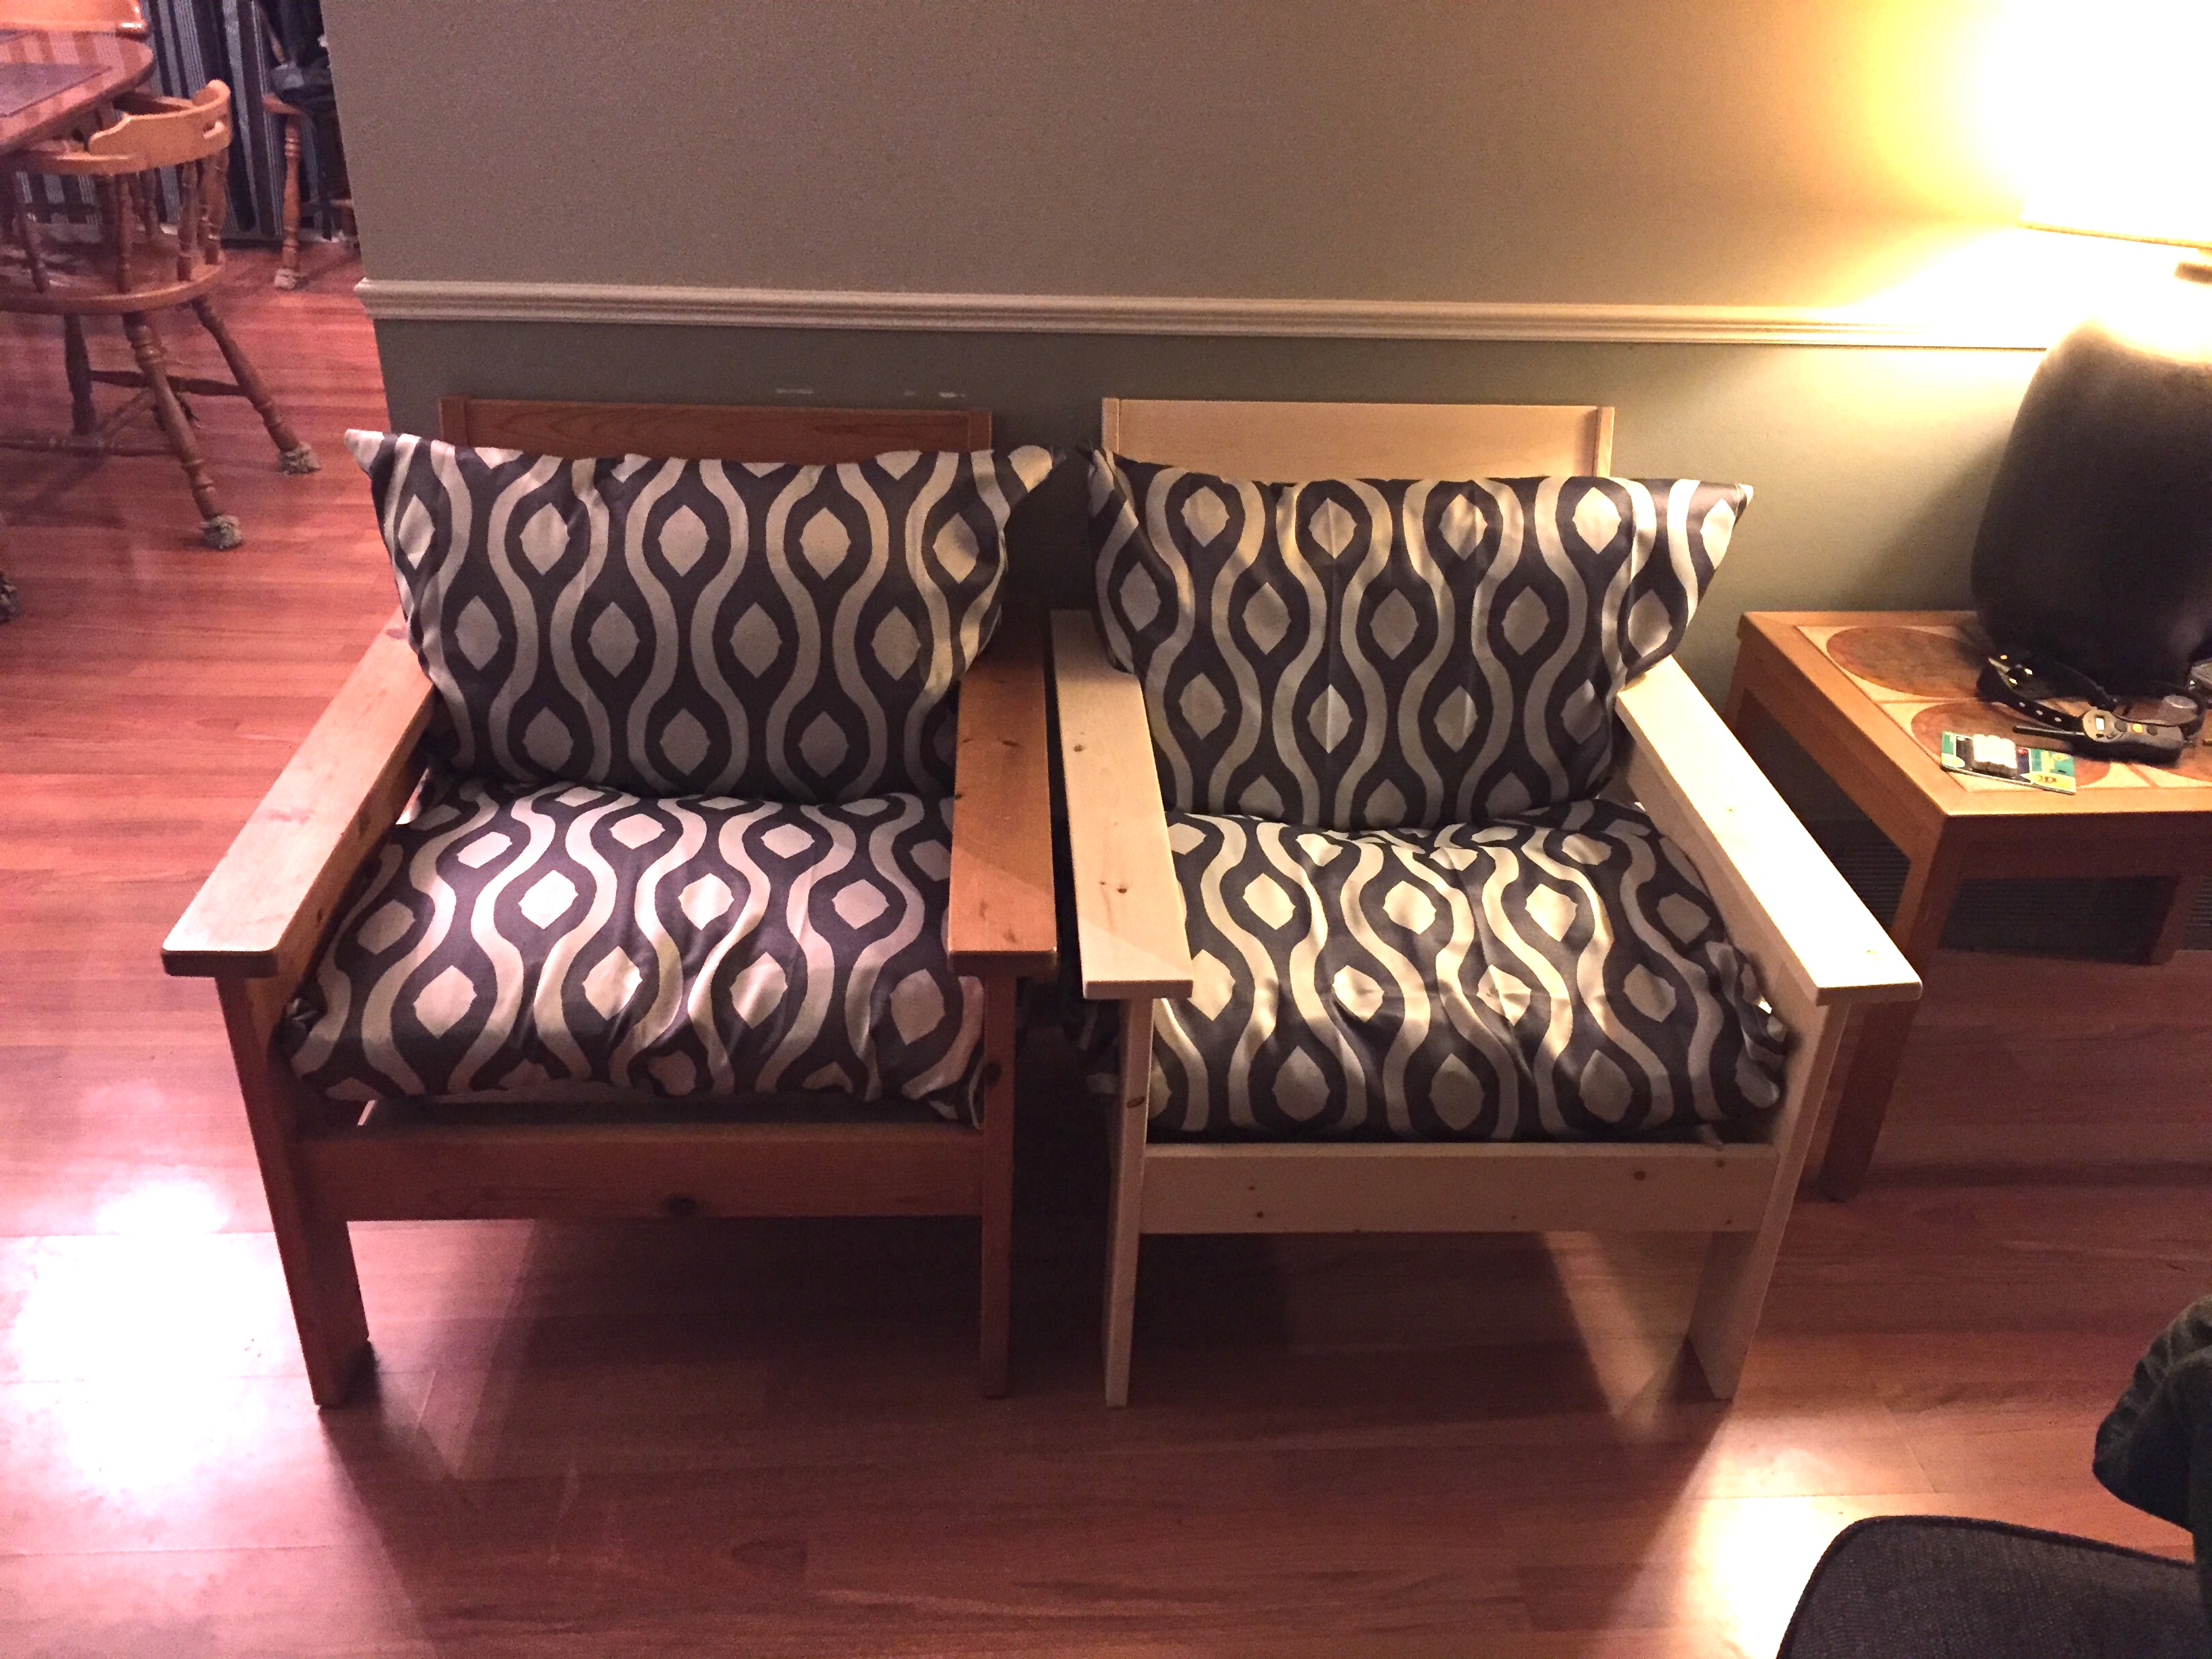
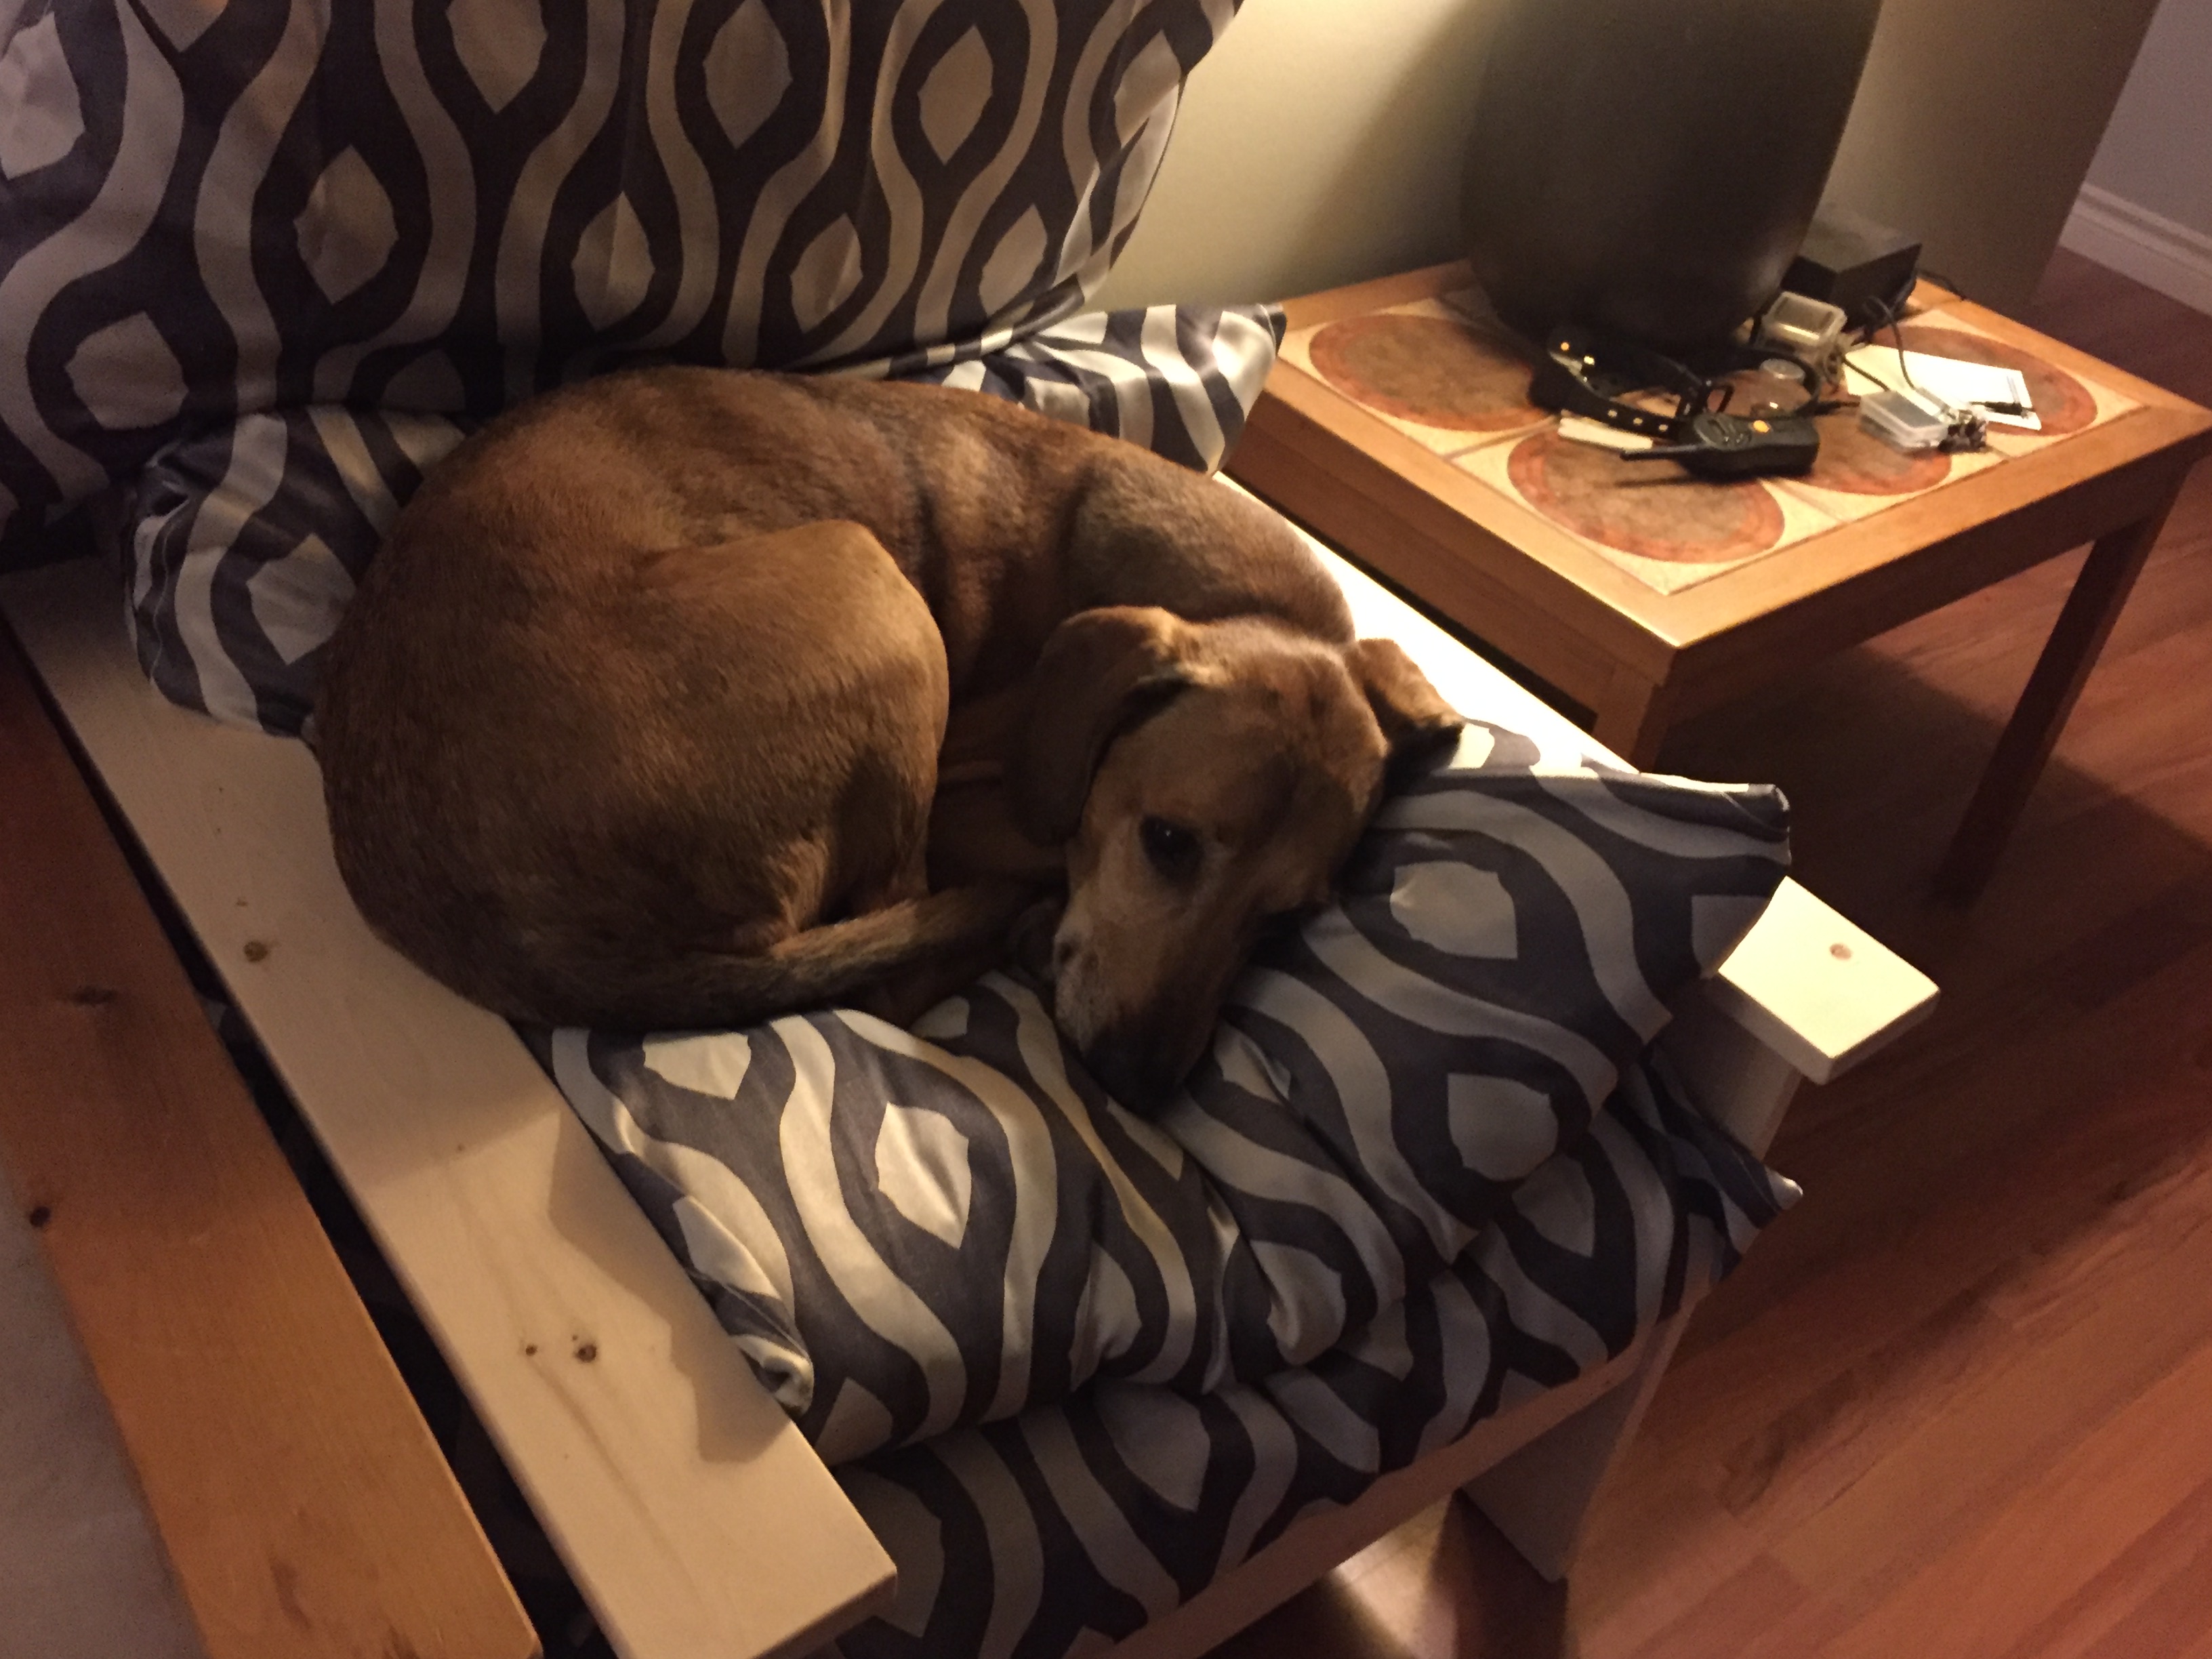
Step 10. Add the cushions
As mentioned, I used all of our old pillows and created some covers that matched the chair. I chose this option because our dogs are happy with pillows and I had a bunch kicking around that were no longer being used. If you are making this for your own use, then I recommend going with a thick sturdy foam, or purchased cushion for more comfort. I have sat in the chair a number of times and find it comfortable with the pillows, but it definitely is not the same as a proper cushion.


I hope you enjoy. This is a nice simple, but nice looking chair that can be added to any room. It is also a great build for beginners, especially if using pocket-holes instead of doweling as the chair is fairly straight-forward to make and basic tools are used.


2 Comments Add yours