
January to April are always busy months for me on a “work” level. Not only am I working my full-time job, but I also take on teaching a class at our local university, which involves some hands-on, out-of-class work. As an event coordinator, I would have thought my January to April would be a little less busy based on the fact that events & gatherings are not allowed with COVID. We will see how the next few months go, but so far, my January has been on-par for busy level.
Now, I am one of those people that really hate making “busy” important in my life. Although I like to keep busy, it is not a prideful boast to “be busy”. How do I get past that? I make sure I have time for mindless fun, exercise, immersing myself in a book, cuddling my dogs and heading up into the woods with Kurt for impromptu drives and dinners. Lately, I have also taken to going out to the shop, turning the music up really loud, and losing track of time creating things.
There are things that I should be creating, like the king-size bed frame that I have been talking about for the last year and a half. Or some cutting boards that I bought some beautiful wood for over a month ago. Even some projects that I want to explore for our Etsy shop. Instead, I decided to spend the weekend procrastinating about all of those things, by making something absolutely useless but immensely fun!
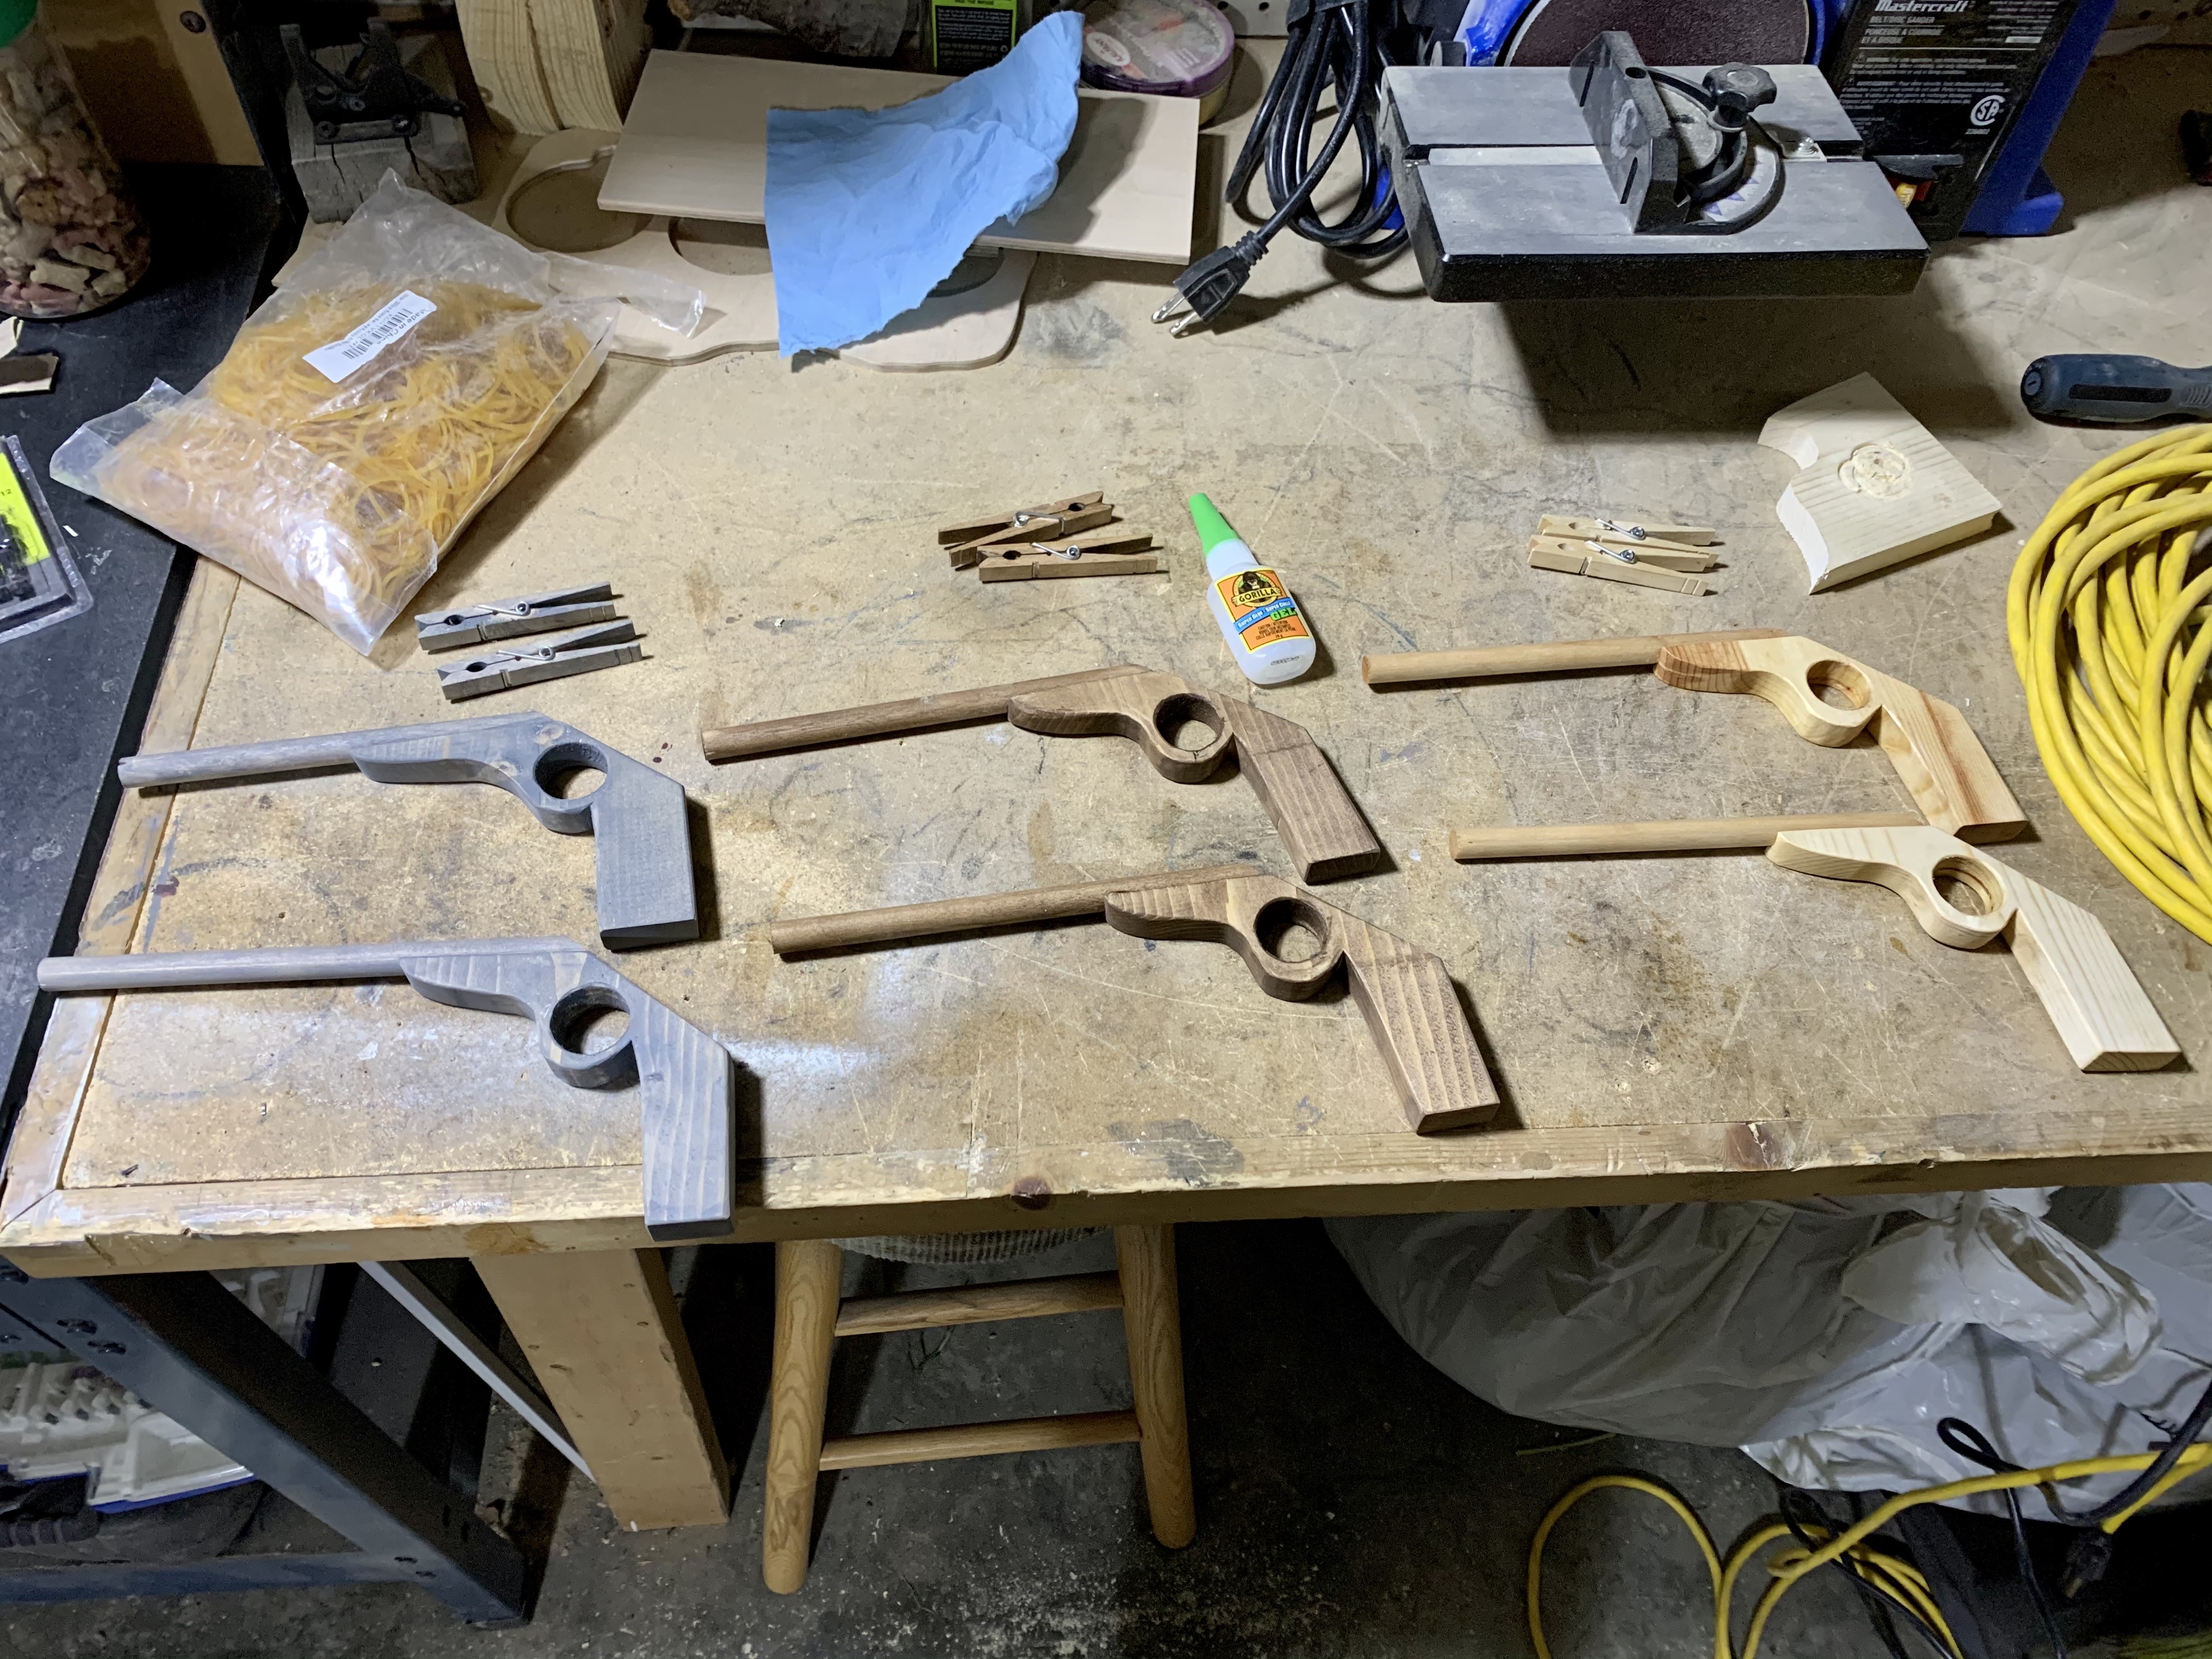
I actually had the plan to build these before Christmas as an extra gift for my nephews, but I ran out of time with all of my other projects and how successful our Etsy site was. If you didn’t get it from the title of this post, I decided to make some elastic band guns with a little shooting target. Silly, childish and absolutely a blast to play with! The best part was that I was able to use a bunch of scraps that were taking up space on my worktable to make them, so really two-birds, one stone.
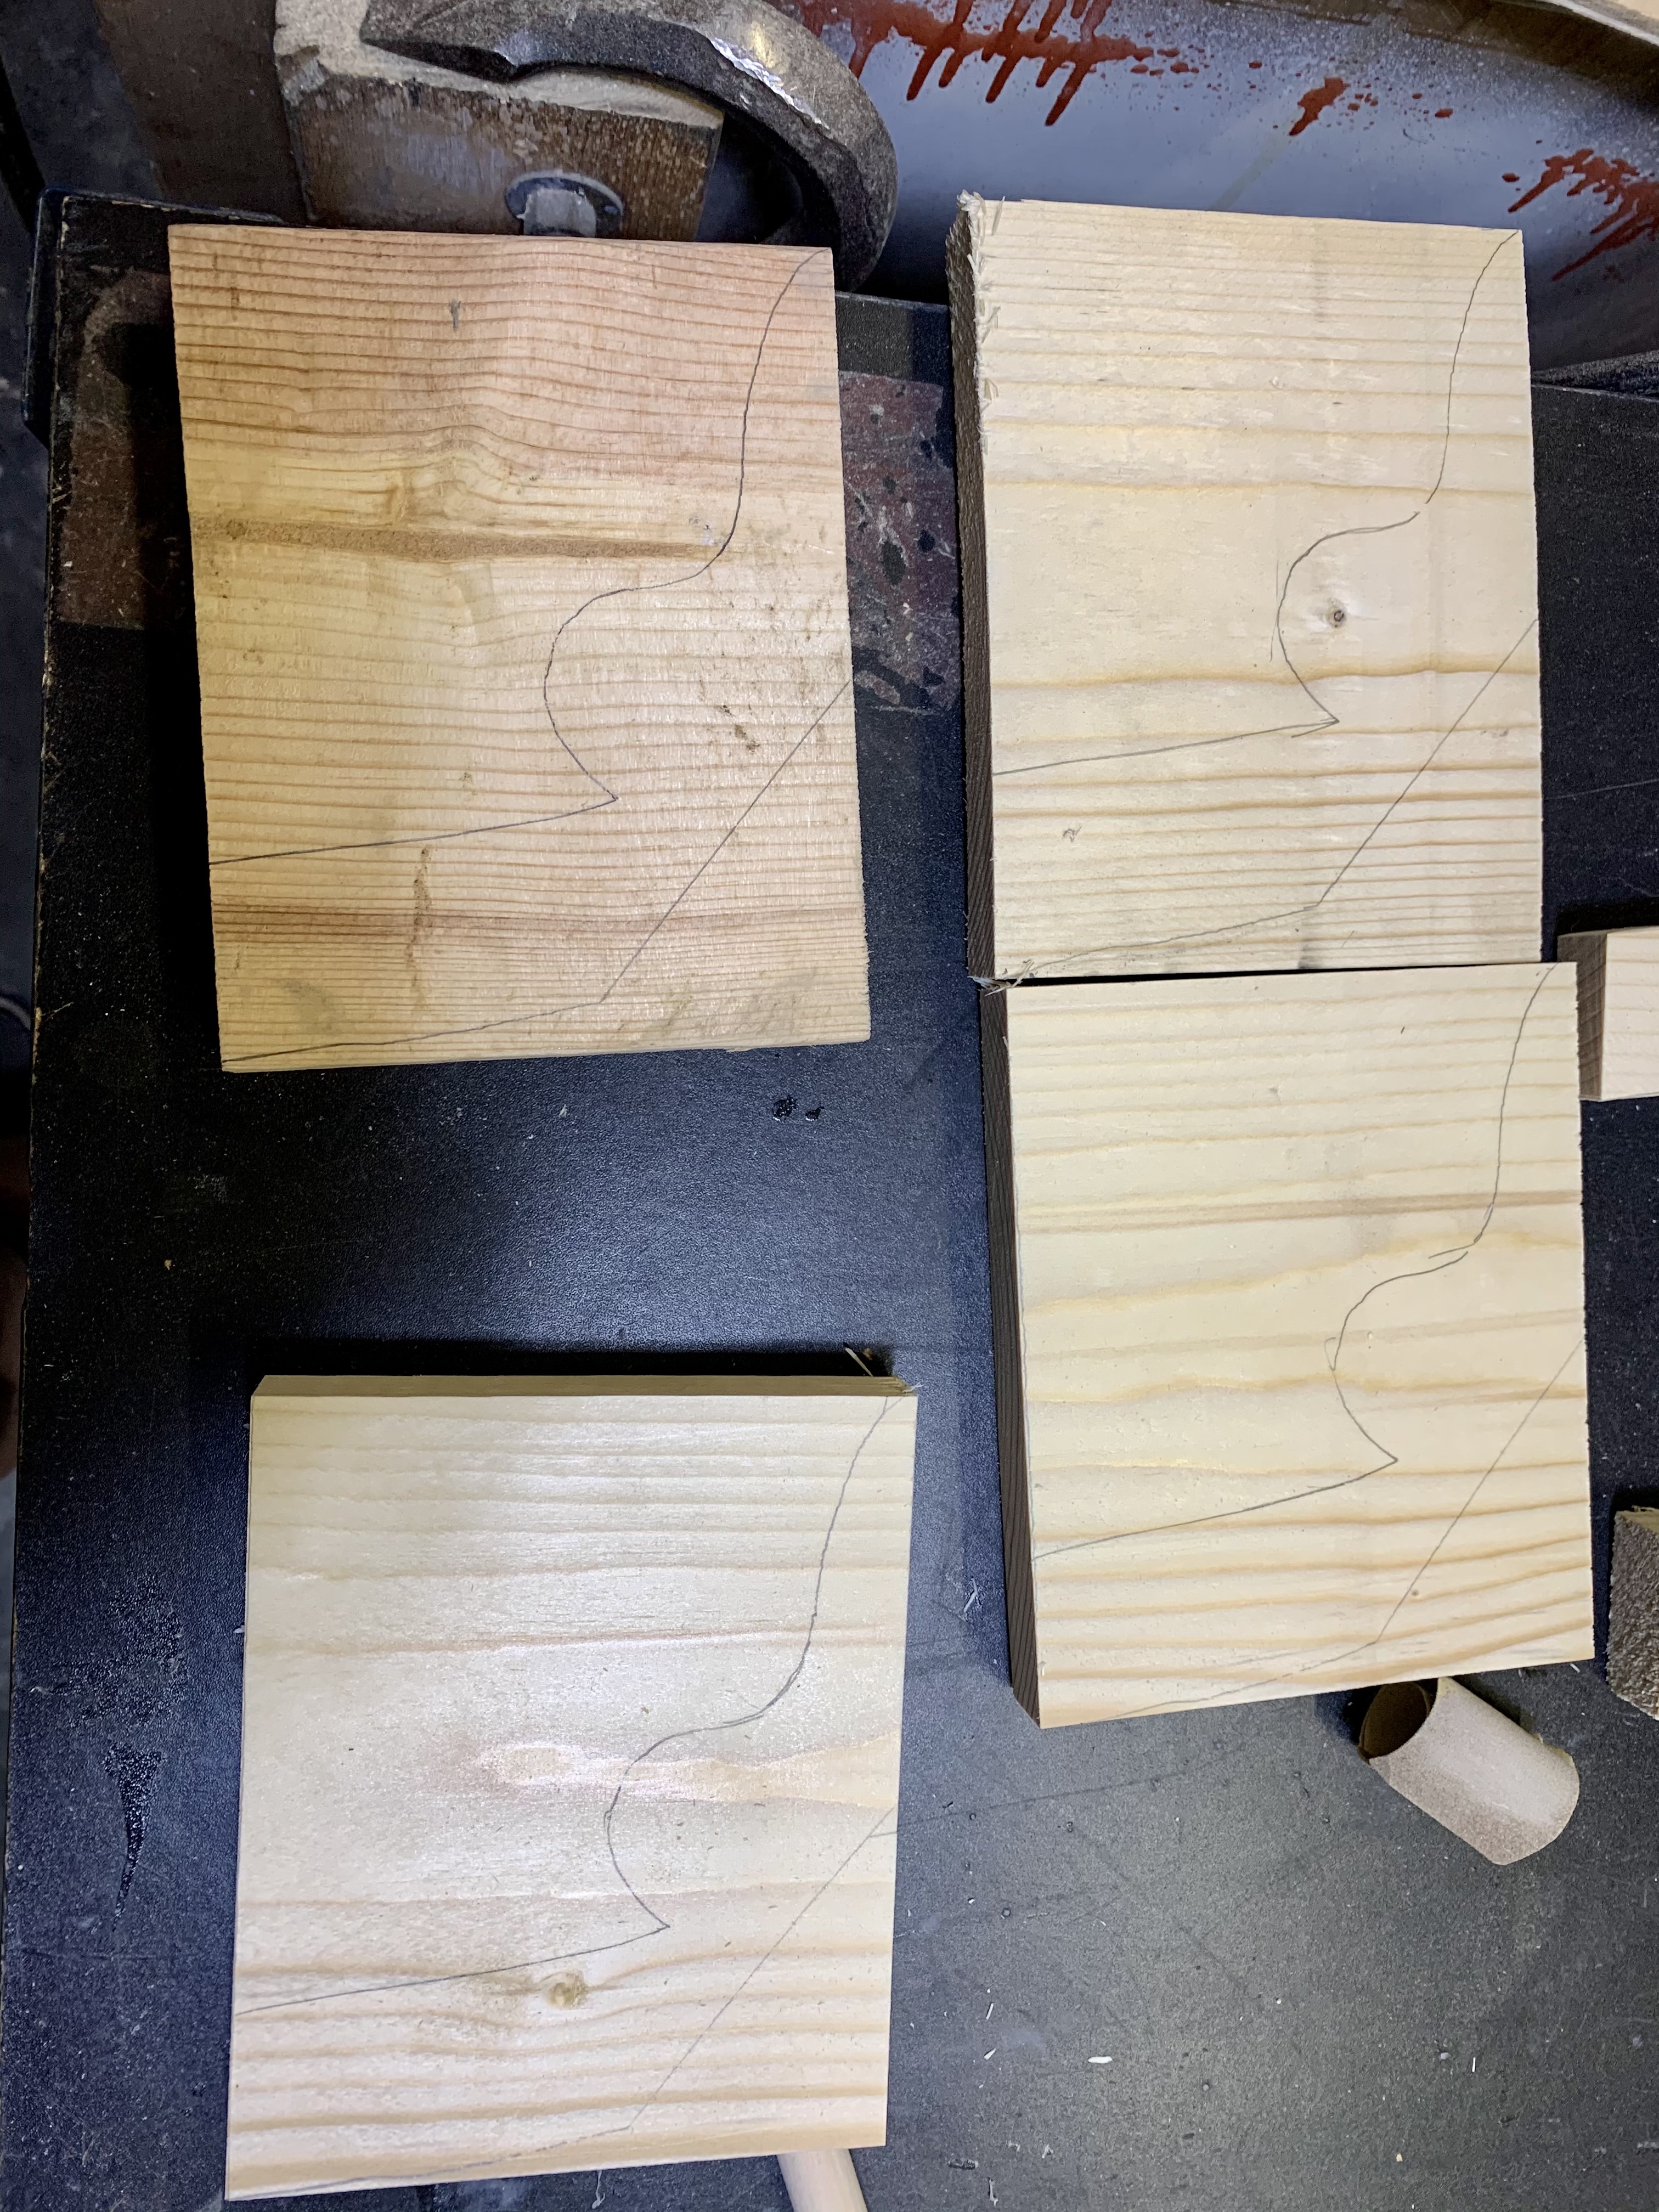
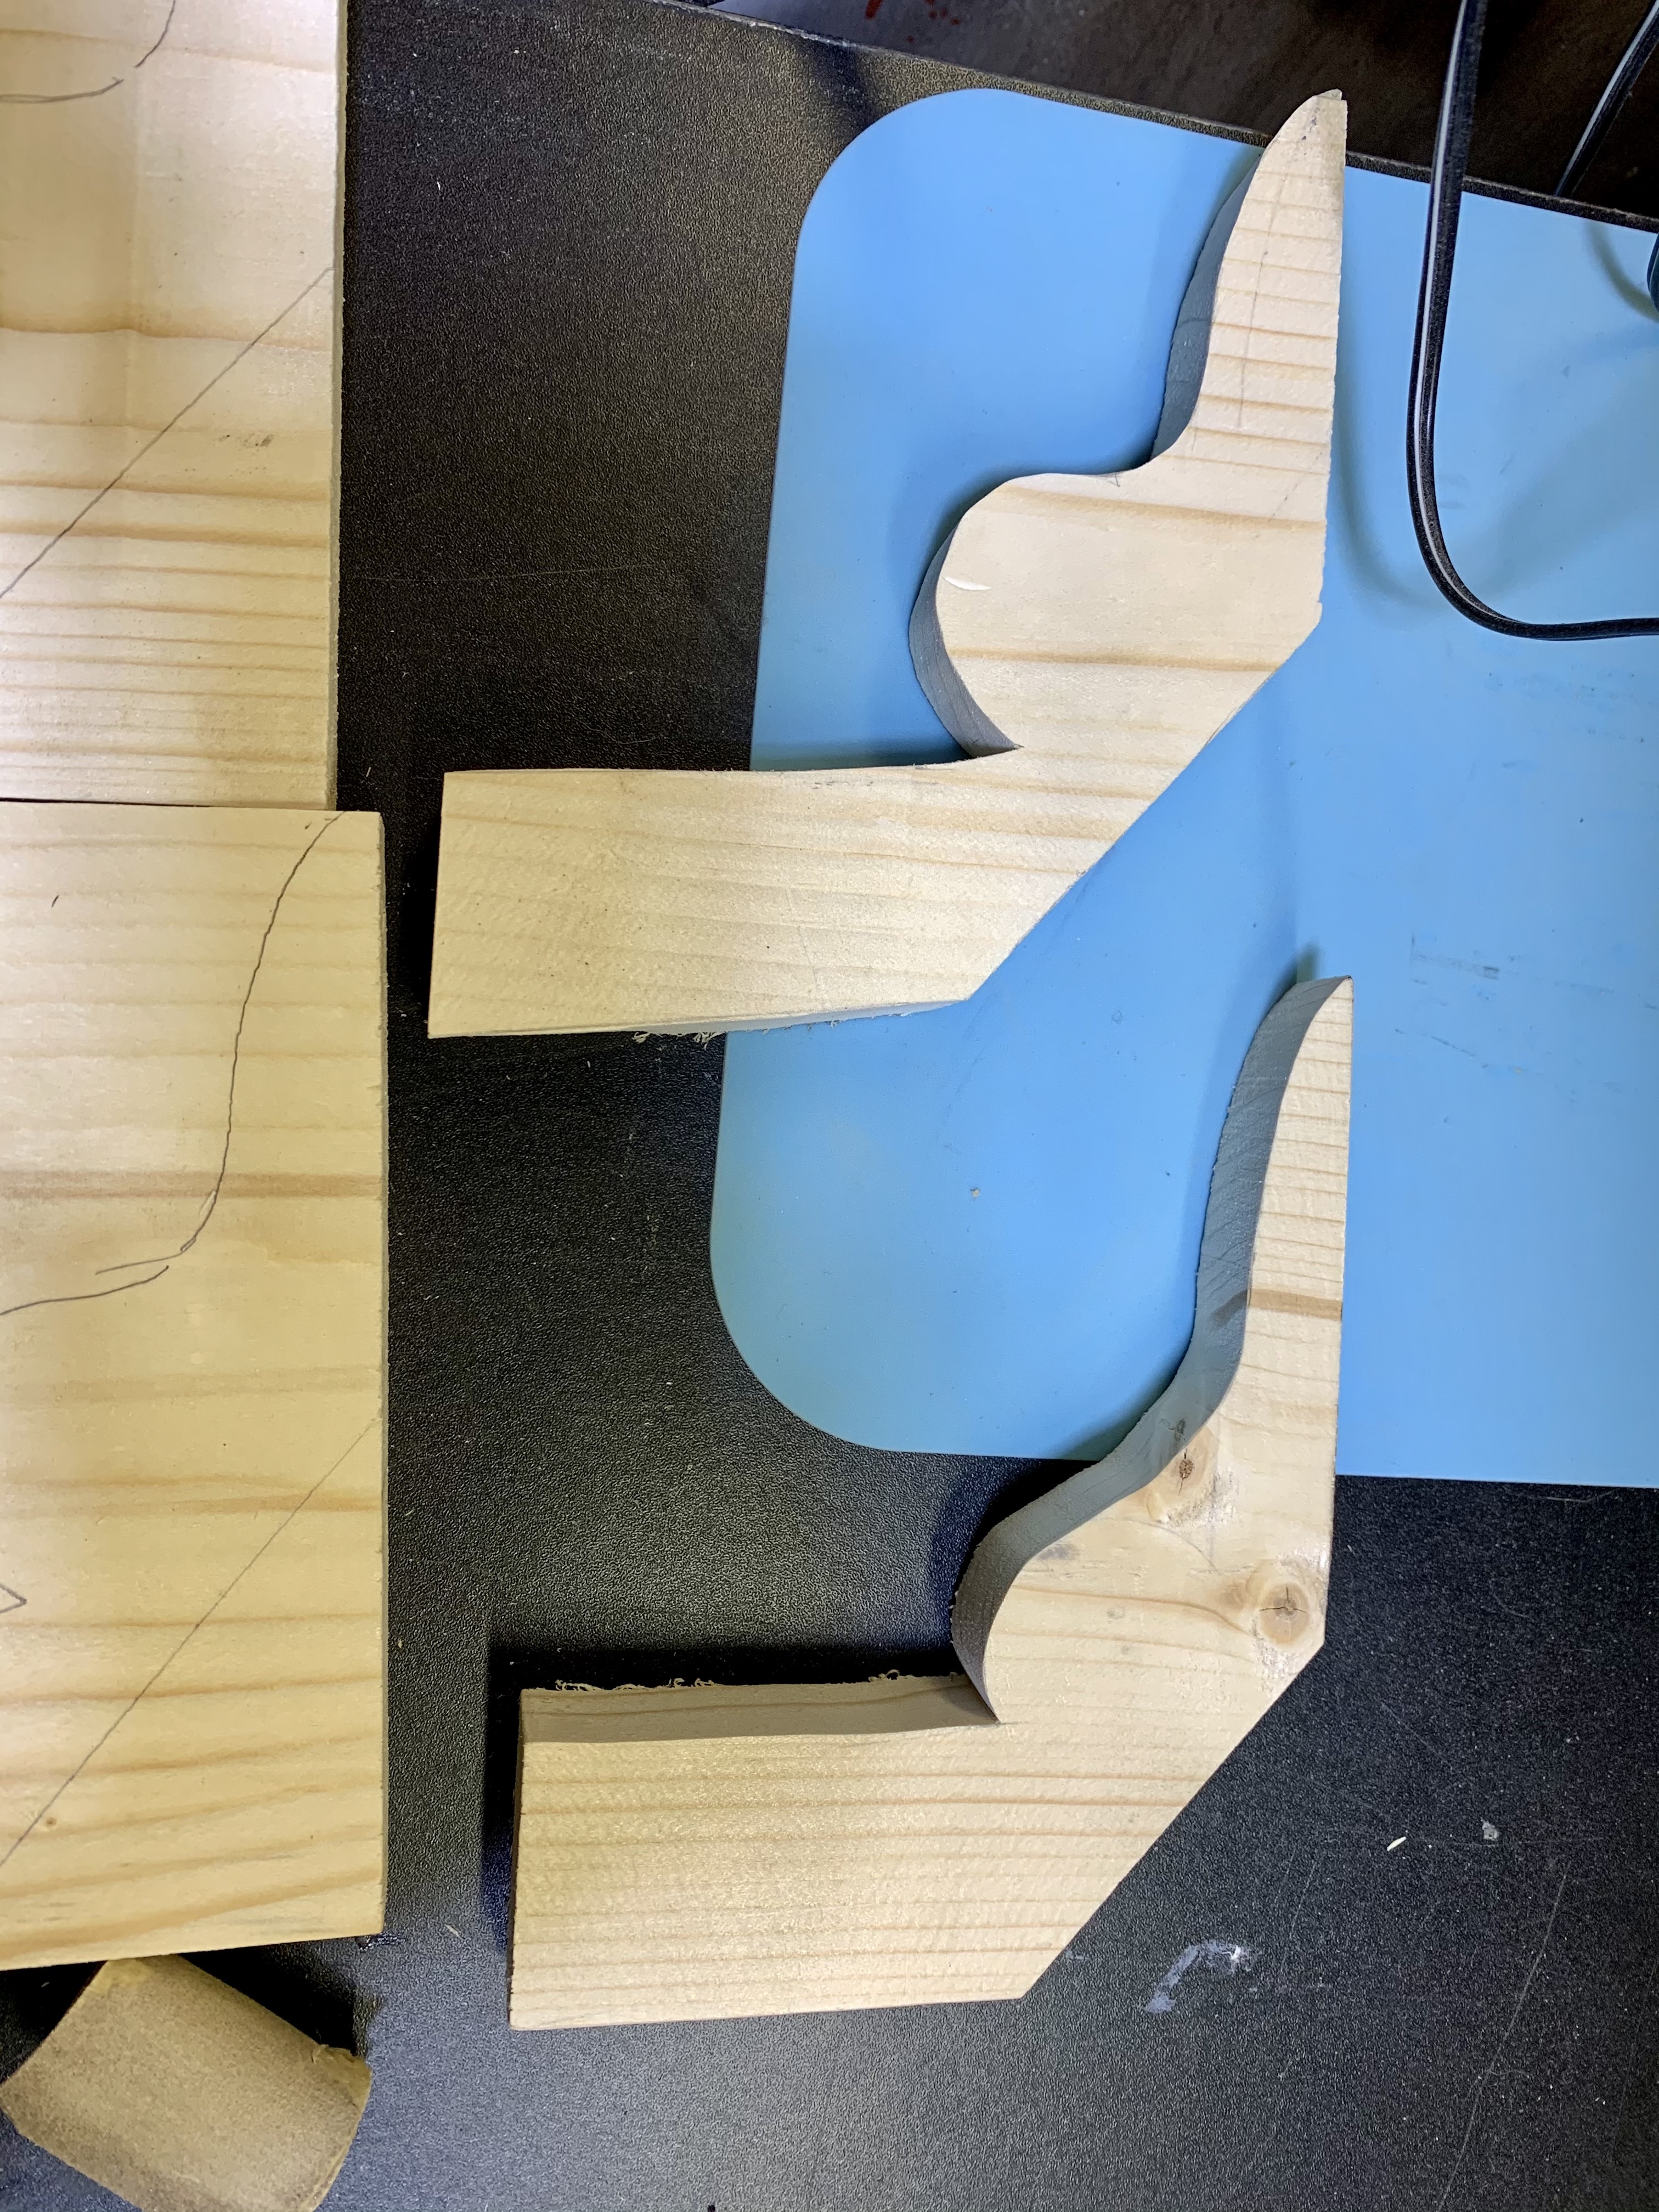
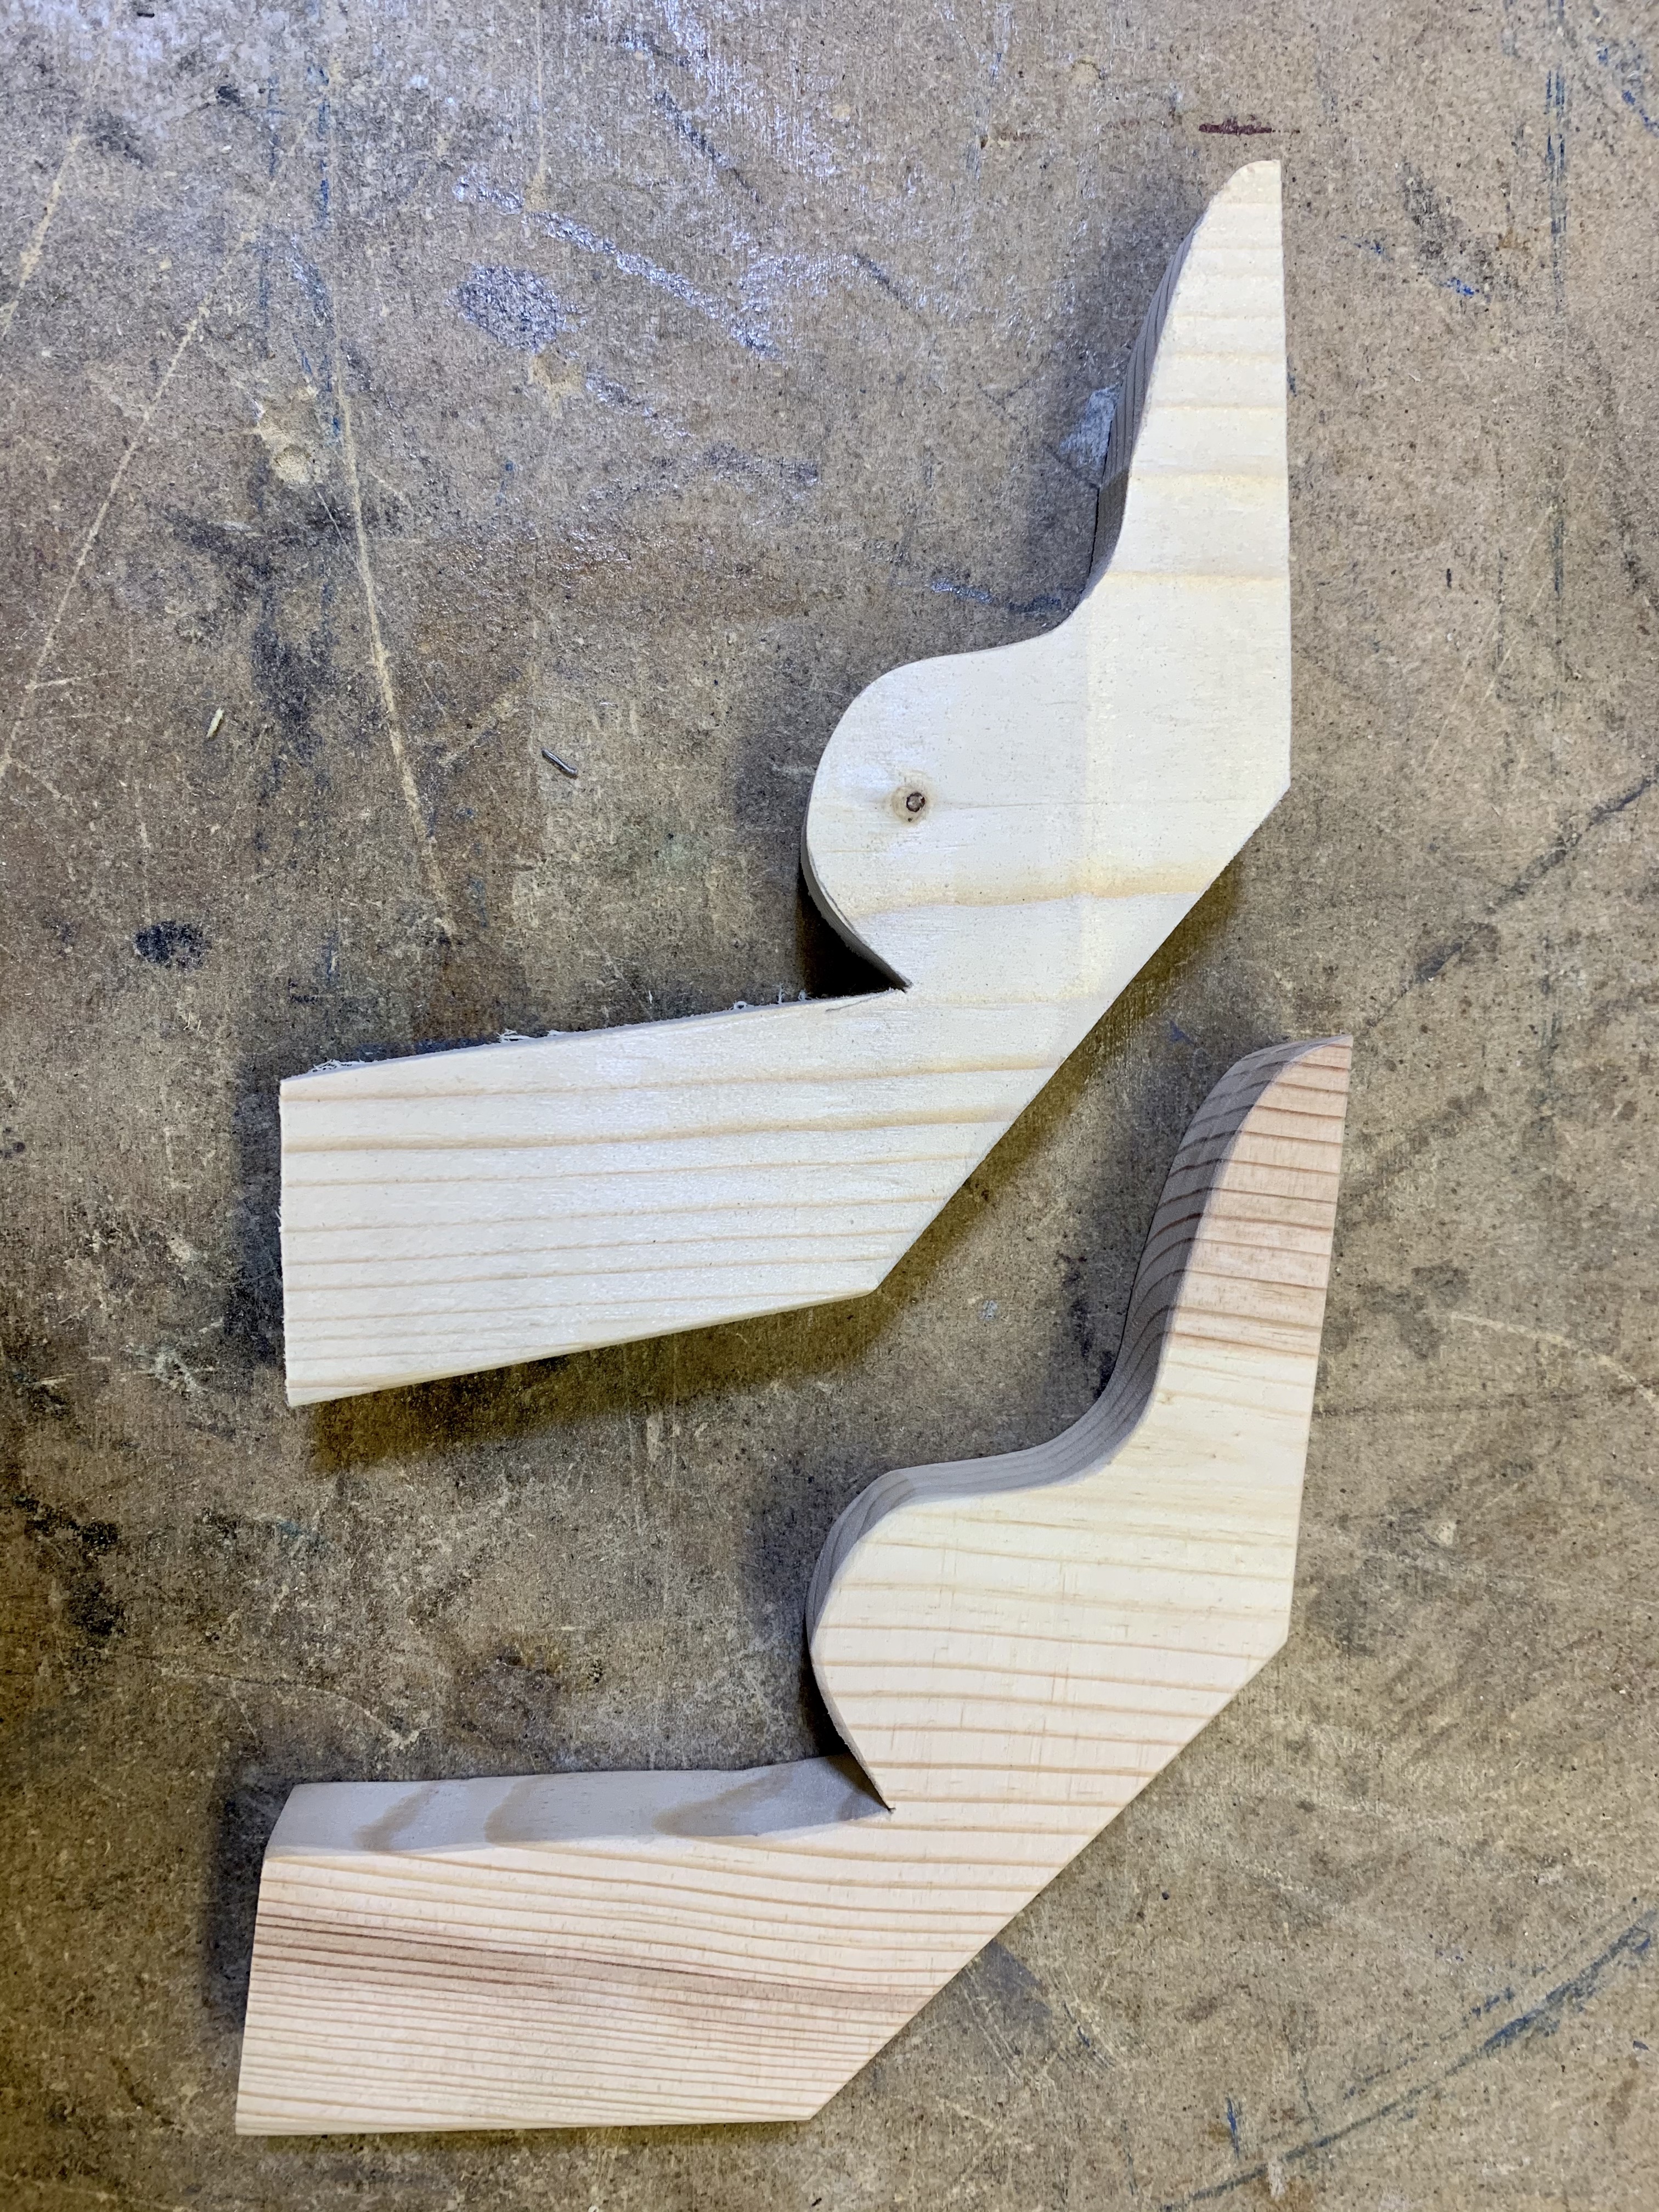
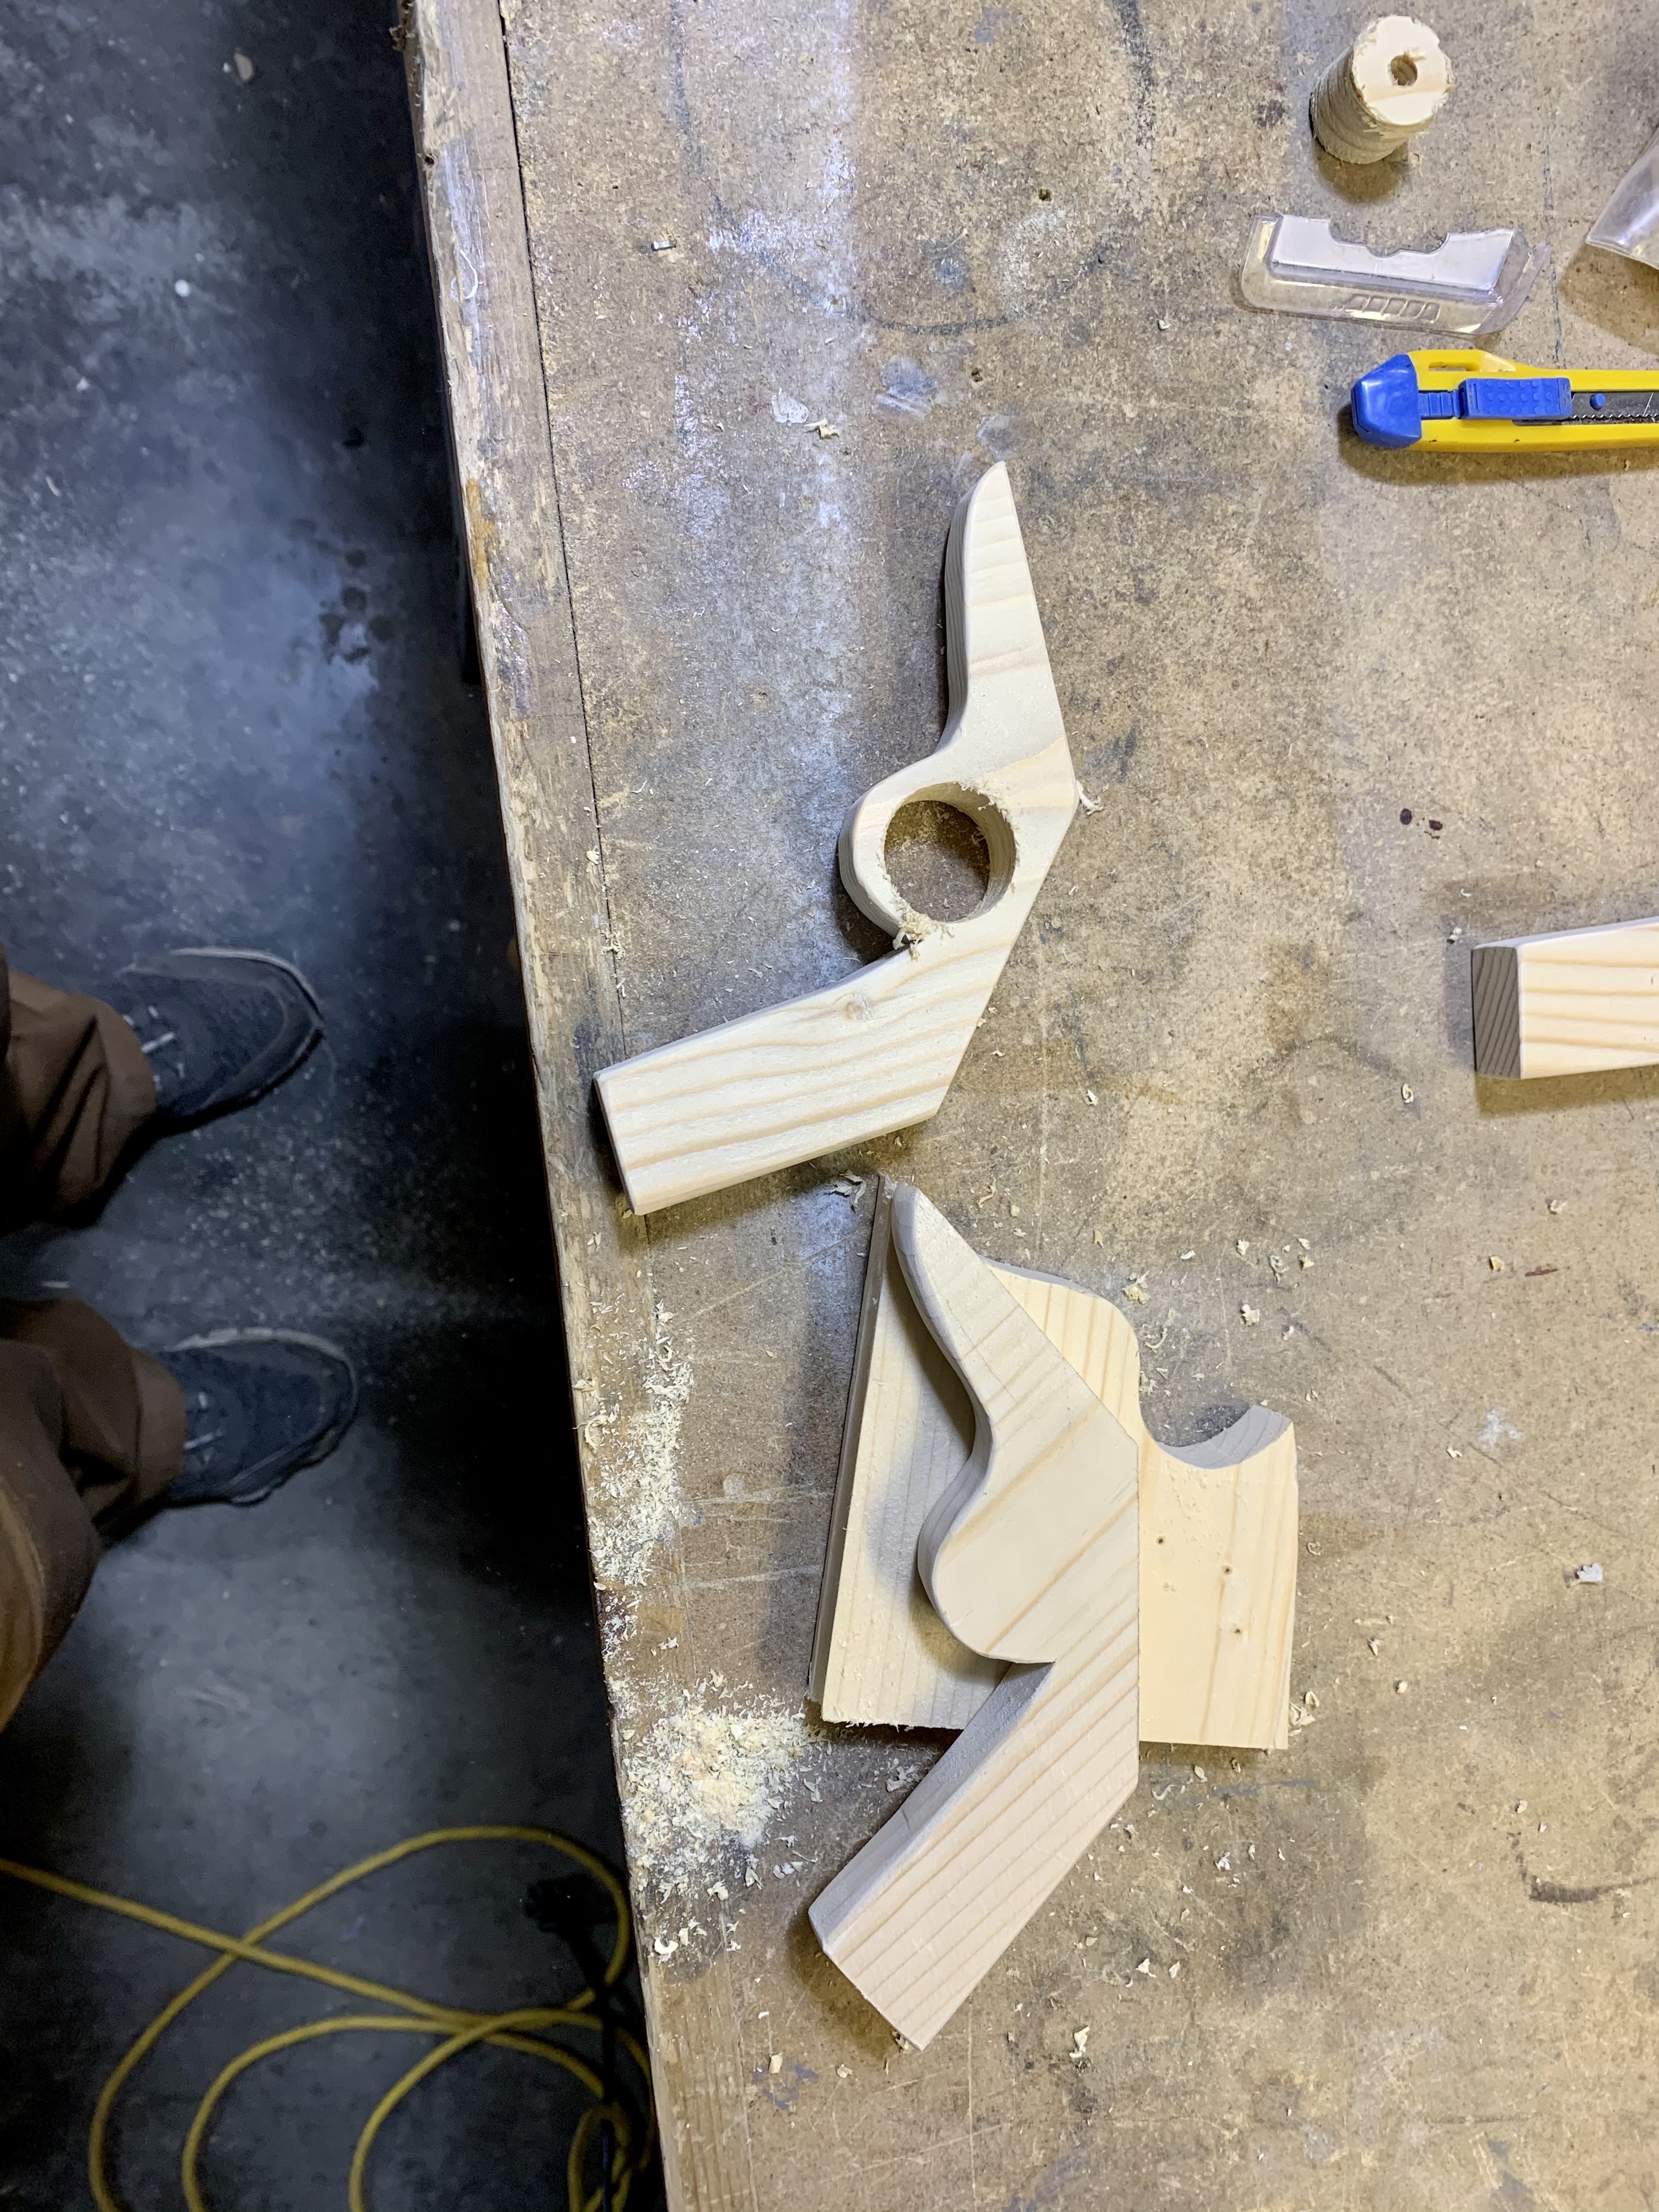
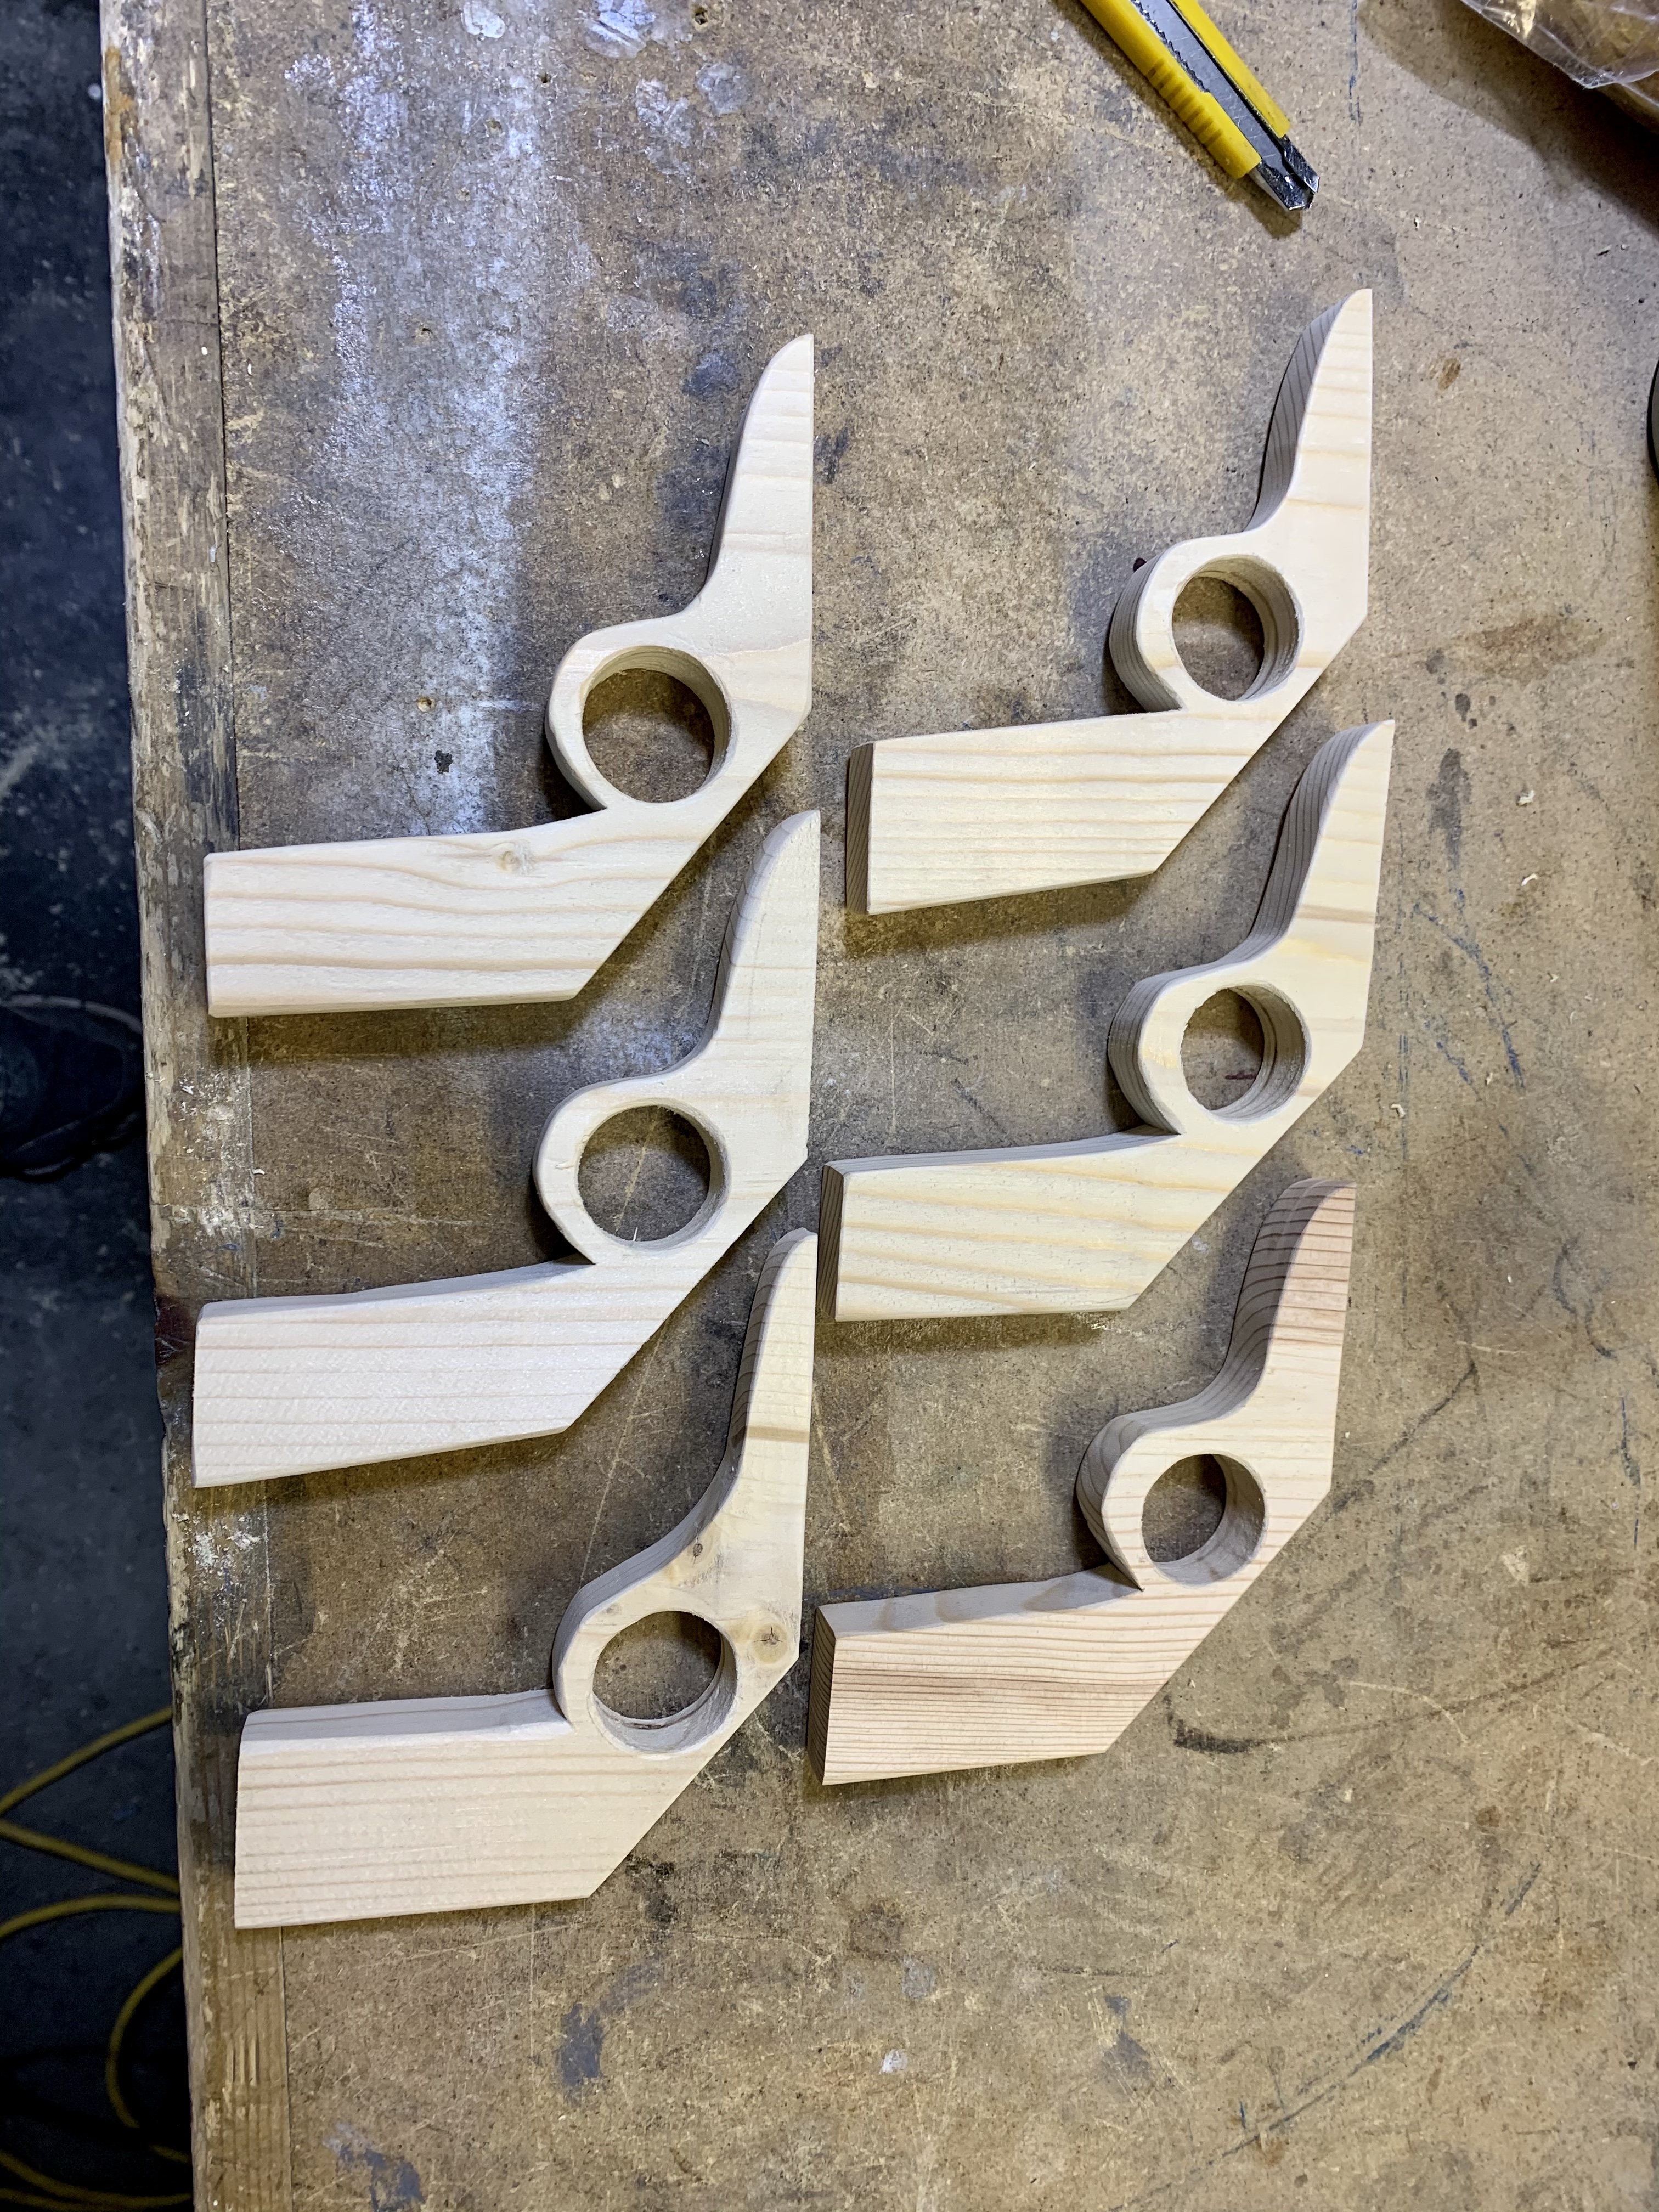
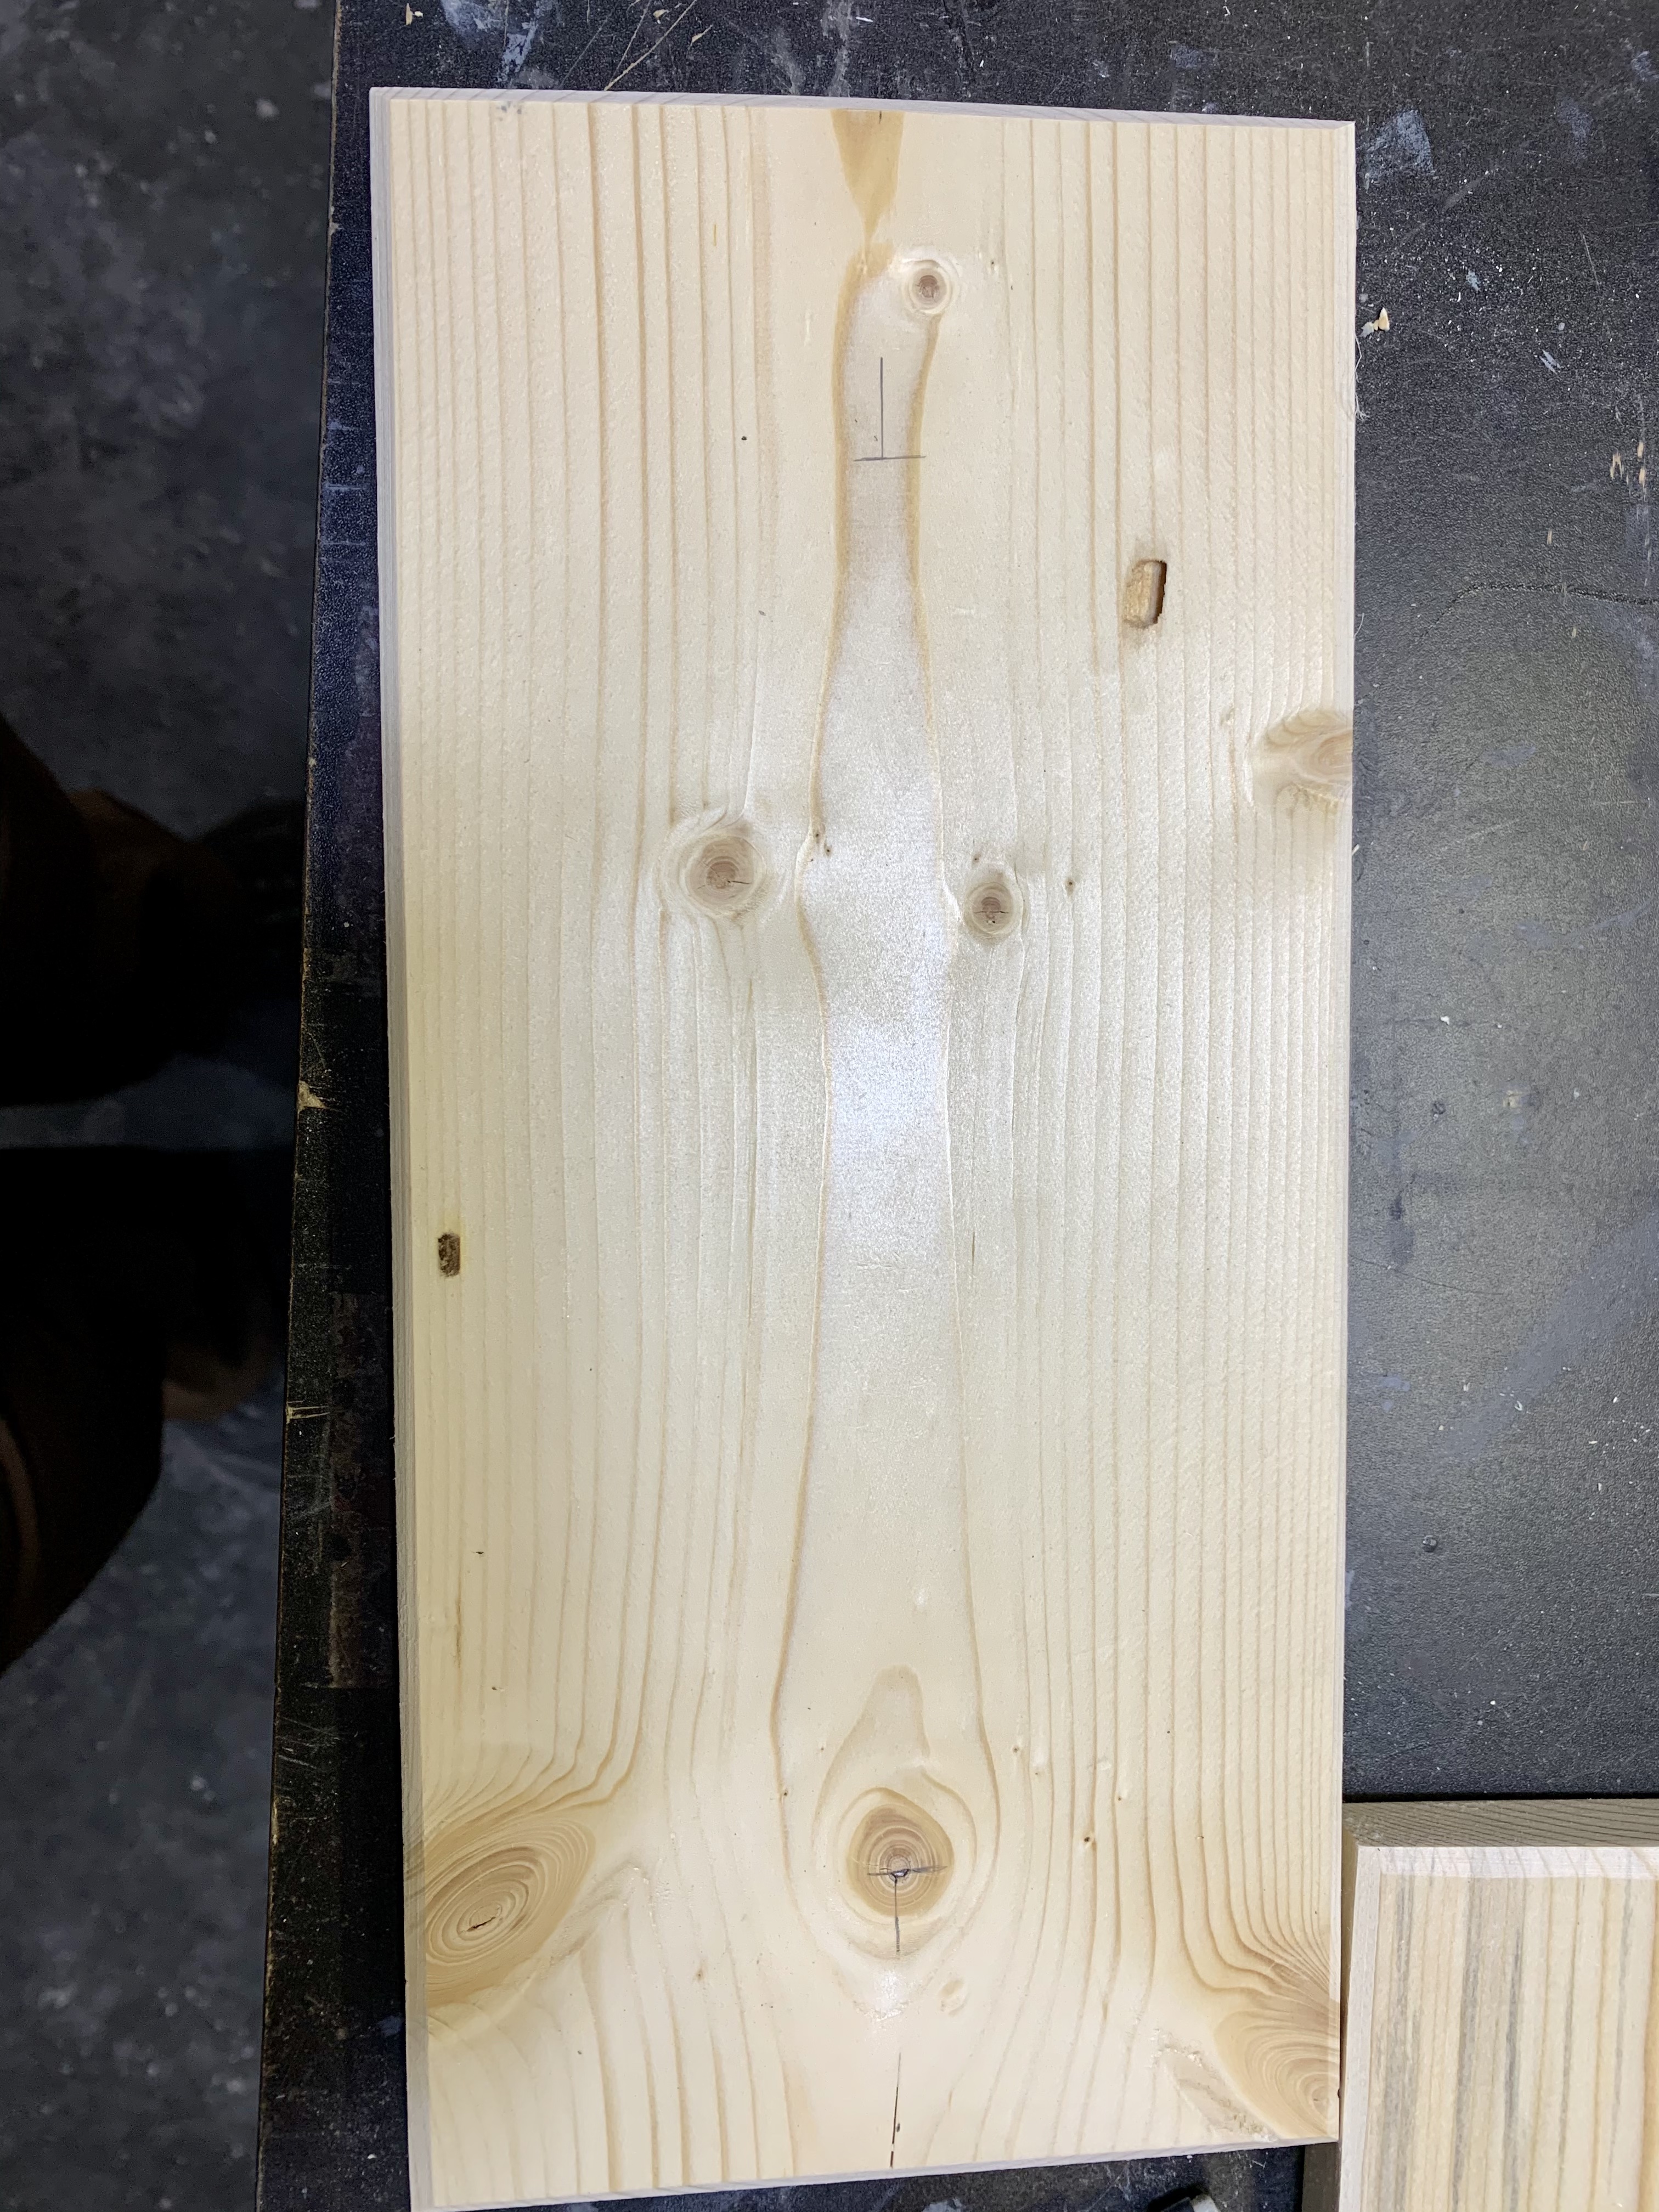
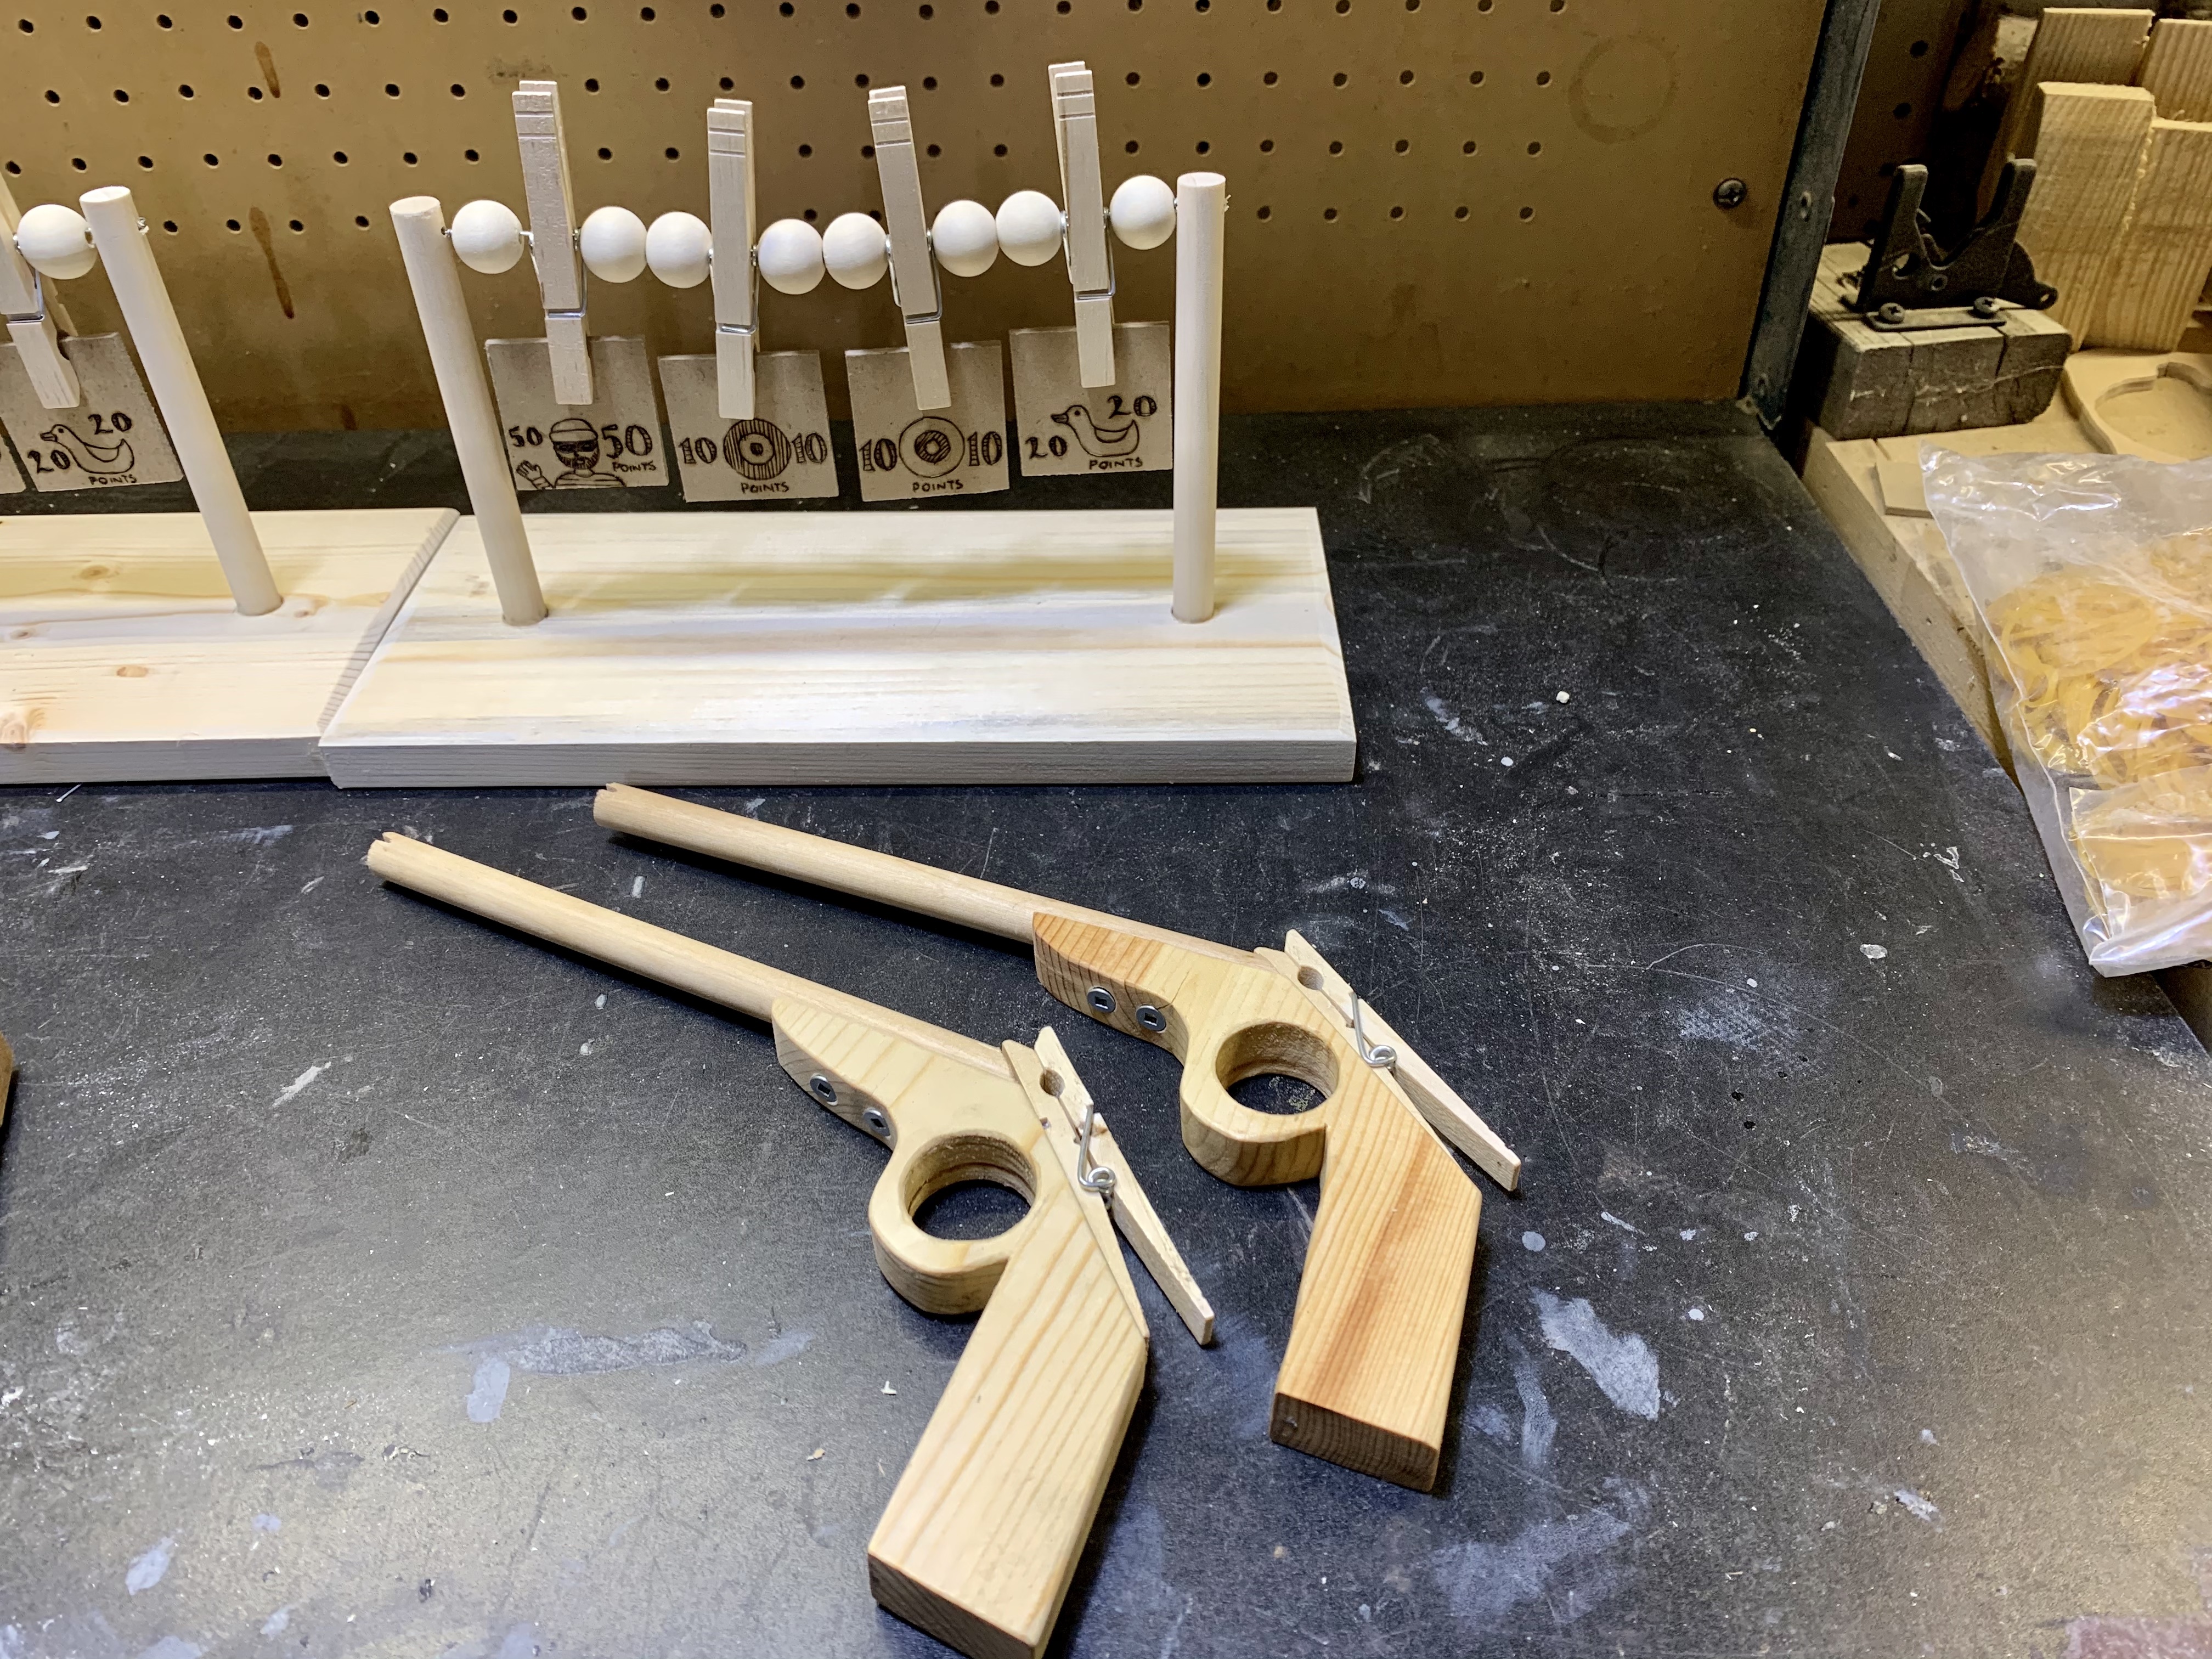
I started off by creating the handle. I used a scrap piece of wood that was approximately 5.5″ wide by 4.25″ high x 3/4″ thick . The back of the handle needed a 50* edge that the clothespin was going to sit on to hold the elastic tight, so I started with that line and went from there. I drew out a rough shape of the handle and used the scroll saw to cut it out. I didn’t love the feel of the first one, so I tweaked it a bit for the remaining ones, adding a little more of an angle to the handle. I figured since I had so much scrap, that I might as well make a few sets. I ended up cutting 6 handles.
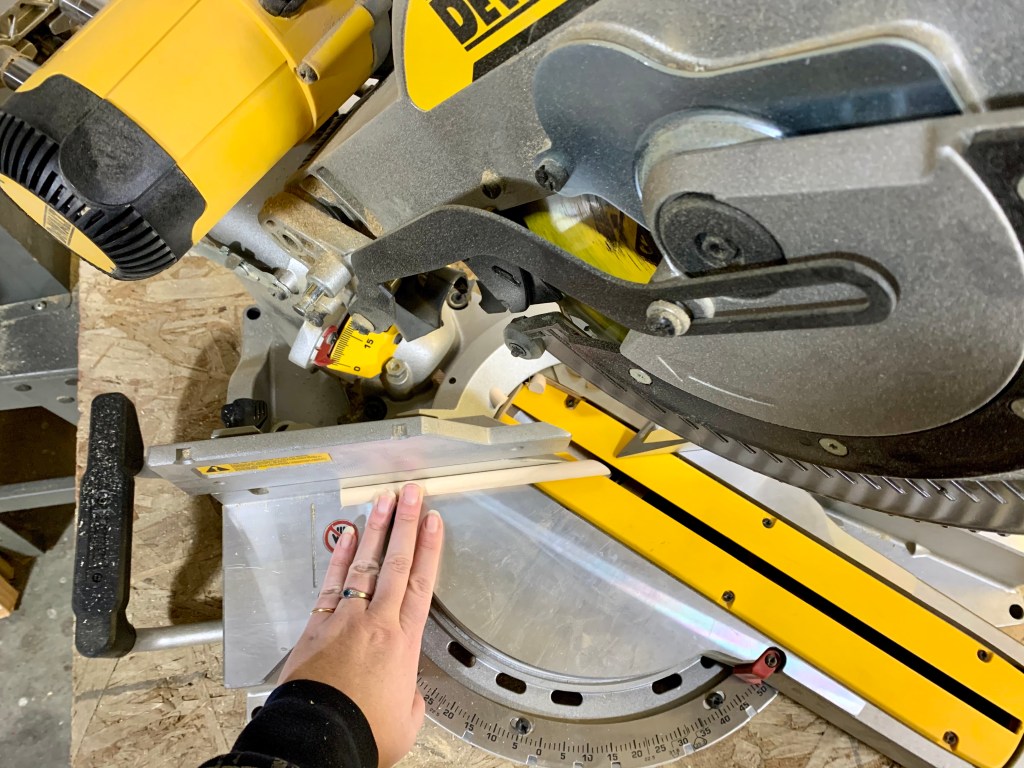
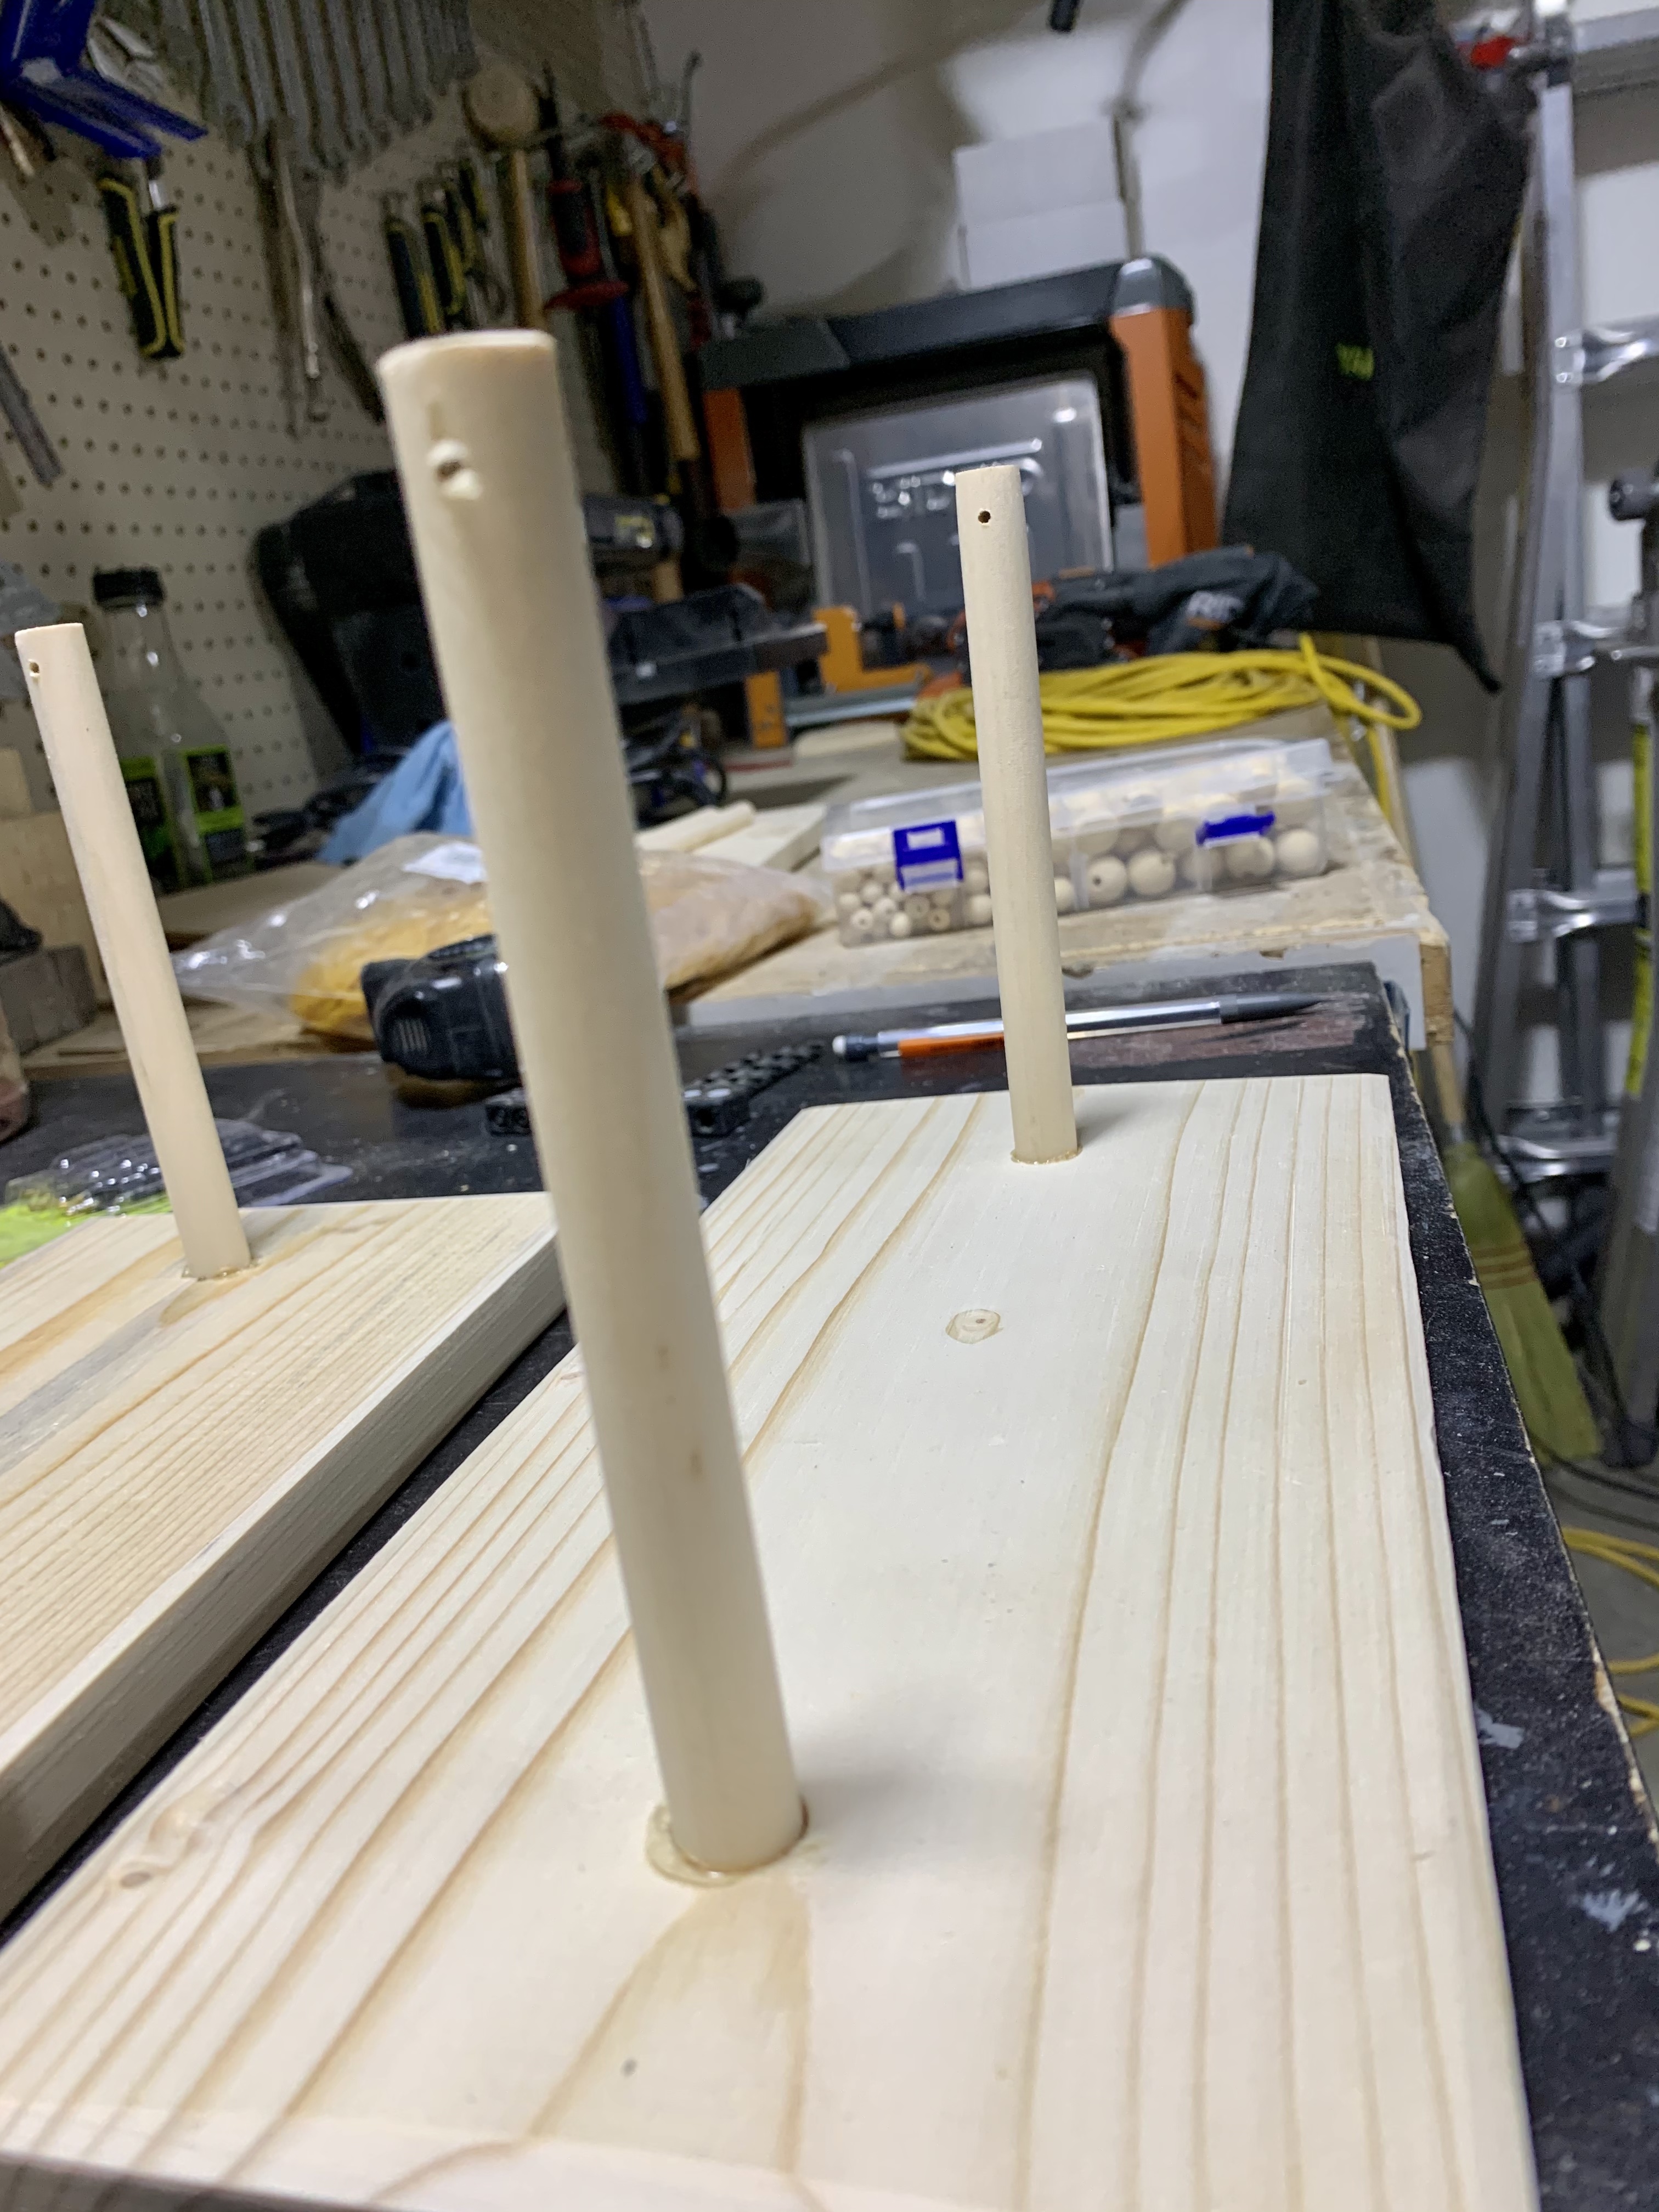
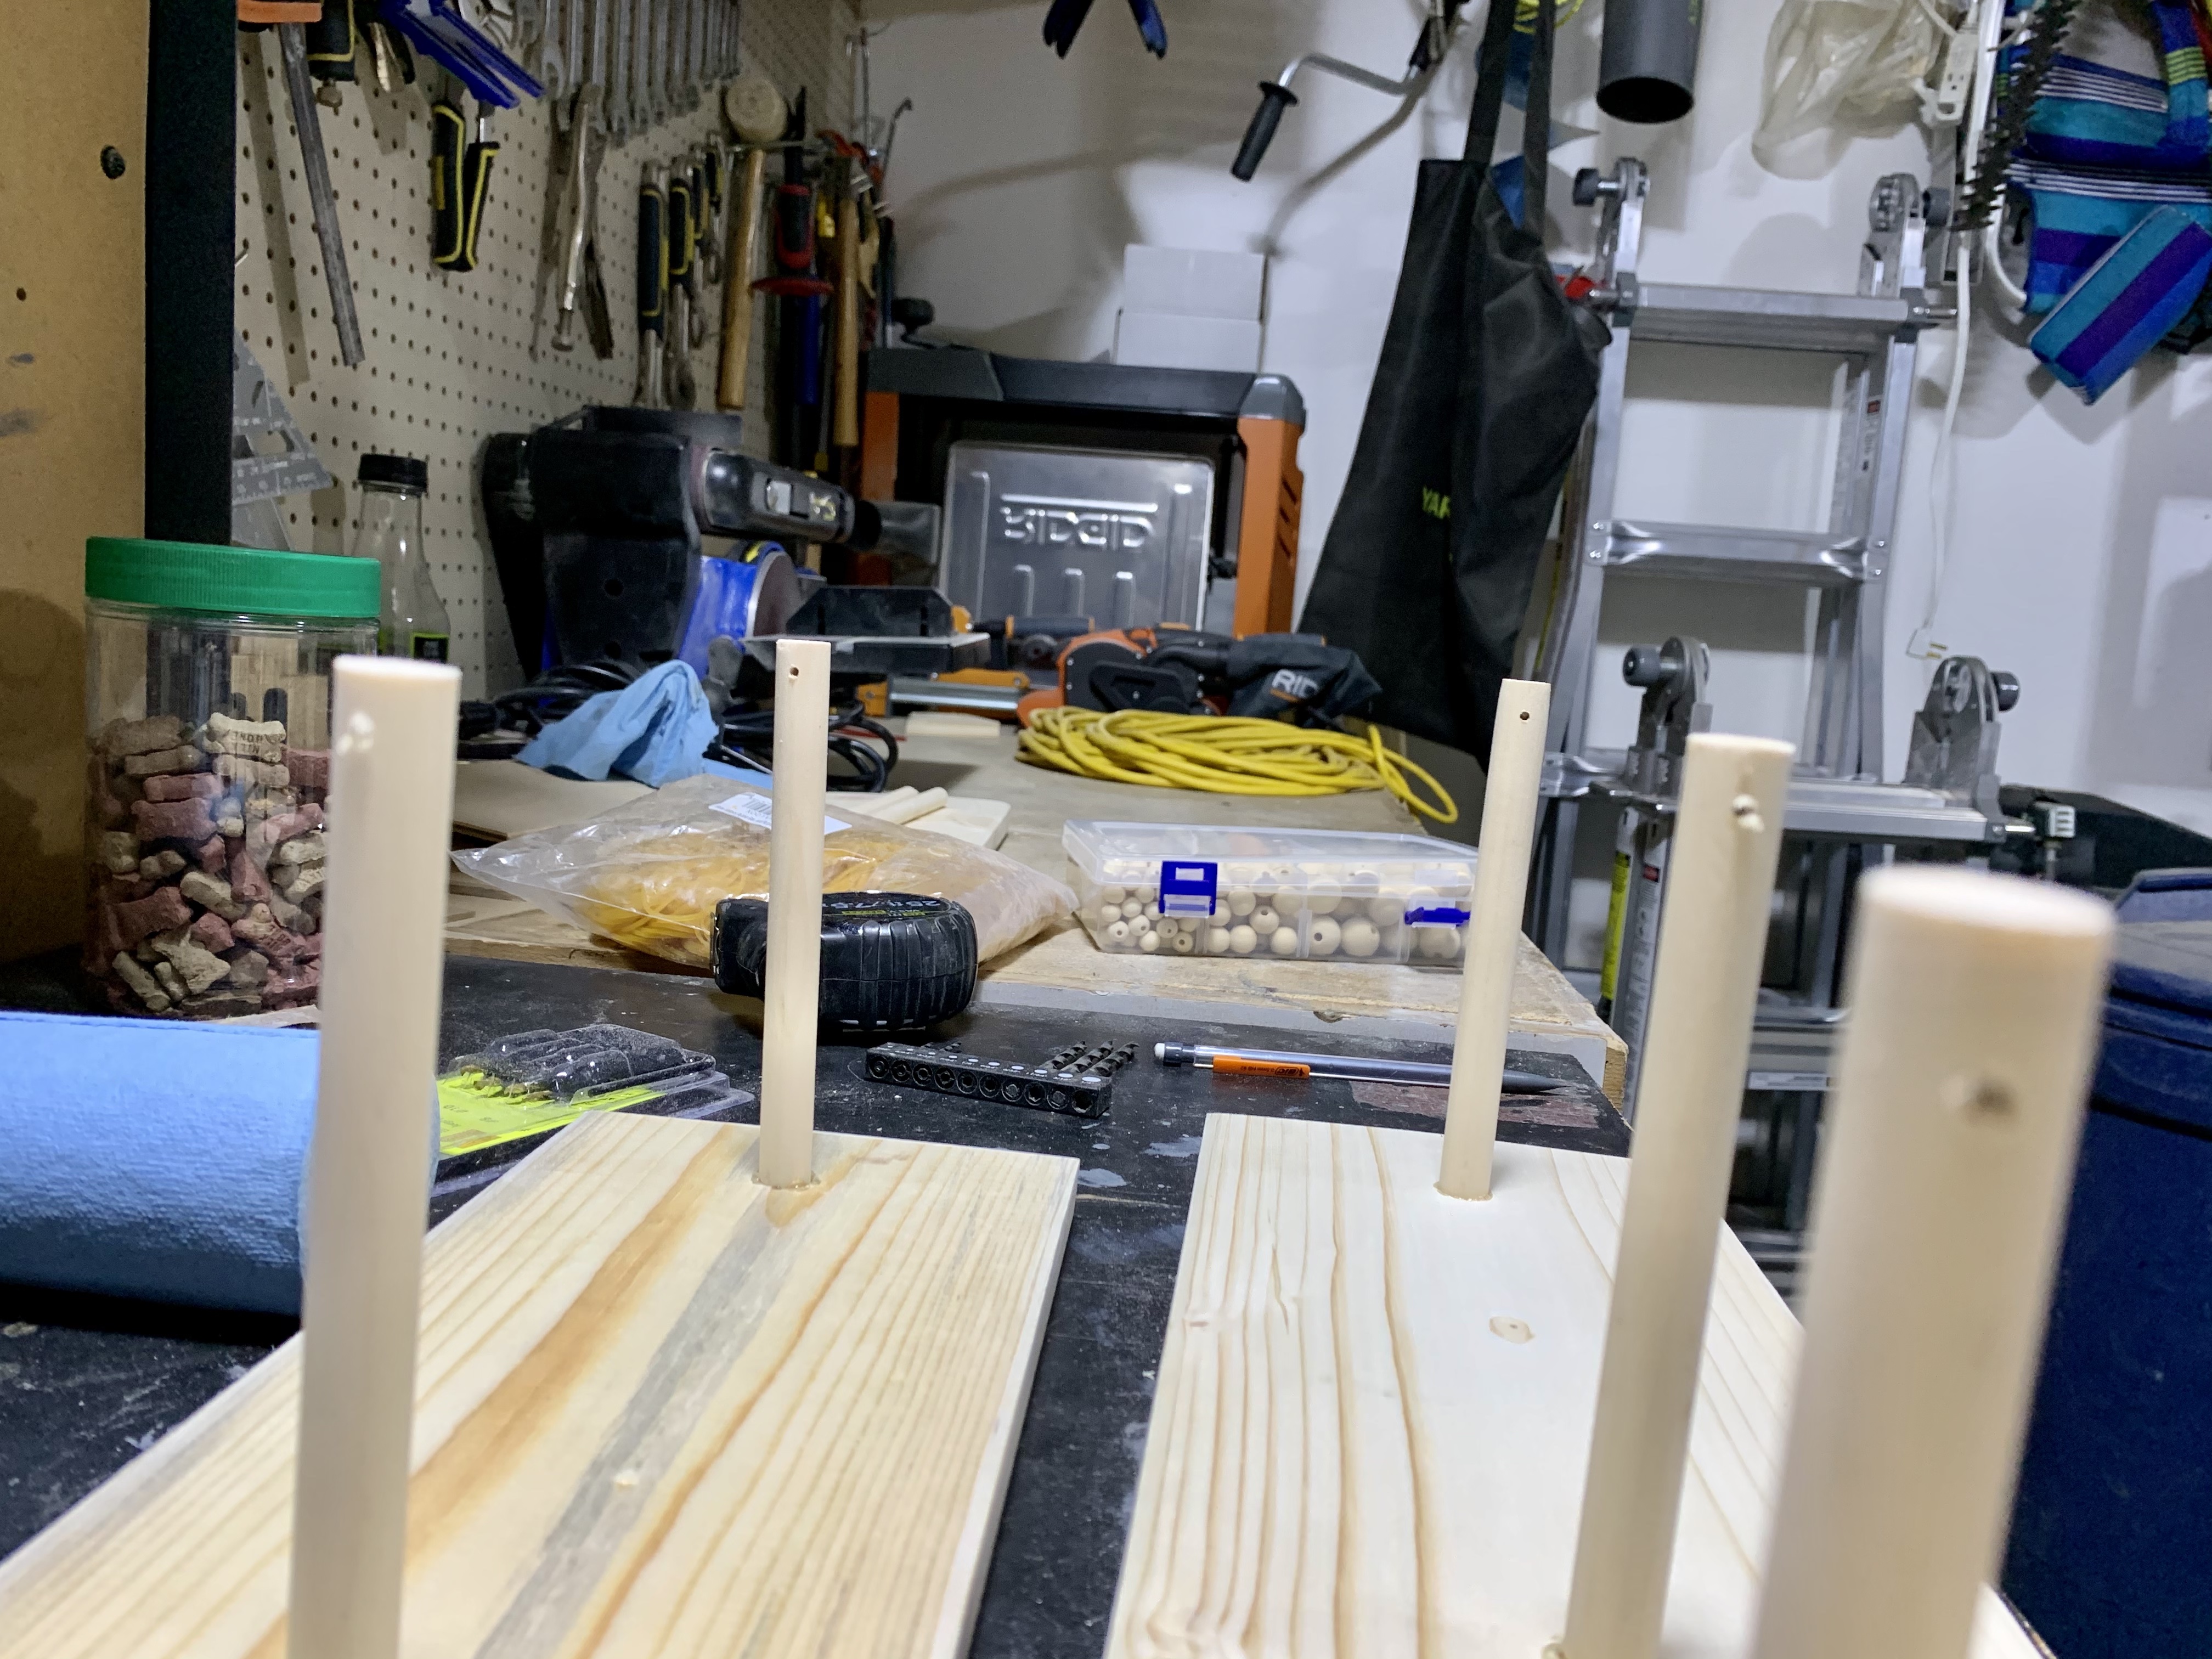
Next, I needed to add the barrel of the gun. I chose to use 1/2″ dowel cut to 8″ lengths. One end of the dowel also needed to be cut with a 50* angle so that it matched up to the back of the handle where the clothespin was going to sit. I didn’t want the dowel to just sit on top of the handle, so I used a 1/2″ cove bit to create a seat for the doweling to sit on top of the handle.
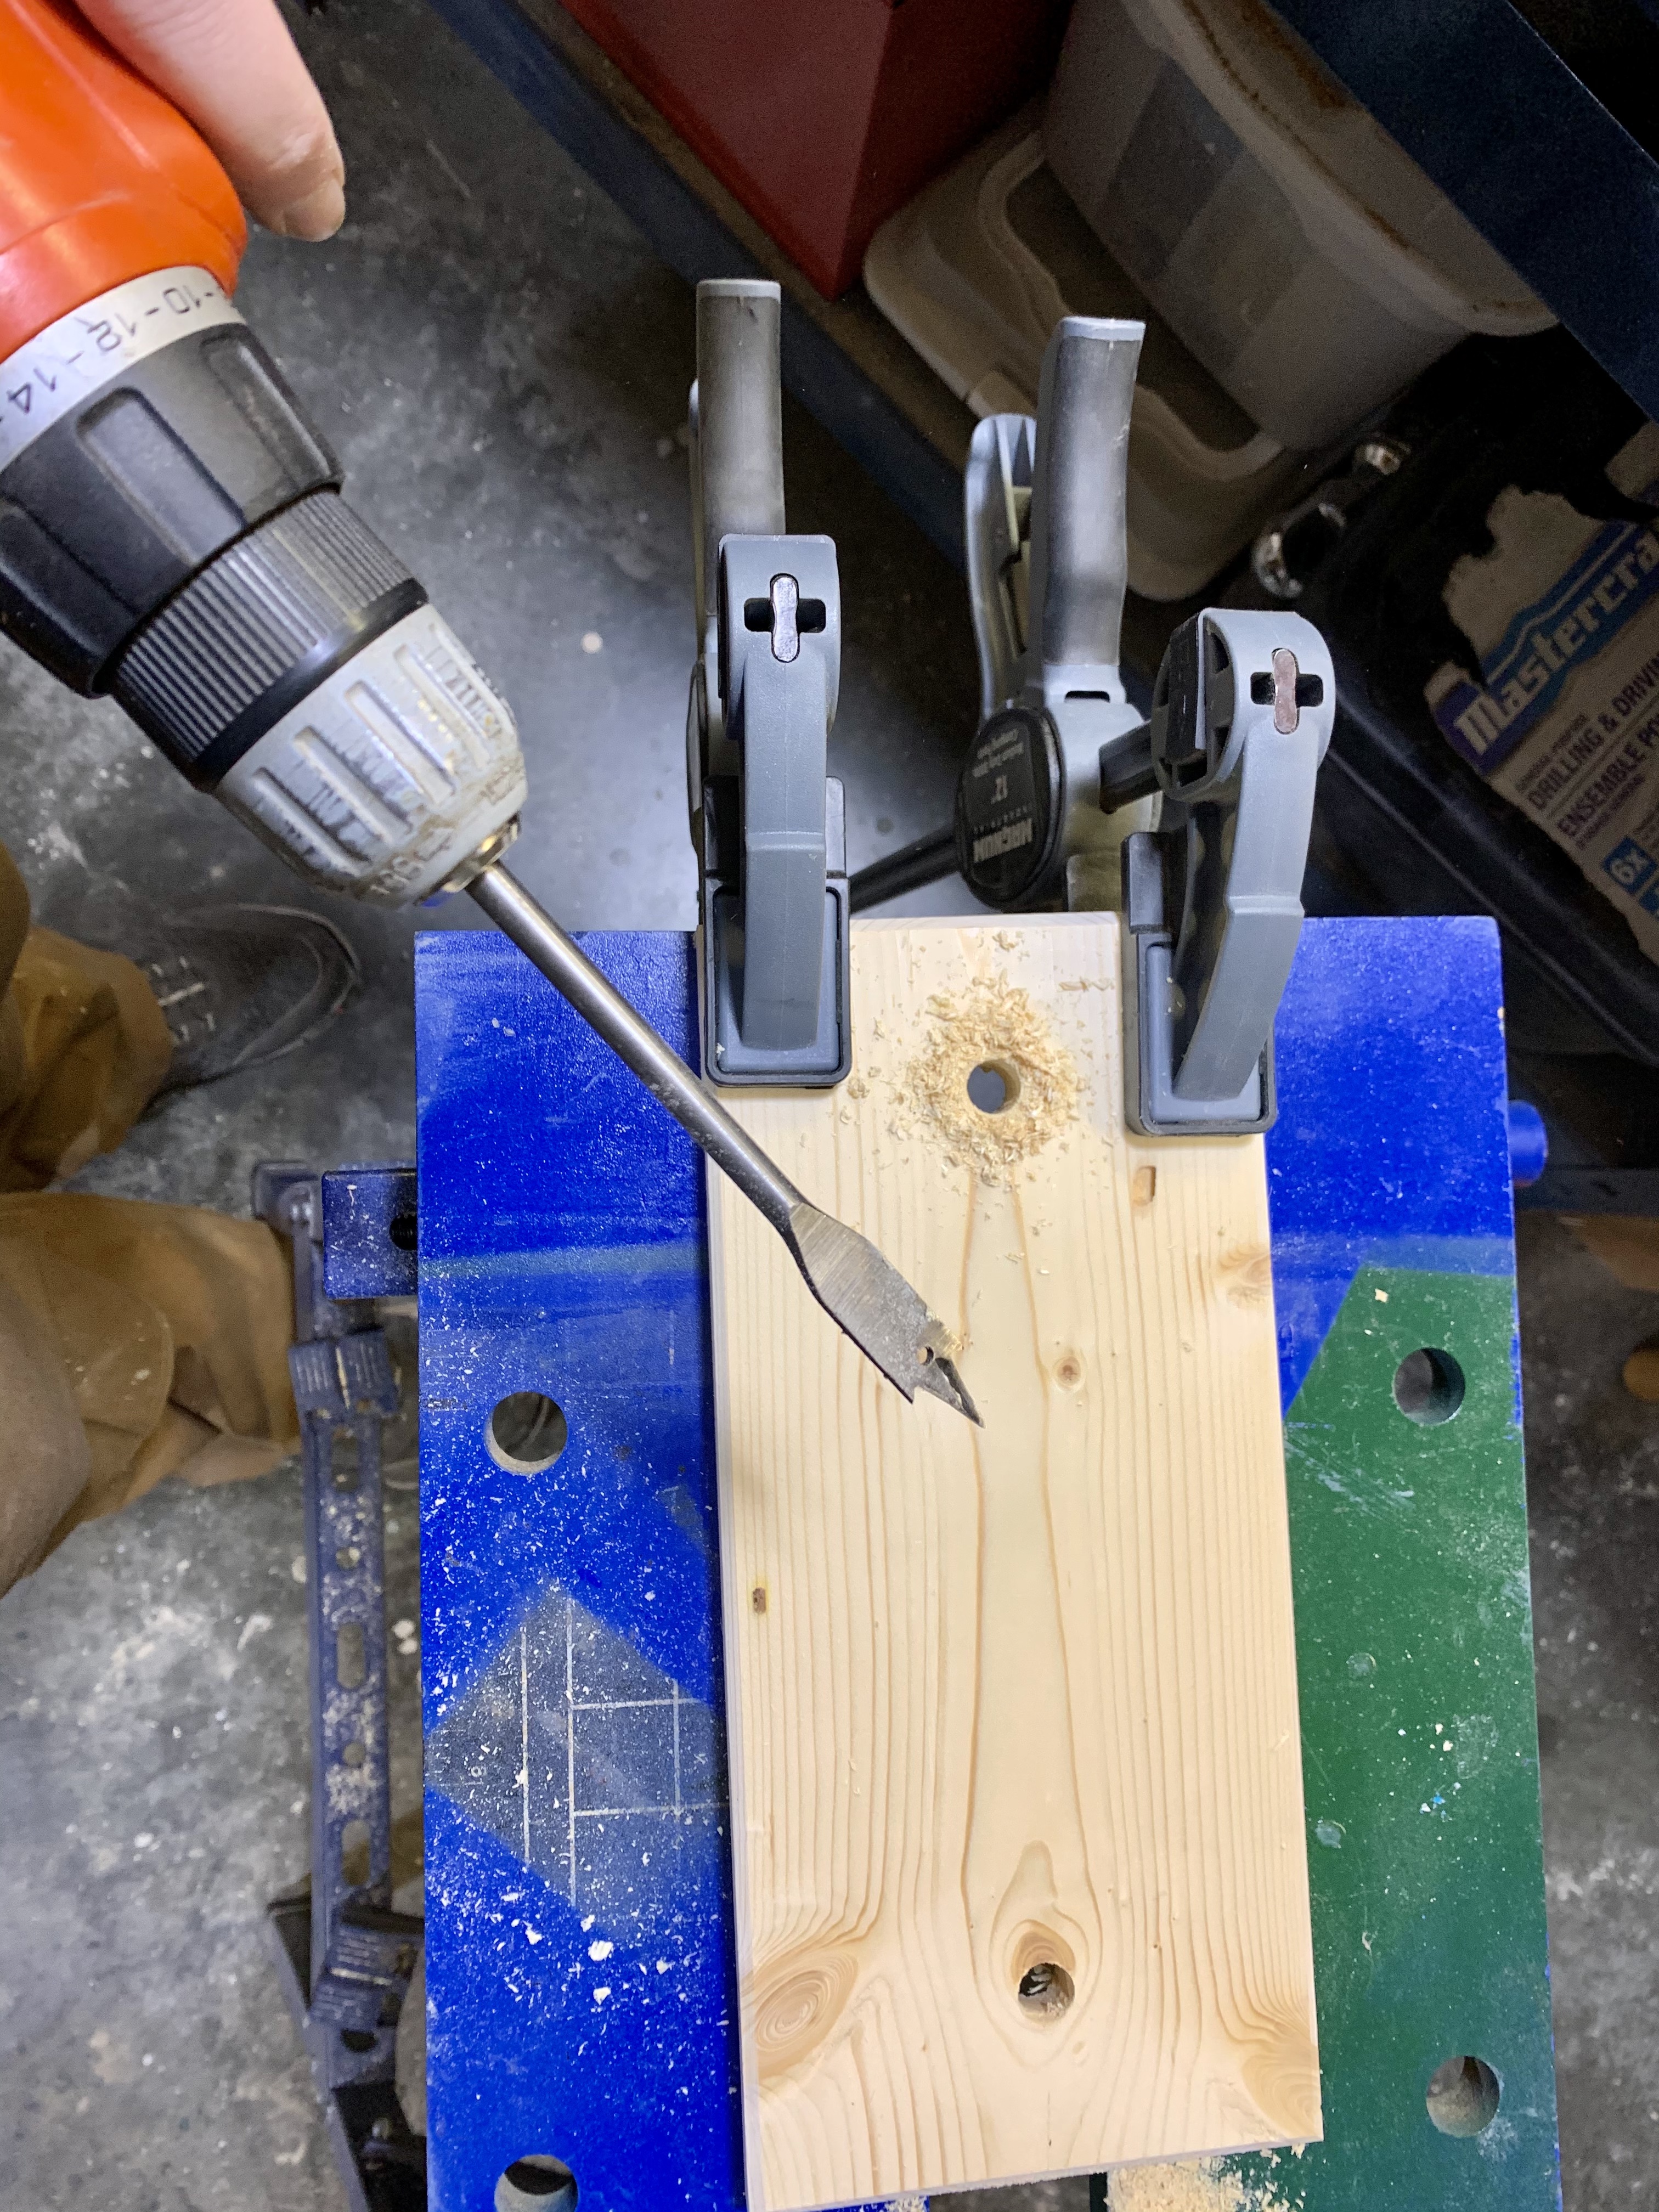
I then used a 1″ hole-saw to create the “trigger” spot, which in the reality of this project is just a spot for your finger as you will use your thumb to shoot. Depending on your design, you may need to adjust the size that you use to best suit your handle.
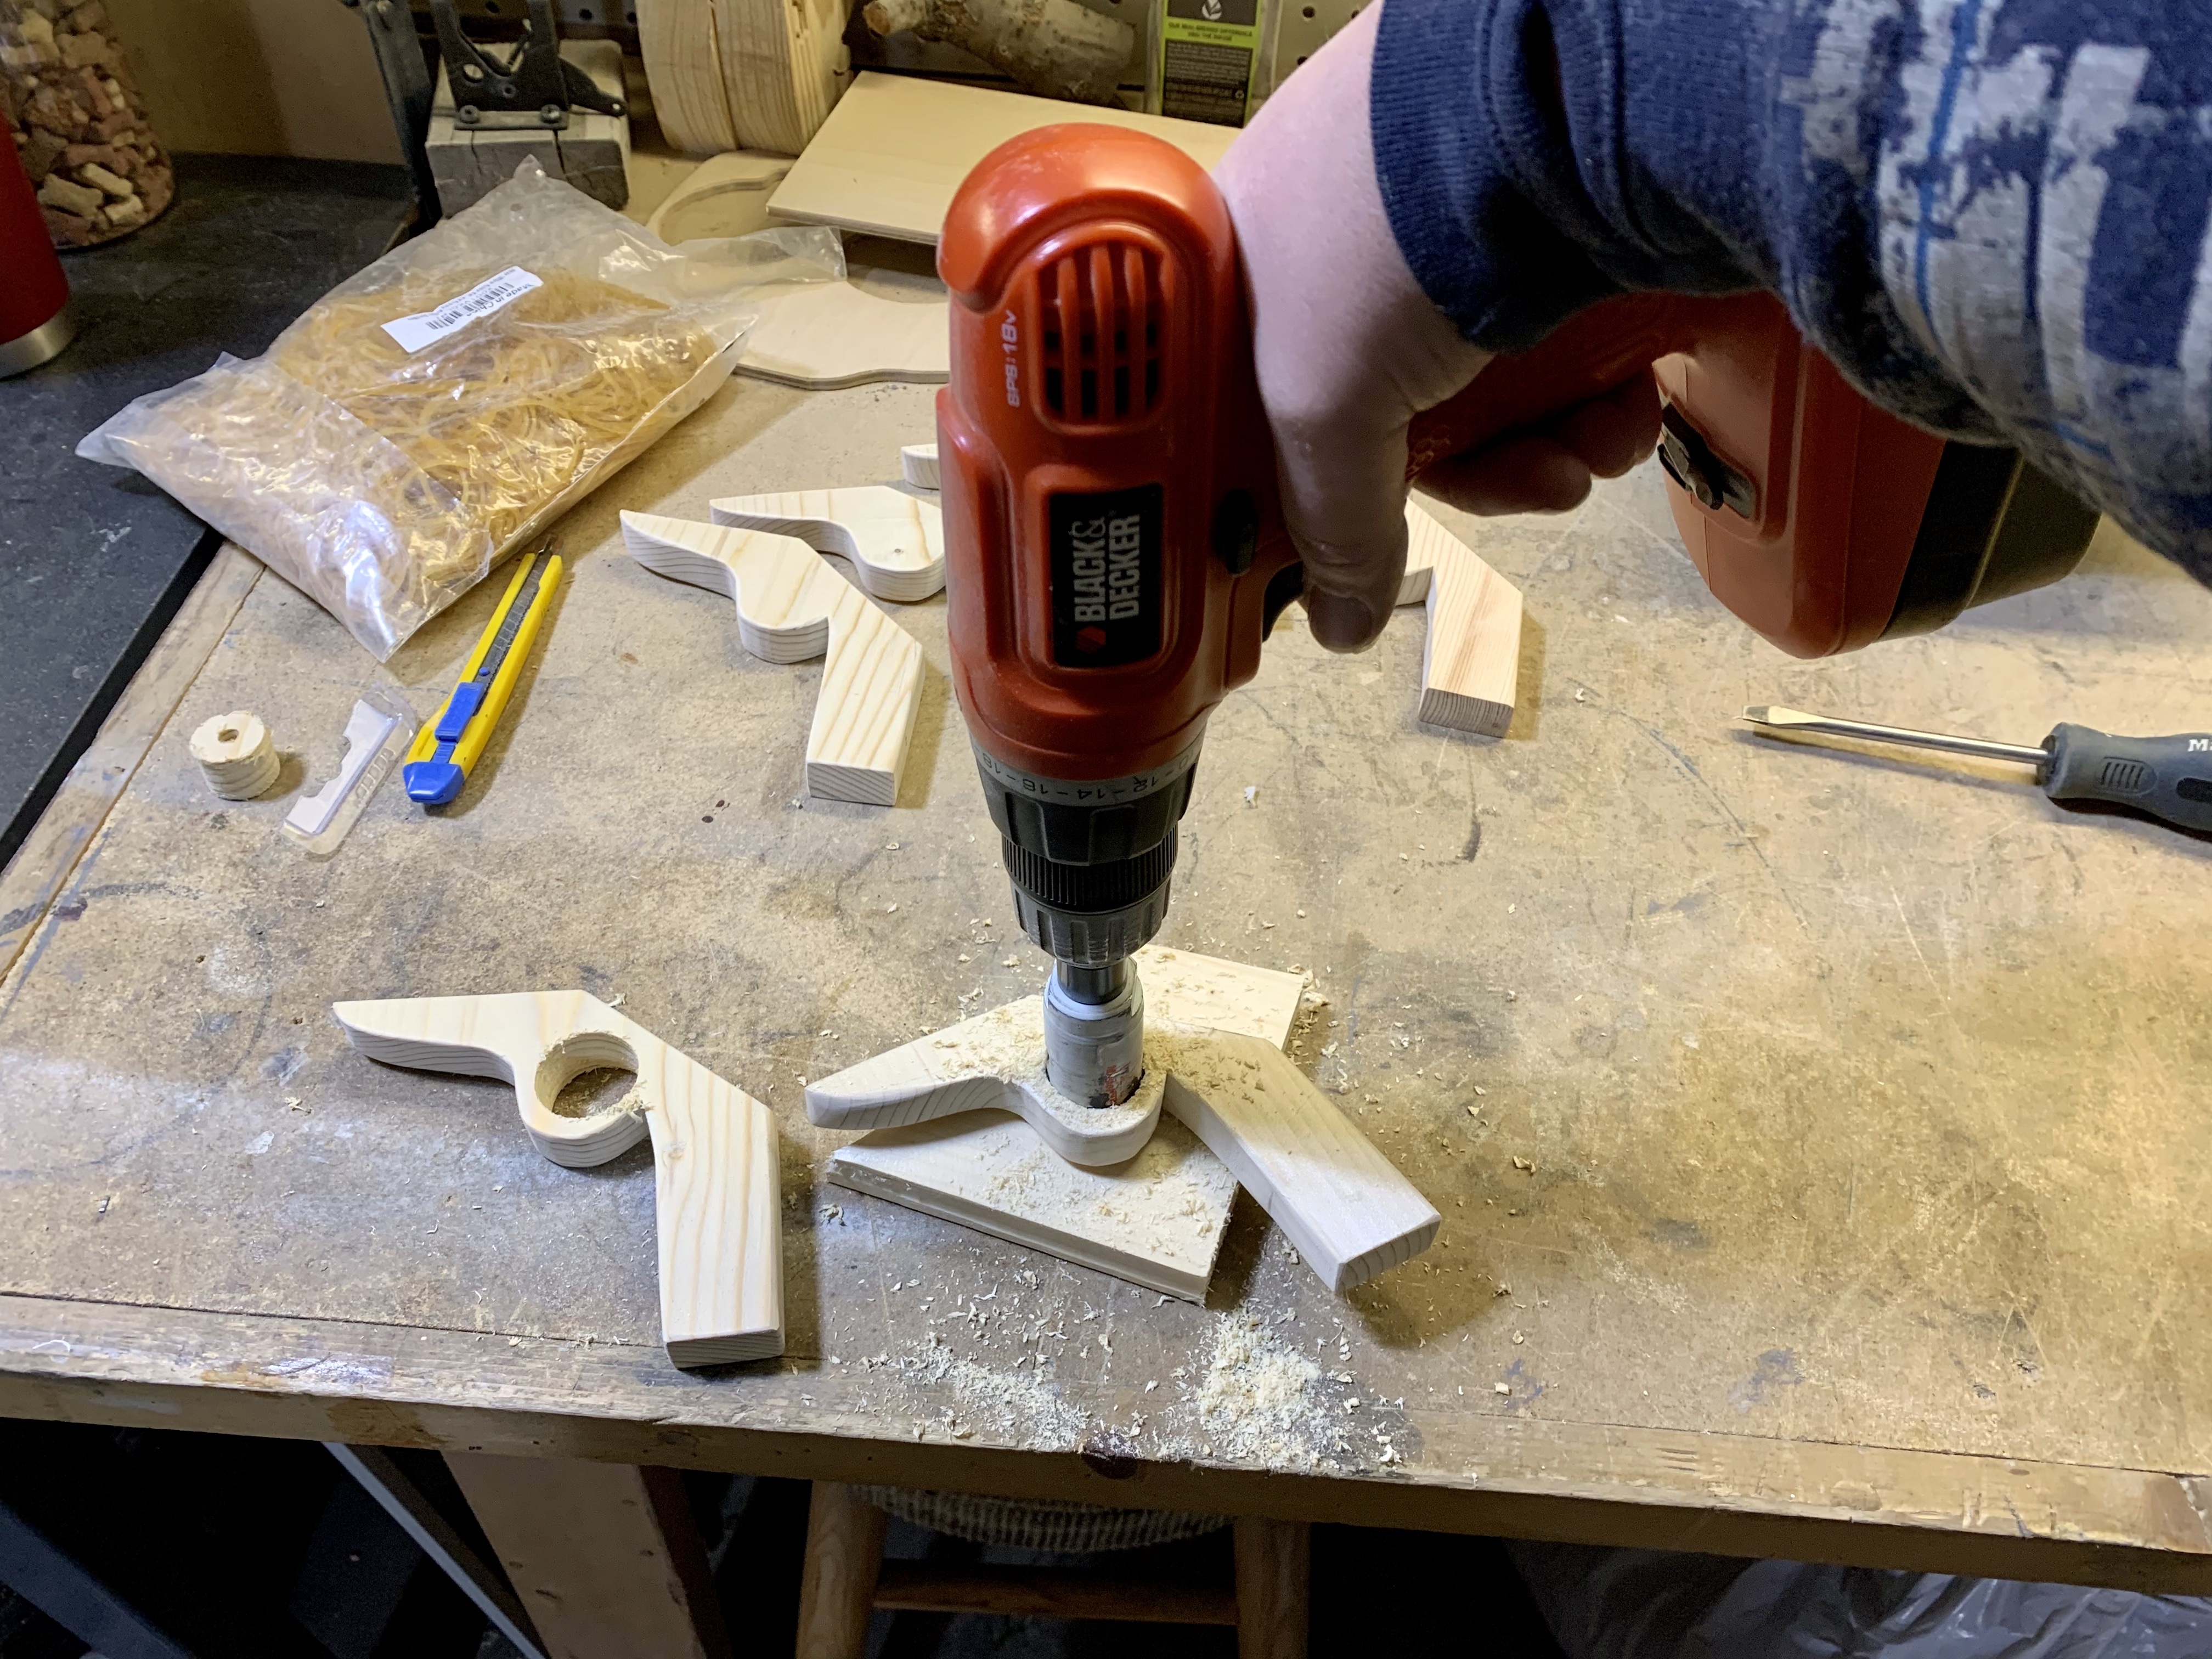
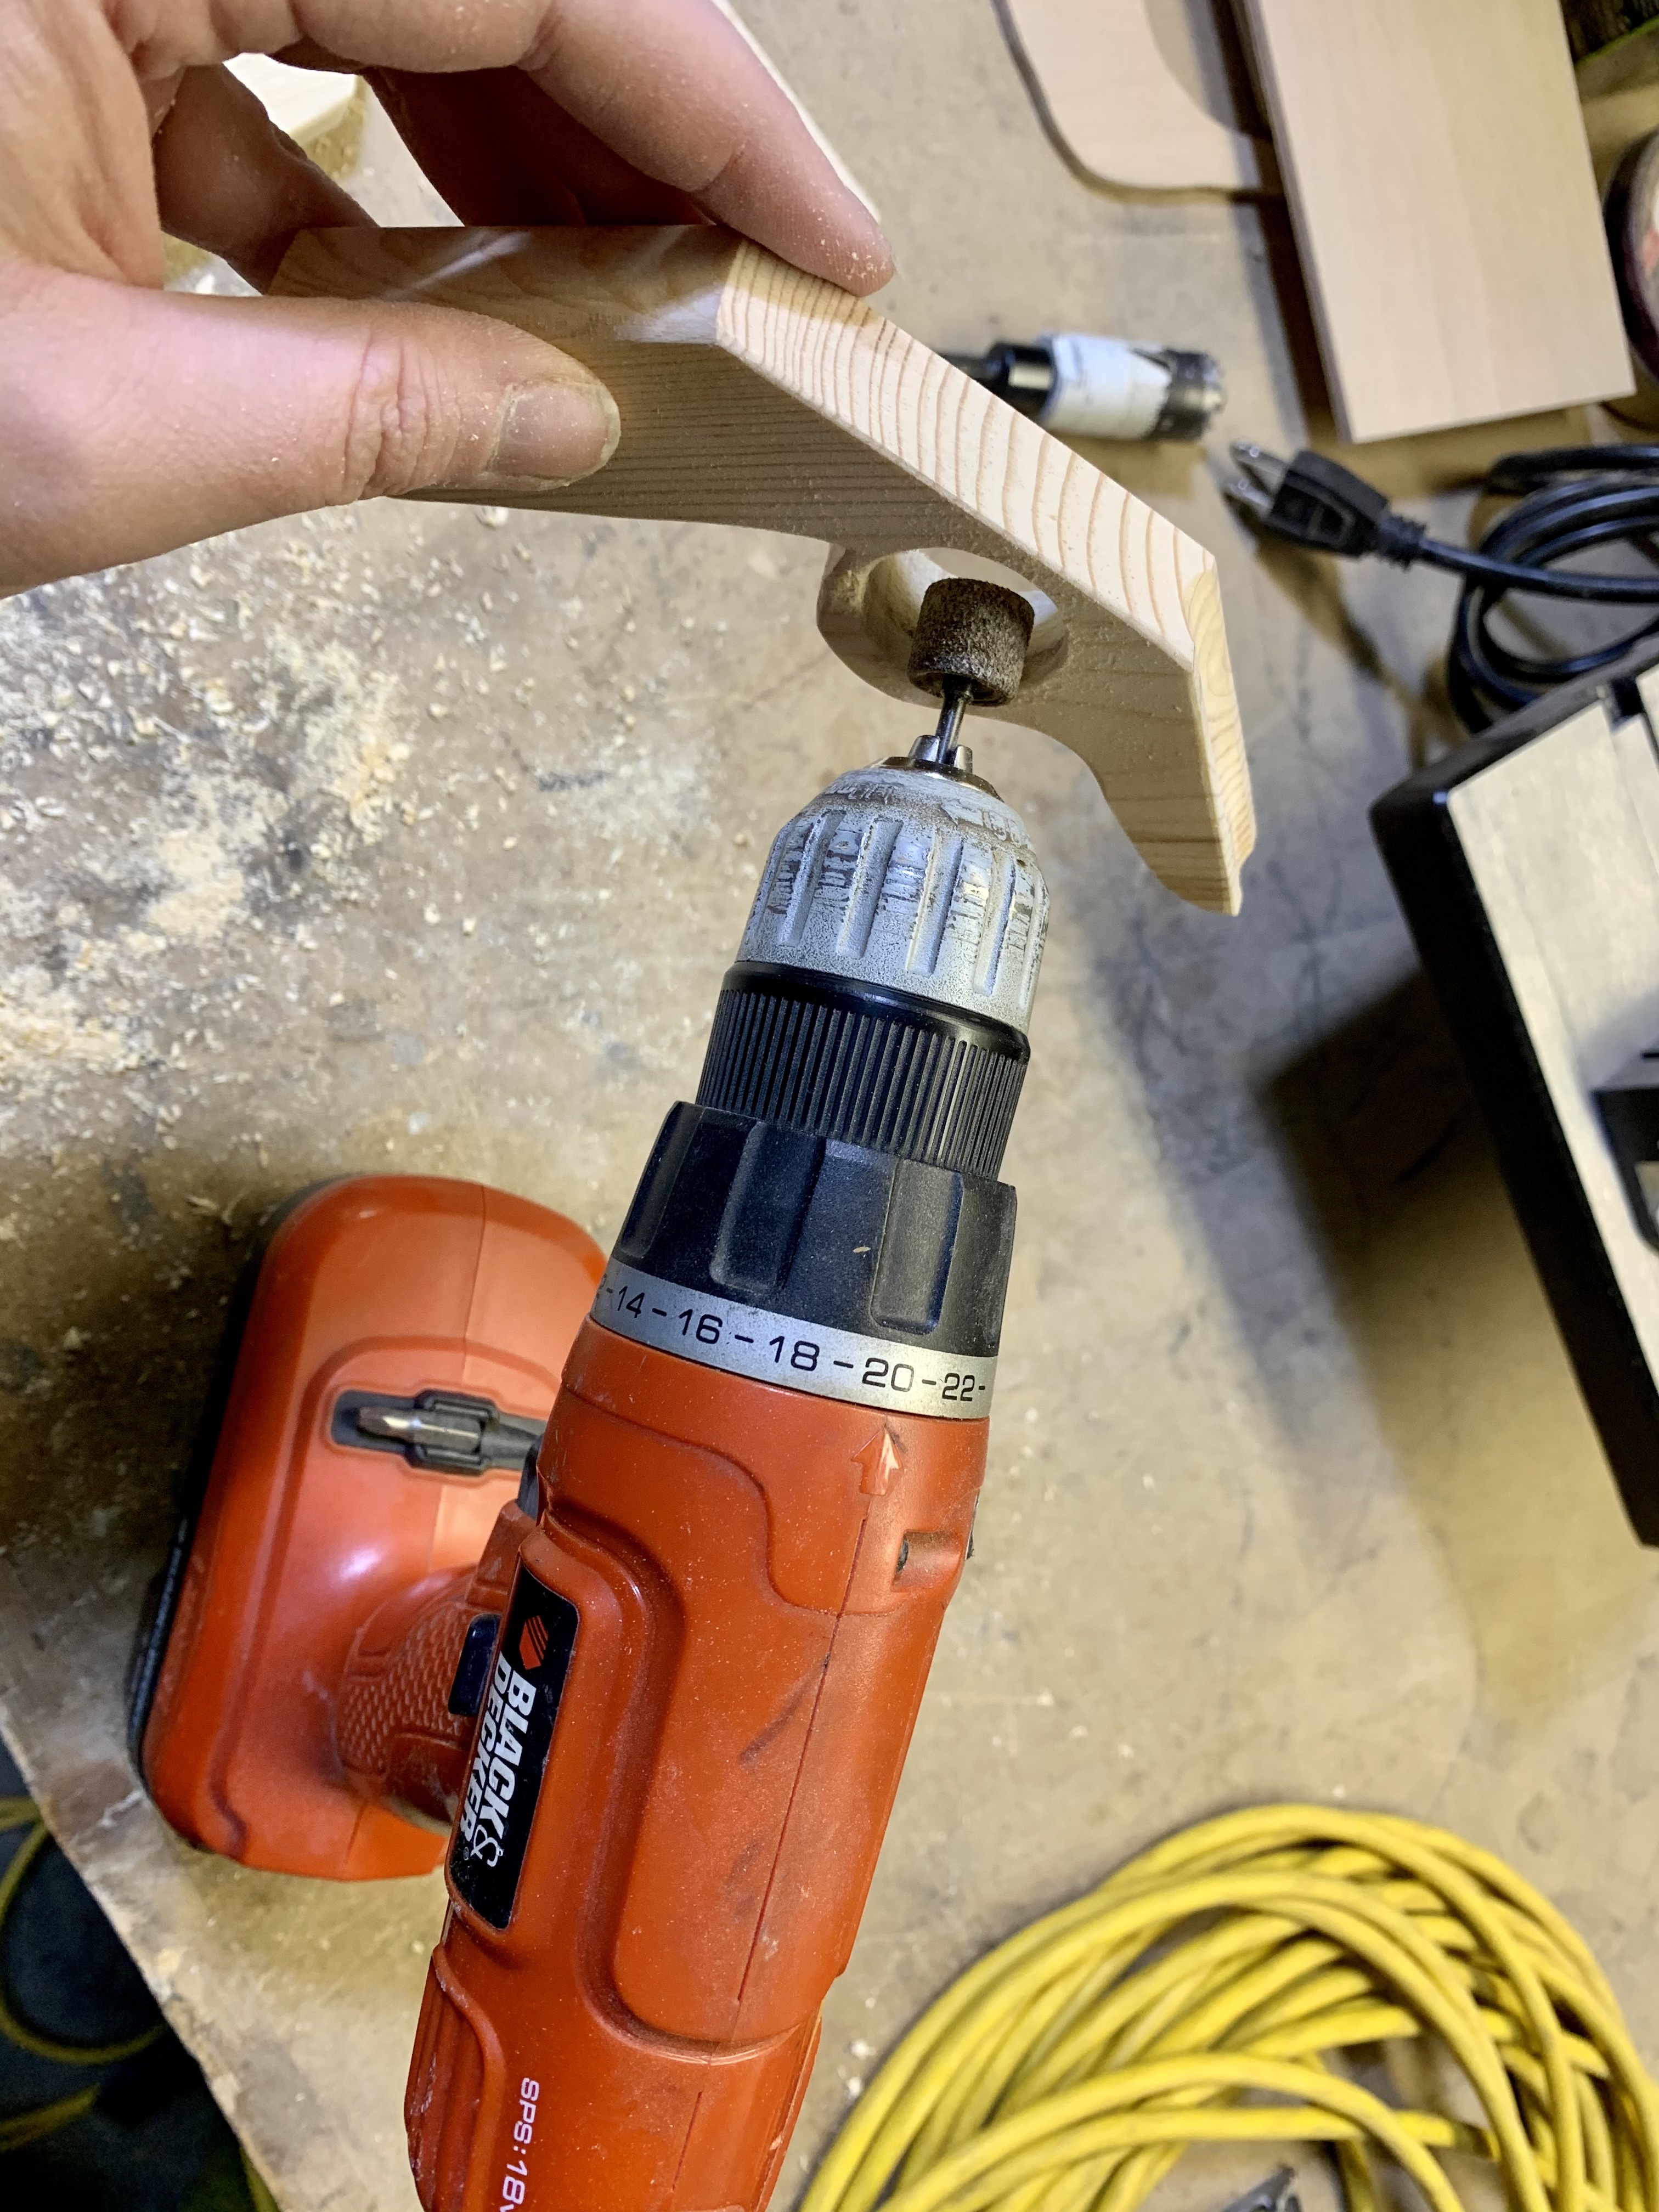
Once all the handles were ready and all the pieces cut, I spent some time sanding everything down. I used my stationary belt sander, palm sander, and dremel/drill to do most of the sanding, finishing off the hard to reach areas with a bit of sandpaper folded and run through. I really need to invest in a spindle sander one day, I do so many projects that could use it, but so far I haven’t bothered. Instead I usually use a sanding bit on our dremel, which works great. Until the dremel died in the middle of this project. I had a feeling it was on it’s last leg, but had hoped that it would make it through the project. Nope. So, I got creative and grabbed my drill, put the dremel bit in and used that. It spun much slower, but still got the job done. I really didn’t want to do it with some sandpaper wrapped around some dowel. Ugh.

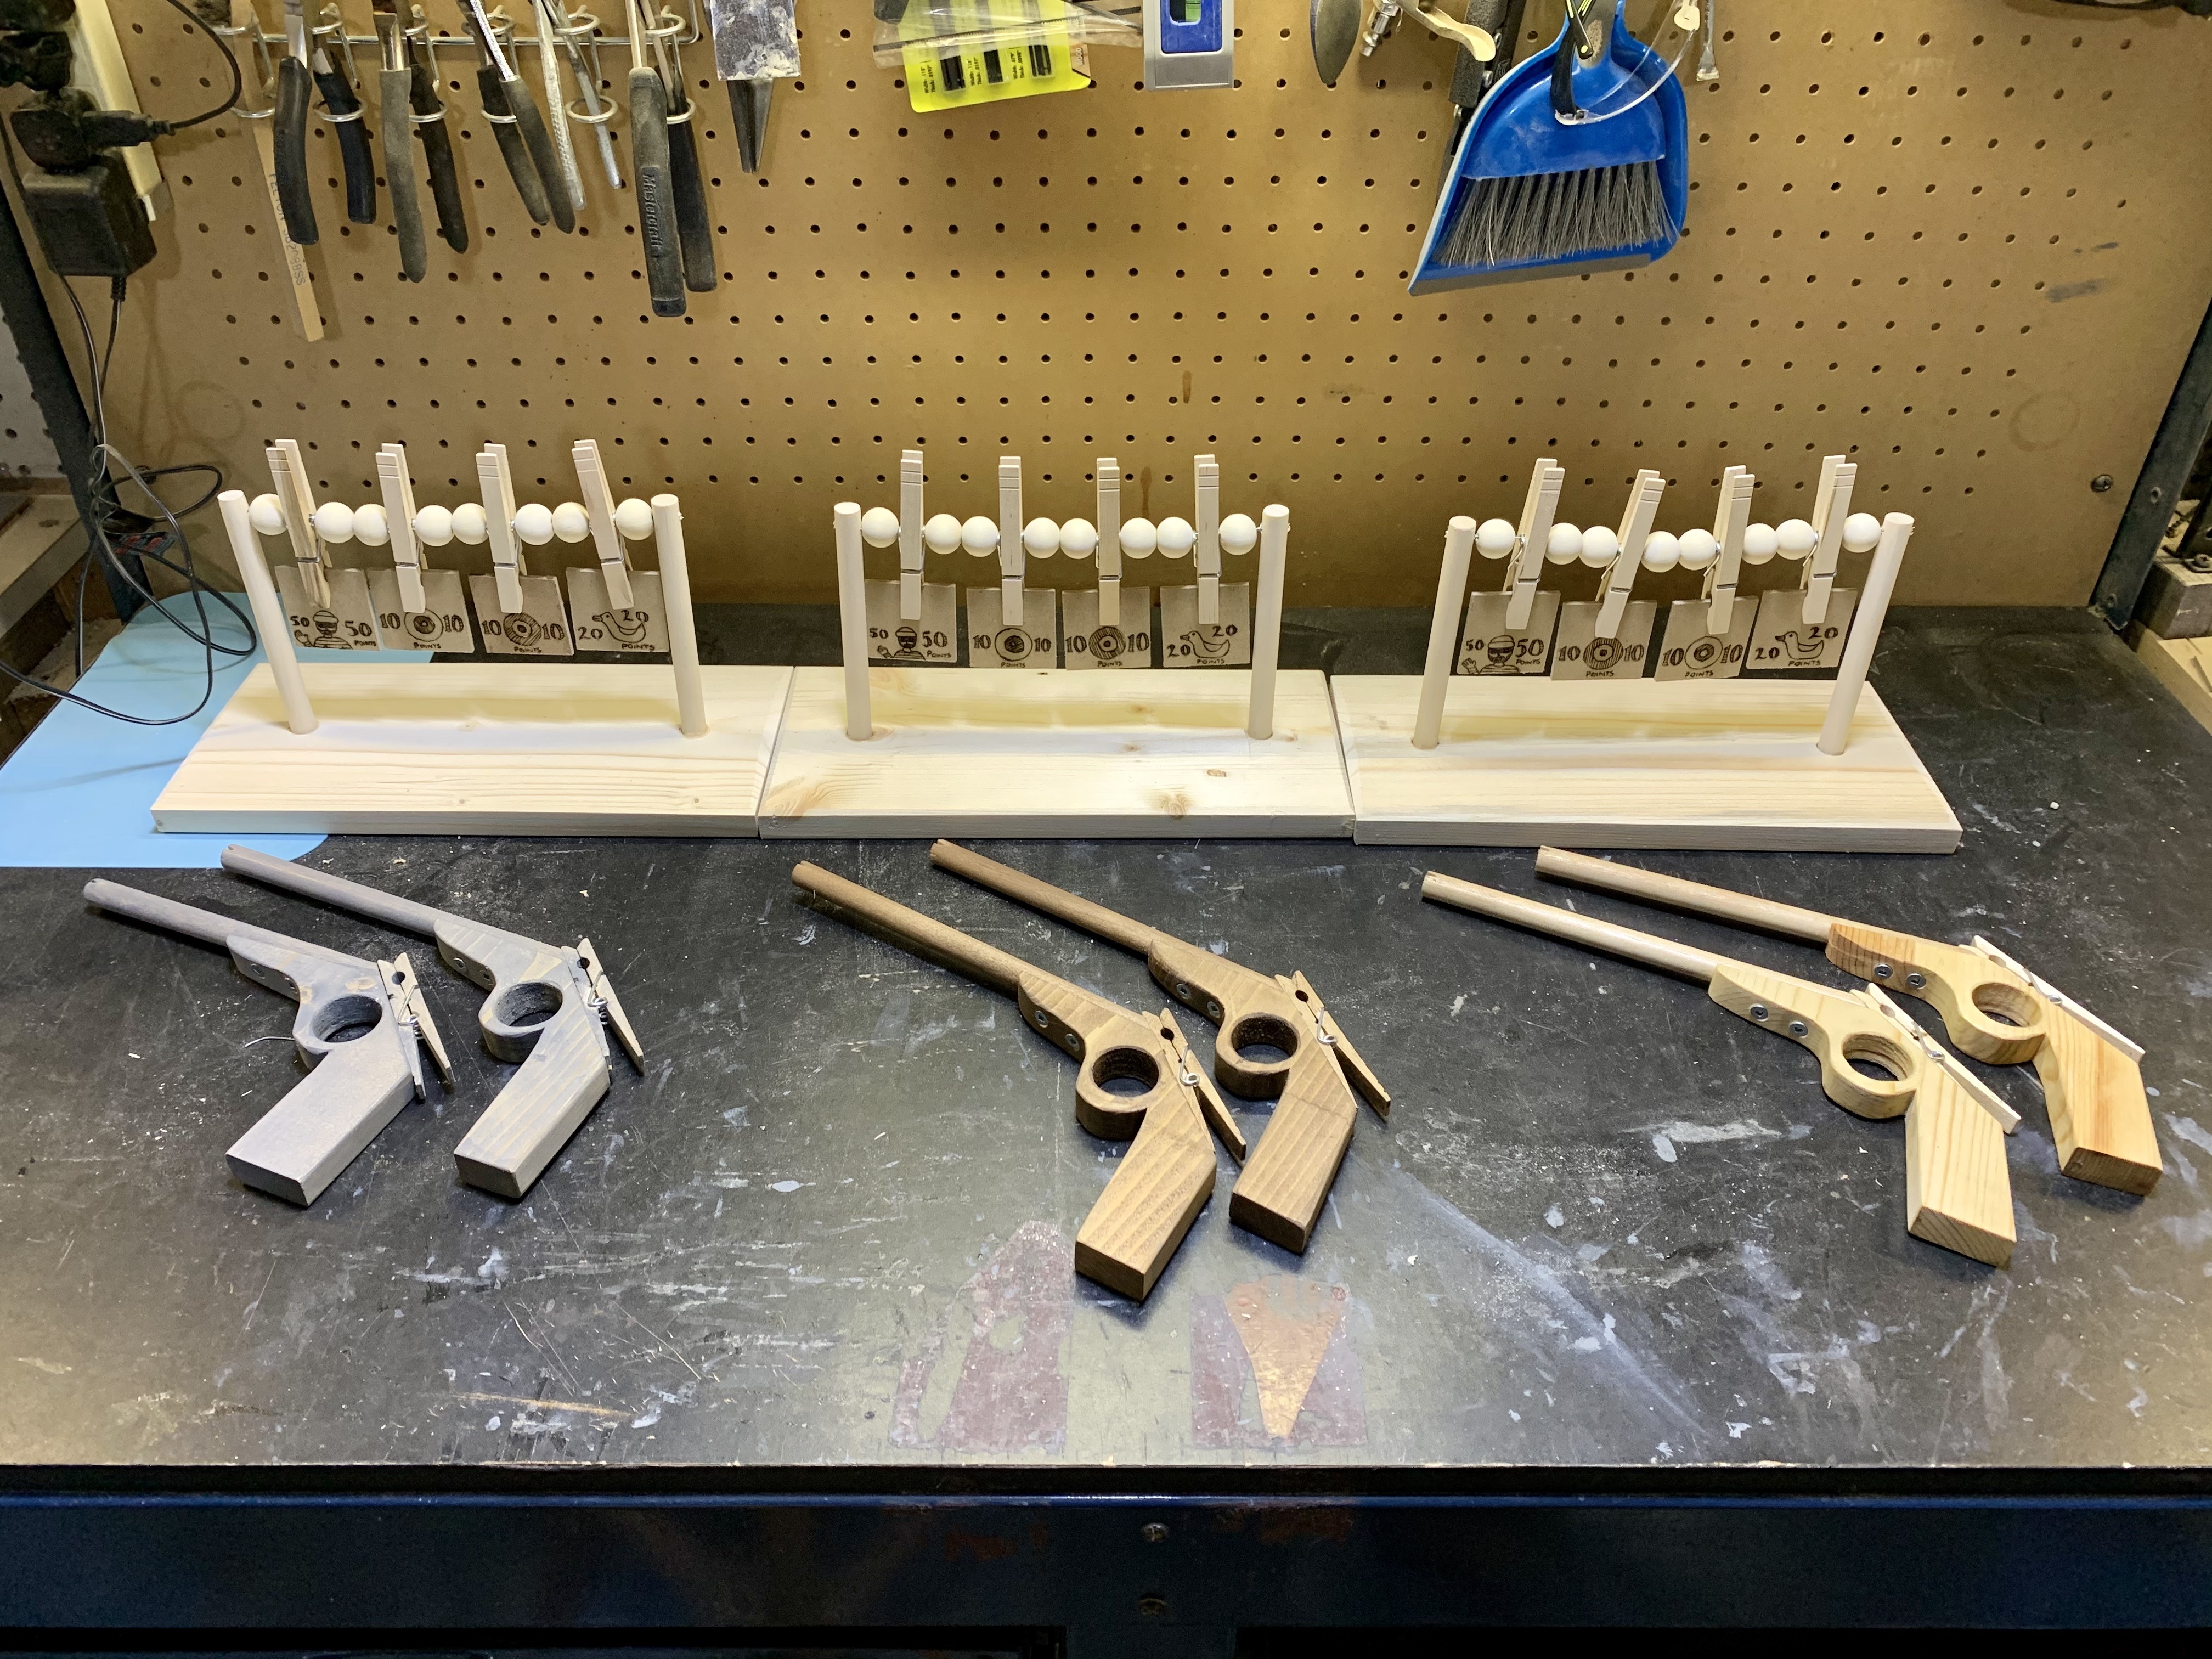
As with most of my projects, I chose to stain the pieces before assembling. I find it easier than trying to force stain into little nooks and crannies. This ensures a nice coverage. I stained the handle, the barrel (doweling) and the clothespin. Since I had 6 elastic guns, I decided to 2 guns per set. I chose a weathered grey, walnut and clear stain for the sets. Part of the reason for the clear stain is that one set of the handles had such a beautiful grain and colour that I didn’t want to cover it, so I went au-natural with those ones.
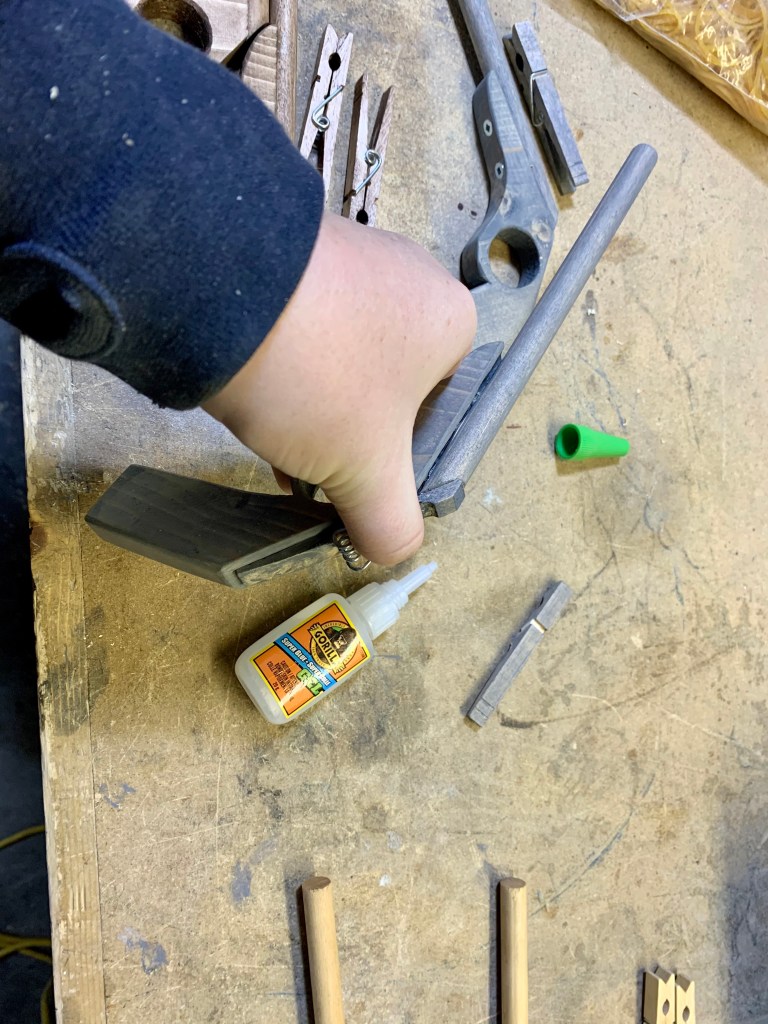
The next few steps were finicky and I have to say, without some gorilla super glue, it would have been a much worse process. I don’t get paid for any products I mention in my posts, I just like the gorilla super-glue so much that I had to give it some love. I recently started using their gel super glue and it is excellent for small, fiddly projects. It is a very quick and very solid hold. I used it to seat the doweling in the channel and hold it in place while I added a few screws. It only needed a minute to dry, so by the time I had placed all the dowels, the first one that I did was ready to be moved and worked on.
Using a counter-sinking bit, I drilled two pilot holes in the bottom side of the handle, making sure the pilot hole went through to the doweling. Be slow and specific with this part. I wasn’t with the first one and my pilot hole was slightly tilted, which resulted in the screw poking out the side of the doweling. It was easily fixed with a slightly smaller screw, but made me extra careful on the next ones. Also, don’t drill your screw in further than the divot you have made for the head. The handle is narrow in this area and will split easily. I luckily avoided that, but only because my music was paused and as I slowly put the screw in, I heard the tell-tale click of a crack about to happen and stopped drilling.


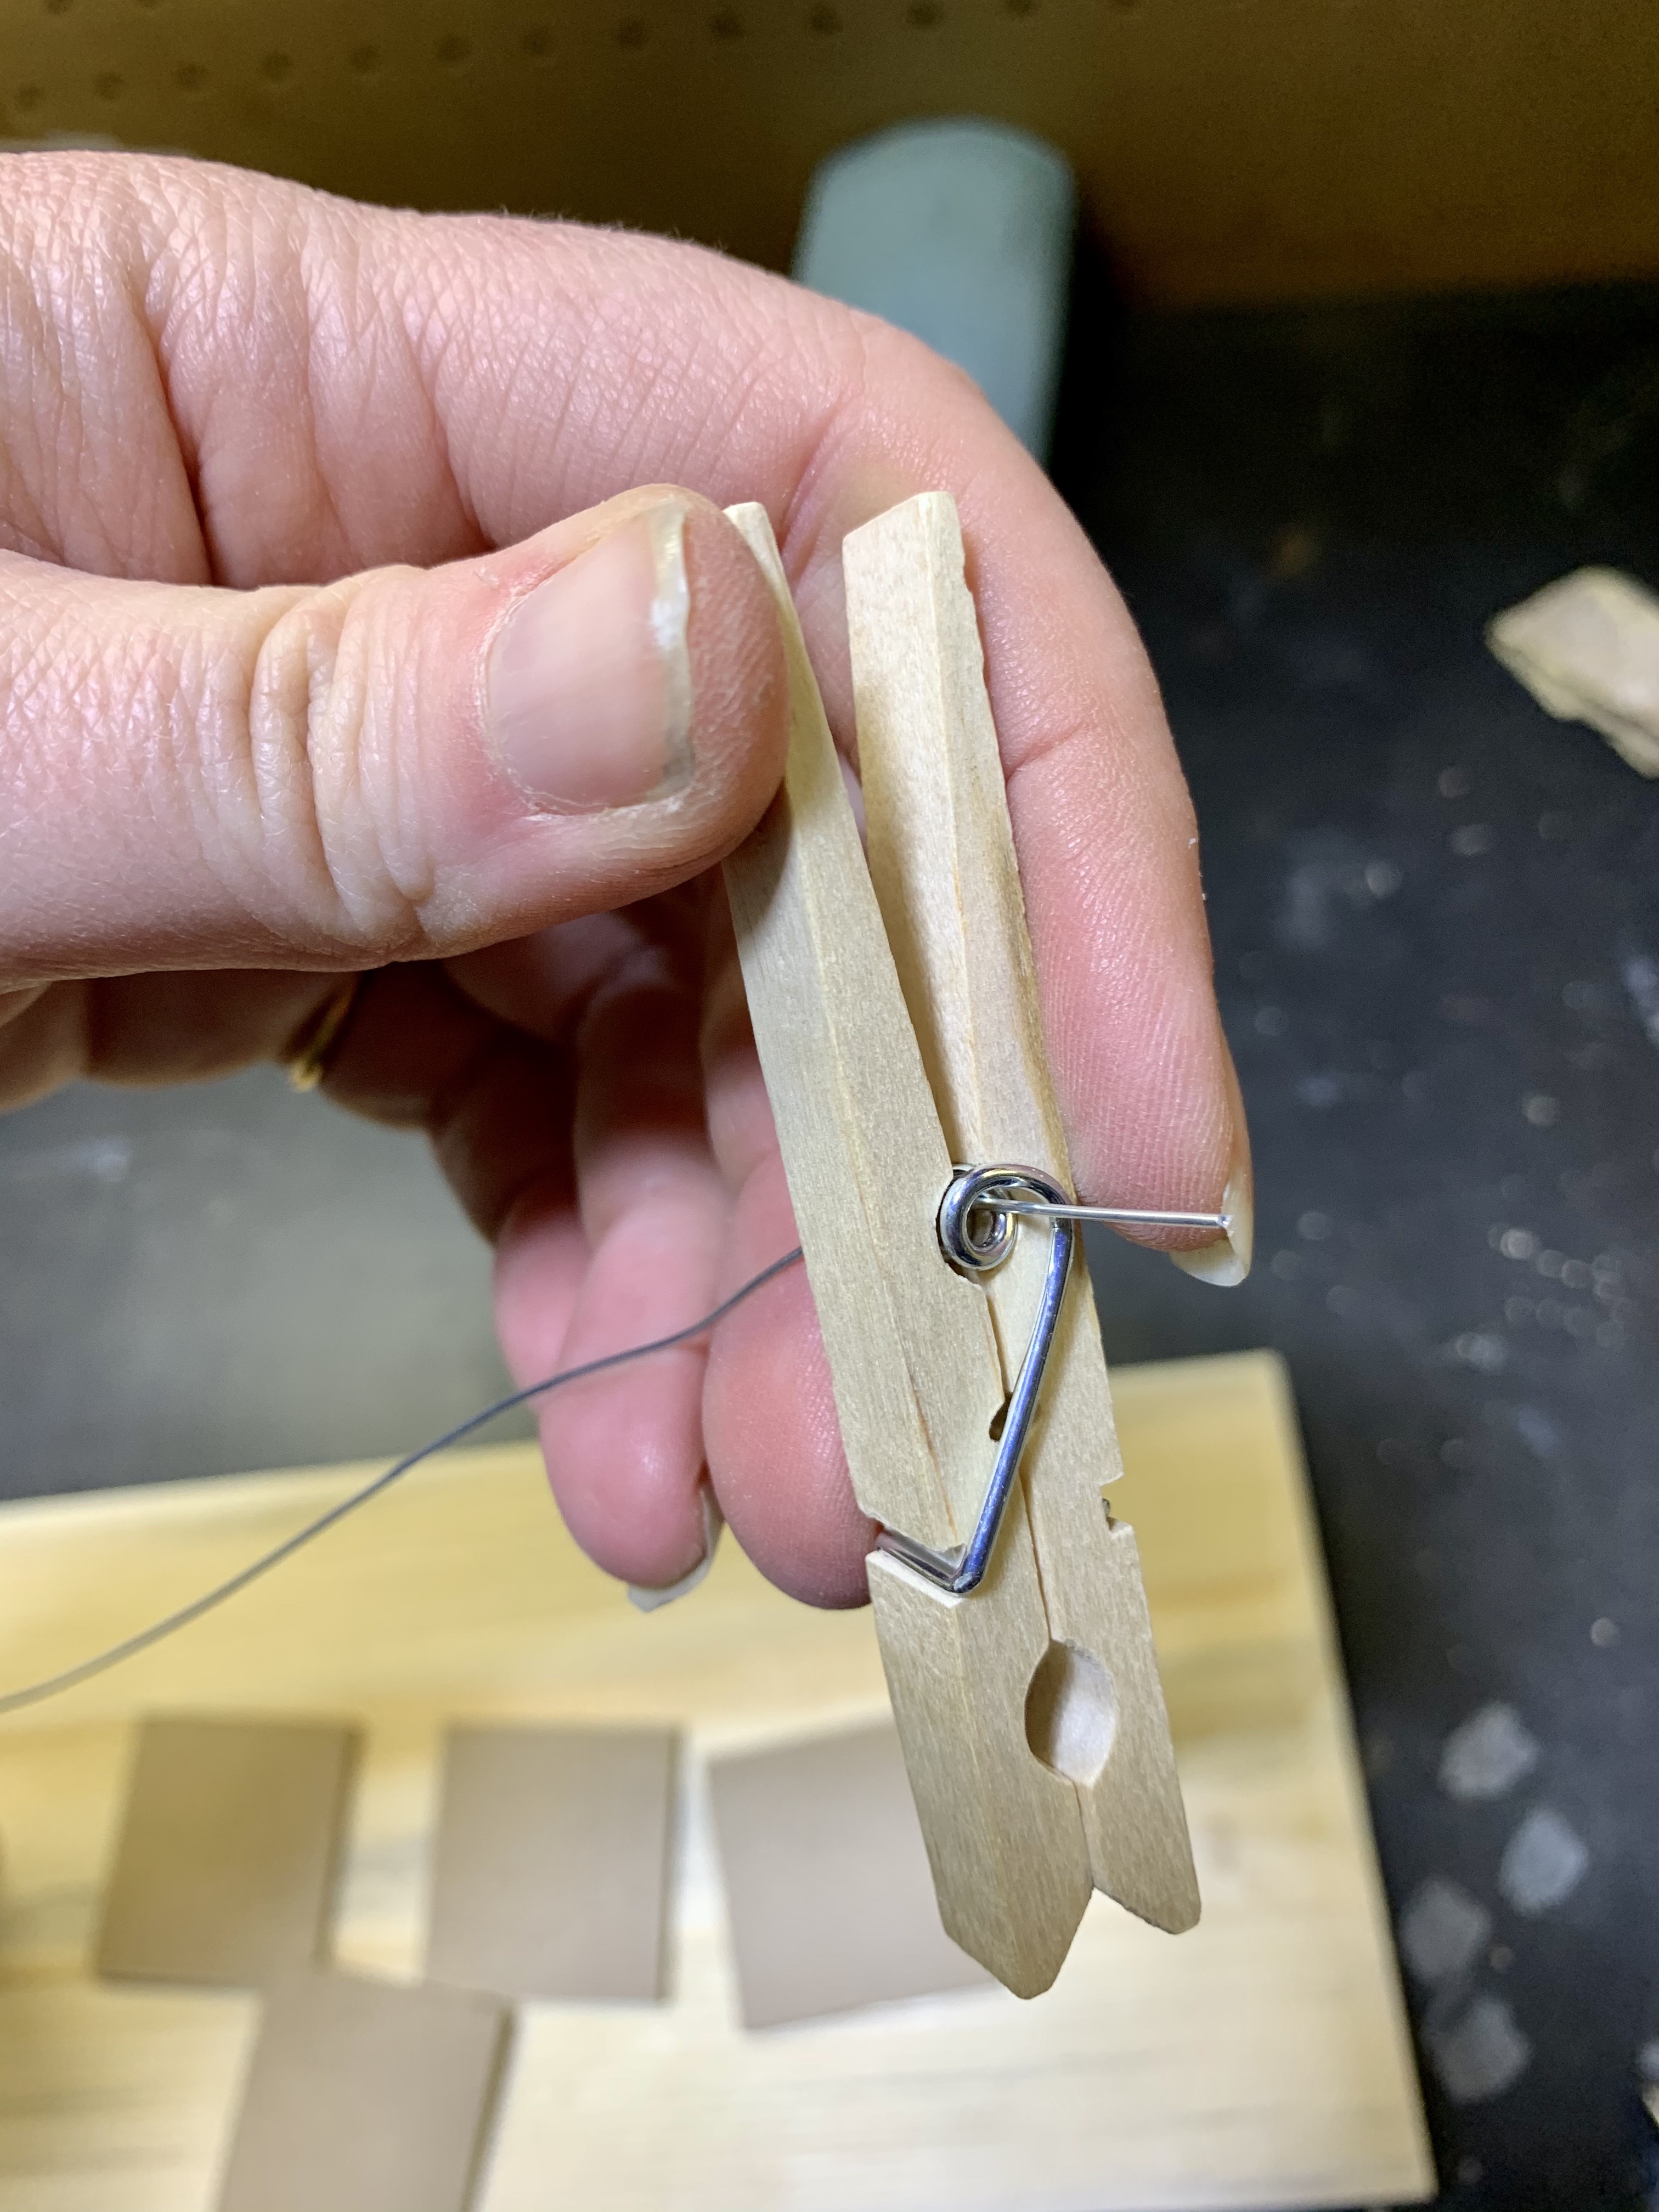
Next step was to put the clothespins on the back side. The best way to do this is to take the clothespin partially apart. I took one side off and set it aside while I glued the other half, with the spring onto the back of the gun. From there I added a few finishing nails for a little extra hold. I think the glue would have been fine, but how bummed out would you be if you are beating your sibling or parent with a high-score and your gun breaks. It would be pretty sad and you would lose all bragging rights!
Once the glue was dry and the nails added, it is time to add the half a clothespin back to where it belongs. At first I used some needle-nose pliers to hold the spring open, but found it to be annoying. After the first two, I just used good-ol’ finger power, bending it back with my finger and sliding the clothespin piece into place. The springs aren’t as heavy-duty as I originally thought, which actually worked out.
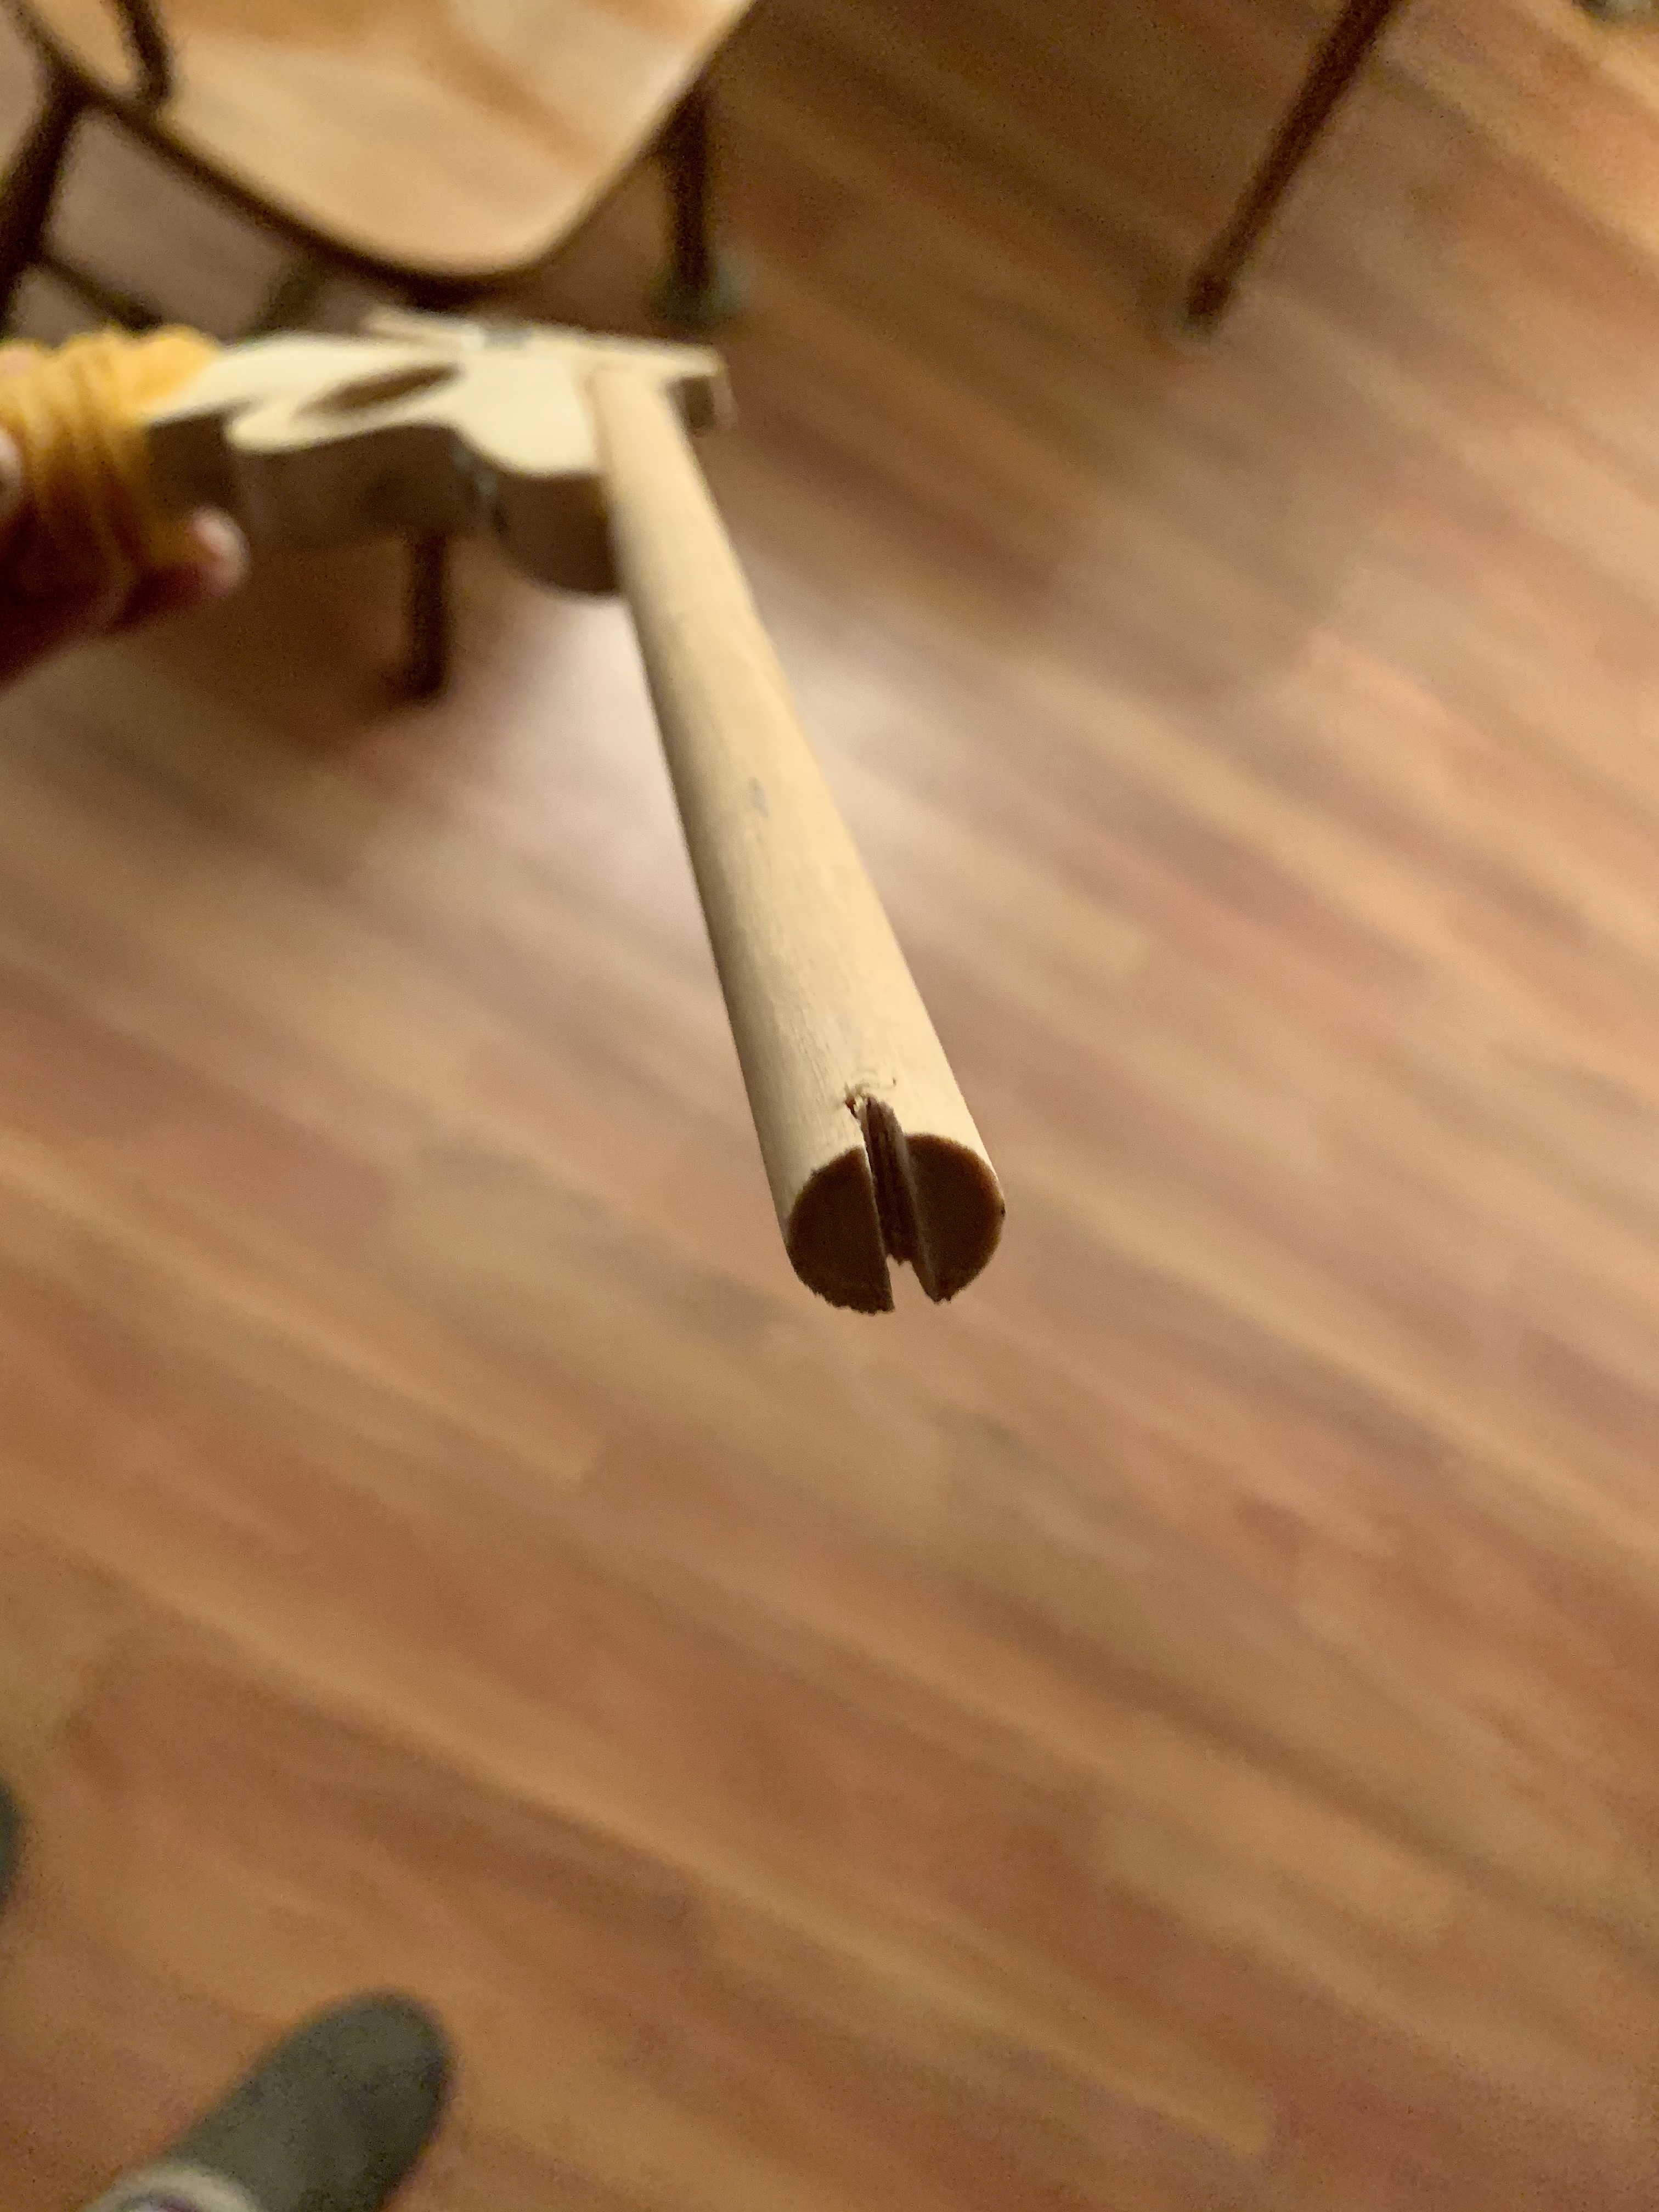
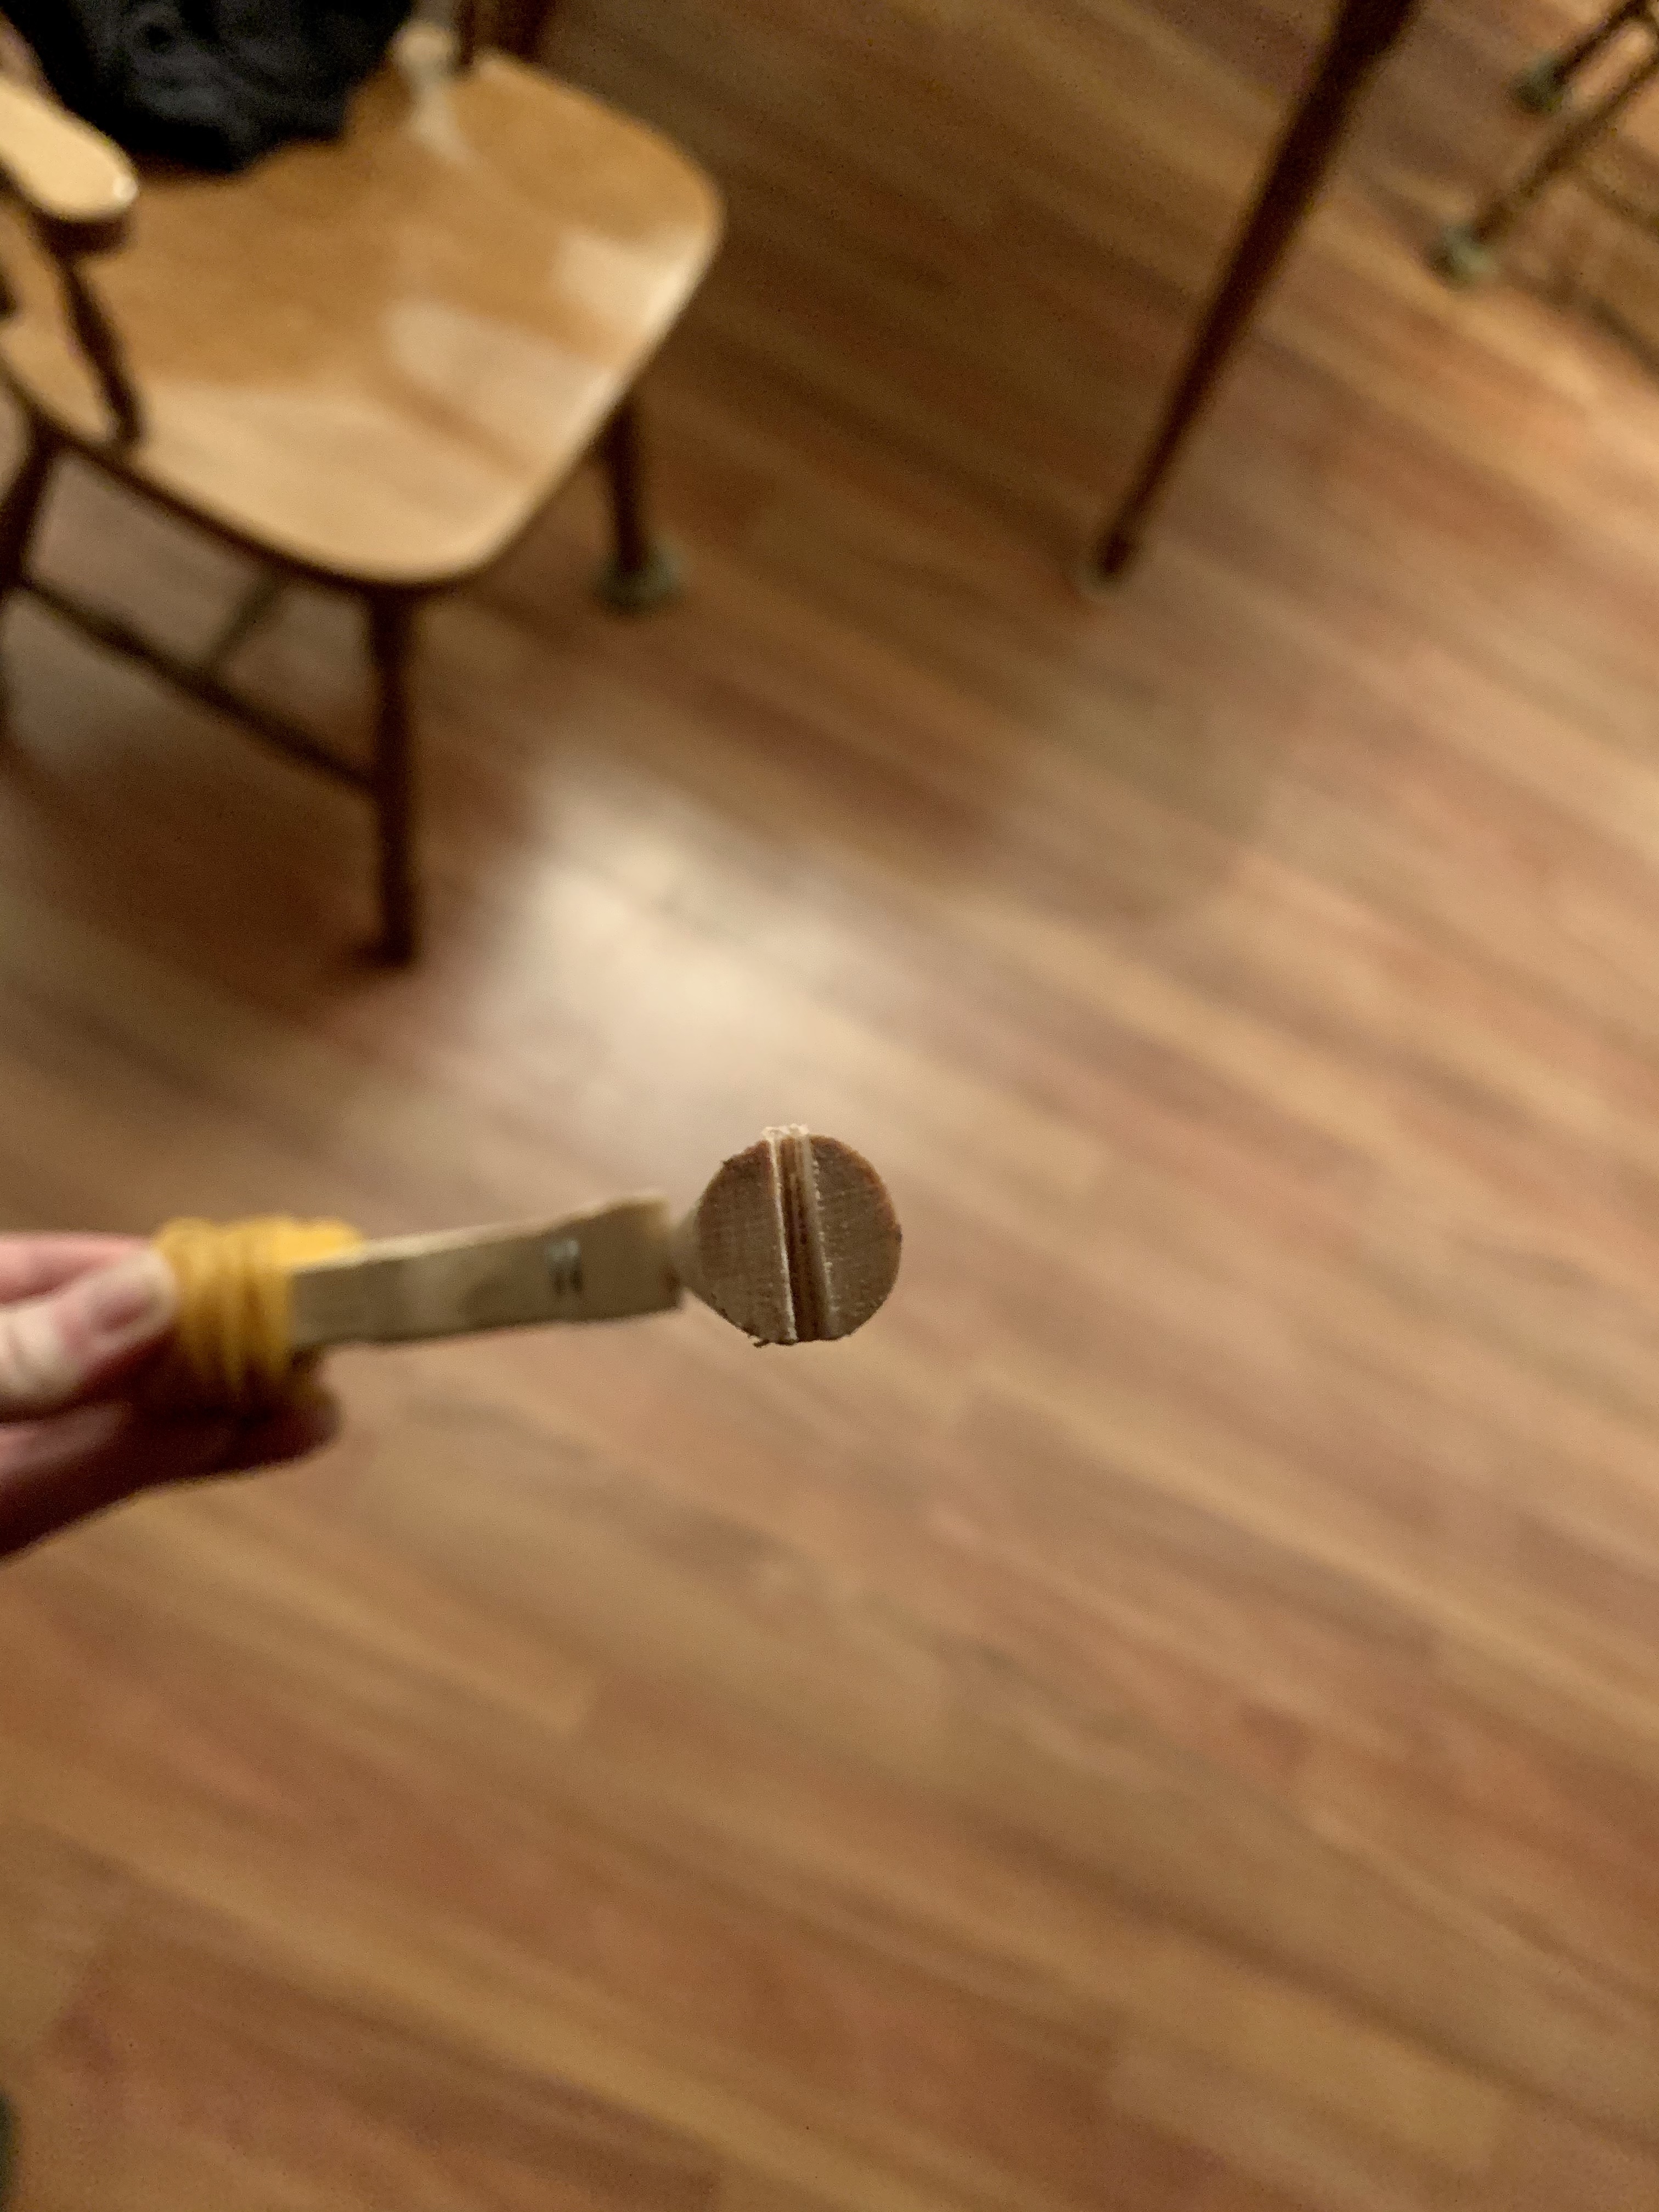
The last step on the elastic gun is to cut a channel in the tip of the barrel where the elastic will sit. If you don’t do this, your elastic will keep slipping off the end which will only result in frustration rather than joy. I used my scroll-saw to notch the ends, but you could use a hand-saw, band-saw or jig-saw. You are now ready for some elastic band shootin’.
But what are you going to shoot at? It’s unacceptable to shoot at your siblings or people really. You could shoot someone’s eye out! So I came up with a plan for a little target. Again, I used scrap-wood for this, do depending on what you have lying around, you can use a variety of woods and sizes. My base for the target ended up being 5.5″ x 11.75″ x 3/4″. I then bored a 1/2″ hole on each side, centered and 2″ from the edge. I then cut some more 1/2″ dowel at 6″ length.
I then sanded the edges of the base, creating a nice angled finish, and the ends of the dowel for a smooth end. I decided not to stain the targets the same colour as the guns and instead just put a clear-coat on them. I then drilled a very small hole a 1/4″ from the end of the doweling a centered as possible. Once again, using super-glue, I glued the dowel into the holes in the base, making sure the holes in the dowel were at the top and facing the other side.

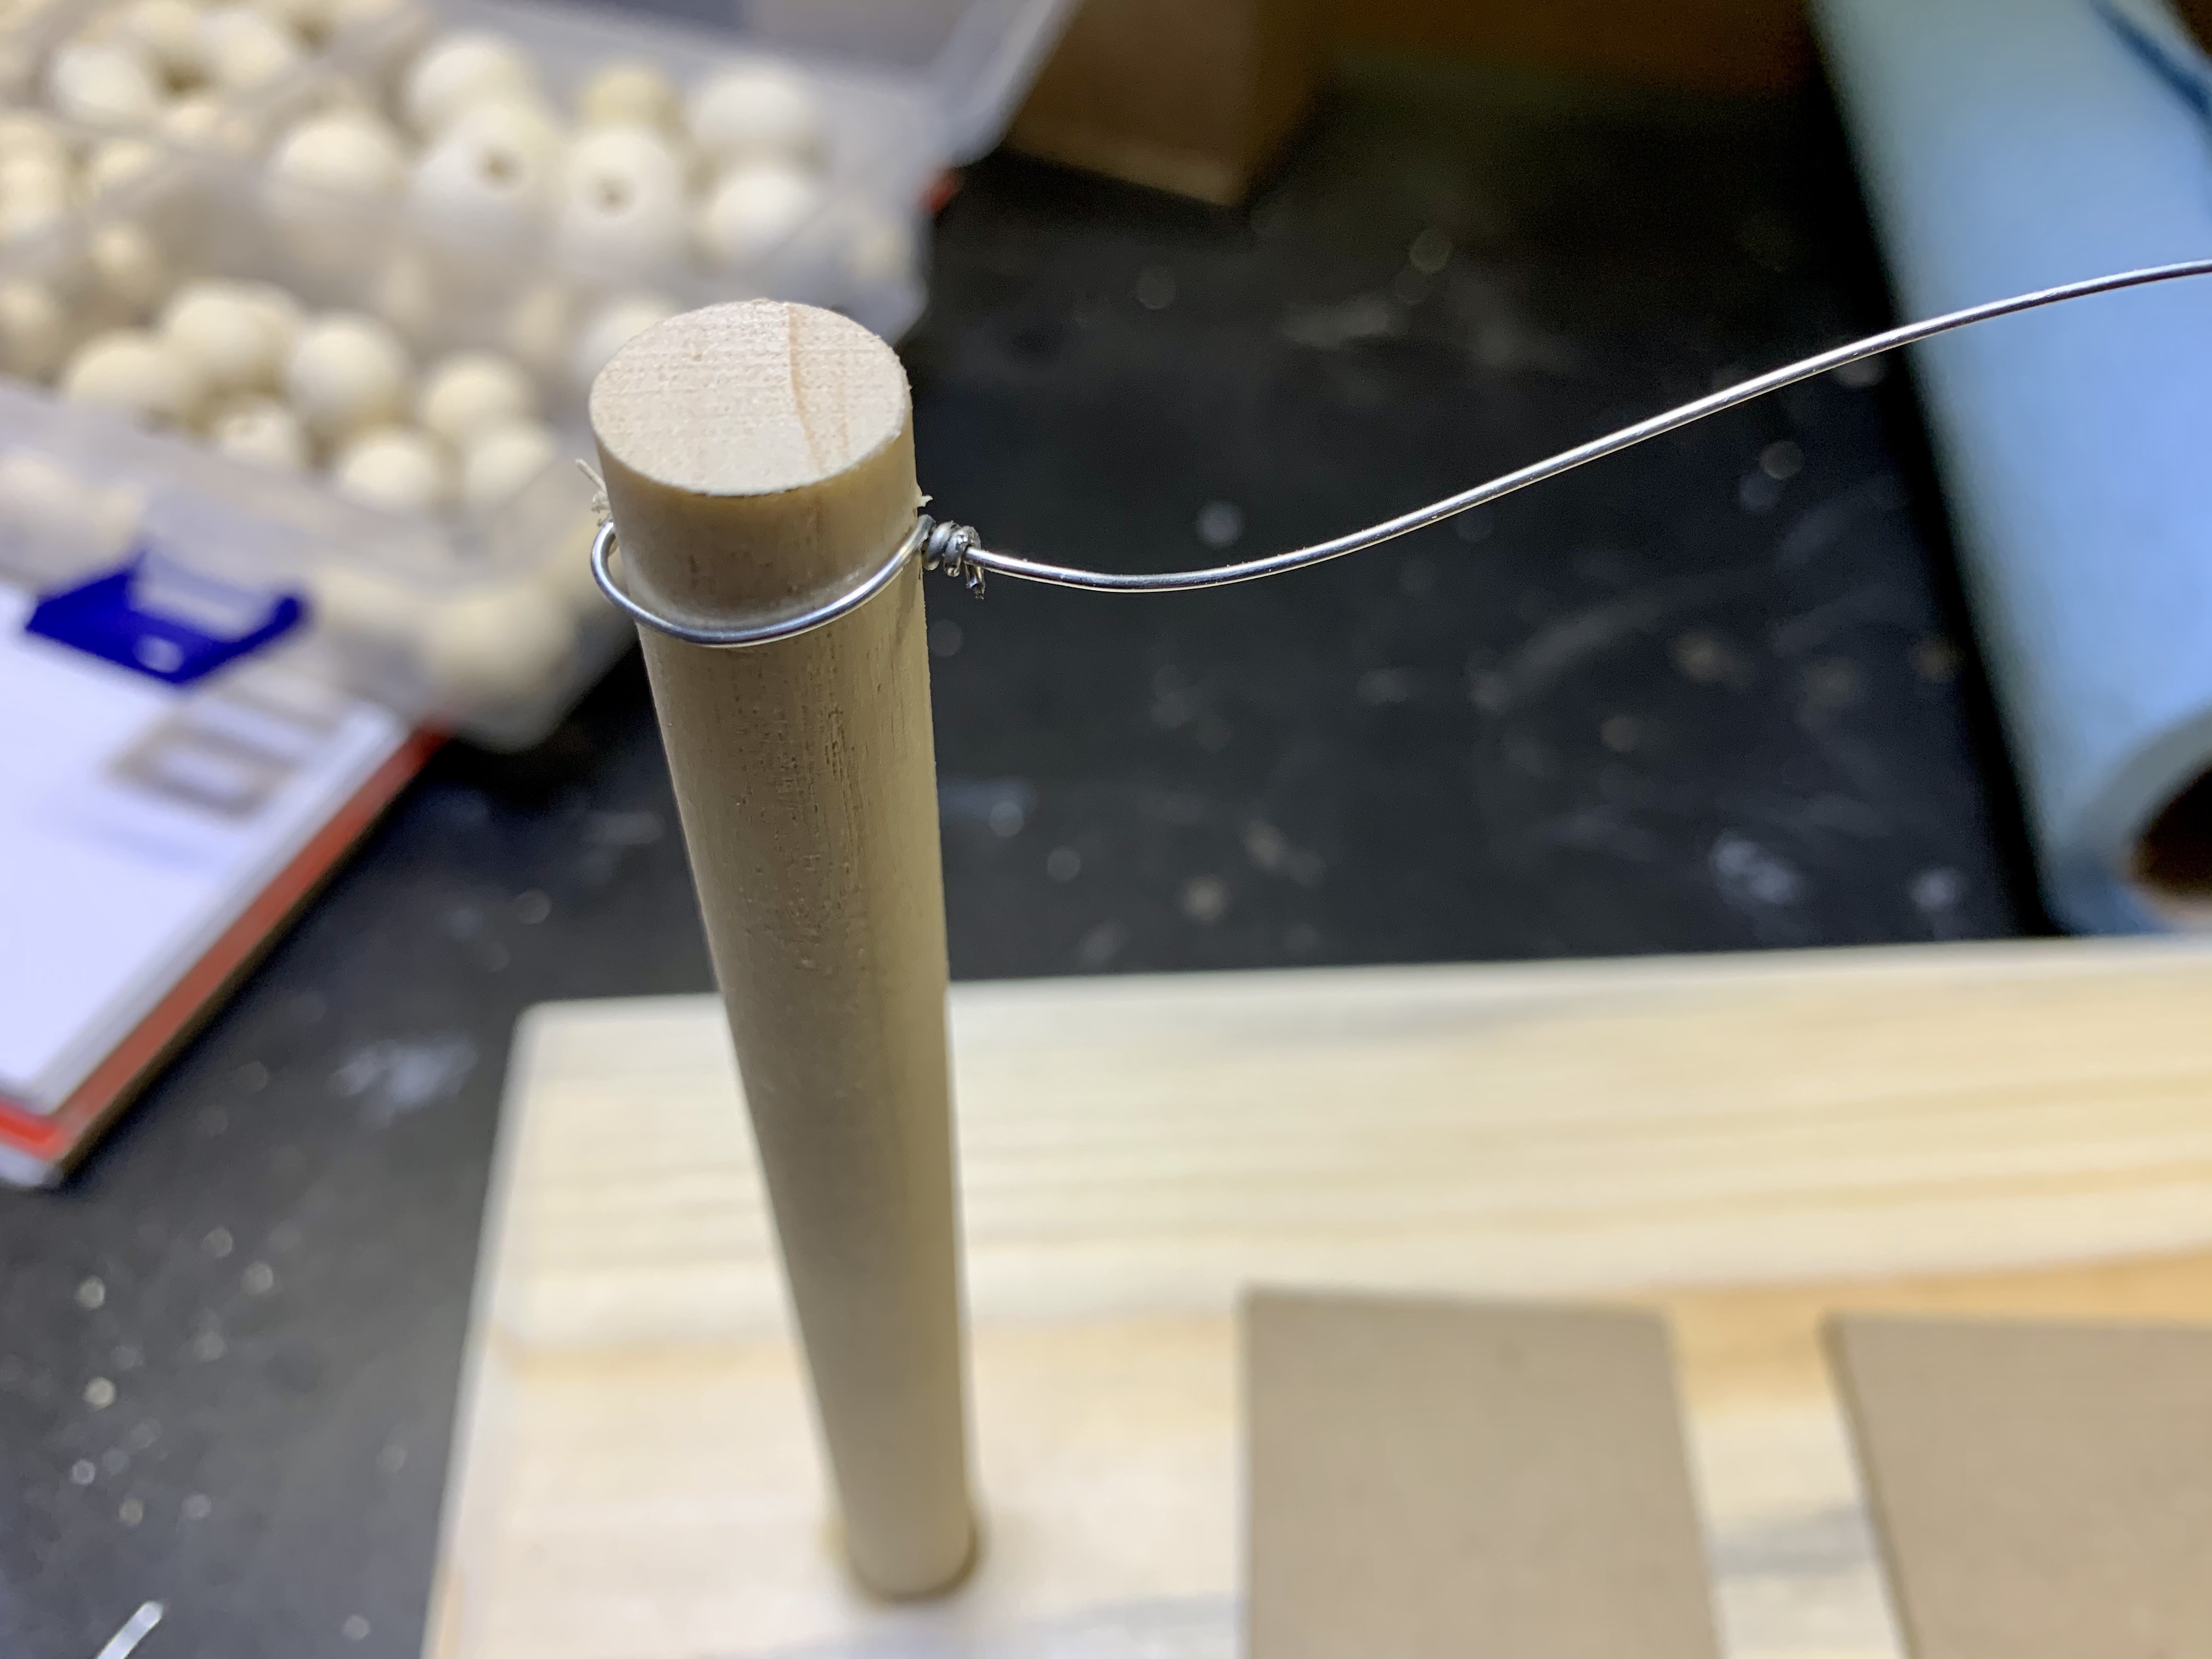
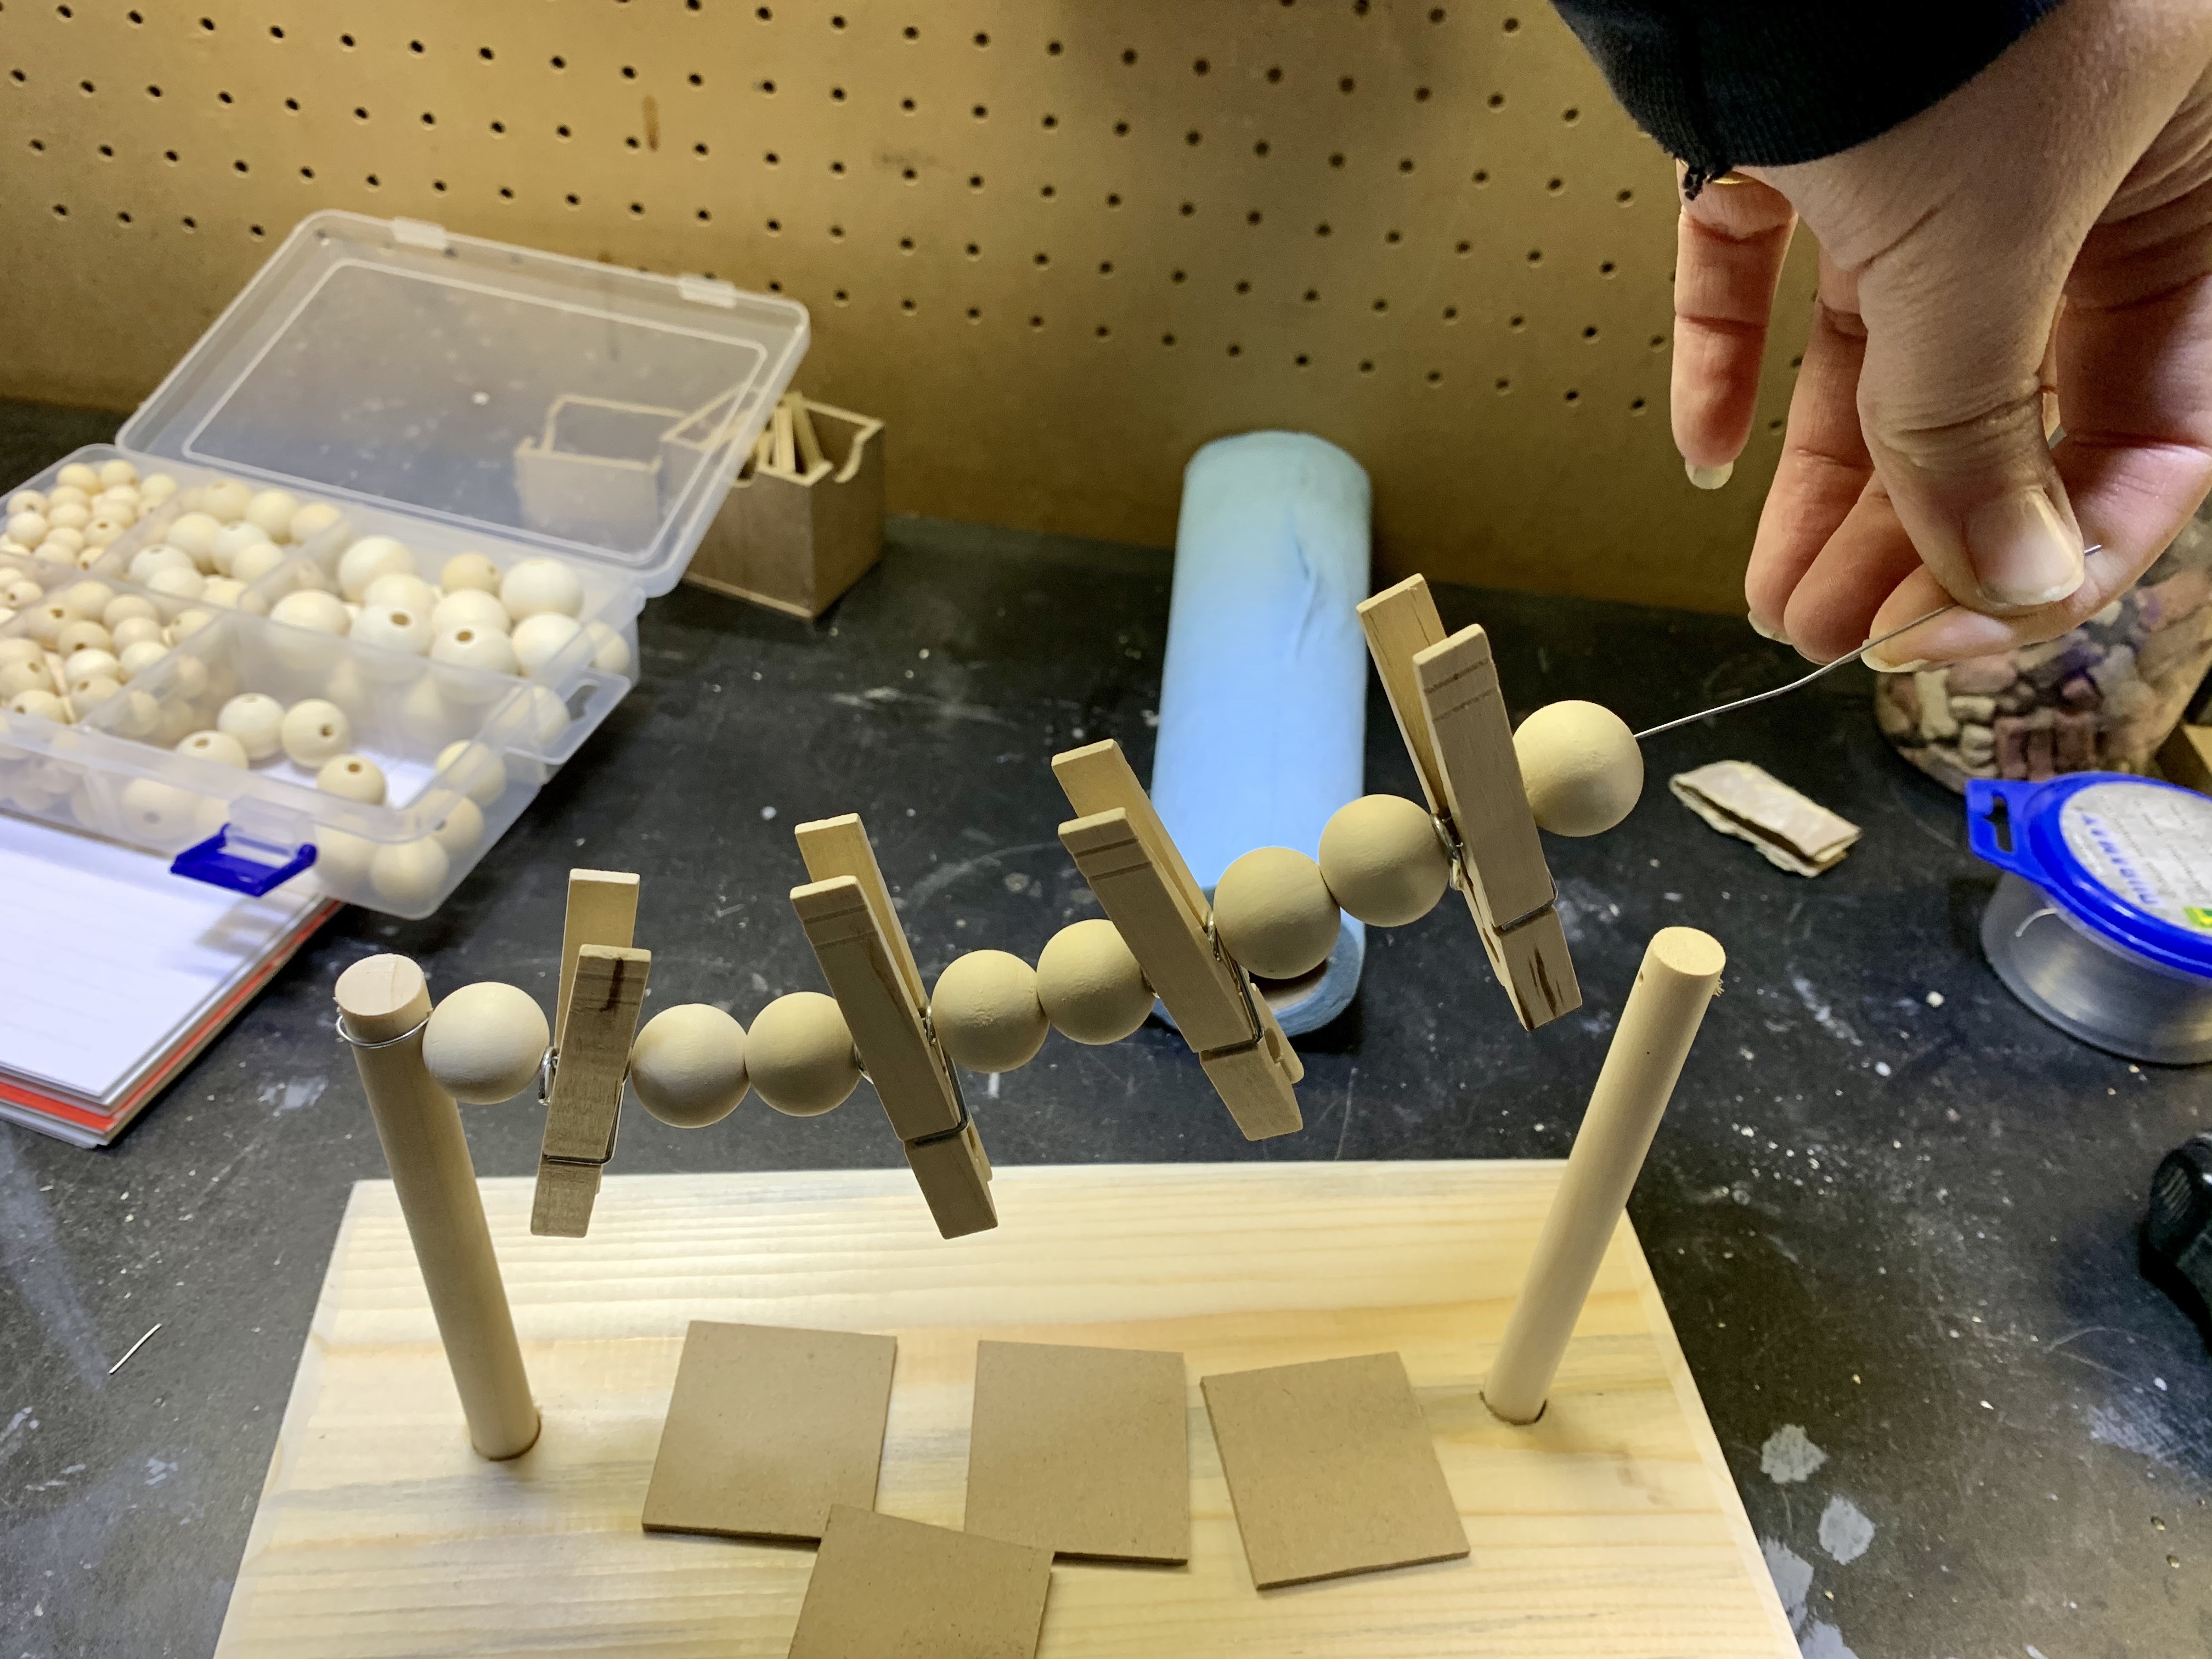
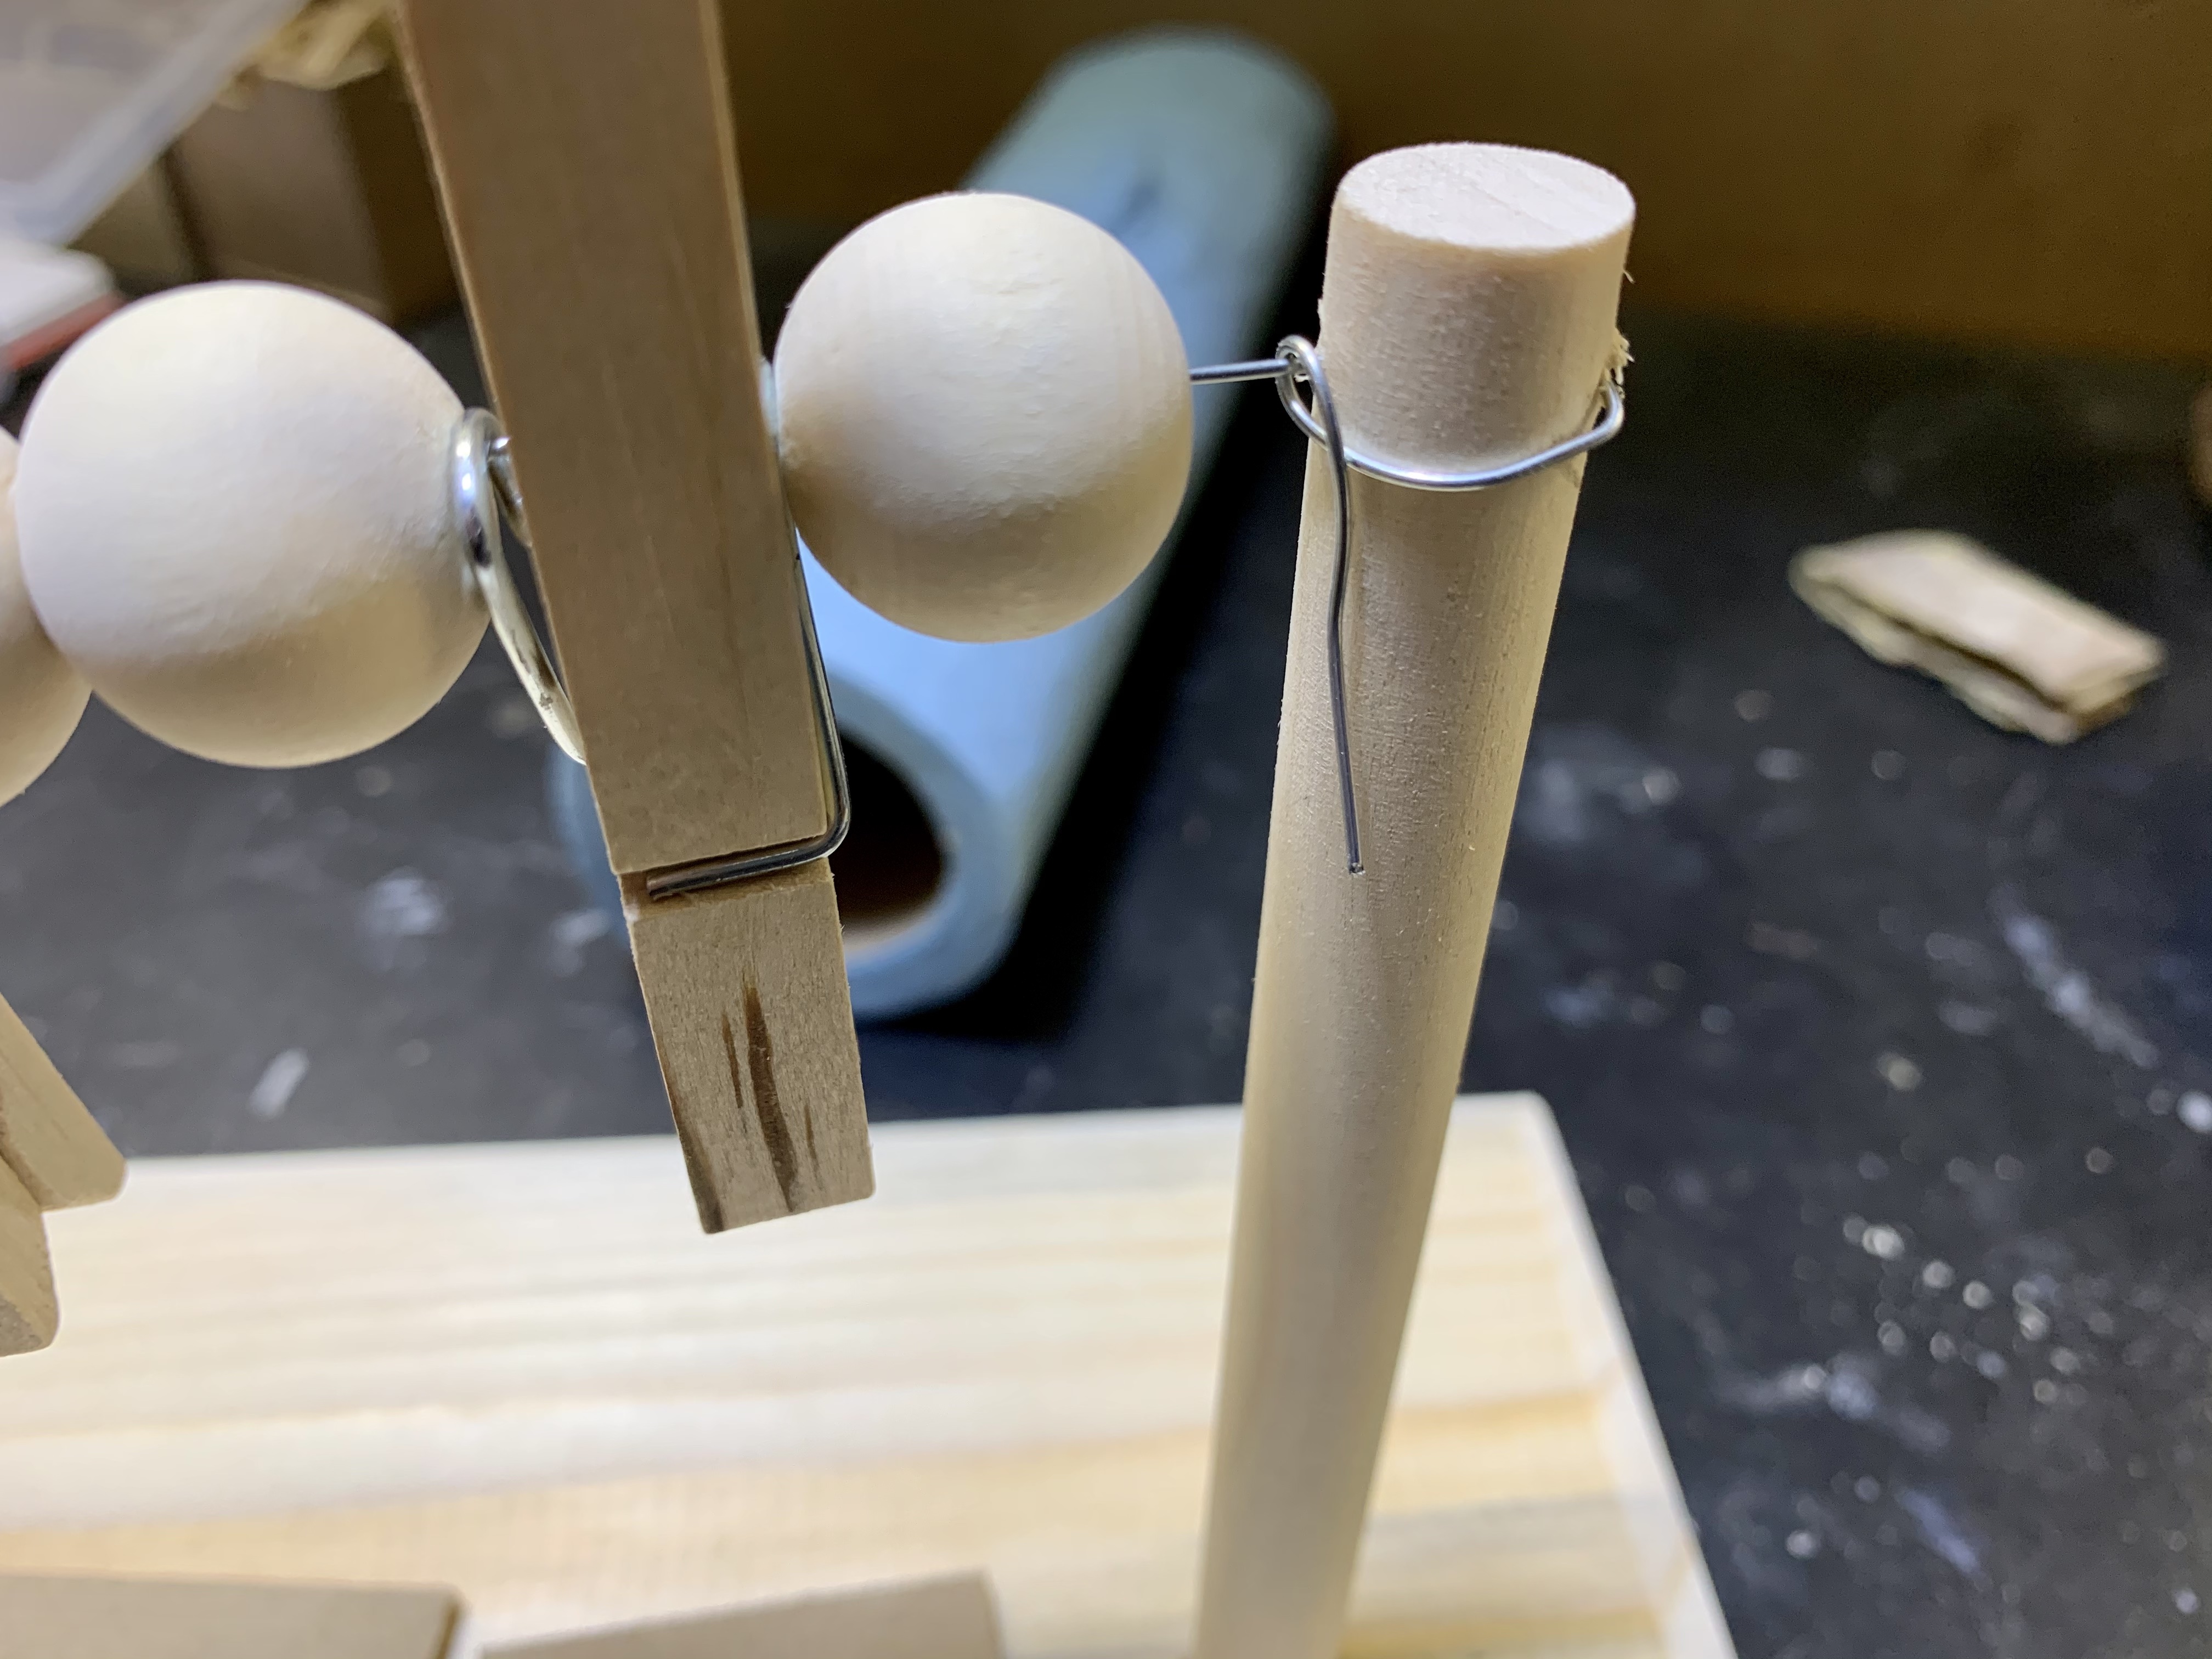
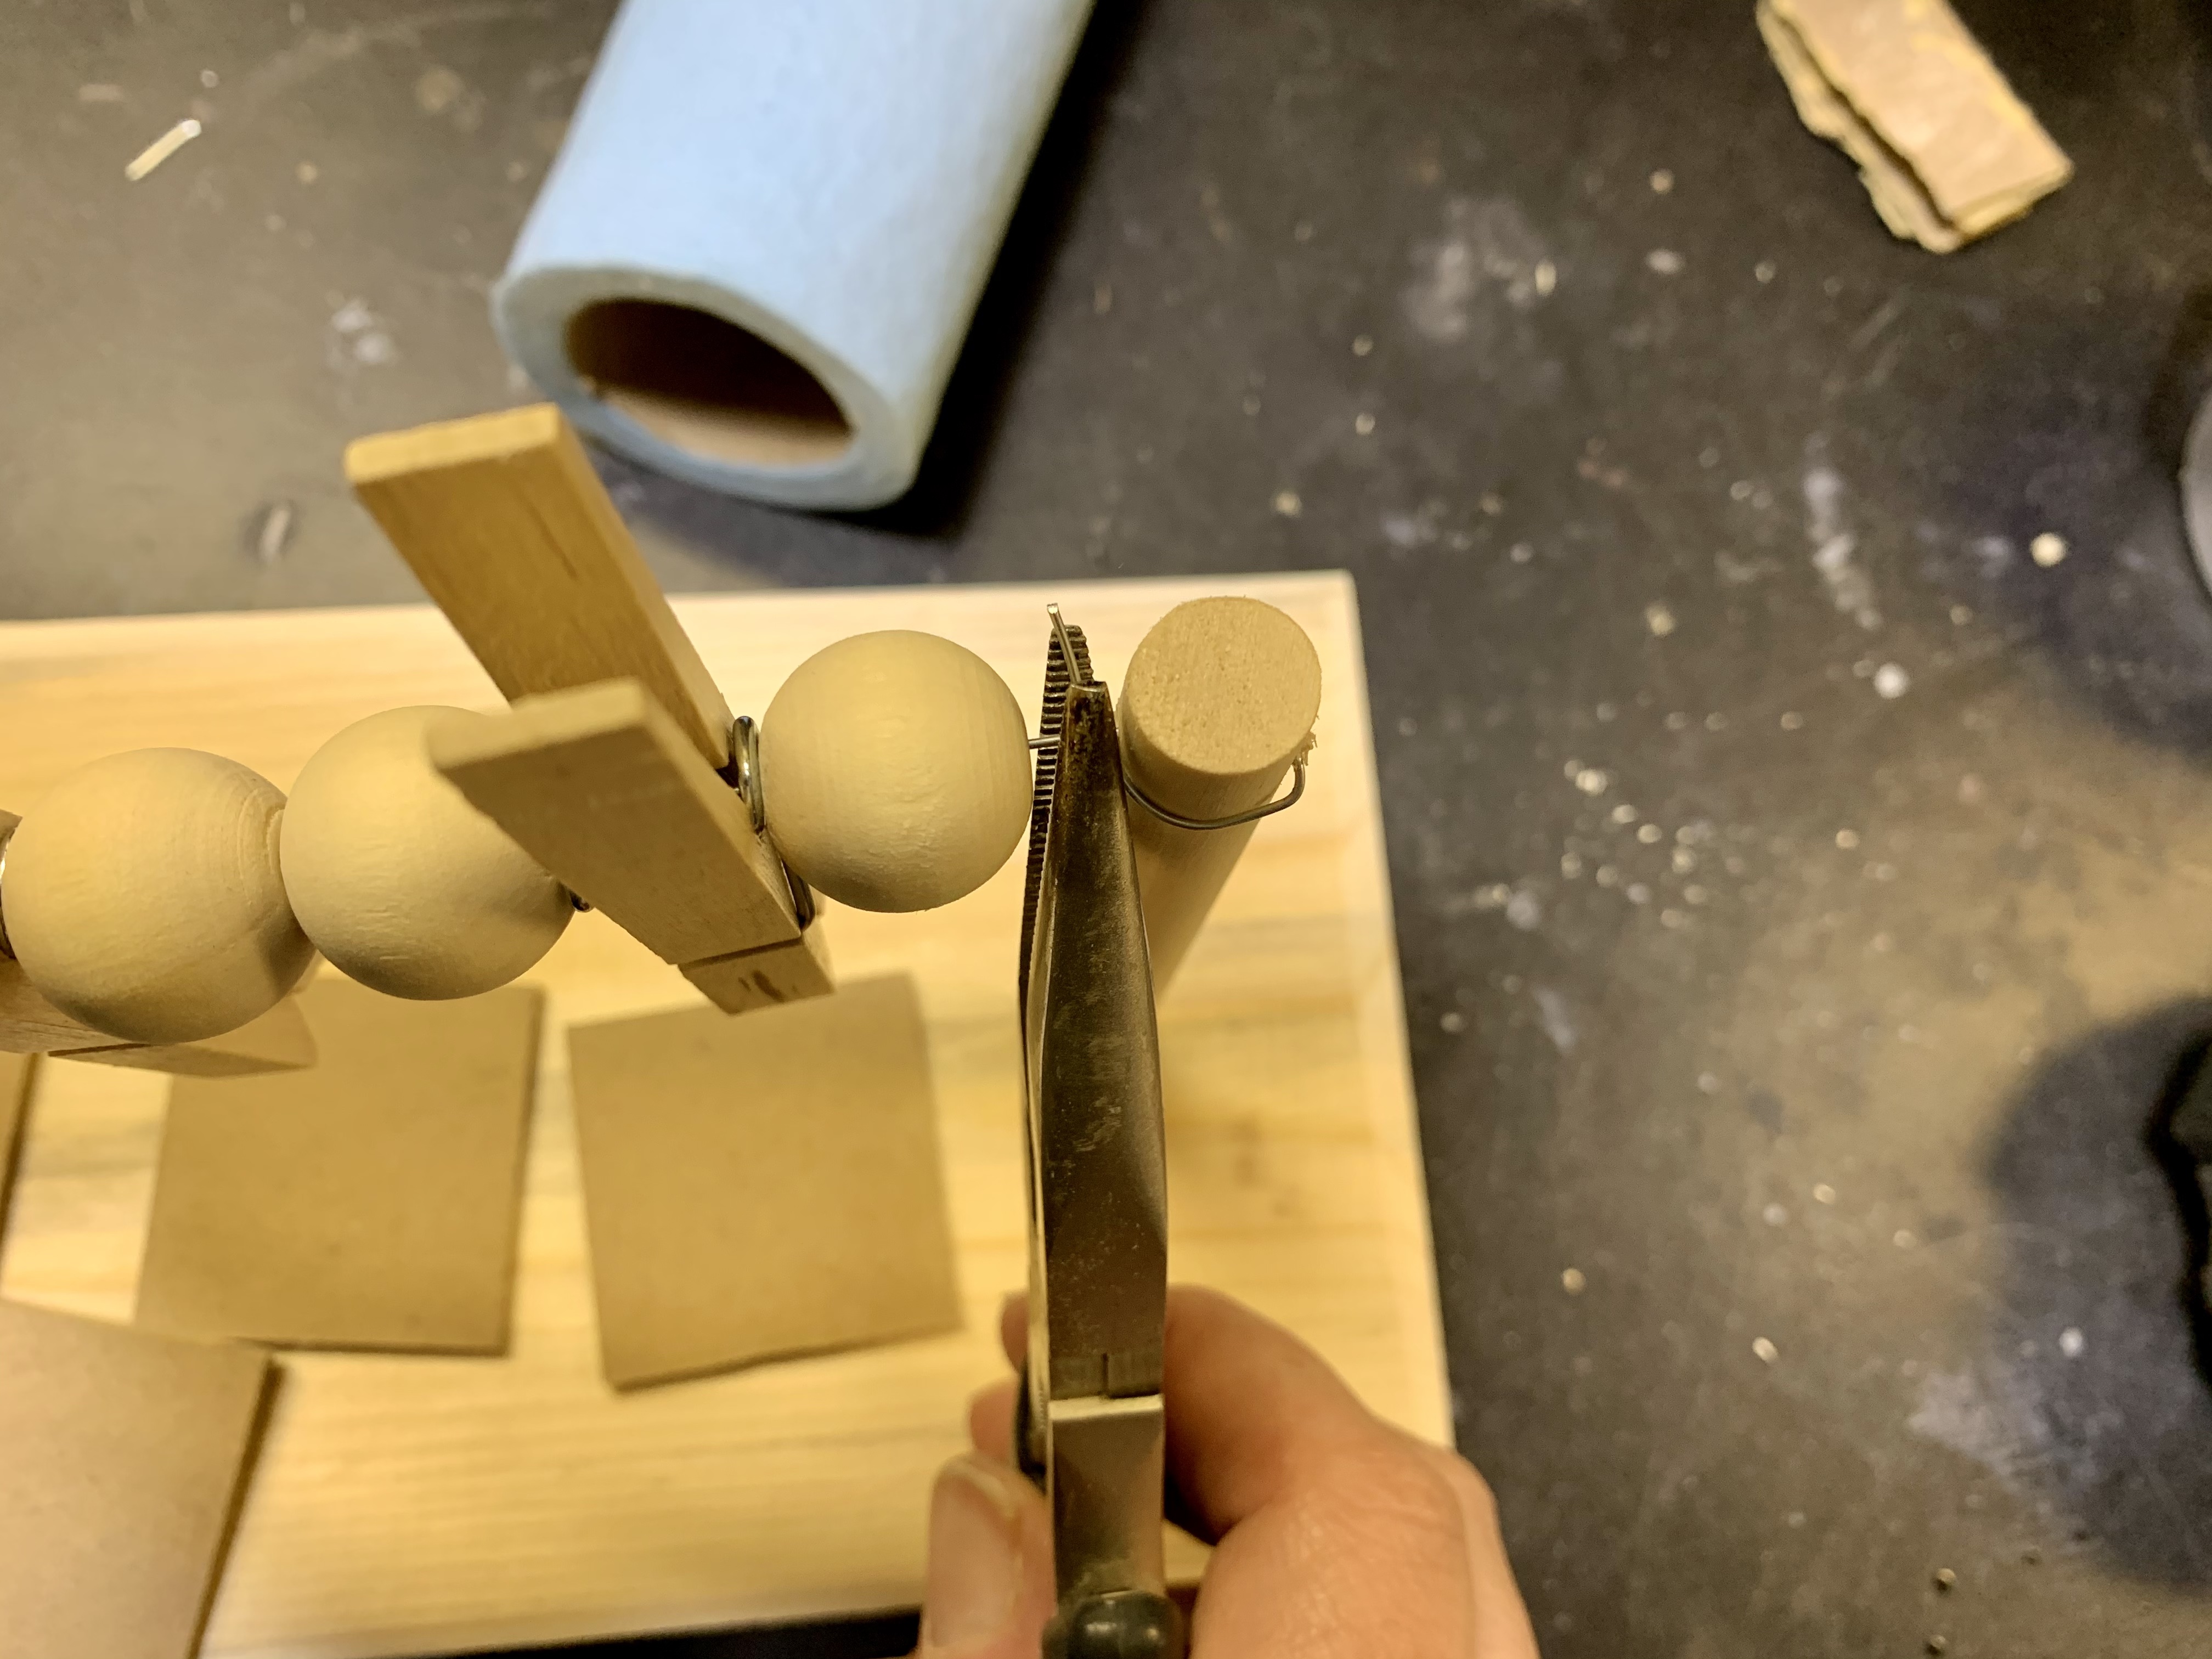
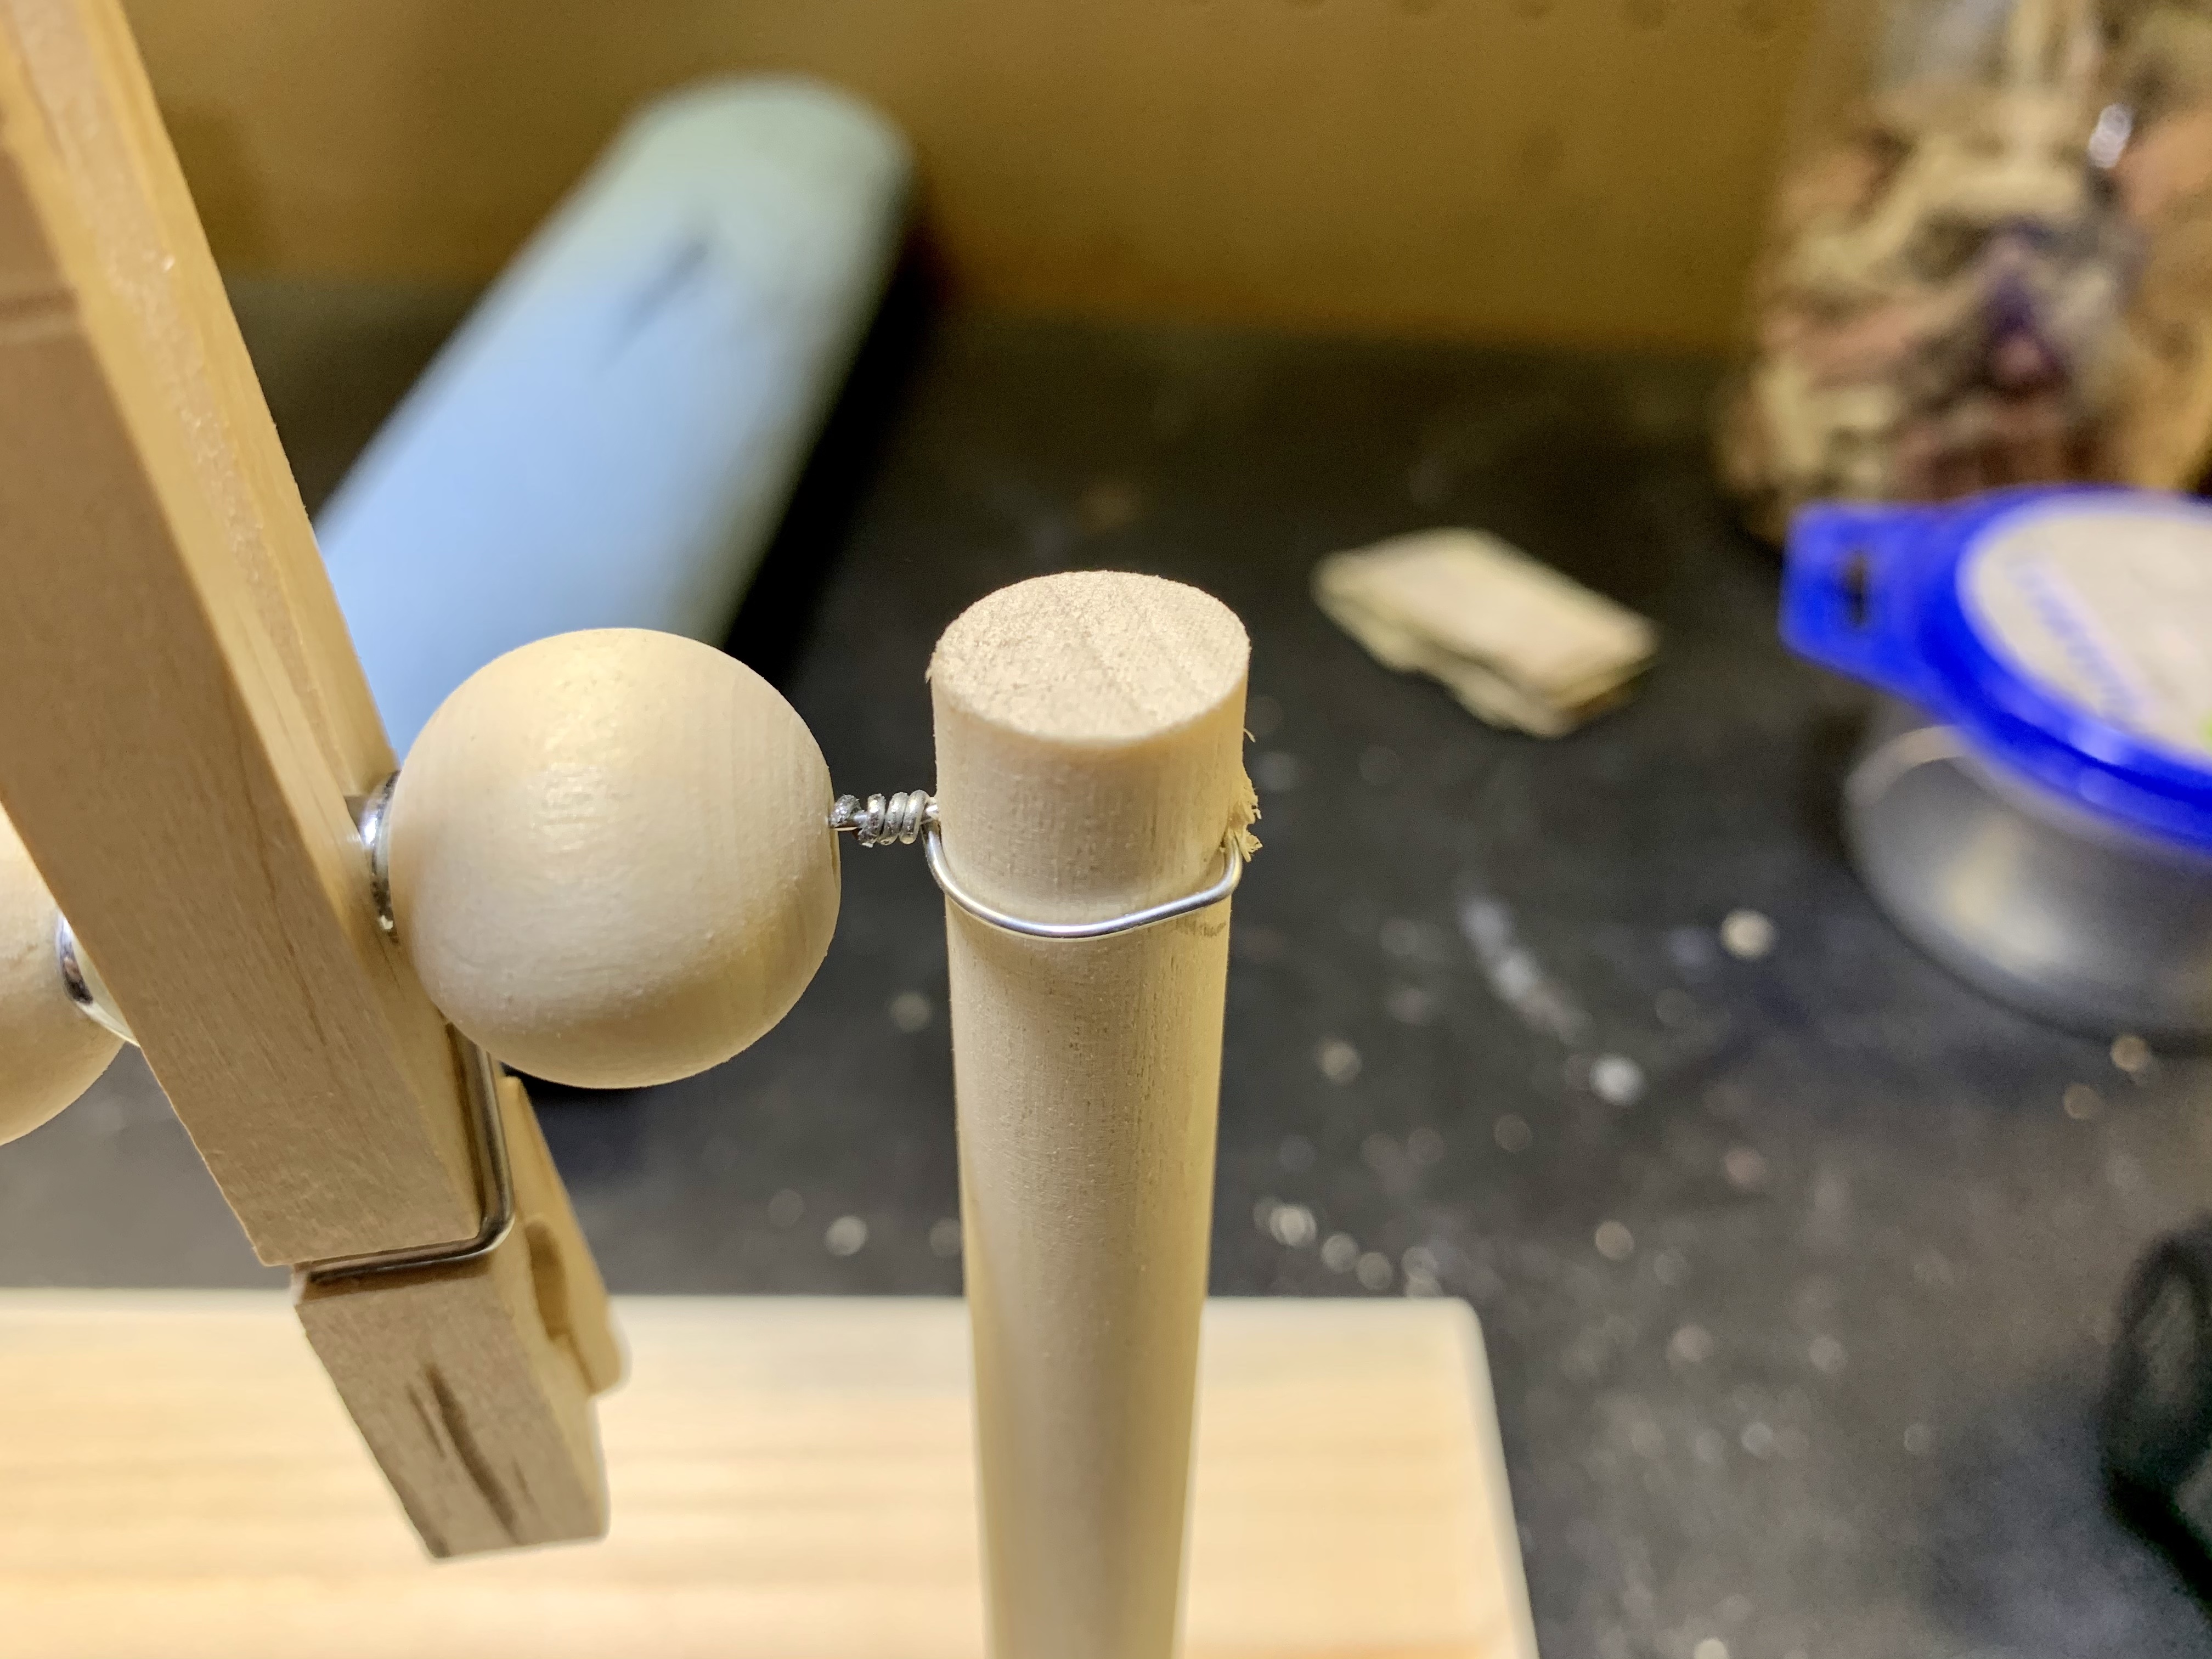
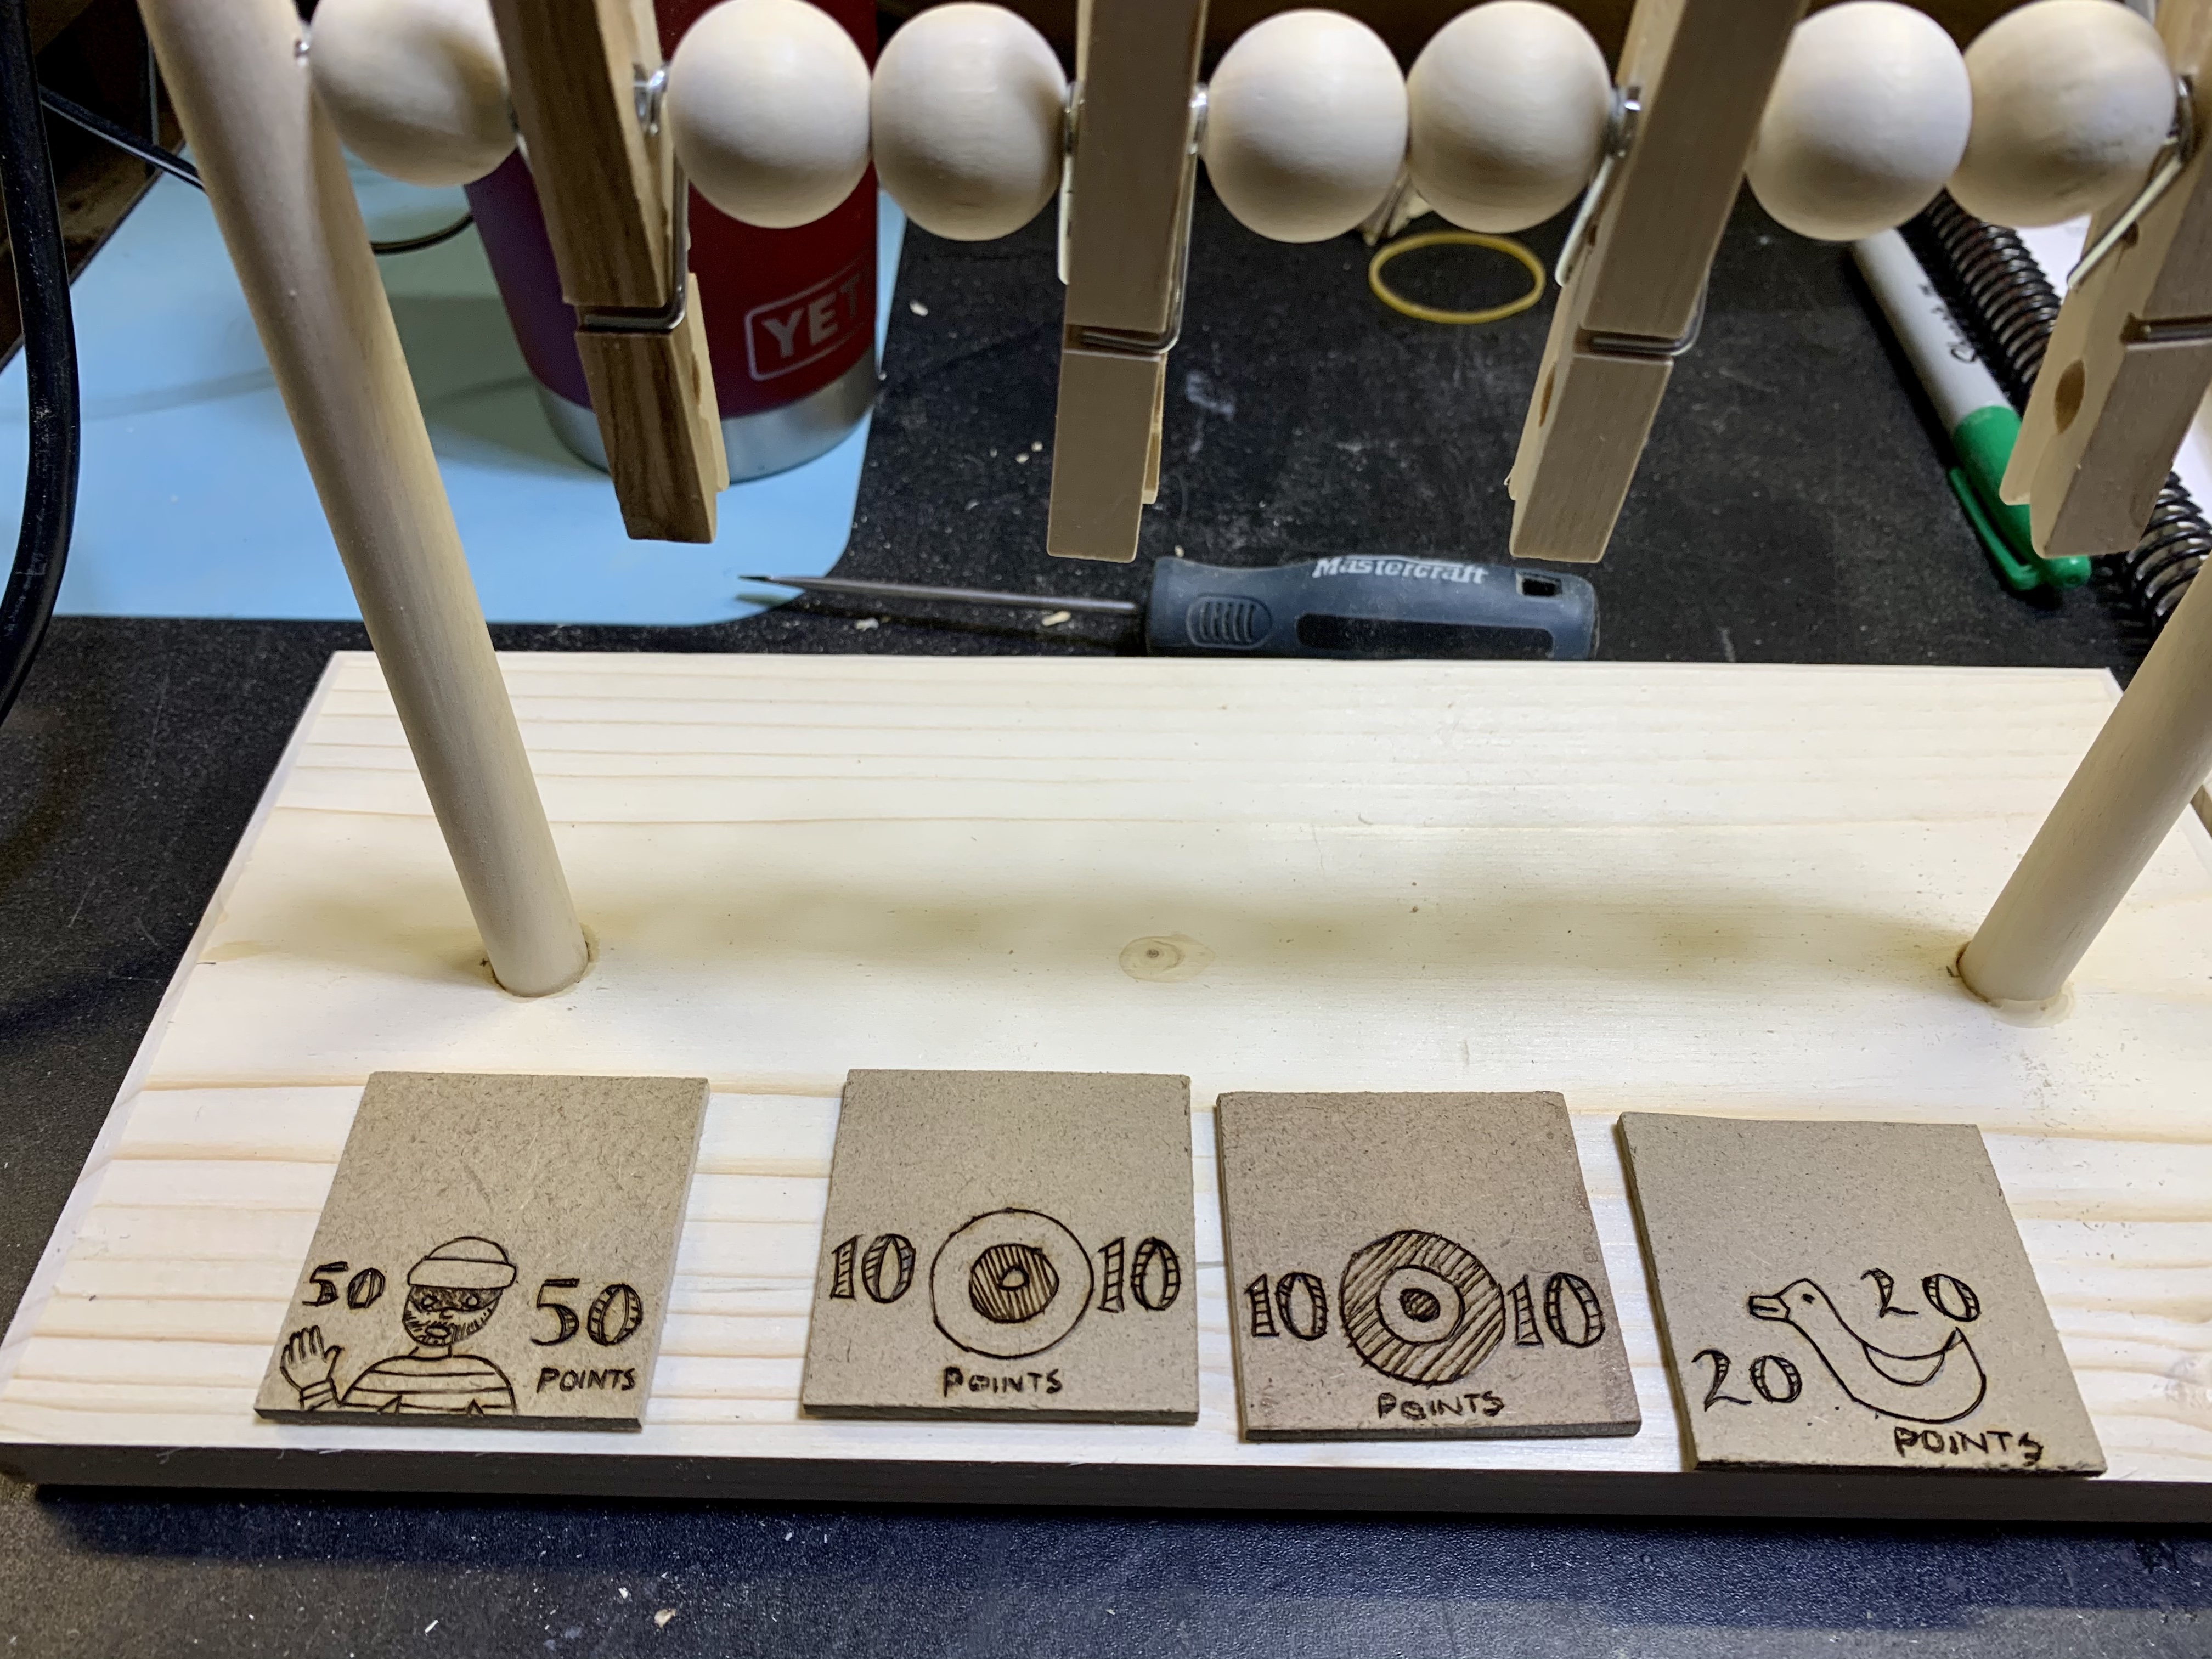
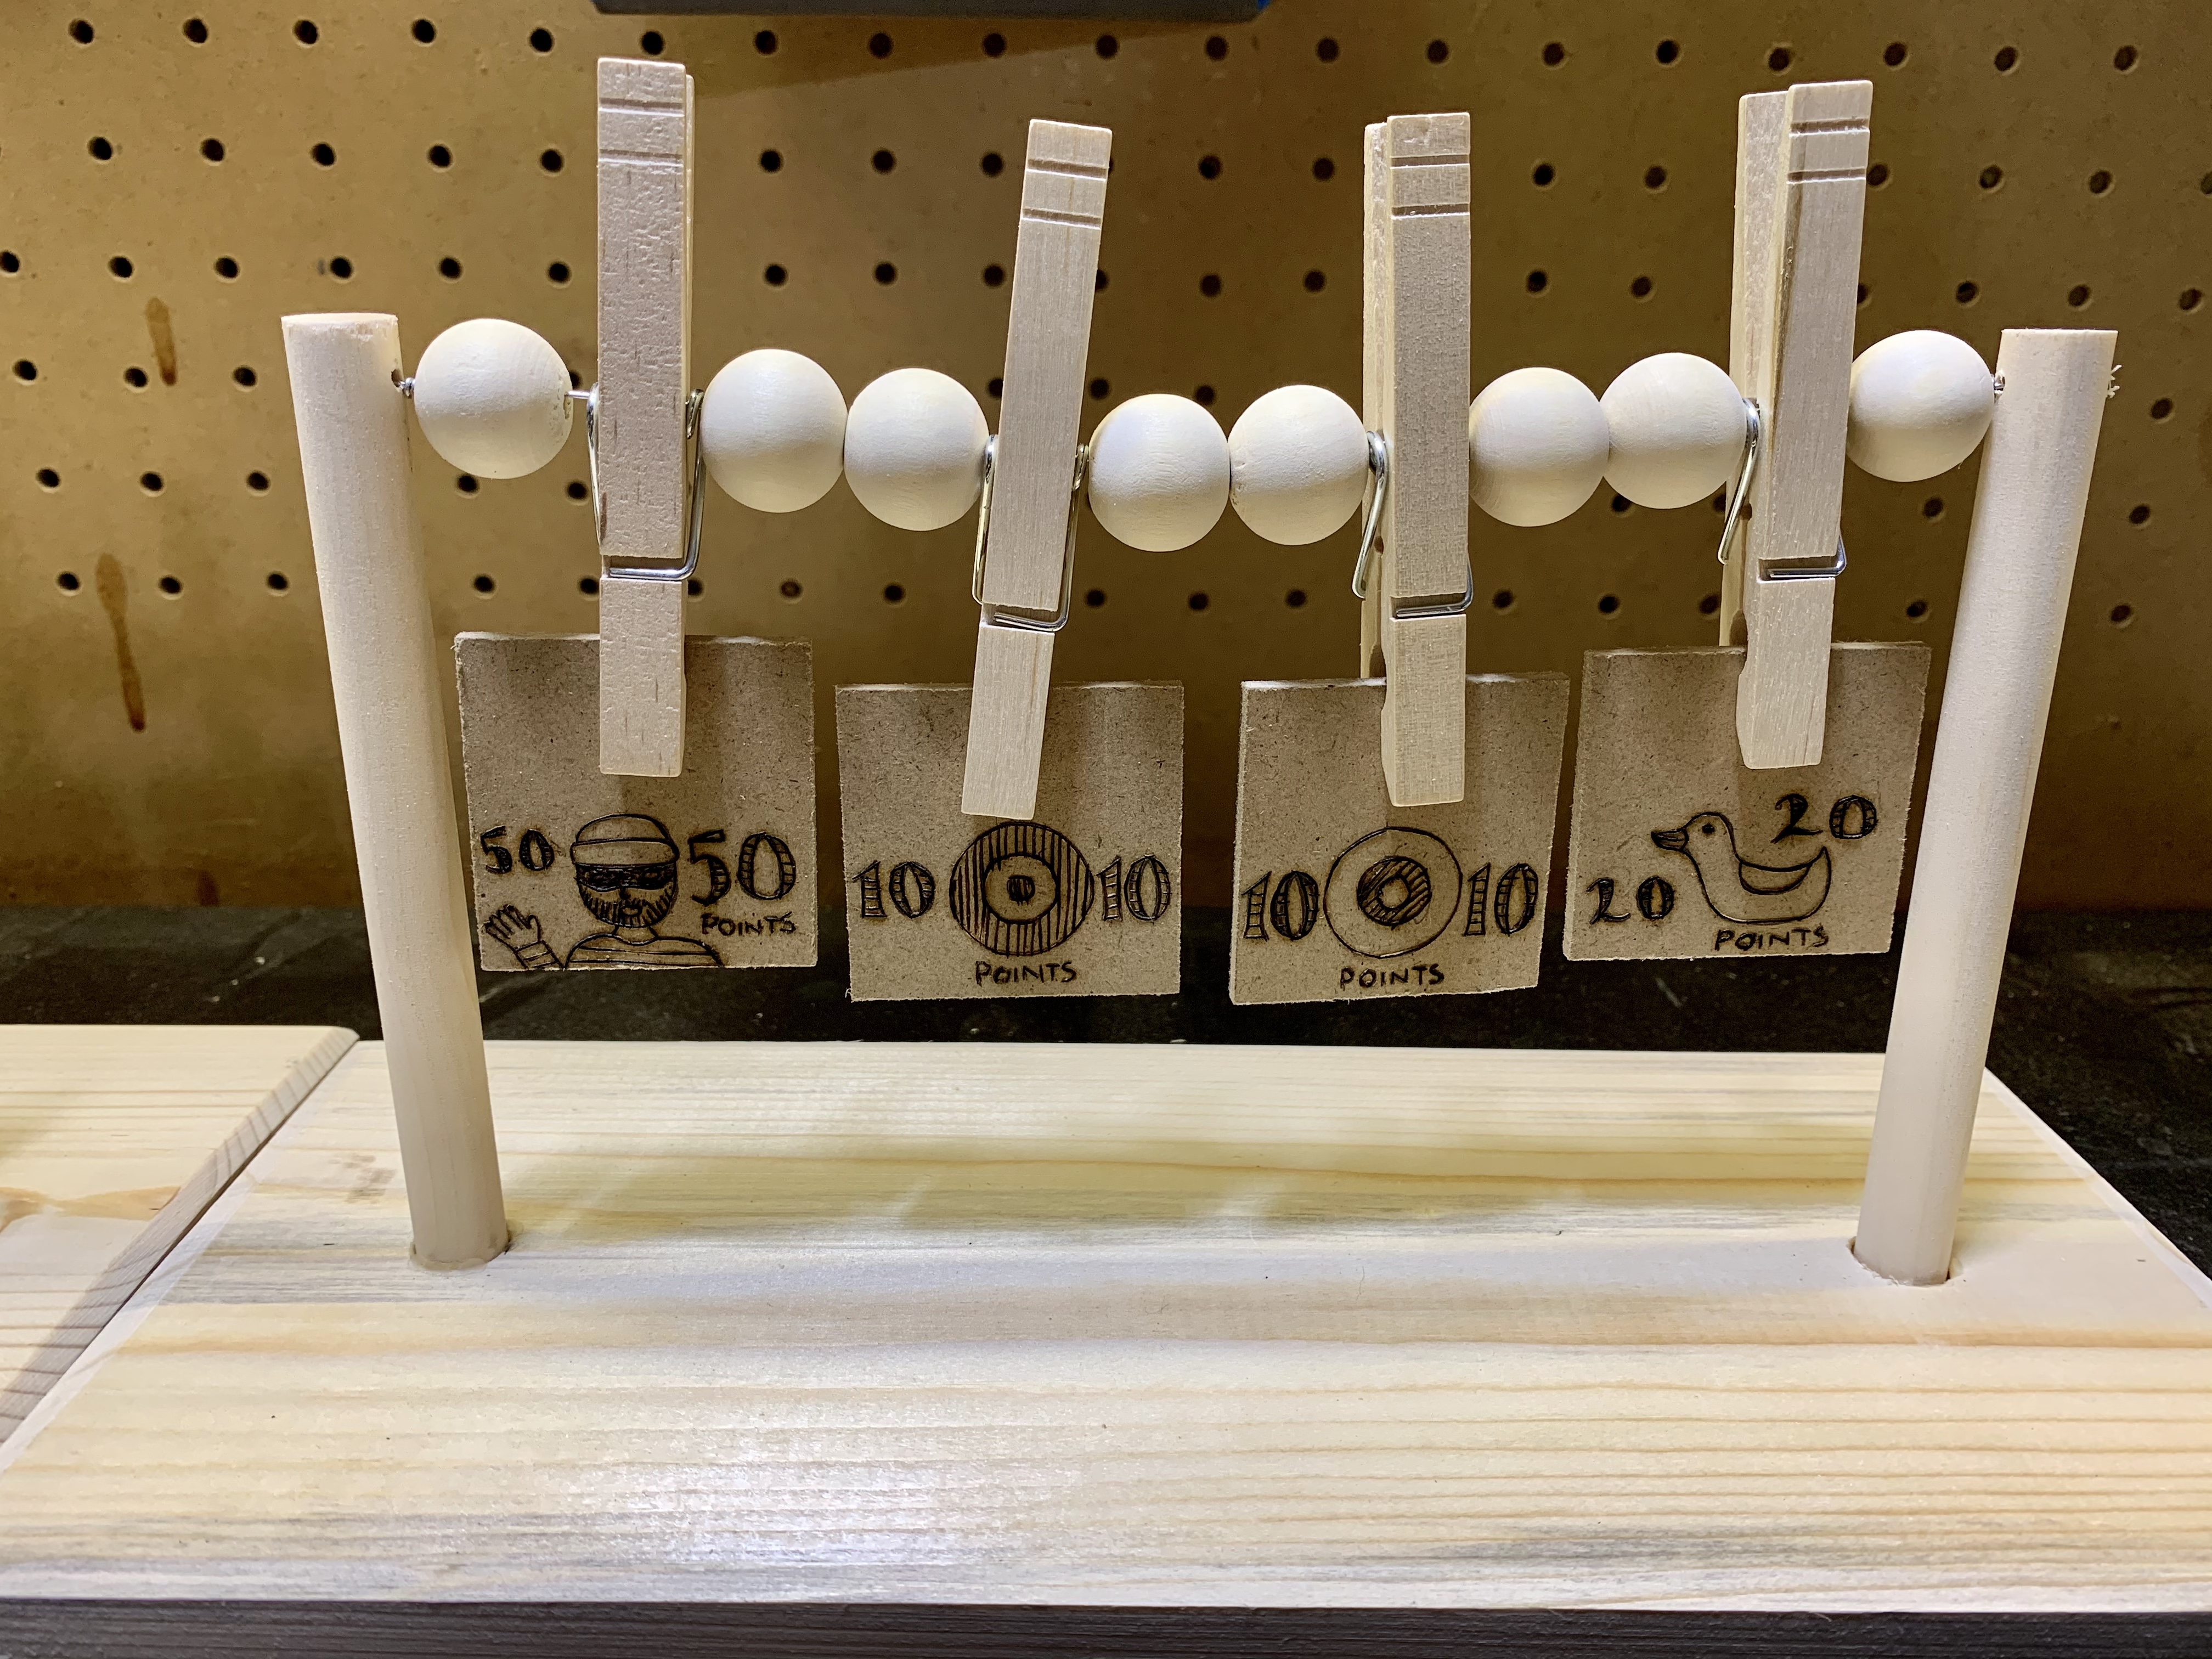
Once dried and strong, I used some thin craft wire to hang the target holders, more clothespins. I started by securing the wire to one side by threading the wire through the hole in the top of the dowel. I then strung the clothespins on the wire using some wooden beads between to keep them from touching the doweling or each other. You could also use tubing, or whatever you have on hand that will hold the clothespins away from each other. Whatever you use, just make sure it is not super tight on the clothespins as you want them to spin freely with little force needed. I strung 4 clothespins across so that there would be 4 targets to hit. Once it was all threaded on, I threaded the end through the other doweling hole, and wrapped it around itself to secure it.
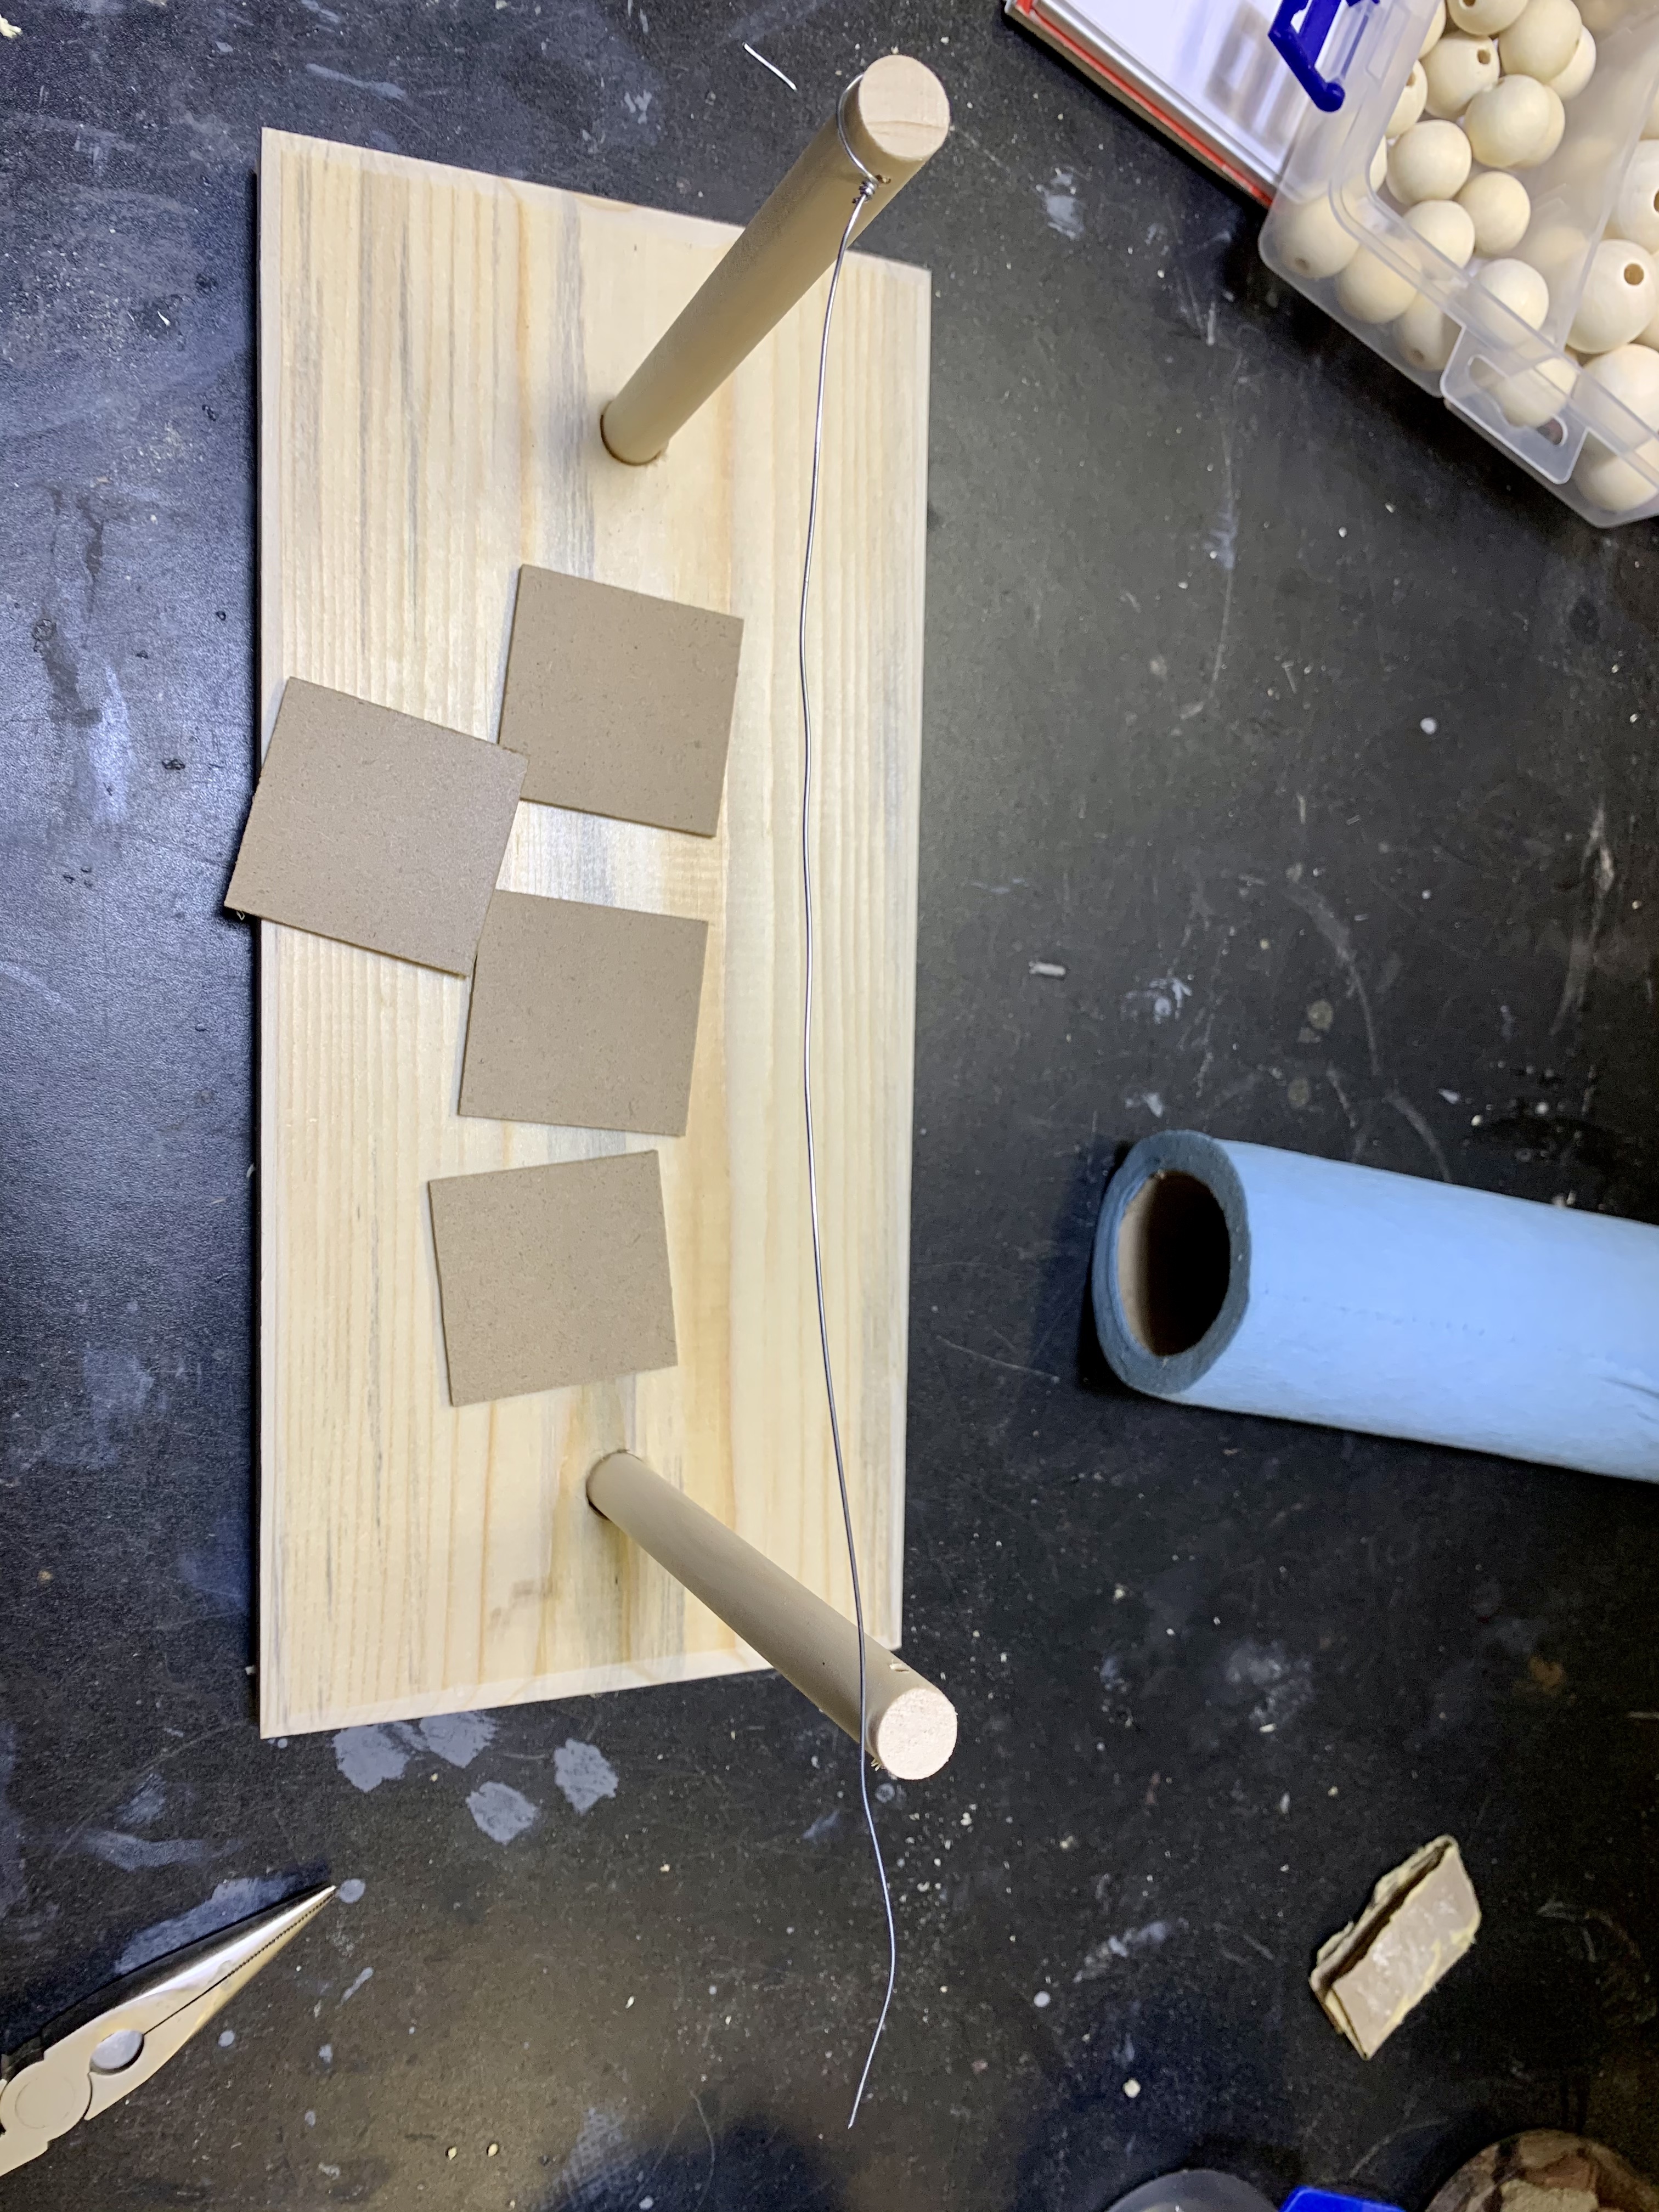
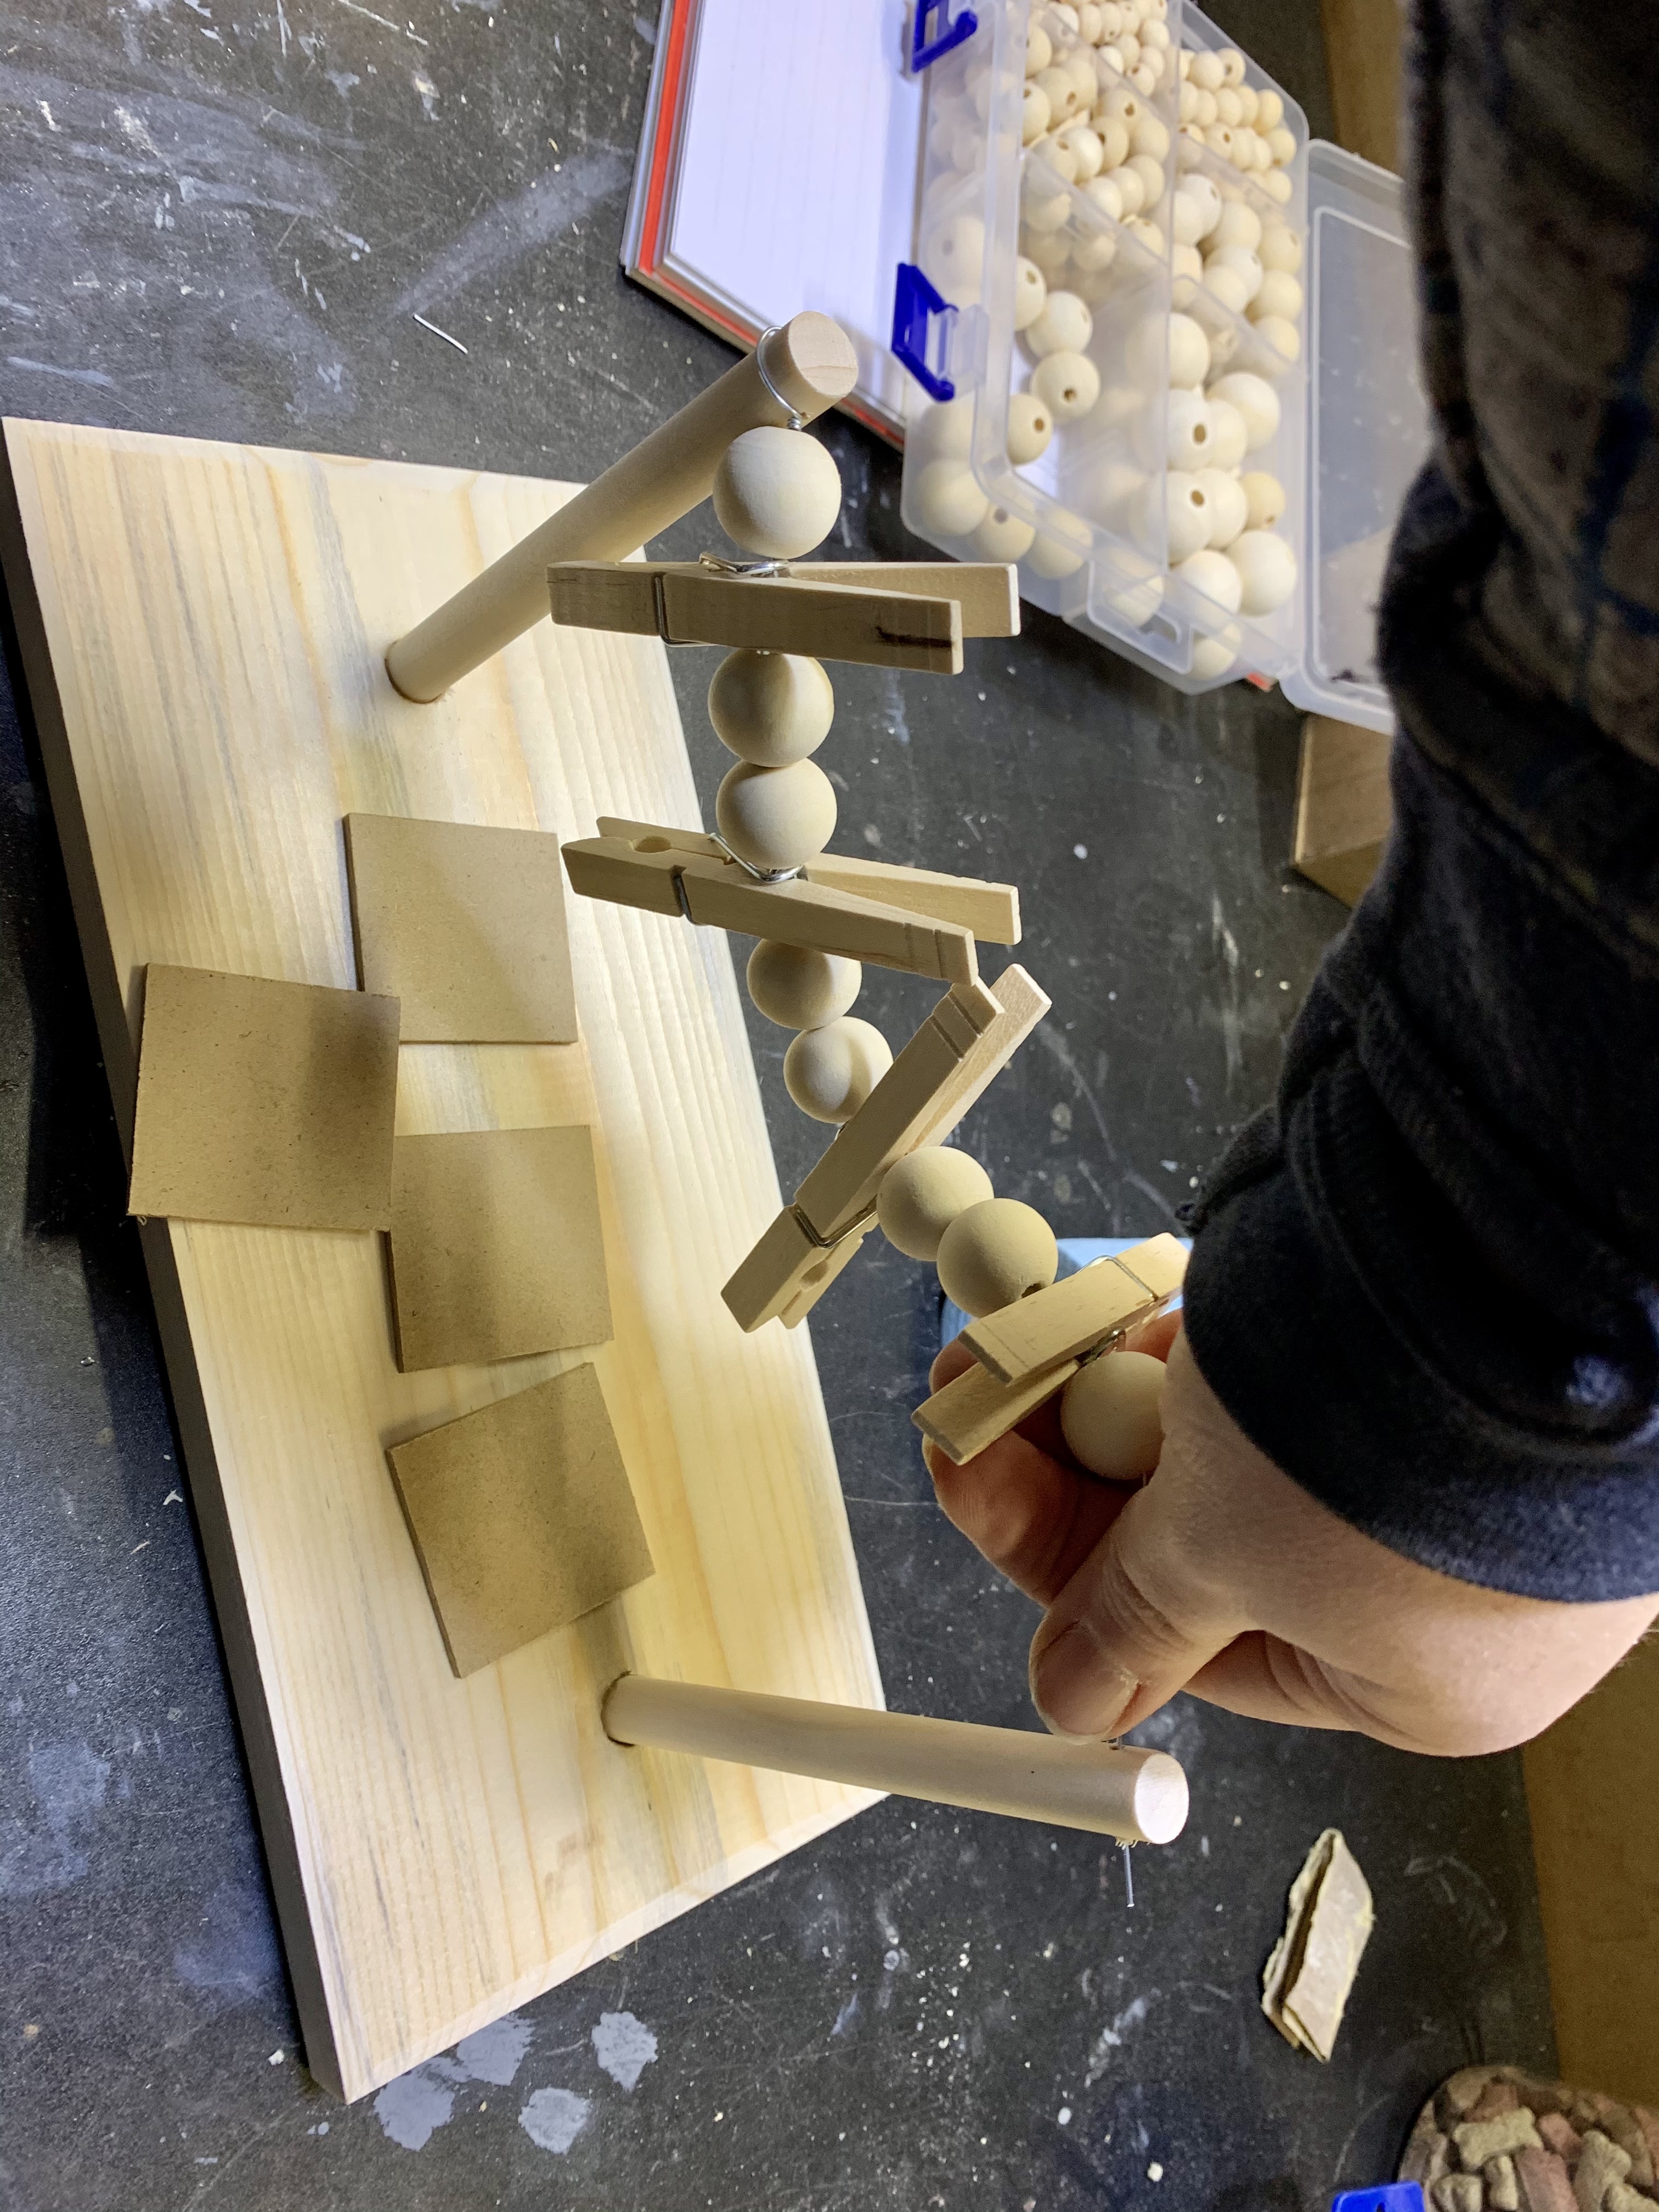
Now I needed something to hang off the clothespins to take aim at. I had a whole bunch of scrap pieces of 1/4″ hardboard from the advent calendars. It was perfect. It was light, they were the right size and I could wood-burn some fun targets on them. I did two standard targets in the middle, a duck on one side and a bandit on the other. I then added points to each target so that you could add them up to see who wins.
The end product turned out great, allowed me to jam out to some great tunes in the shop and made me the best-aunt-ever. My nephews….and brother-in-law, love the new toys. We also enjoy shooting them across the living room, trying to hit the targets.

