
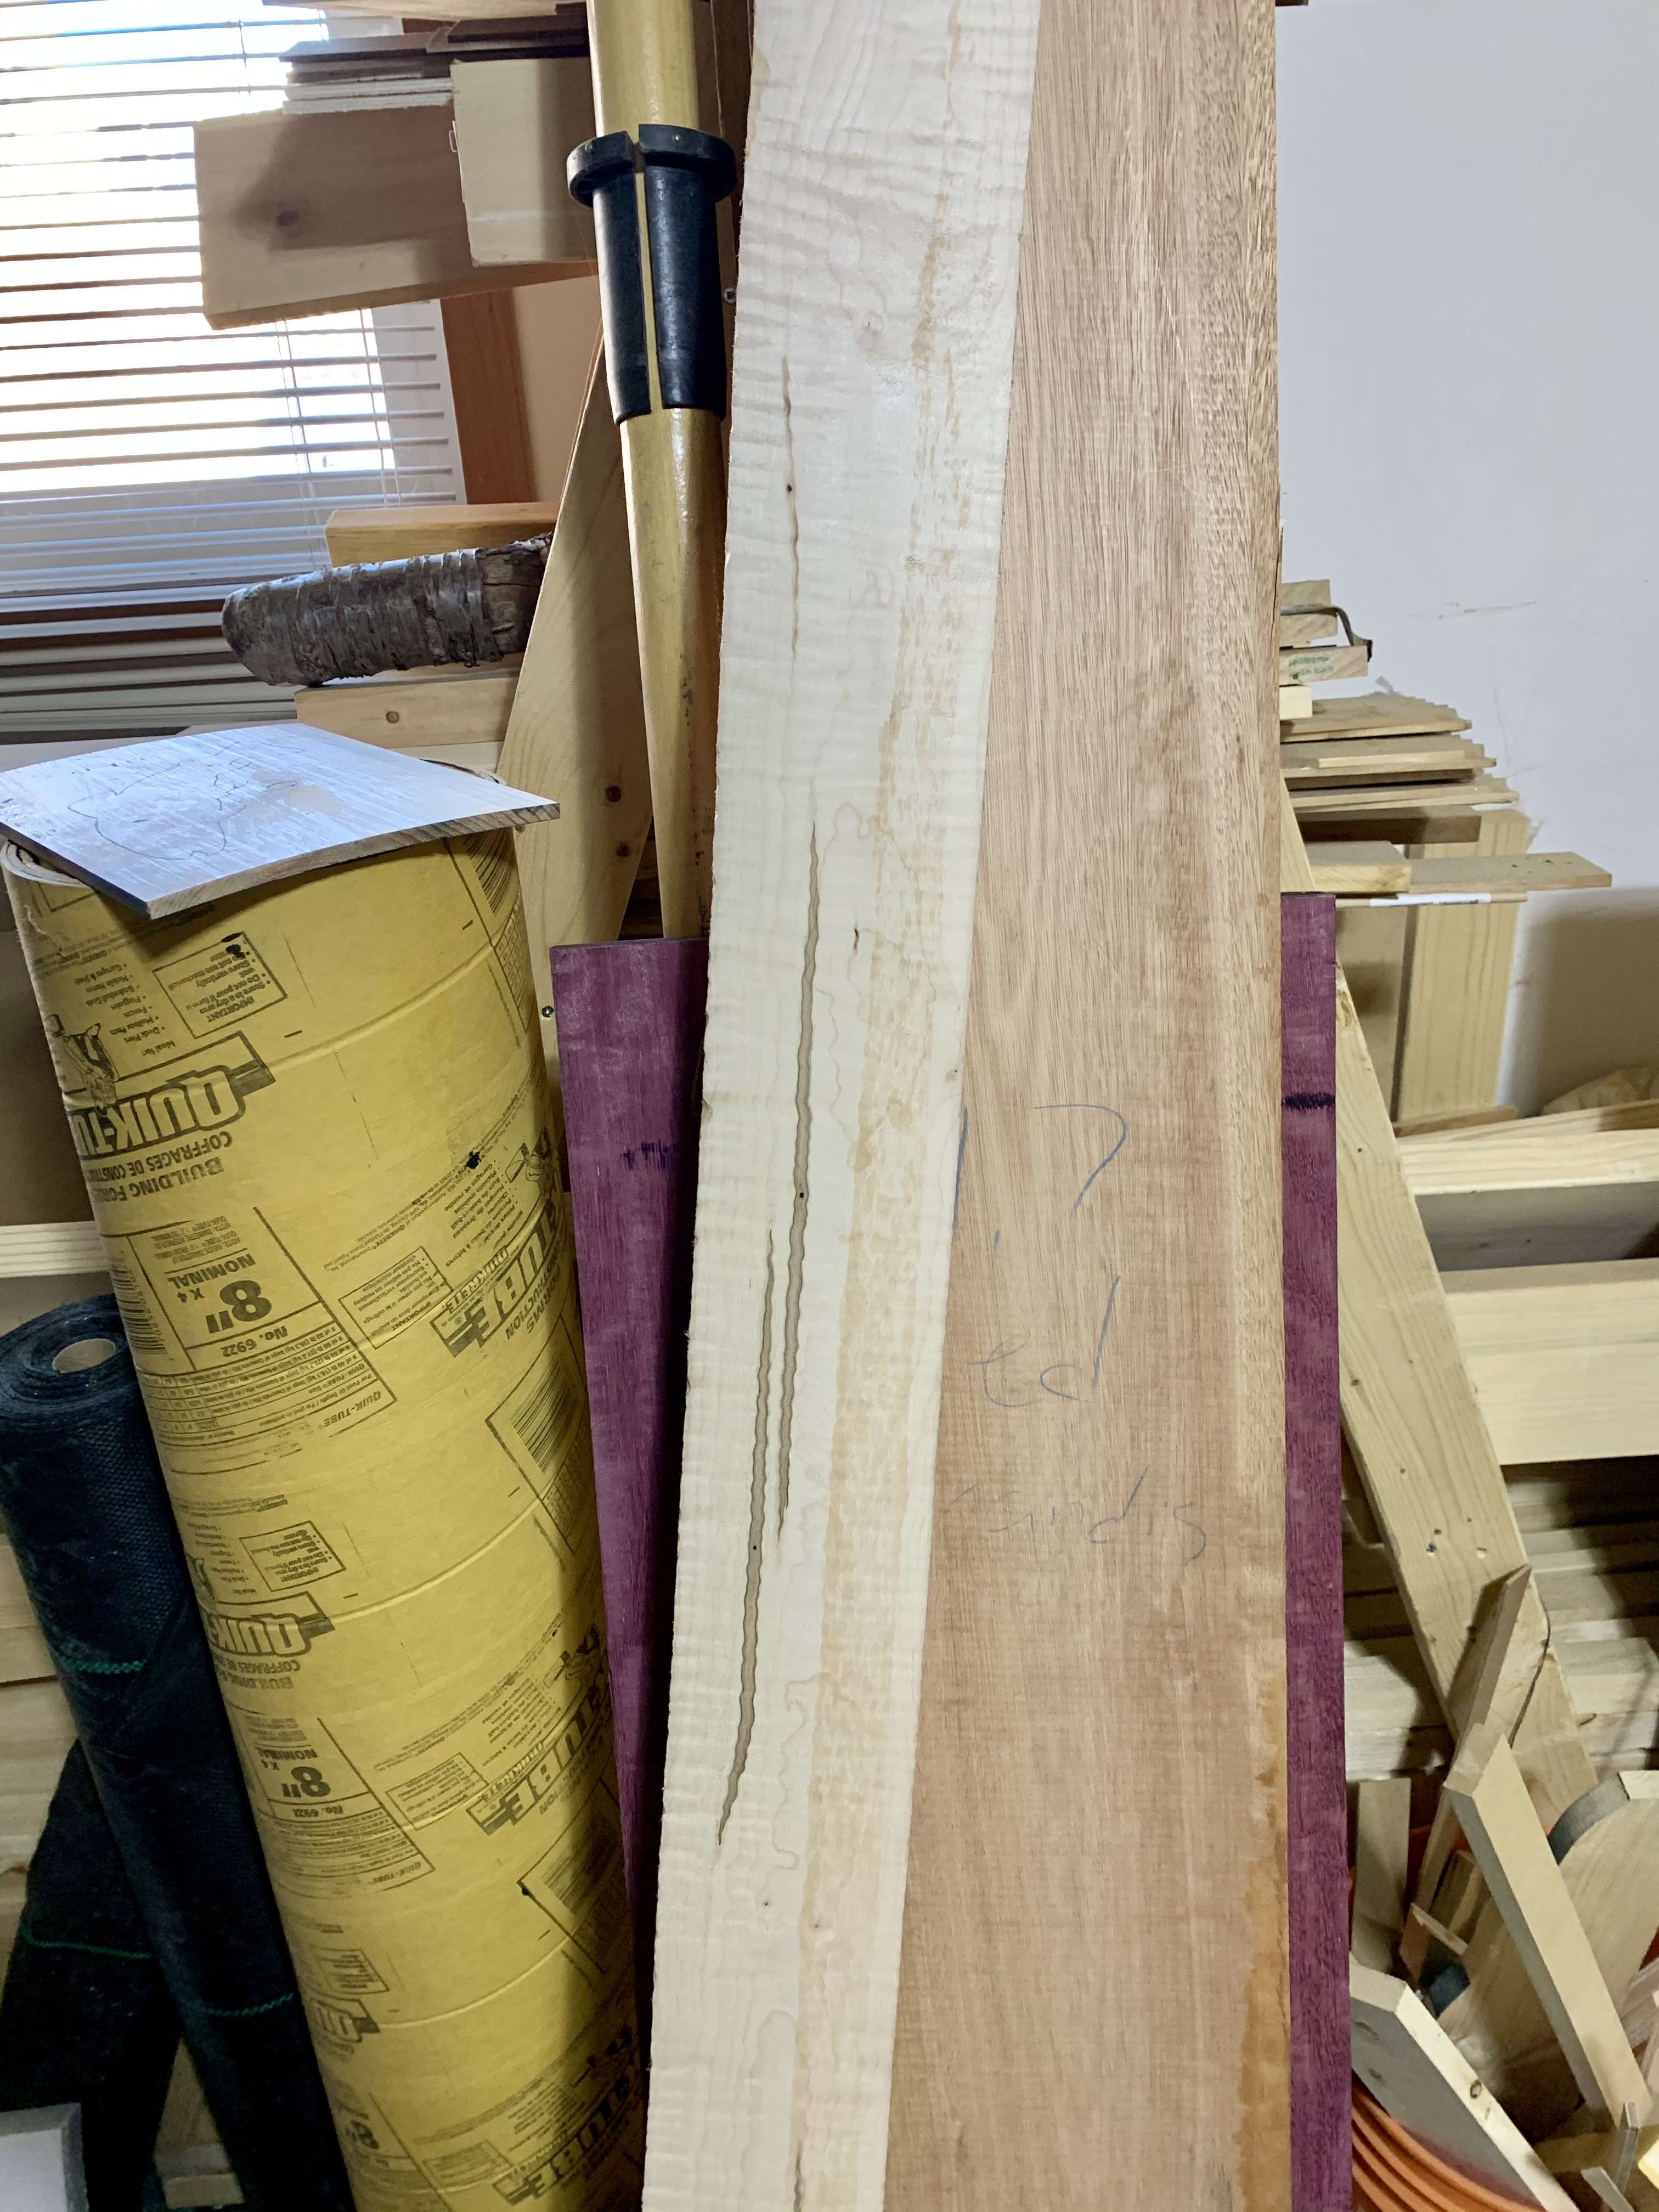
During the Christmas rush, when I was building all sorts of advent calendars and experimenting with those, I invested in some really beautiful hardwoods. My intention was that when things slowed down, I would spend some time learning how to make some cutting boards. We aren’t talking the cutting boards that you find in the store, but a beautiful, heavy butcher block style cutting board. I’ve seen so many examples online of different patterns and designs and I love how they look.
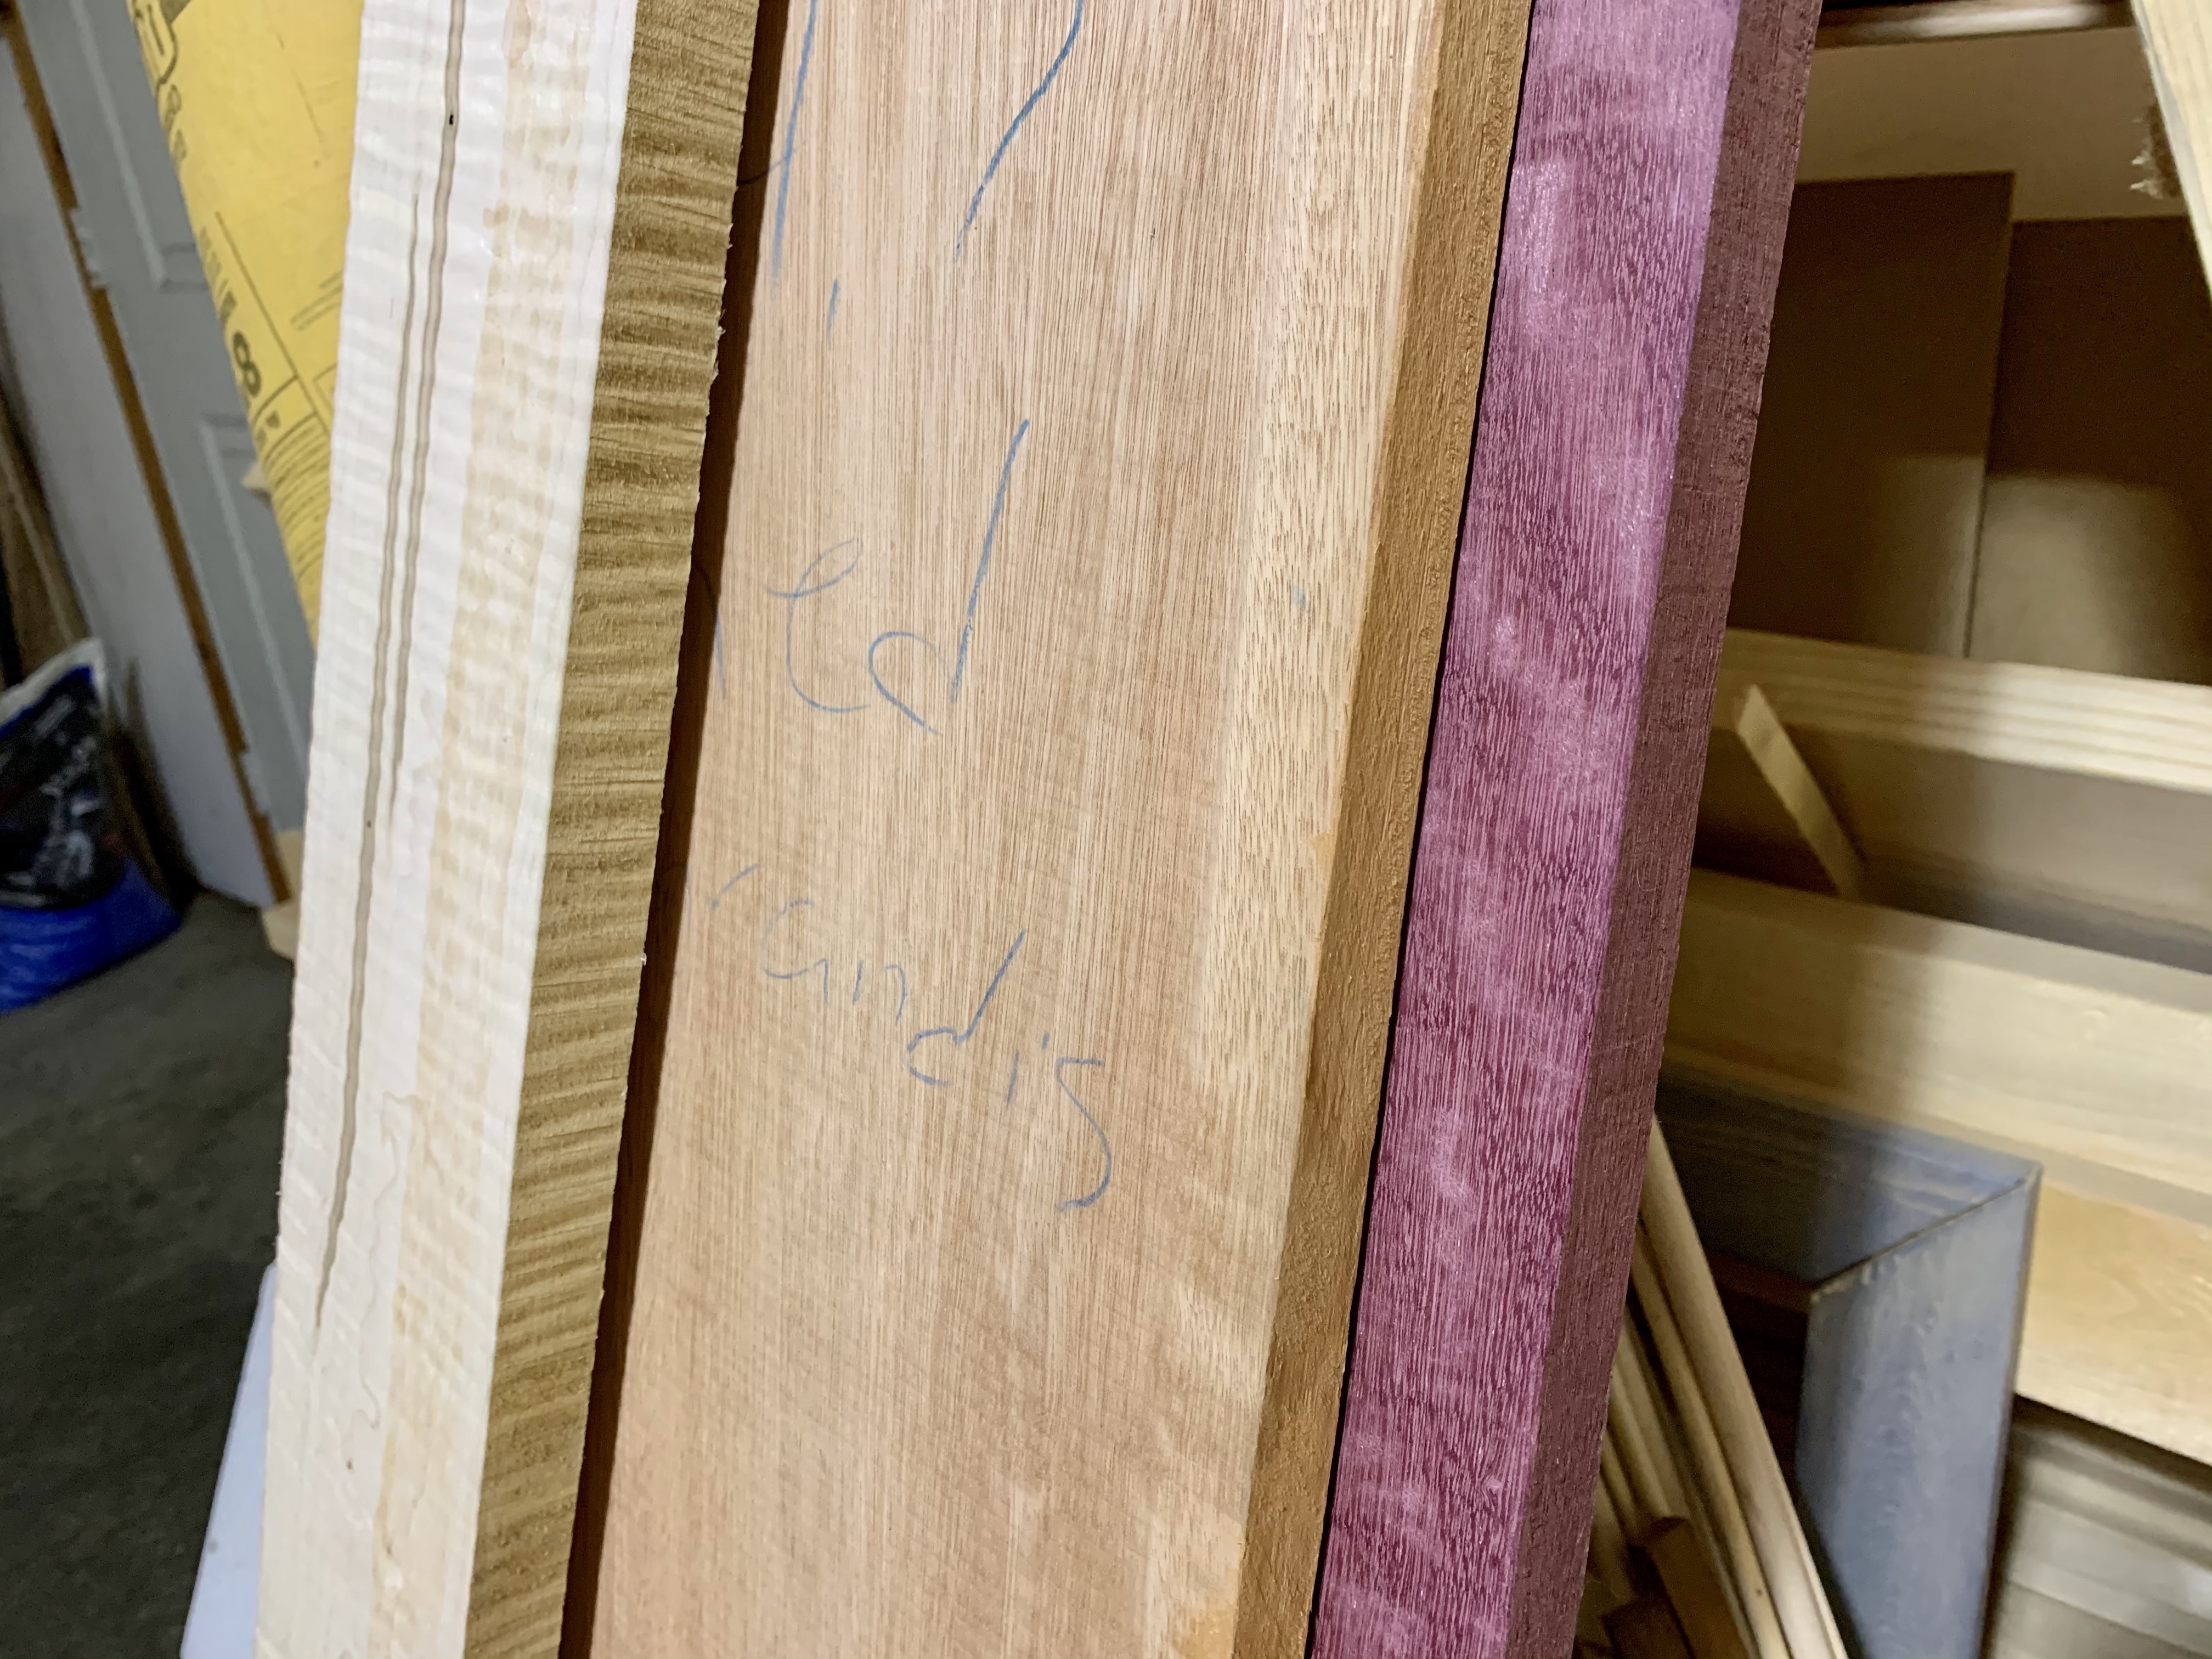
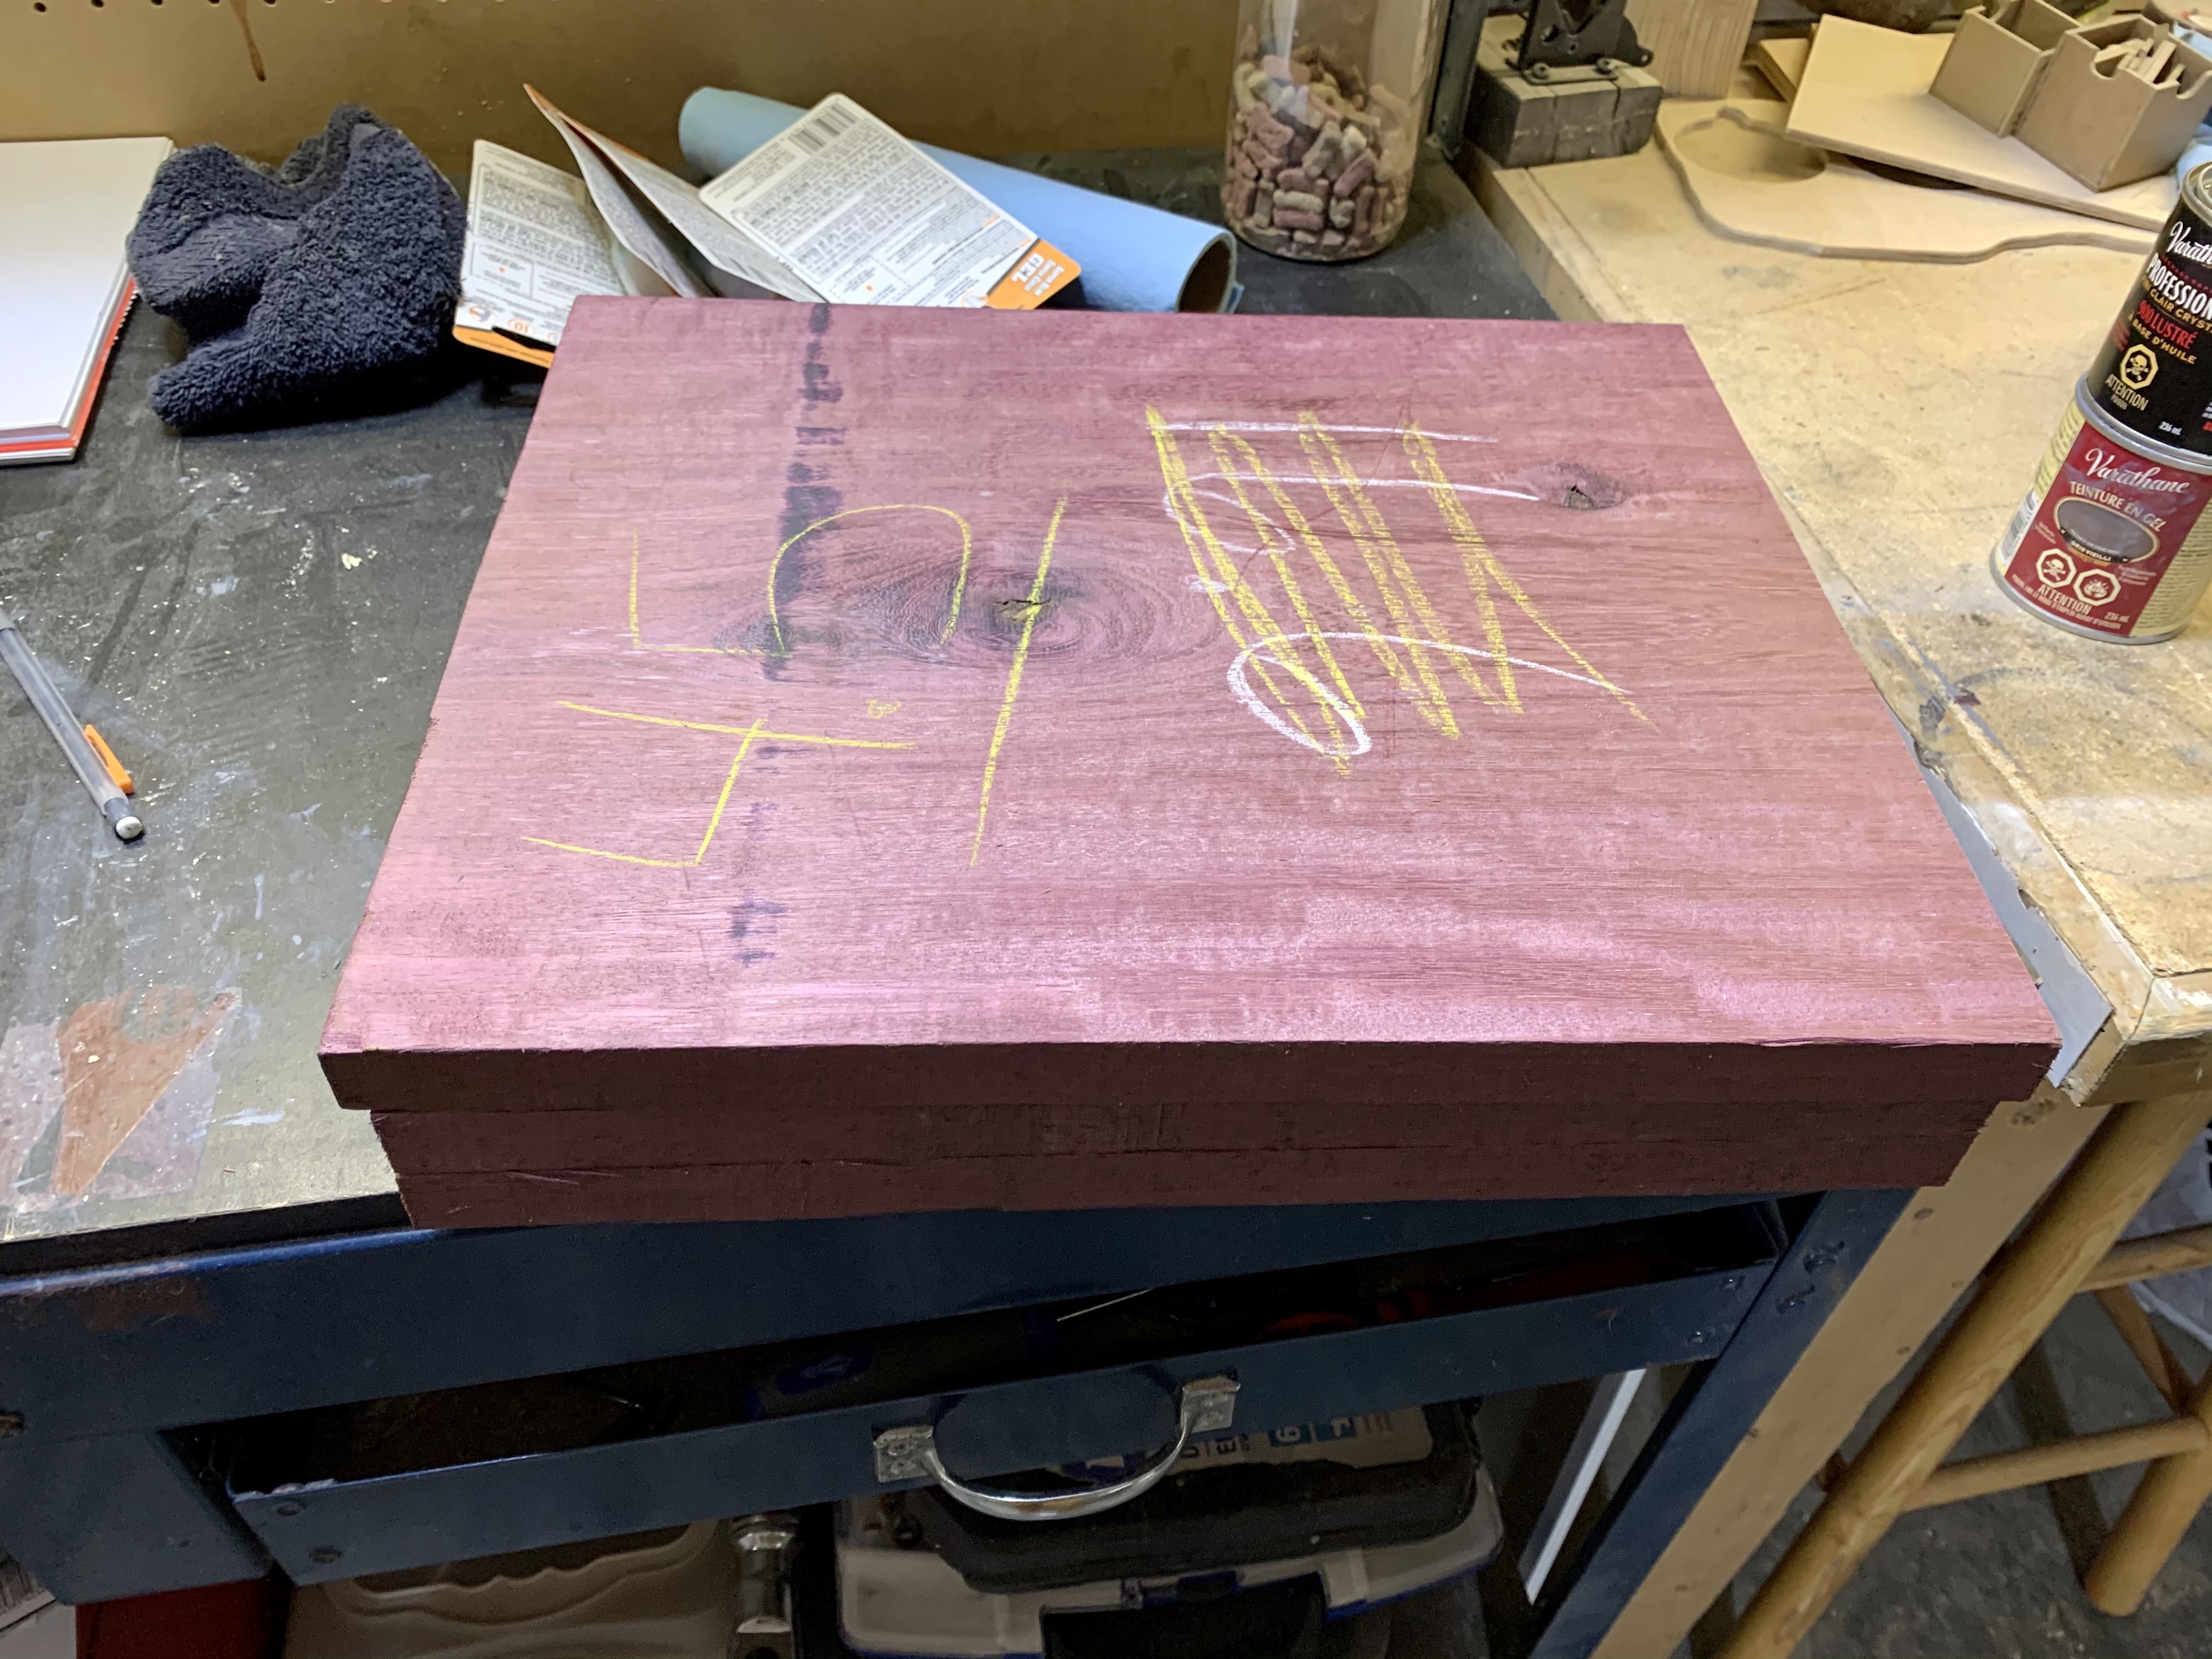
To start out, I purchased a sizeable piece of Purple Heart. It is a rich purple colour and is often used in the patterns that I have looked at. I realized I needed some other wood to go with it, so I purchased some red grandis and ambrosia maple. I figured the three colours would allow me to make some beautiful patterns.
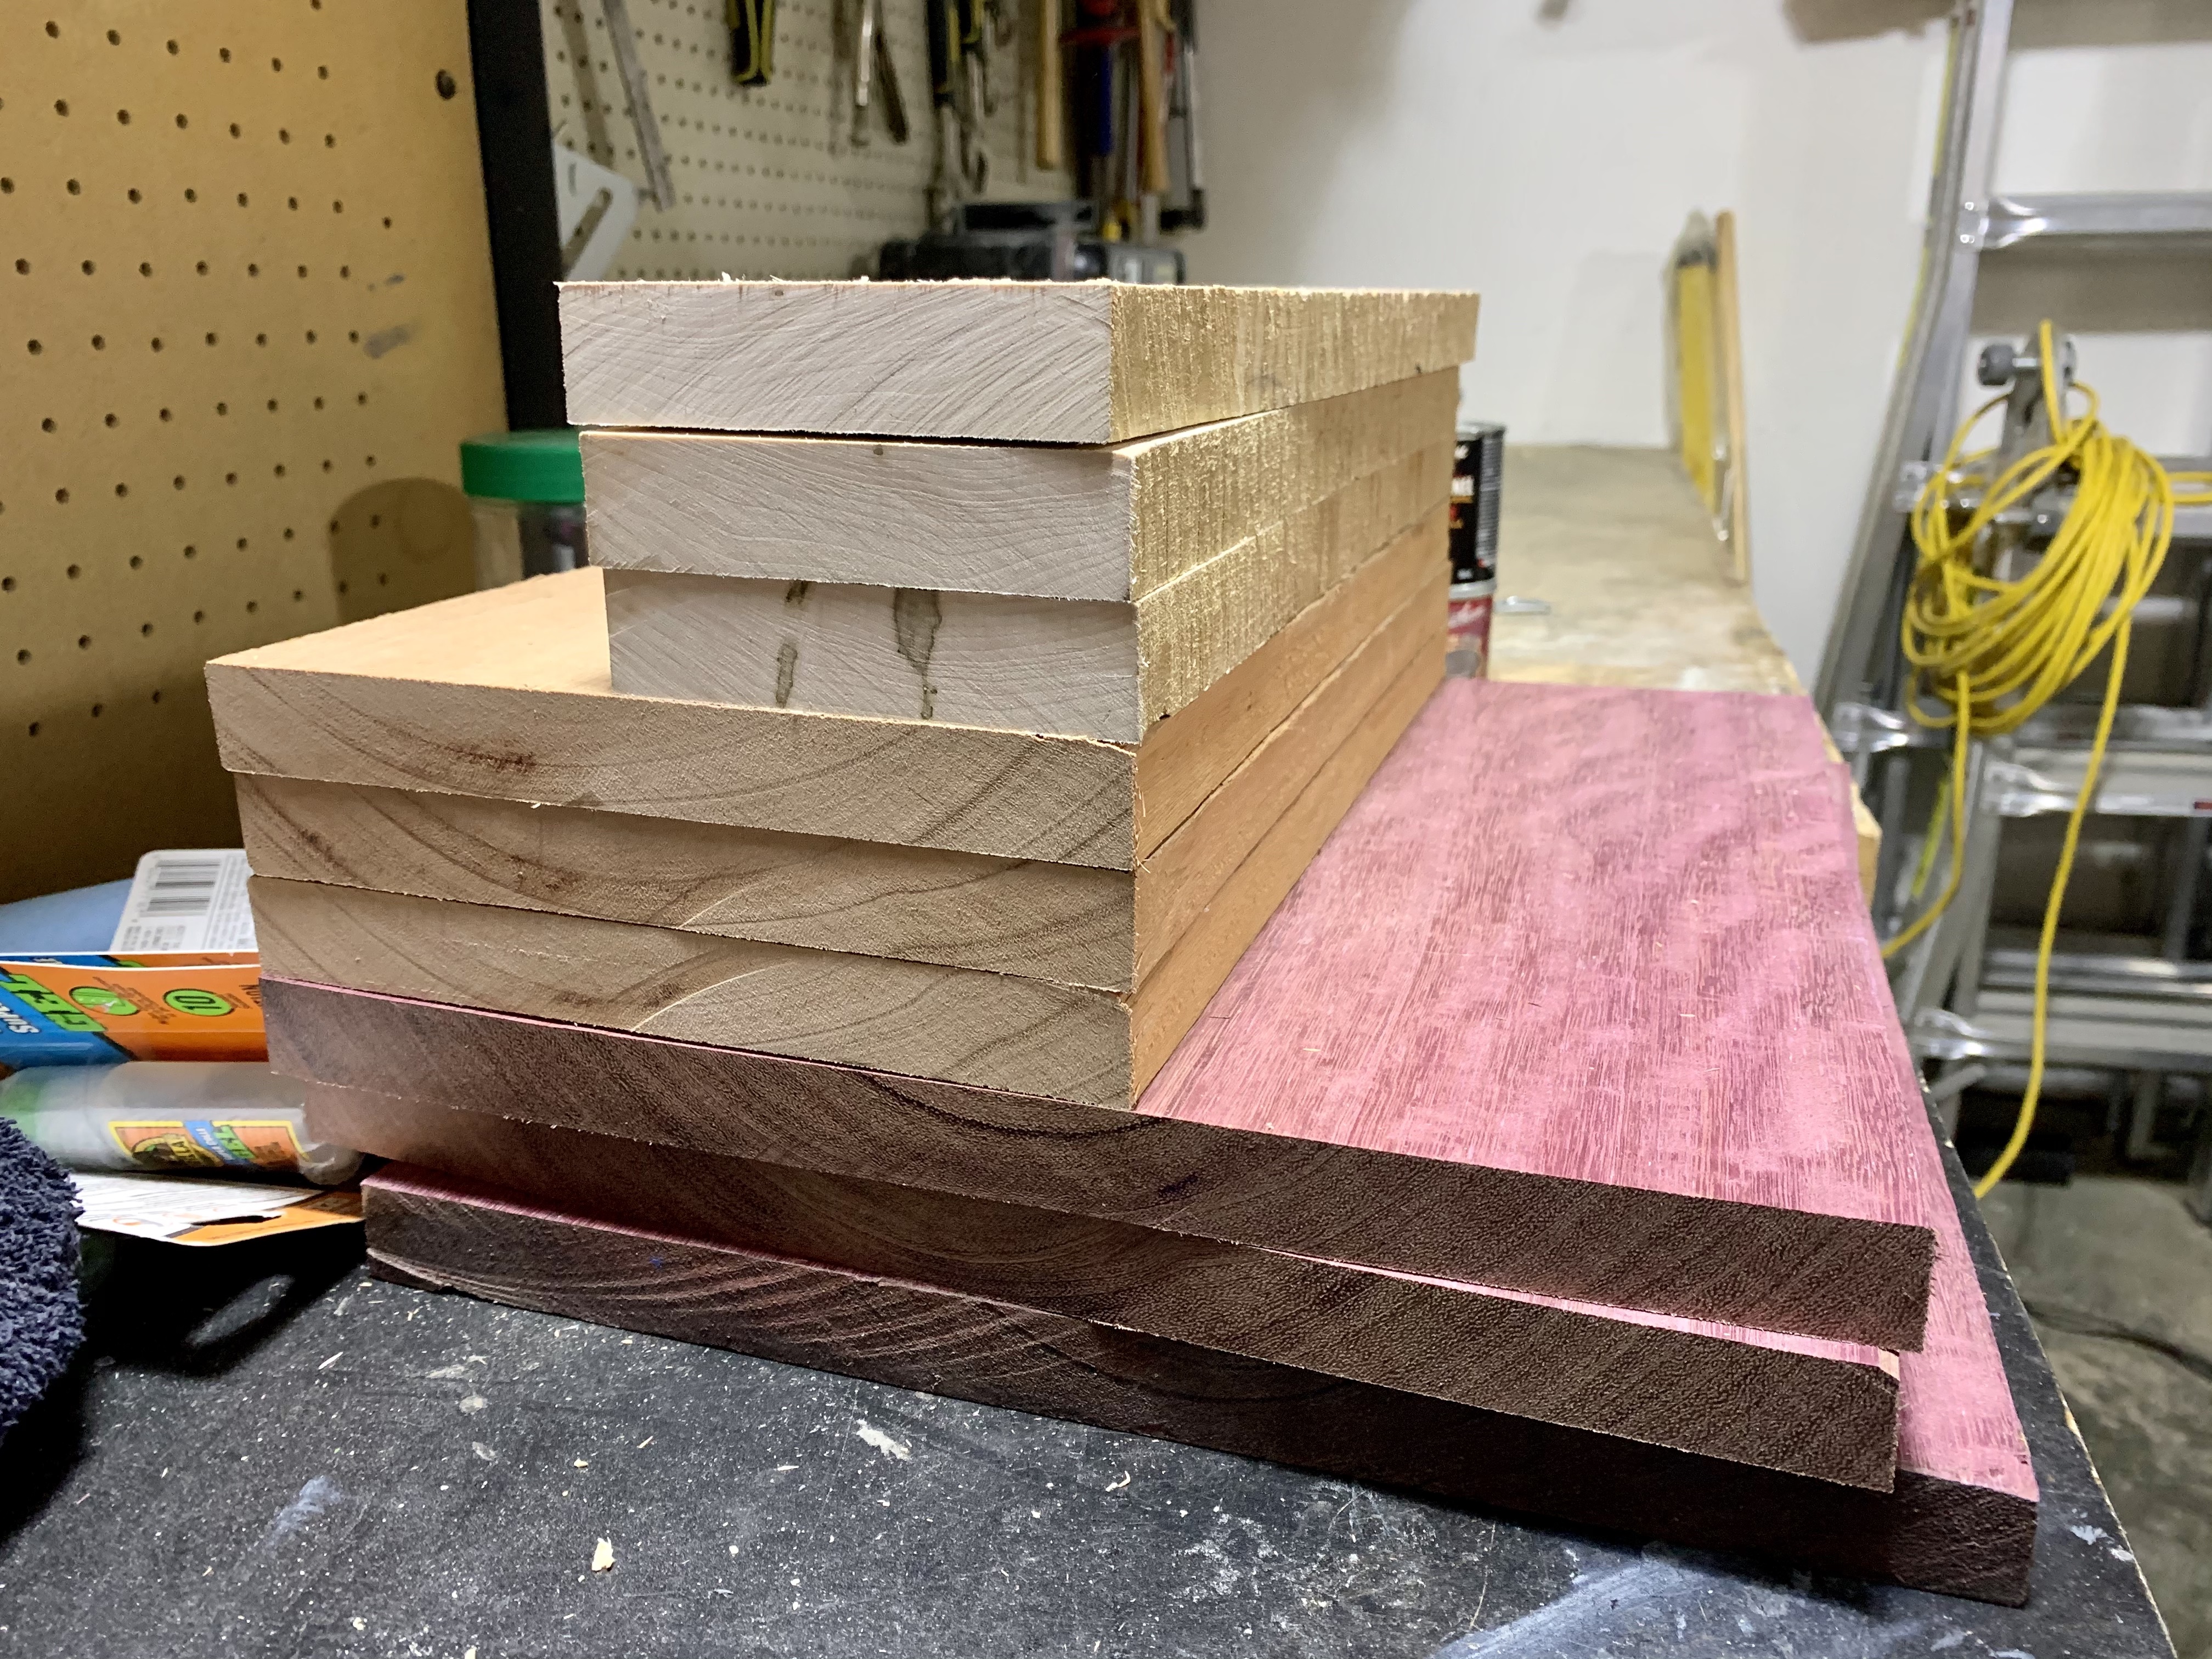
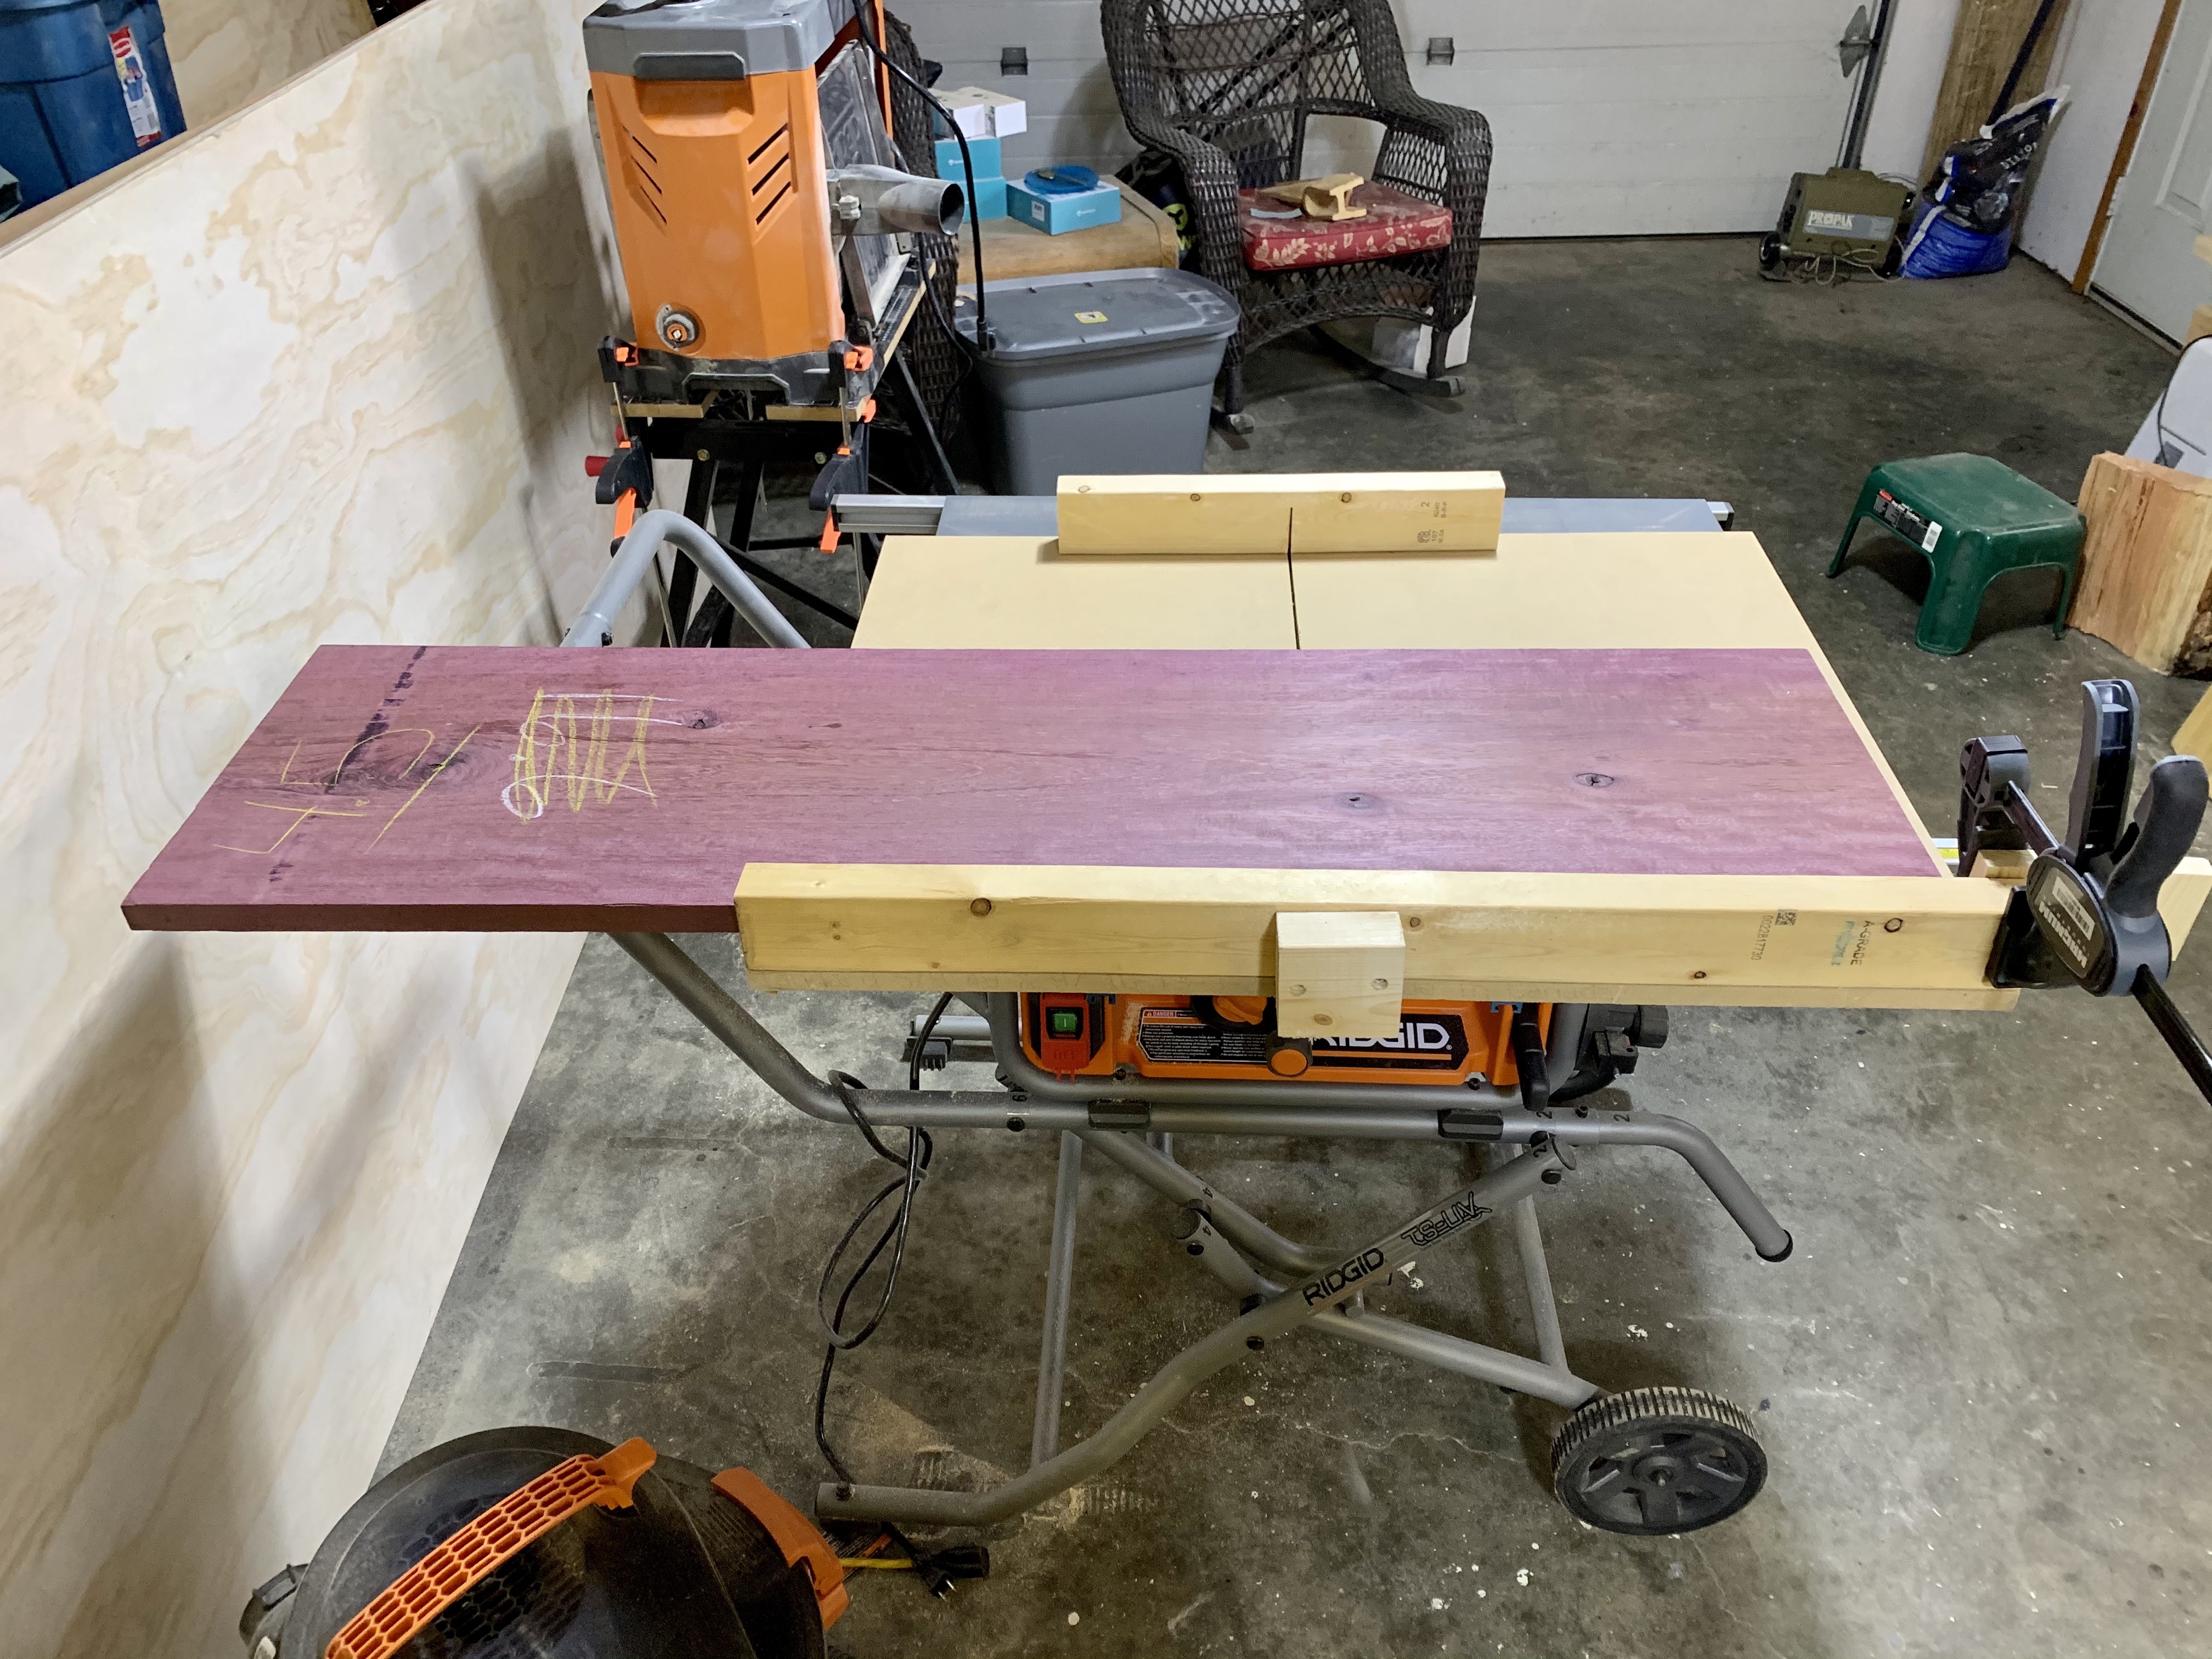
Well, nothing has really slowed down but I have decided that it is time to jump into making cutting boards. So, I did a little figuring to see the best way to split up my wood. Eventually I settled on 15” length. Using my table saw, I ripped the boards down to 15″ sections. Each board that I had was a different width, so I ended up with mostly purple heart, then red grandis and the smallest amount was the ambrosia maple. From there, I cut the chunks of wood into strips that are 7/8” x 1-3/4”. In retrospect I could have done 1” and made the strips more square and less rectangular, but oh well.
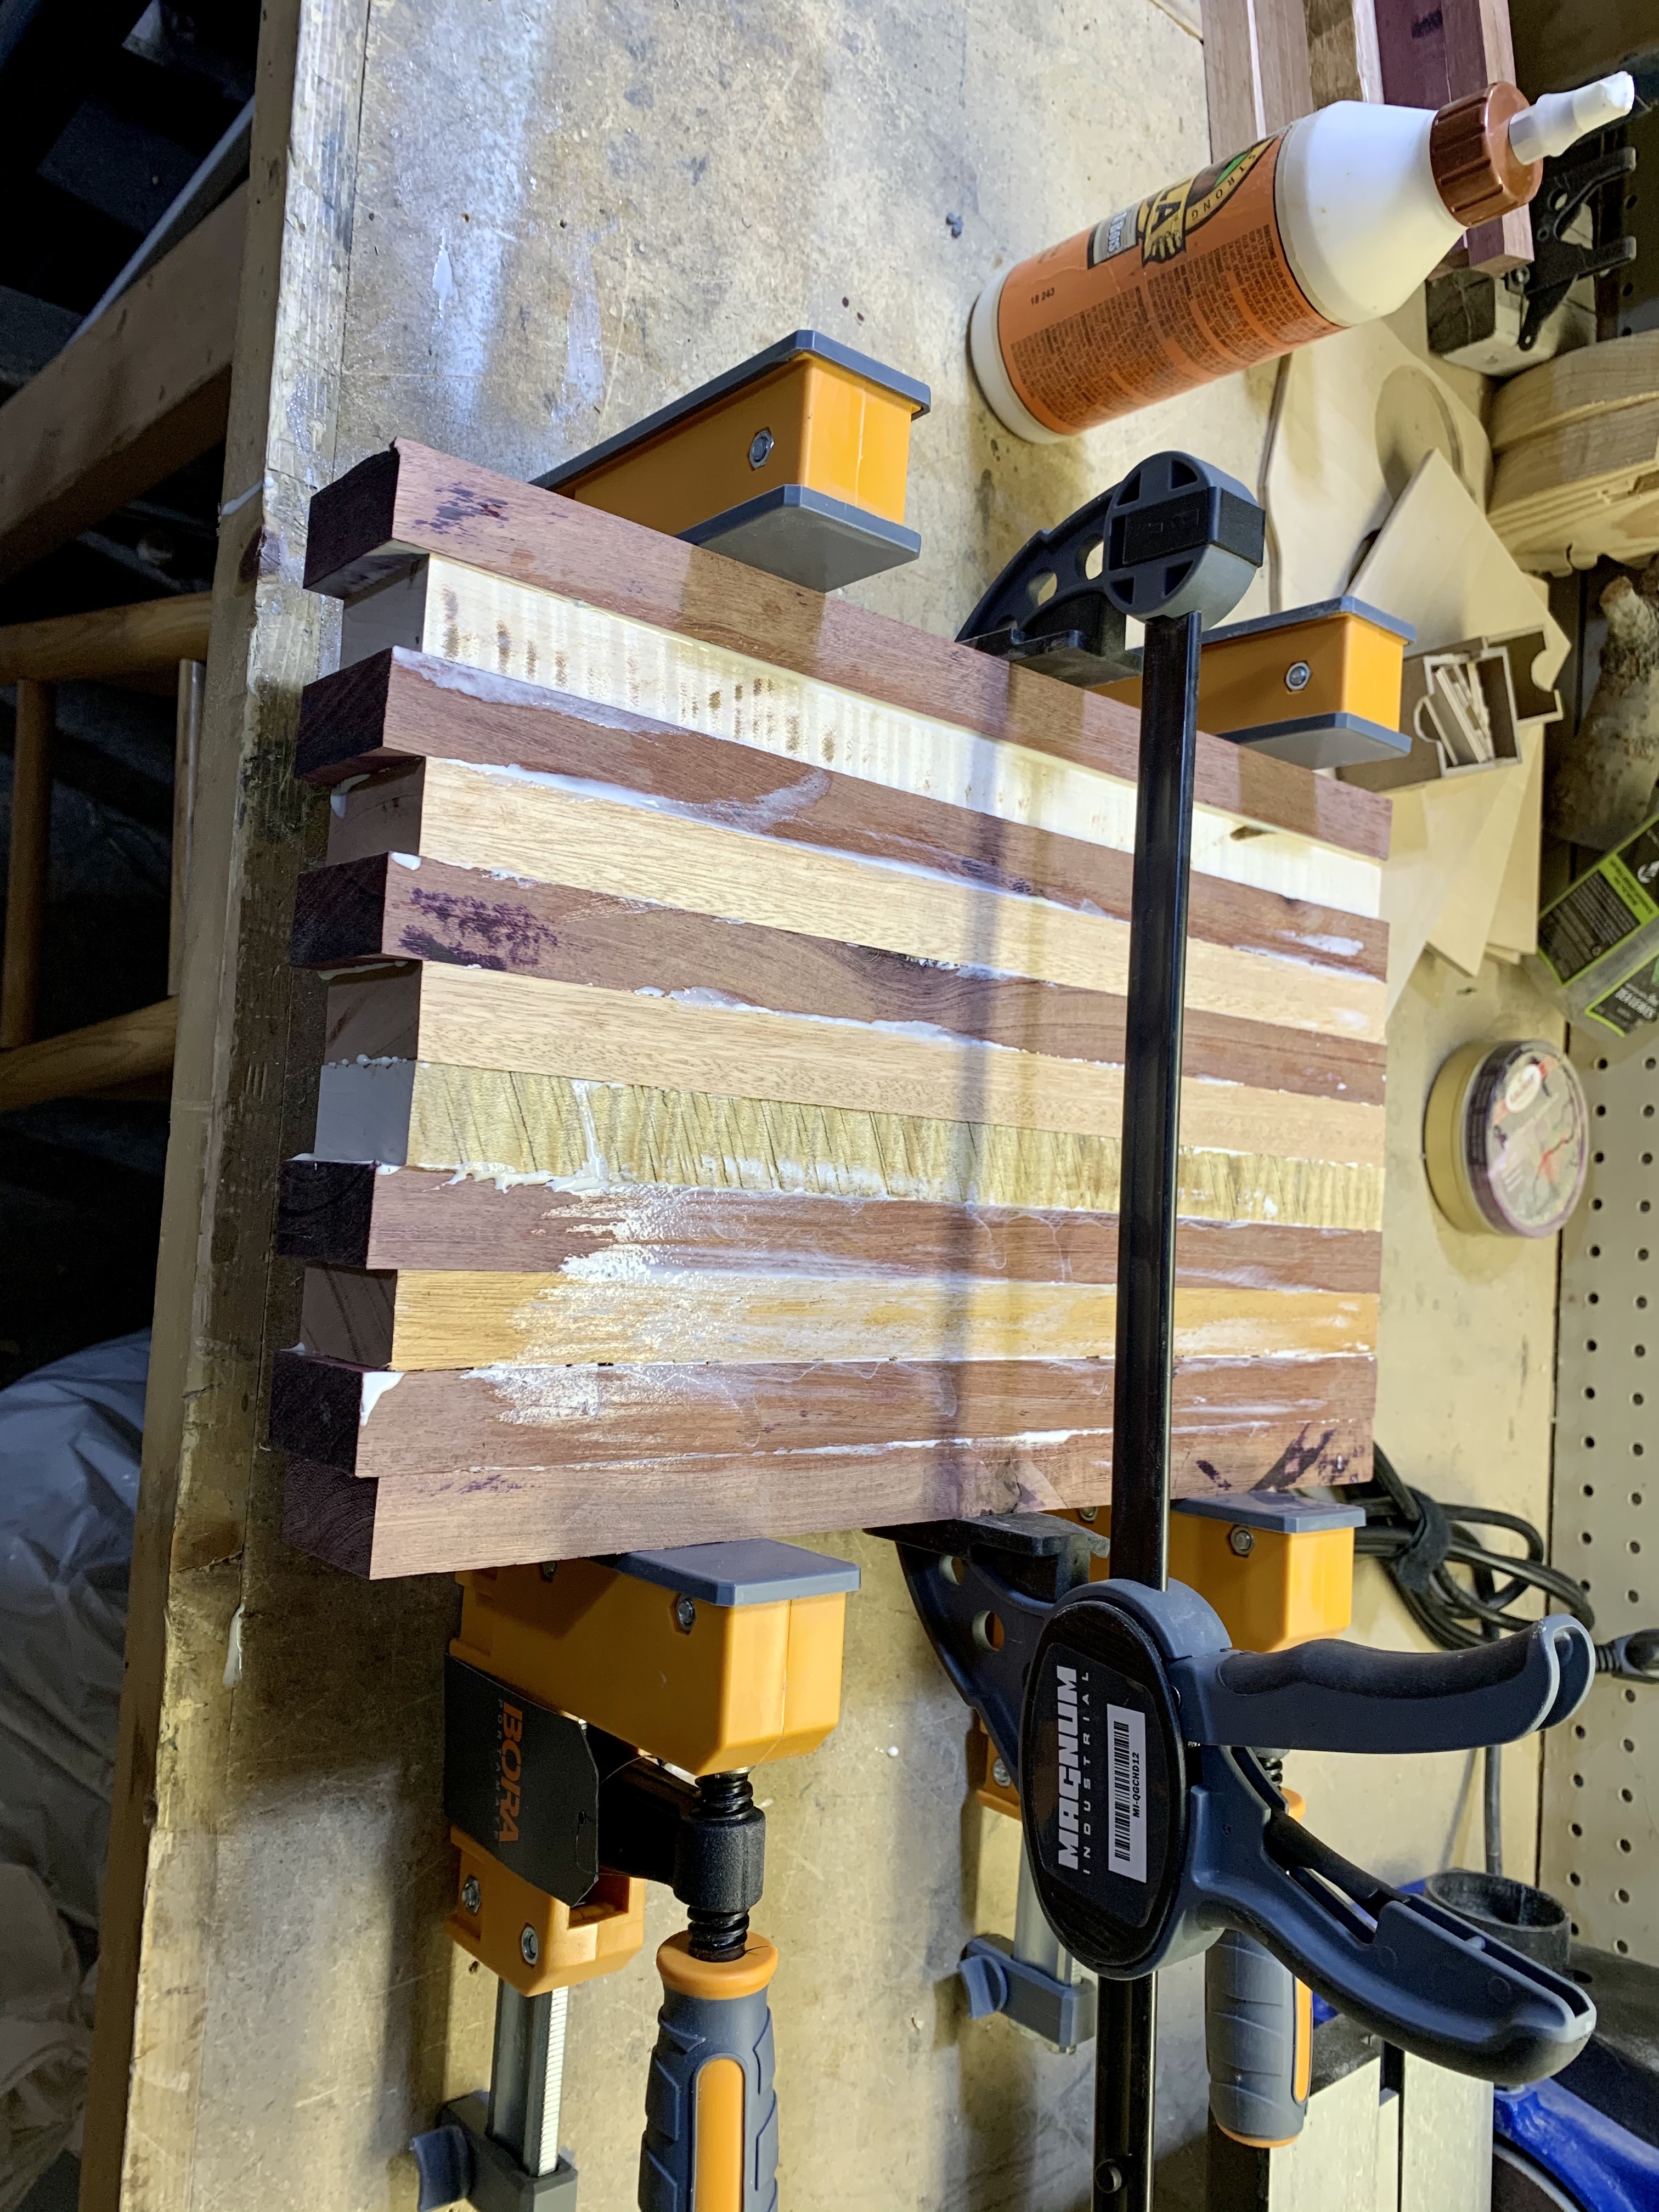
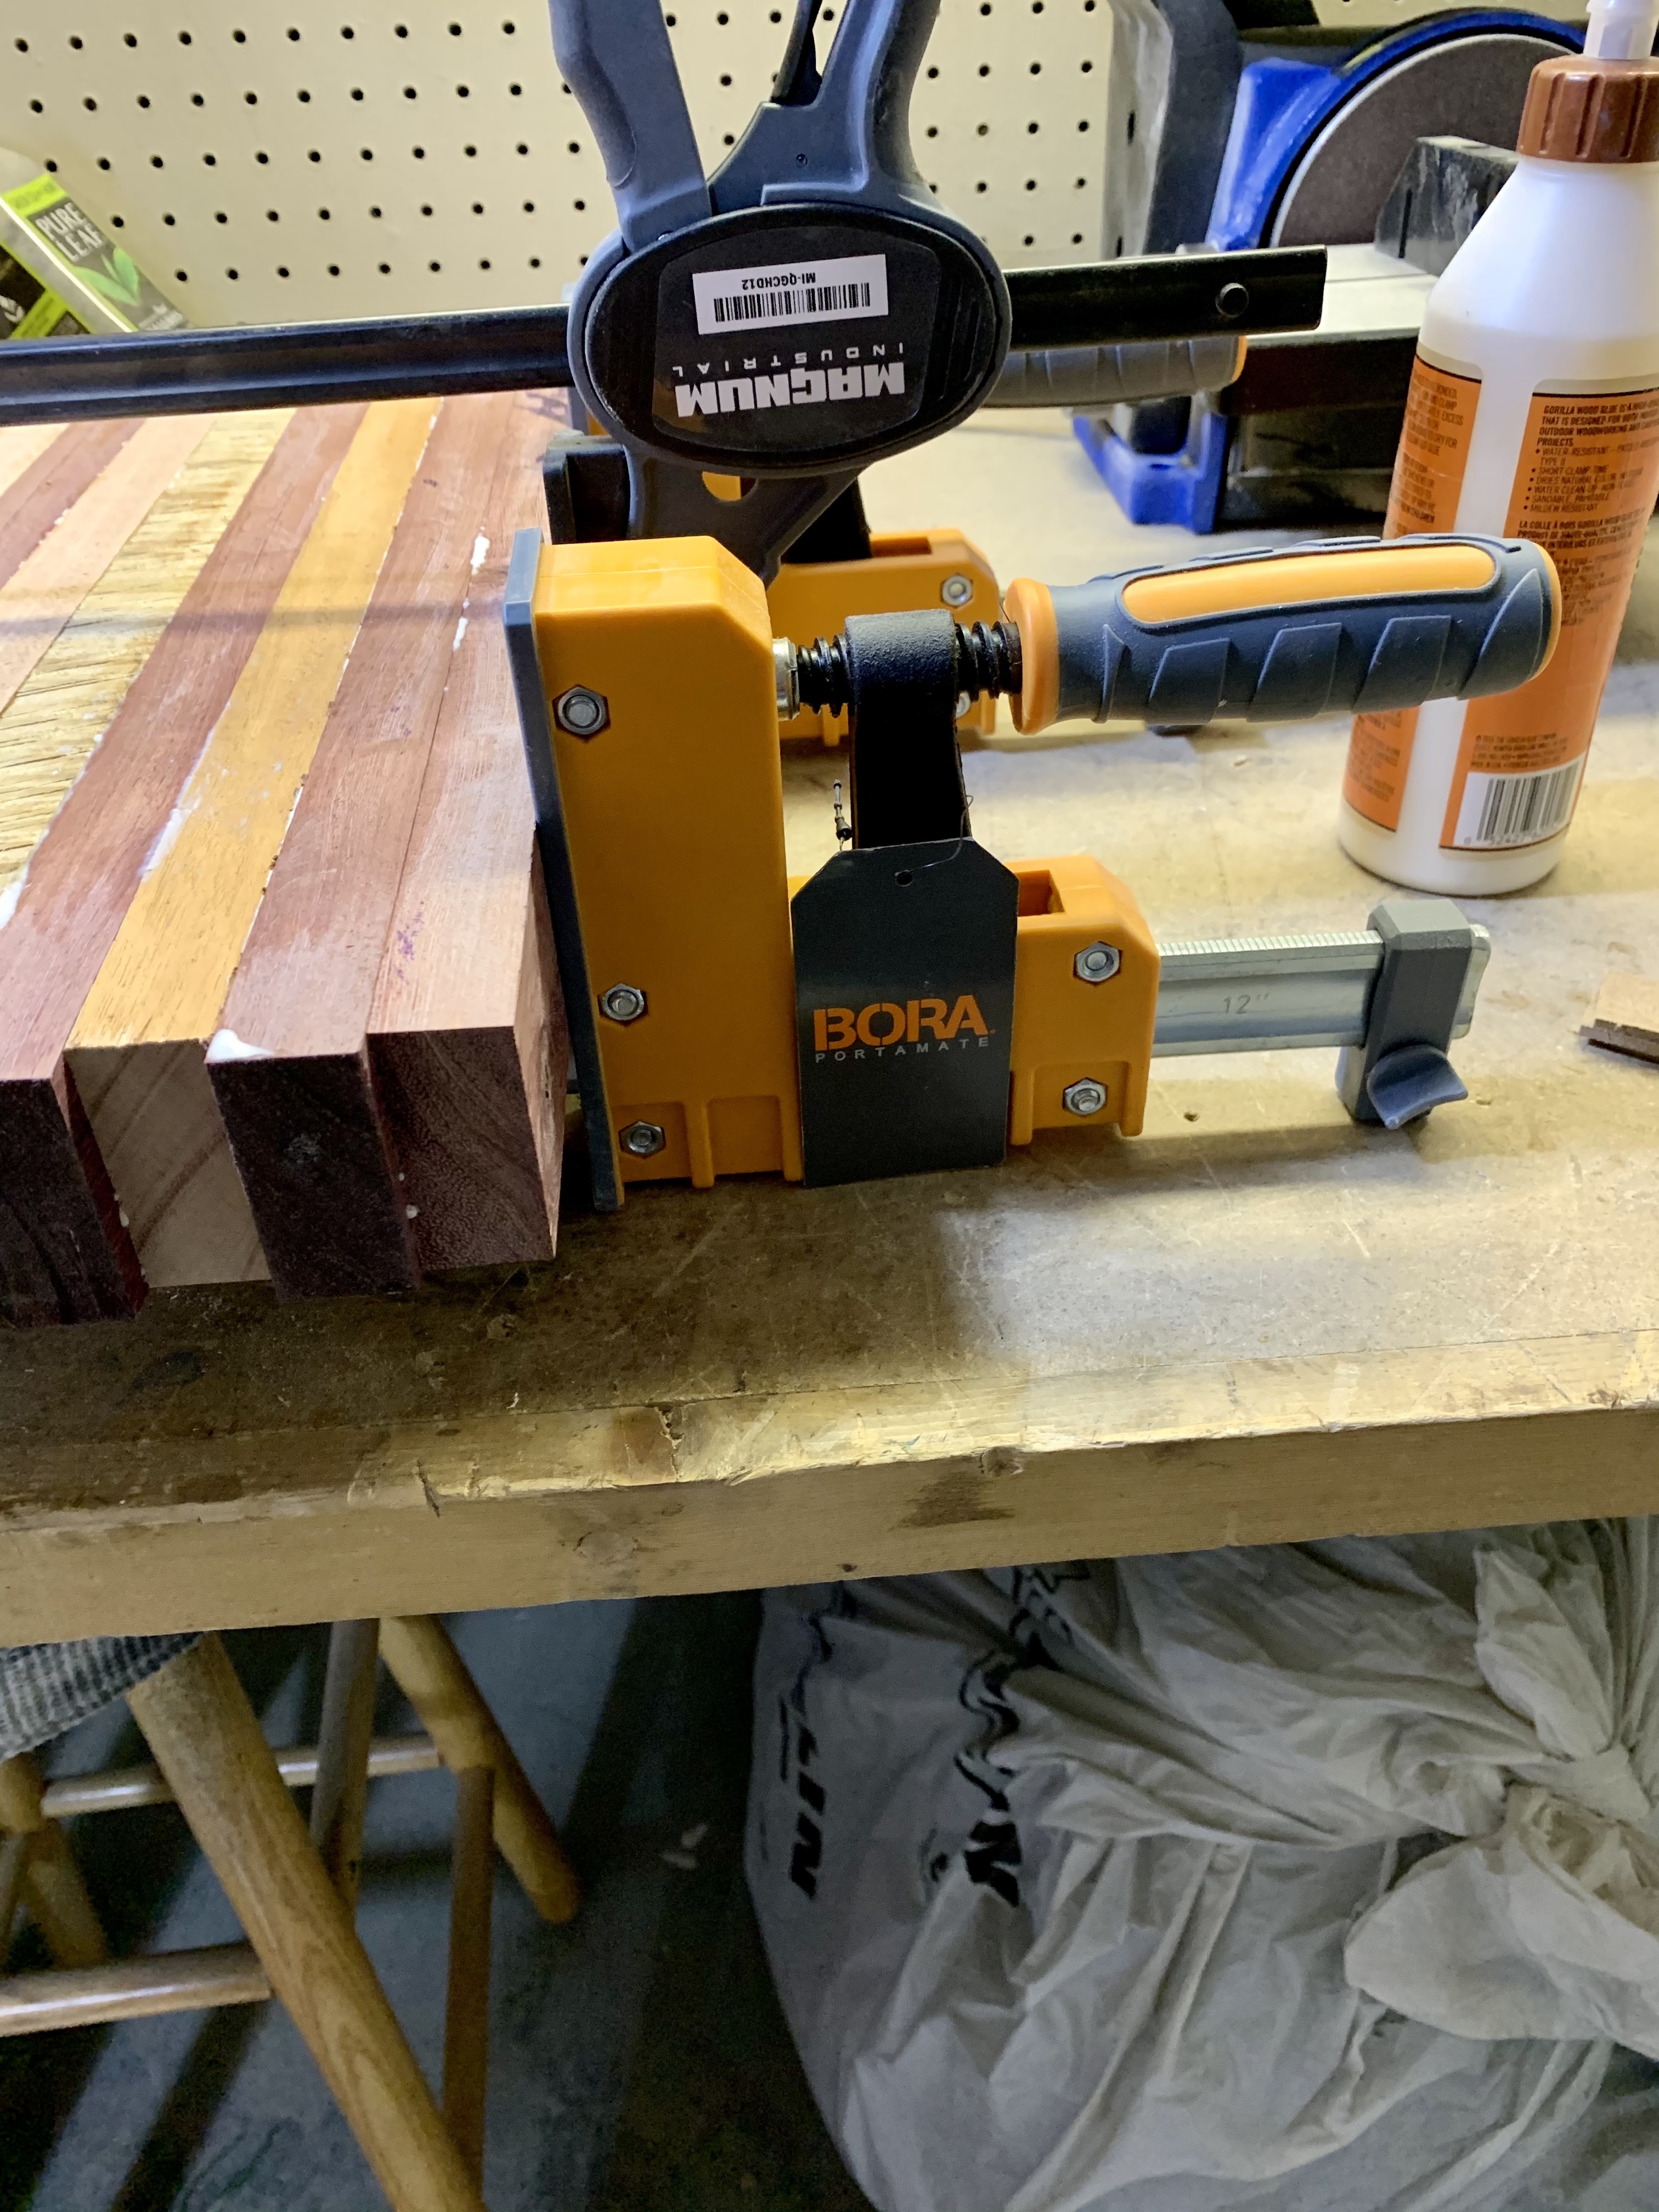
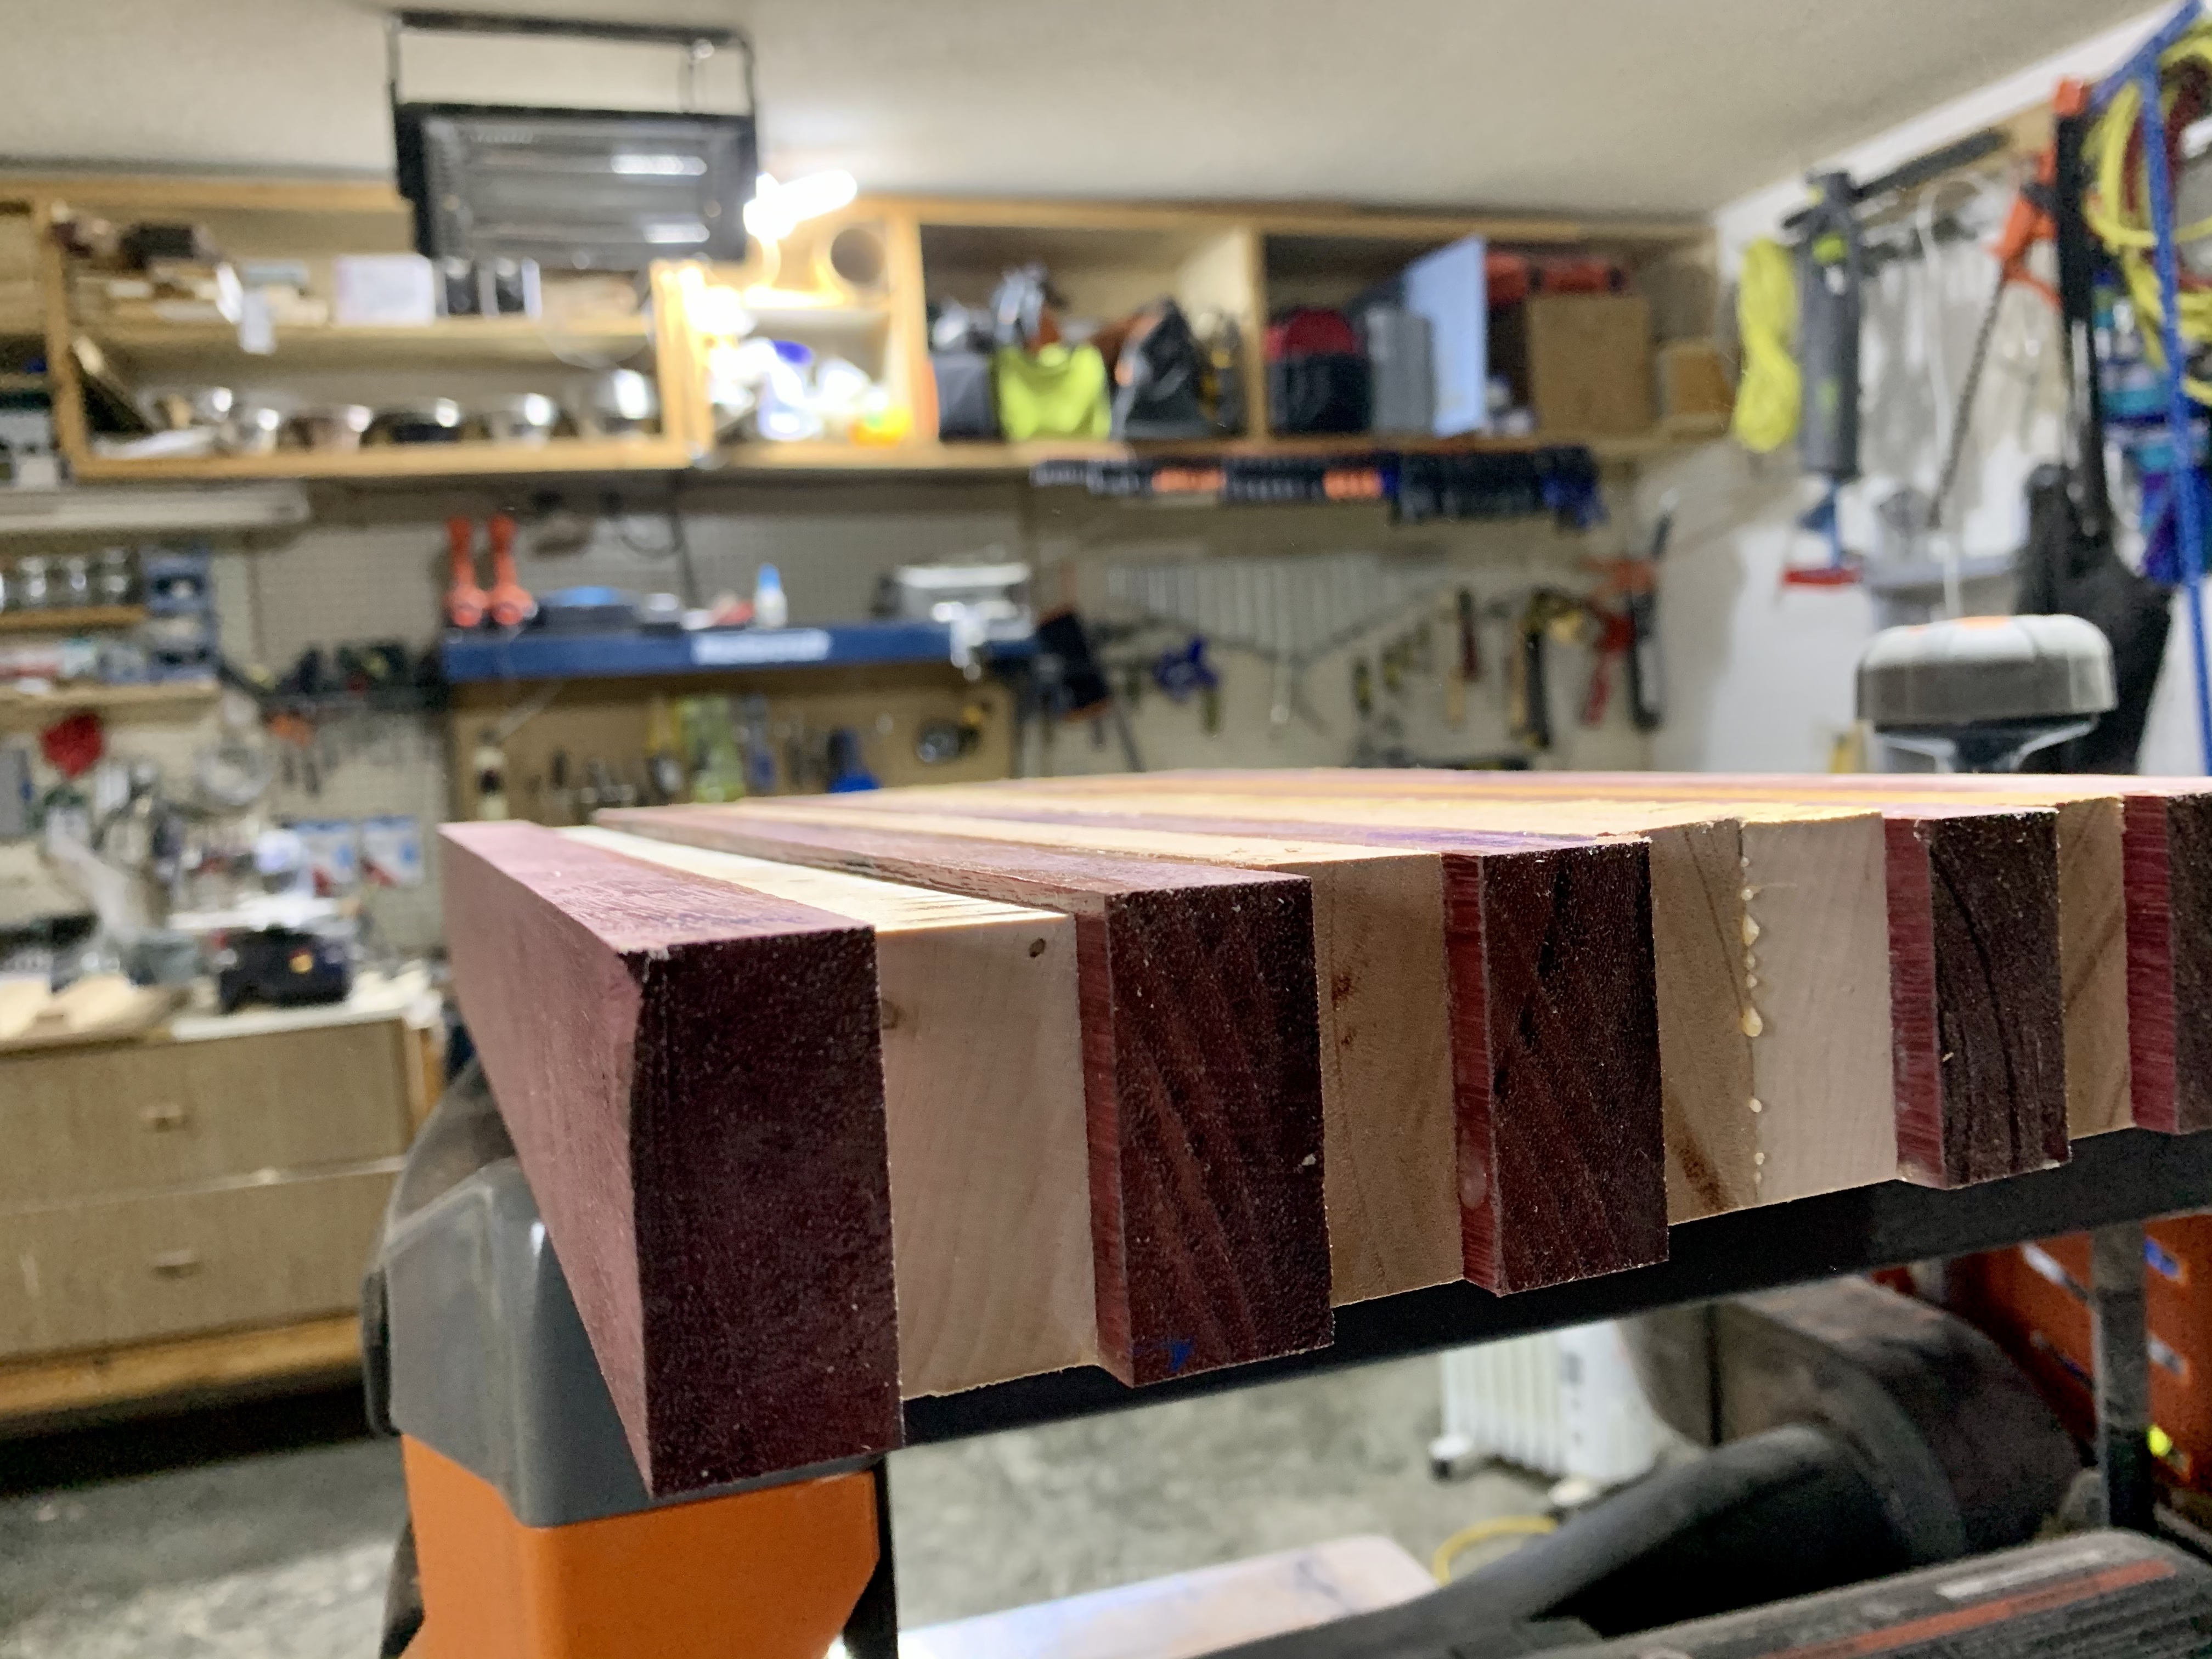
With the boards I had, I was able to start 3 cutting boards. Each board will have 11 strips that need to be glued and clamped. I made sure that the glue I was using was food-safe. Kurt got me some beautiful Bora clamps that are perfect for laminating woods and are good for 12” clamping space. The first glue-up went great as the combined boards come to just under 11”. I am going to need more clamps if I get into making these all the time though. It took 3 days to do all three boards because I wanted the glue to have 24 hours to fully set.


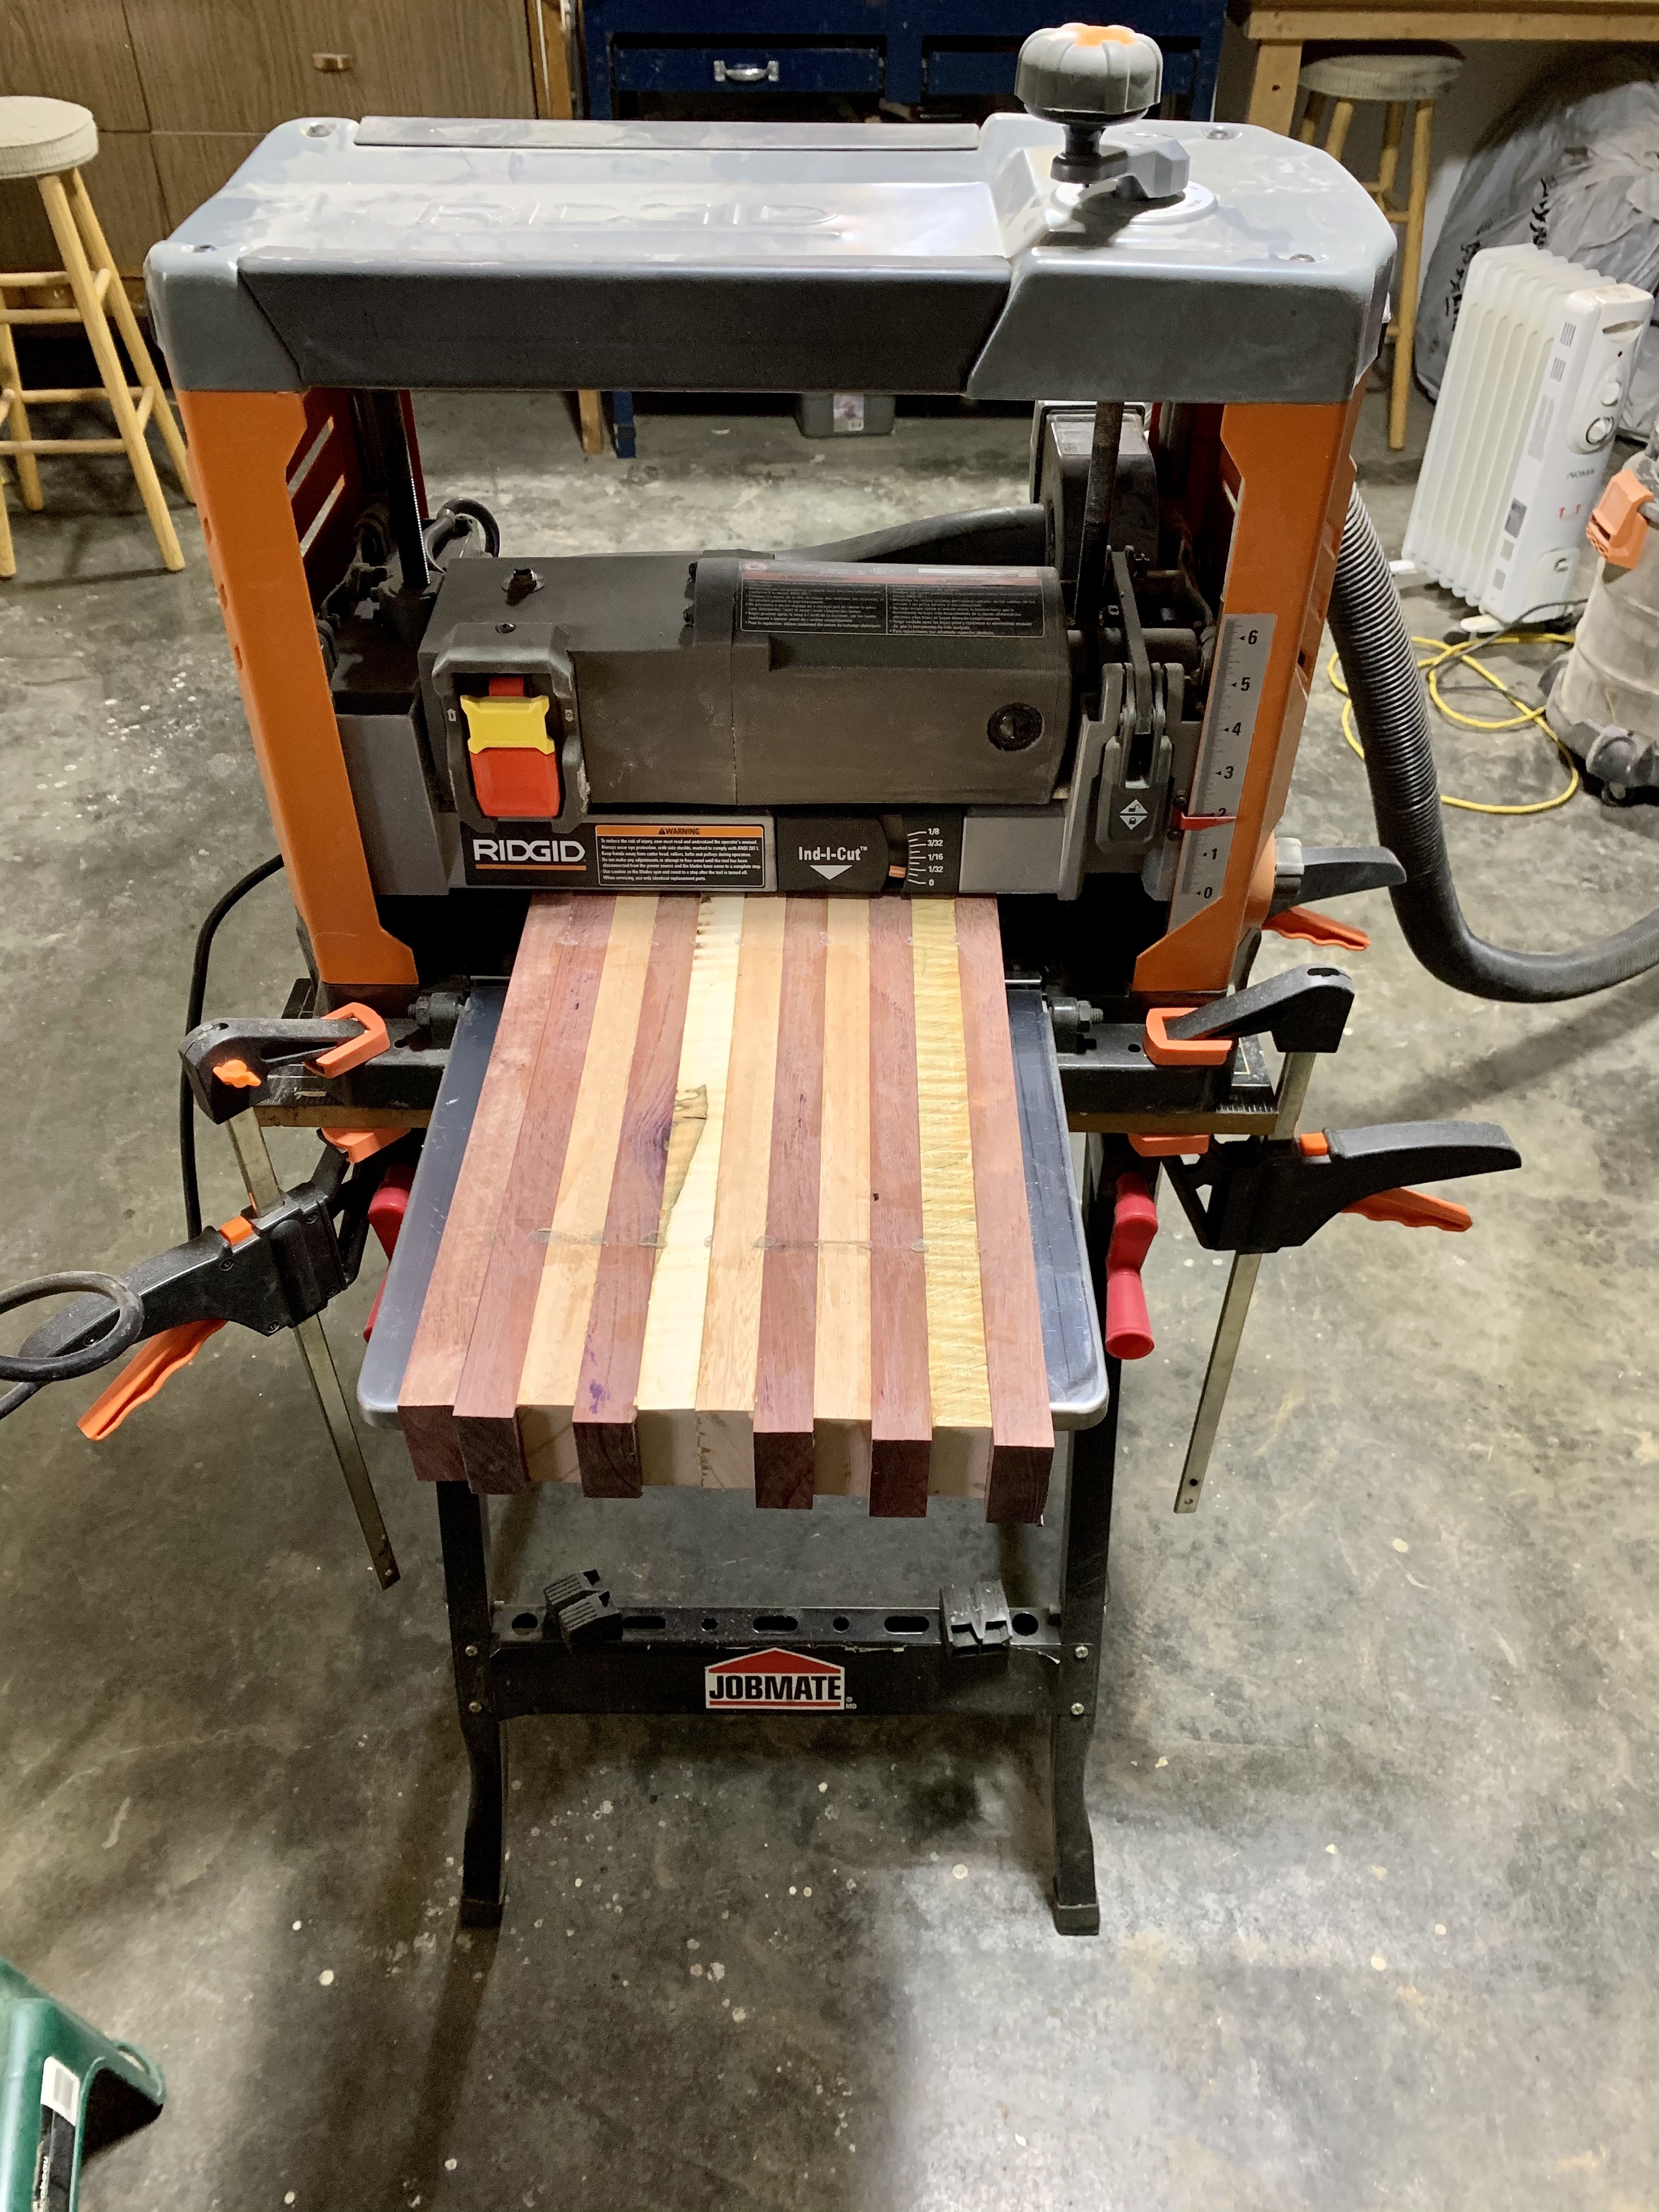
Once the boards were set and the glue fully dry, it was time to plane them down so that I had a completely flat surface. At this point it was still edge grain so using the planer was a go. I ran each board through a few times to shave down the top and bottom sides. One of the boards needed a little extra off as I had used a strip that was quite a bit narrower than the rest.
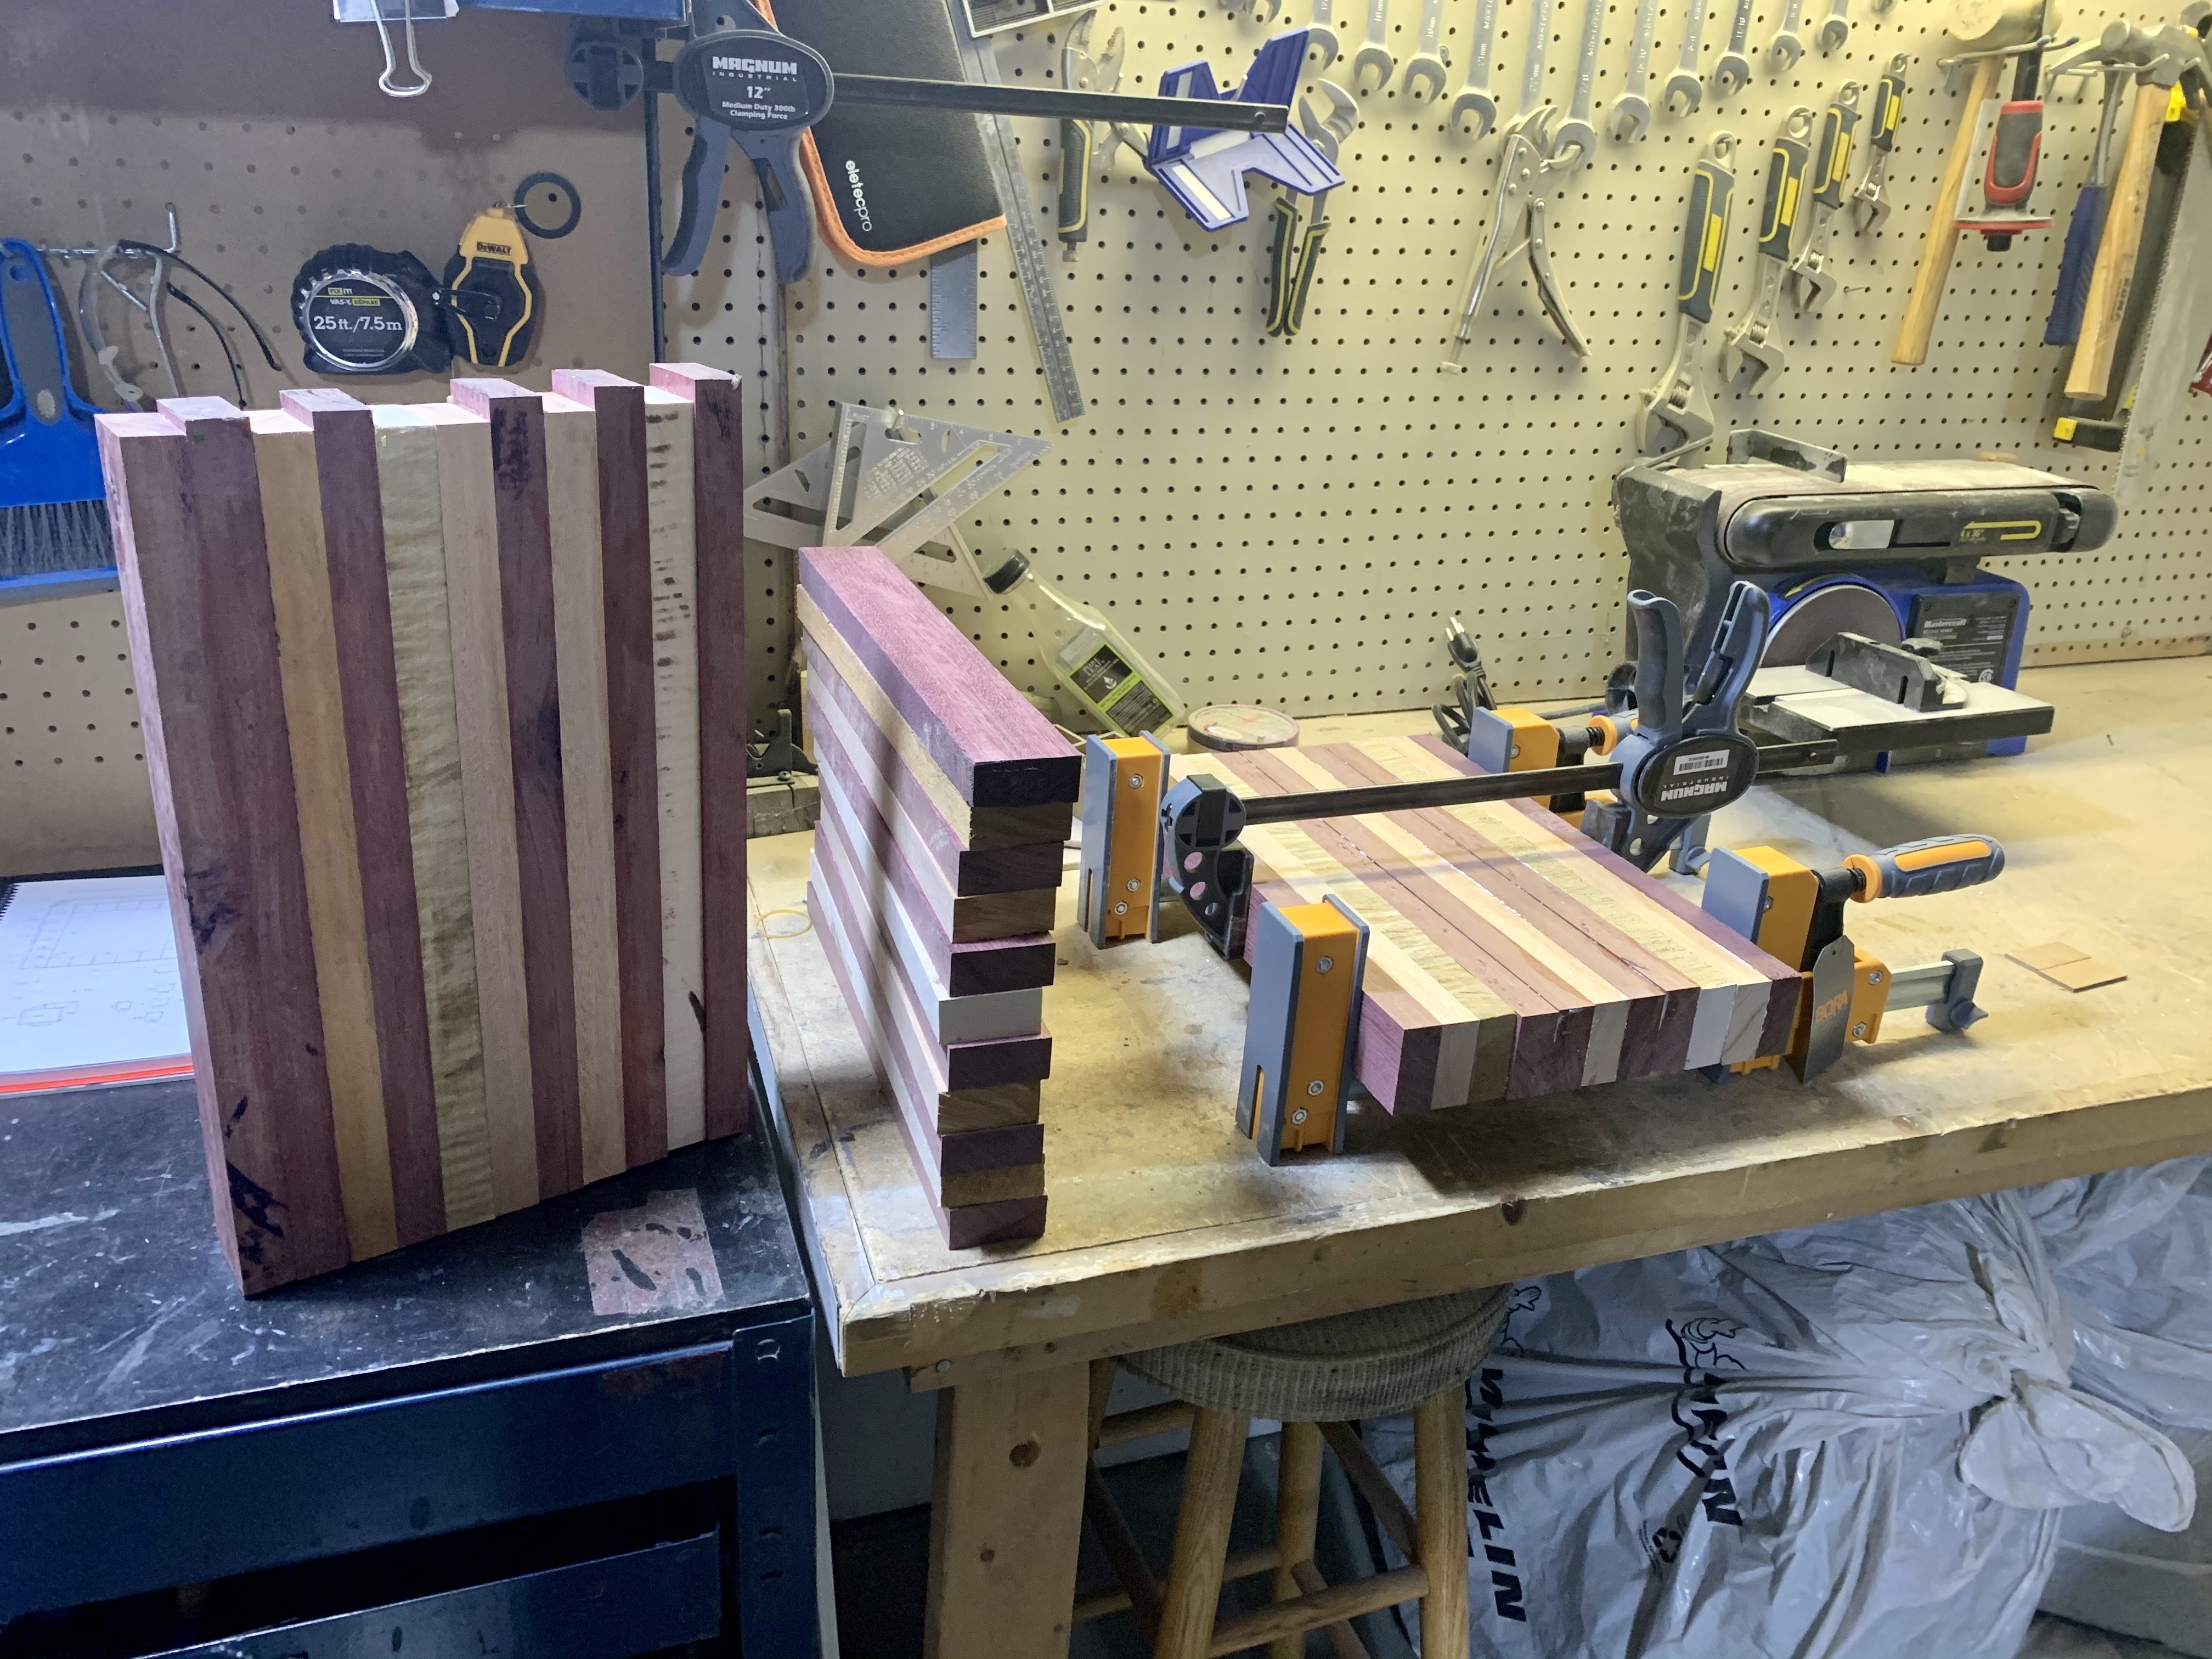
I then used my mitre saw to square the edges up again since a few of the strips were longer and I had gotten a little wonky with my first glue-up. Next it was time to do my second cuts and laminate so that the board ends up as an end grain board. I decided on 1-5/8” thickness, giving myself up to an 1/8” to sand down when finishing the board. I used the table saw to cut all the strips as it is faster than measuring and cutting on the mitre saw.

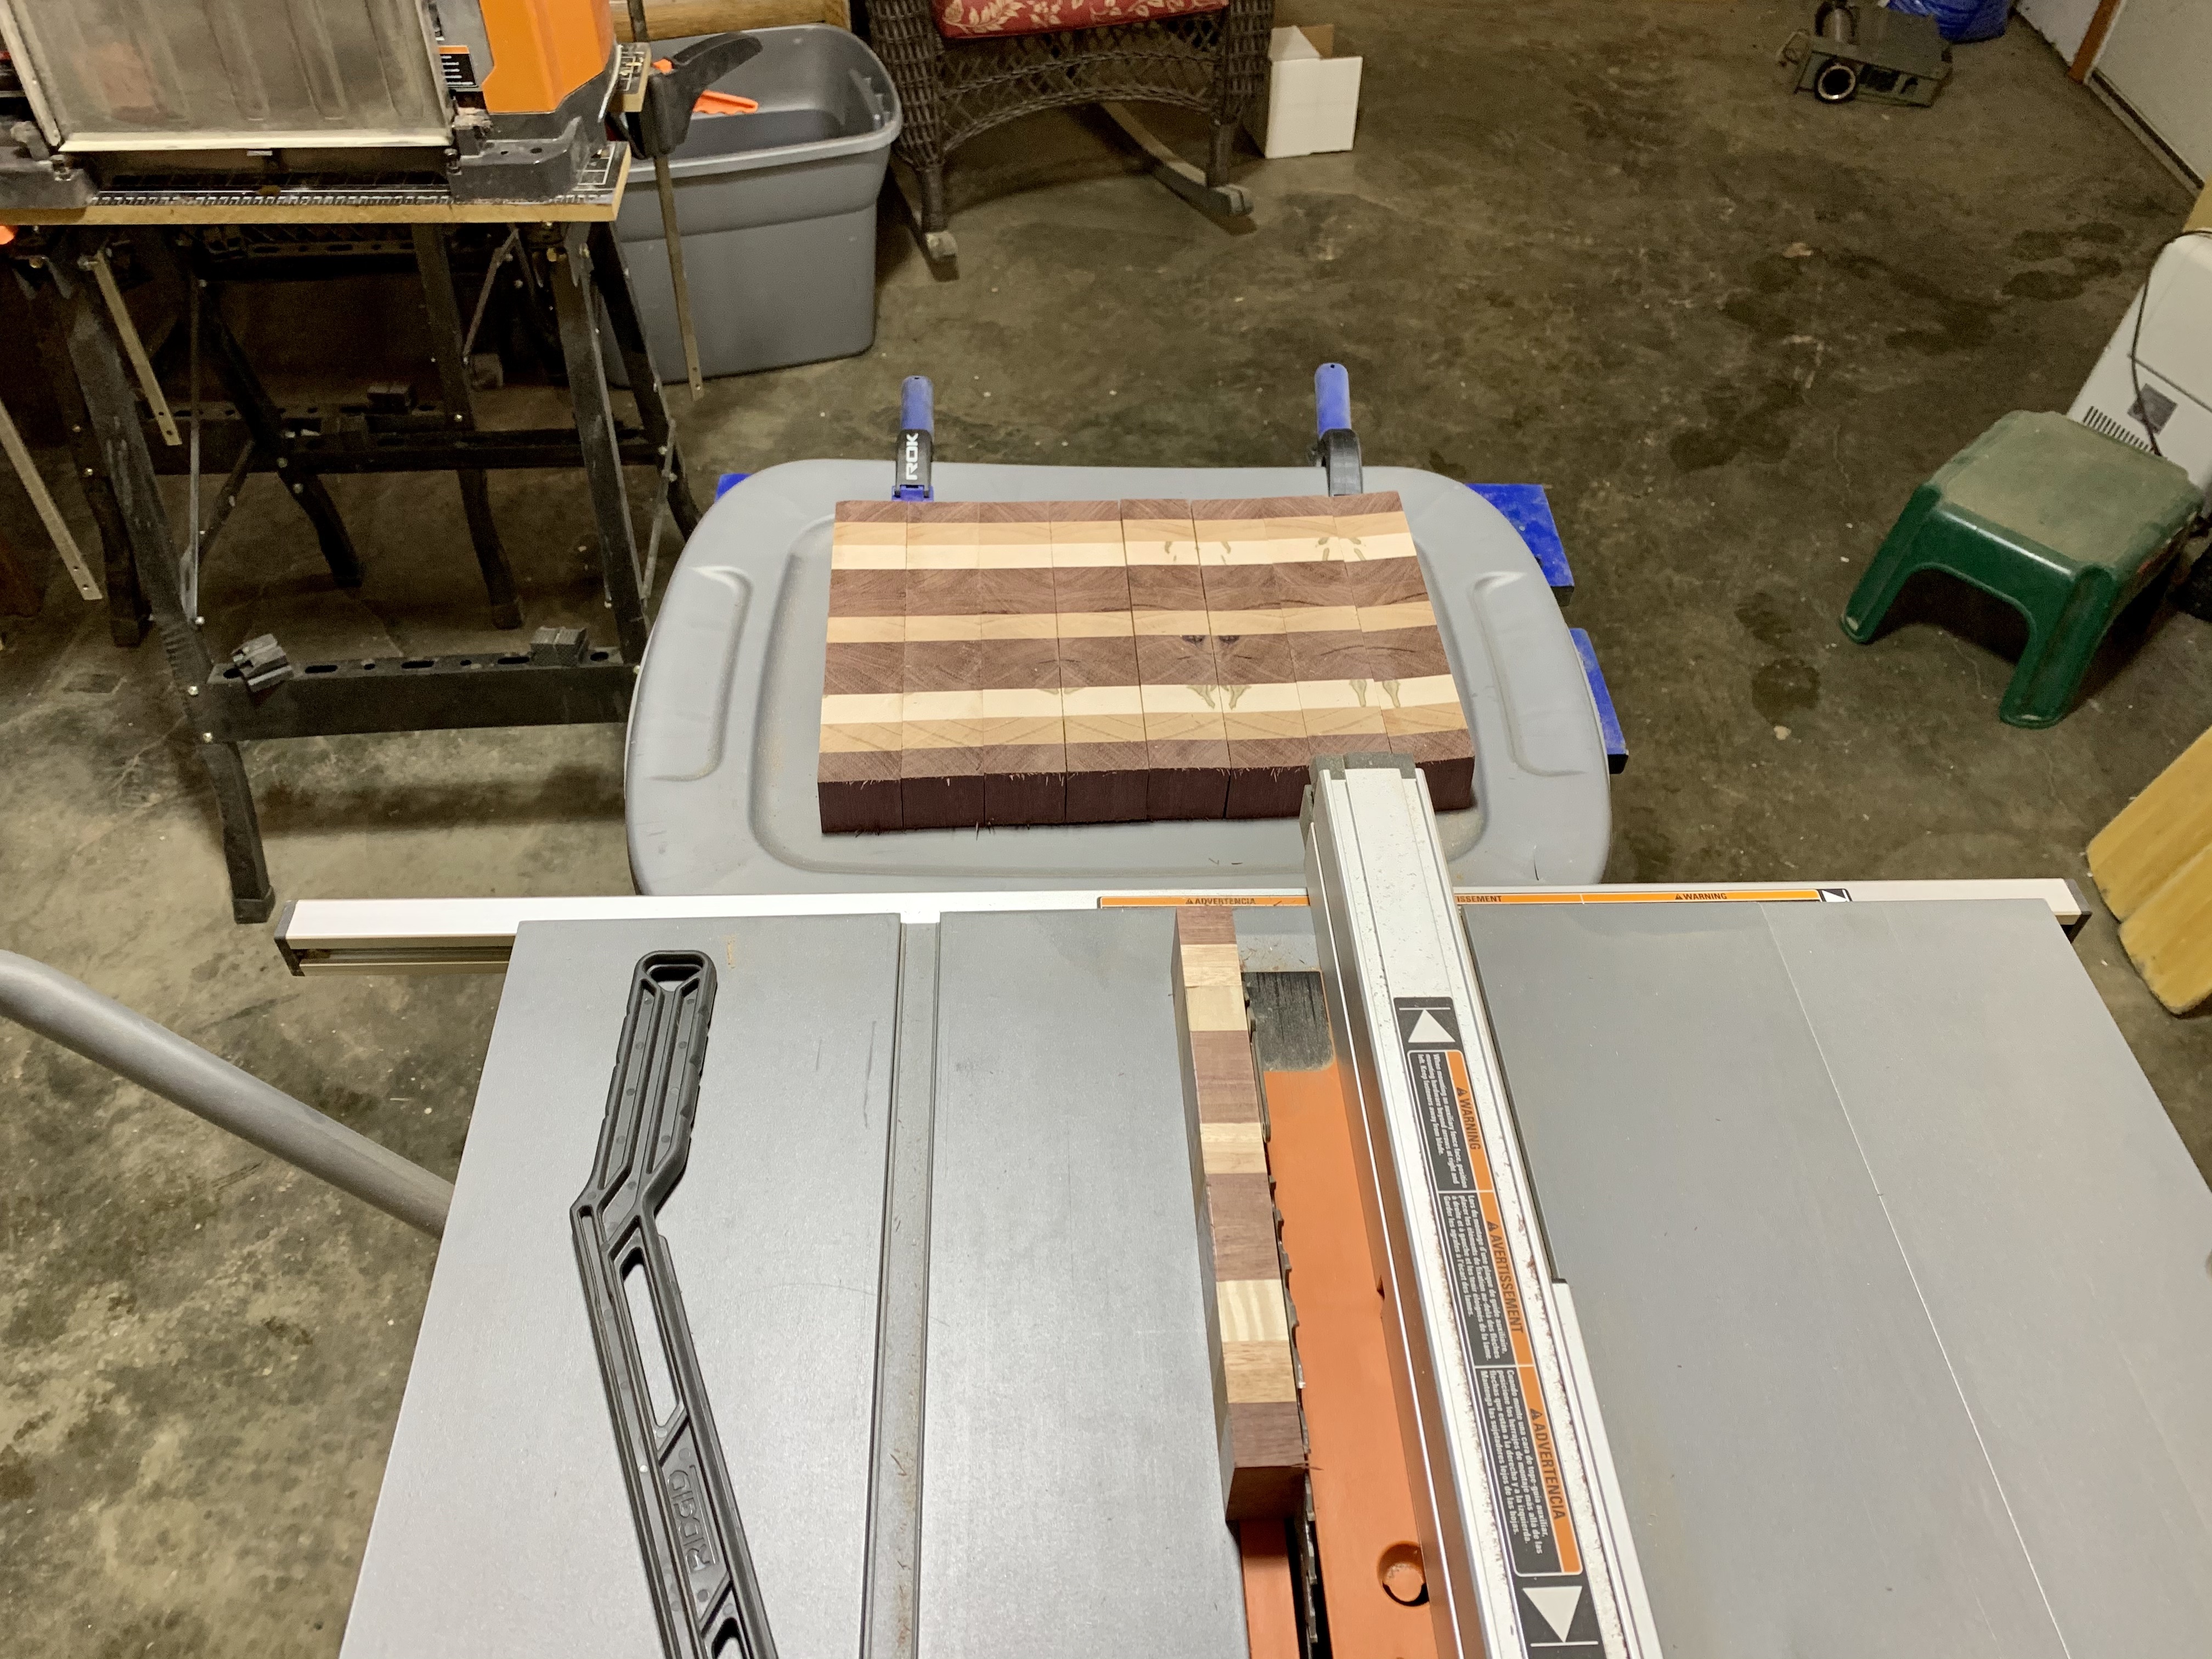
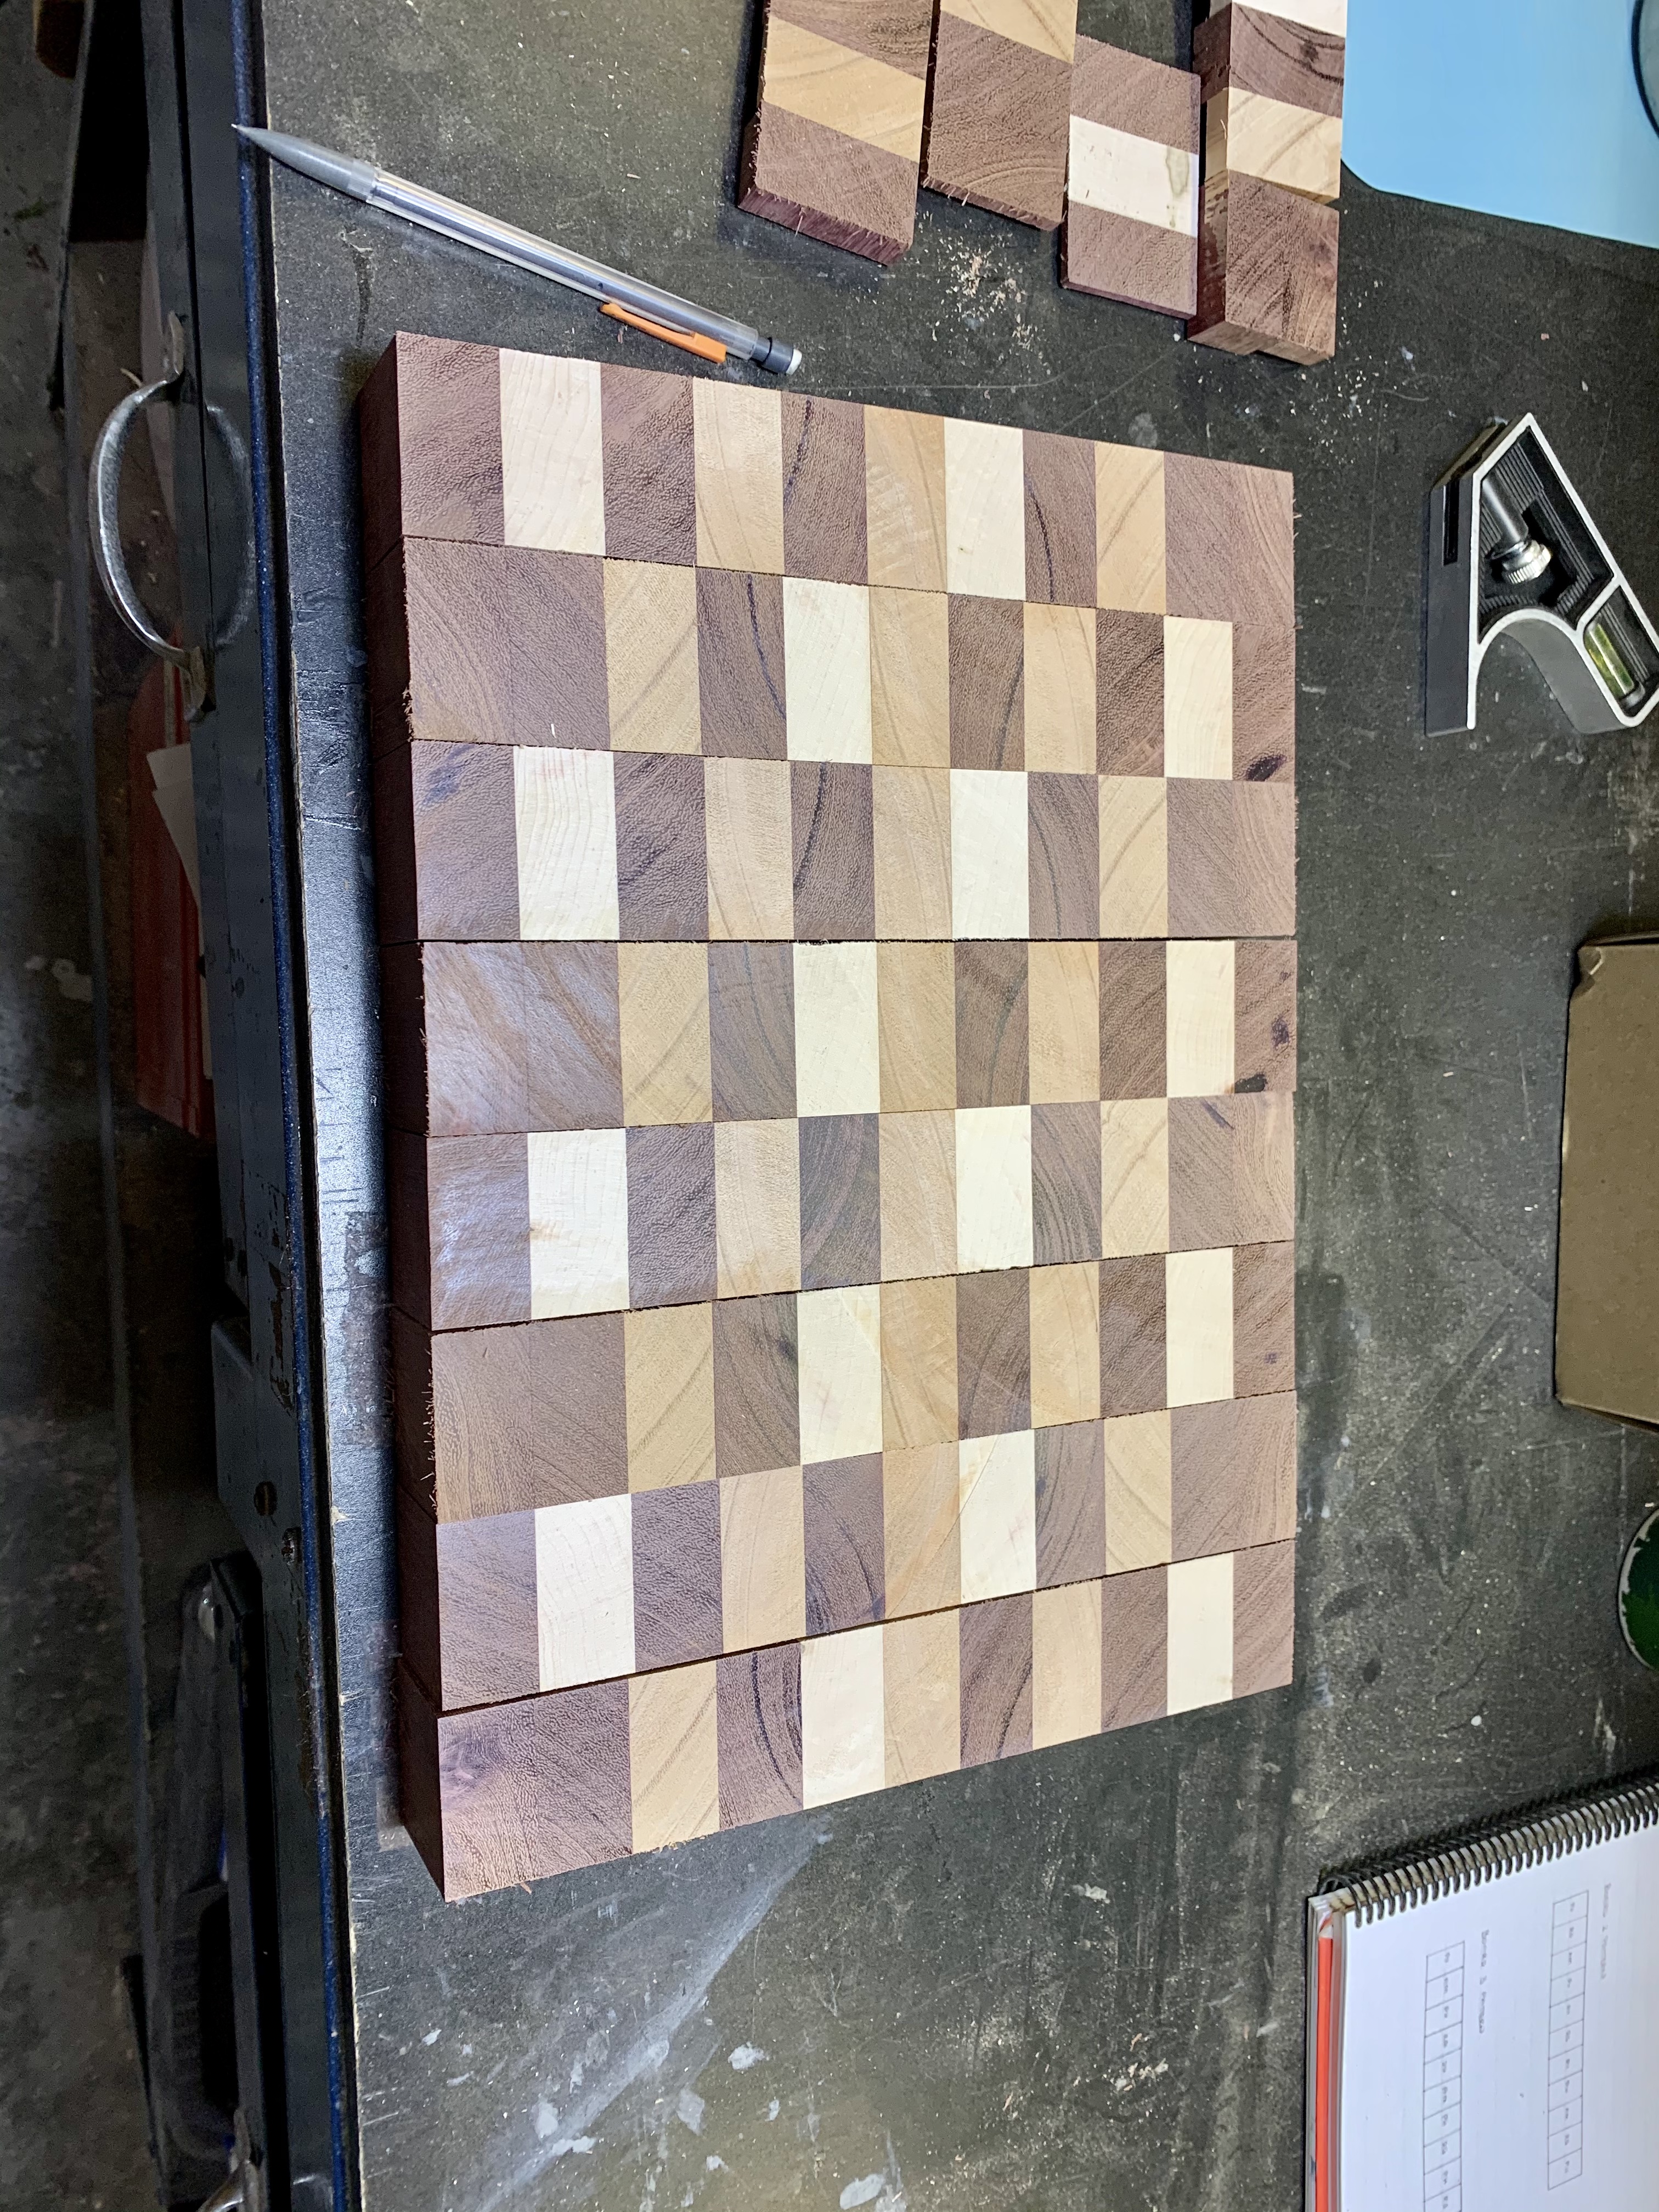
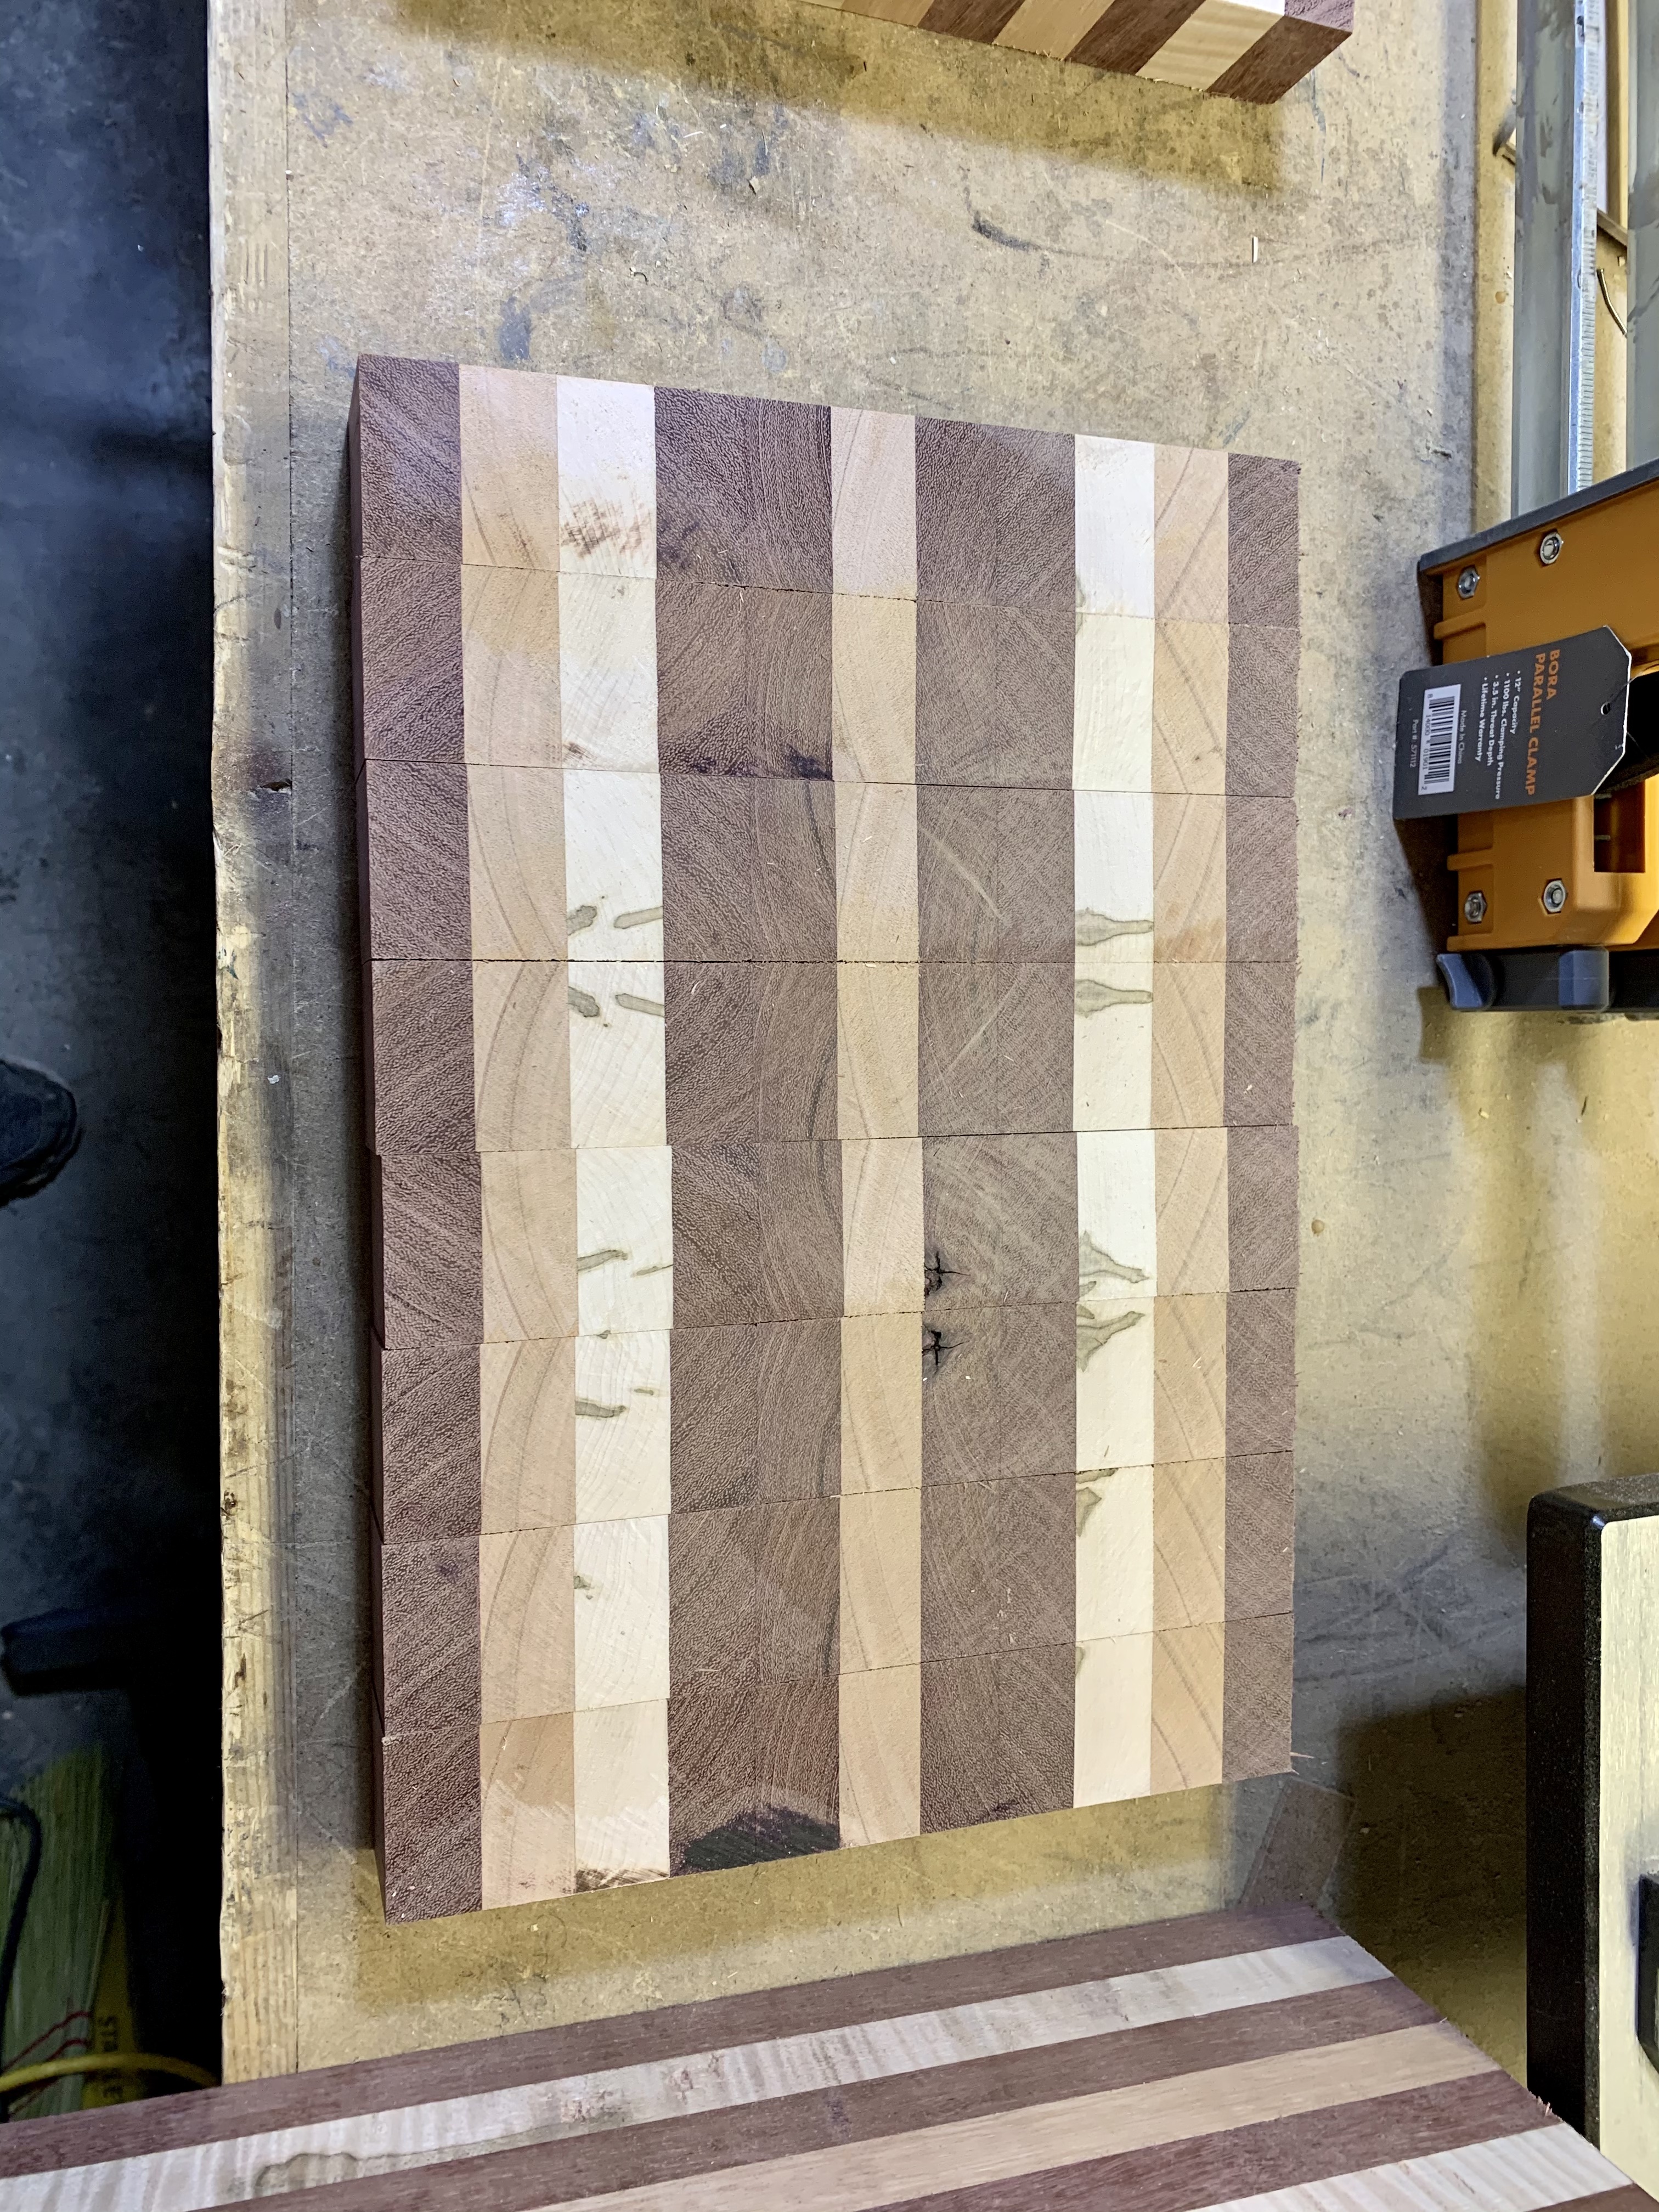
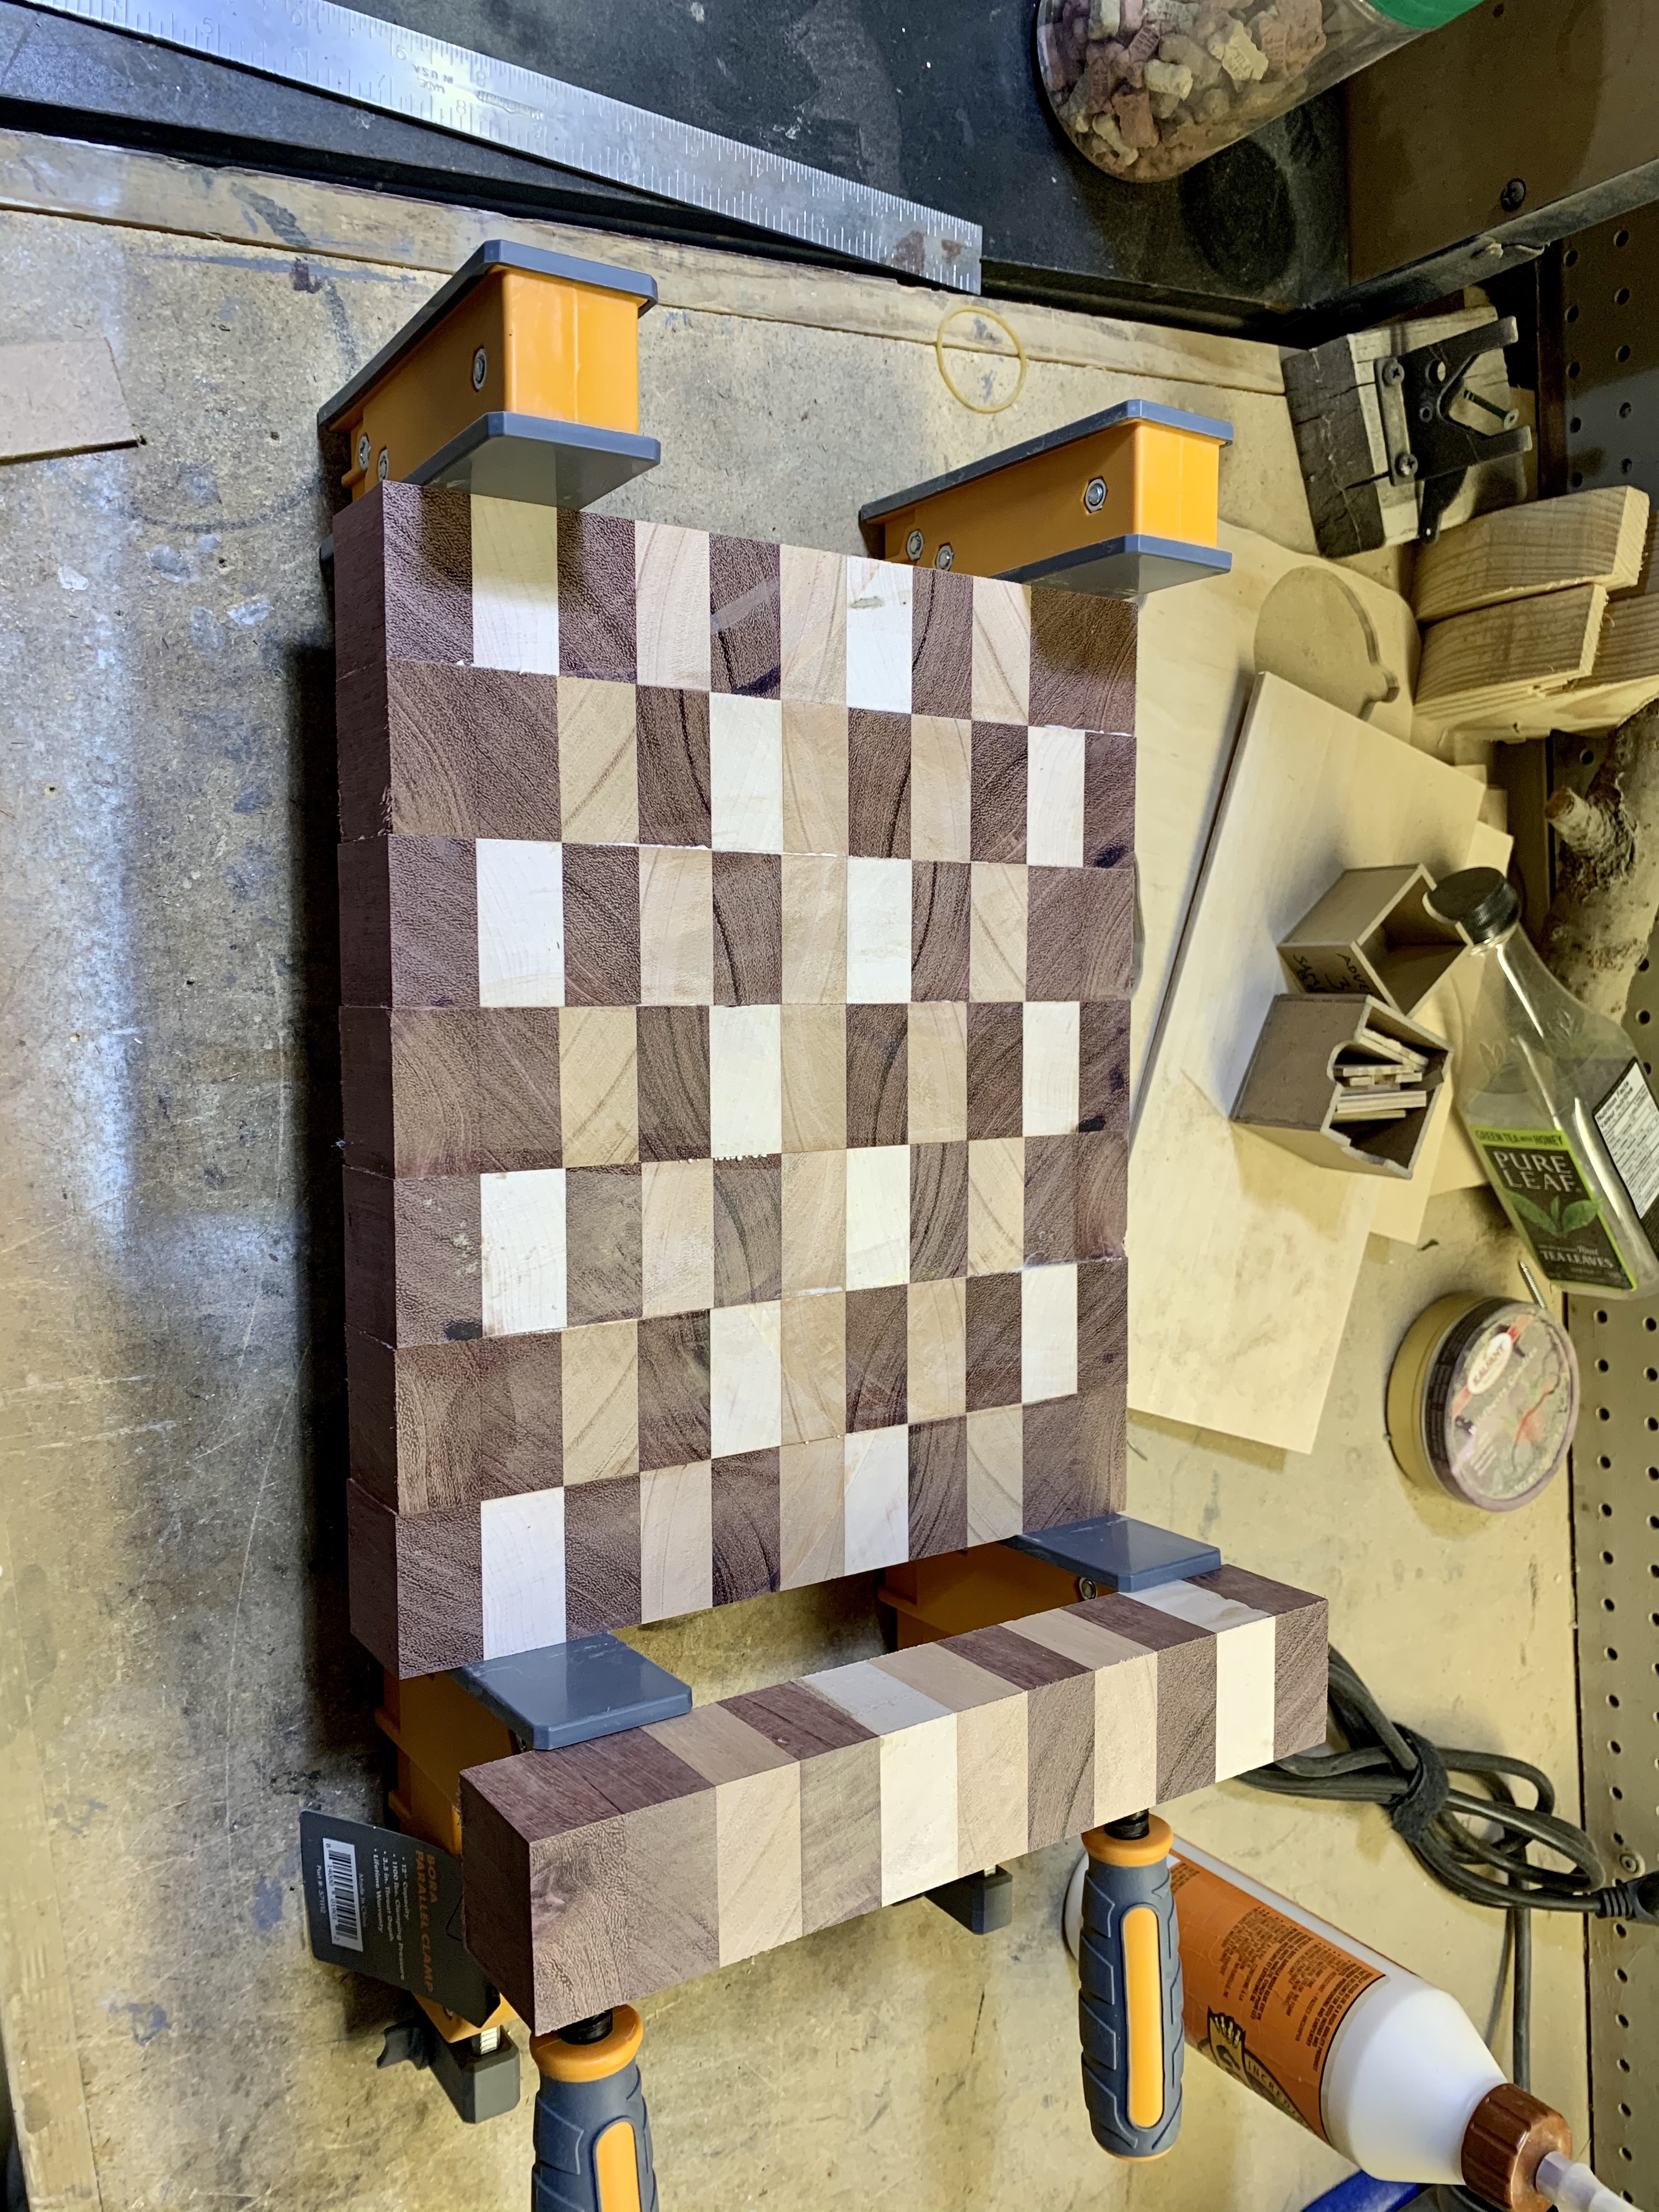
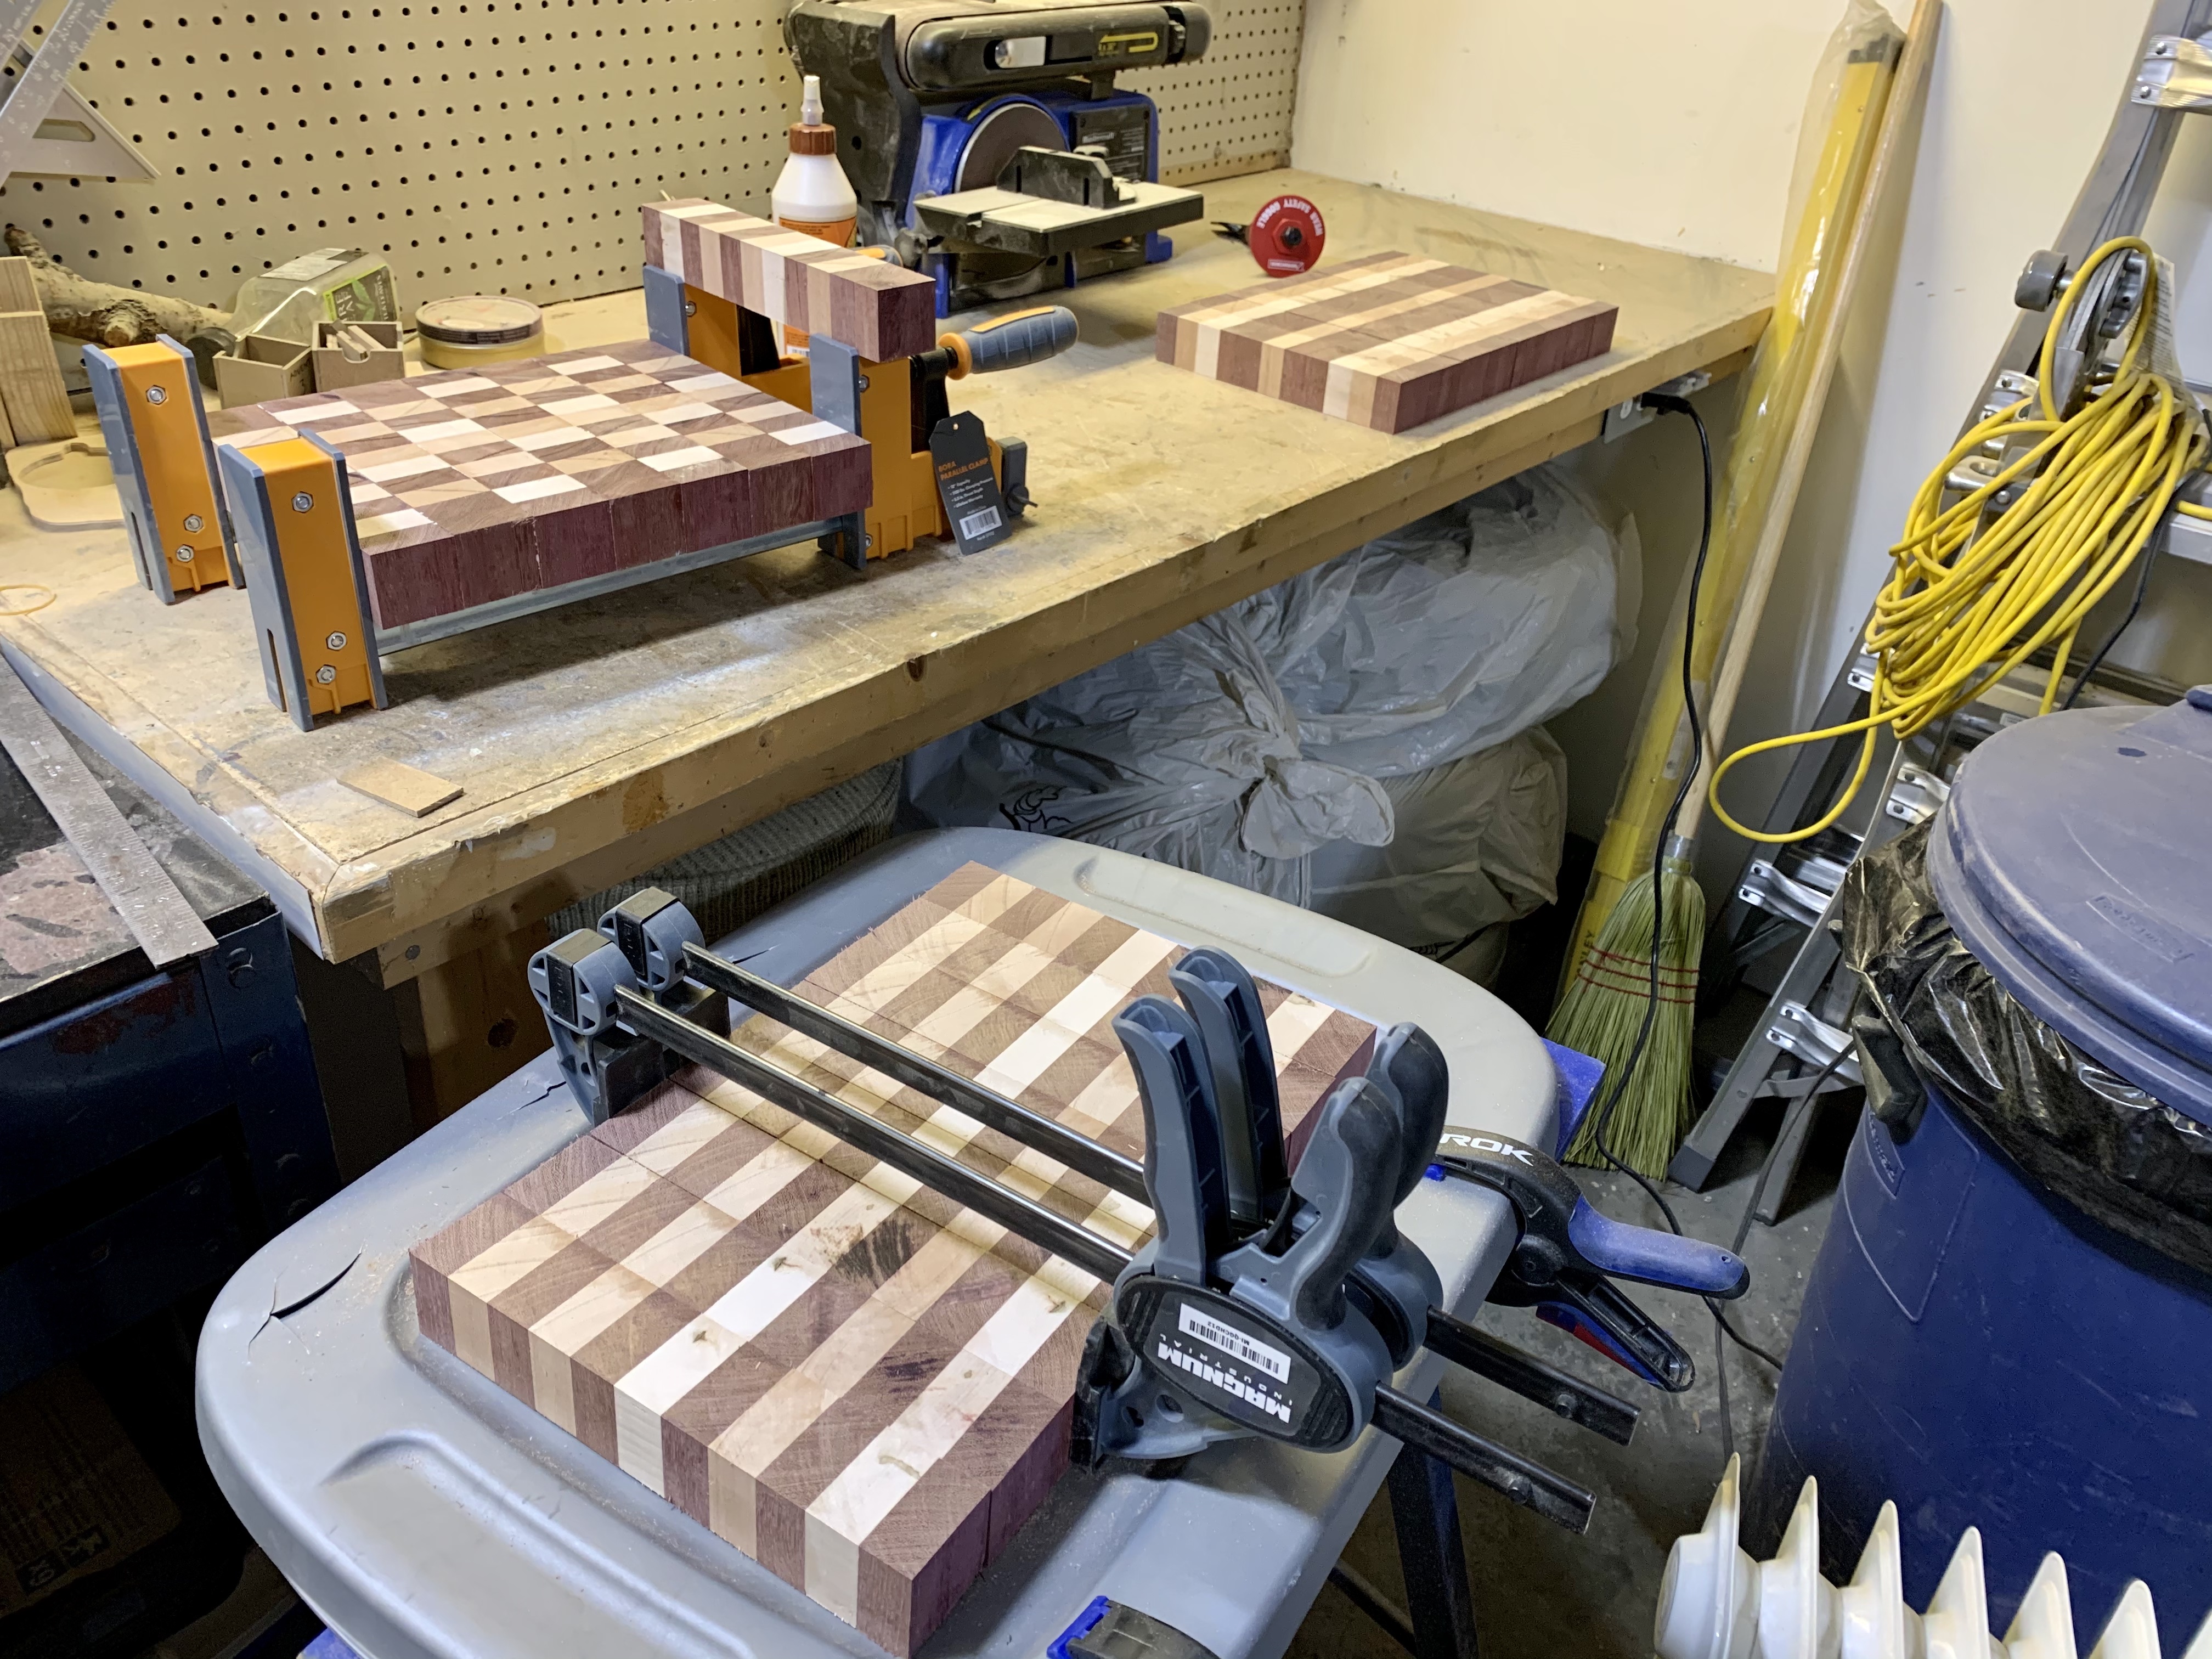
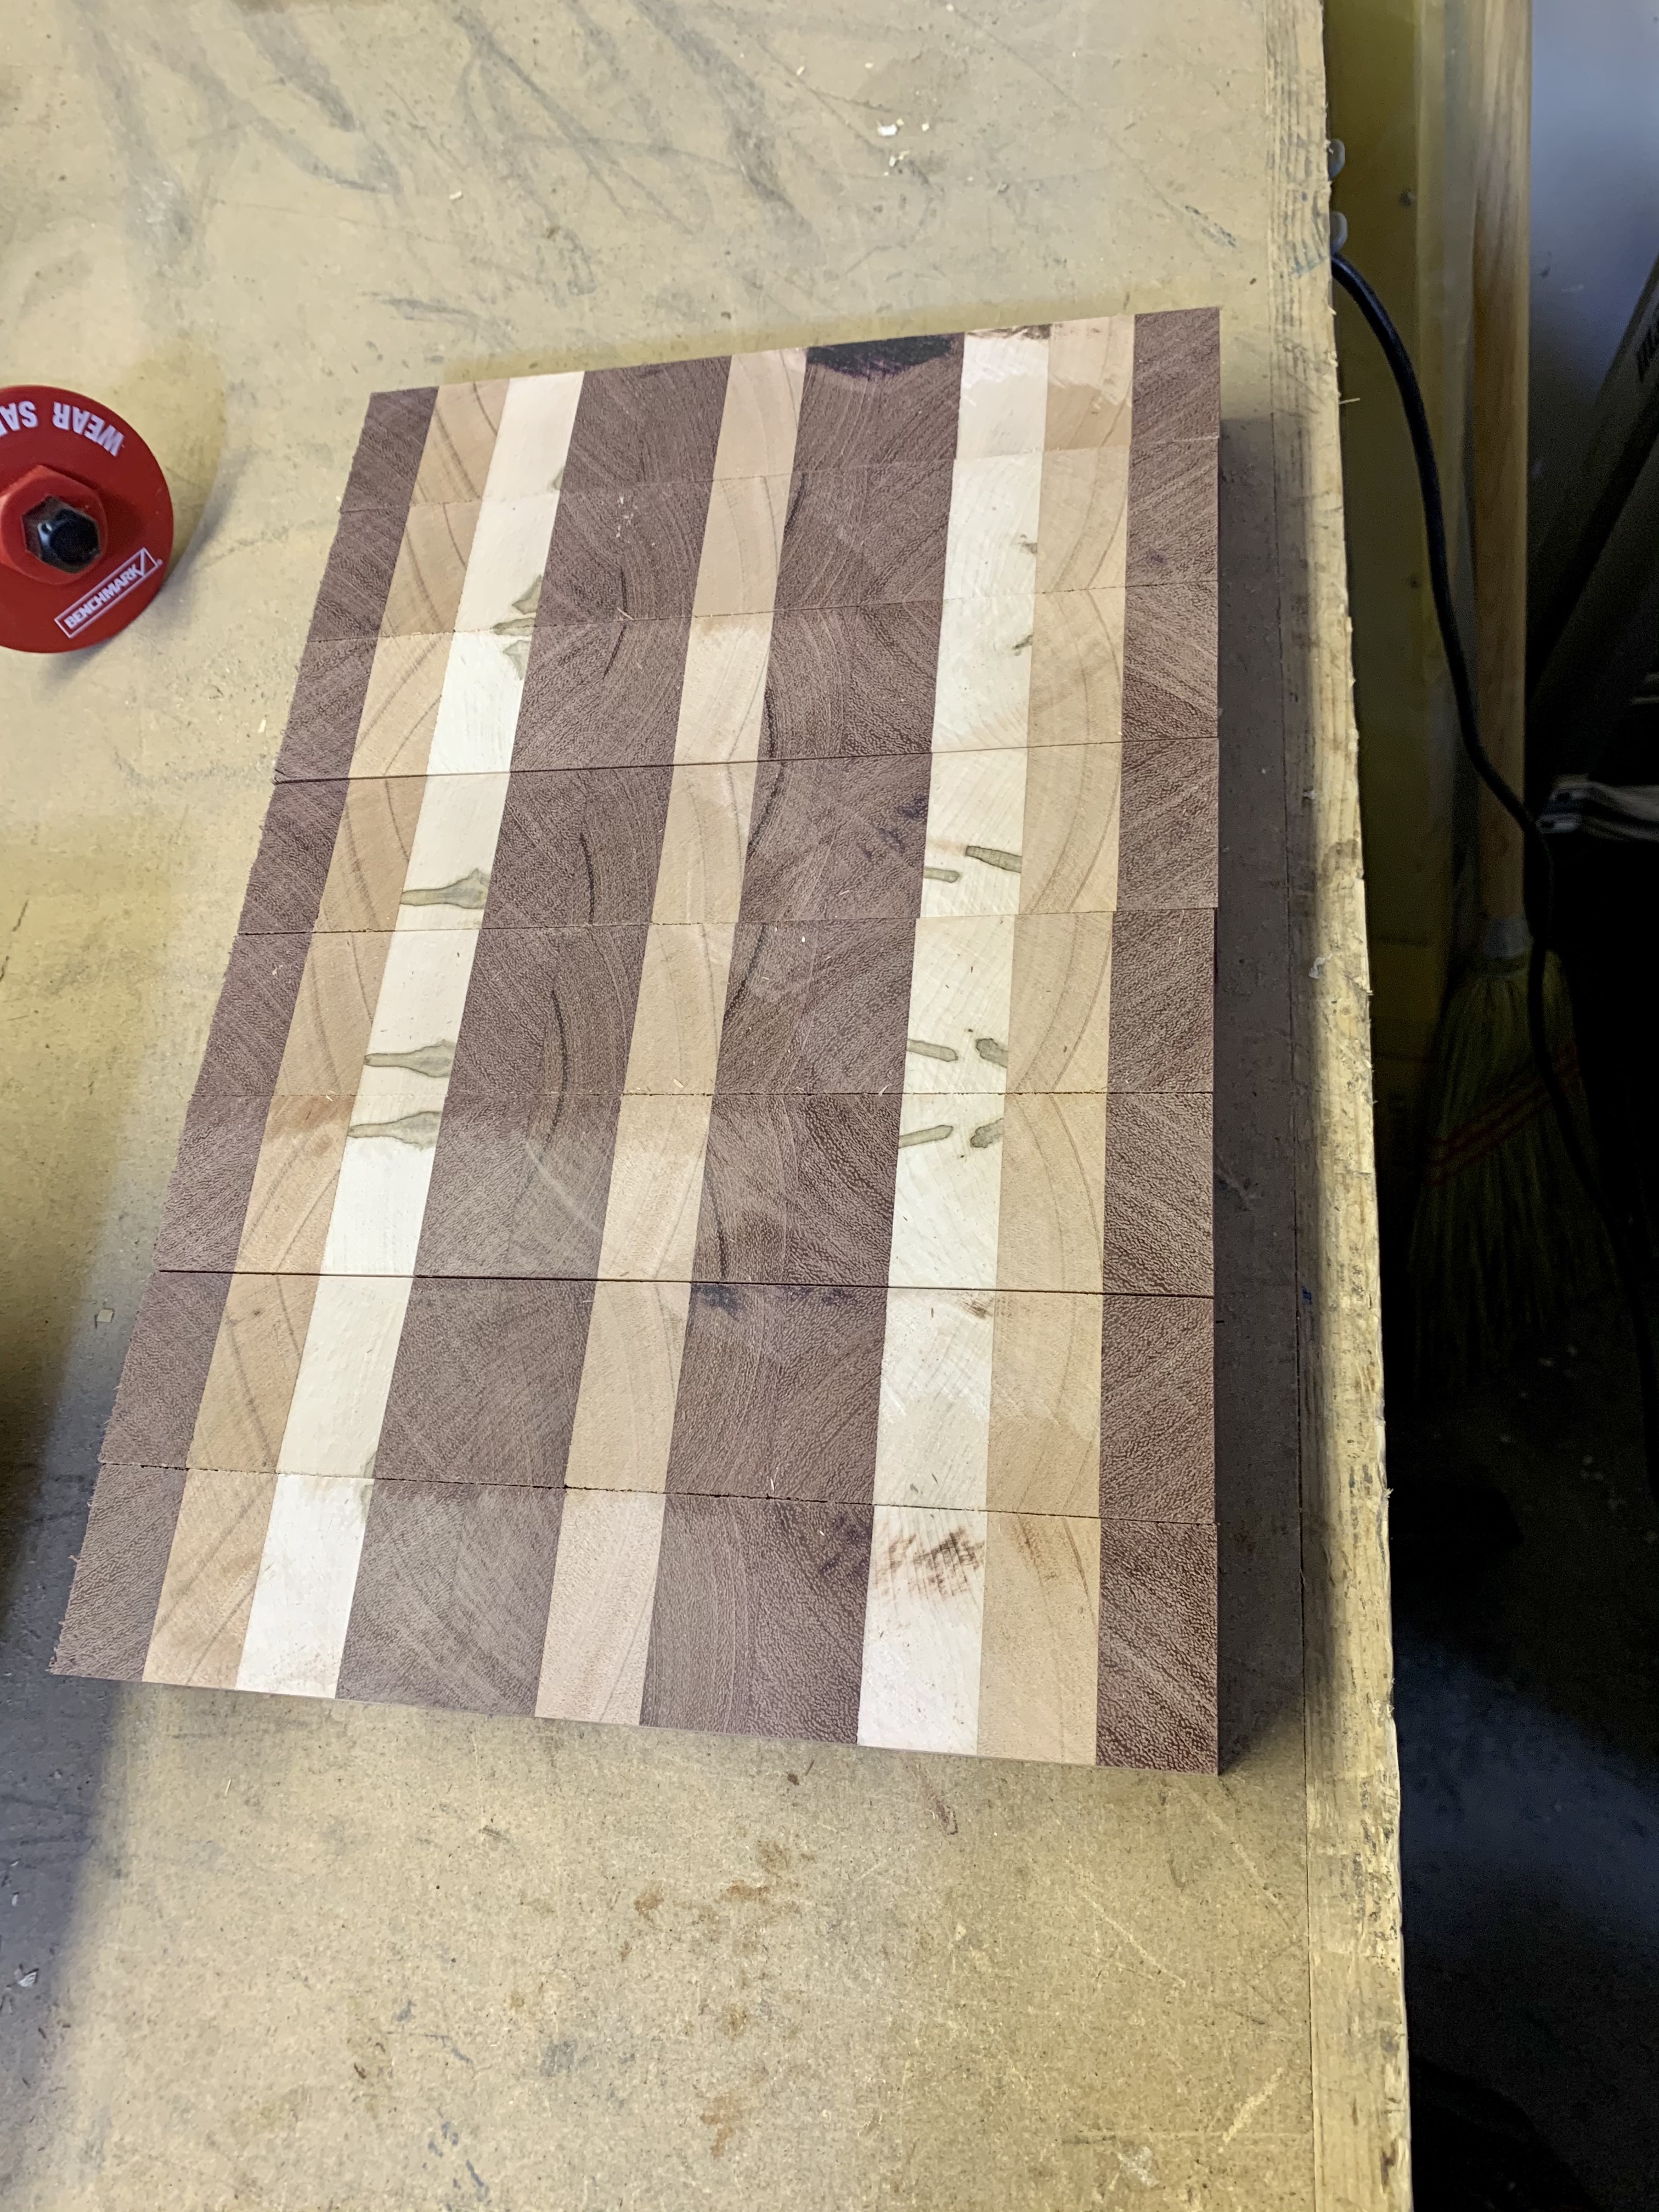
I have now done the second laminate on the first cutting board. Well, part of the second laminate. The boards are well over 12″ for this laminate, so I will have to do sections then use my ratchet clamps to put the sections together. Already I am eyeing up more Bora clamps in longer sizes! I love the pattern already and am excited to see what it looks like once it has been sanded and oiled. My other two boards will be fairly simple stripes. I think I prefer the checkered one and look forward to experimenting with a few more patterns as I get more comfortable building these.
While the boards each get laminated over the next few days, I am going to put together a board butter to finish these with. I don’t want to use mineral oil (personal preference) so I have bought a highly refined coconut oil that won’t go rancid over time and will blend it with beeswax and some citrus oil. I may also try carnauba wax in replacement of beeswax to make a vegan version. Always good to have options!


One Comment Add yours