
This won’t be your average recipe post, and the butter I’m referencing won’t be overly tasty…but it does make certain things better! This is all about board butter.
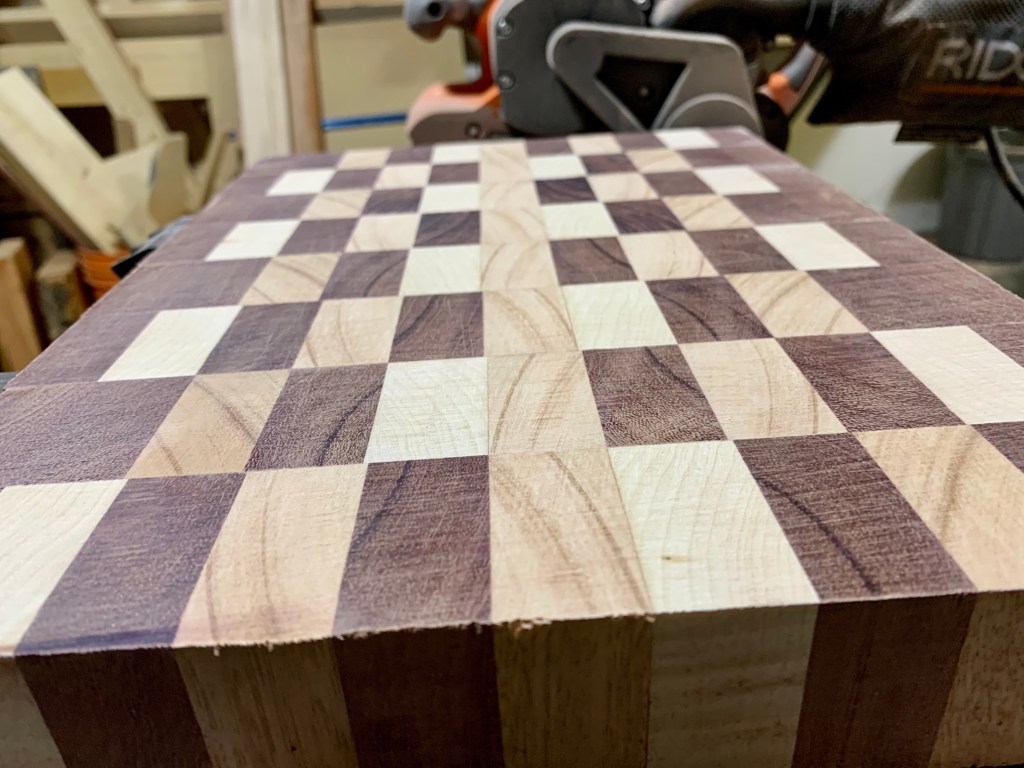
With the creation of some cutting boards out of some beautiful woods, I wanted to make sure that whoever gets them will have the opportunity and knowledge on how to help make them last a lifetime. In order to do that, it is all about the oiling and maintenance of the boards. I also know it can be daunting determining which oils and waxes and butters to use. So to get them started I made a board butter which is a nice mix of oil and wax. If using it regularly it should help keep the board from drying out.
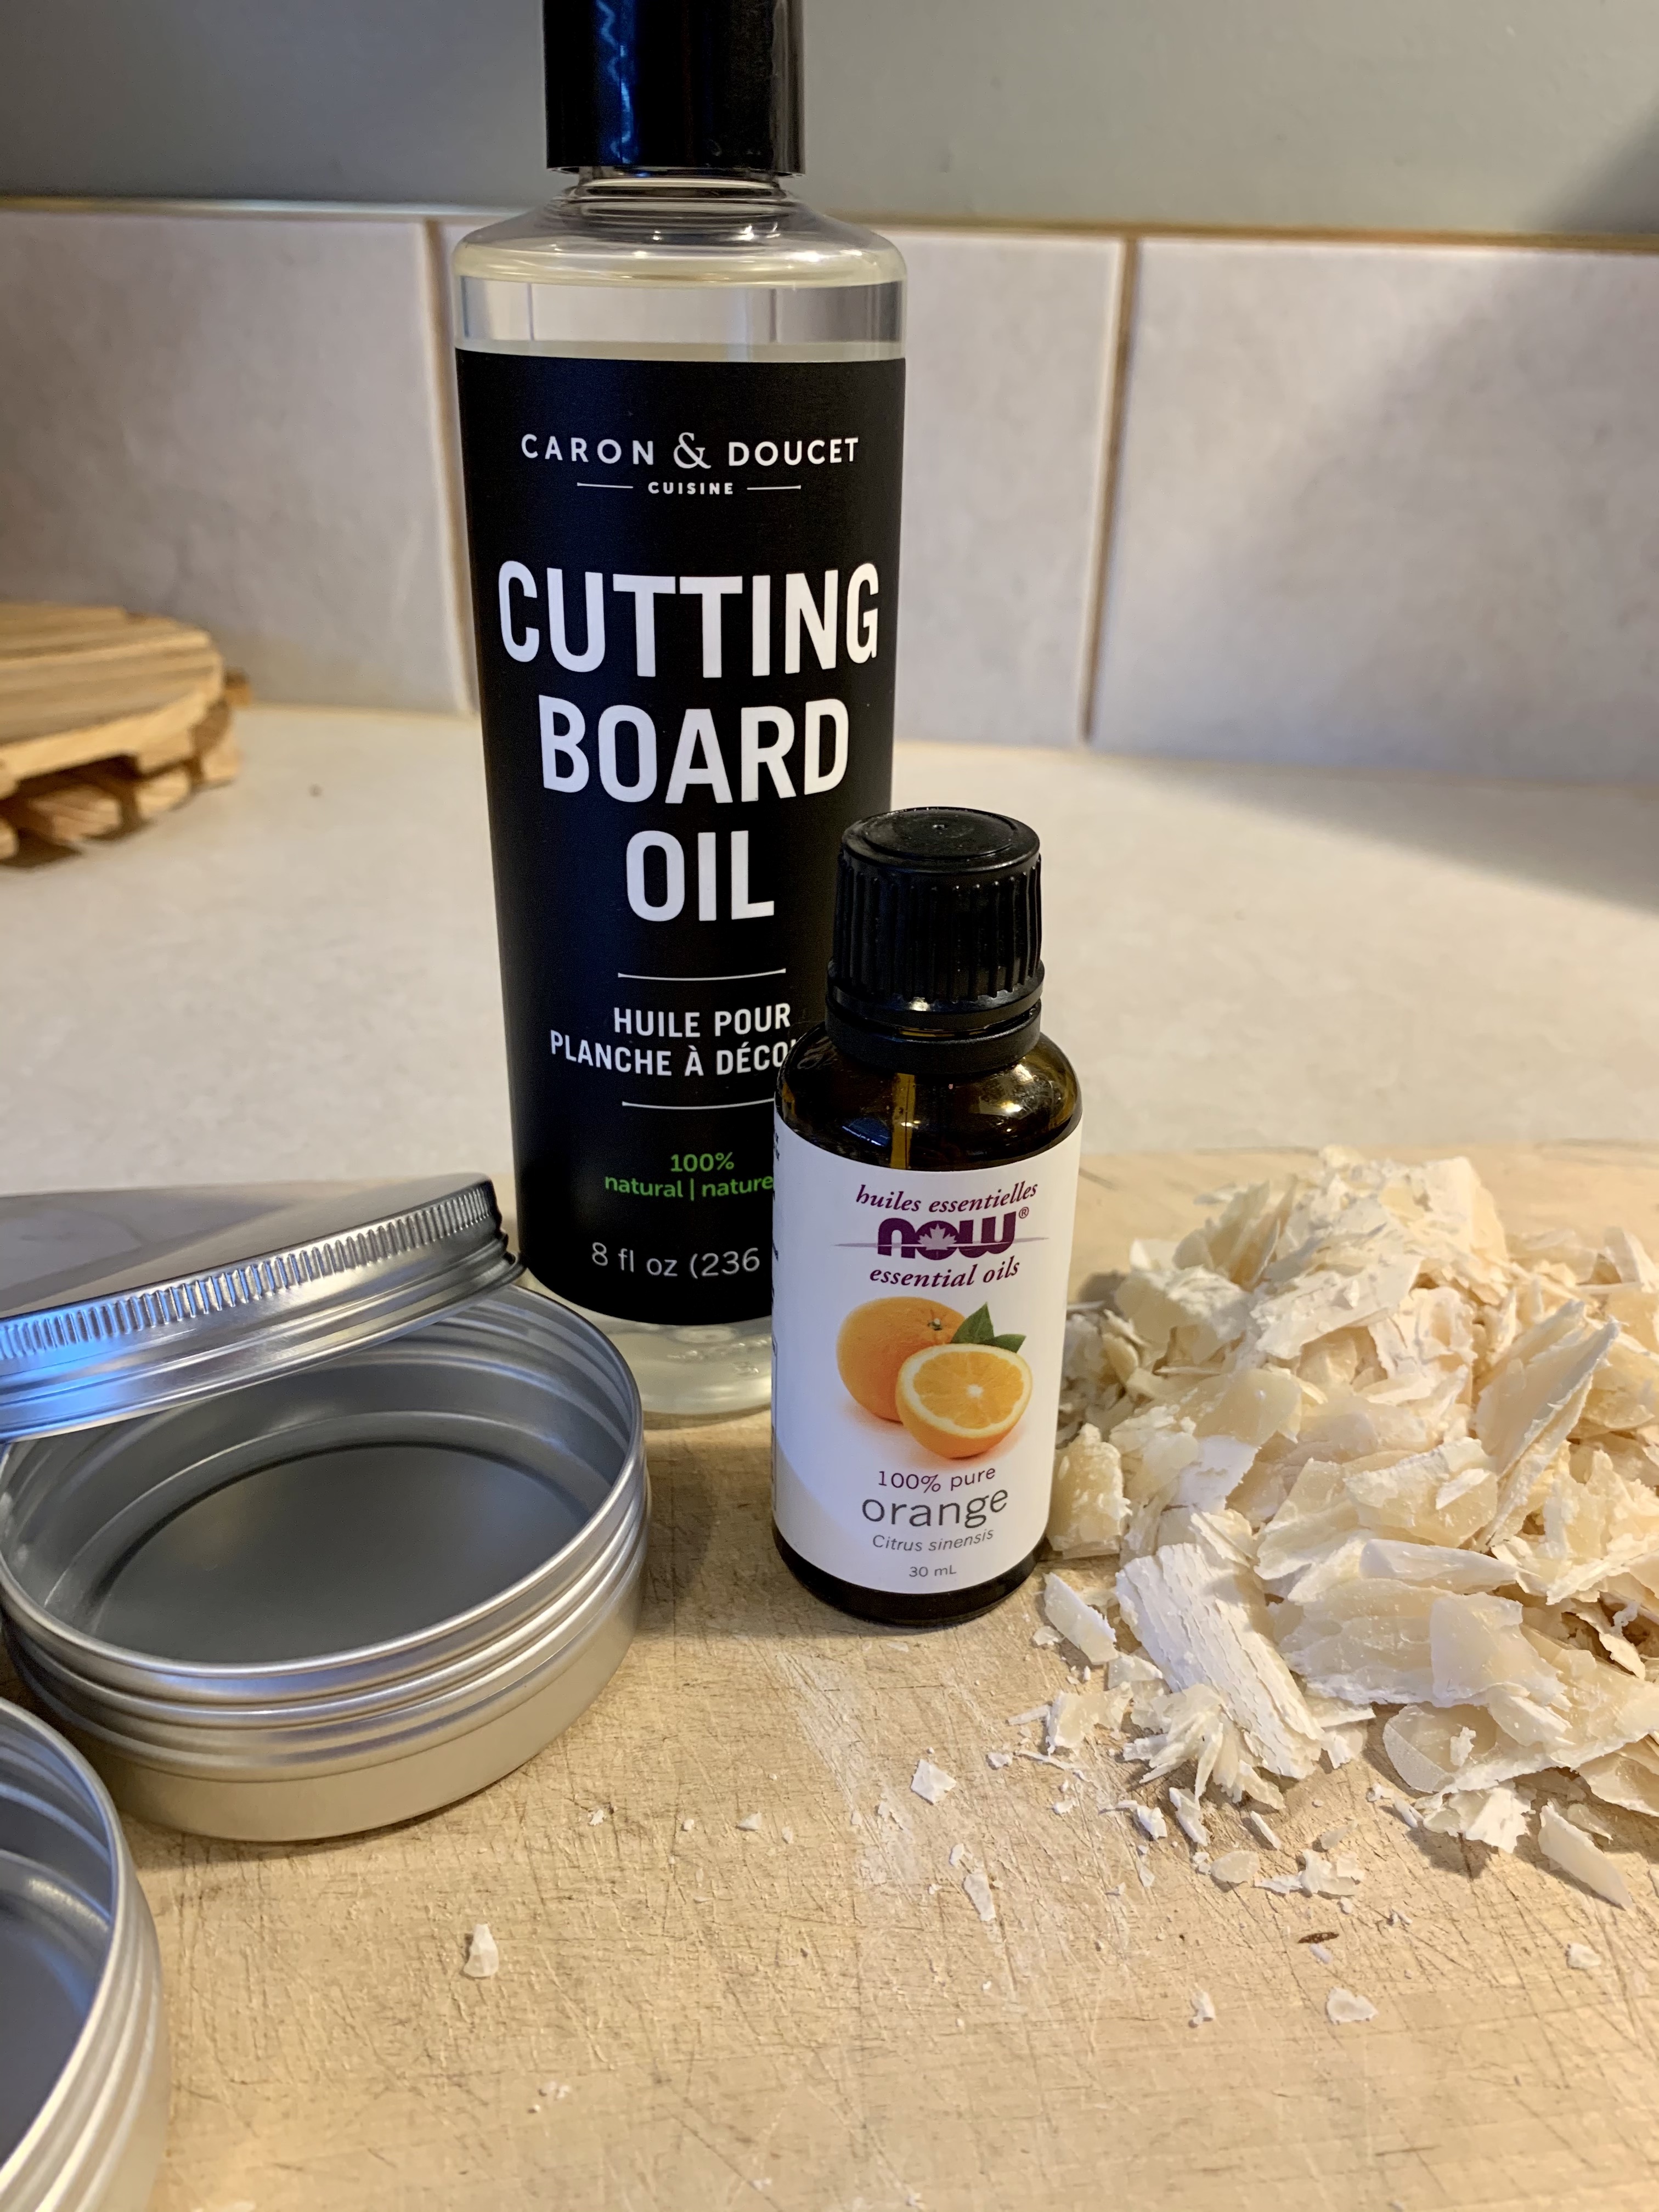
I wanted to make a simple butter that anyone could make at home if they wished, and make it easier to continue to maintain their boards. Not all stores carry the same brand oils and waxes, so this makes it a little easier with 3 simple ingredients, only 2 of which are absolutely necessary for the butter. Both items can be ordered on Amazon, found at nature food stores or other online retailers.
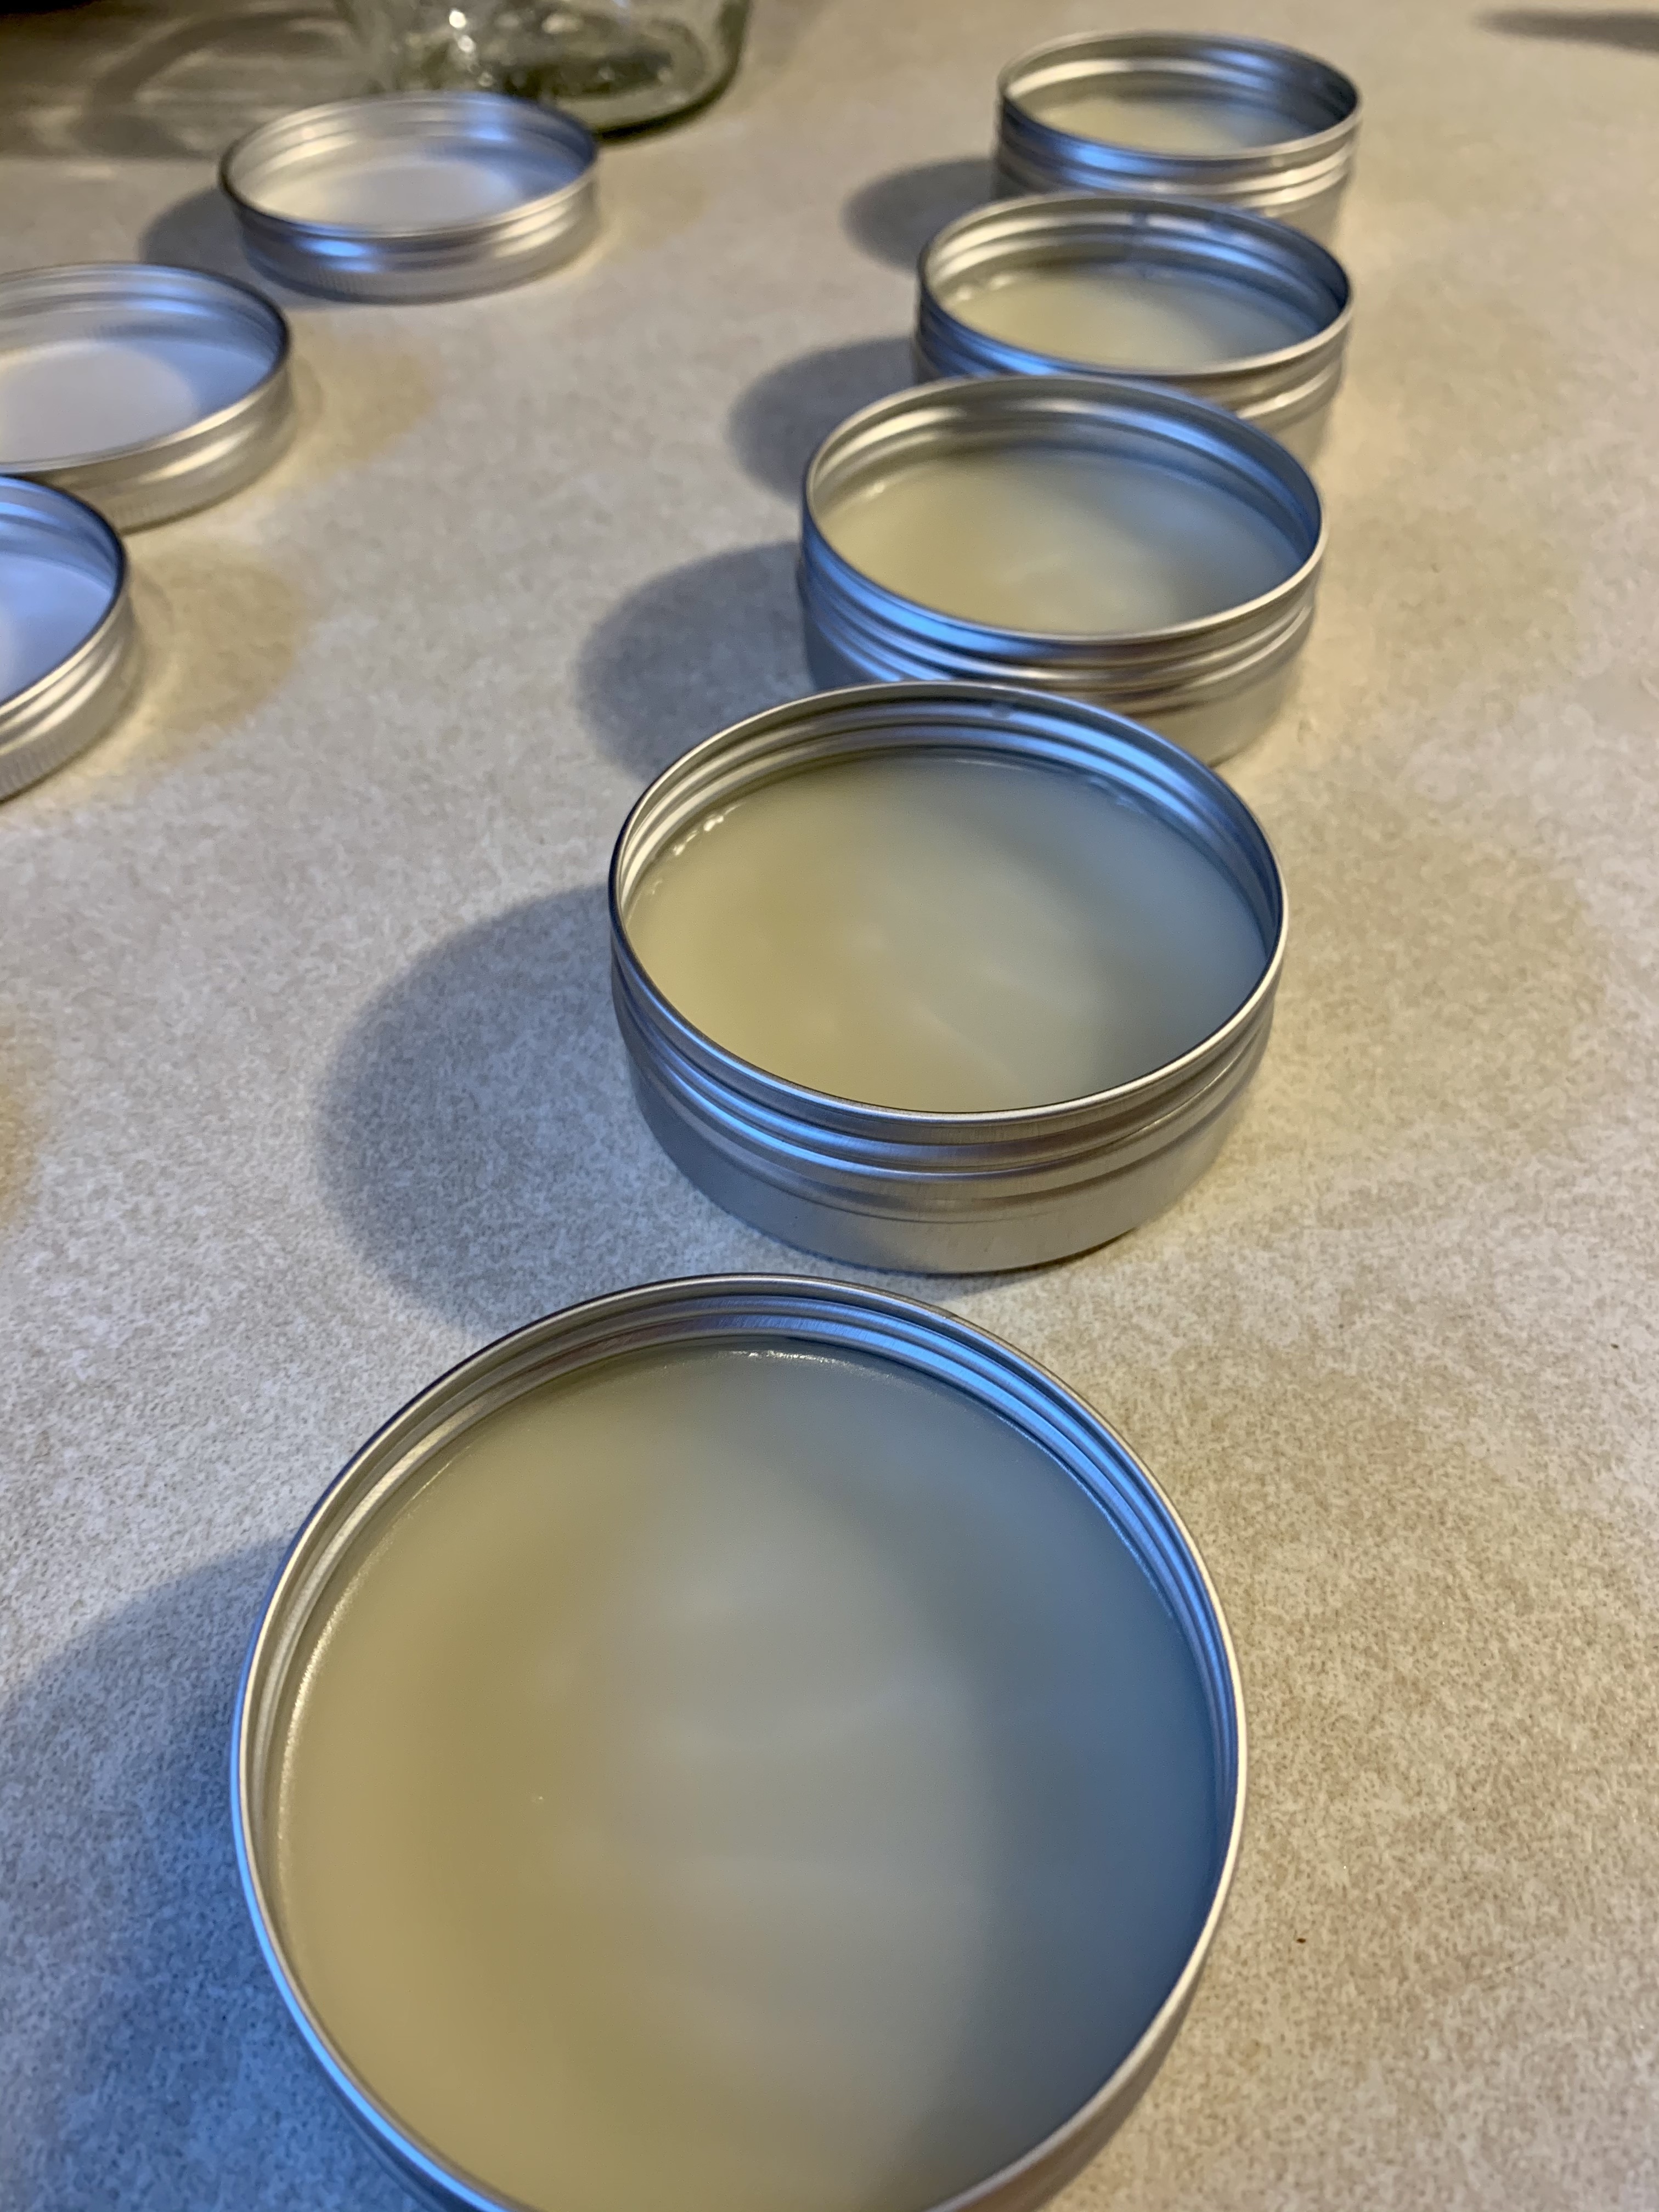
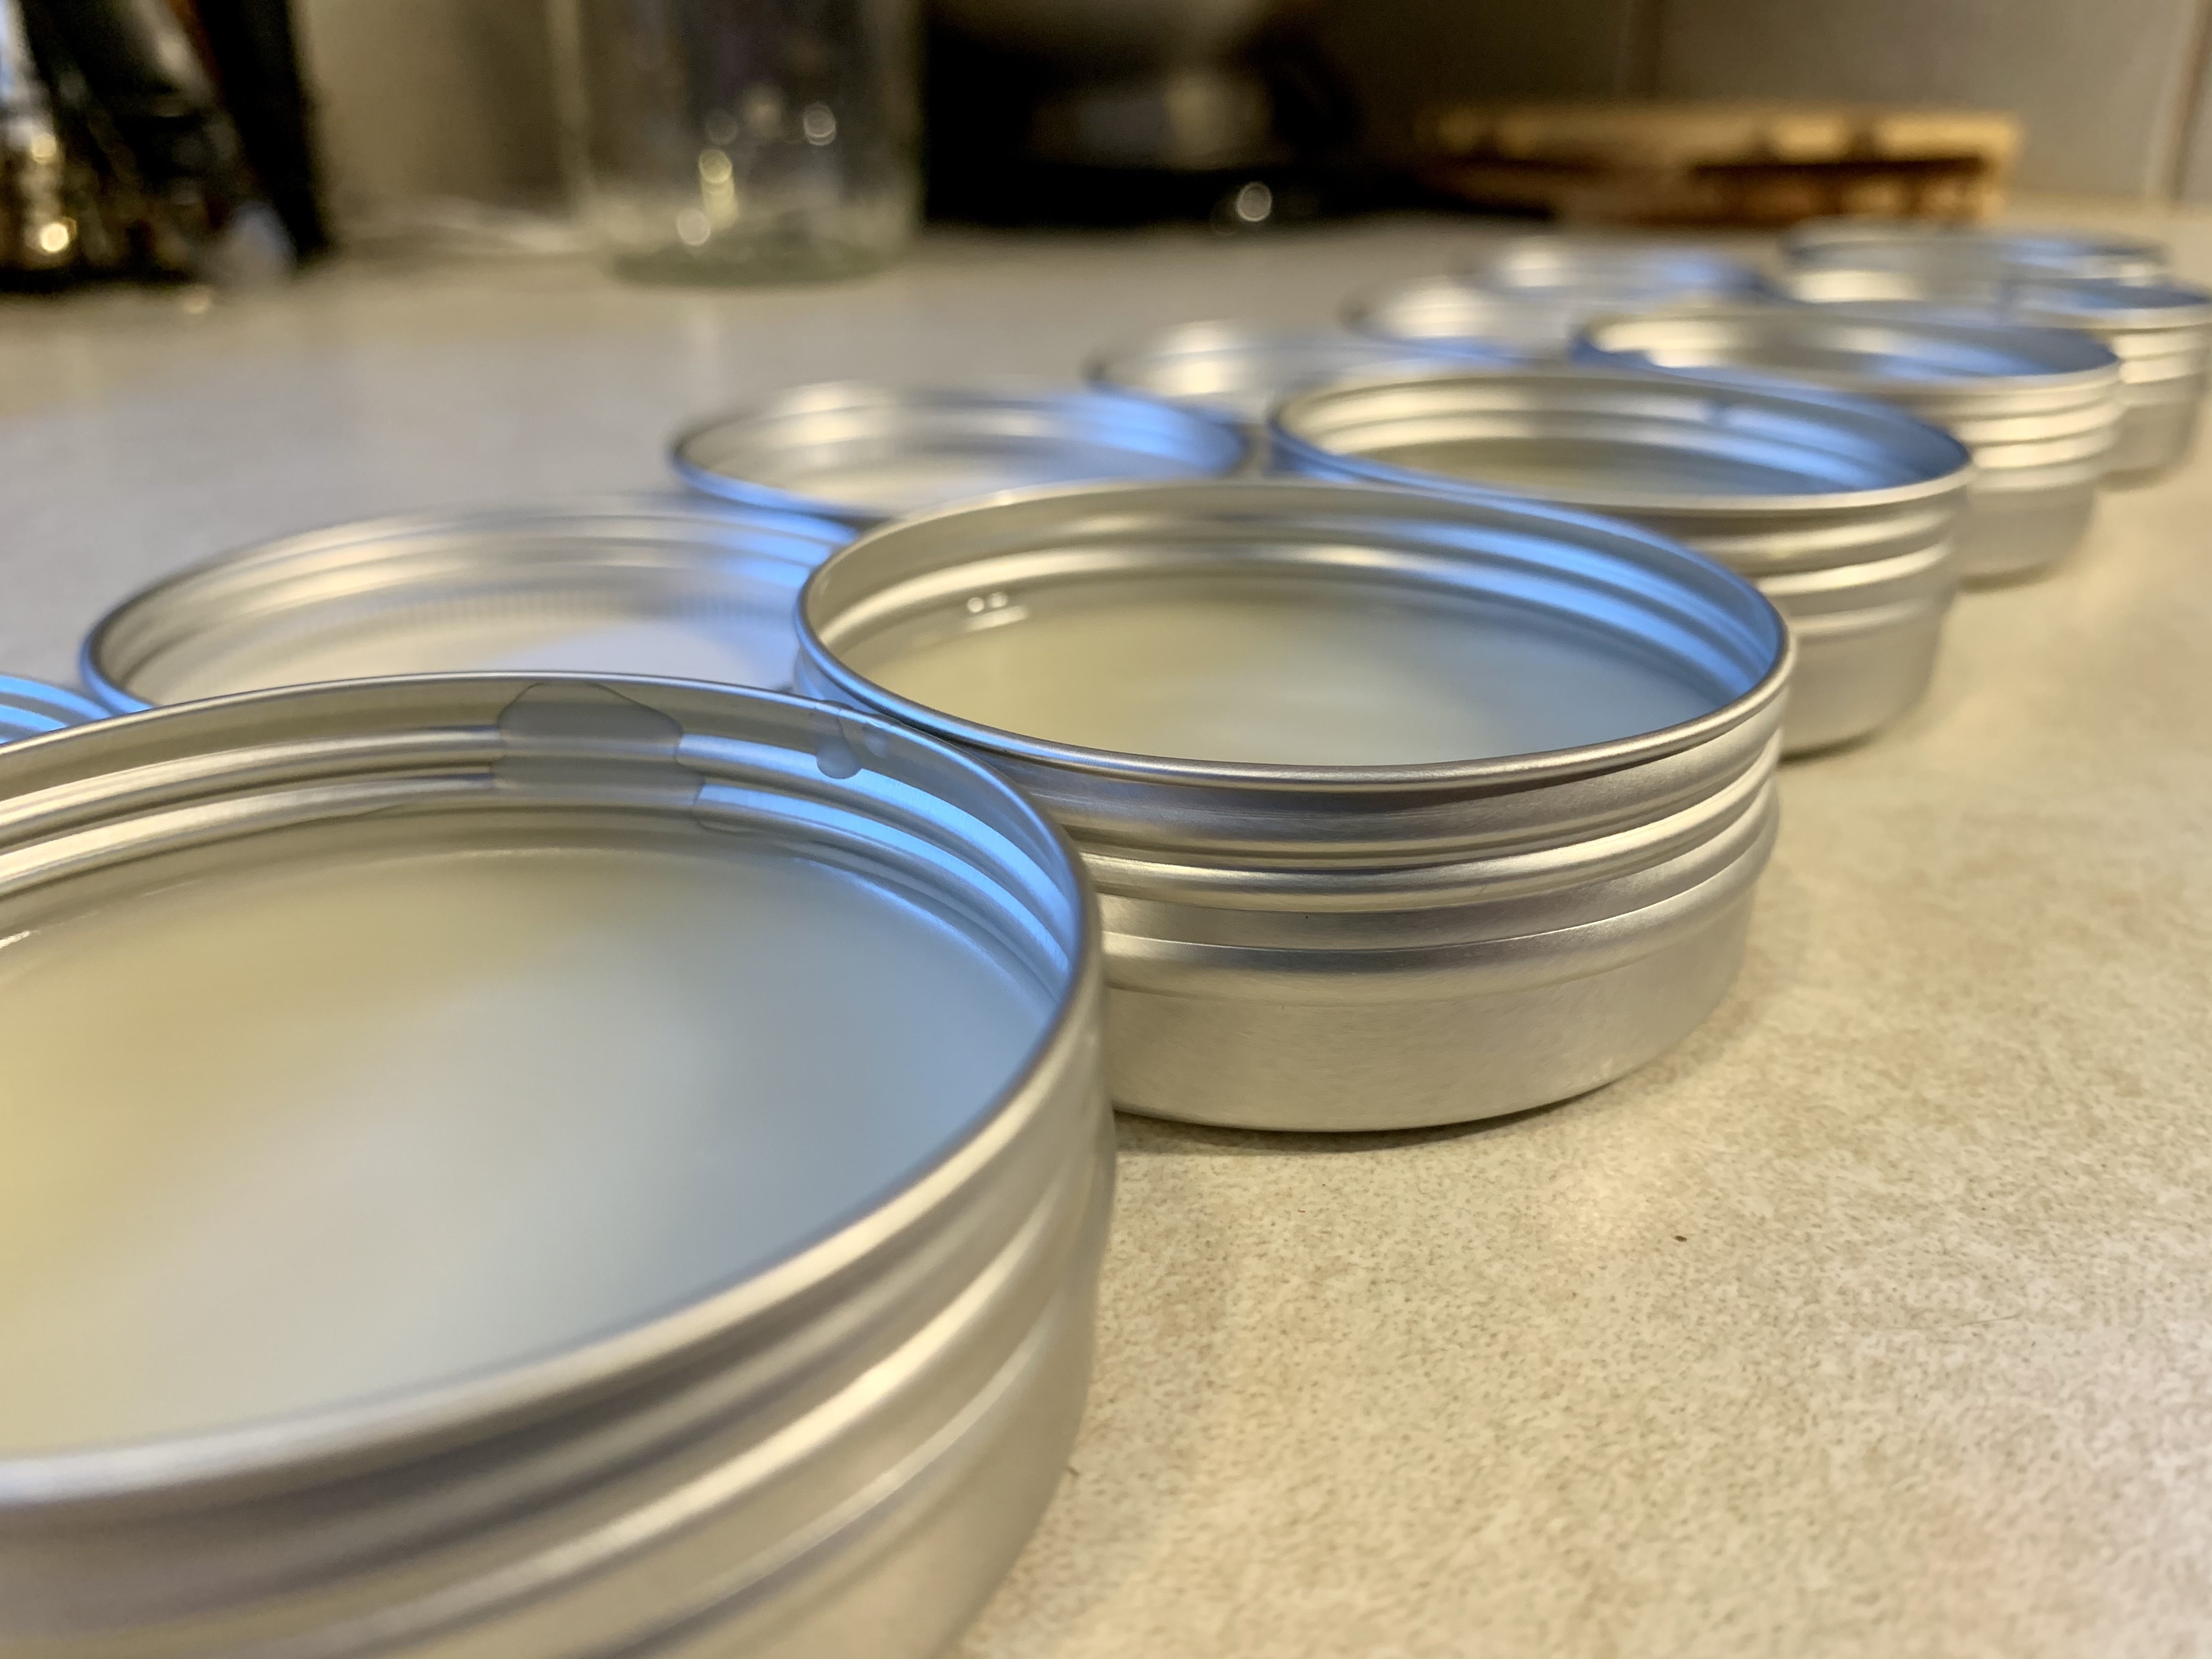
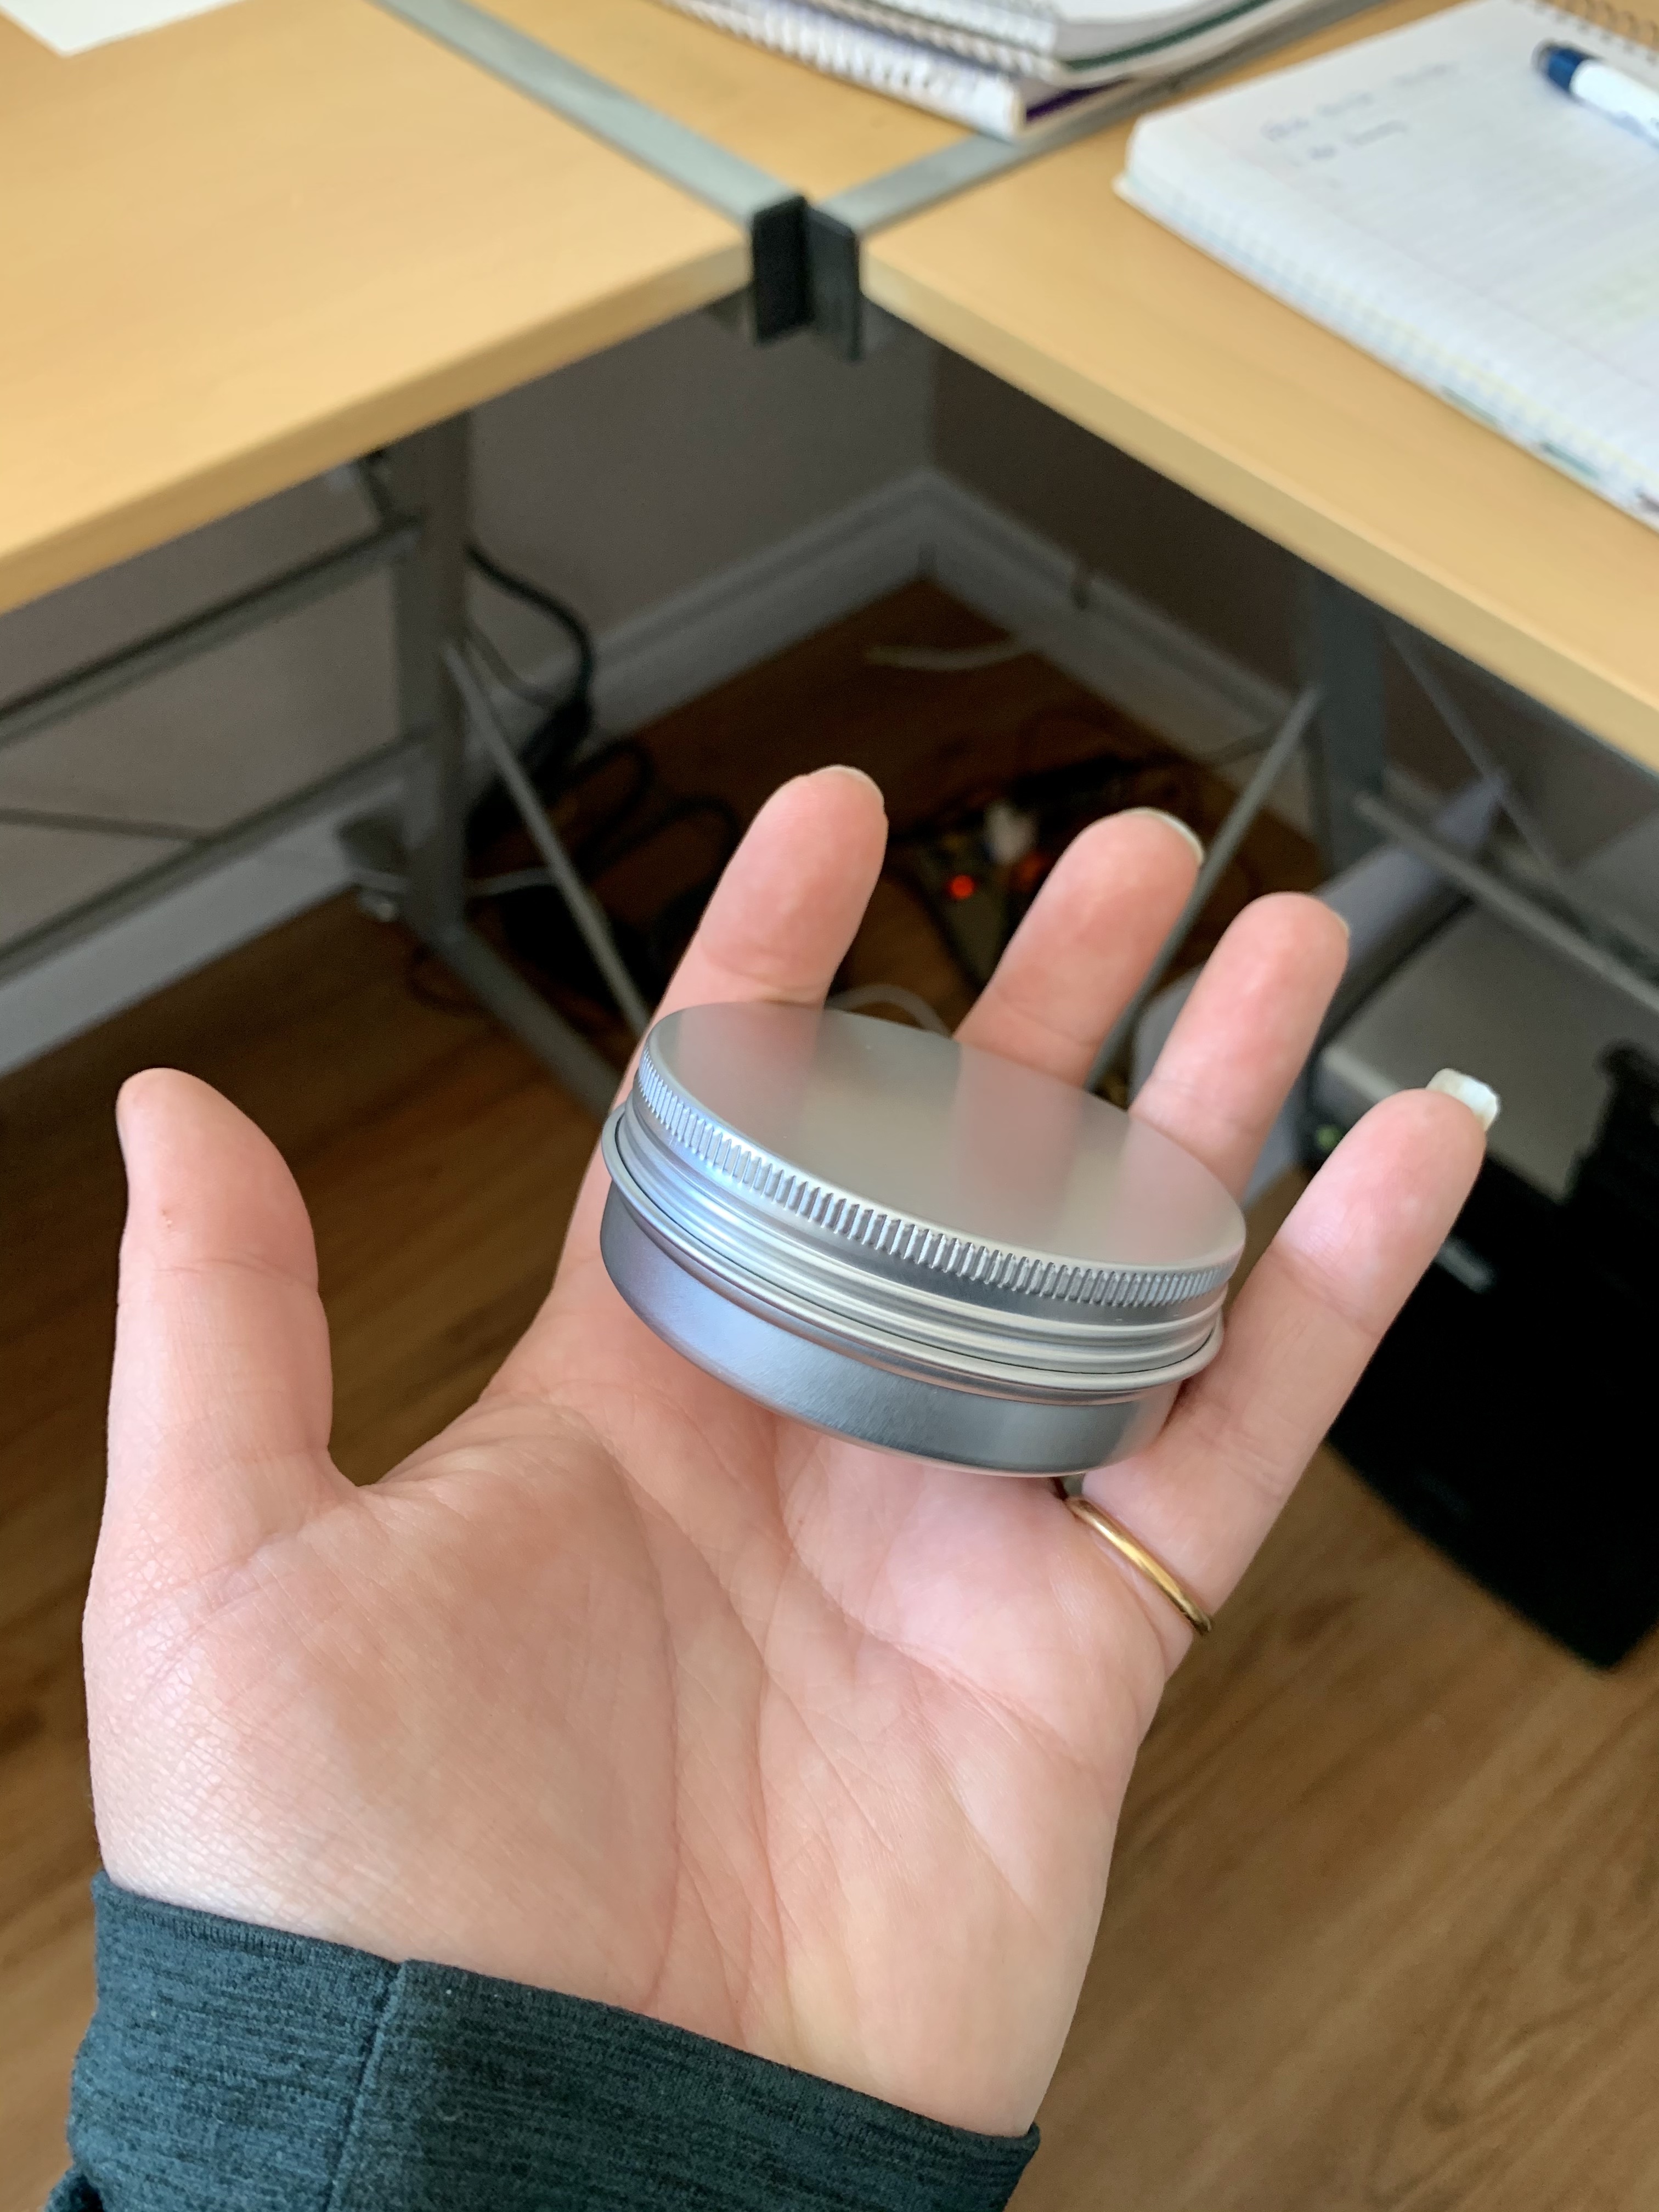
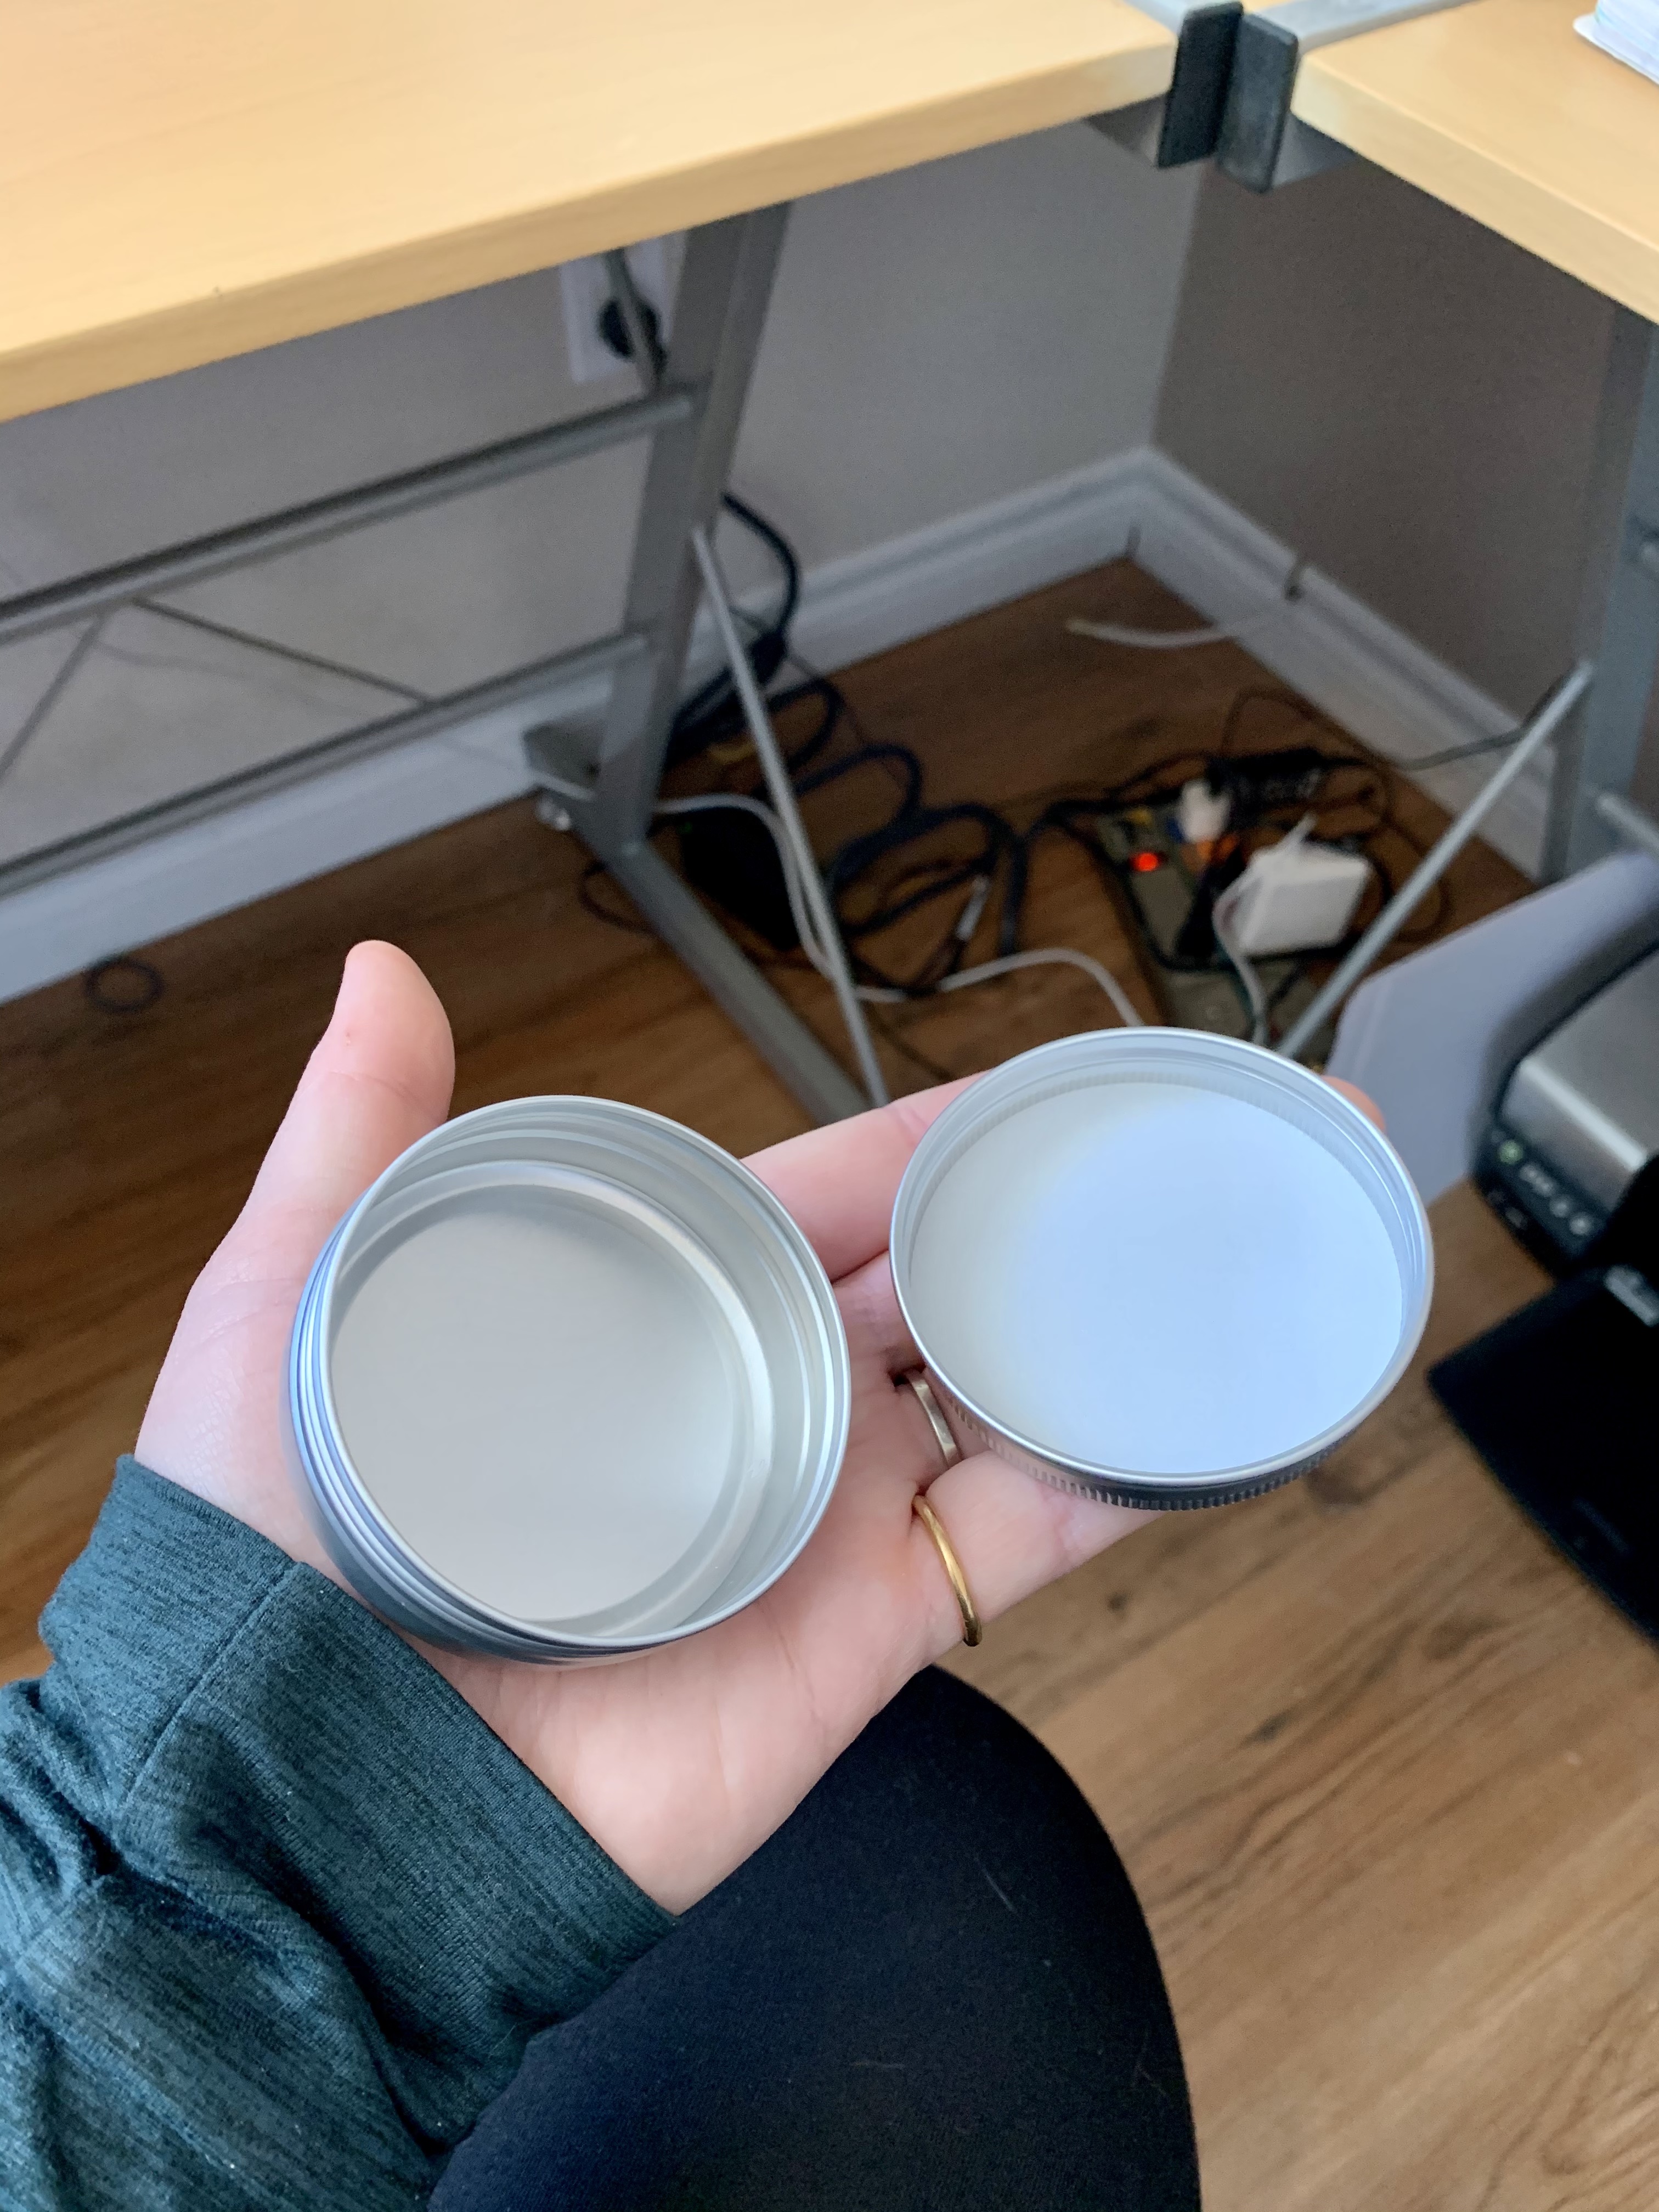
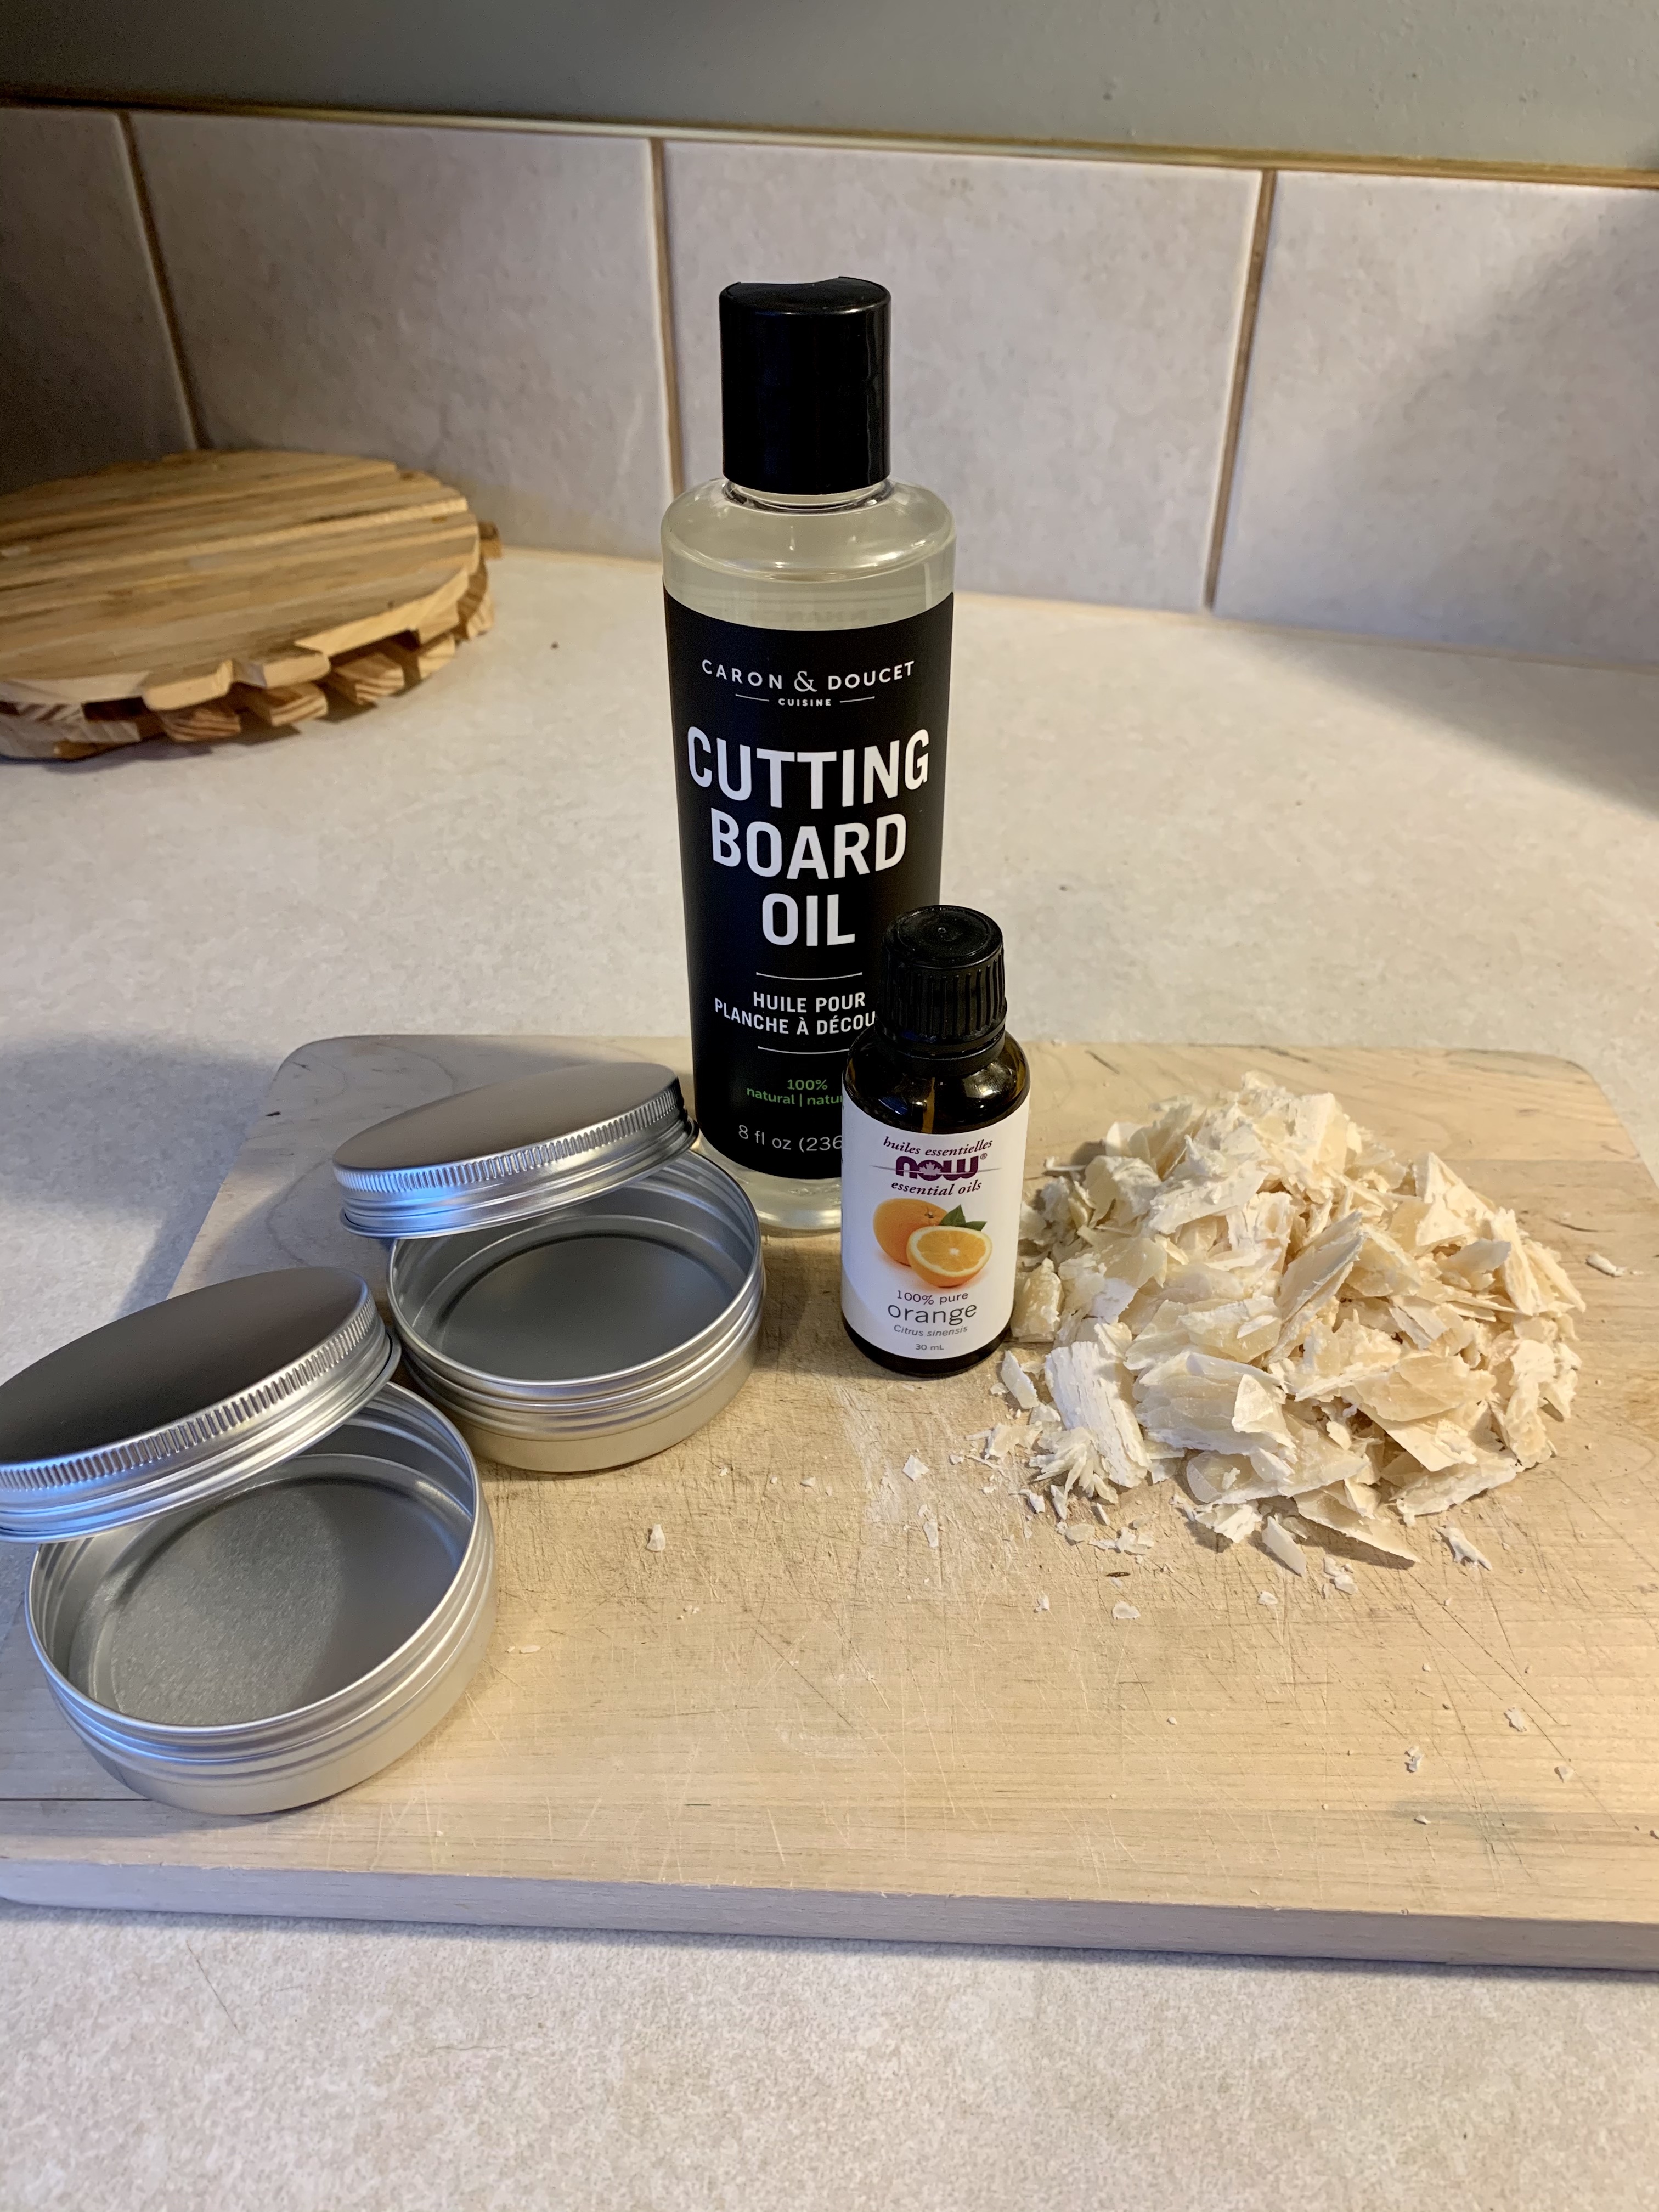
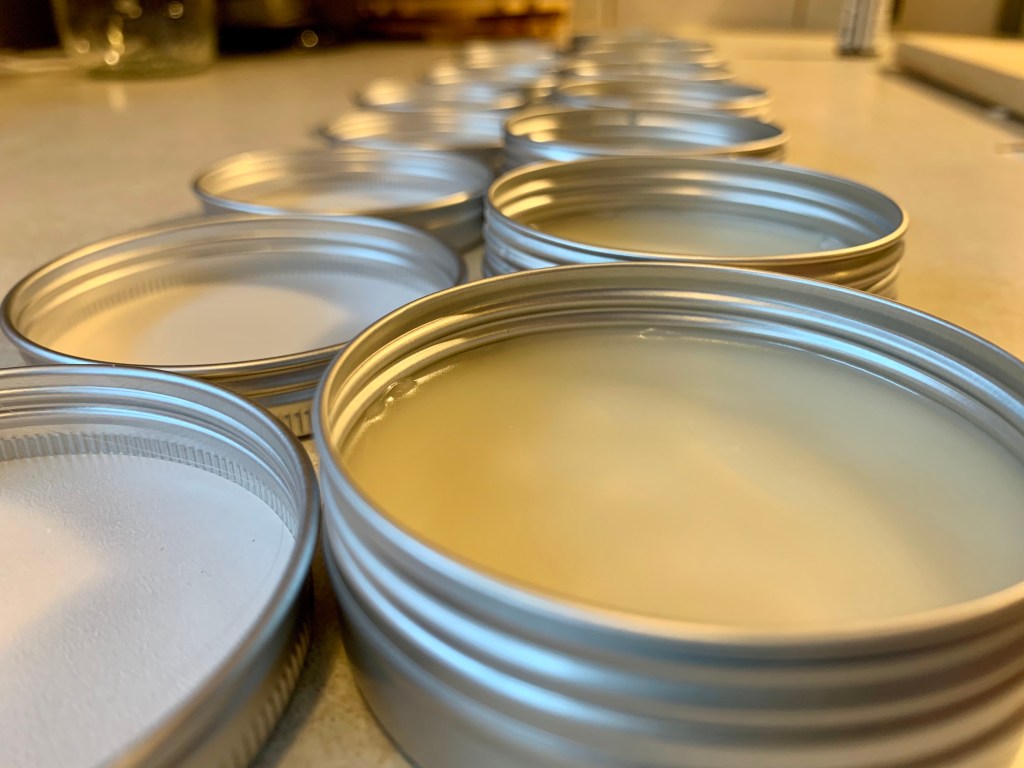
I wanted to make sure that I am providing a decent amount to get started. The good thing is that a little of the butter goes a long way. I found some great 2 oz metal containers that have screw tops. I know that 2 oz doesn’t seem like a lot, but again, just a few swipes of the butter and you can do a good coat on a larger size board. I was pleasantly surprised when I received the tins, because they look a lot bigger than I imagined based on the photos.
Once I received them I set to mixing the butter and getting it set in the tins. The recipe that I used is as follows: (Makes approx. 16 oz or 8 tins)
~ 8 oz of fractionated Coconut Oil
~ 1/2 cup of beeswax
~ 4-5 drops of citrus essential oil (optional)
You will want to make sure that the coconut oil that you are using is fractionated as it will not go rancid. Beeswax also does not expire, so this board butter will last for as long as you need it. If you choose to add a citrus essential oil, it also will not spoil.
The process is super simple, just use a double boiler and melt your beeswax. Once melted, add in the coconut oil and continue heating until it is all mixed together. There is a little bit of a reaction when you first pour the oil in, and it almost needs to melt down again. Once it has melted and blended, remove from heat and add the essential oil (optional). Then pour it into a container with a lid and let it cool. It is that simple.
I then had to add something to the tin to indicate what it is, so I created some fun labels that are branded with one of our shop logos. I’m getting to brush up on my design skills with some of these and remember how to use design programs like InDesign and Adobe Illustrator. I haven’t had a huge need for them in the last year, so there were a few cobwebs that had to be brushed off. But I am happy with how it turned out and think it will look good on the tins. I just have to wait until my sticker paper order comes!

Along with the board and wood butter, I will include a print-out of how to best keep the board looking good and signs it is time for an oil. Although it is best to oil it and then wax it, this will be a good starting point as it has both the oil and wax in it. I will definitely recommend using just fractionated coconut oil on the board once in a while to rehydrate it and make it luxurious again. Yes, you can also use mineral oil, but I prefer the fractionated coconut oil.
My dad recently has been selling a lot of his carved coffee spoons and also made up a quick tutorial on how to keep them looking good. The nice thing there, is if you leave the spoon in the coffee tin, then the natural oils from the coffee will help keep the spoon looking great, but will still need a buff every now and then. This side business that was originally to keep my dad and I busy with hobbies is becoming a little more than we expected, but that is partly because we want to make sure if we are putting our name on something that it is excellent quality. Helping people get the most out of the items and enjoy them for a long time is important to us. We put so much work into them. I’m certainly not complaining, I love all the different things I am getting to do and learn about.
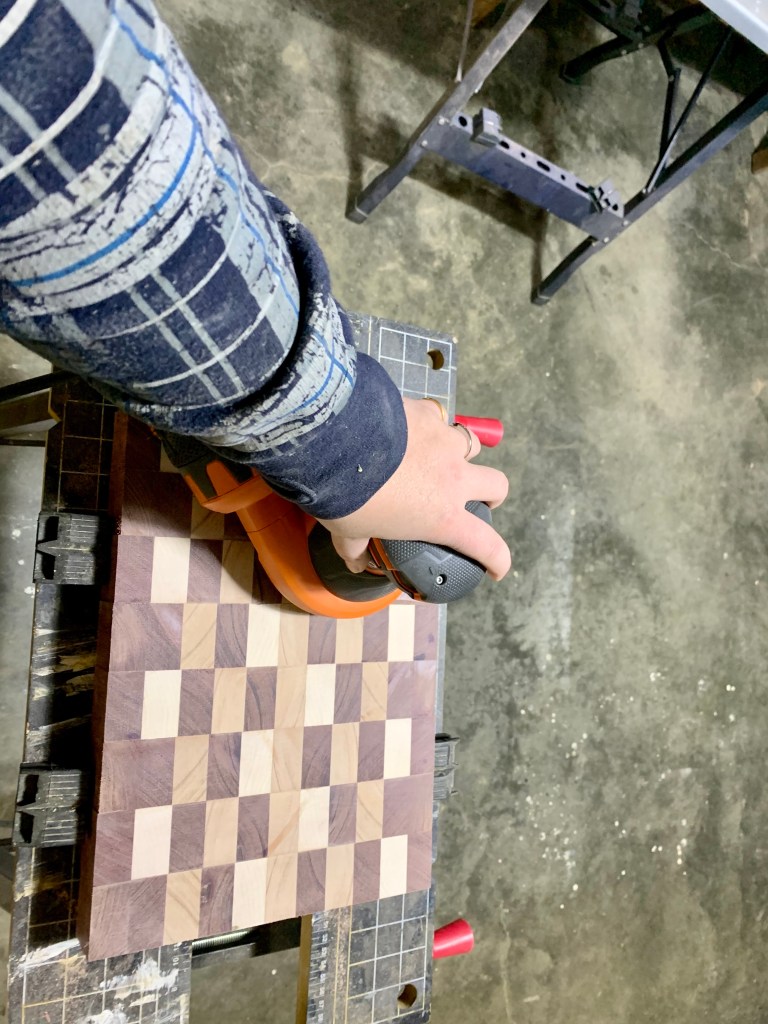
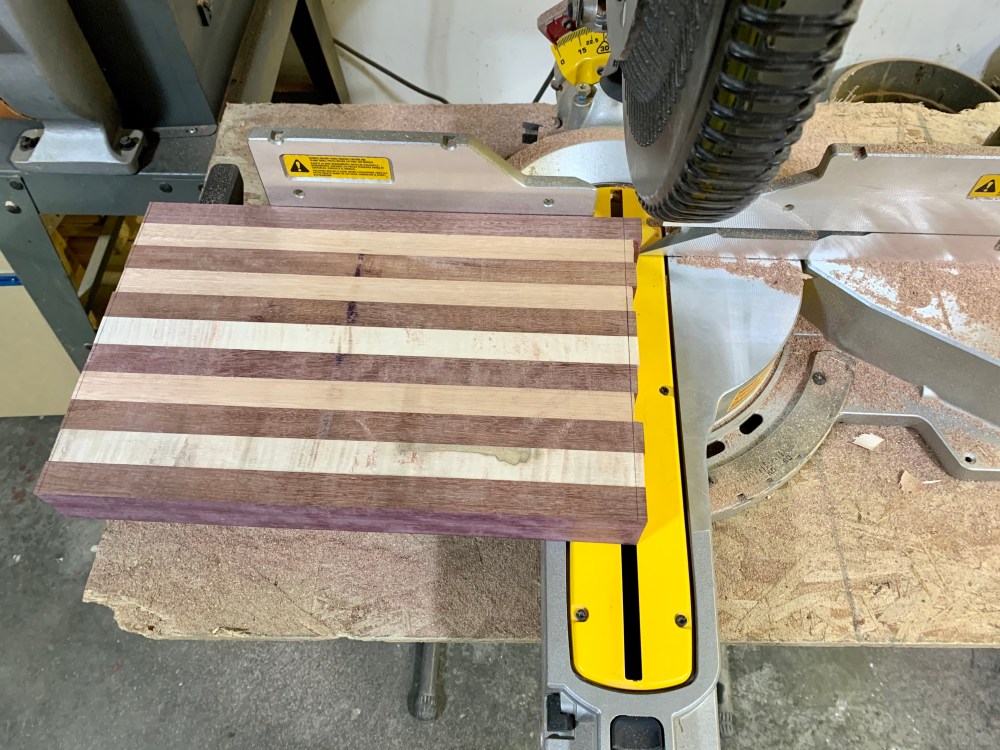
Stay tuned for the final look at the cutting boards. I have been sanding them and am just about to move into the final touches with handles, edges, oil and feet. I can’t wait to share the final product!


One Comment Add yours