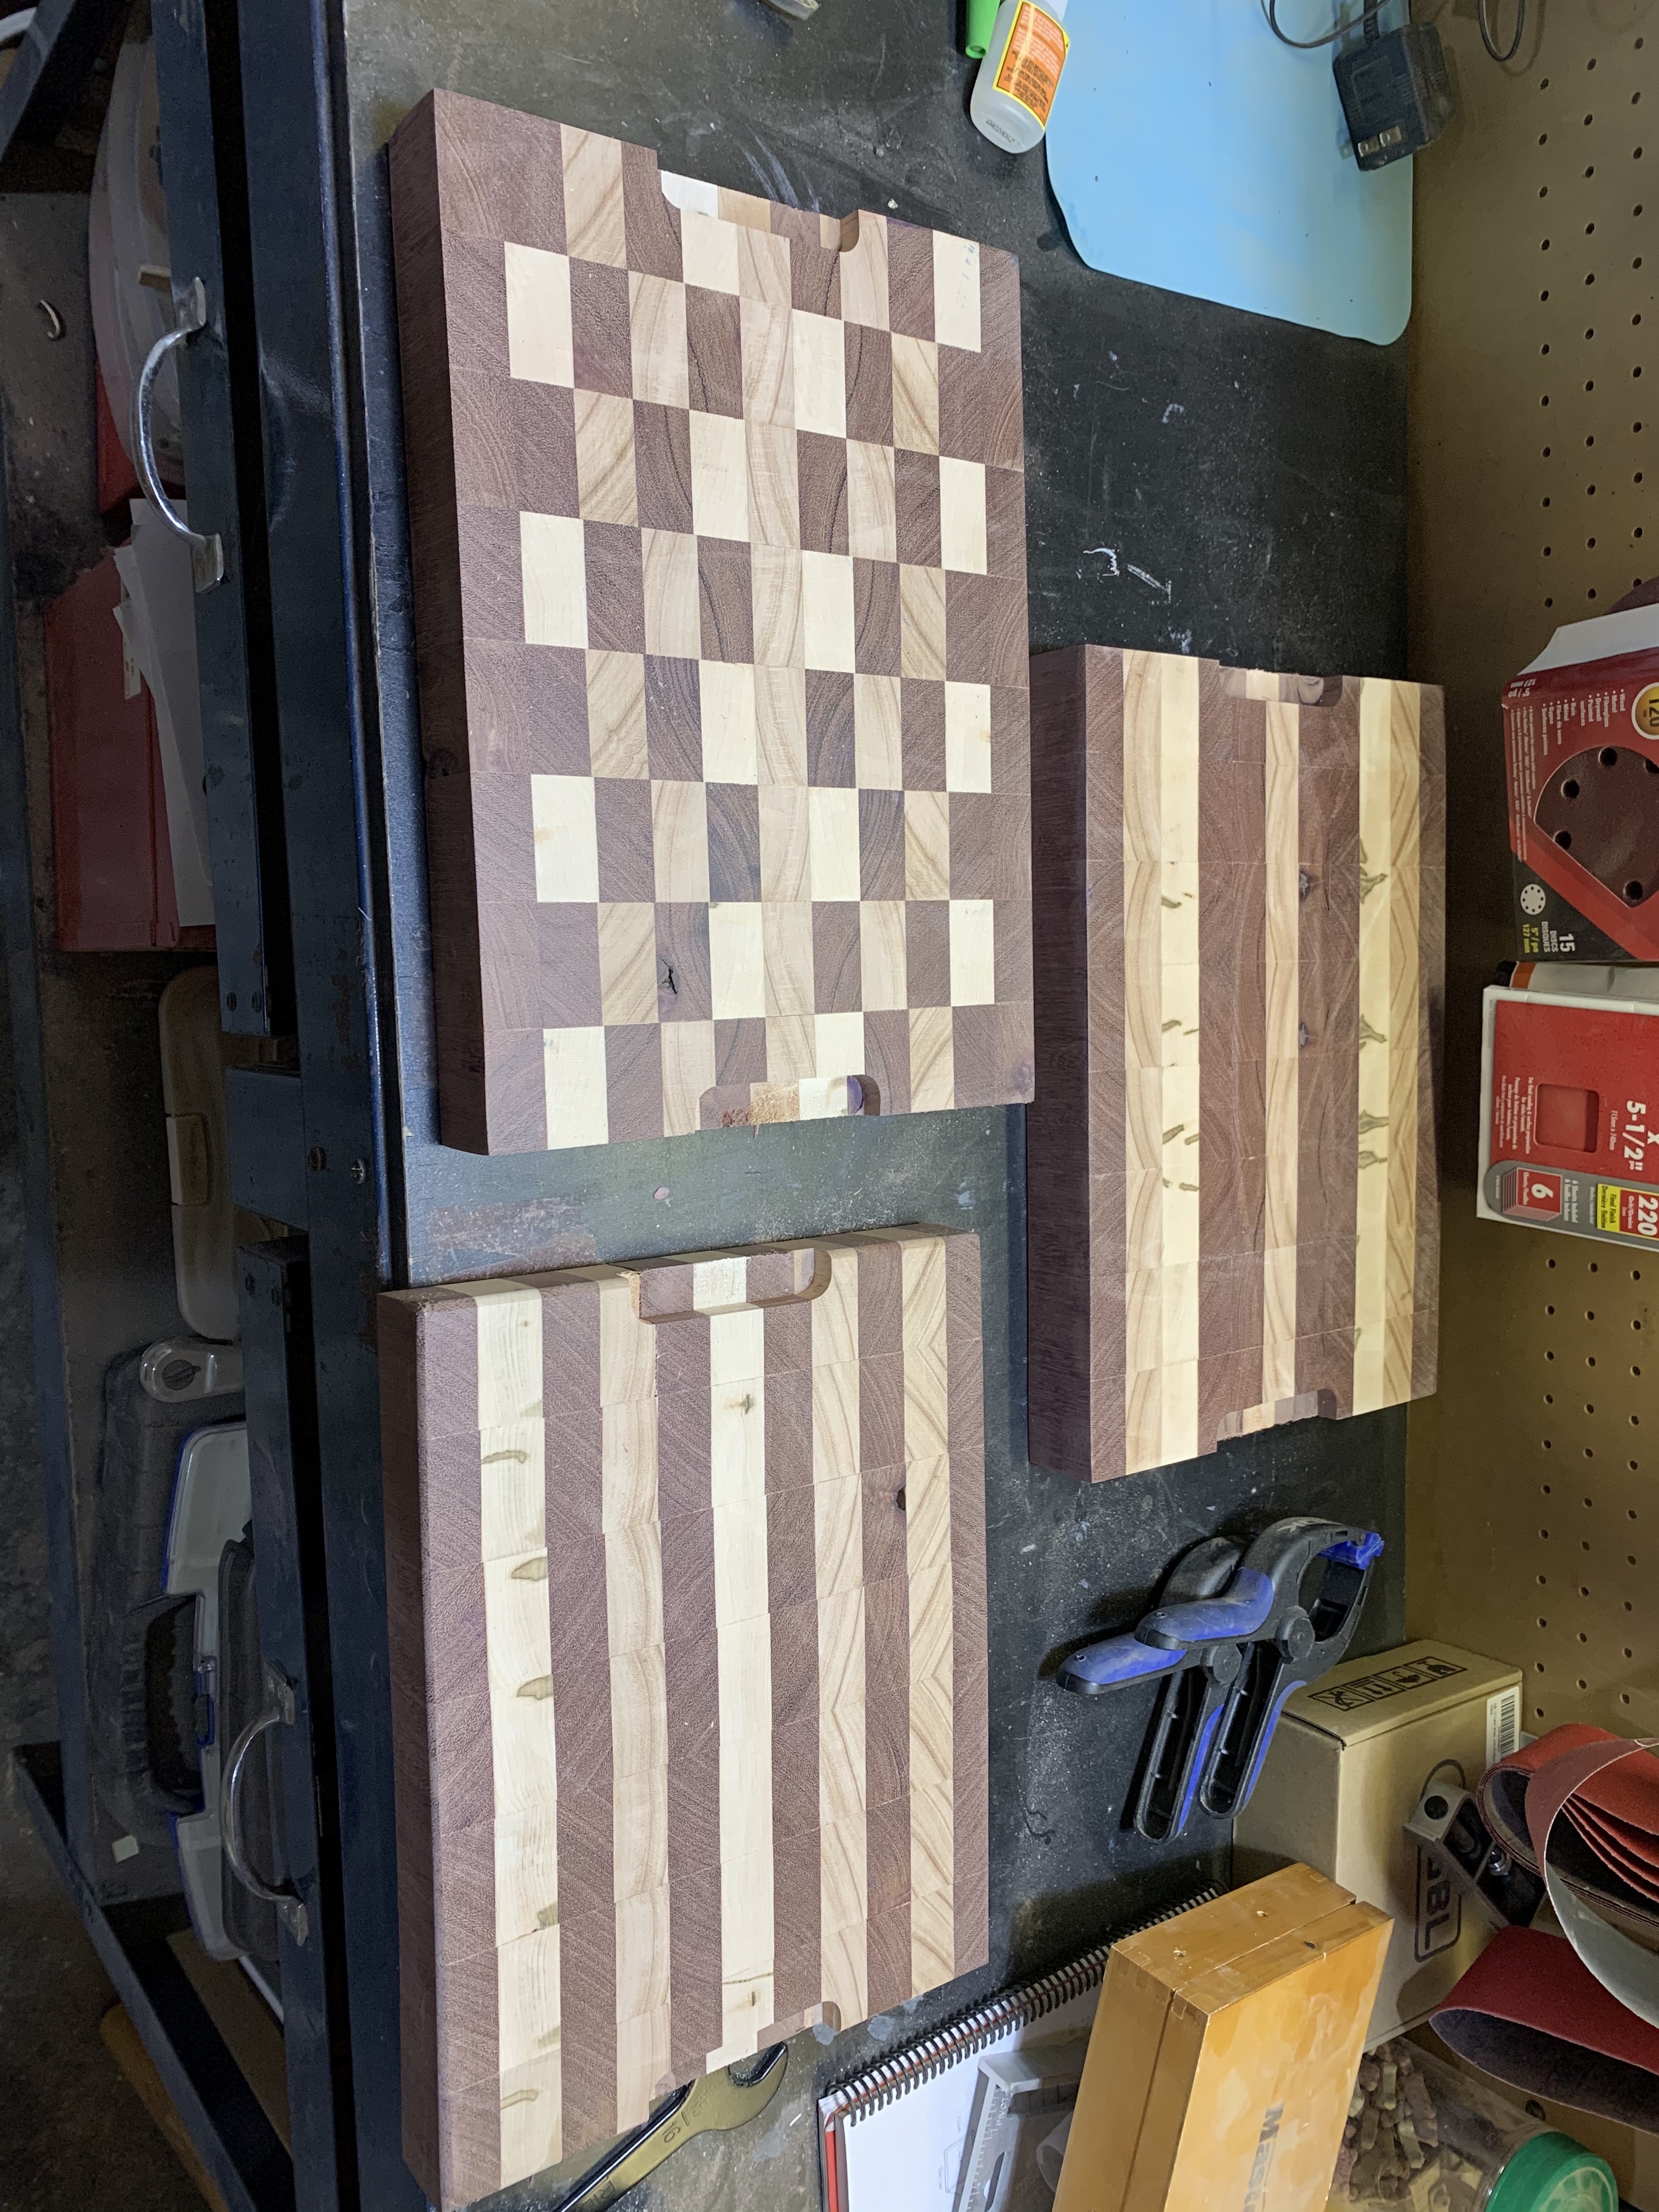
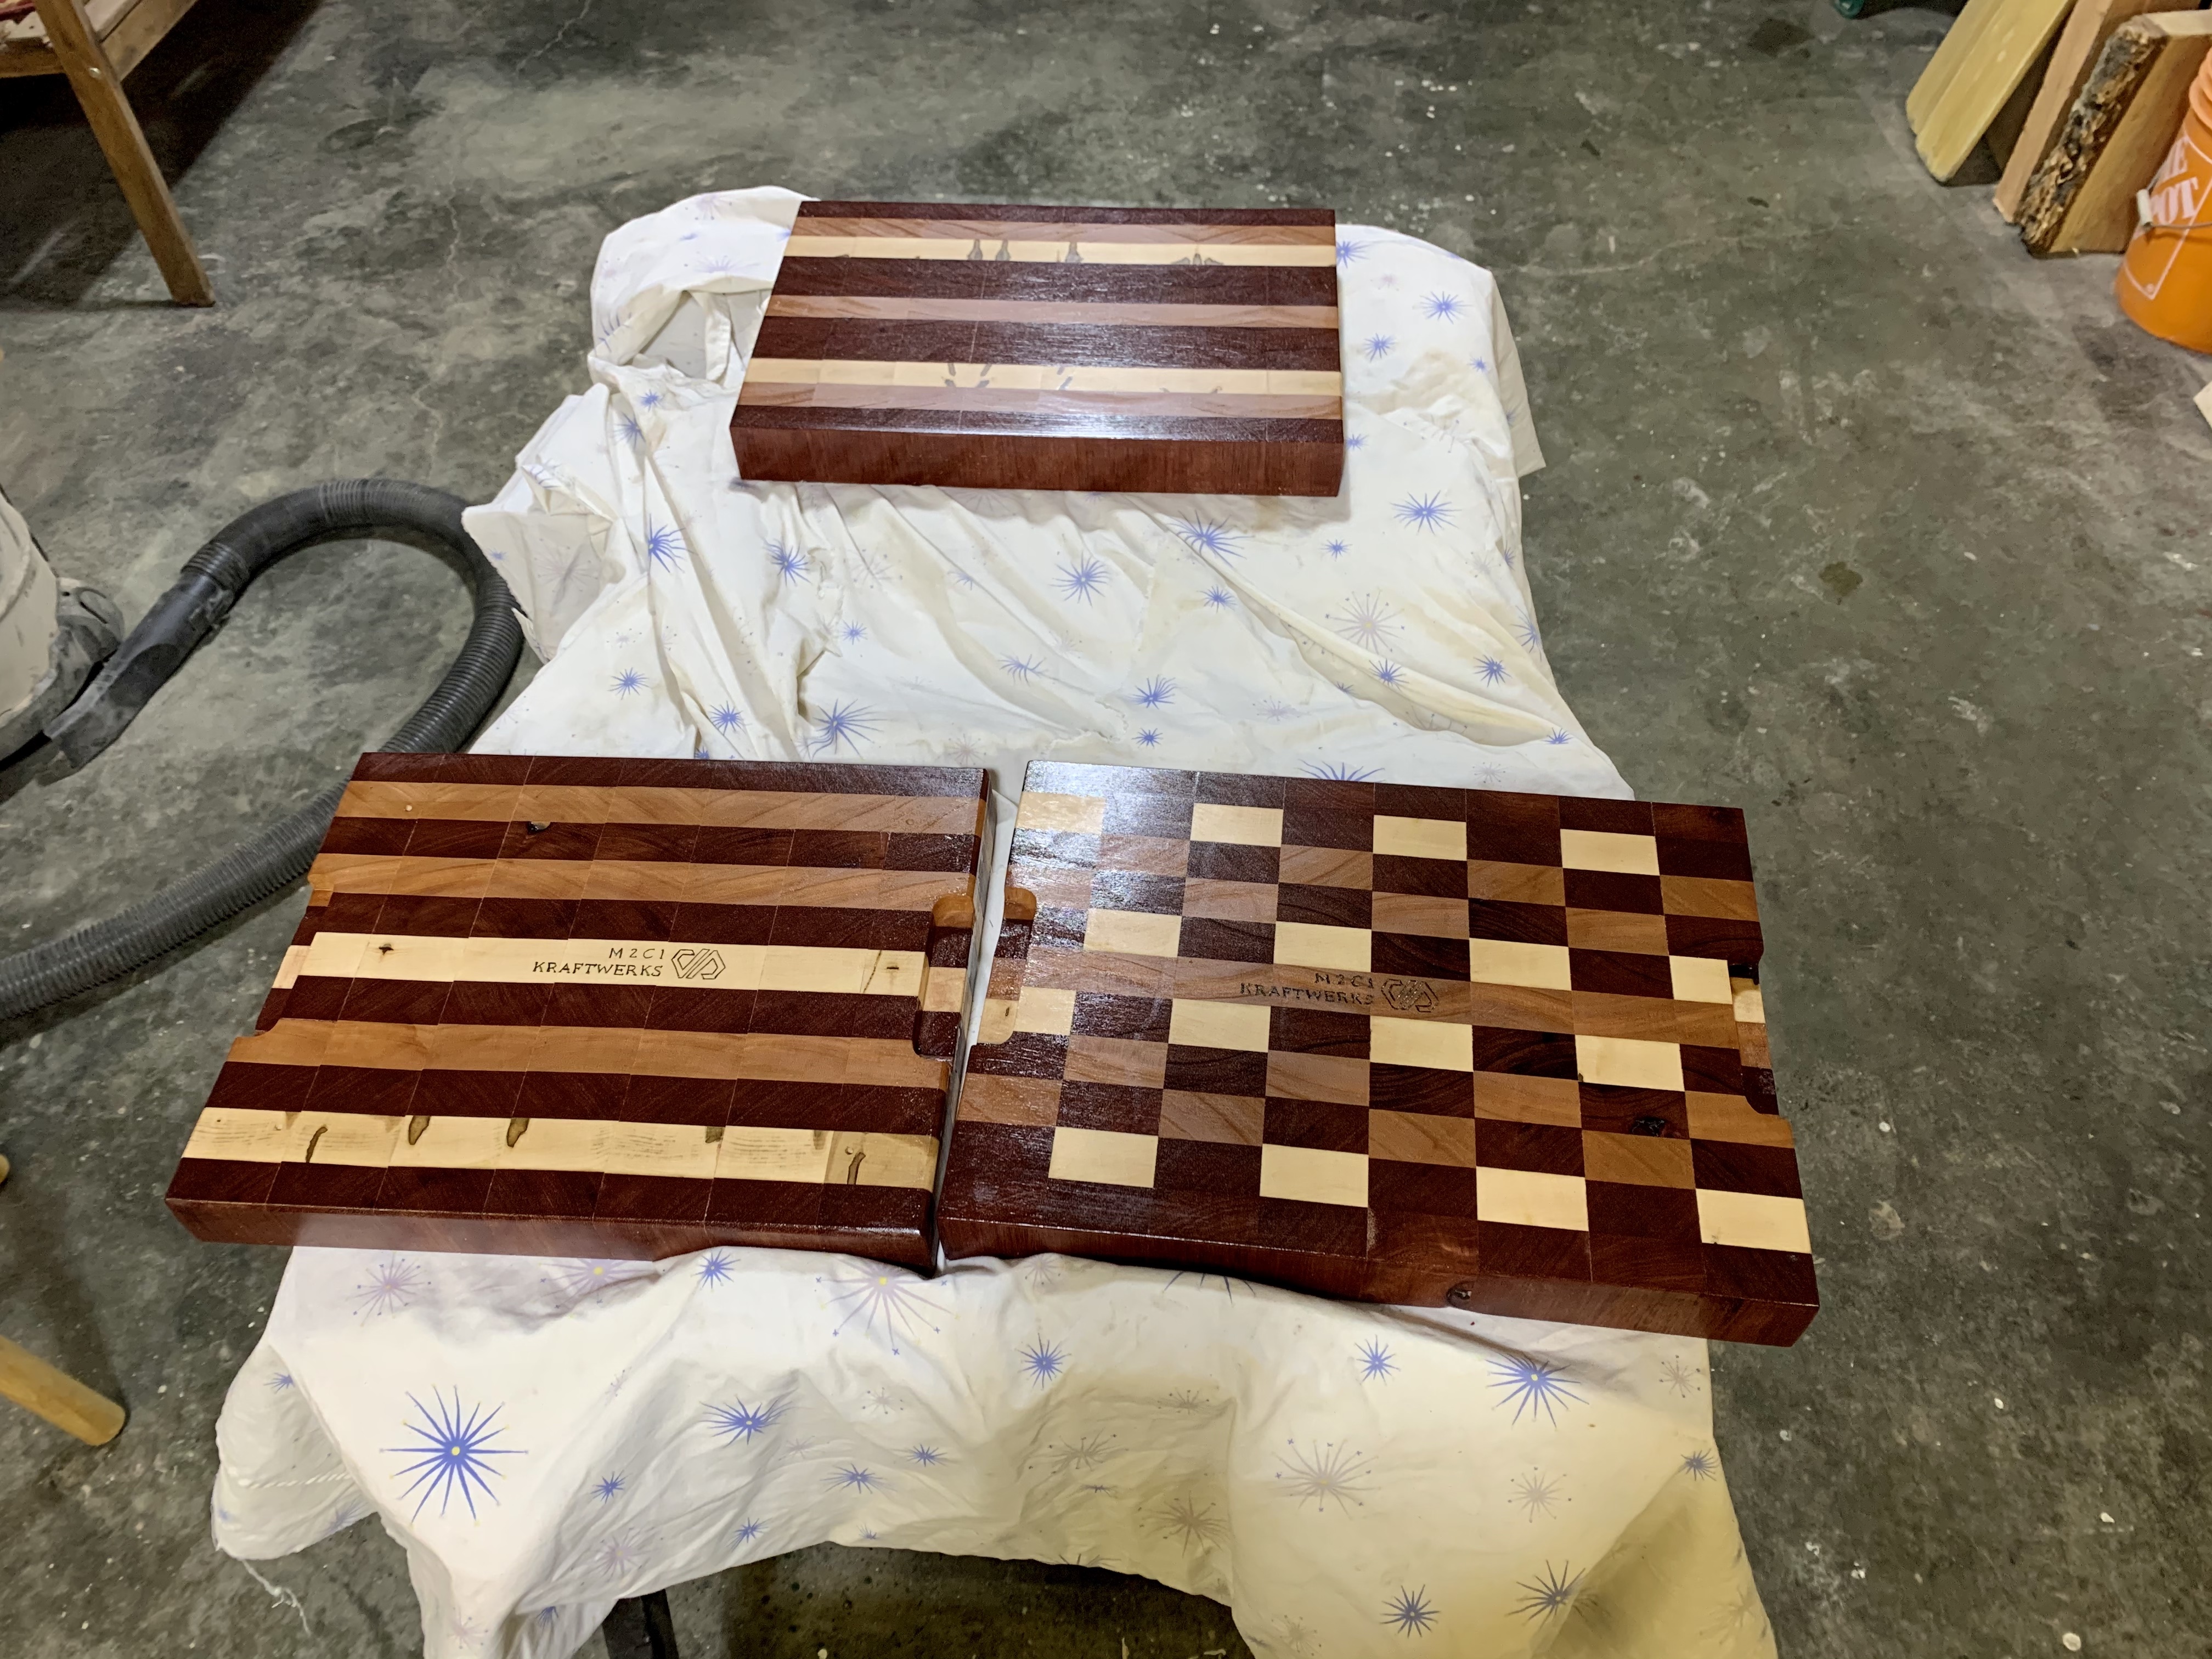
Well the experiment has come to an end and the final result is awesome….in my opinion but I am somewhat biased since I made them. As mentioned in my previous post, I have been wanting to try making cutting boards for a while now and in December I purchased some wood to finally dive into it. Then I sat and stared at the wood, and didn’t do anything with it until recently. Luckily that worked out since I got some extremely important clamps for Christmas. Without them, the boards likely wouldn’t have worked or even been possible.
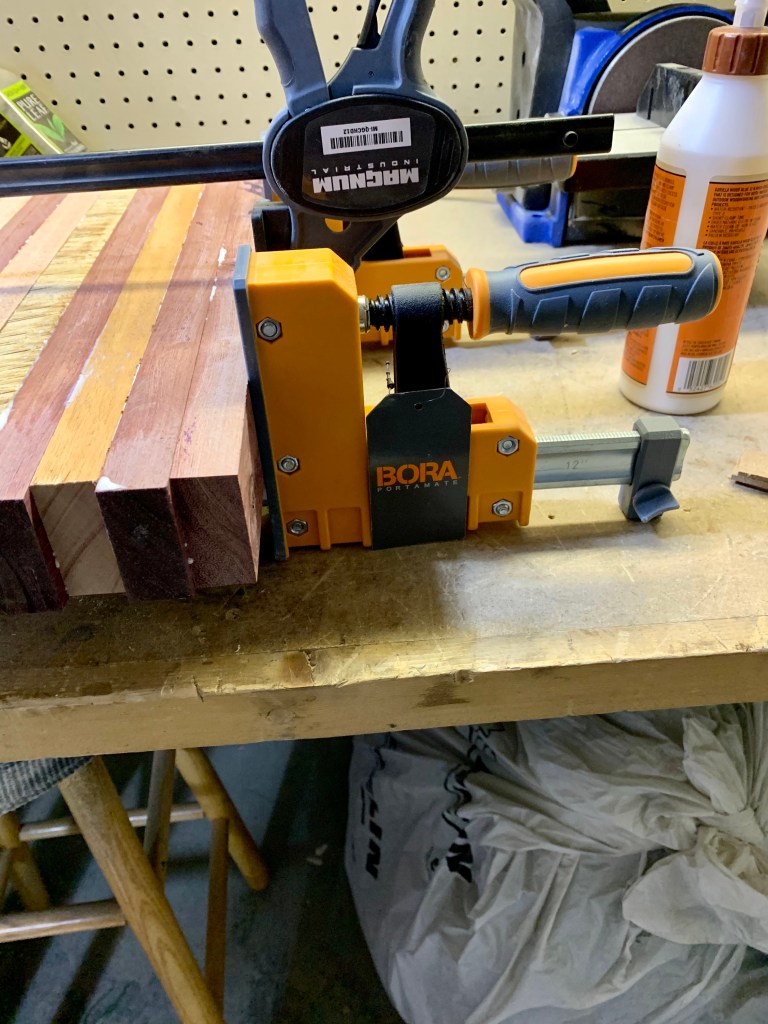
In my last post Chop It Like It’s Hot, I had just gotten to the point of no return. I had just finished part of the second glue up on one of the boards. Those all-important clamps were unfortunately too short to do the full glue-up so I had to add the last few pieces using my ratchet clamps, which ended up working out great. Although, I do now have my eye on some longer Bora parallel clamps to make these glue-ups easier. Also, if I start making them regularly I am going to need to greatly increase my stock of the parallel clamps. Then I can be doing the glue up on a number of boards at the same time.
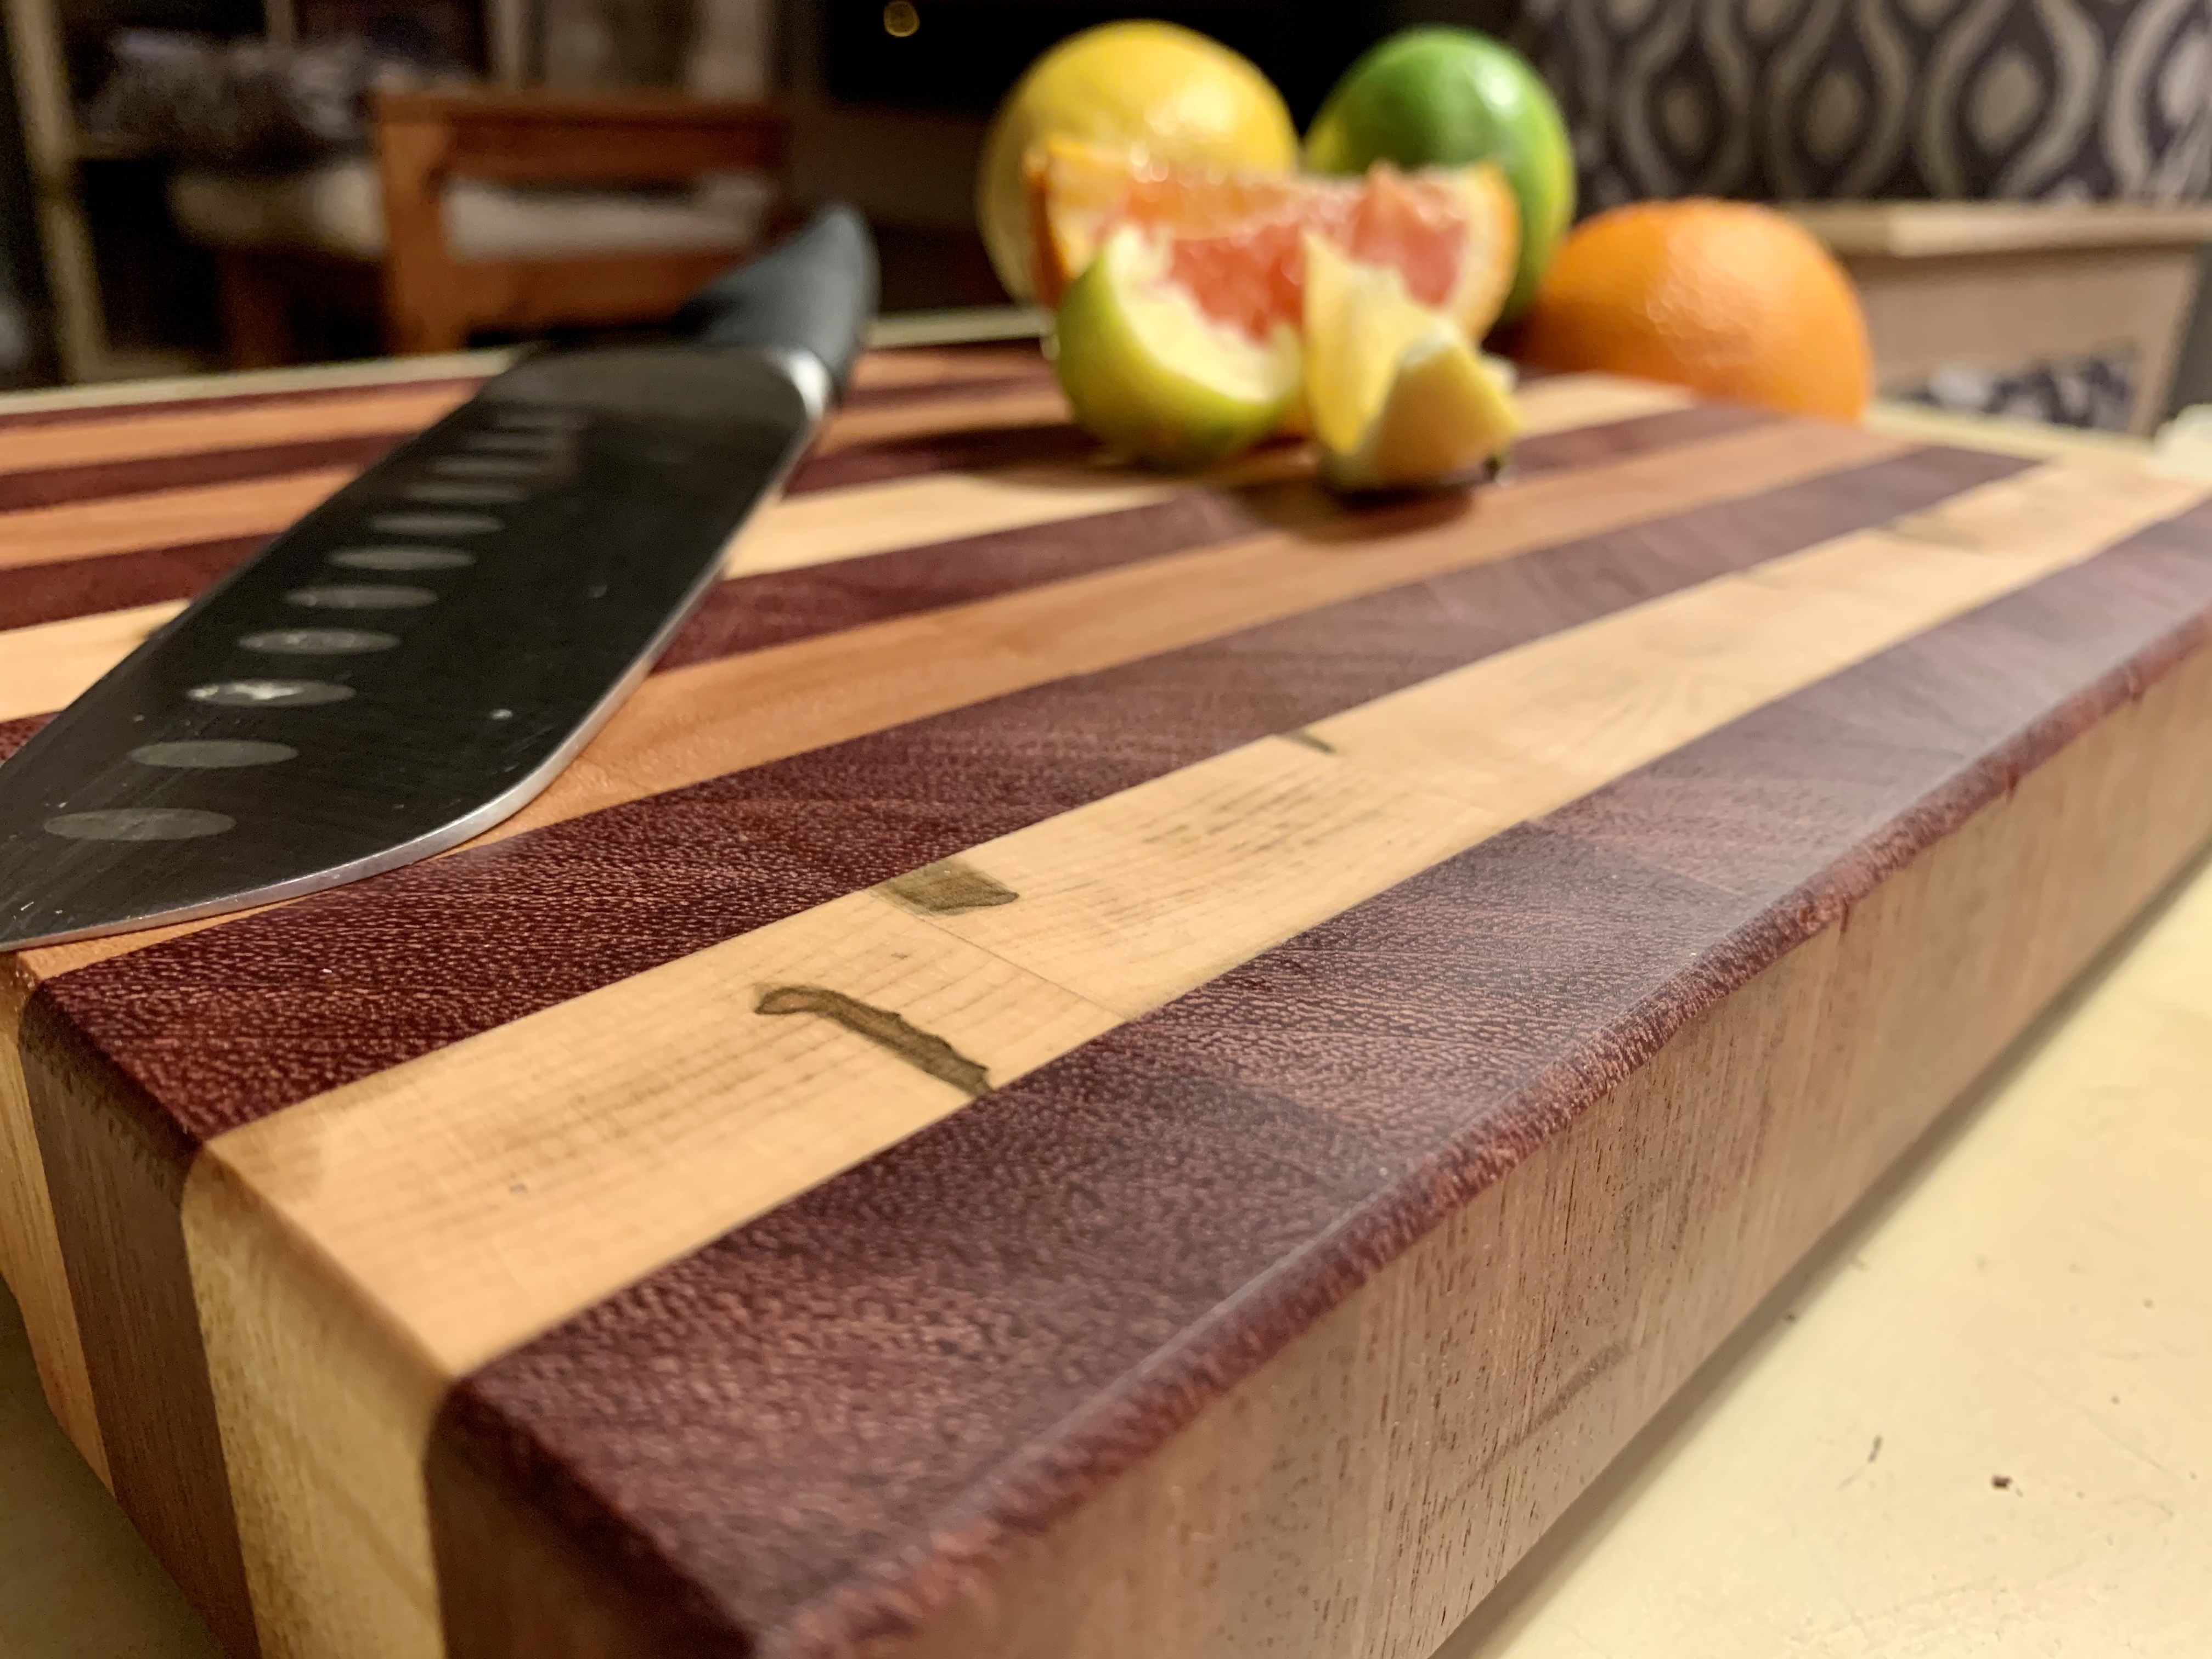
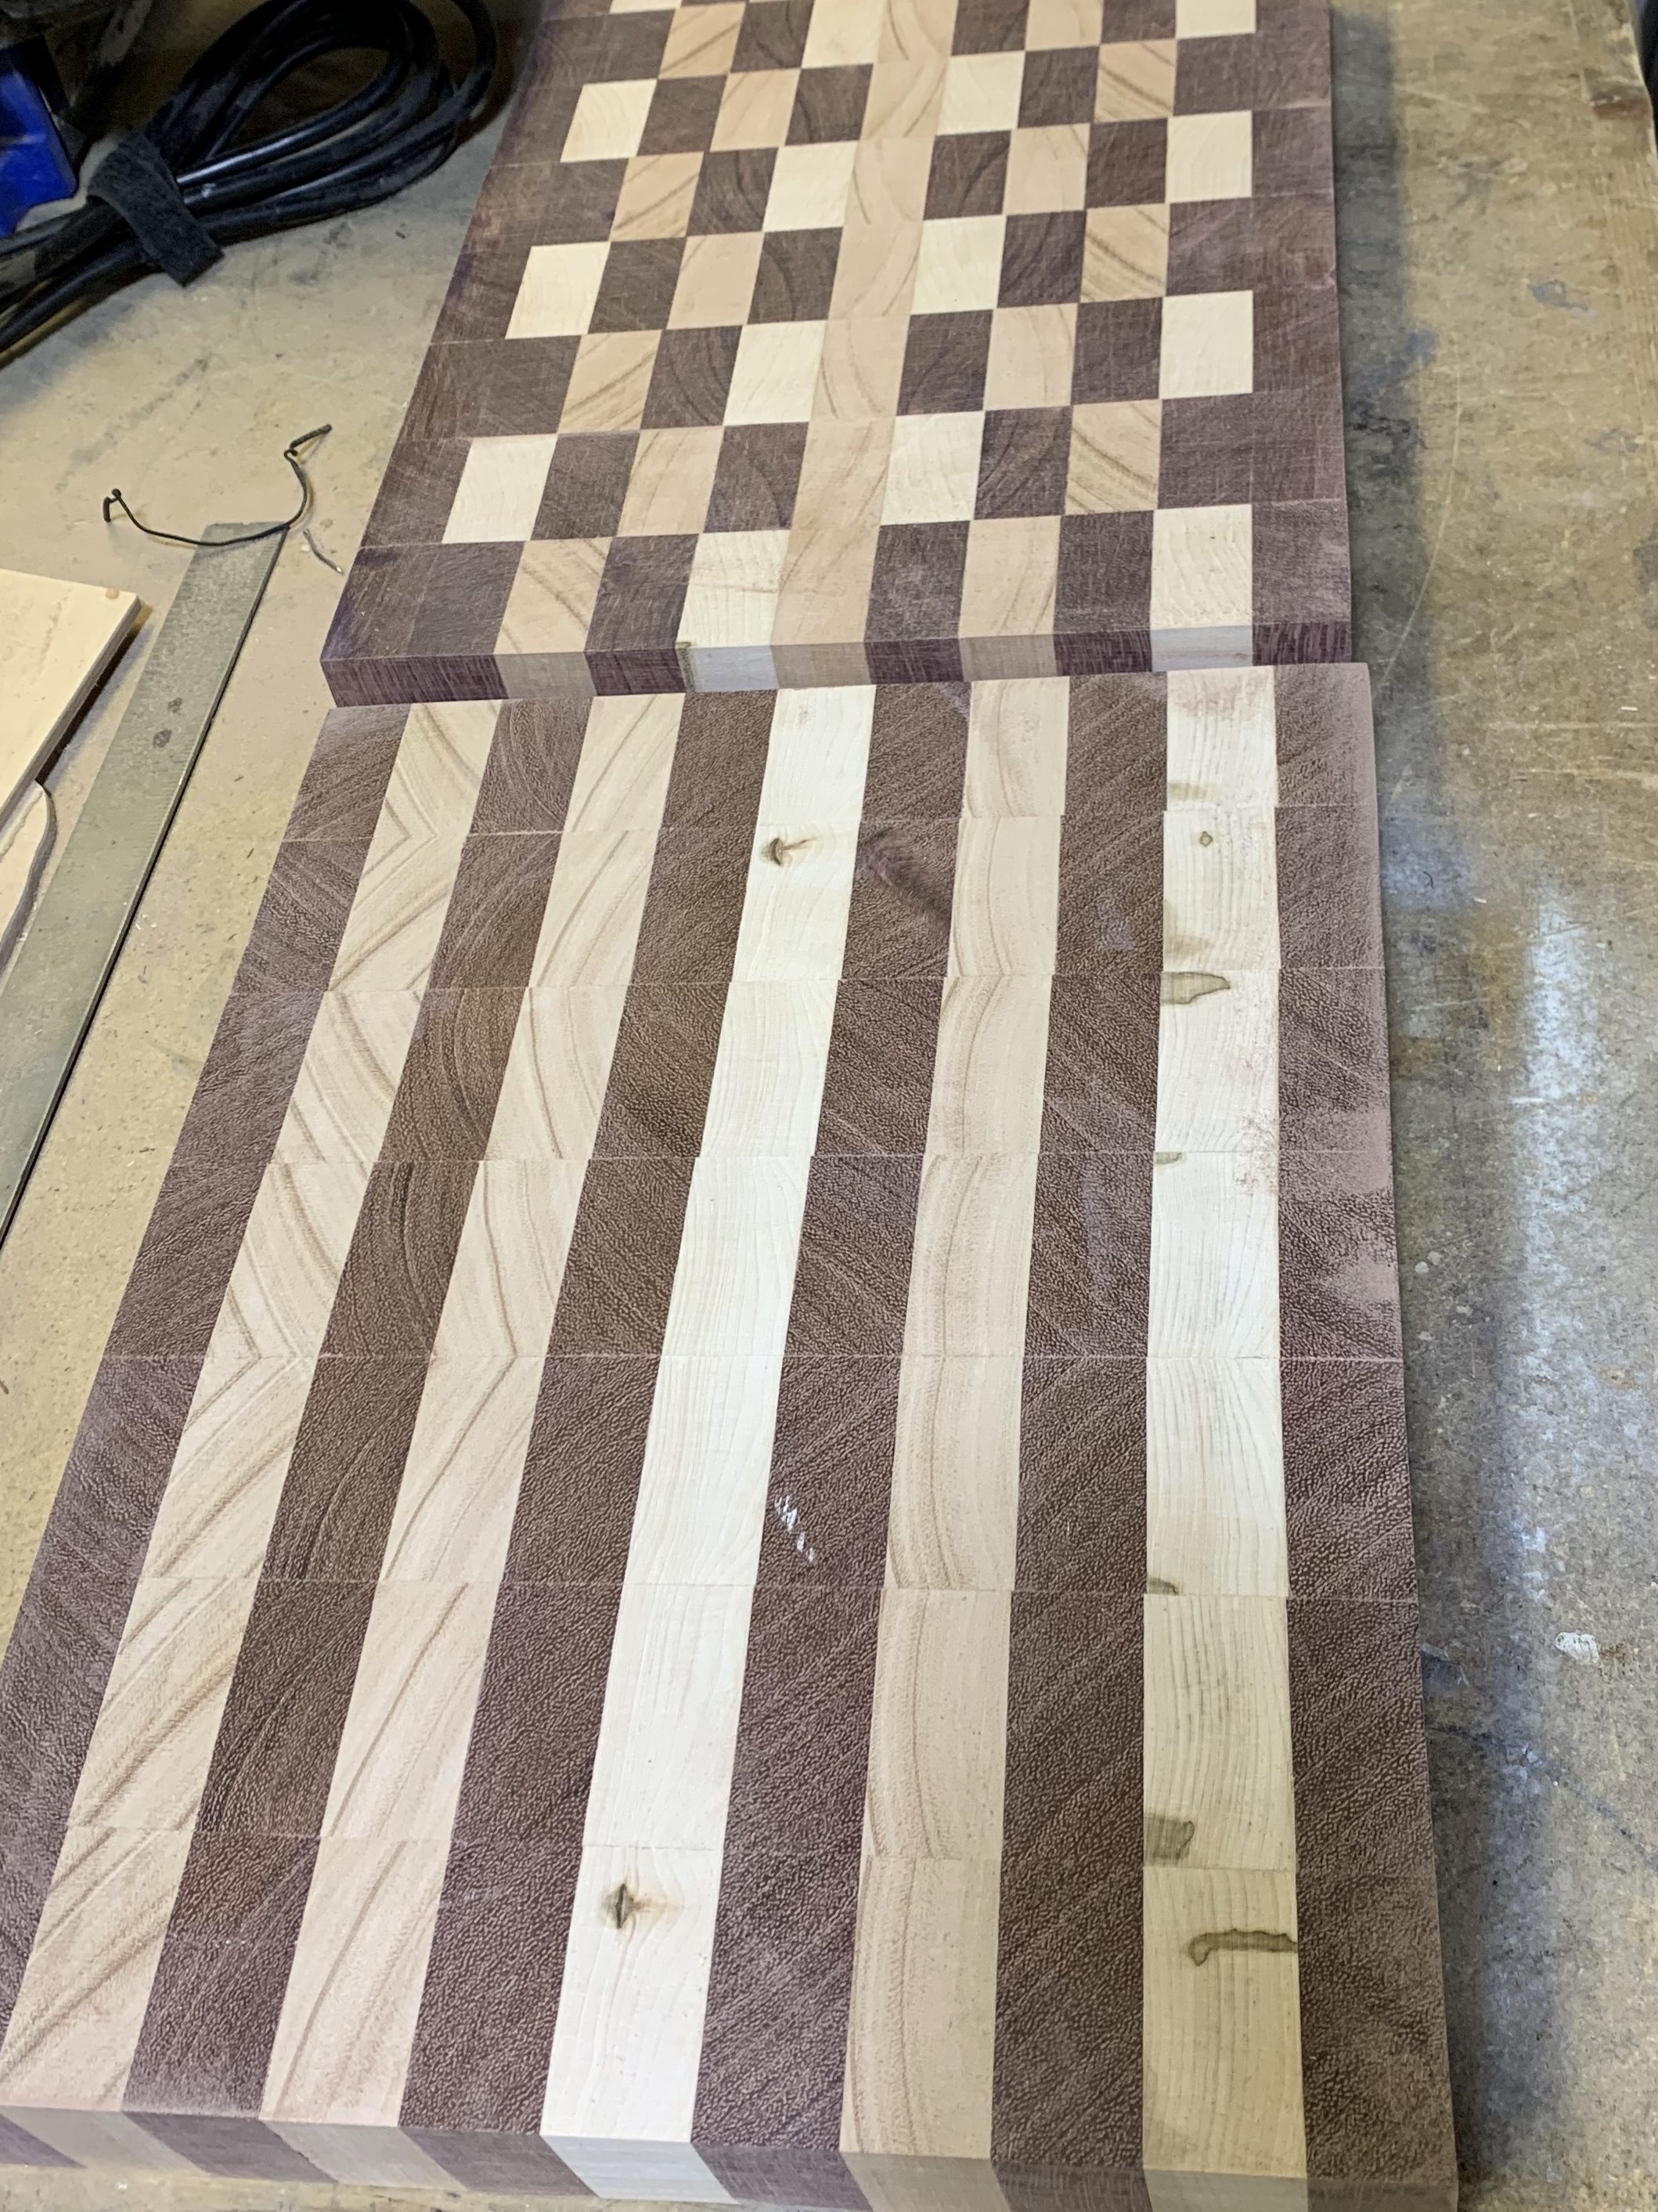
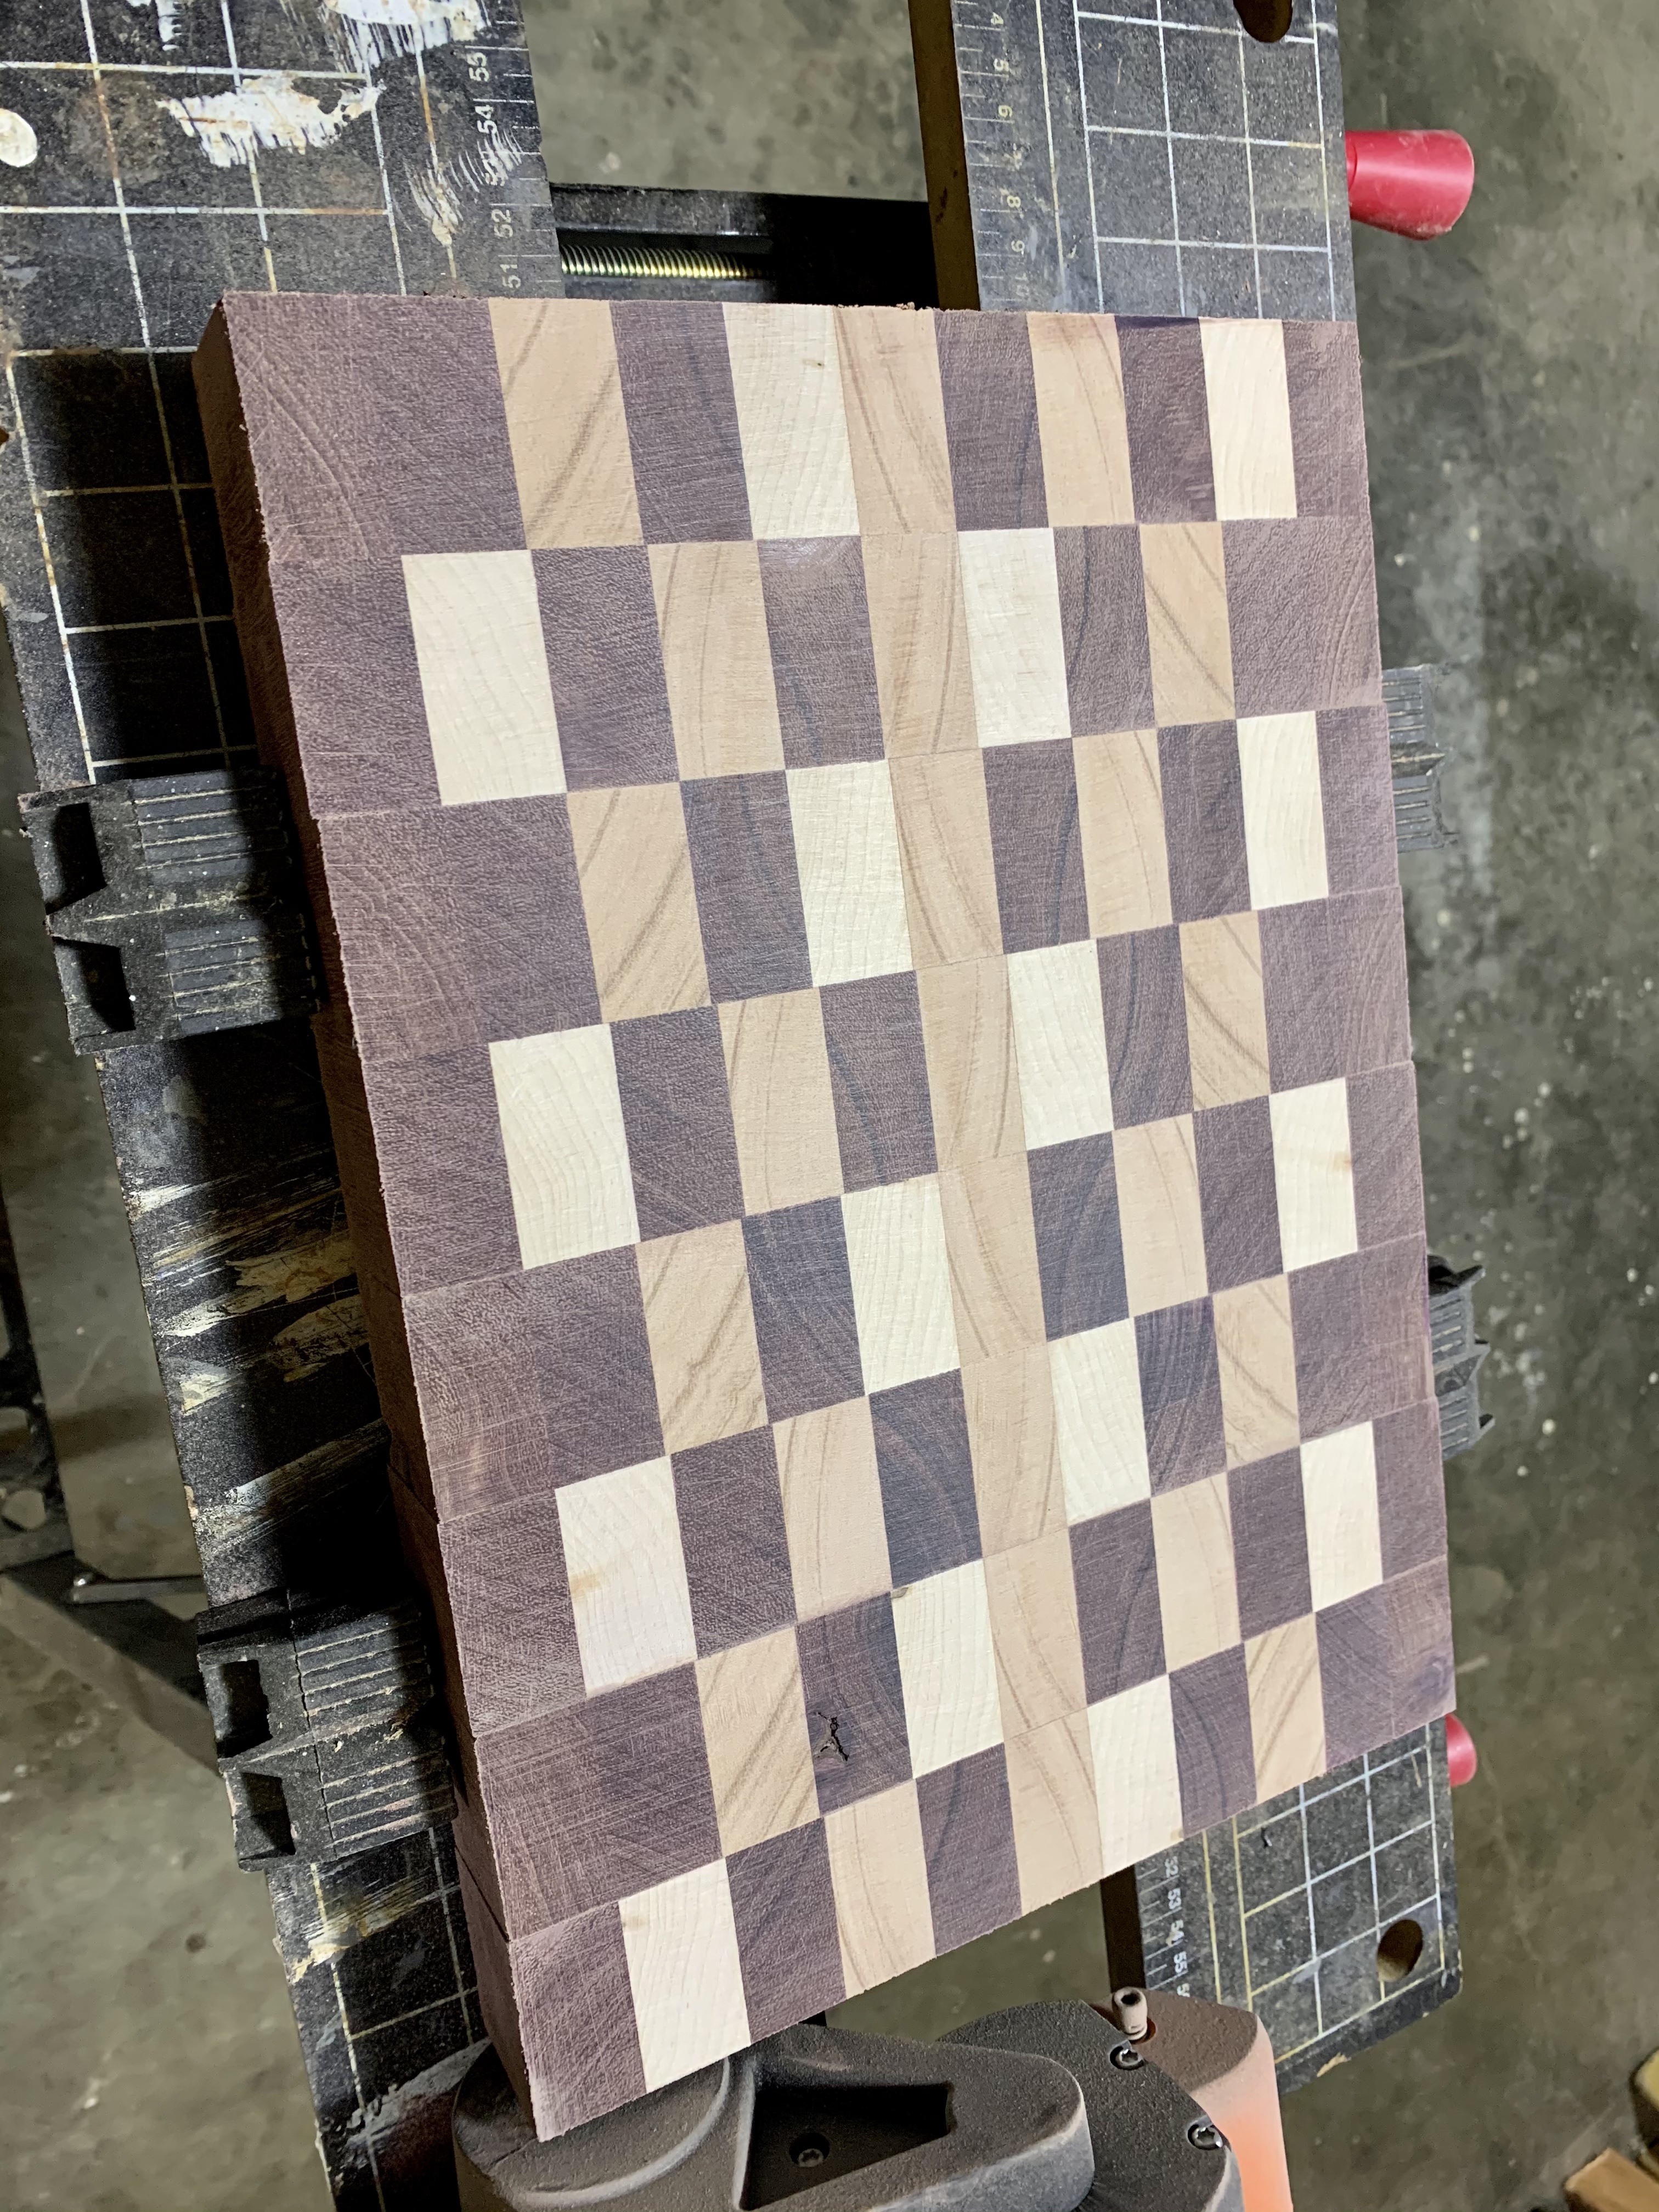
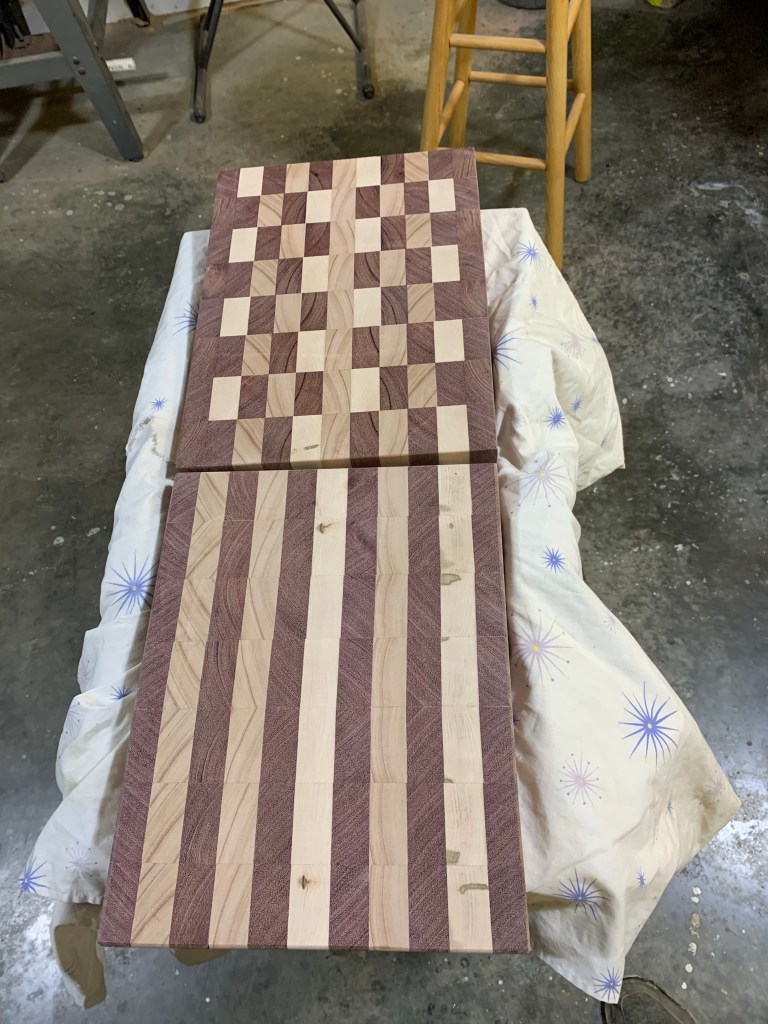
Anyways, the glueing went well overall with the exception of my Marauder board. I have dubbed it that, since it solemnly swears it is up to no good. Geek reference there! Anyways, despite measurements, careful glue-up and being very careful to line everything up, it has somehow shifted and been up to a little mischief. I swear when I left the shop with the clamps firmly in place, all of my lines were straight and perfect, and when I went in the next day, slight shifts were there. Frustrating, but I was determined to finish that board up. It is still a pretty board in its perfectly imperfect way. As my parents would say “it’s very adequate!”.
As mentioned above, I was very careful with this glue-up, making sure everything lined up as close as possible. I didn’t want to trim anymore off and instead wanted to just sand any minor imperfections in the joint areas. It worked out great and there was very minor adjustments that had to be made with the belt sander. Thank goodness I also got one of those for Christmas! This project would have been painfully long without it and I likely would have gone and bought one anyways in order to handle sanding the end grain. With the 80 and 120 grit sandpapers, I used the belt sander as it helped even everything out and get rid of those minor overlaps that weren’t perfectly square. Once I was sure they were done, I moved to 180 & 220 grit sandpapers that I did with my palm sander and my random orbital sander. See…it is important to have a variety of sanders in a wood shop!
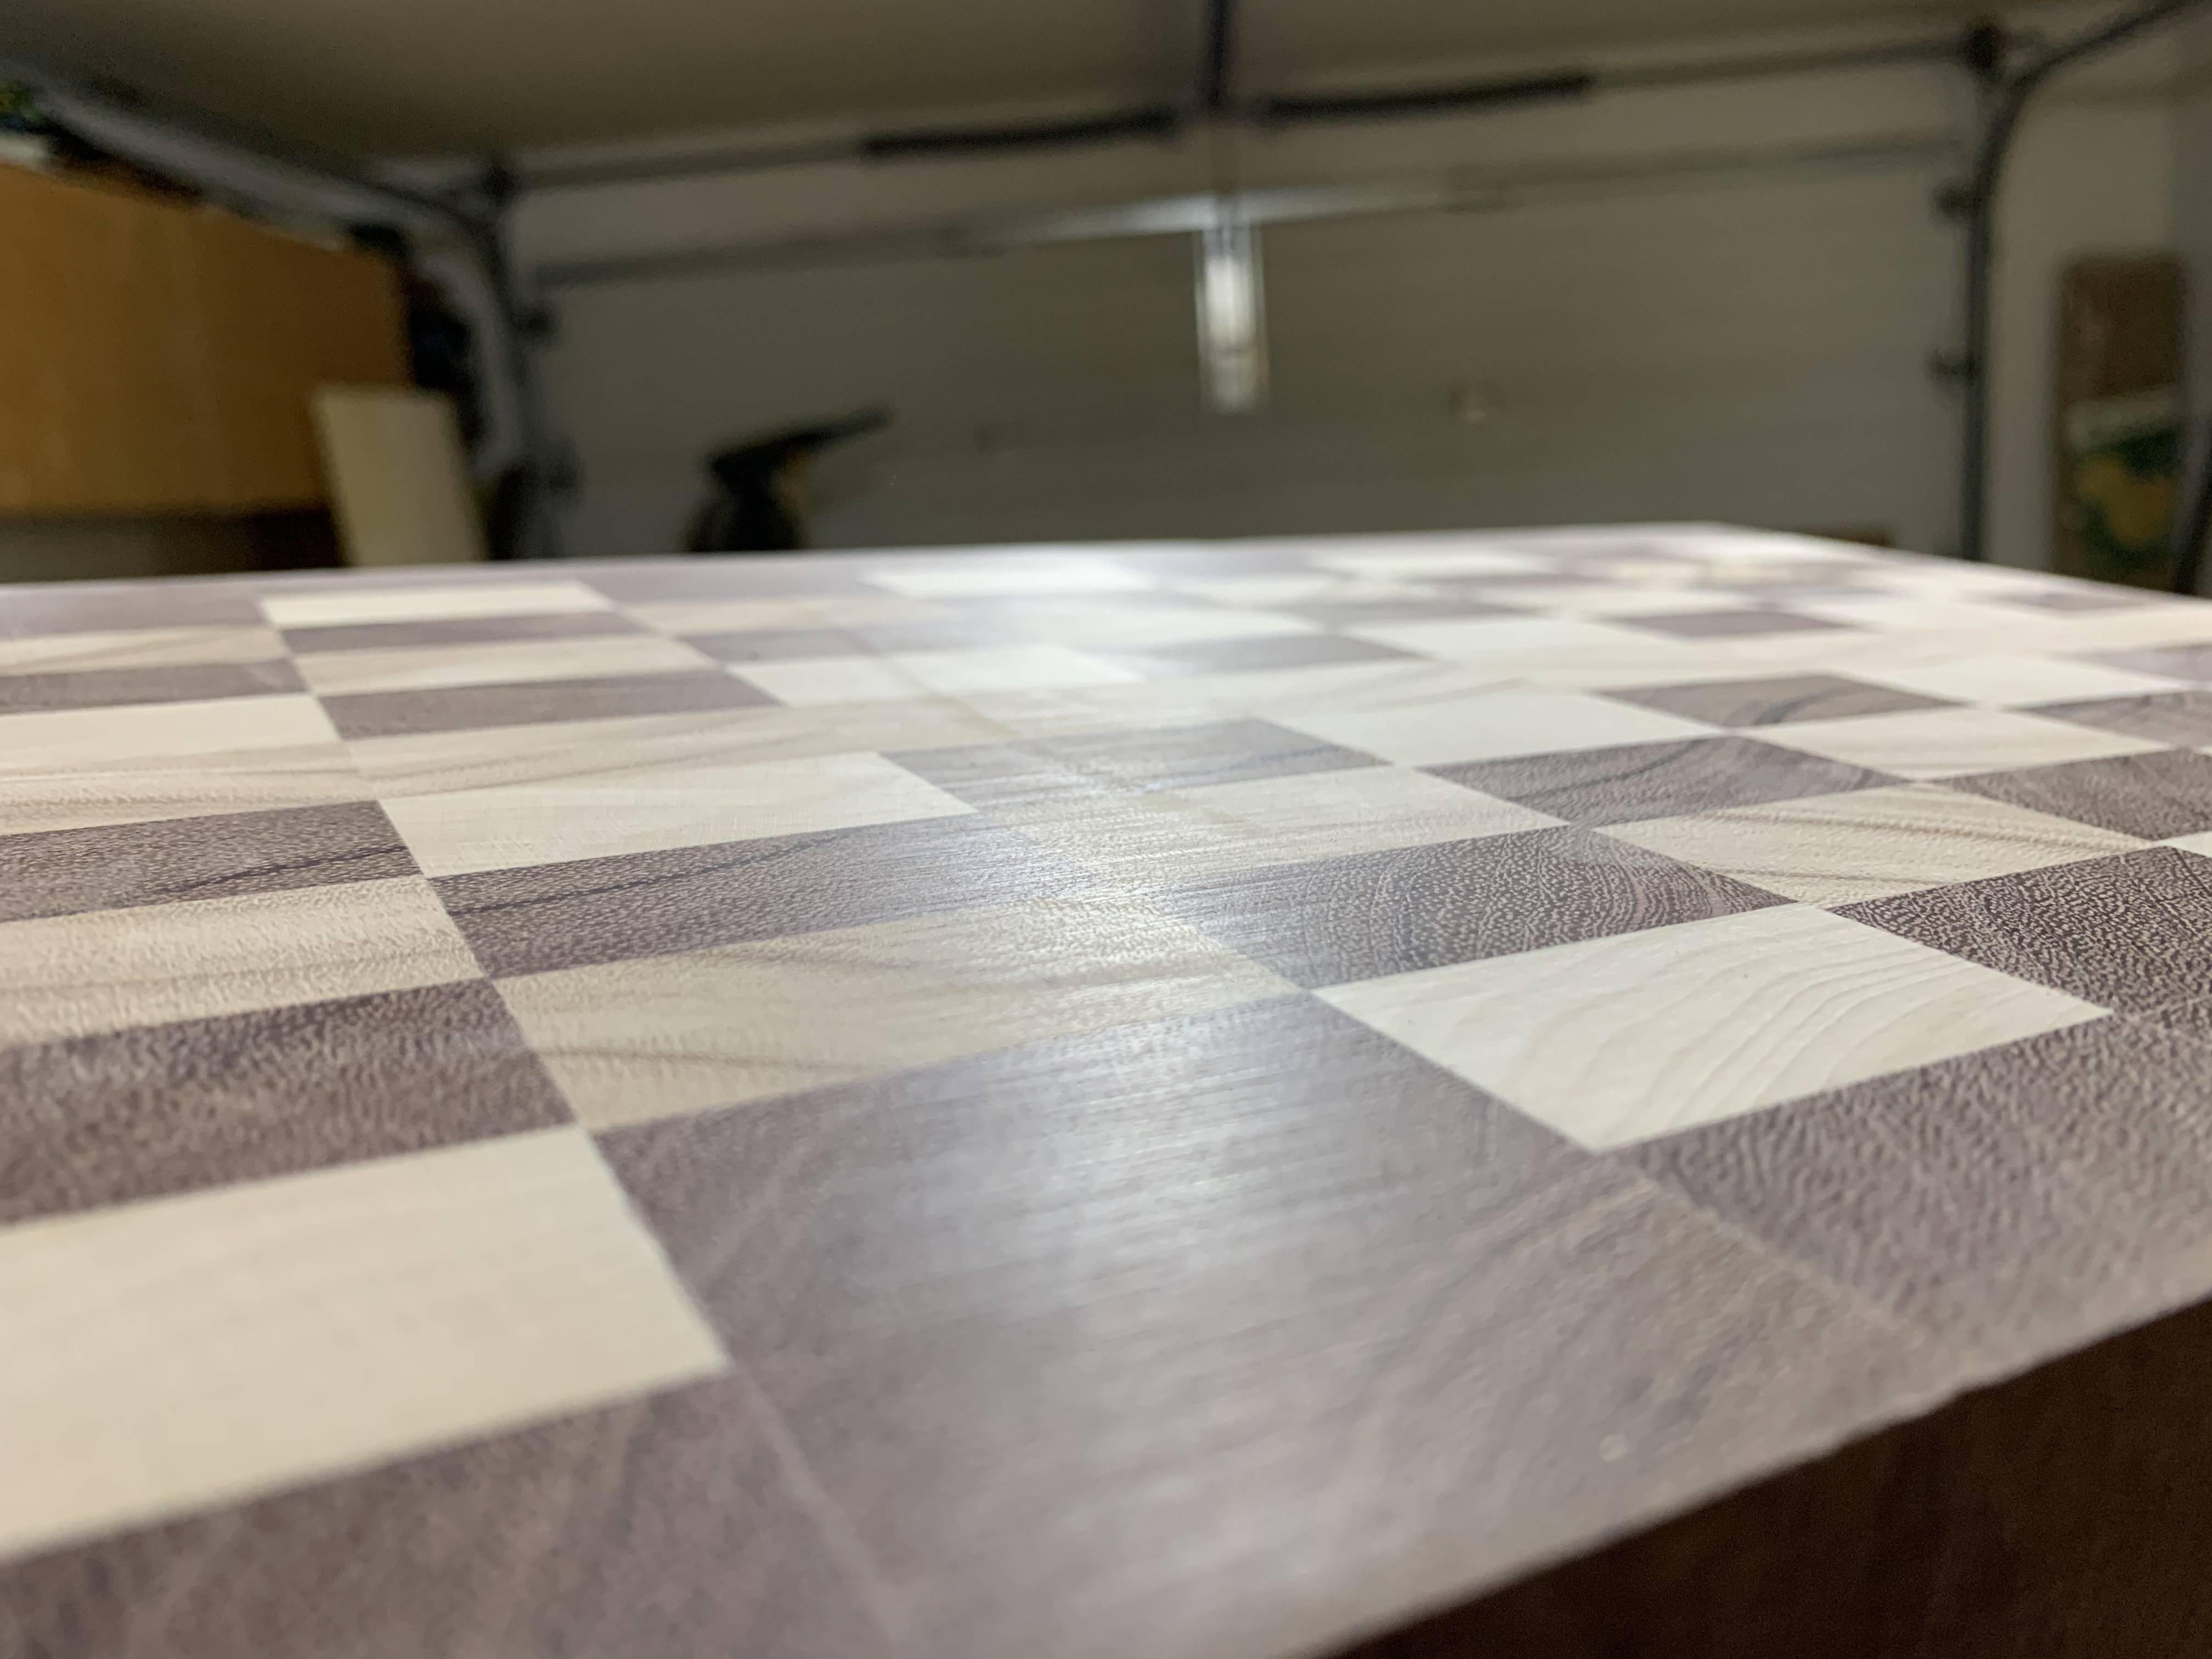
Oh, sanding. It is not my favourite thing. And with these cutting boards, I think I took more care than I ever have before when it came to sanding. I looked at the boards from all angles, with different lights to make sure that by the time they were done, they were as smooth as a baby’s bottom. And they are. They are nice and flat and silky to the touch, even before oiling and waxing. Oh, sanding, how I hate thee. For the three boards I must have put in 5 or 6 hours worth of sanding time. Luckily I have a nice little speaker in my shop and was able to jam to some tunes and get lost in thought which helped the time pass. Let me tell you though, my arms were buzzing for days! Perhaps one day I will be able to afford a drum sander, which will make it much easier on those end-grains.


After all that hard work in sanding, it was time to router the edges and the handles in. I started with the Maurader board, because I figured if any of them were going to give me trouble, it would be that one. And low and behold, trouble! I wanted to round the edges of the board slightly for a softer look overall. When I did some test runs with some scrap board, everything went great. The first few sides on the Maurader board also went great, and then I came to the last edge on the bottom side. For some reason it left a few chips along the edge and knocked part of the corner off. I have no idea why, something I am going to have to look into. So I scrapped the idea of doing the edges with my router until I had sorted that issue out.
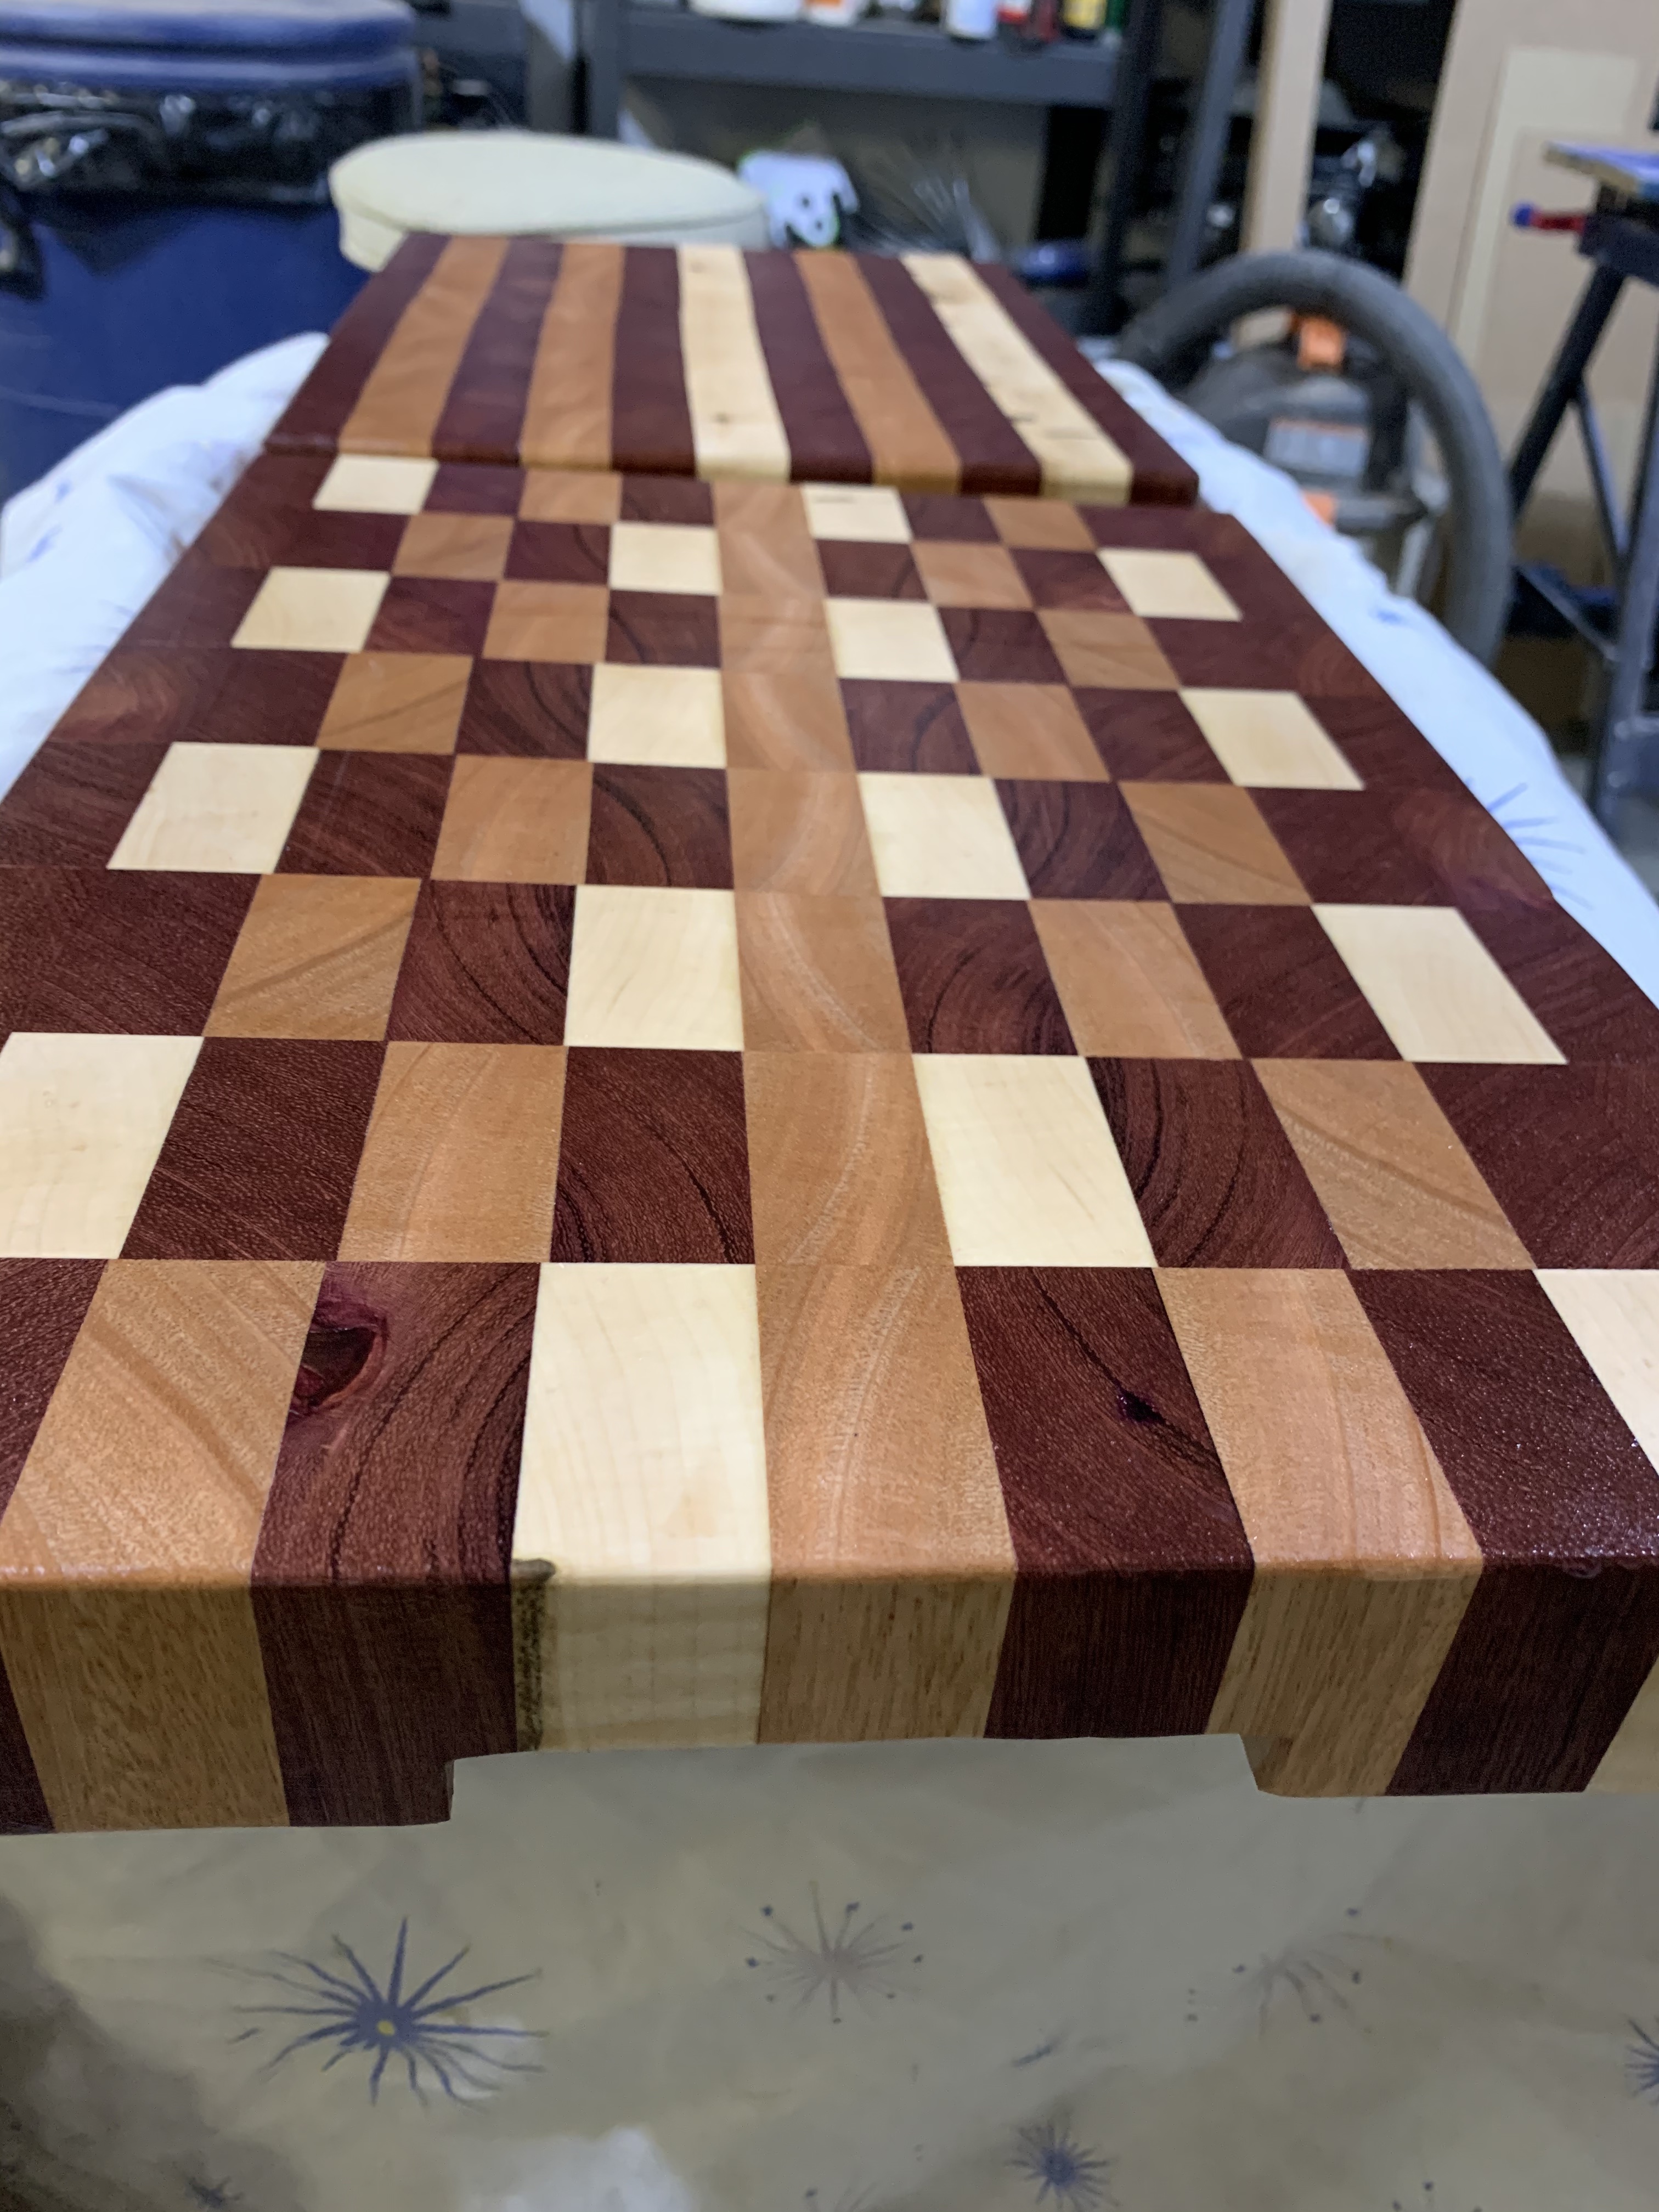
Instead, I grabbed the palm sander with 220 paper and spent some more quality time with the boards slowly softening the edges. They are not rounded like the Maurader board, but the edges aren’t sharp anymore. It still worked out fine, so I was happy.
The handles I decided to do with the router because there just wasn’t another good option to get the effect that I wanted. So, using a 1/2″ straight bit, set at 1/2″ depth, I was able to cut out my handles. In order to make sure that both sides were consistent as well as each board having the same size handles, I devised a couple stop points for the board while cutting the handles on my router table. I did a few test runs on a scrap piece of wood to ensure that I had a size that I liked. Once I knew the sizing, I used a few scraps of board and some clamps to create the stops for the board to hit. Worked like a charm. It make the handles quick and easy.


Then it was back to my favourite, sanding. there were a few minor blemishes that needed to be fixed and I wanted to make those tops nice and smooth again after having run them through the router guard. This time the sanding was pretty quick as there wasn’t a lot of work to be done, just some minor touch-ups. Once sanded again, I grabbed some of my work-stands and covered them with an old sheet that had been folded over to make a nice soft spot to lay it down on, guaranteeing no scratches or gauges. Then onto the next step. Branding.
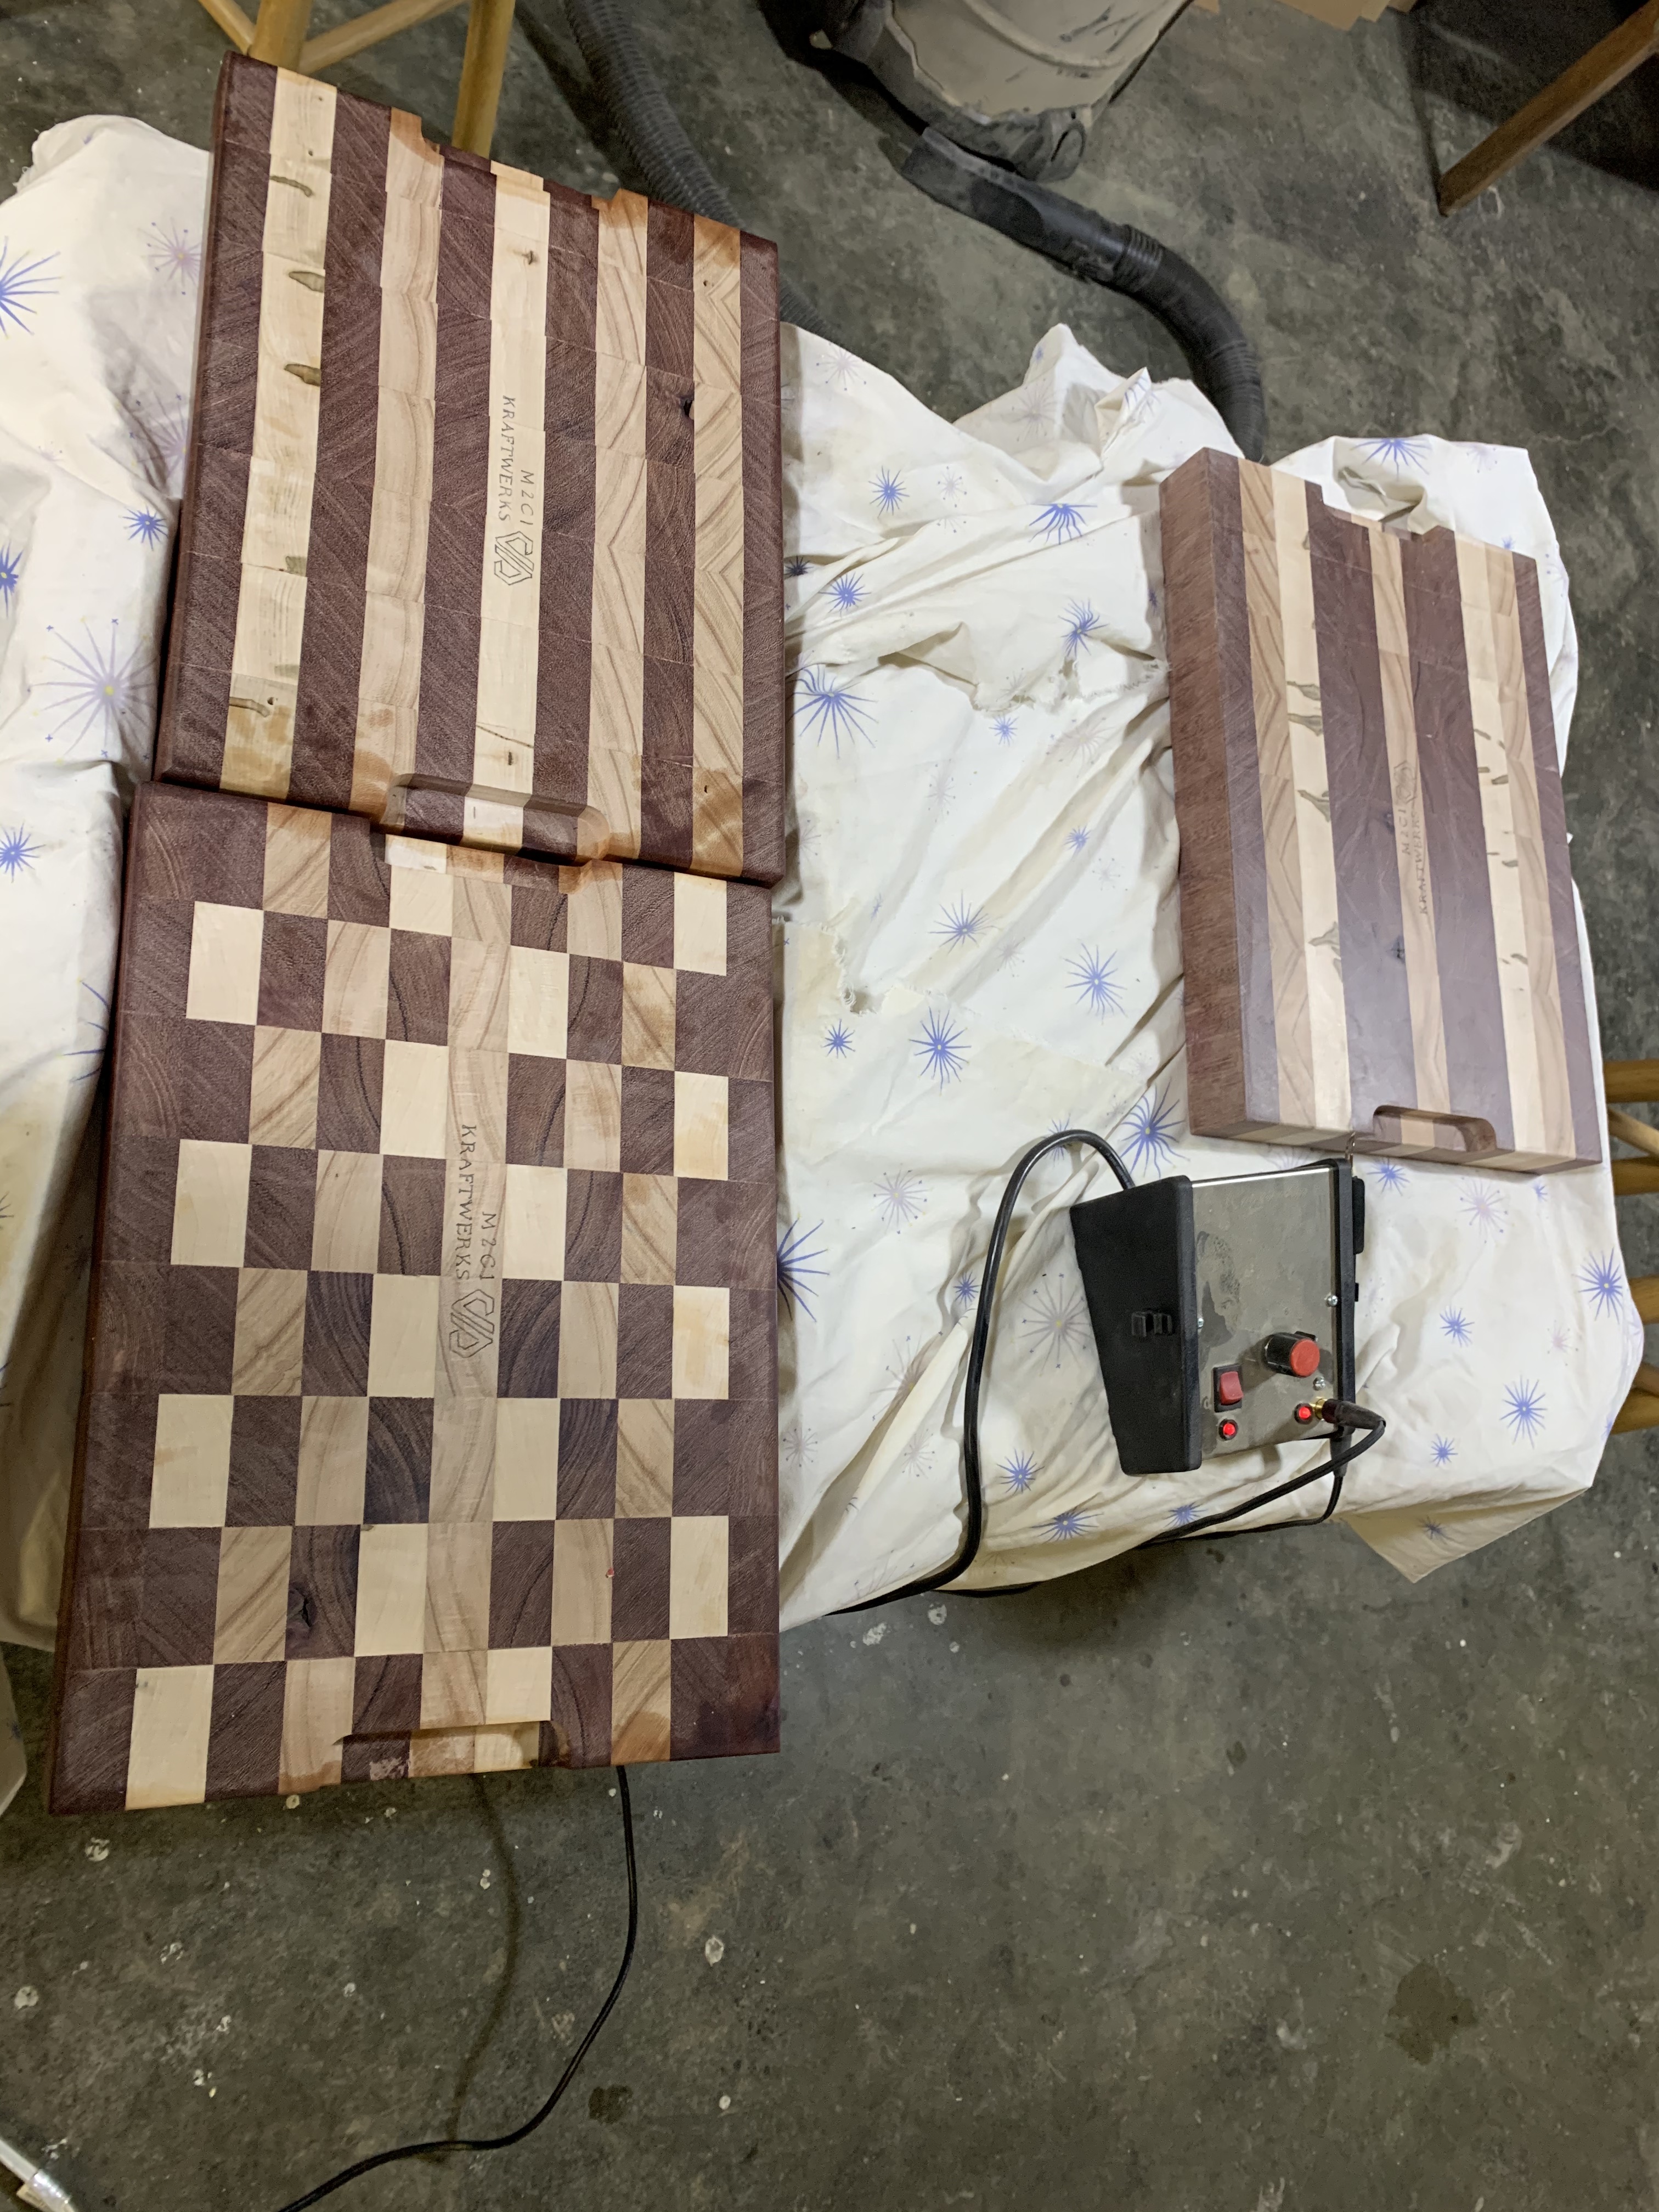
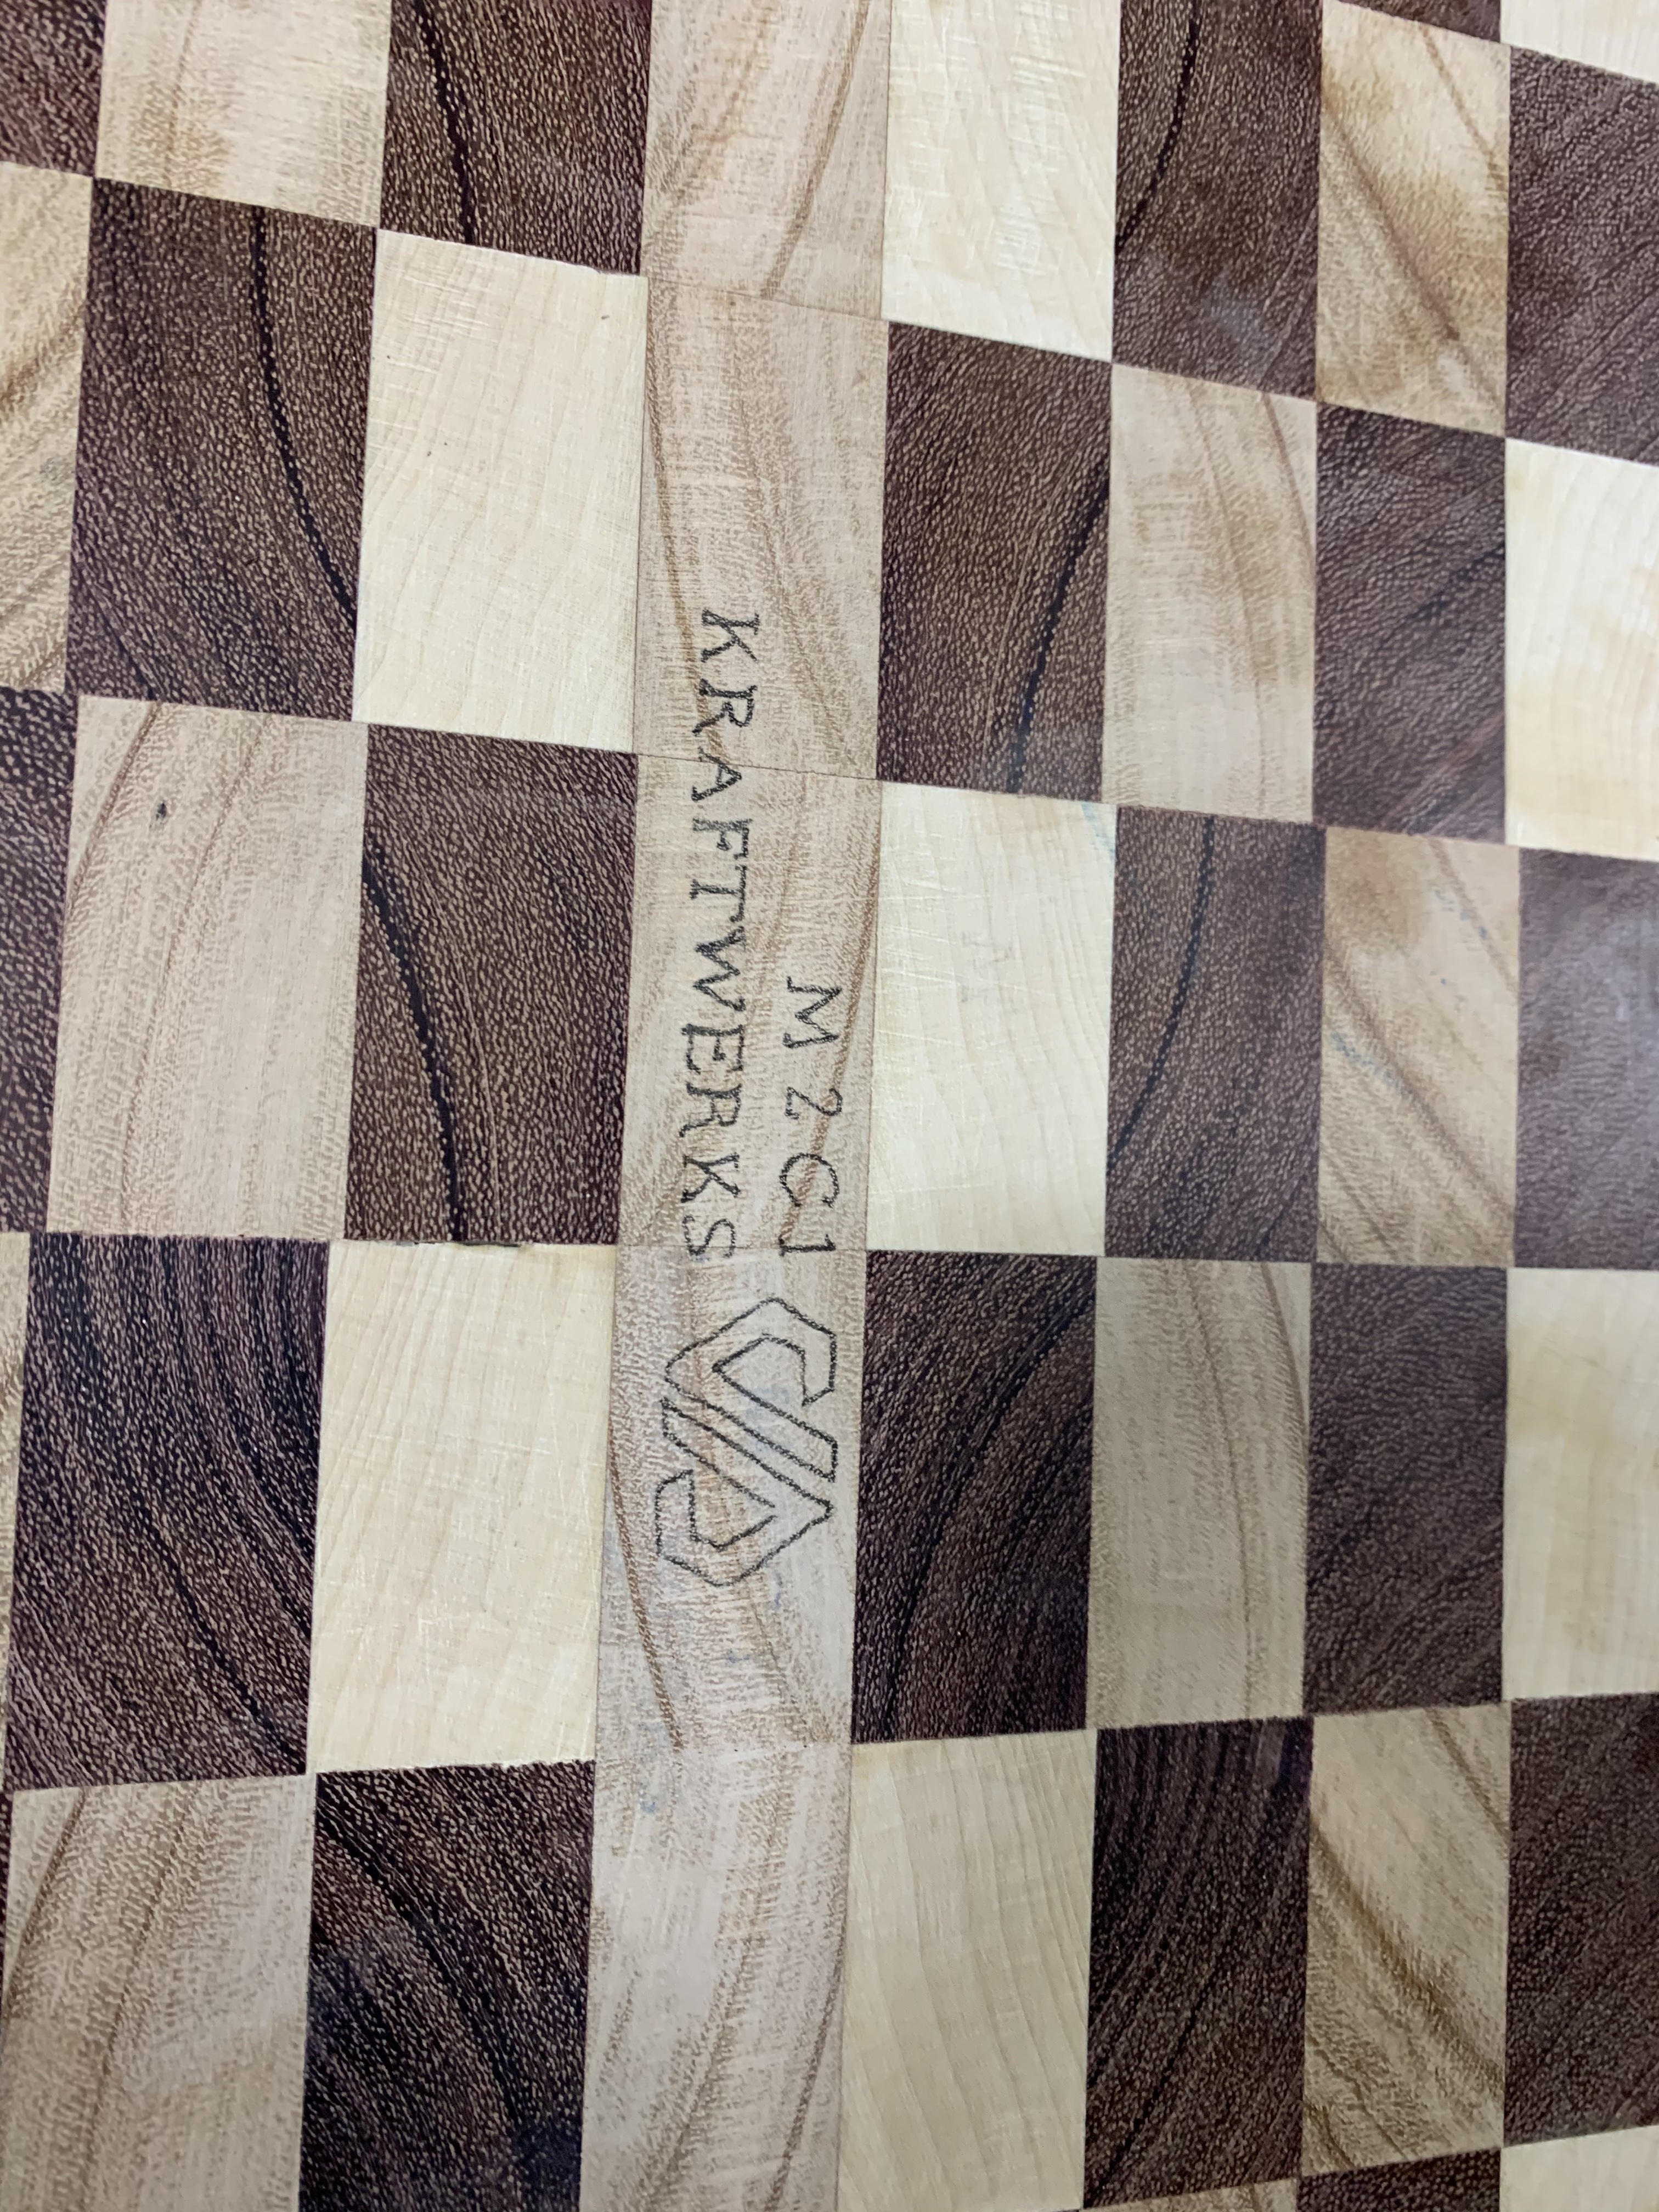
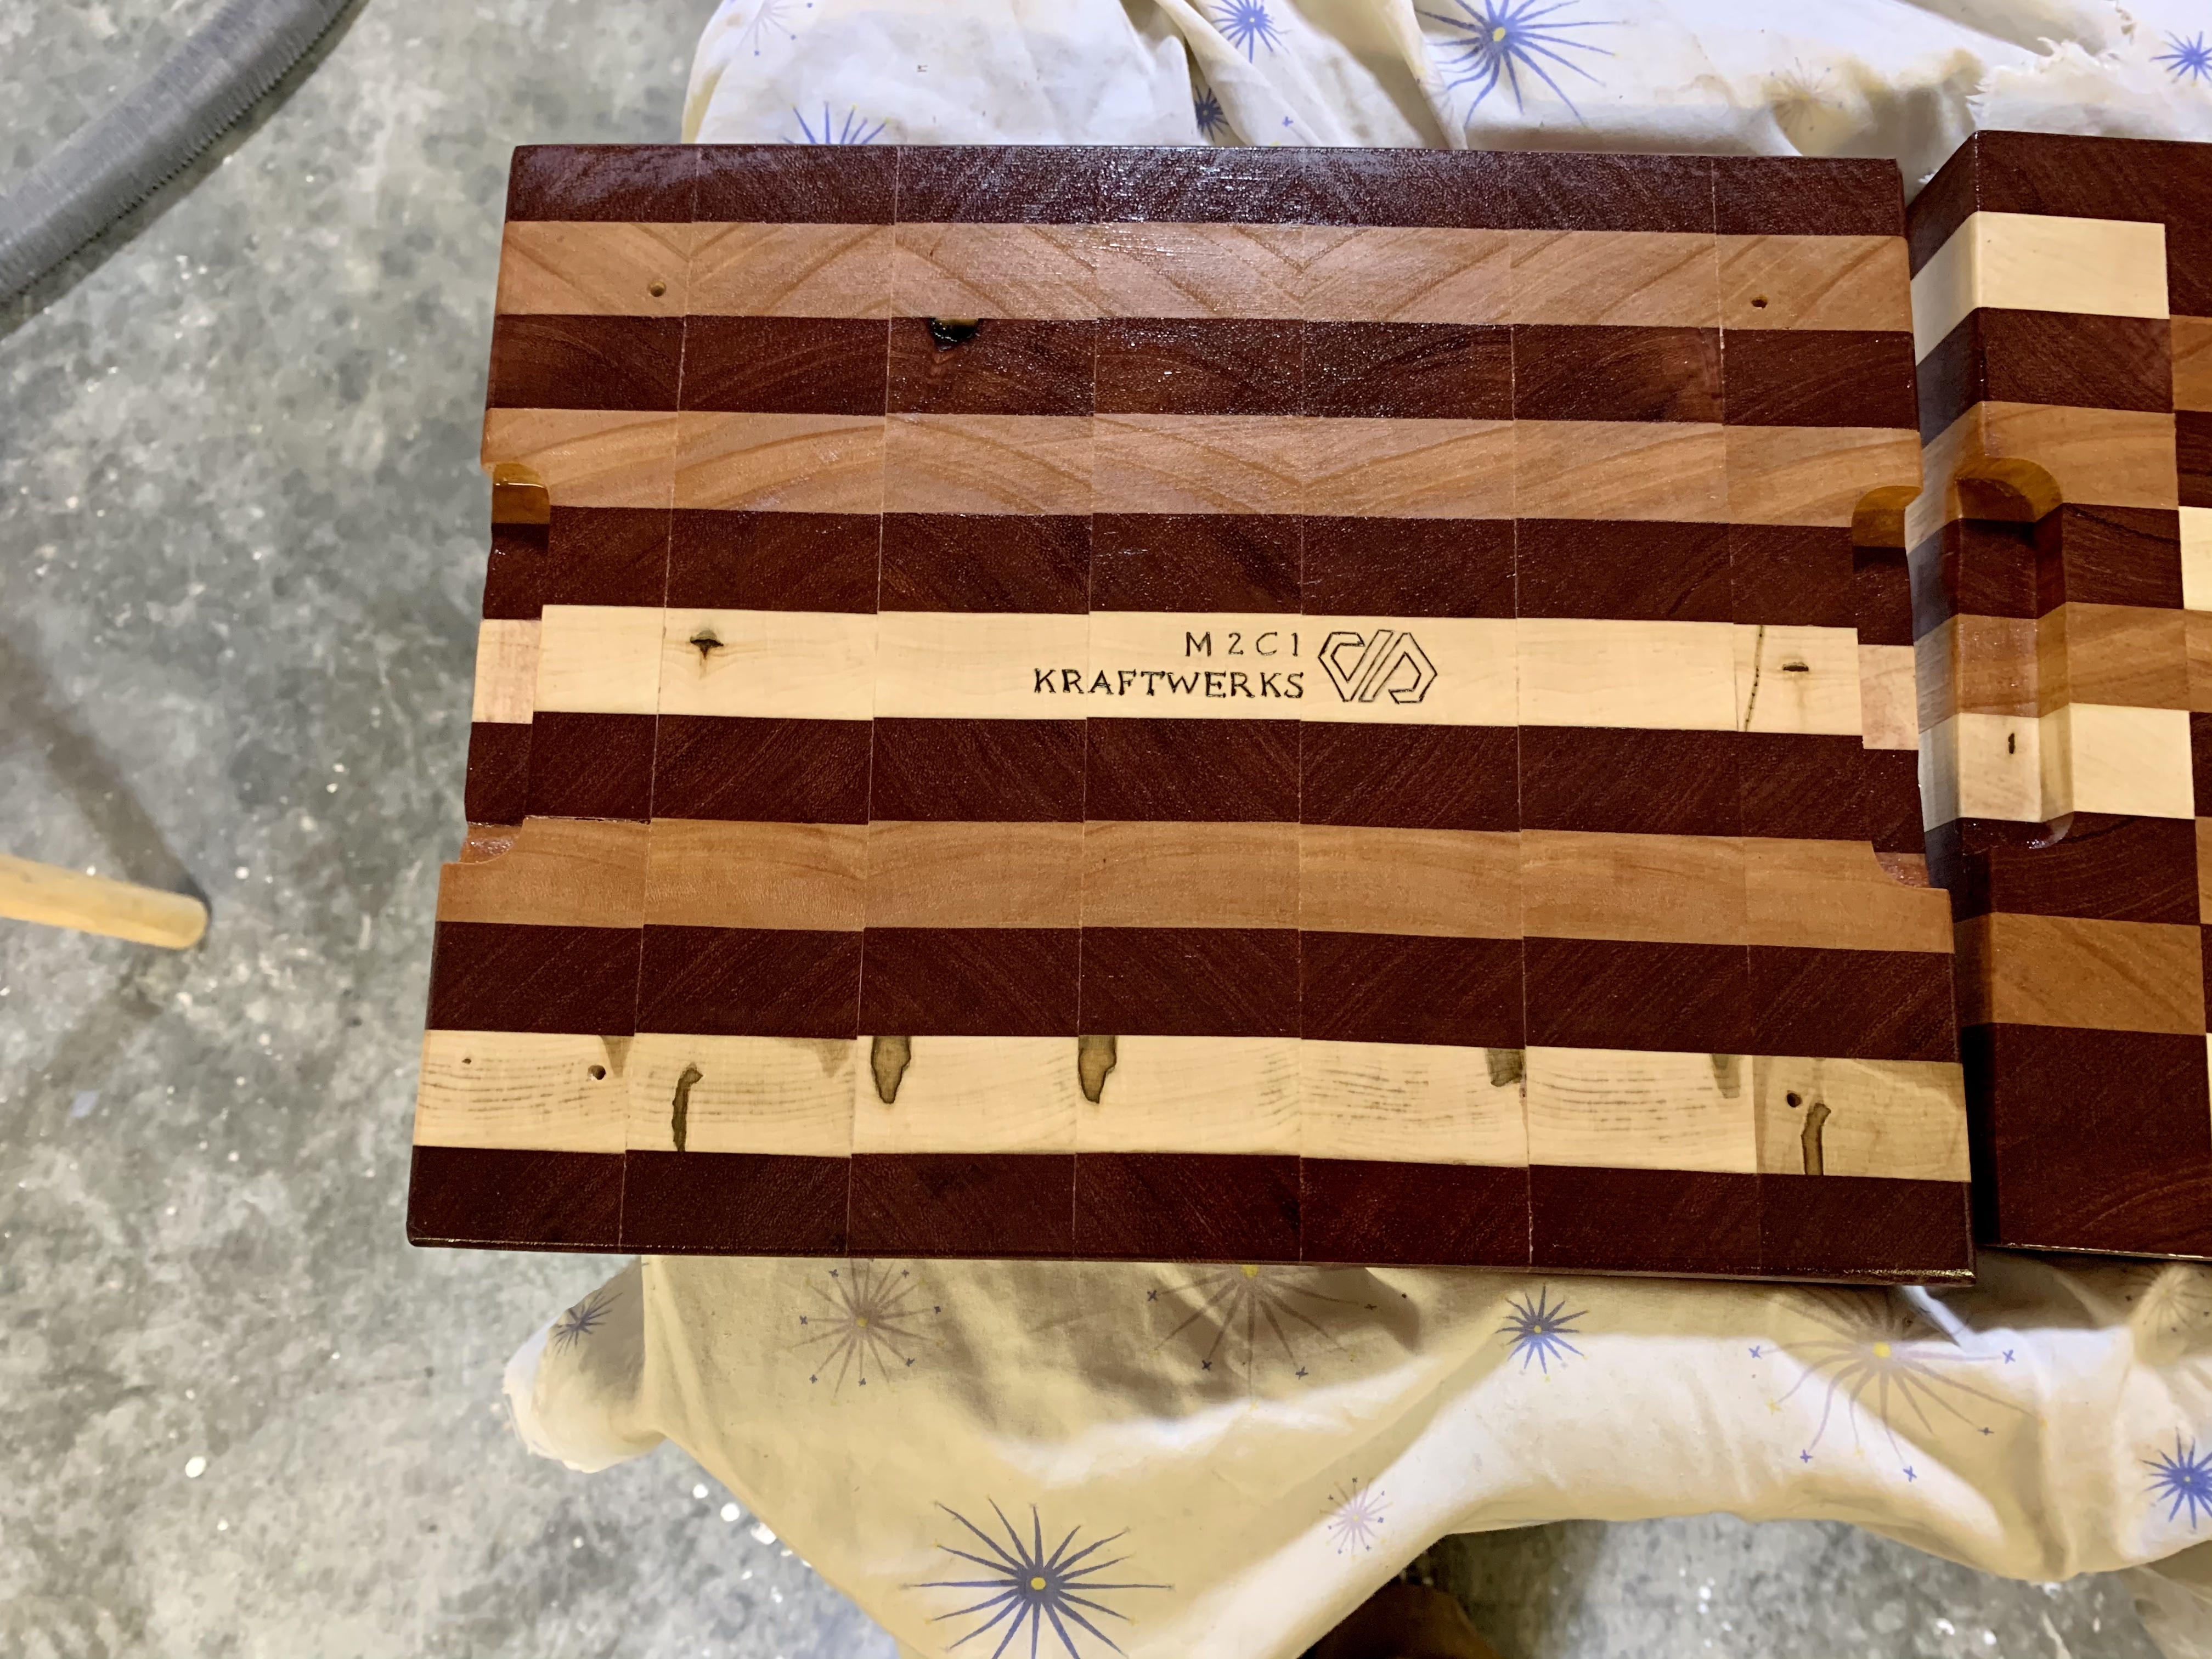
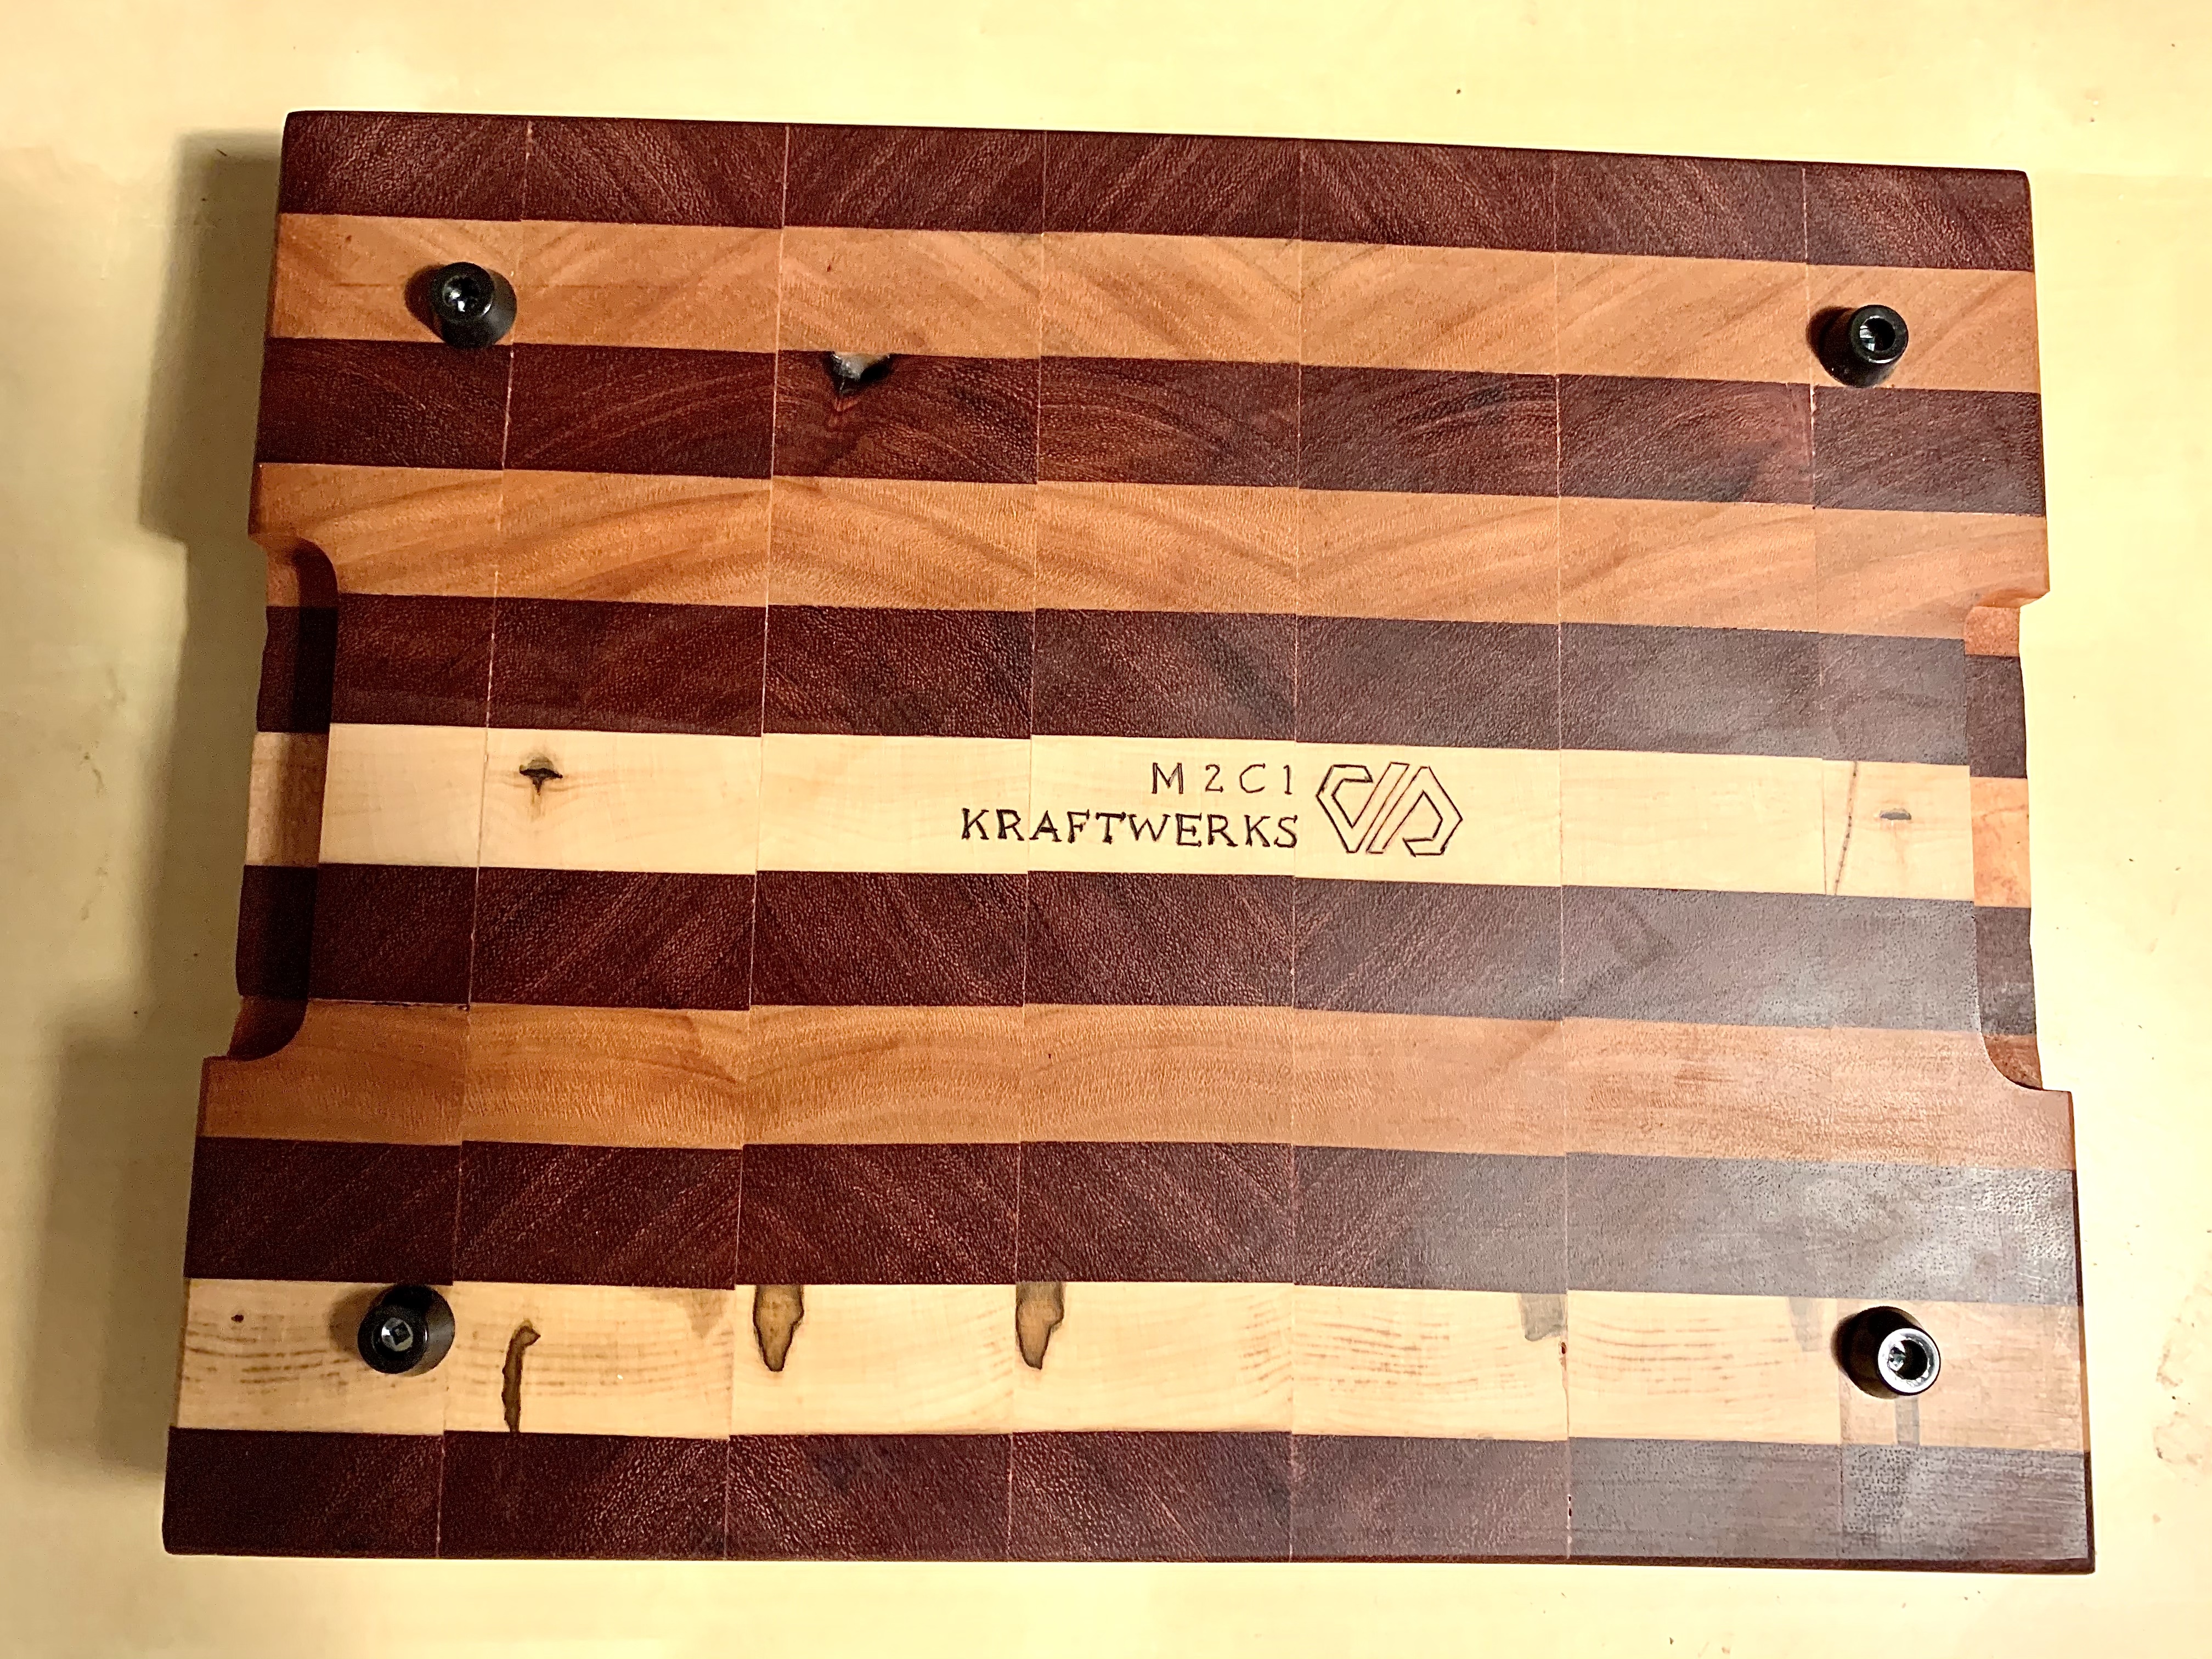
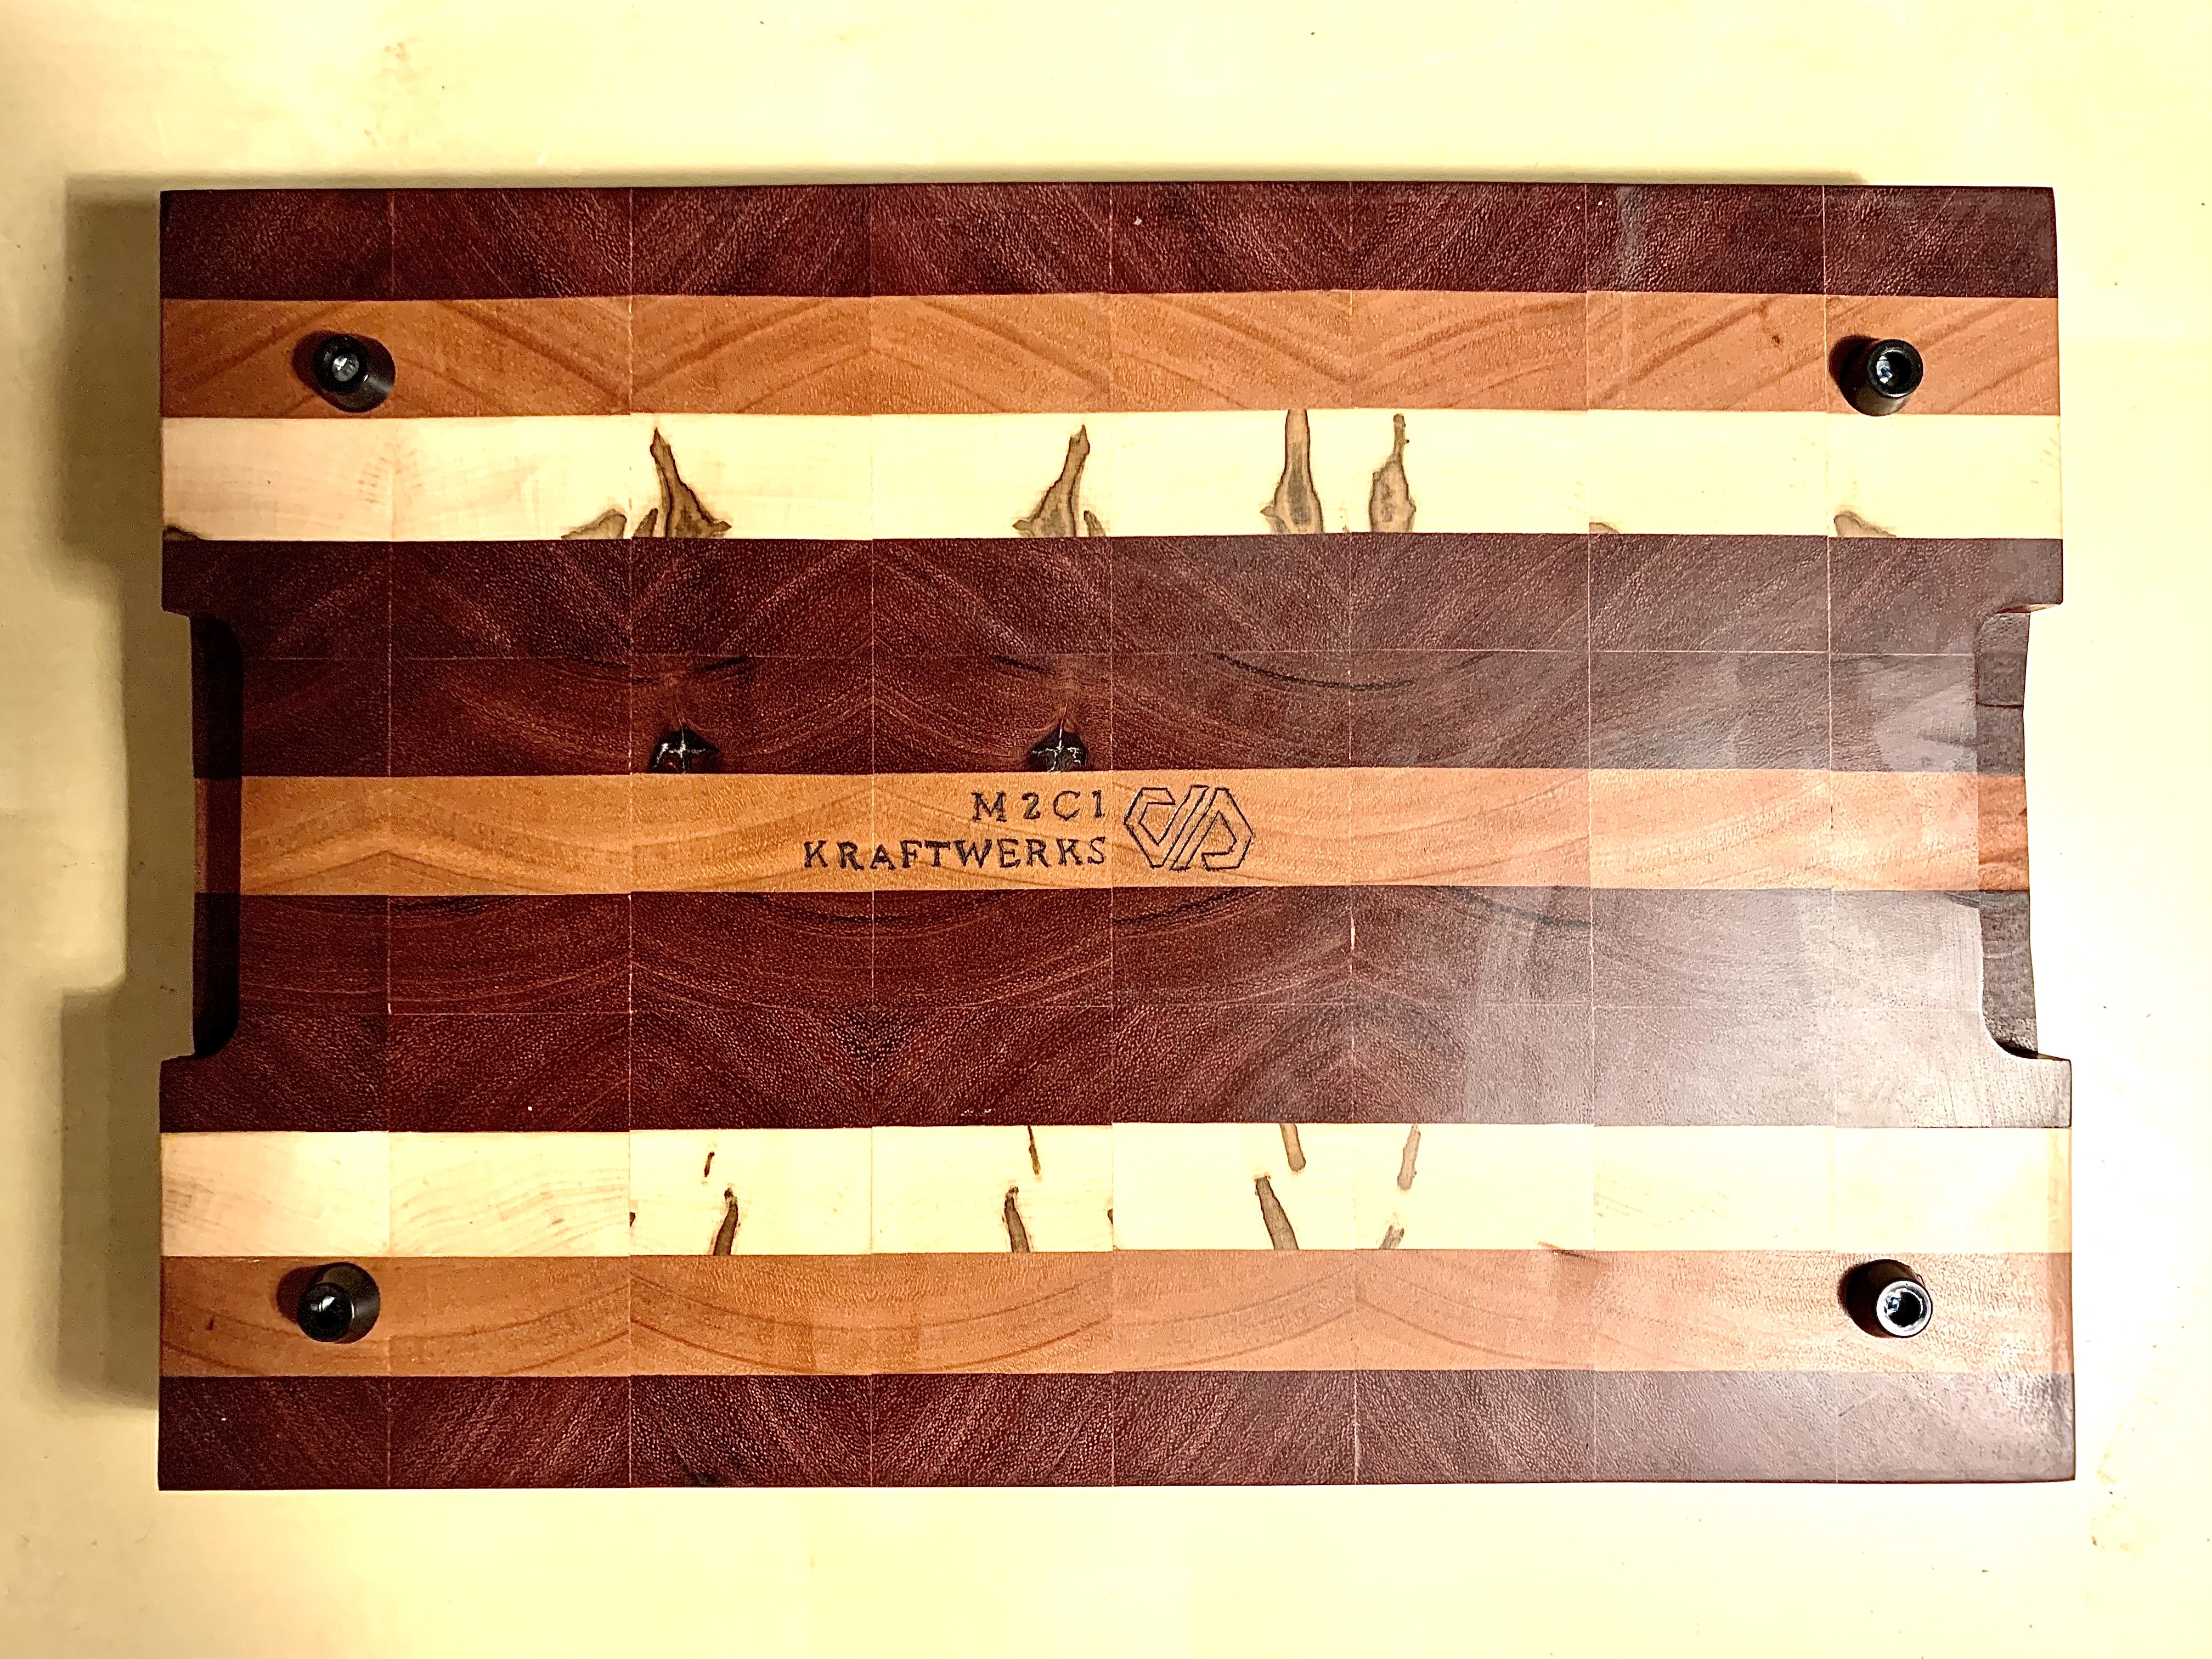
Another item I have on my shop list is an M2C1 Kraftwerks brand. I want to be able to heat that baby up and smack it onto my projects. Instead, I am currently using my wood burning pen and hand burning the M2C1 Kraftwerks as well as my initials into every project. It wasn’t too bad with these boards at least and the end result is awesome. But still, the brand will be way cooler and a lot faster! I’m still exploring options but would love to find something local-ish.

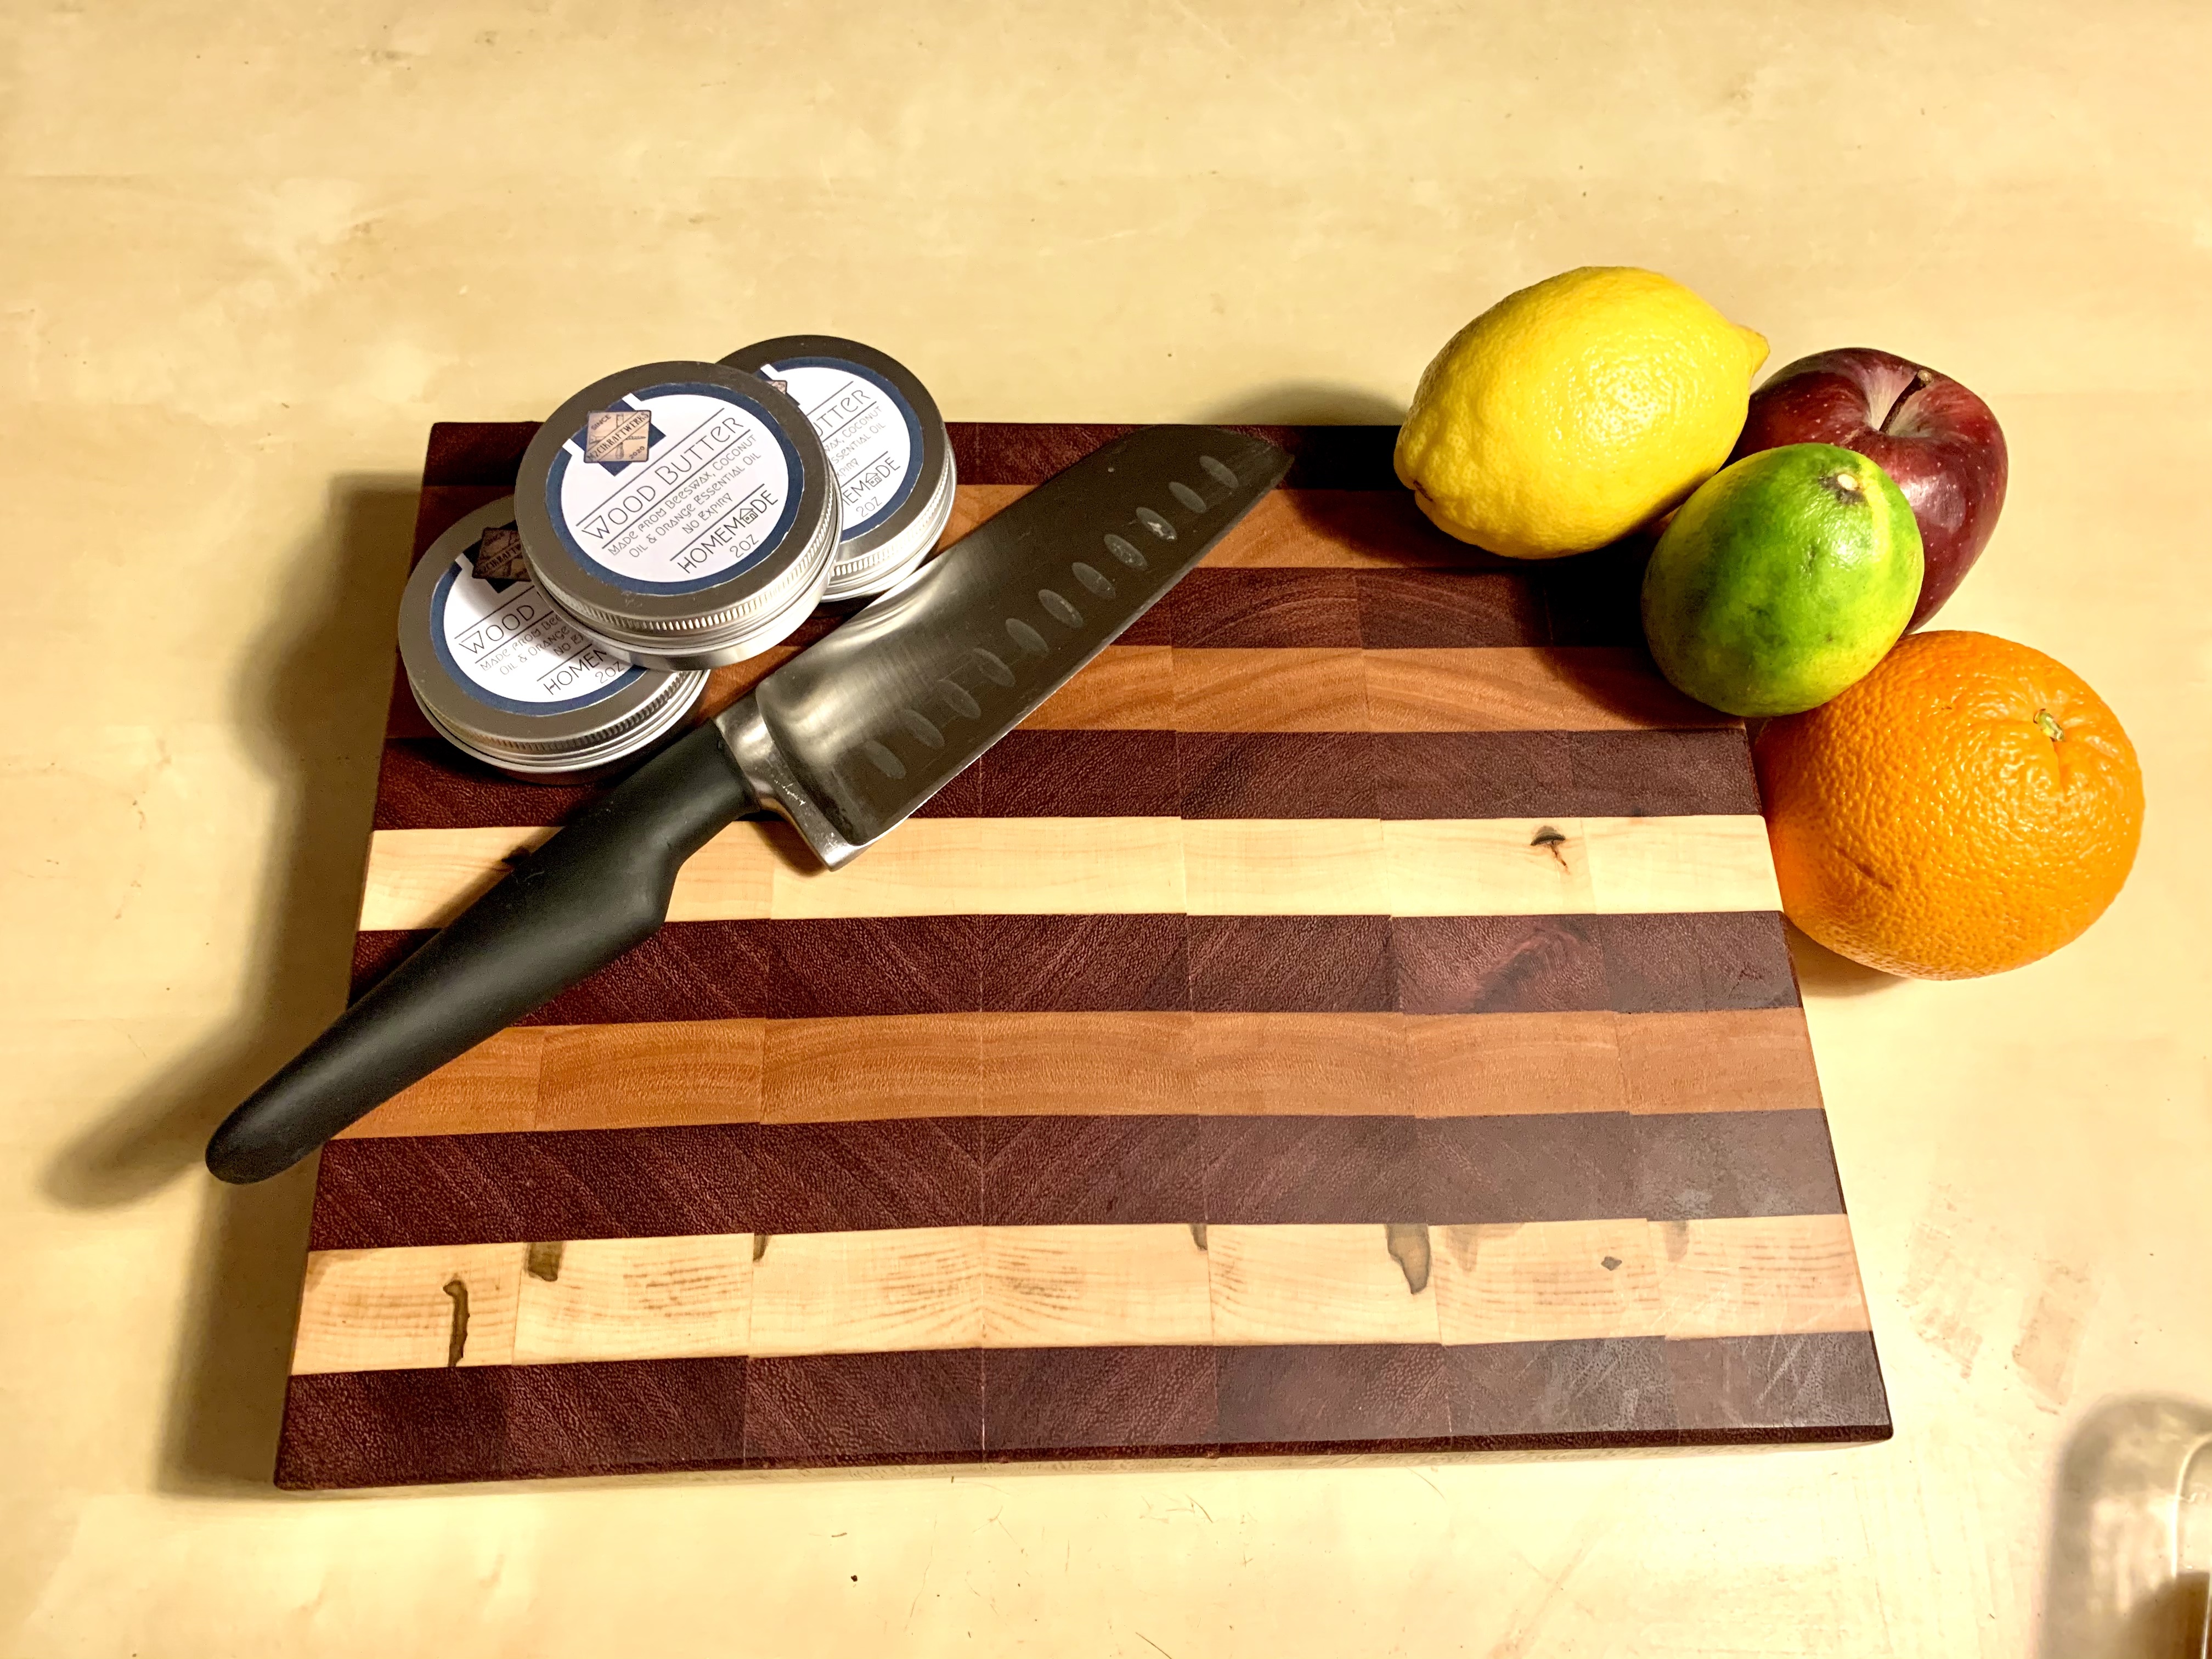
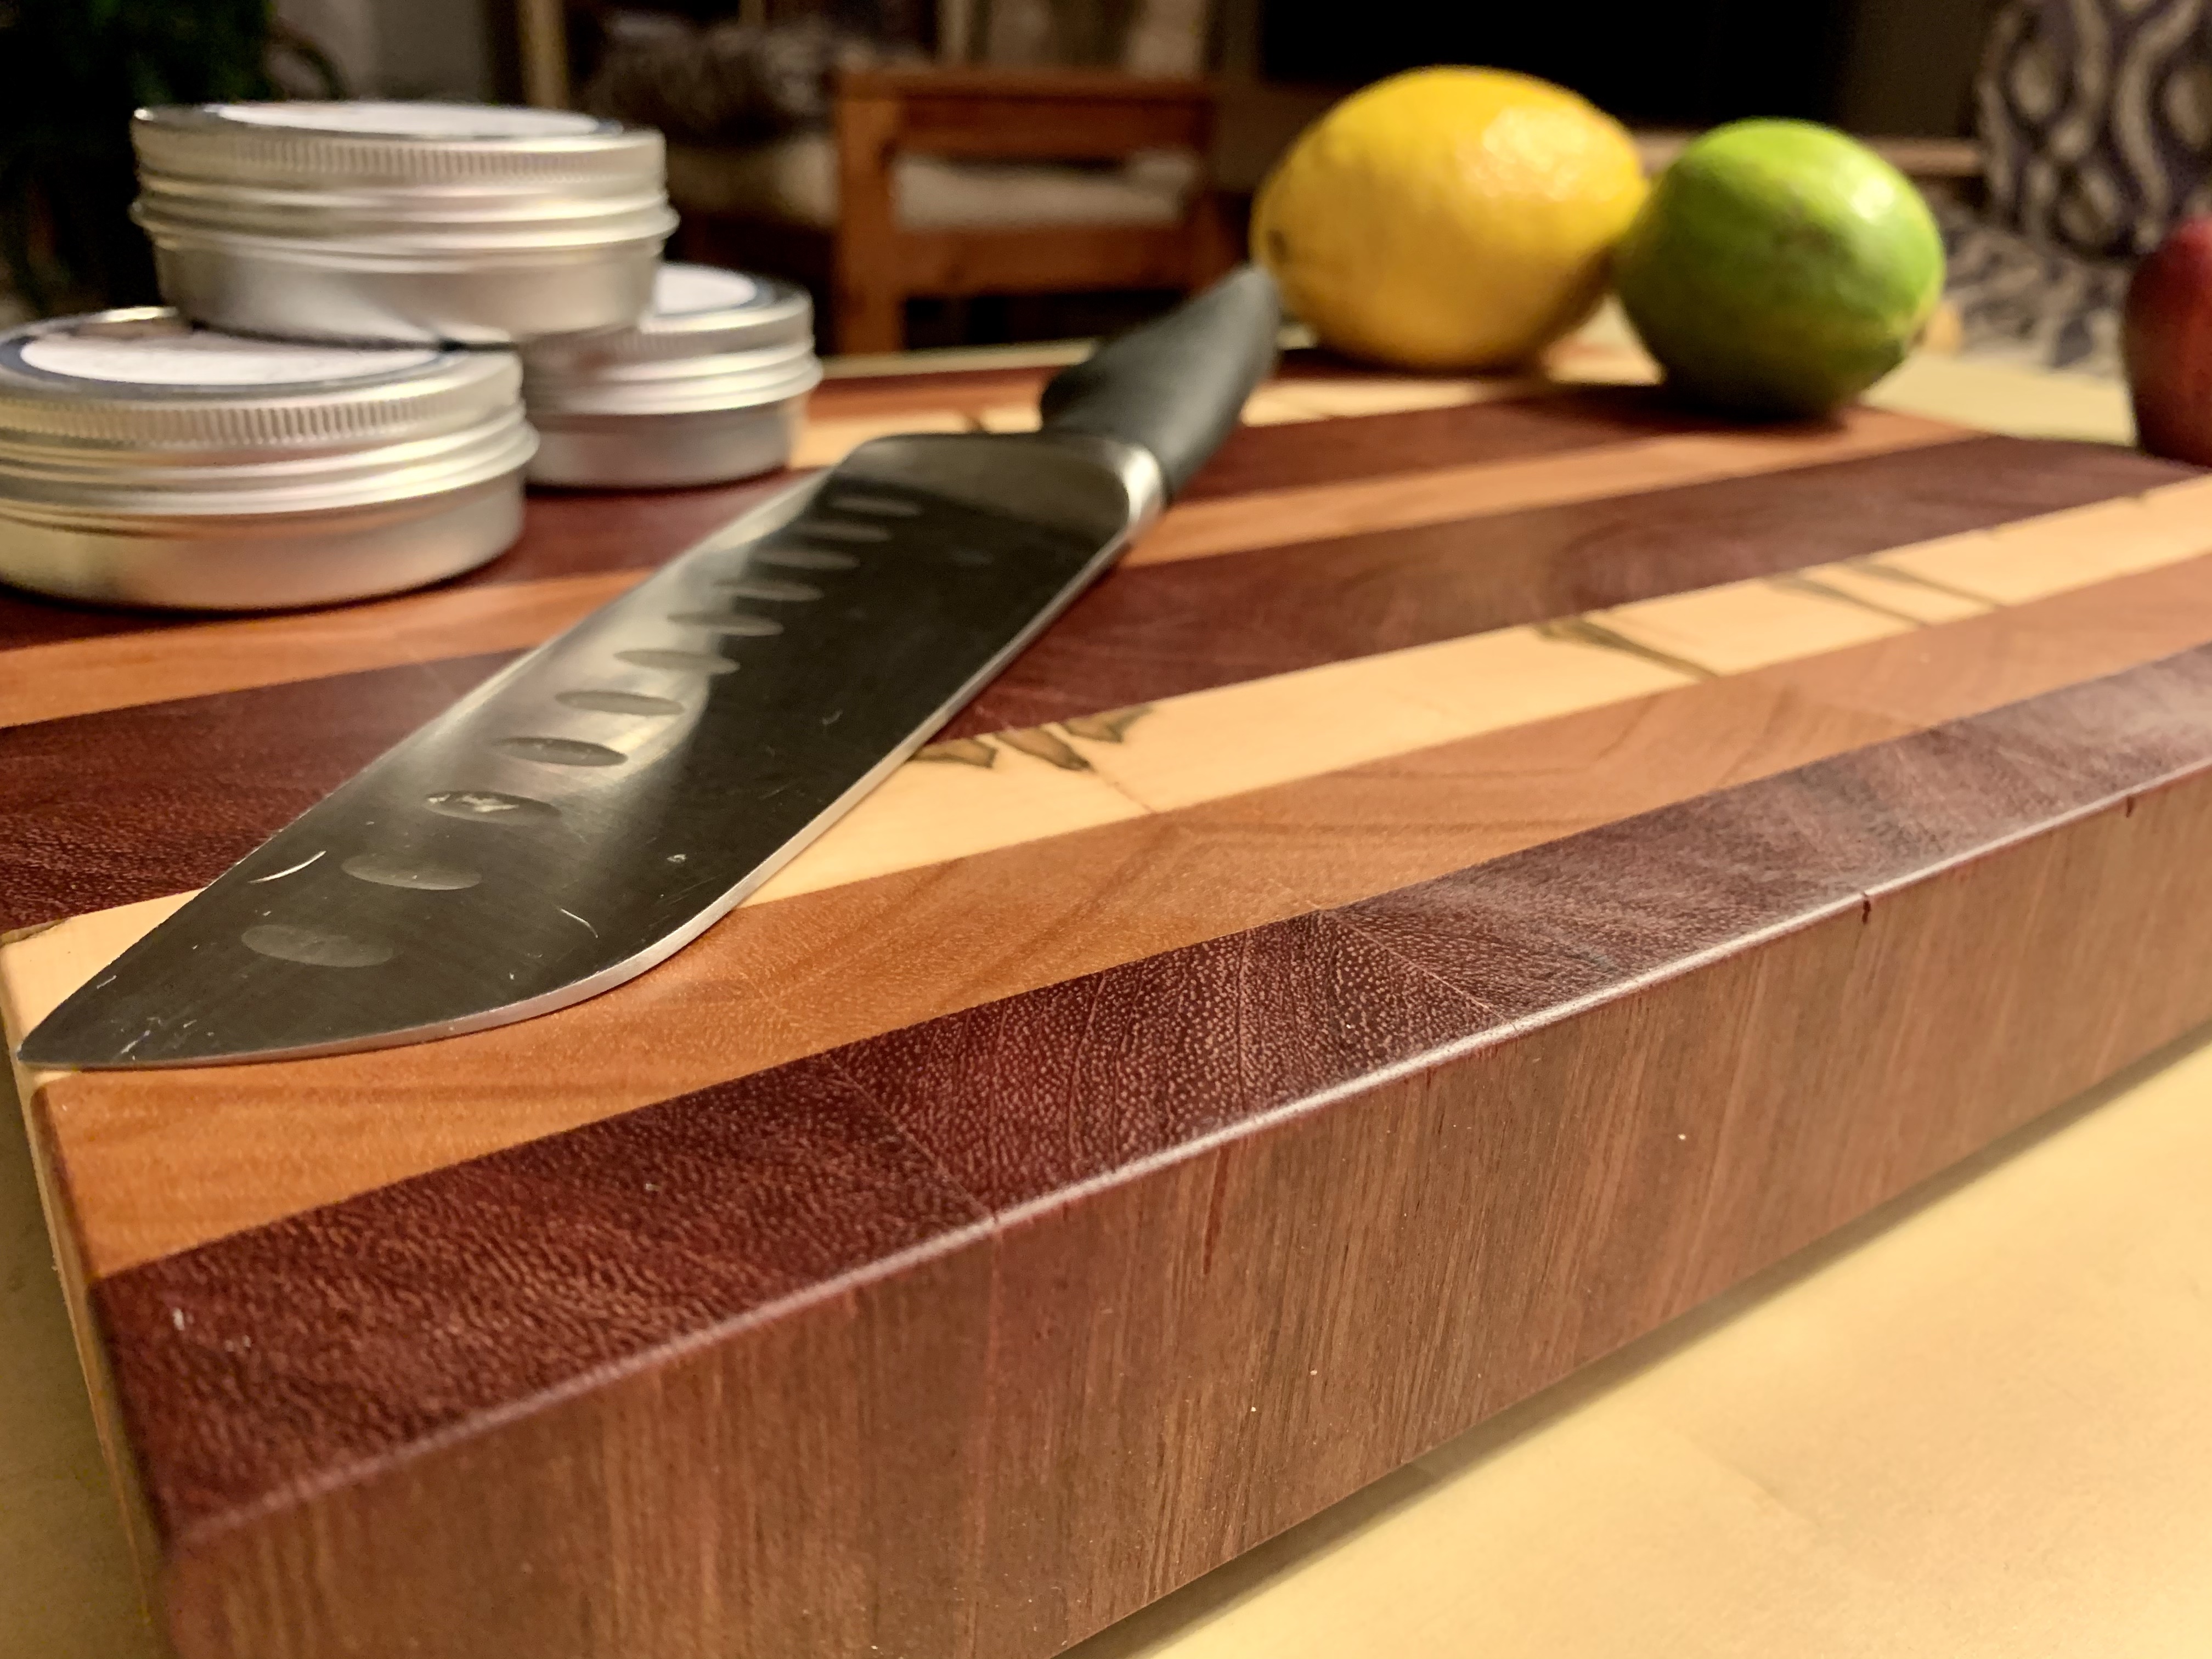
Once the brand was in place, it was time for the oil. This was the part I was most looking forward to. I knew that the colours and patterns were going to pop during this phase. And it did not disappoint! Wowza, the richness of the wood just came screaming out as the oil was applied. All the grain became more apparent and they just came to life. The first oil I laid it on thick and let it soak in for a few hours before buffing. Then, I applied more if there were areas or sections that I thought needed more. With a final buff, they were just about ready.


My final addition was 4 rubber non-slip feet. This helps in 2 ways, one in holding the board still while you are working with it, and two, it lifts the board slightly off the countertop, so if there is water, it should sit above it, helping keep the boards nice and straight.
I am looking forward to trying out more designs and doing a bunch more. I just need to decide on which hardwoods I would like to get for the next batch!