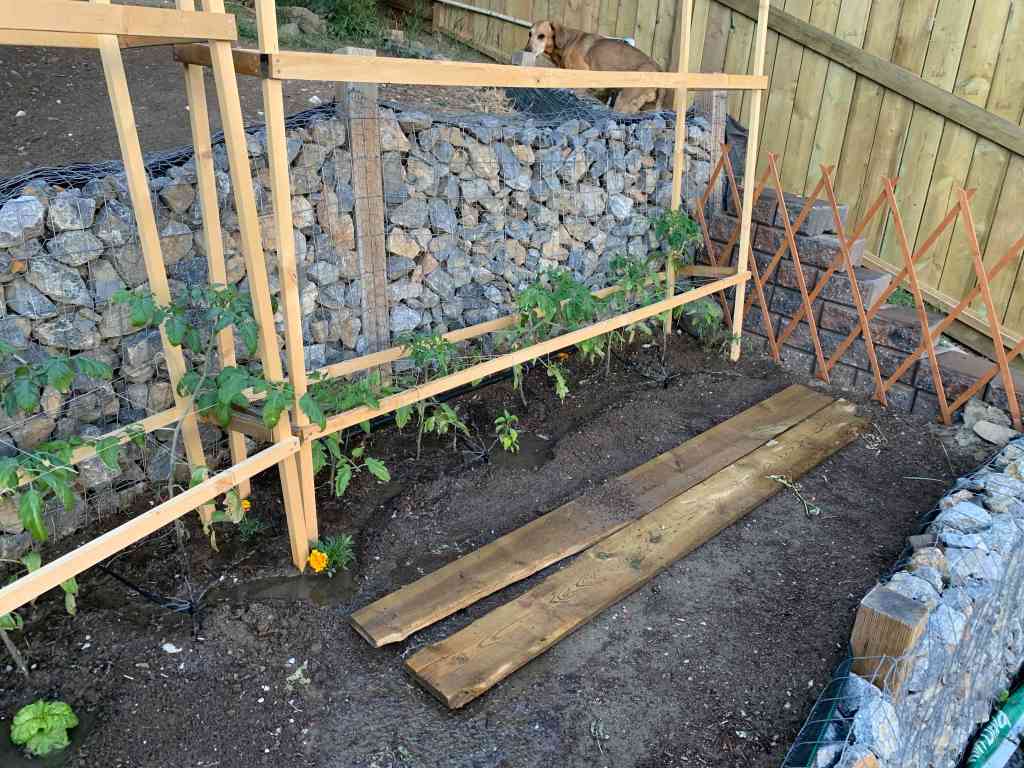
The new vegetables are all nestled in the new garden beds but some of them haven’t been overly happy. That in part is due to the fact that we can’t get a really good soak on the beds, though not from lack of trying. We don’t want to create a muddy mess, and were watering both in the morning and again in the evening, but for some of the plants, it just wasn’t cutting it. Our roma tomatoes were the hardest hit. Although hardened prior to going into the garden bed, we still just about lost them. They were planted during a warm streak in the hopes of giving them an extra boost, but unfortunately they wilted quickly. Our priority was to get them consistent water, later in the evening, allowing the water to really soak into the roots. We also wanted to give their bases a nice covering of straw to help keep the roots moist during the day. To do so, we needed to run our new irrigation.

Tomato Planting Day 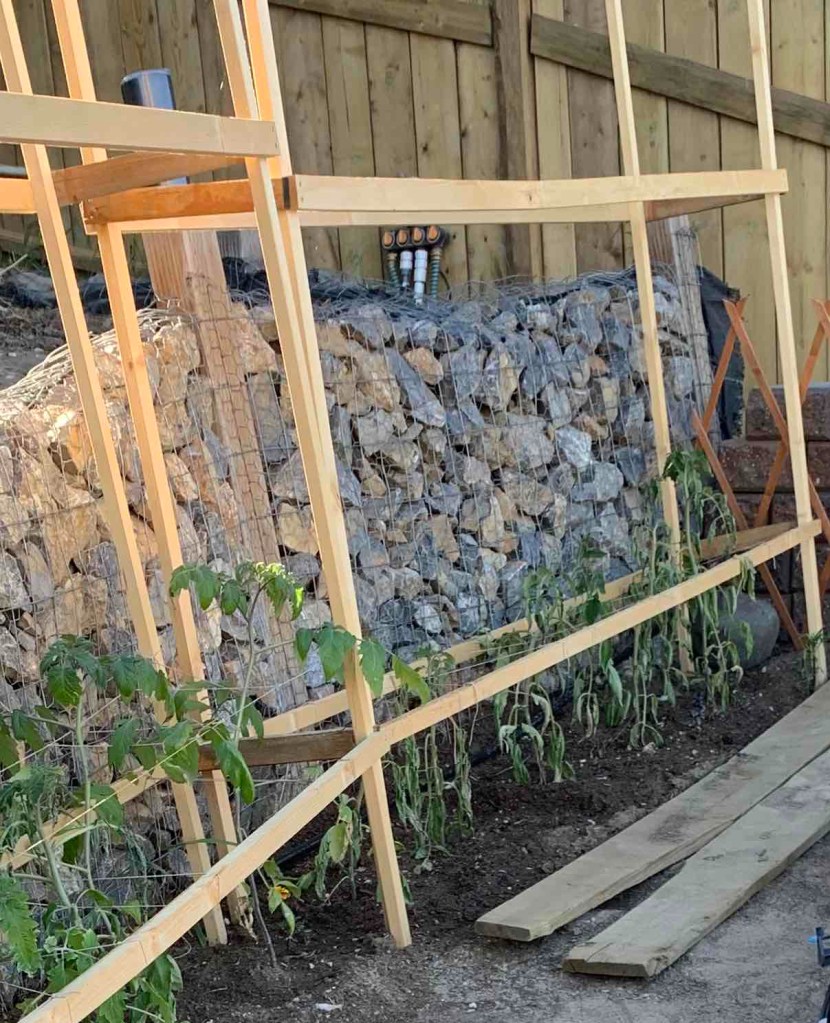
Unhappy Roma Tomatoes
We learned during our last adventure of adding long lines of irrigation, that it is good to have spare pieces of everything you need. We have a lot of spare parts for our existing lines, but unfortunately didn’t anticipate some of the extra pieces that we would need with this new line, so we got “started” on the irrigation a number of times, only to get held up at a specific point while we waited to grab the parts that we needed. While we fumbled along in our starts and stops, the garden hung on. The romas didn’t get any better, but they also didn’t get any worse, so we left them in and hoped that once they started getting consistent water, that they would be happy and bounce back.
Our plan was originally to run 2 distribution lines off one zone, but as we looked at the format and what parts we could find in town, we realized that it wouldn’t work as well as just zigging and zagging between the two new beds. In the end, this made for a cleaner setup and is easier to monitor as it is one long distribution line, rather than two shorter ones.
The line starts at our valve system that is attached to our fence. We ran PVC in-ground line from the water valve at the back of our house to the actual system. From there, we run a mix of PVC and distribution line, depending on which is better for where we are running the water to. If you are interested in our original build, you can read about it in our original “Breaking Ground” post. It is a simple Rainbird 4-zone system that we installed. They are an easy fix for those looking to add irrigation into their yards without having to hire a company to do it for you. There are a lot of brands of irrigation systems on the market, we went with Rainbird only because it was readily available when we were looking. It has been a great system, however if you do go this route, make sure to bring in the digital controller over the winter. They do ok in the spring and fall temperatures, but winter is too cold (depending where you live). We made the mistake of forgetting it outside one winter, and had hopes that it would be ok, but unfortunately it had some issues that we couldn’t work around and had to buy a new one to replace it.

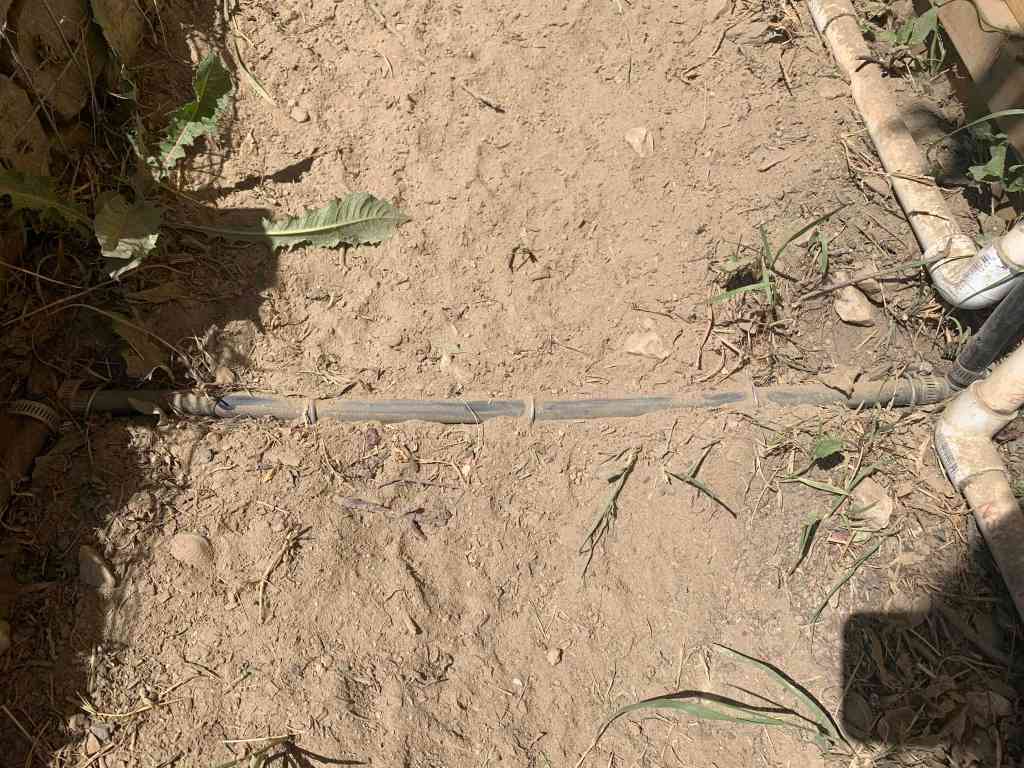
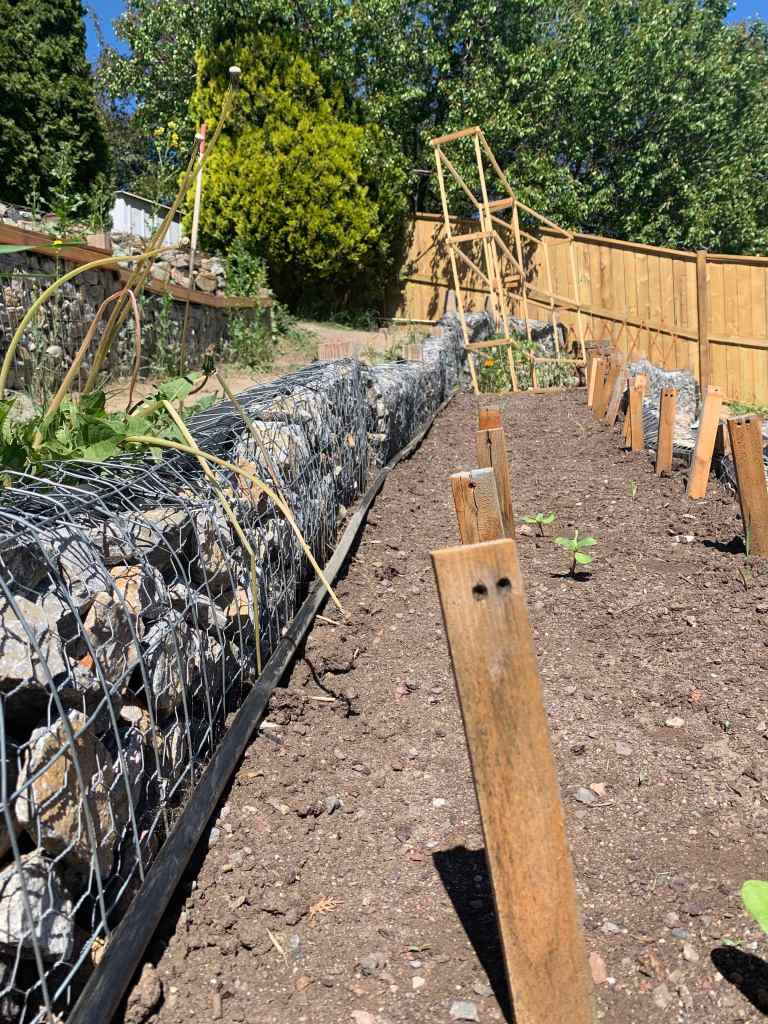
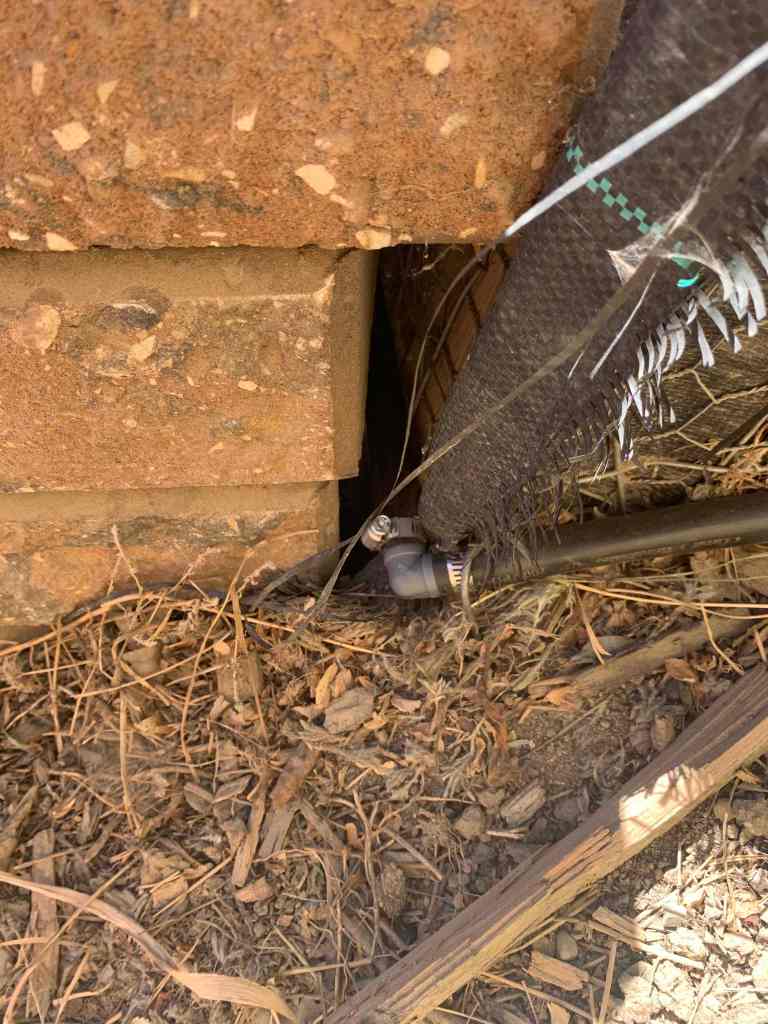
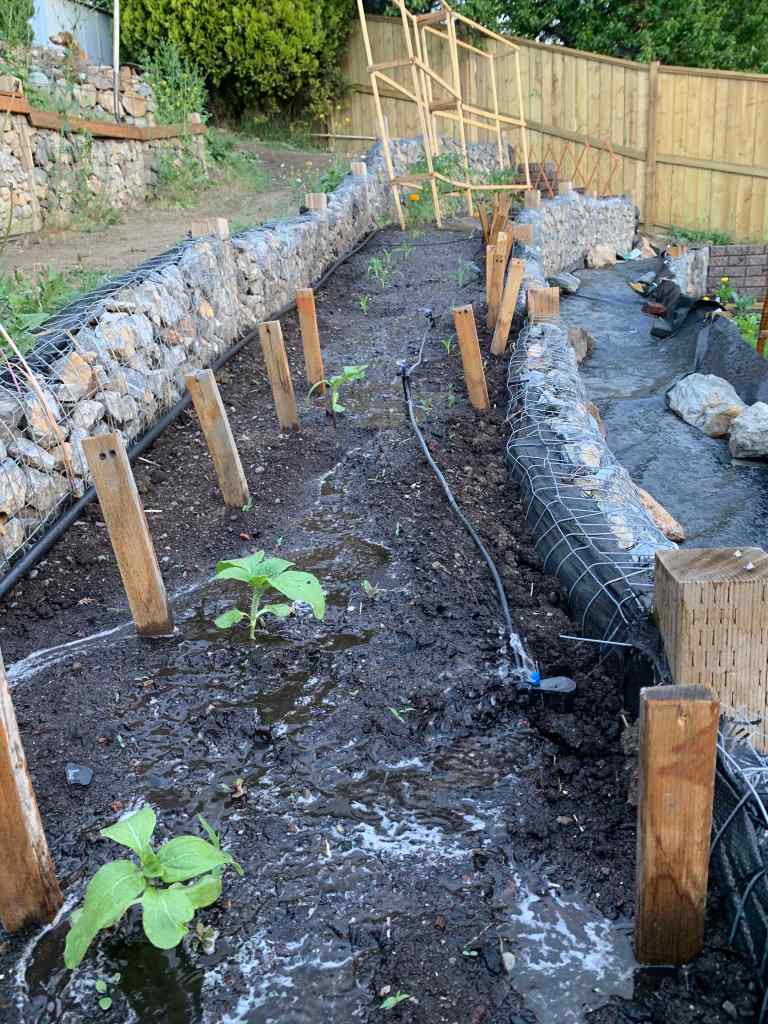
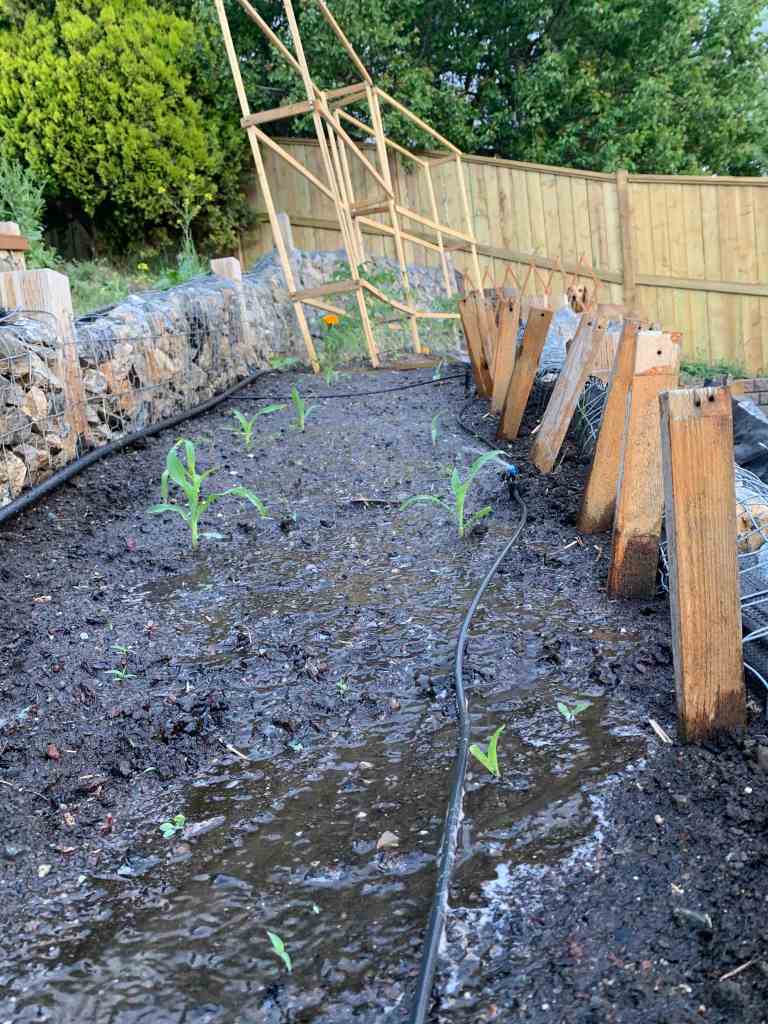
So our line for the new system feeds into our Zone 2 spot. Zone 1 has a PVC line run over to where the tomatoes used to go and will feed the beds that we finish this year on that side of the yard. We went with distribution line for this zone and beds as it is almost immediately going to be feeding water to plants, so it didn’t make sense to run any PVC. The distribution line cuts across the narrow path that we have running up the fence line and then a 90* angle was placed to run line down to the stackstone wall that we built last fall. From there another 90* angle is added so that the line feeds through a gap between a brick and the wall post for a nice clean look. Once it is through the stackstone end cap wall, it runs along the back of the top bed. Once it reaches the end of the top bed, we added a 90* angle and ran it down to the bottom bed, added another 90* angle to put the line along the back of the front bed.
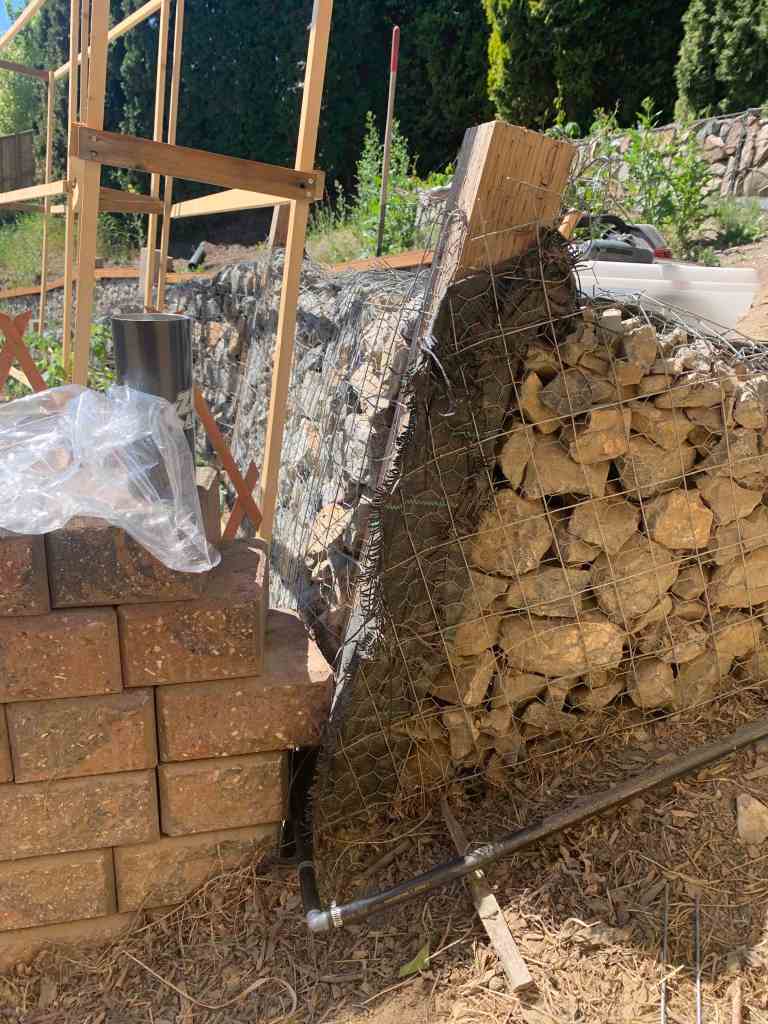

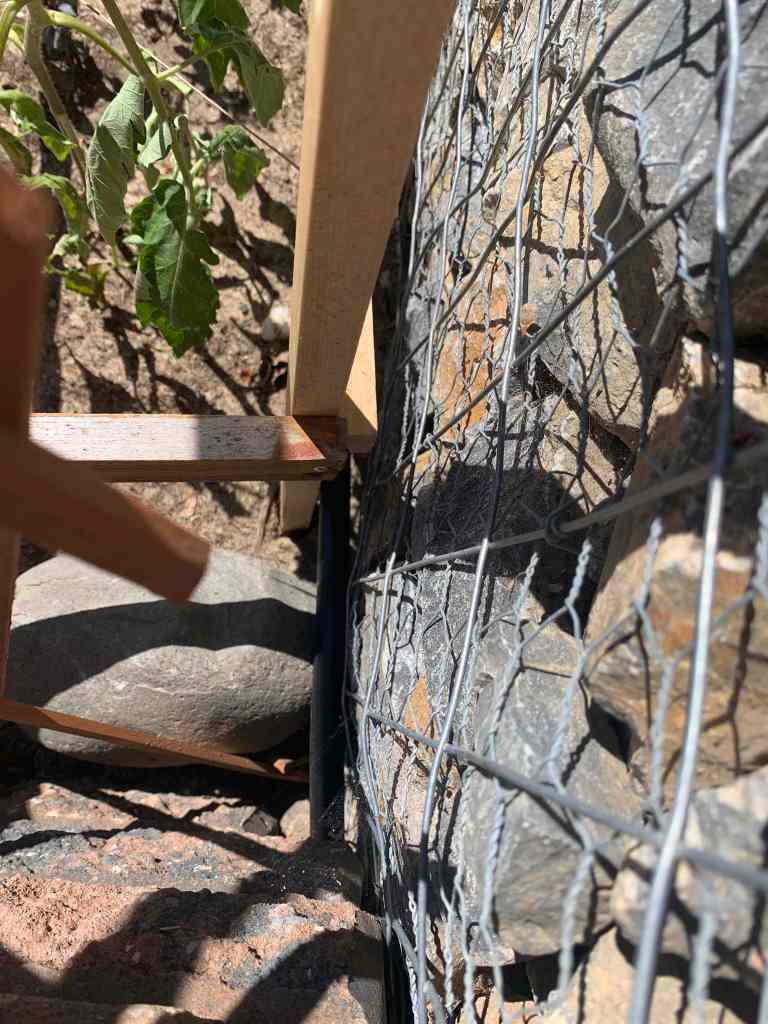
I made a little mistake when adding the 90* angle to the end of our top bed, not leaving enough slack for us to eventually build our end cap wall on that end. I did remember in time for the bottom 90* angle, but I will have to do a little extension in the fall at the top so that we can cap both those beds. We will make sure to build the stackstone walls on that end of the beds the same way, so that there is a small gap for the line to fit through. As is, we will need to cut some stones to fill in a few other gaps, so I don’t think it will be a problem based on the fact that you have to alternate your bricks and end up with little gaps along the ends.
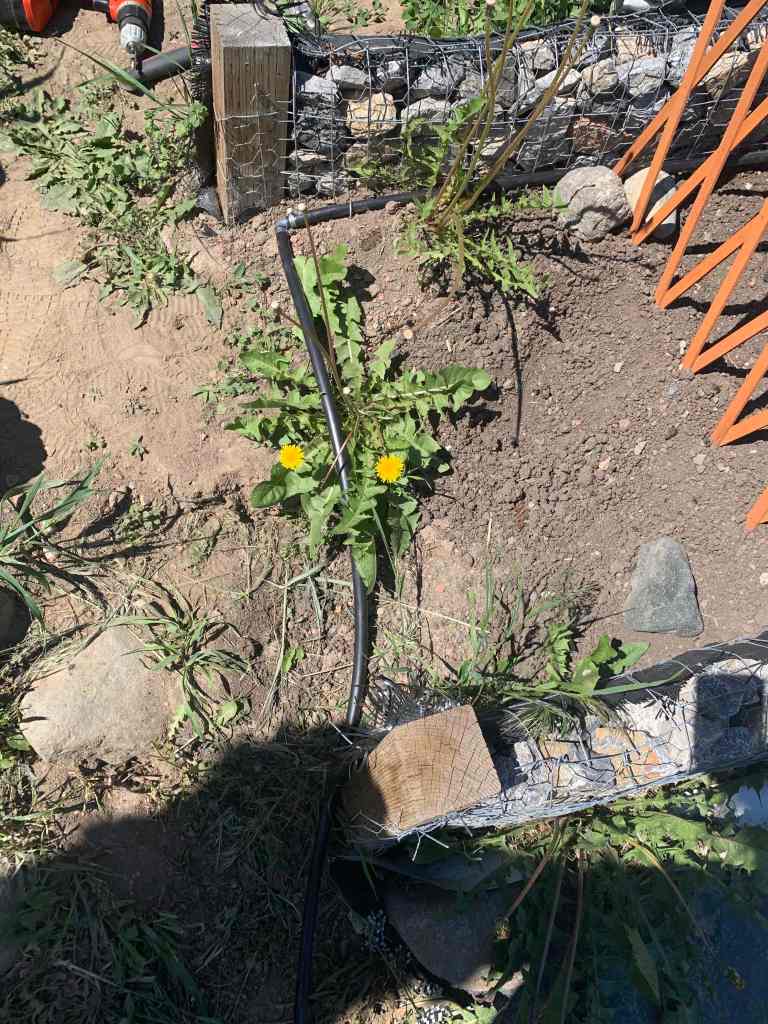

Once all the distribution line was run, I used metal u-shape garden stakes to hold the line tight to the walls, and solid across the path. We don’t need anyone tripping, or the dogs pulling up the line. Now it was time to start running the actual drippers to the plants. We have a mix of drippers and sprayers, partially to help with water consumption. We still need to make a few adjustments by the tomatoes, as those will be more of a dripper than their current low-flow spray, but we had to wait on some parts to be ordered that we couldn’t find in town. We will be adding a cross (+) to each current line to add a few more drippers to the mix, as well as adding drippers for the pepper plants, which still need to go into the ground this weekend. We didn’t want to add too many holes to the distribution line, so we are making sure we are planning out how the water will flow. Since we don’t have all the dripper lines in for the tomatoes, we have the drippers on full blast, which is a small stream that manages to feed all the tomatoes right now. Those will be reduced to a drip and covered with straw this weekend.
Along the sunflowers, squash and corn, we have sprayers that overlap each other and spray to the back of the narrow bed. They are 180 sprayers and lined up along the front of the bed, spraying towards the back. Once again, we anticipate straw running through this area to help with weed control and ensure good moisture. The 180 sprayers are in-line, meaning that each one is connected to the previous one. The end of the line has a single 180 sprayer rather than an in-line, which caps that line off. This allowed us to only put one hole in the distribution line for the 5 sprayers that needed to go in. If you are working on irrigation, you do need to consider the length of your line and how many sprayers are connected, as pressure can become an issue. We however have the advantage of a slight slope and used it to help keep the pressure on these areas.
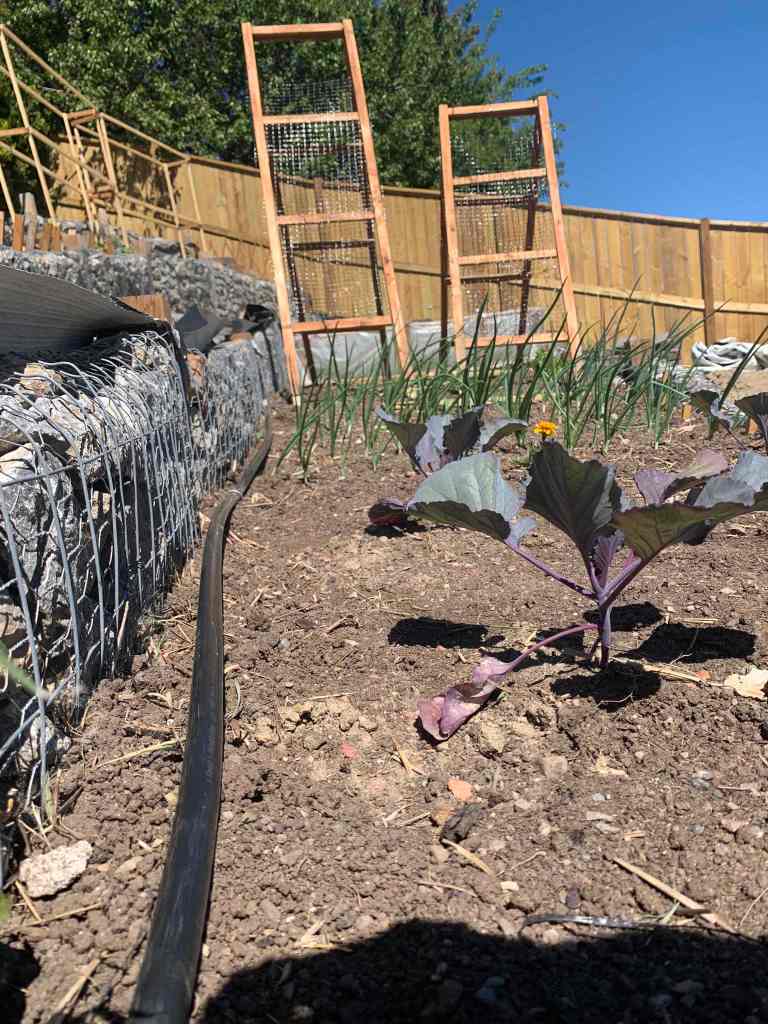
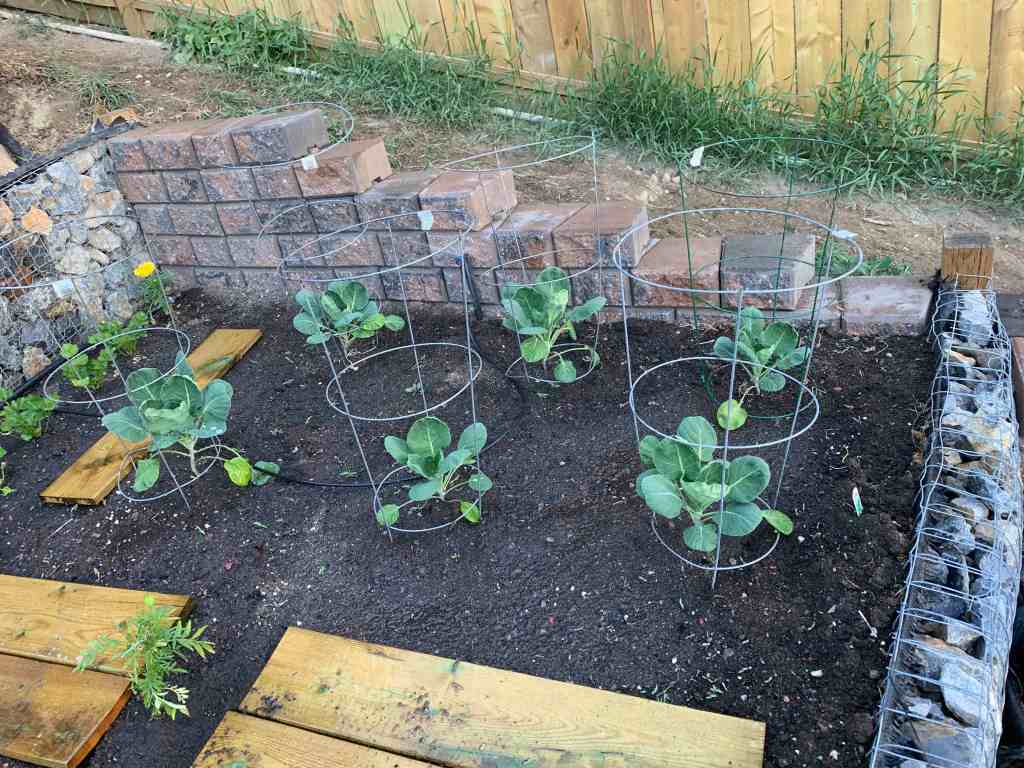
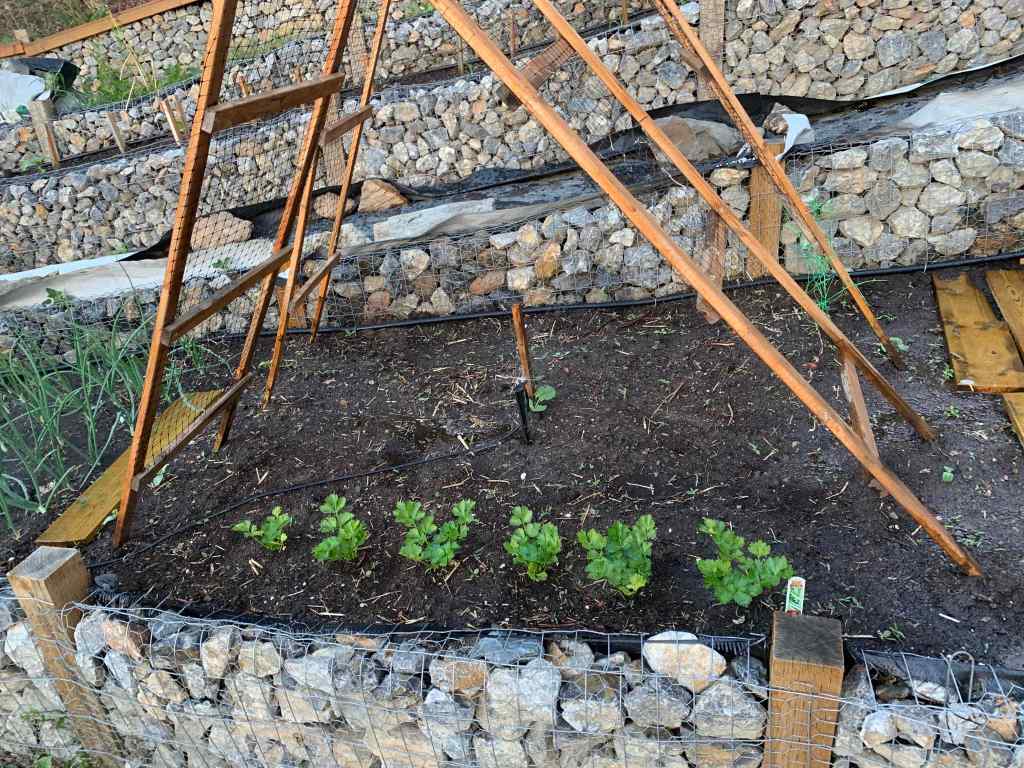
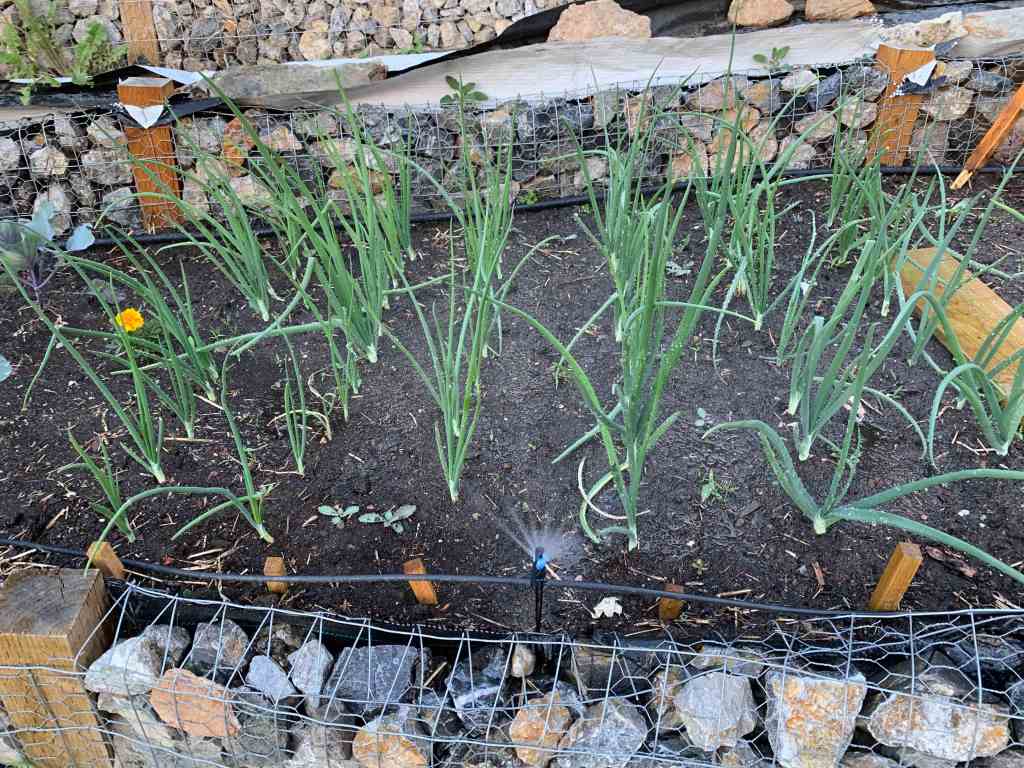
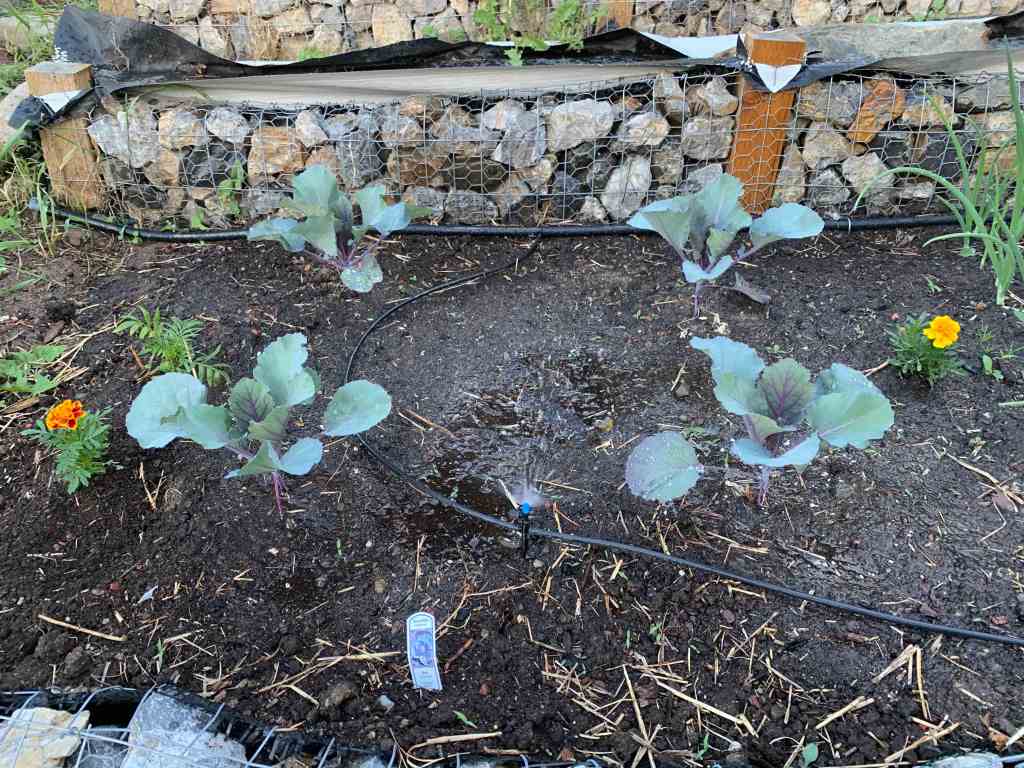
Into the bottom bed, we have all sprayers and no drippers. We may change some of that once our new parts come in, especially for the brussels sprouts, cucumbers, zucchini, cauliflower and cabbage. Because there are limited plants, we could put drippers to the base of each vegetable using the lines that we have currently placed as well as the crosses (+) we have coming. It would allow us to split the line to feed the plants water directly to their bases, reducing the amount of water that we are pouring into the bed. For now, we have a 180 sprayer on the cabbage, a 360 sprayer on the onions, a 180 sprayer on the zucchini that also hits the cucumbers and celery, a 360 sprayer in the carrot & beet patch, a 360 sprayer on the cauliflower and a 180 sprayer against the end cap spraying towards the brussels sprouts & celery.


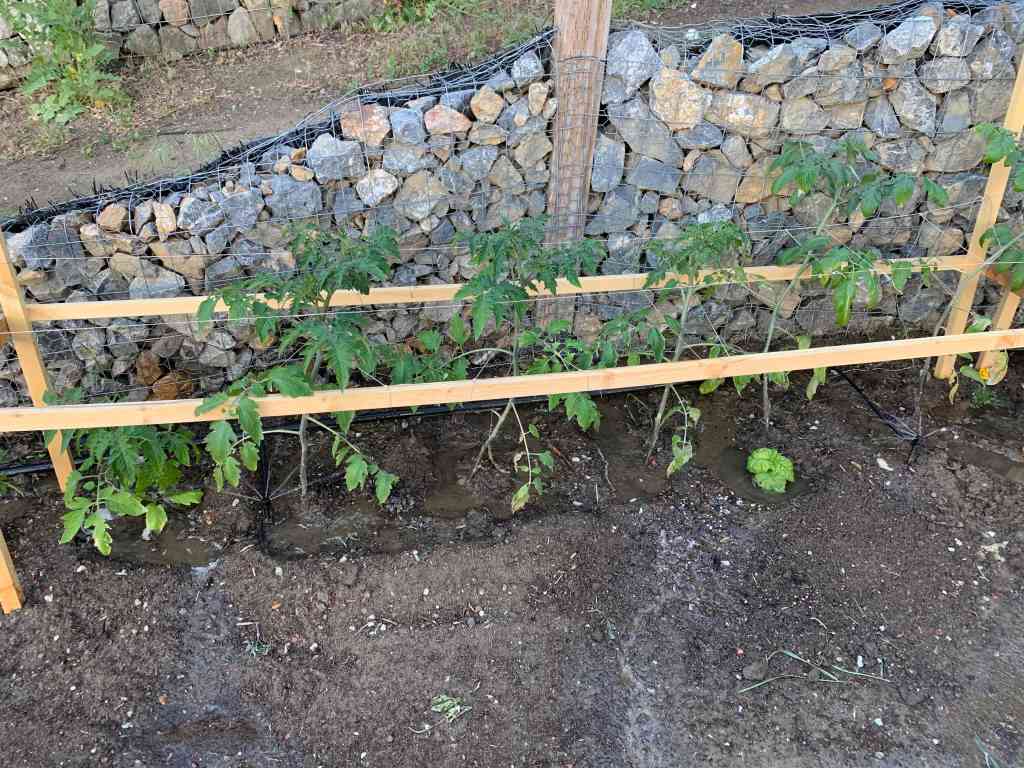
The good news is that our roma tomatoes are alive and happy! As soon as they started receiving consistent water, they perked right up and now look healthy and strong. In our earlier pictures, you can see that our cherry tomatoes & pear tomatoes didn’t have any issues compared to the wilty roma tomatoes. Now they are all tall and reaching for the sky with their branches and flat, unfurled leaves.
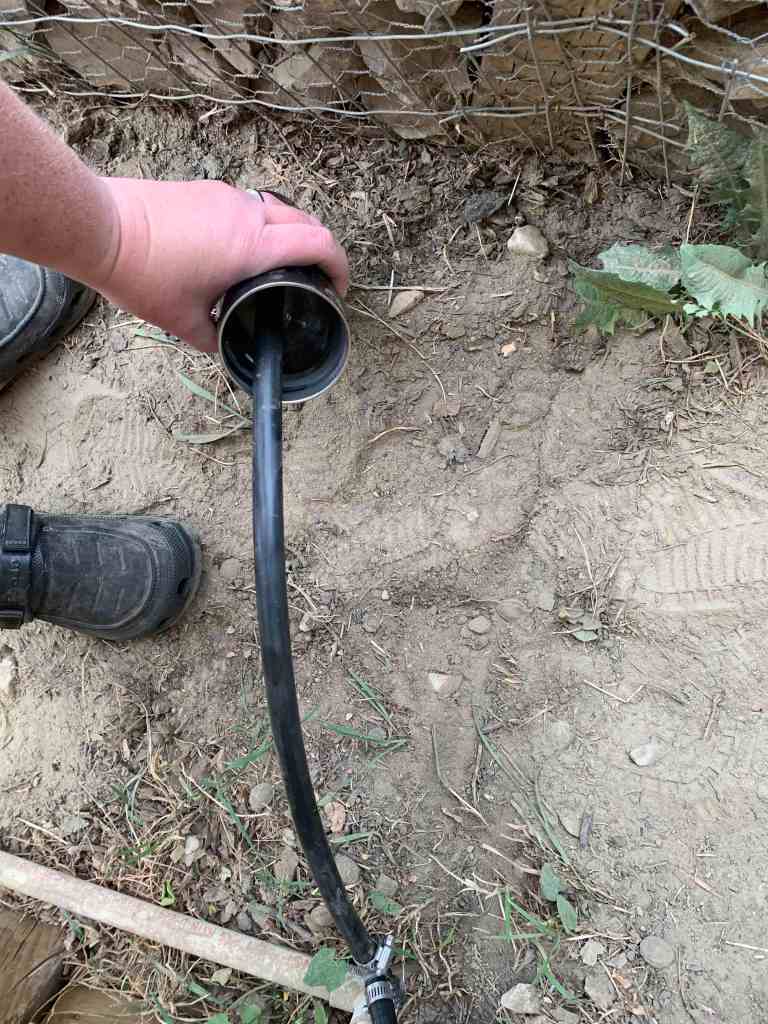
I leave you with a fun tip that I learned this time around, which helped save our thumbs. Boil some water and put it into a thermal cup to keep hot. When running distribution line or irrigation line, you want a nice snug fit on the fittings, which can be hell on your thumbs pushing to get the line on because it is so tight. Dip your line in the hot water for 30 seconds and then slip it on to the fitting. The heat adds some flexibility that makes it easier to get the hose/line onto the fitting, and once it cools, it will be snug as a bug in a rug. I really with I had known this earlier, but better late than never!