
I recently shared my progress towards finishing my Huxhukw bird mask. I have finally added the finishing touches. Before I share the final details of my carving, I thought I would share the history and story of the Huxhukw bird.
The Huxhukw bird is part of a dance ceremony of the Hamatsa Society of the Kwakwaka’wakw people from British Columbia’s west coast. The dance is a four-day complex ceremony that serves to initiate new members in to the society. It is often called the “cannibal” dance and is the story of how cannibals were overcome by the Kwakwaka’wakw people. To summarize the story:
The dance is based on the story of brothers who became lost on a hunting trip and find a strange house with red smoke emanating from its roof. When they visited the house they found its owner gone. One of the house posts was a living woman with her legs rooted into the floor, and she warned them about the owner of the house, who was named Baxbaxwalanuksiwe, a man-eating giant that is covered in vicious mouths and has four terrible man-eating birds for his companions. Gwaxwgwakwalanuksiwe’ a raven that eats the eyes of men, Galuxwadzuwus the crooked-beak of Heaven, Huxhukw a supernatural crane who cracks skulls of men to suck out their brains and Nenstalit Grizzly-Bear-of-the-Door stand guard. The brothers are able to destroy the man-eating giant and gain mystical power and supernatural treasures.
MYTHOLOGY OF THE HAMATSA
The House of Baxbaxwalanuksiwe
A BOOK OF CREATURES
Baxbaxwalanuksiwe
Because of the descriptions of the man-eating birds, I only felt it right to add a little extra to my Huxhukw bird. It needed a skull to crush in it’s beak. And because I carved everything else, I had to also carve the skull. I couldn’t put any ol’ skull in there, it had to be carved by me.
Before starting on the skull, and to give myself time to think about how I was going to carve it, I decided to work on the simple base that allowed me to display the mask with it’s beak open. Dad had given me a few tips from the ones he had made. He had suggested using dowelling for ease of fitting it to the base and the mask. He had used a square post on his first one and it had proved to be a bit of a pain in sitting it in the base. With the doweling we were able to just use the right size drill bit to get the hole to the right size. I always have a stock of doweling in the shop because it can come in handy on so many projects.
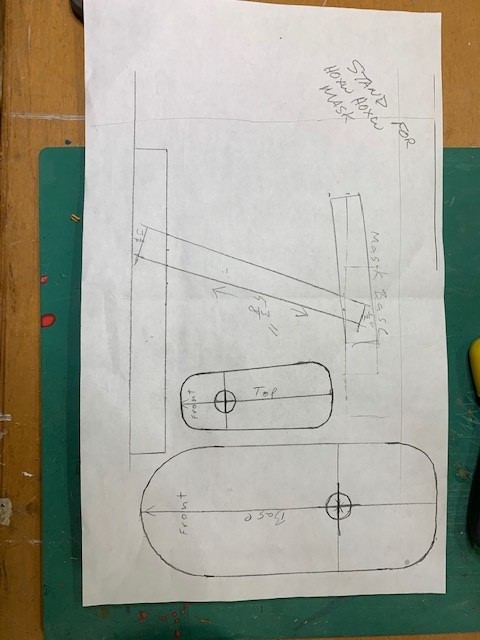
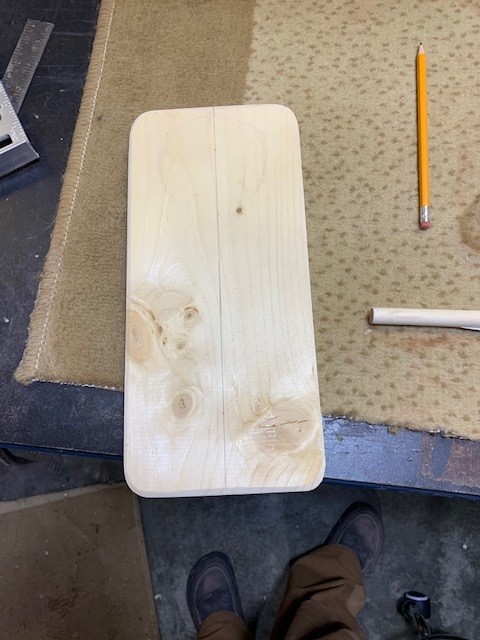
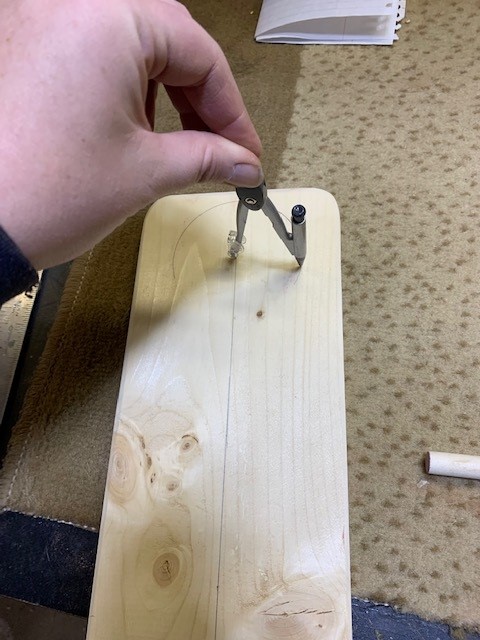
Dad had given me his drawings for the pieces he had designed for his previous stands. It worked well as a reference point for my base. I used some scrap pieces of 1″ x 4″ pine I had from previous projects. it was going to be painted, so it didn’t really matter what wood I used. As you can see from the photo below, Dad had rounded the edges of the base pieces. I cut a smaller piece that fit inside my mask, behind the jaw. I then cut another larger piece for the base. I ended up making it much narrower and rounded than what Dad’s photo showed. I wanted it to follow a similar line to the mask itself, so I measured the width at the widest part of the skull, as well as where I anticipated the end of the base on the skull. I then used my handy woodworking compass and set it to the correct widths to match my measurements. I then drew in some half-circles for the two ends of my base. From there, I connected them with the ruler. This created the shape of my base, which I then cut out on the scroll saw. I gave it a nice sand so that everything was even and smooth, ready for painting.


To set the angle of the post for the mask piece of the stand was a little more tricky. I decided to put the mask-piece onto the doweling at a 90* angle, straight up and down. I could then angle the doweling into the bottom of the base to set the angle that the mask would be displayed. I did not drill the hole for the doweling all the way through, but rather about 3/4 of the way on 1 side, with a countersunk hole on the other side for a screw to go in and sit flush. I then glued the doweling in using some wood glue, and put a screw through to add the extra strength to the connection to hold the weight of the mask. Worked great!
Once it was dry, I attached the mask to it so that I could try and sort out the angle of the mask. With the beak open, it had to be angled so that the jaw wasn’t resting on the ground. I grabbed my digital angle, taped the beak open to the point that I thought would look good, and then checked the angle that I thought it looked good at. I can’t even tell you what that angle was because I ran into my next conundrum. I needed to drill the hole at the proper angle, but wanted to make sure that it was nice and straight so that my mask was tilting to one side or the other. So I forgot about the angle that I had measured and instead looked at what I could do with the drill press. I don’t have a jig yet for drilling angles, but I have lots of angled pieces of wood. So I found one that when placed under the base, gave me the angle that I had liked previously. I then clamped everything down and drilled out my hole. Ta-da! Perfect….almost. The hole ended up being a little too small for the doweling, but that was and easy fix. I just shaved down the end a bit with a wood carving knife until it had a snug fit.
Now that I had that all sorted out it was time to make the skull. I have never carved a skull before so I looked it up on Pinterest to see if there were any tutorials. Nope. But I did find photos of other people skull carvings, which gave me something visual to work with. So I decided to just give it a whirl and see what happens.
I started by cutting a template. My first one was immediately not going to work, because I had only paid attention to the front of the face, so there was almost no depth to the bottom jaw. My second template was better. I started by using a carving knife to start rounding the top of the head. At this point, I realized that although I enjoy carving with a knife, I am sometimes better with my dremmel.

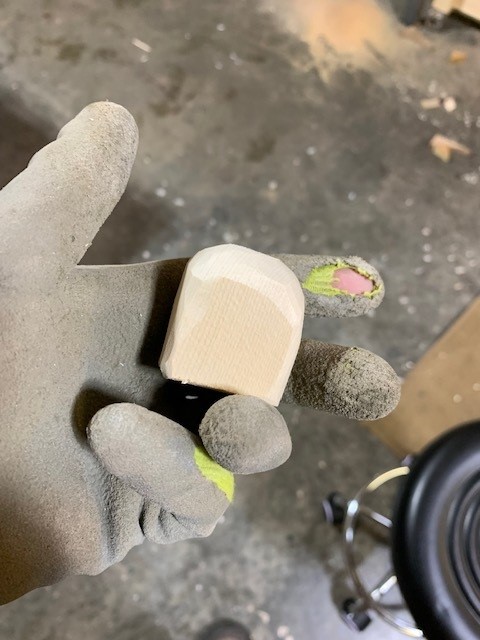
So I grabbed a tapered bit and set the speed to about 5, and started slowly removing some of the excess wood. Slowly the general shape of the skull started to show. I narrowed the jaw area so that the cheek bones were more noticeable. The top was rounded and the back of the skull rounded and cut into the jaw to give the back some more definition. Once I had a very rough skull shape, I decided to start adding some of the detail.
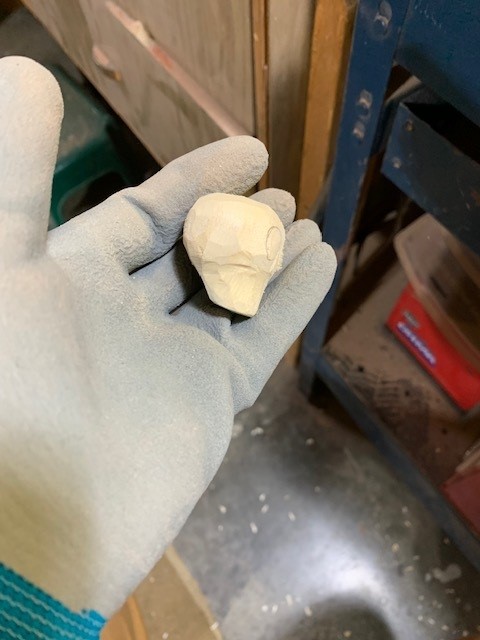
I drew in where I wanted the eye sockets, as well as where the nose should go. I then switched to a ball bit to hollow out the eyes. I knew that I would have to adjust the shape a bit as the sockets were a little too round, but it was a good start.

I then put a super tapered bit on, with a very fine point at the end of it. This allowed me to make the definition of the nose hole, around the eyes and to shape the eye sockets a little more so that they weren’t so perfectly round. I also used it to start defining the bottom jaw where it meets the skull. I also used it to make the hole at the back of the skull where the spine would connect.

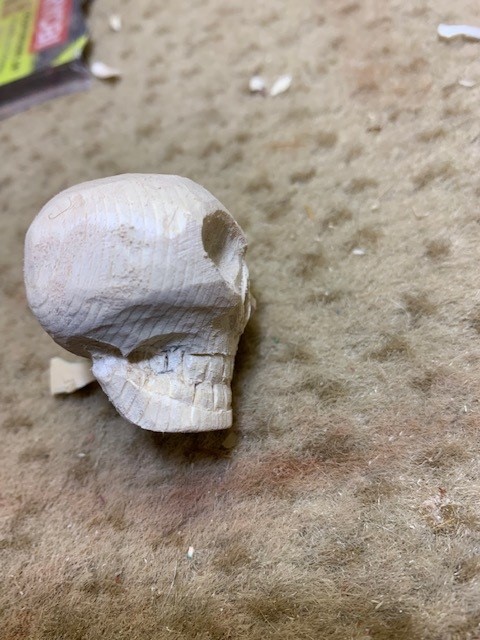
I went back to a carving knife to shape the teeth. I found it easier….and safer, to do the fine detail with the blade rather than with the dremel. I was able to round the teeth and create depth to the jawline.


I then sat back and pondered my next move. I could easily have oiled and waxed the skull at that point and called it a day, but I really wanted it to be clear as a skull from a distance when looking at the mask. I decided to pull out my pyrography set and use it to add some extra definition to a few areas. I used a blade-like pen to do around the teeth and jaw. I also used it to add the growth plates on the top and around the skull. I then switched to a ball-point pen to do the eyes, nose and spine hole.
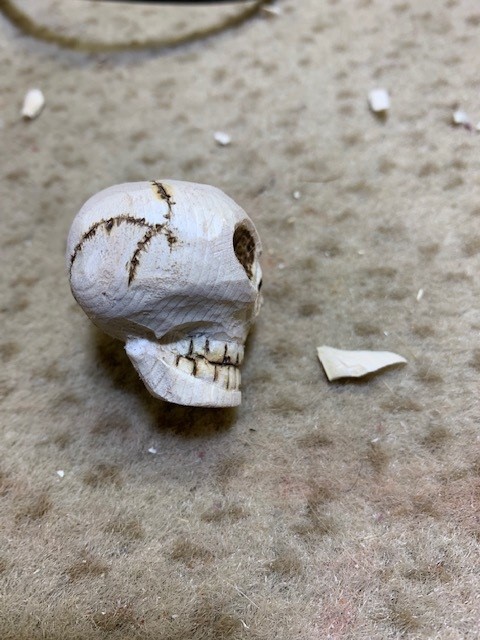


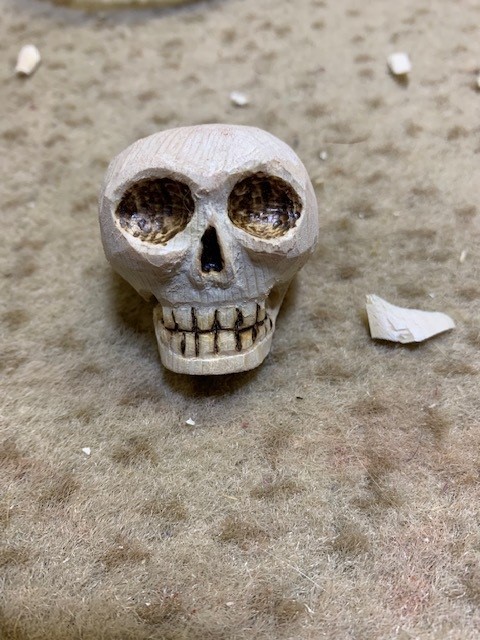
Voila! A skull for the beak of the huxhukw bird. Each step I was so worried that I would screw up and have to start over. But I took it very slow, making very small adjustments like my dad taught me, and it all worked out.
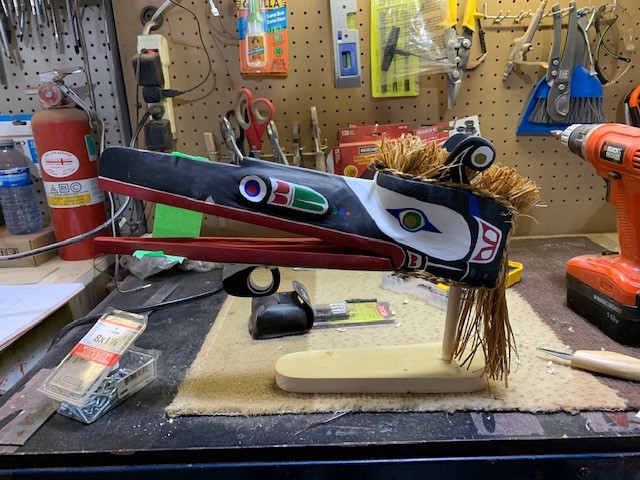
To finish everything off, I painted the post and the stand, then glued it all together. I also added some eyelet screws (very tiny) to the inside of the mouth of the mask so that I could tie it open at just the right angle to have the skull sit at the end of the beak.


I was blown away that I managed to make it. It turned out so well and is a huge nod to my dad’s teaching skills! It is now proudly displayed on our mantle. I am looking forward to starting on Gwaxwgwakwalanuksiwe’ the raven next. Dad said I just have to find the piece of wood I want to carve it out of and we will get started. This time, I am going to take less than 5 years to complete it!

