
The spare room in our basement is a bit of an odd duck. The spare room is separated from Kurt’s hobby room by a closet. To enter the spare room, you have to go through Kurt’s hobby room, which has always made it a bit of a unique space. Add to that, the fact that one of the walls is painted 1980’s faux wood wall panelling, it is a treat for our guests. We have always wanted to upgrade the space to make it not only a little nicer, but also a little warmer. The faux wood panelling, does little to help insulate the exterior wall.

To date, we have done a few minor updates to make it a little more inviting. I made some proper side tables, we upgraded the bed, and did paint one of the walls that was originally a soft powder blue to a plain beige. But the time has come to get rid of that awful painted wood paneling. The previous owners had tried to make it better by painting it the same beige as the rest of the room, however it is still noticeable that it is a cheap material. Plus, add to that the fact that a large section comes out to access the breaker boxes, and it is a disaster. So much so in fact, that the piece that comes off to access the breaker panels has actually fallen on some of our guests while they slept. Bit of a terrible way to wake up.
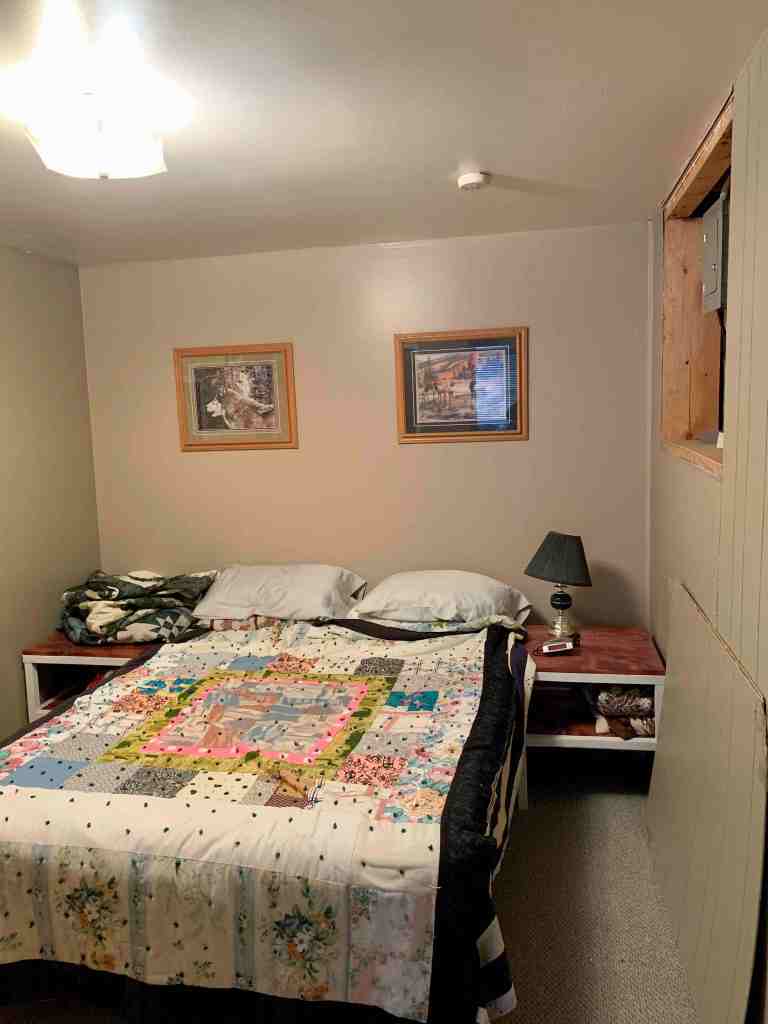


So we decided that while the weather was not great for enjoying the great outdoors, that we would work on a house project and chose the spare room. The first step was emptying the room so that we had plenty of space to work, especially bringing in and cutting the drywall to size. So we moved the bed, side tables and chair to the rec room. We figured it will only be for about a week and then we would have the rec room back. But it never works out that way….I’ll get to that though.
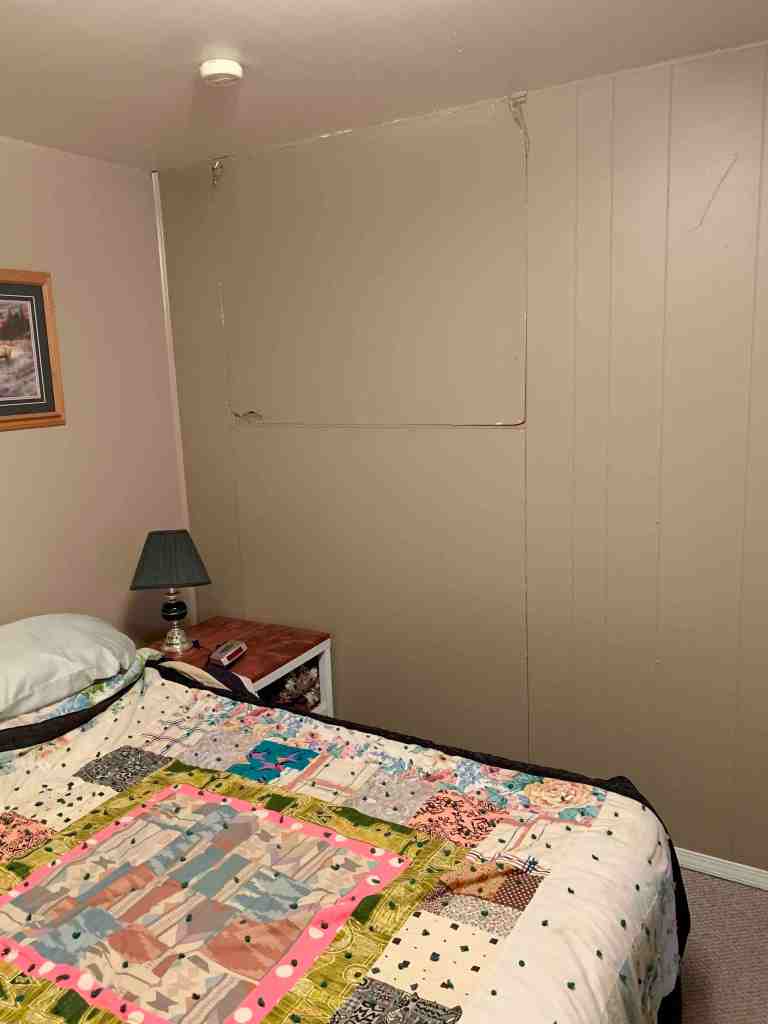
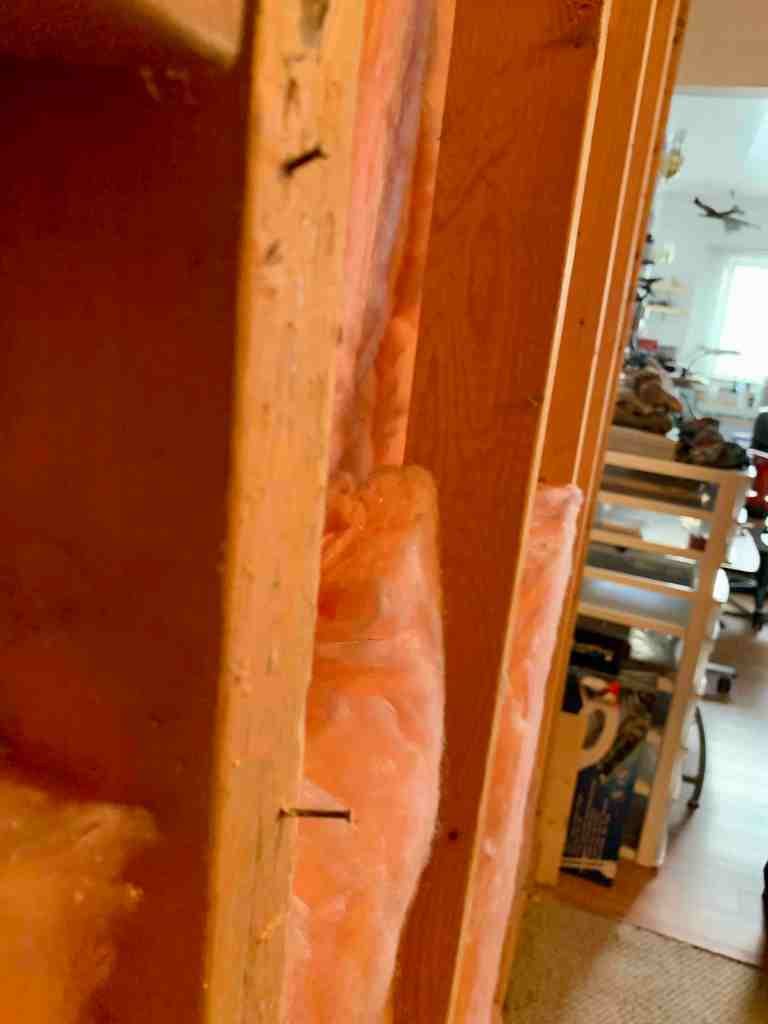
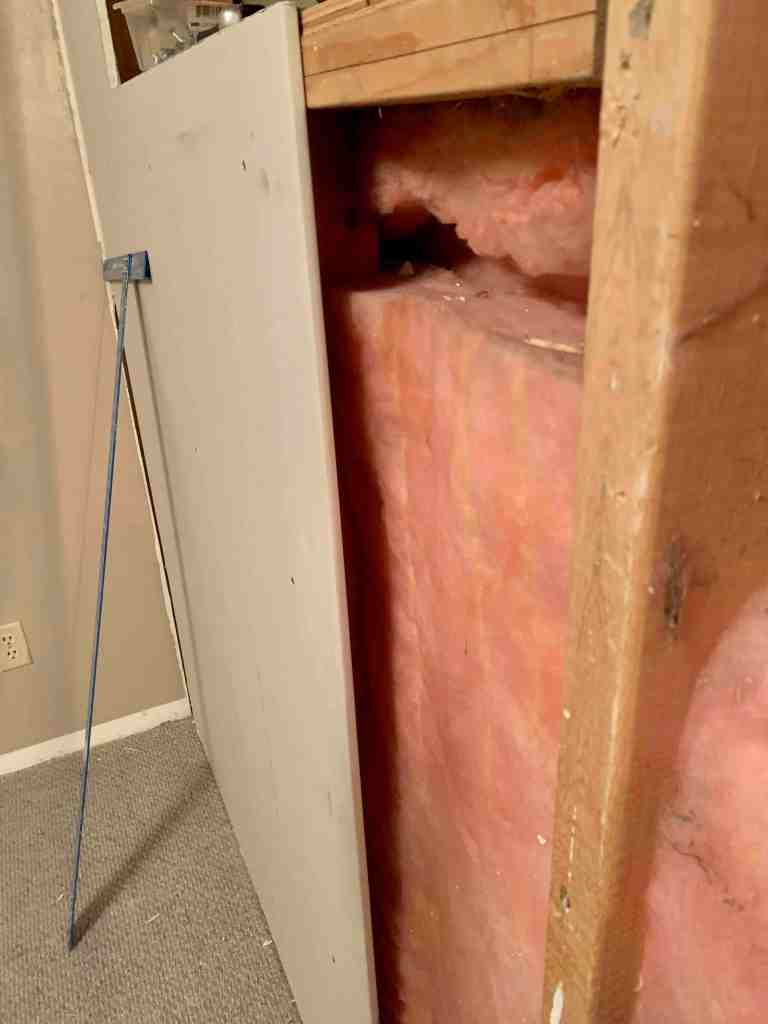
So once we had the room empty, it was the fun part, demolition of the crappy faux-wood panel wall. For the most part it popped right off the frame since only a few brad nails were holding it on. That was finally when we got a good look at what we were dealing with. It looks like the previous owners had framed the wall in front of the concrete foundation and added insulation, probably to make the room a little warmer. It was nice to have a good frame to work with.


Once the paneling was off, we did a full inspection to make sure that we pulled out all of the nails that had just popped through the panelling rather than pulling out….which ended up being most of the nails. They came out quite easily with a pair of pliers.

With the nails all removed, it was time to start getting the drywall up. This is where the fun began. DISCLAIMER – WE HAVE NEVER DONE DRYWALLING BEFORE. We have only watched a number of YouTube videos to understand what we needed to do. It seems pretty straightforward with the taping/mudding likely to cause us the most trouble. The nice thing is this is a basement bedroom so hopefully any imperfections that we end up with will not be noticeable.
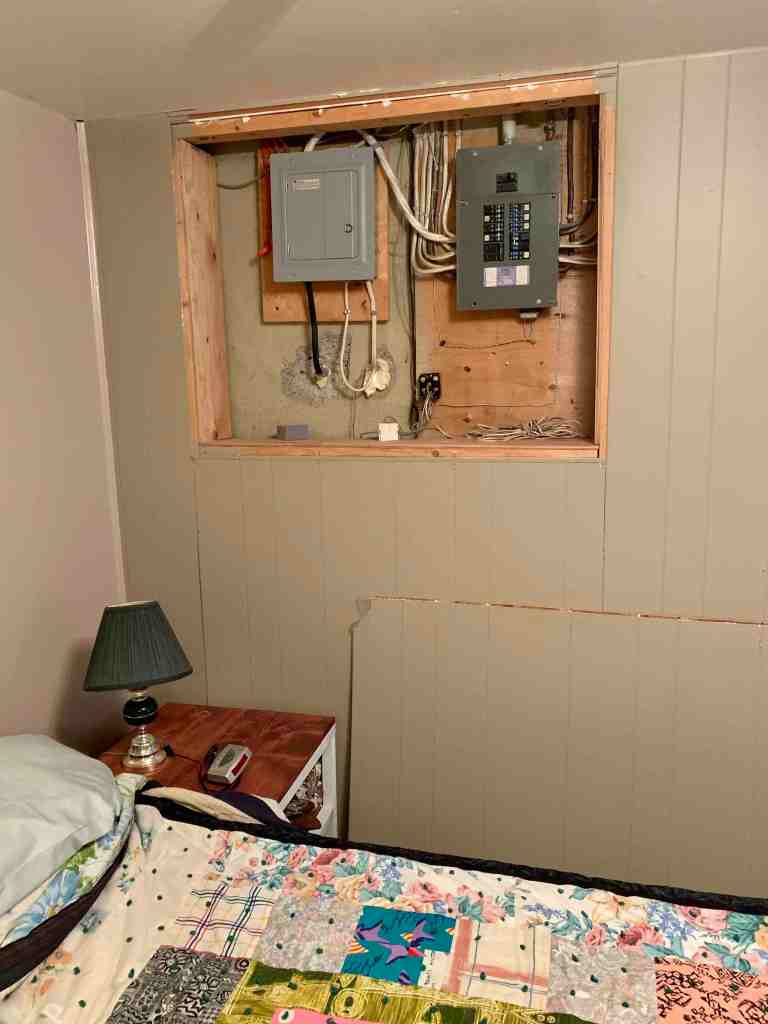
We brought the first sheet in and I did some measurements to make sure that we are cutting the breaker box hole out well. After all this time woodworking…and naming our shop “M2C1” after the term “measure twice, cut once”, you’d think I would do this. Well, technically I did, but what I measured got muddled in my brain. It is 12.5″ from the wall to the opening. In my head I had thought “one and one half” when I should have been thinking “one foot and one half inch”. Well as you can guess, I cut it at 1′ 6″, so my opening in the drywall overlapped the opening. Not a terrible mistake, and easy enough to fix later once the drywall was all in place. But still, such a silly mistake to make.
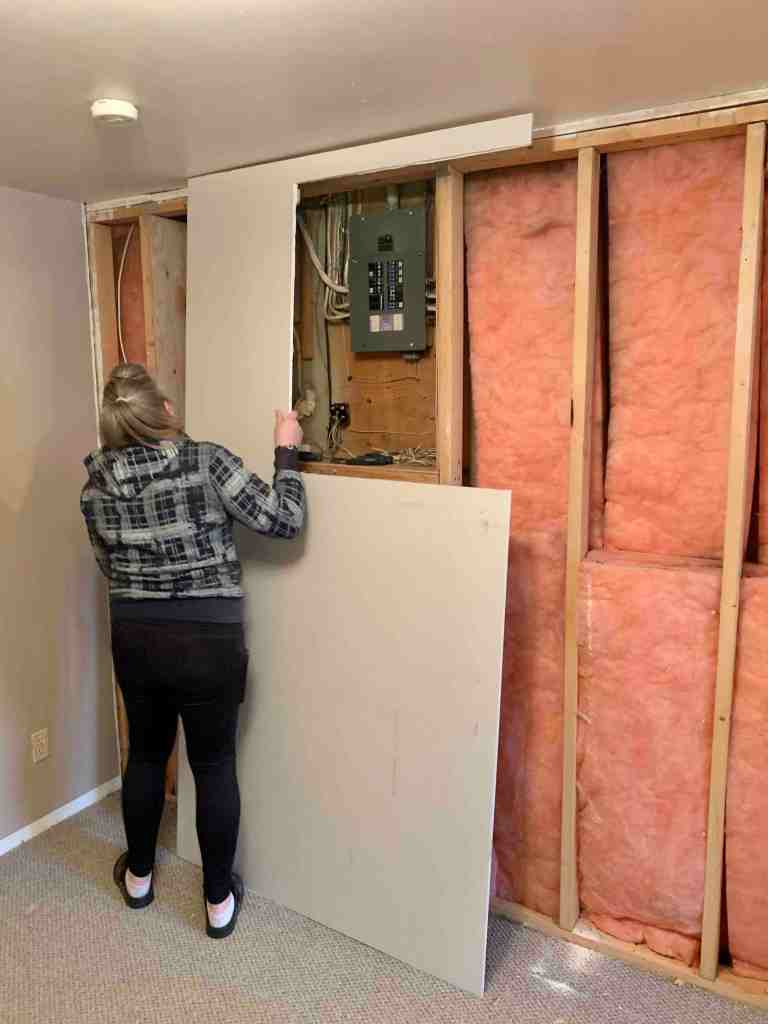


Once cut, the first wall was put into place. The previous owner had framed the wall with the correct measurements of each stud being 16″ on centre, so we didn’t have any issues attaching it to the frame. Can you spot mistake #2 in the photo below? No? I’ll get to it.
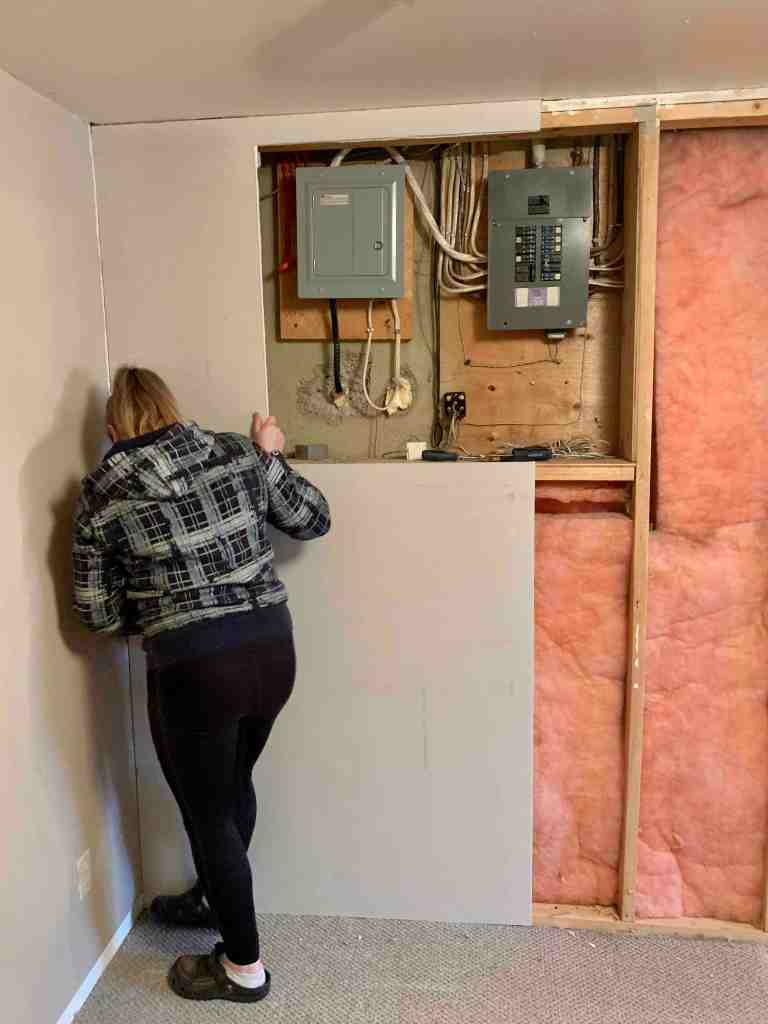
So we move on to the next panel, cutting out the rest of the breaker box hole. We get it up against the wall and screw it into place, then step back to take a look. As I was screwing in the bottom portion, I noticed that where it met the other sheet, it was sticking out a bit. Too much to fix with mud. Then it dawned on me. The overlap likely should be on a stud so that the two were not only flush to each other, but also so that when you lean on that spot there is no flex. This was mistake #2.
We decided to break for dinner, and while we ate, I thought about how I could fix this without cutting the sheet and having to punch a bunch more holes in for the screws. I went back downstairs to take another look at it and as I laid eyes on it, and idea came to me. It may not be the right thing to do, and will most definitely drive someone insane one day when looking for studs…but I decided rather than cutting the drywall and punching a bunch more screw holes in, why not just add another piece of wood to the frame where the overlap needed to happen so that we had something to attach the two edges of drywall to. That’s what we ended up doing, and it worked like a charm, saving us a bunch of holes to fill.

We got that second sheet back into place and realized mistake #3…which was that we didn’t learn from mistake #2 and had once again attached the sheet so that it overlapped the stud at the far end where the next sheet of drywall would be butted up. DOH! No problem, easier fix. I grabbed the drywall T and cut down the stud so that the end of the drywall sheet now ended halfway across the stud.
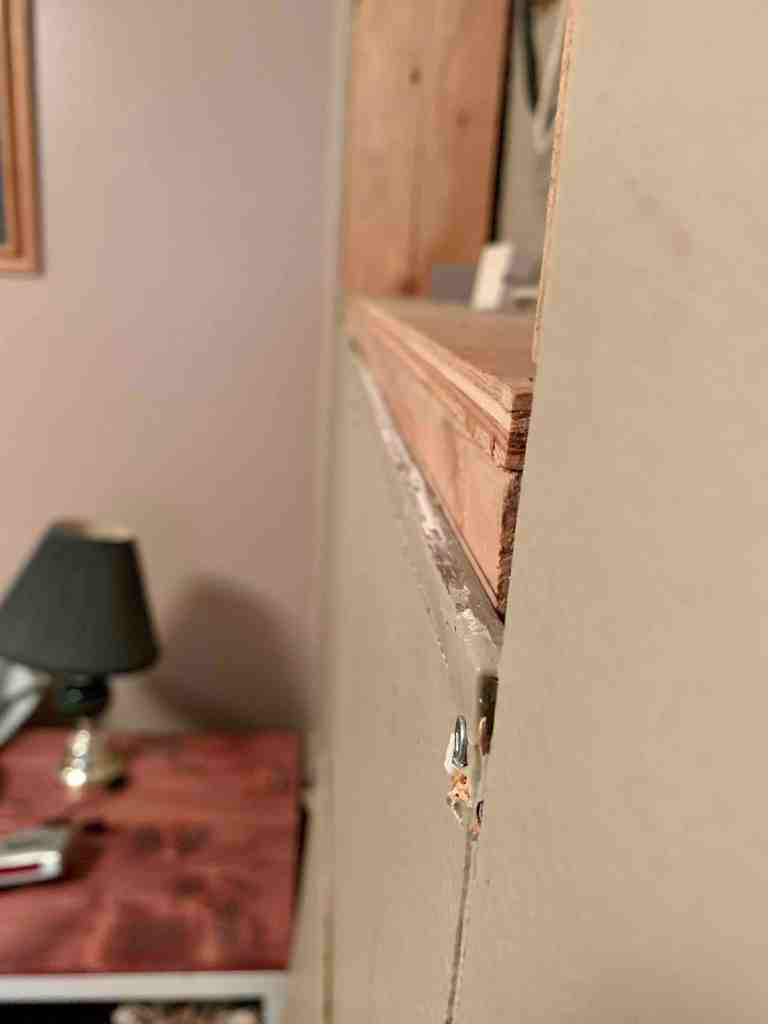
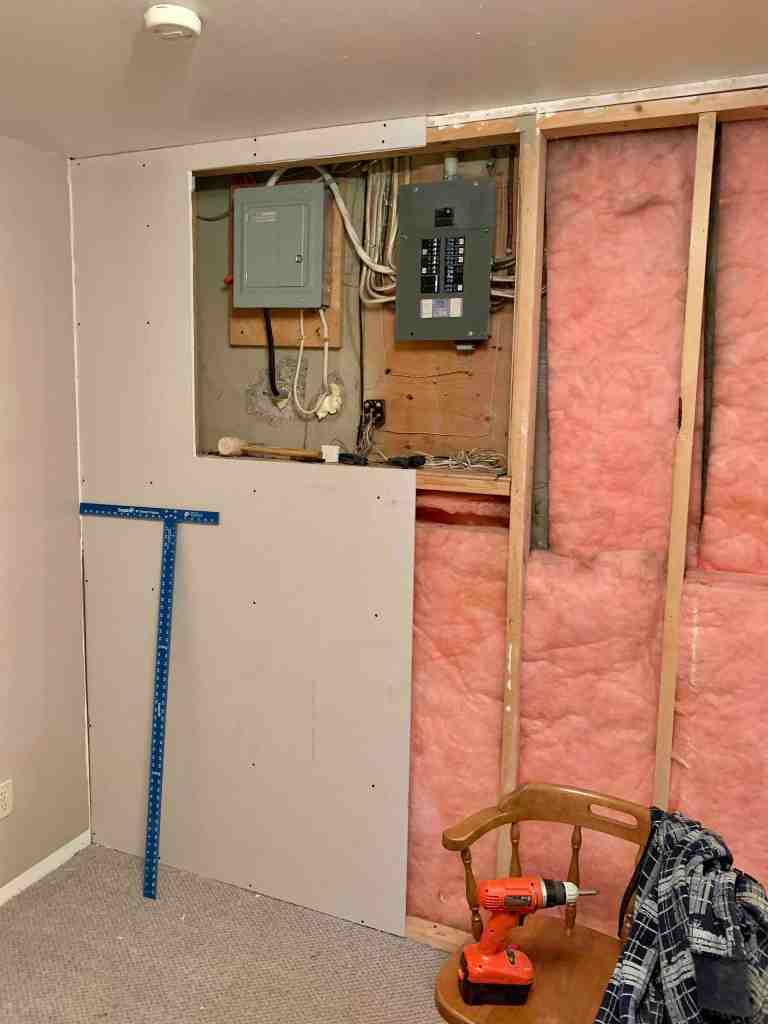
On went the next sheet, the only one that didn’t have any weird cuts to it, just some trimming. Voila! The wall was in place. And it didn’t look like mudding should be too bad, maybe with the exception of the one corner, but that should be easy enough to deal with. Before moving on to mudding, I cut back my overlapping drywall so that the breaker box hole was the proper size for a future picture to cover.
Kurt filled all the screw holes the next day, and when I got home from work, I filled and taped the seams. Our plan had been to continue to mud the next night, but unfortunately Kurts ma needed to come into town for emergency knee surgery. His dad in the mean-time is staying with us, so we have setup the bed in the rec room for him since the room that they prefer is a disaster!
Time to get back to it now and get that final coat of mud on so that we can hopefully prime and paint tomorrow.


One Comment Add yours