
Back in February we re-did a wall in our basement bedroom. It was old panel board that had been painted a dull green. We ended up replacing it with drywall, which was an adventure for us because neither of us had ever even helped someone else drywall before, so it was a lot of YouTube videos and trial and error. It turned out really well. One of the reasons that we wanted to re-do the wall, other than for better aesthetic, was that a large section of the wall came off to access the breaker boxes. We wanted to do a better job of framing that and having something a little nicer than a section of panel board to pop on and off. You can see that progression in the posts “Bye Wood Wall Panelling“, “Mudder Fudder” and “Prepping & Painting“.
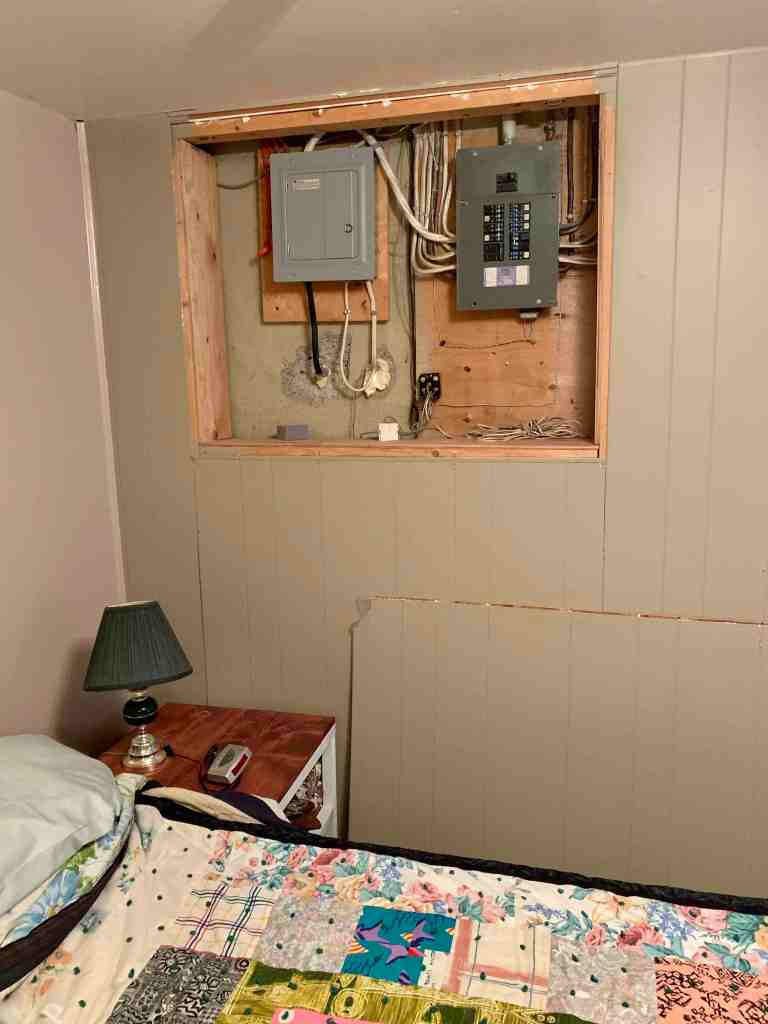
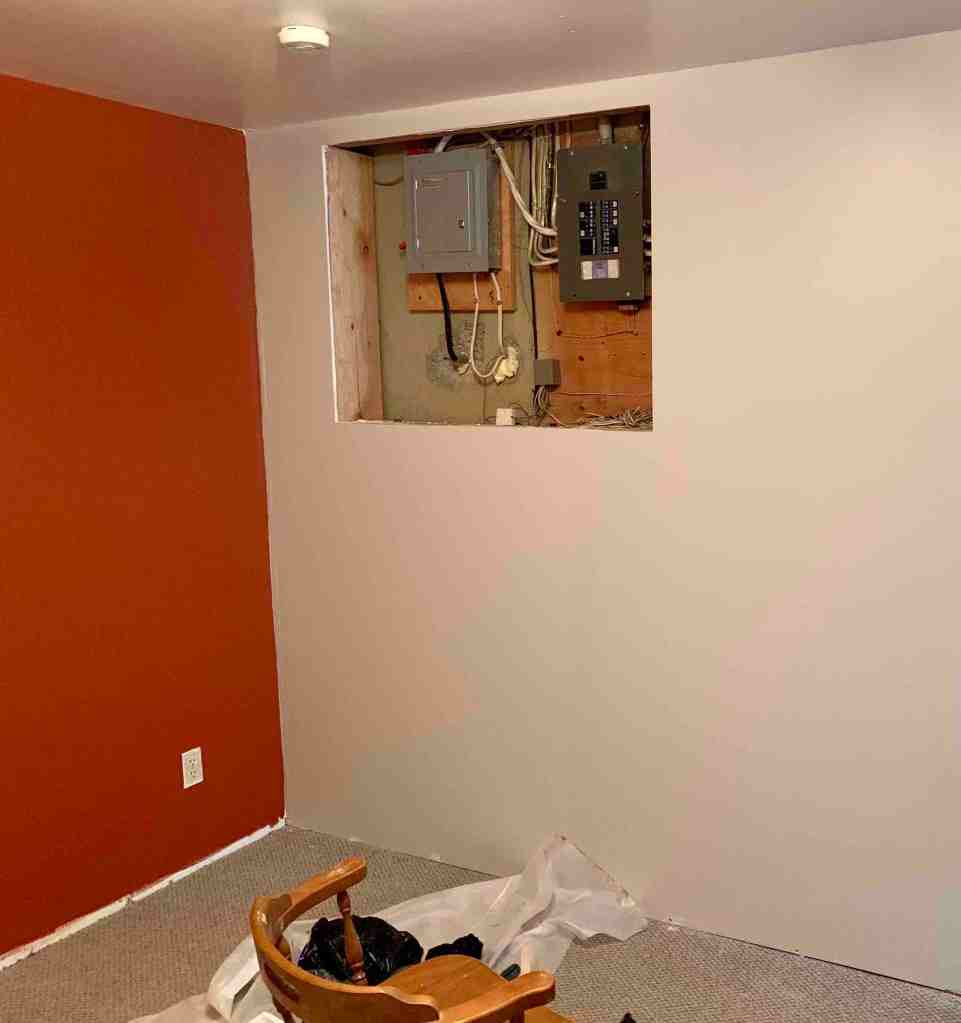
For quick reference of what I will be referencing in this post, below is the before (wood panelling wall) and after (drywall with open area around breaker boxes).
It is now August, and we have finally gotten around to finishing up that smaller access hole for the breaker boxes. We had debated a few ideas such as wooden doors, cabinet doors or a sliding door, but we didn’t like any of them. I kind of wanted it hidden so that the hole is covered in a seamless way, so the guest doesn’t even know there is an area there. So we decided on a picture.
We knew it was going to be a bit of an odd placement for a picture, but at the same time, it would be better than a cabinet door or something along those lines. The picture would be beautiful and nice to look at. So I did some measurements and realized that I needed a big picture. I would need a photo that was 45.5″ ![]() x 34″ (h). With a frame on it, the finished picture would be 46.5″
x 34″ (h). With a frame on it, the finished picture would be 46.5″ ![]() x 35″ (h).
x 35″ (h).
After looking into the cost of getting a picture that size framed, I realized that it would be something that I would do myself. The picture alone, was expensive to print at that size, but the frame was very expensive. If only my dad, who was a picture framer, hadn’t retired before I finally got around to this project! Oh well, I had some ideas.
The other two pictures in the room had wood frames (professional wood frames), so I thought it wouldn’t be too odd if I also did a wood frame (not professional, but still nice). I needed the picture to be fairly light weight because I wanted to hang it on hinges so that it could easily open when we needed to access the breaker boxes, and close the rest of the time. I decided to go with 1/4″ MDF board for the photo, and 1″ x 6″ wood for the frame. Due to the size, I wanted the frame to be wide enough so as to not look funny.
I was able to get a good price on the photo from the printshop at the University that I work at. We chose a photo of some falls that we had hiked to earlier this spring. We had considered one of our many fishing photos, but thought the falls in the woods suited the other two photos better. They are both nature photos with one showing some coyotes and the other some elk by a stream.
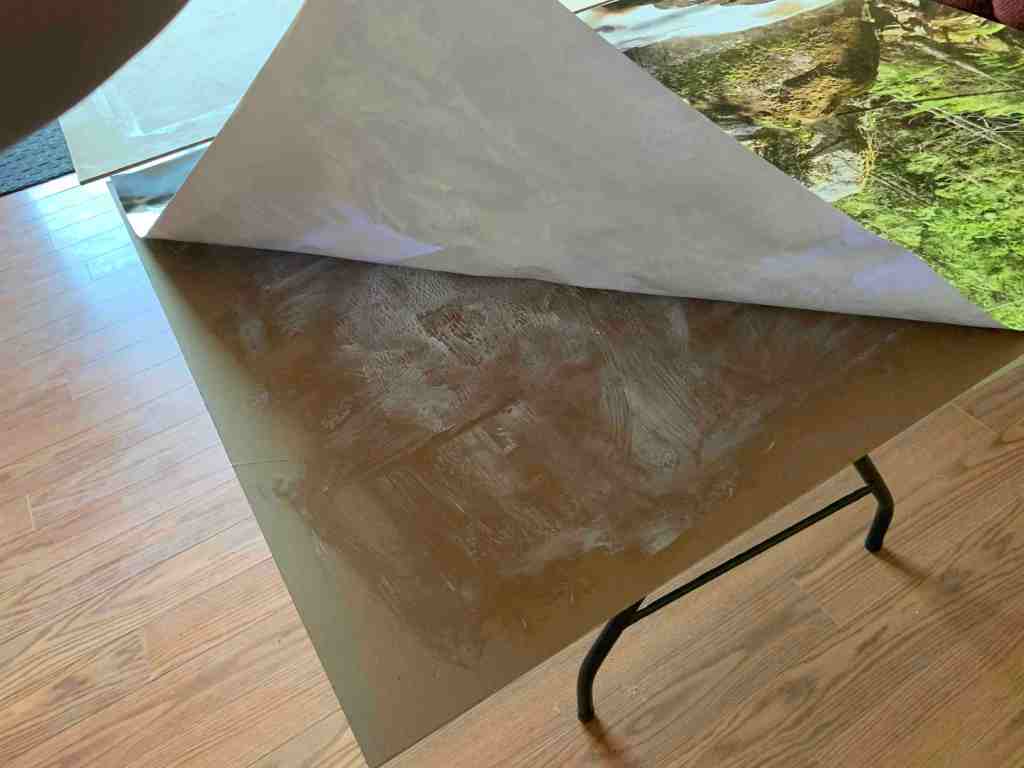
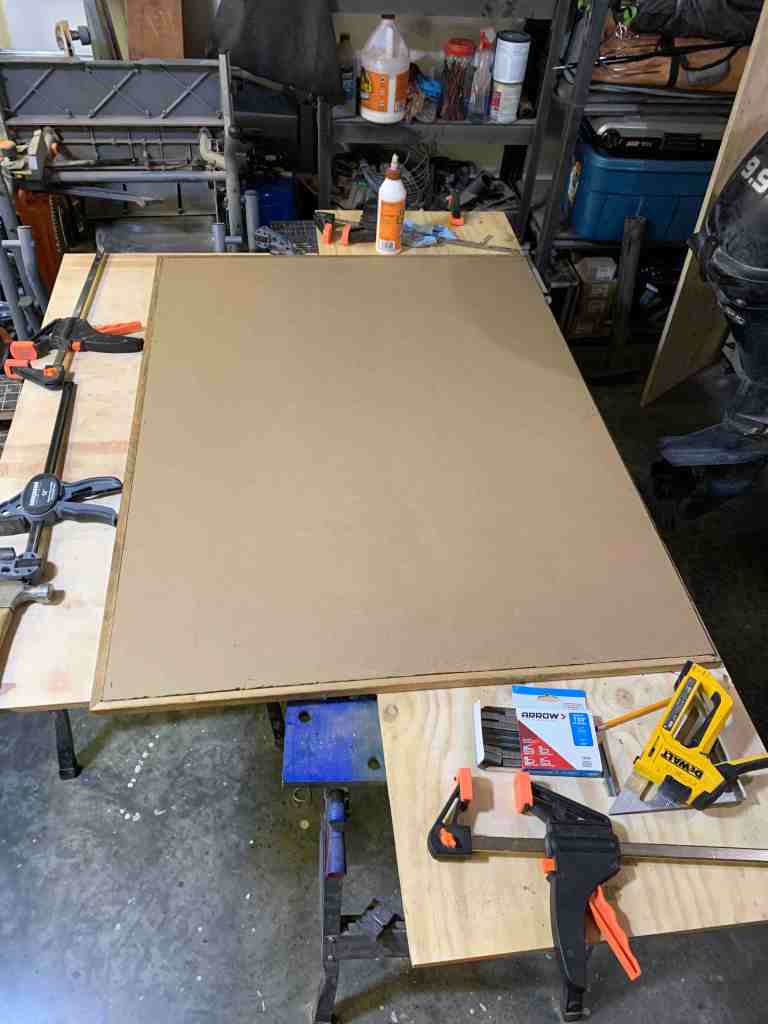
First thing I did was cut the MDF board down to the size that I needed to mount the picture. I ended up making the board 46″ x 34.5″. Once I had the board cut, it was time to mount the picture. I wasn’t planning on adding glass to keep the weight down, so I chose to mount the photo directly on the board. I didn’t have my dad’s fancy tack paper and heat press, so I went the route of the crafter and used modge podge. I spread a bunch out on the board as well as the back of the picture.
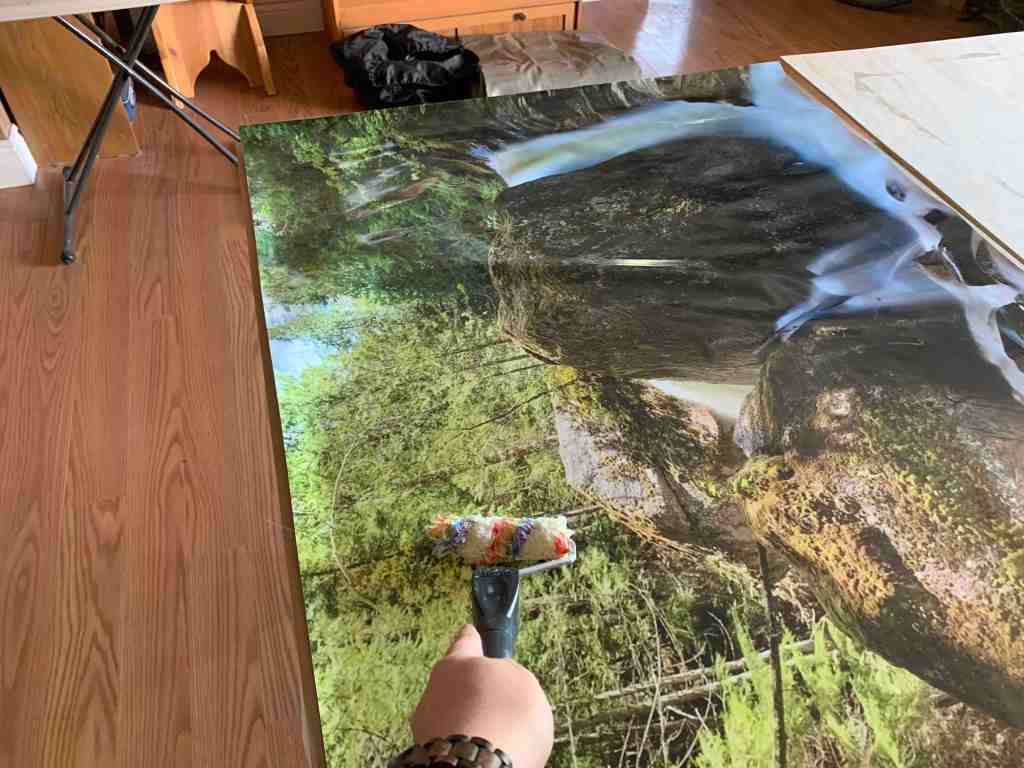
Once I had both all nice and tacky, I laid the picture down on top of the board. Now of course there was all sorts of air pockets, so I grabbed a small paint roller with micro-fibre roller on it, and used it to work from one end of the photo to the other, rolling the picture flat and getting any air bubbles out from beneath the photo. It worked great! I wanted to avoid getting modge podge on the actual photo, so I was careful along the edges, making sure to go to the edge but not roll back and forth over the edge. If they popped up slightly, it wouldn’t be a big deal because they were going to be pinned under the frame.
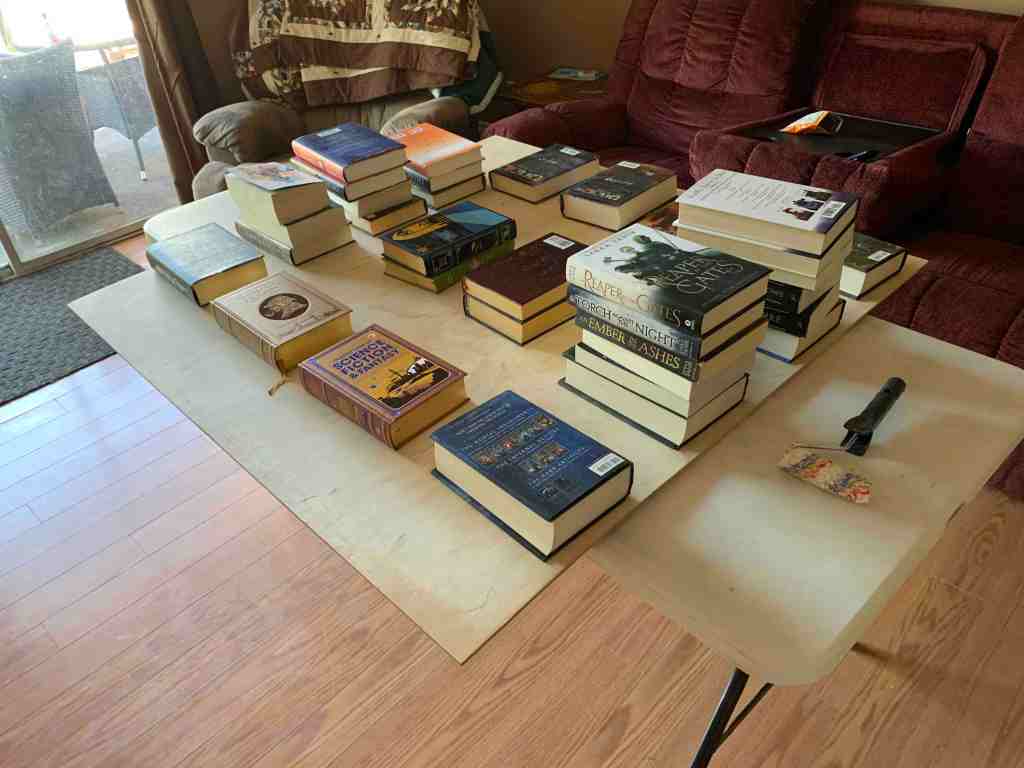
I then laid another piece of plywood on top and grabbed all my hardcover, heavy books to hold it all down flat. I let it cure for 24 hours to ensure a nice strong hold. It also gave me time to get the frame together.
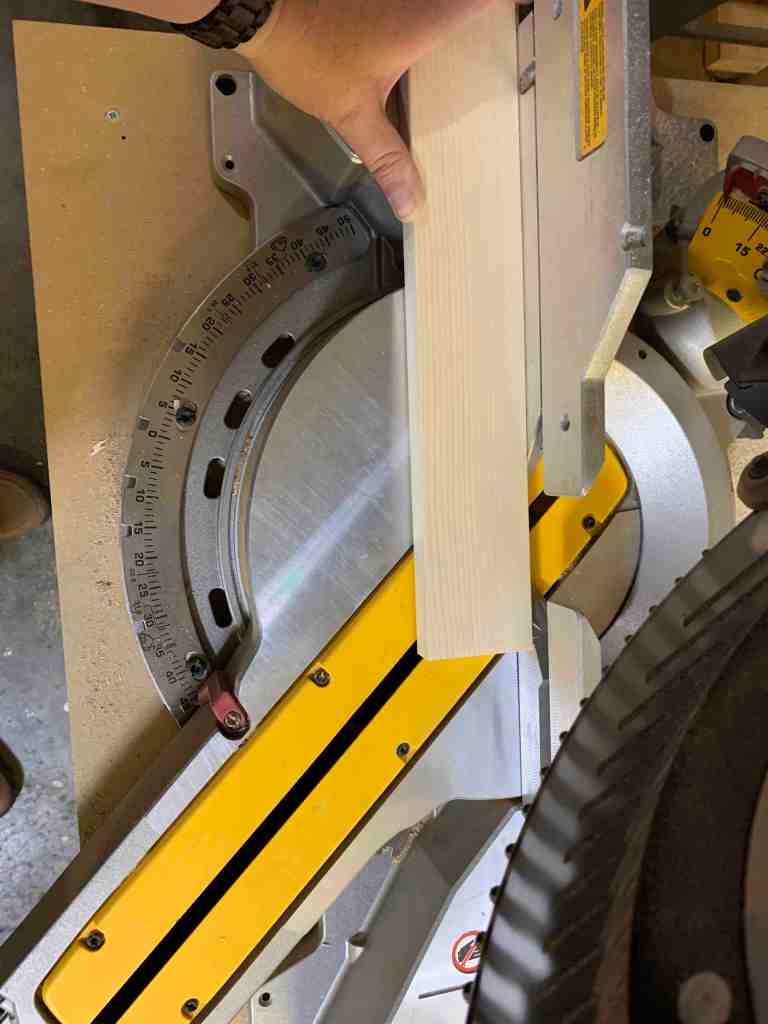
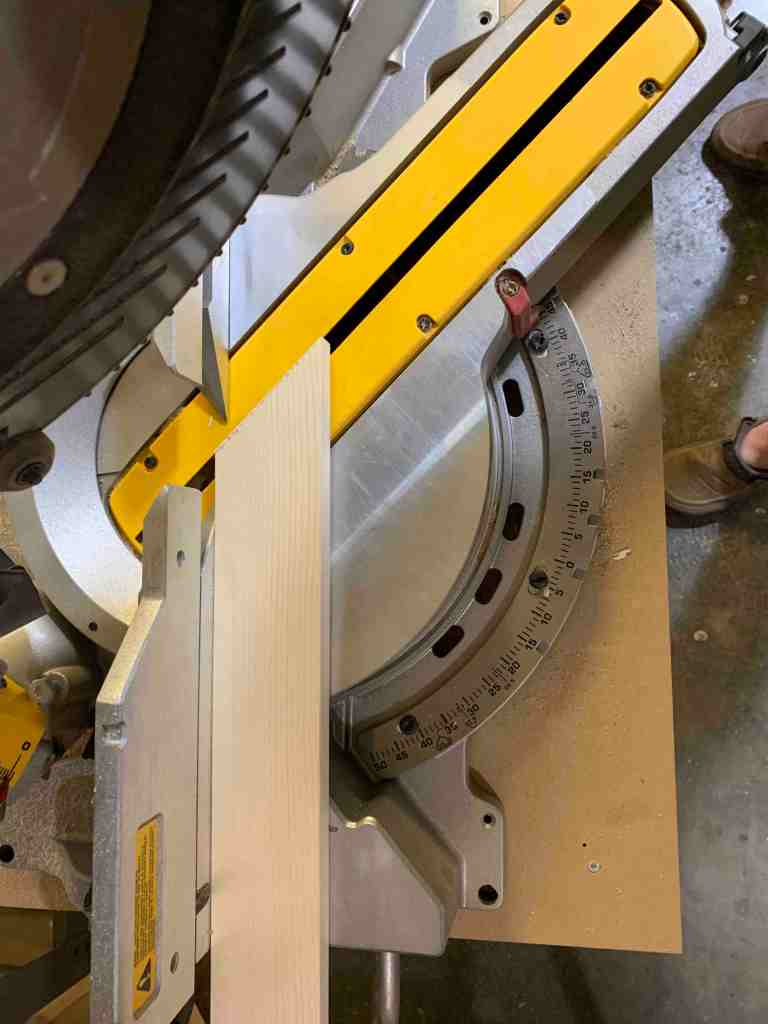
The frame was pretty simple. Using the 1′ x 6′ board, I cut the frame so that it would be the 46.5″ x 35″ I wanted it to be. I overlapped the boards so that I had some excess for when I cut the 45* angles for the corners.

Next, I cut the corners so that they were all ready to be lined up, doing a dry fit to ensure that I didn’t need any adjustments. It all fit together beautifully. I was about to start staining the pieces before attaching it all, but then I realized that I would really like the picture to sit flush in the frame, rather than just be tacked onto the back of the frame. This would give it all some extra stability and would hopefully avoid any twisting of the large picture.

So, I pulled out the router table and cut in a 1/4″ space for the picture to be placed in. Another fit of the frame on top of the photo and we were ready to start attaching the frame together. First, I wanted to stain the frame, choosing a dark walnut. I then gave it a semi-gloss clear-coat to add a little shine to it. (I forgot pictures of this part).


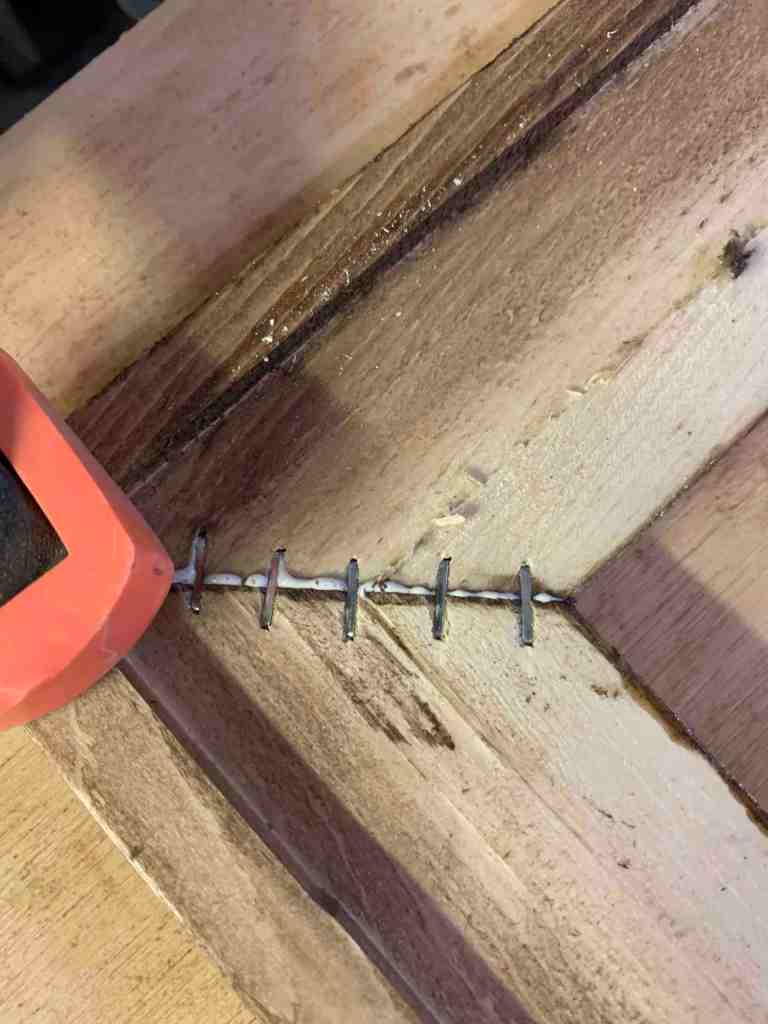
From there I laid it out on my makeshift table, and glued all the corners together. Once again, I didn’t have the nice framing corner staple machine that my dad did in his frame shop, so I used a standard staple gun and stapled the glued corners for extra strength. Then I clamped everything down for a nice flat cure.


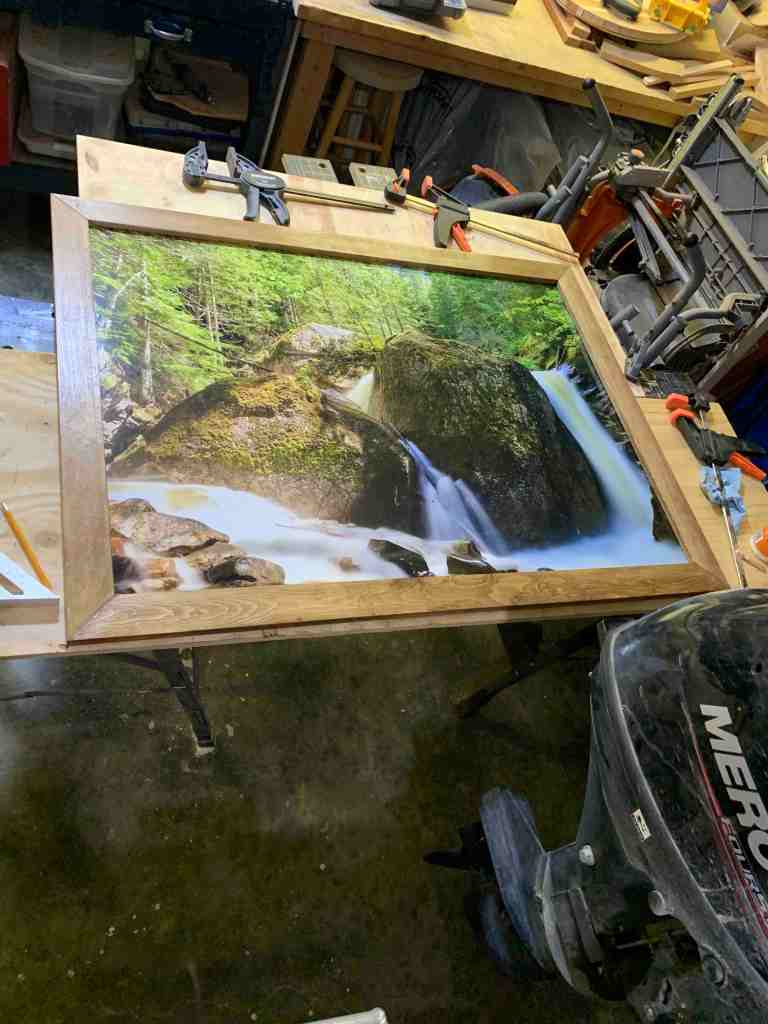
Once the frame was dry, I placed the picture into the frame, and once again using standard staples, stapled the picture into the frame. Ta-da! A beautiful framed photo for the wall.
Next, we added some hinges to the picture and frame, measuring out the lines to ensure that the hinges were square to the edge and level. From there, we went into the spare room, and while Kurt held the photo up, I got it screwed into place.


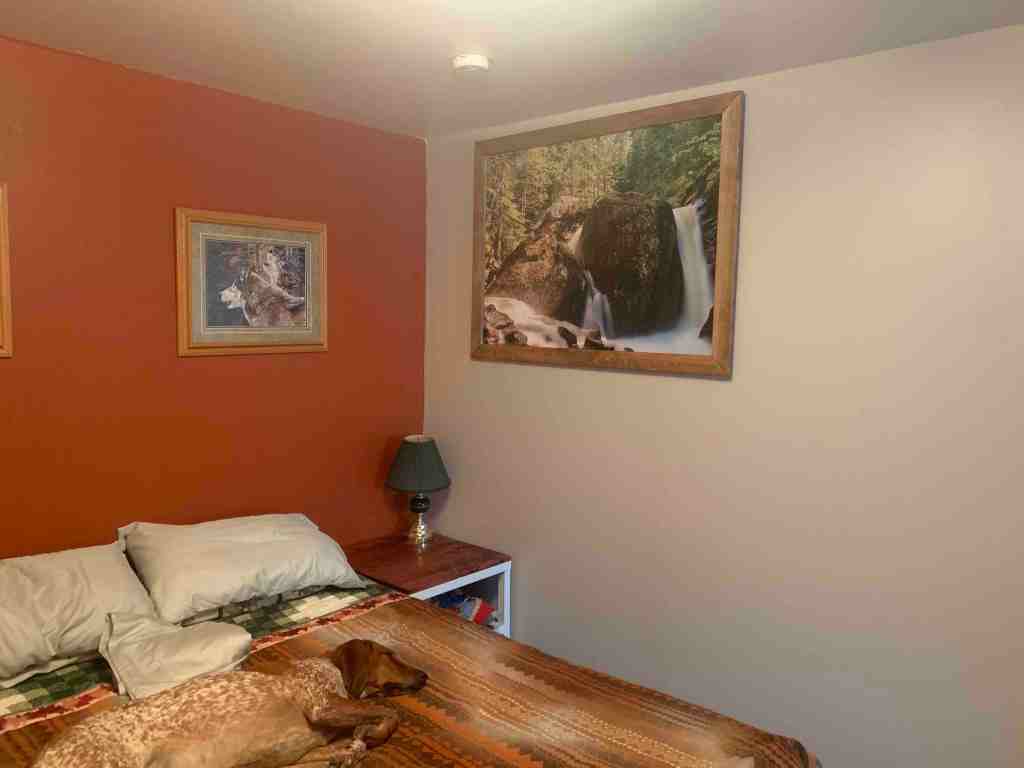
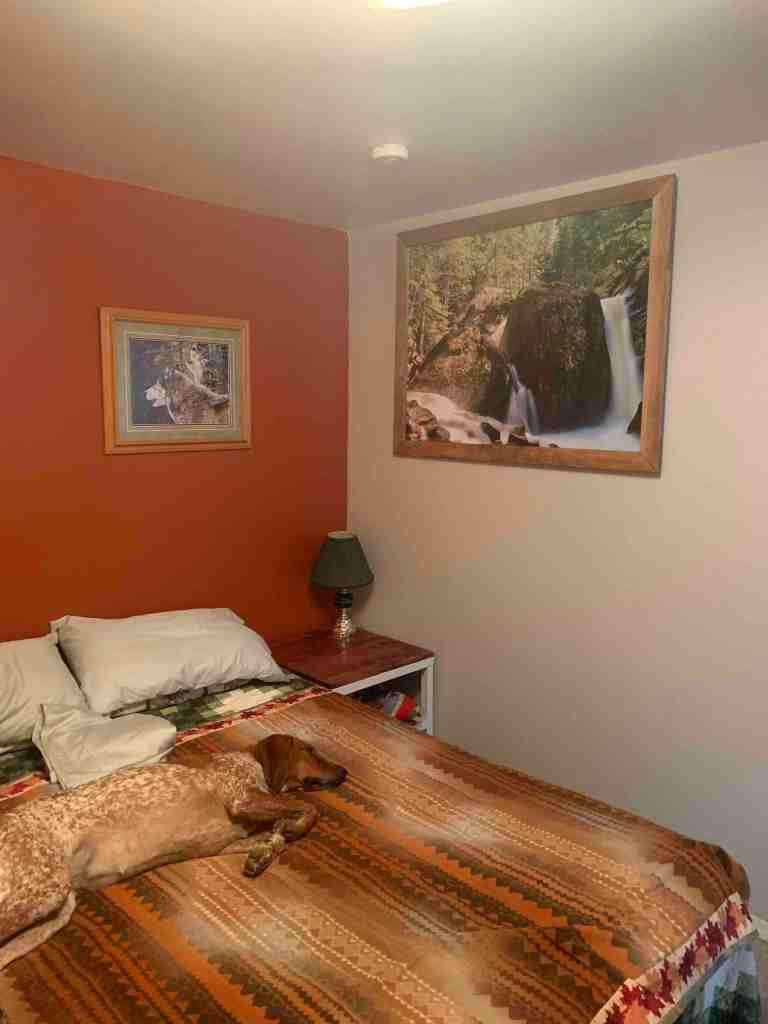
We love it! It turned out awesome. I had hoped to re-use some of the magnets from the previous cover, but they don’t work the way I needed them to, so I will have to get something to keep the picture tight to the wall. It is pretty good without a clip or magnet, but it is a minor thing that I think we should do to make it perfect. I will likely hit up a hardware store this week and see if I want to go with a cabinet hardware, or just a magnet that will hold it tight. I guess I will decide once I see my options. Until then, the room is properly ready for company.
On a side note, I did have a foreman on the site the whole time, keeping a close eye on the work I was doing, though she liked to snooze on the job 😉


As the daughter of a picture framer should know, the routed out section of the frame moulding is called the ’rebate ‘ or ‘rabbet’. Otherwise, nice job Jenn! You made a beautiful homemade frame and all the local picture framers will have to eat beans for dinner again 😜
LikeLike
Oh dear! You are correct, I should have remembered the term rabbet or rebate and used the proper terminology. I am happy that you approve and a compliment from a framer on the end result is certainly high praise. 😁
LikeLike