
We’ve been a little delayed in finishing the basement spare bedroom. We ended up having a family member in the hospital and a houseguest, so we were behind a little bit in our renovation. Now, I’ve also been delayed in writing about the progress, so I’ll get you caught up.
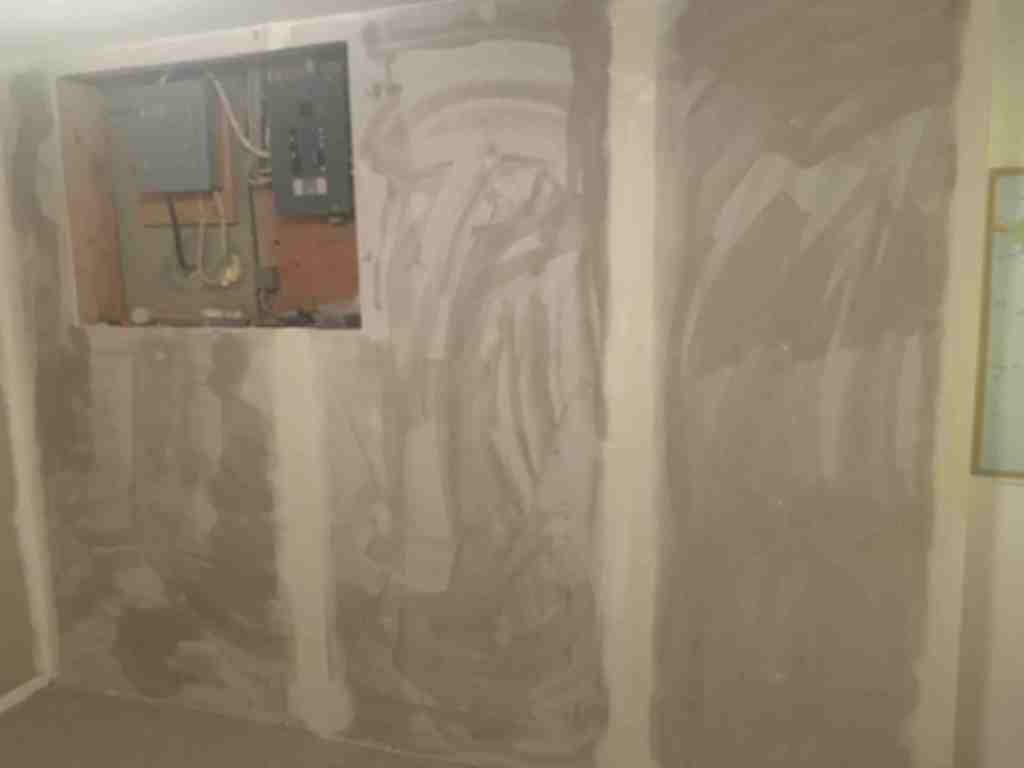
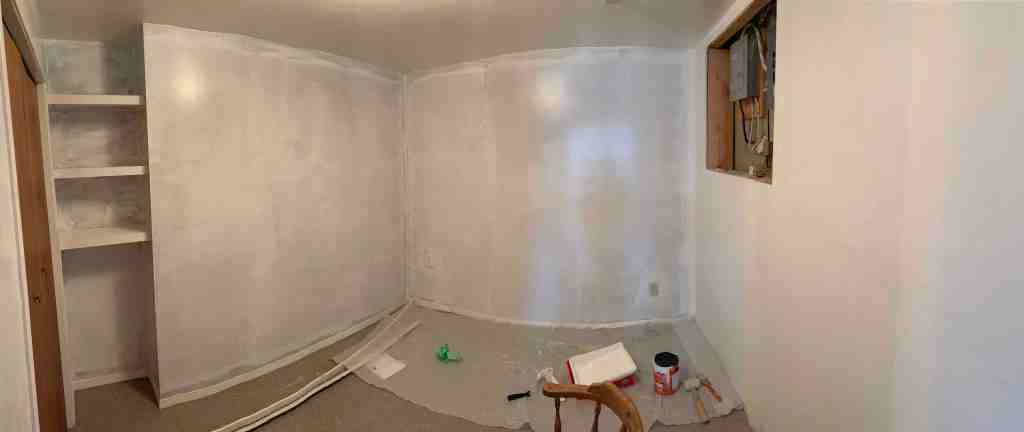
Last I left off, Kurt had added the final bit of mudding to the seams and it was time to sand and see if we were truly ready for the next step. I grabbed some sanding sponges/blocks meant for drywall work. We started with the mid-level coarseness to start. The coarsest one seems far to aggressive for what we were working with, so we skipped that one. From there, we finished off with the least coarse block. I have no idea what the actual grit levels were as they were just colour coded. After we finished sanding, we looked at everything from all angles, ran our hands over the wall, etc to make sure we were happy with the finish. It all looked and felt great, so it was time to move on from mudding.

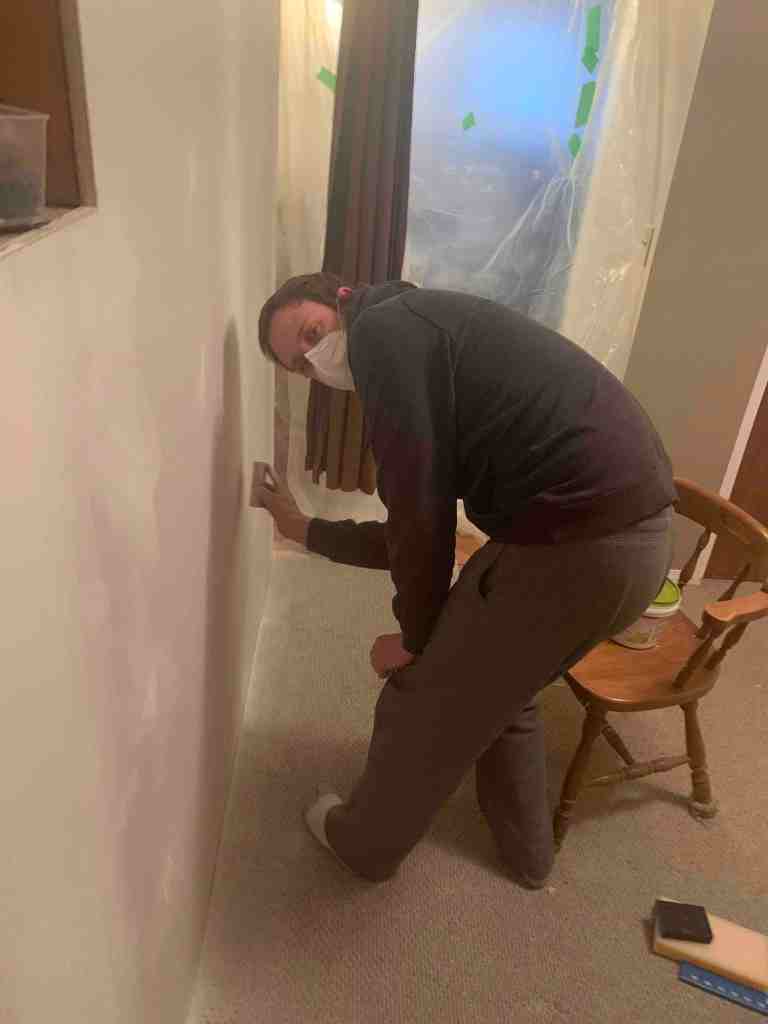
Kurt pulled out the vacuum since we had made quite the mess sanding. While he vacuumed up as much dust as he could, I grabbed a bowl and a large sponge so that we could wipe down all the walls before priming them. Kurt finished vacuuming and I got to work giving each wall a good wipe down, especially the newly drywalled wall. We let it sit overnight and gave it another wipe down the next day to ensure that there was no dust that came off on our hands when we ran them along the walls and the seams. We were good to go after 2 wipe downs.

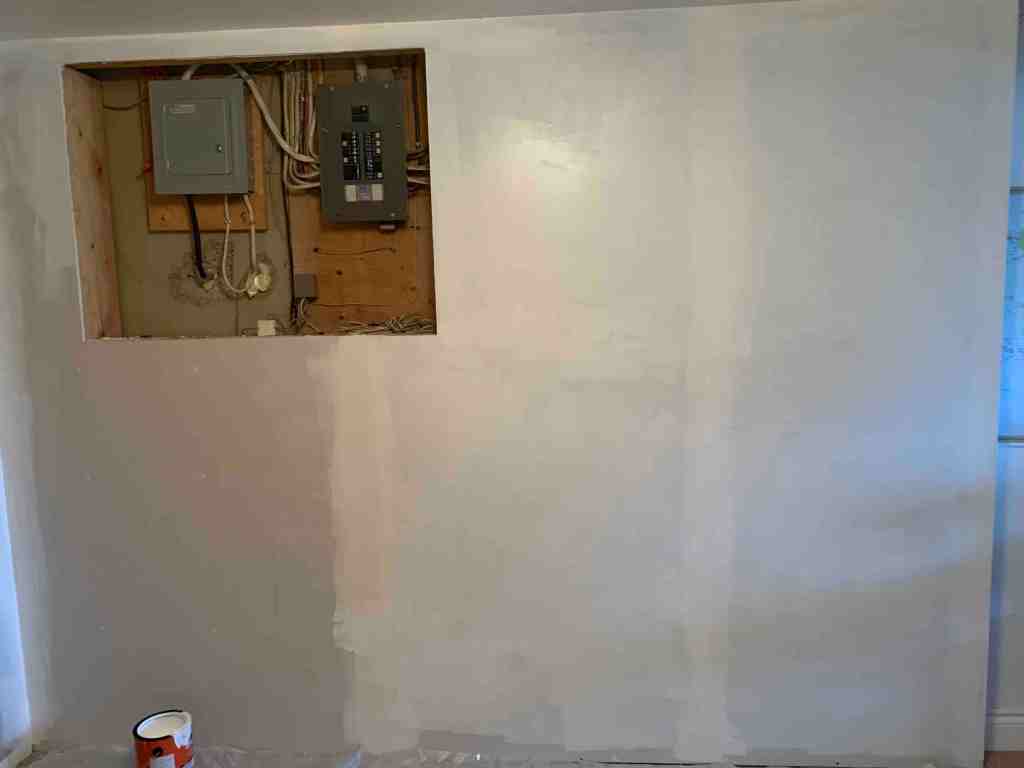
The 2.5 finished walls were 2 different colours and because the new wall would be primed, we thought it would be best to take all the walls back to white so that whatever colours we decided on would match and not have any shades underneath altering the colouring. The primer that I grabbed was specifically meant for sealing new drywall but could also be used on previously painted walls as well. I trimmed while Kurt followed rolling the full wall. It was a good system. We ended up doing 3 coats so that we had a good coverage on all the walls. This took a few days as we wanted to make sure that the newly drywalled wall was able to cure with lots of time between layers.

Now came the difficult part. I have such a difficult time choosing paint. There are just far too many options that I think I’ve got it figured out and then second guess myself. The more time I am given to look, the worse it gets. I thought back to our recently painted bedroom when Kurt and the dogs were in the vehicle while I chose the colour, so I had literally minutes to make a choice. That choice turned out excellent, and I love the shade of grey that our room now is painted with. So I decided to put the same constraints on myself and decided to go and grab all the paint we would need during my lunch hour. That would give me a maximum of 20ish minutes to pick the colours before it had to be mixed.
So here is the additional conundrum that I was working with. I didn’t want to do the room all in one colour. I know, I know…we were finally finishing a room that had multiple colours and we were once again doing multiple colours. However last time was due to circumstance. The room had to greeny-brown walls and a pastel baby blue wall (I apparently didn’t take a picture of this atrocity and just painted). BLECH! To get rid of the baby blue, I used some of the light beige that we had bought to use in some of the other rooms when we first moved in. Oddly enough, all those walls have since been painted a different colour. Anyways, I digress. This time, I was going to have a choice of all the walls, so I wanted to make sure they all went together.

Kurt really wanted white walls, but one of my favourite things about owning a house is that I will never have white walls again in my life. I hate white walls. They are so very boring. I agreed that because this room is in the basement, and the window shed a limited amount of natural light, that I would aim for lighter and brighter colours.
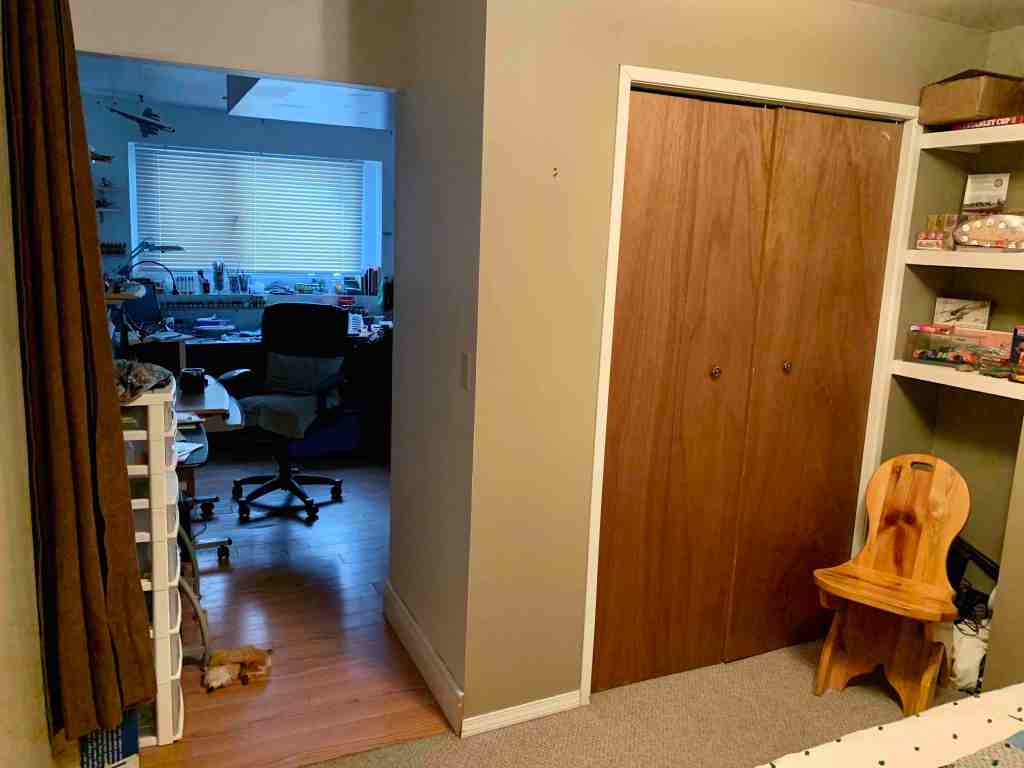
The room also has a little nook with some built-in shelves. Kurt would like me to add at least one more shelf so that he can display some of his hobbies. It will be easy enough to add another. However, while we were priming the room, we discussed possibly finishing those shelves further to make it look more like an in-set shelving unit; give it a more finished look. If we do that, then I didn’t want the inside of the cubby/shelves to be the same colour as the room. So we decided that the shelves and the inside of the shelving unit would be white.
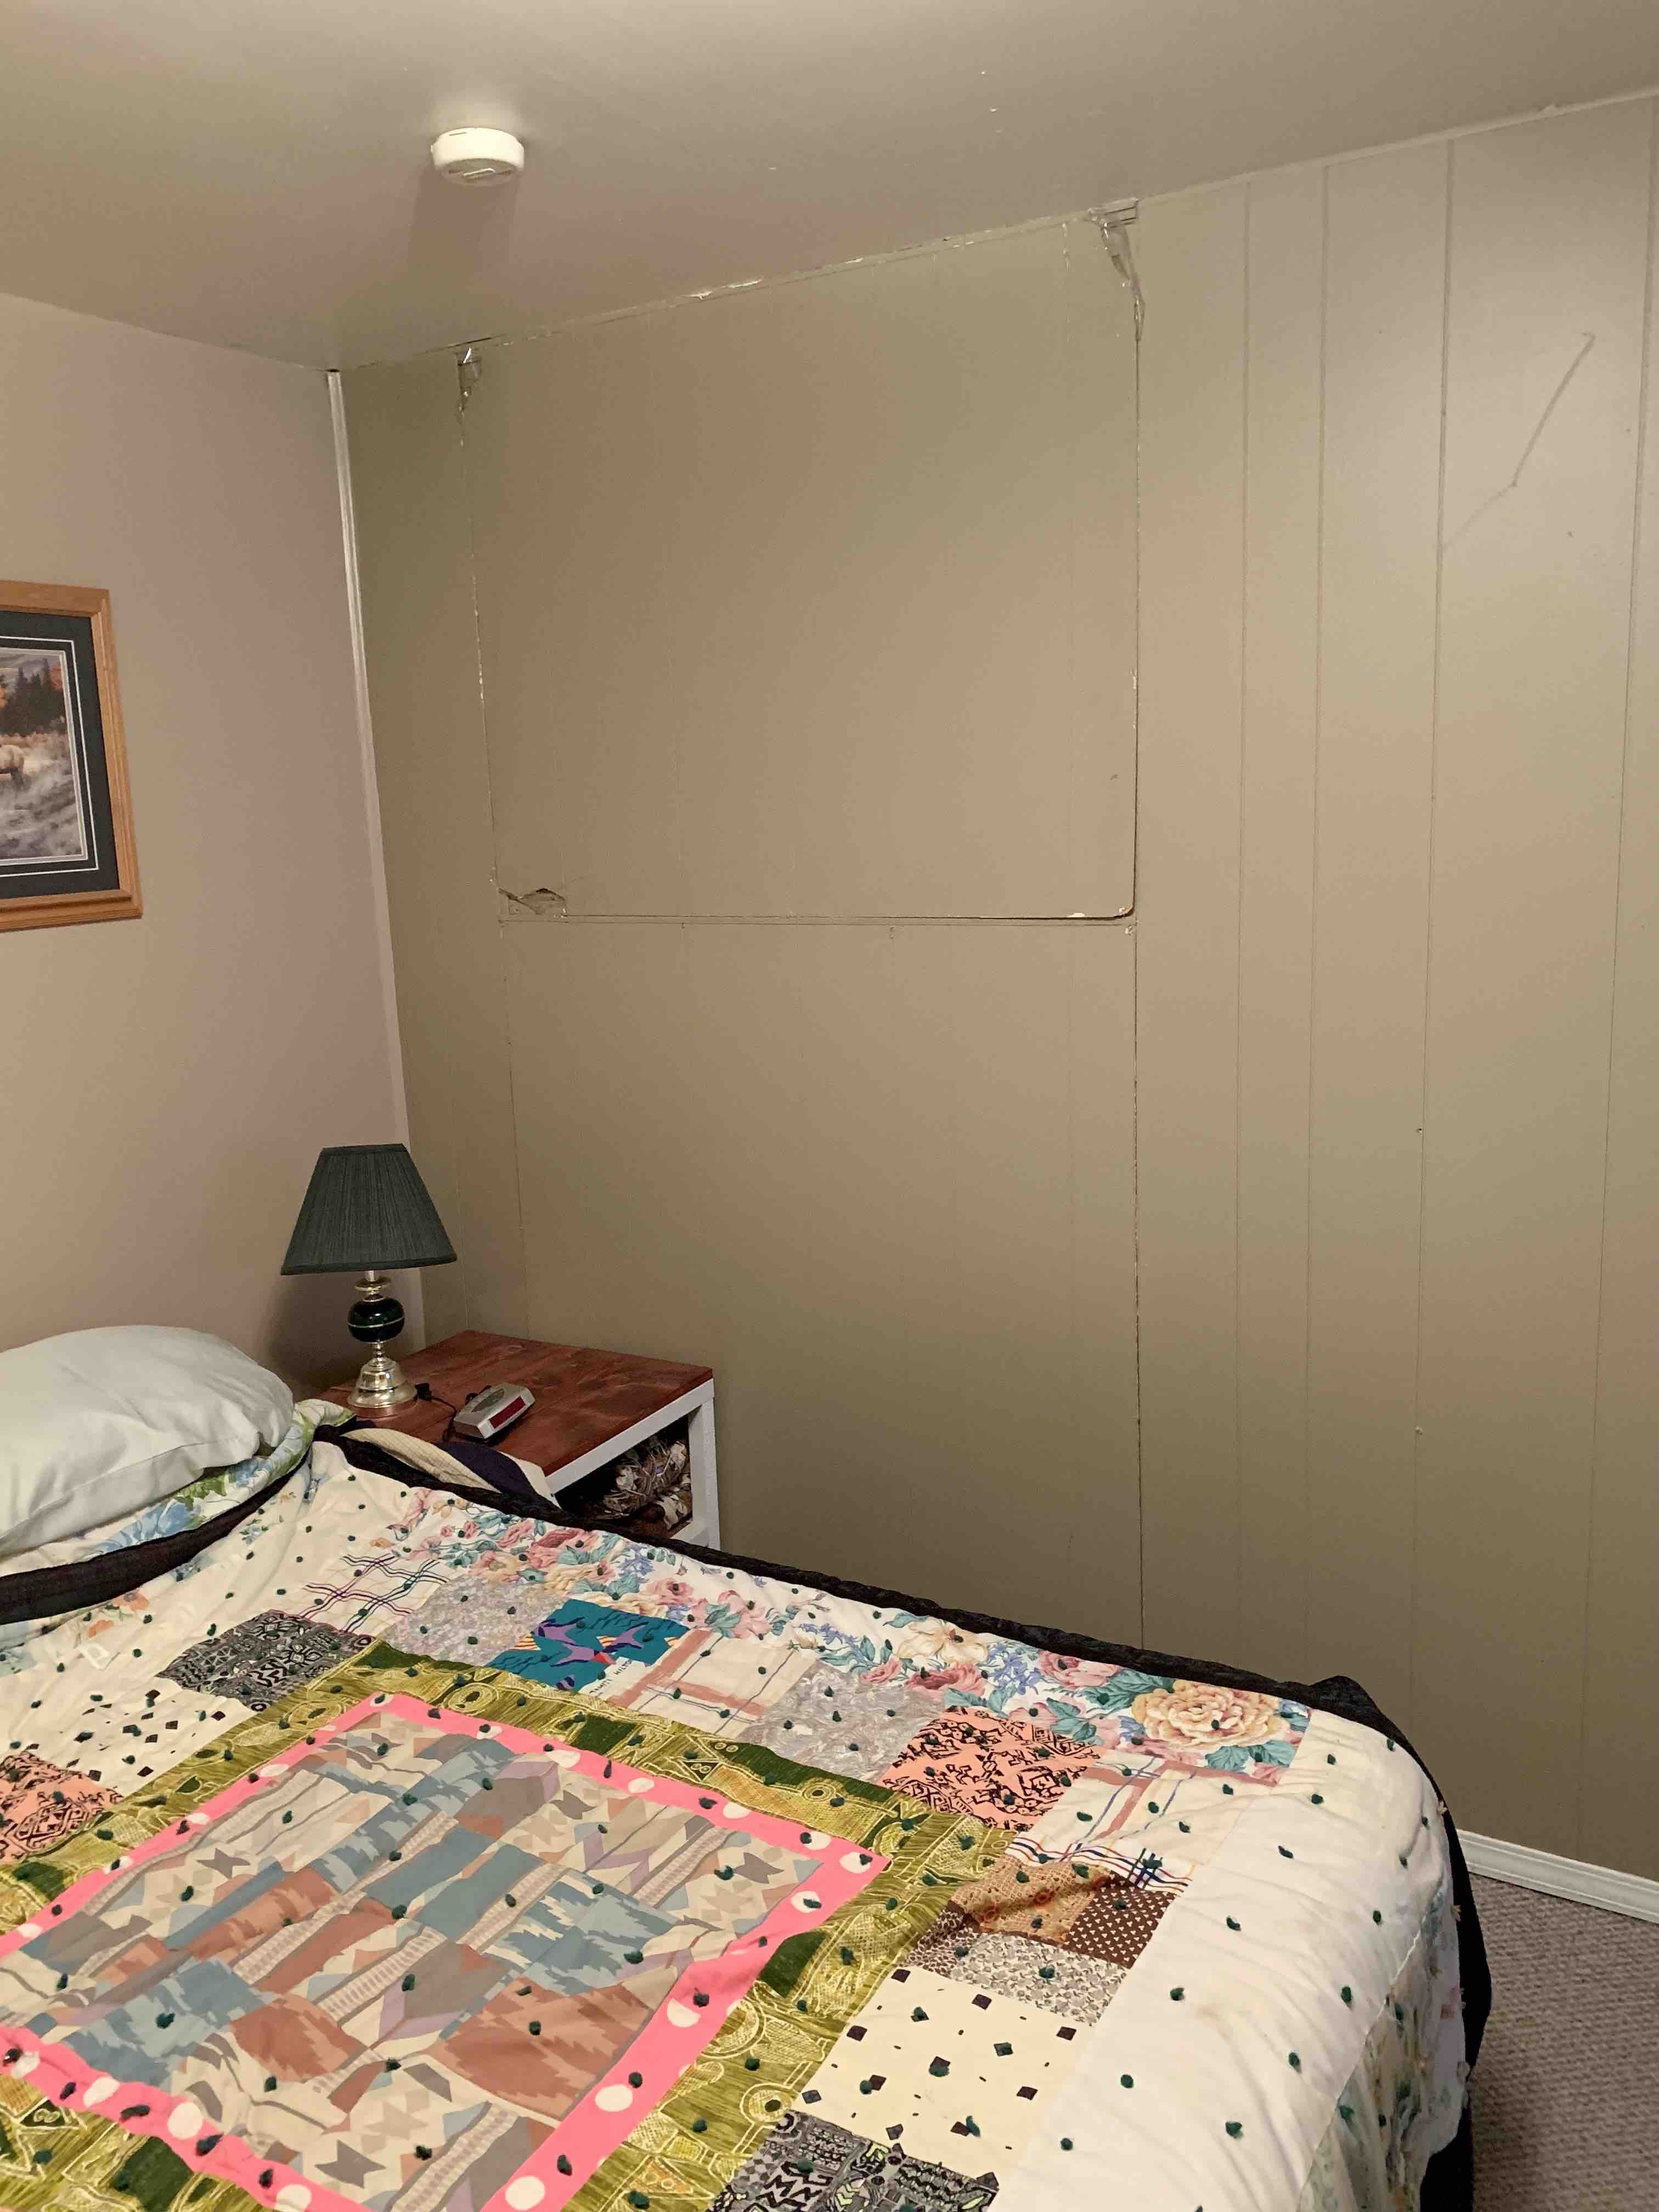
So I had 20 minutes to choose 3 colours/shades. Oy vey! I knew that I wanted the wall where the head of the bed is to be a feature wall with some sort of brighter colour. For some reason, I really was gravitating towards an orange colour. I’ve never had an orange wall before, but with that runs the danger of something too vibrant that it is obnoxious or “clownish”. My parents have a sienna coloured room which is a nice subtle clay orange. I like it, so I tried to find something just slightly brighter. I ended up finding Kalahari Sunset. Out of the 10 or so orangeish swatches I looked at, it was the one I kept gravitating towards, so I finally decided to go with it. I only grabbed 1 quart of this colour since it was only going to cover 1 smaller wall.
The other 2.5 walls I wanted in a grey tone. This was a bit of a concession to Kurt since he actually wanted white. I went with a very light grey with some of that orange undertone. Once again, many swatches later, held up to the Kalahari Sunset swatch, I ended up choosing Burnished Clay. It definitely wasn’t white, but it also wasn’t super dark. A very subtle grey that would appease both of us. I grabbed a gallon of this since we had a few walls to do.
Lastly, I had to pick a white for the shelving area. Who knew that there were so many shades of white. I ended up going with Whisper White. I cannot tell you if it has undertones or what makes it different from most whites, it just looked best when held up to the other swatches. I’m assuming it is a warm white since I could immediately tell cold whites and tossed them aside. Since it is a warm tone and looked good with the other two swatches, I assume some minor red or orange undertone….but really….it is white.
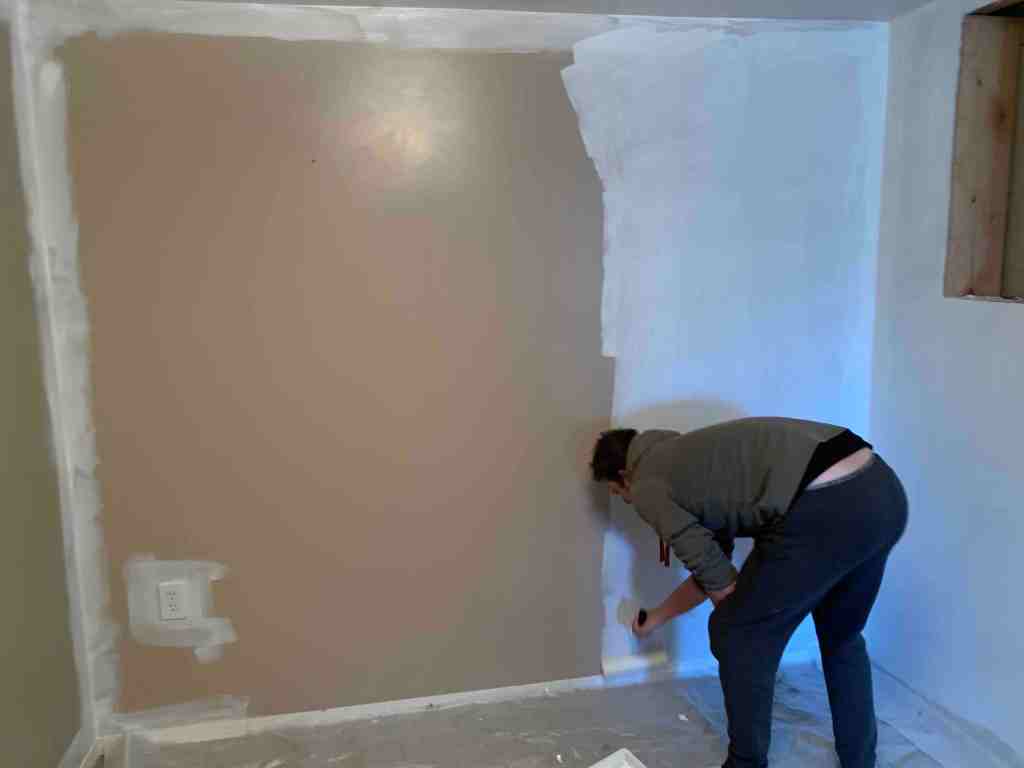
We painted the Burnished Clay walls first. I cut in where I will finish framing the shelves. There will be some trim that will overlap my line, so it didn’t need to be perfect. I was happy that the top part of our newly drywalled wall was easy to trim along the ceiling, meaning that I filled the minor gap well and there was no dips or bubbles. Oddly enough the walls that were already drywalled gave me more troubles trimming the ceiling that our new one did. We made it work though. We did 2 coats to make sure there was good coverage. I have to say, our newly drywalled wall looks good. You can’t see where our seams are and it looks nice and smooth. Whew!


Next I did our feature wall with the Kalahari Sunset. When I started I was a little nervous, because again, so much could go wrong with orange, but after I finished trimming and started rolling, I knew it was a good choice. When wet, it had more of a reddish tone to it, but as it dried, more of the orange colouring popped. It is perfect. With the right art on the wall, it will really brighten up the room, along with the lighter accent walls.


We did not paint the shelving area white yet. I need to get a small roller. I don’t want to do the whole thing with a brush and deal with brush strokes. I think we will take the dogs for a nice walk into town to pick them up. Then I will need to grab the supplies I will need to frame the shelving to look like it was a built-in set of shelves. Kurt would also like me to add some strip lighting to each shelf for some subtle illumination to the displays. I’ll have to do a little research since there is no outlet close to the shelves, so I may need to go battery powered on that. Between the new wall and the finished looking in-set shelves, the room is going to be much nicer looking that it was.


One Comment Add yours