
As I mentioned in a previous post, one of my homemade gifts for last holiday season was some coasters. I had been wanting to try making some for a while, and the time and reason to jump into it finally arose. I only wish I had considered making these sooner as I think they would have done well at the craft fair. They are a nice, easy, gift to get someone and the price-point would have added some more variation to what we offered. Oh well, next year we will be stocked!

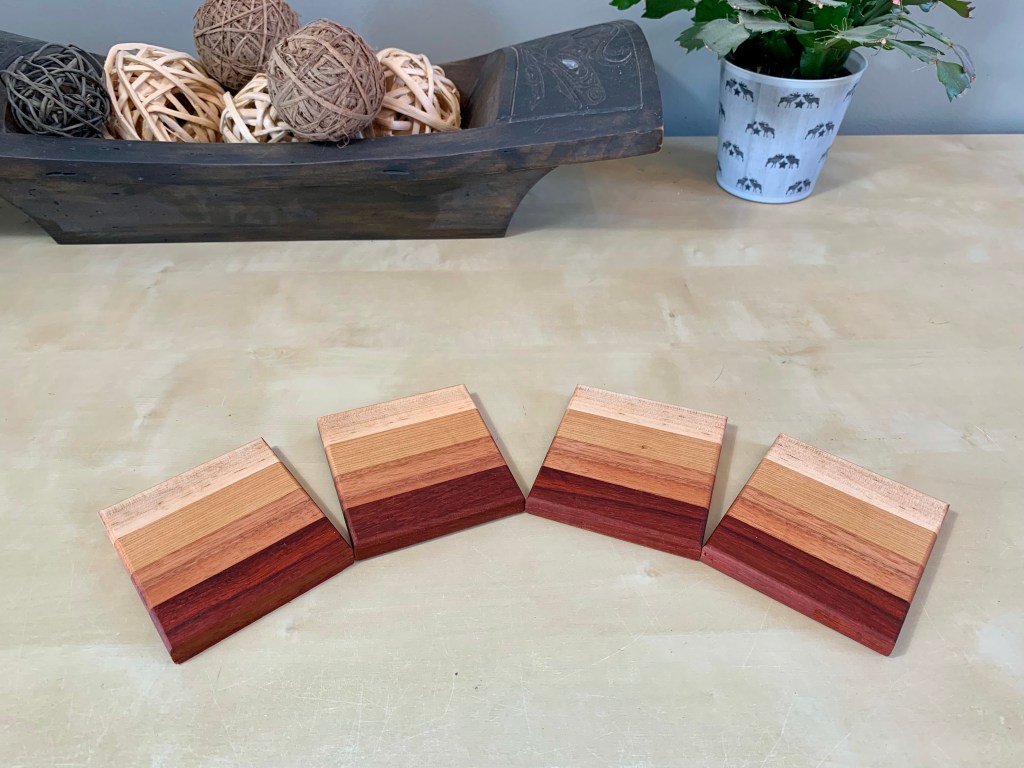
These ended up being much easier and faster to make that I had anticipated. For my first set, it went with a very simple striped design. By going with this style, I was able to make the coasters, similar to how I make some of my cutting boards.
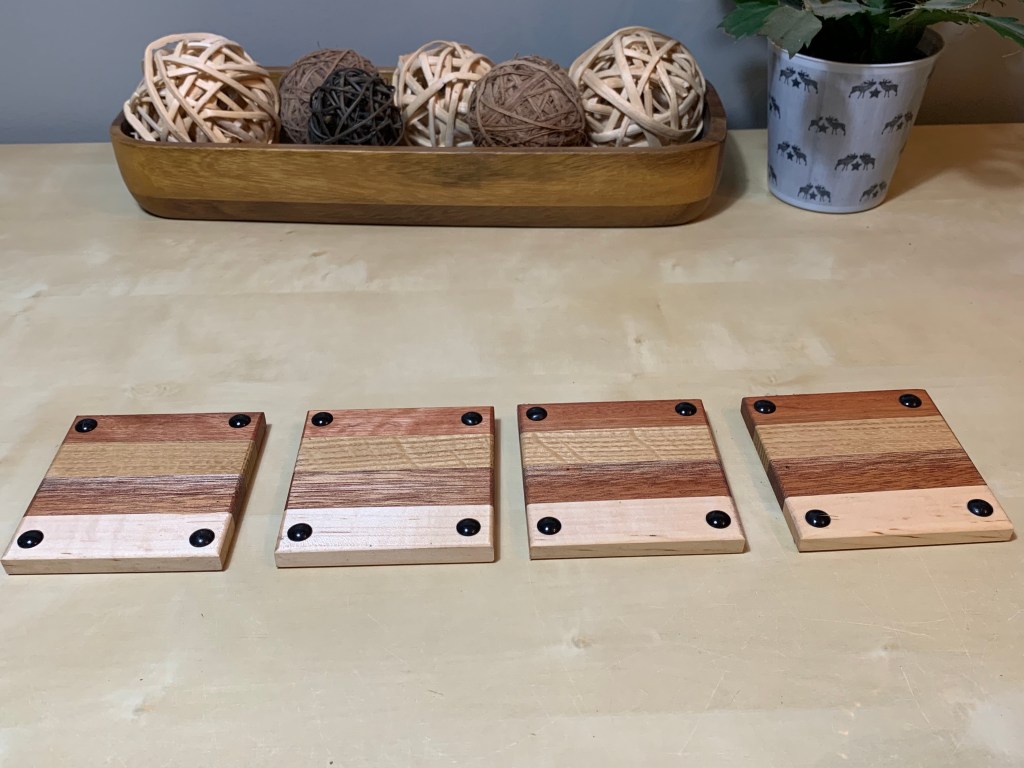
My first step was to determine what size I wanted the coasters to be. I ended up choosing to do them approx. 3-3/4″ x 3-1/2″. This size was mostly chosen because all the wood I had was 5/8″ thick, so I could rip strips quite easily. I decided that I wanted the coasters to be no more than 1/2″ thick, as I wanted to add some low-profile rubber feet to them so that they wouldn’t mark up furniture or slide around. I had also considered felt bottoms, but liked the look of the feet better.
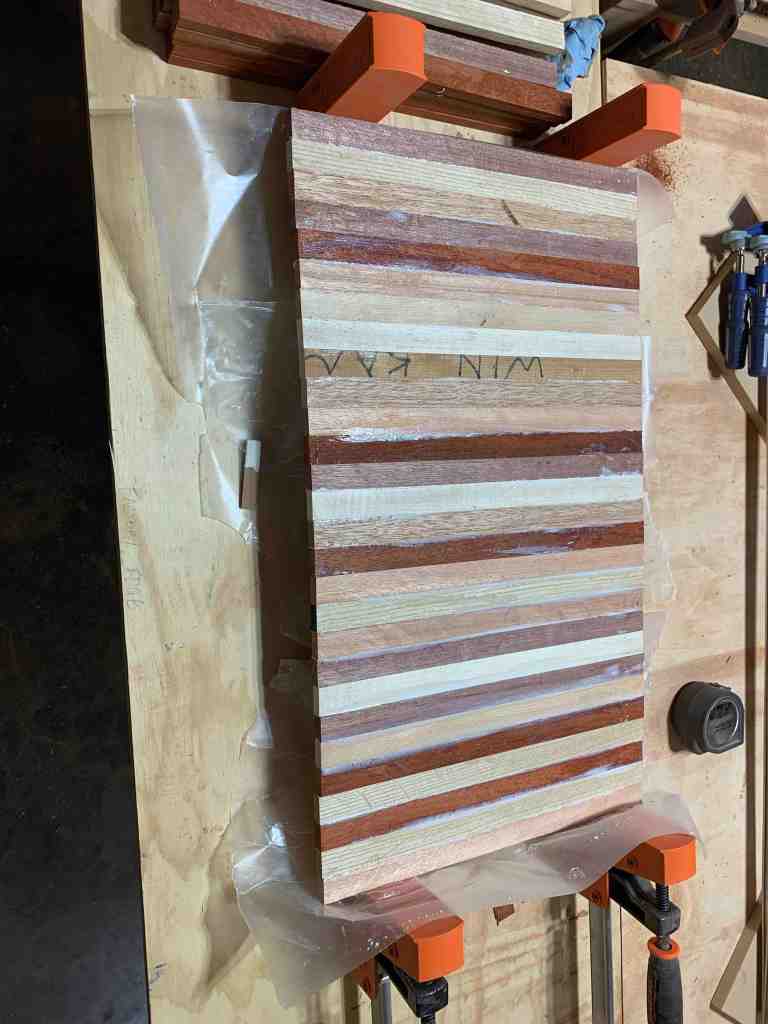
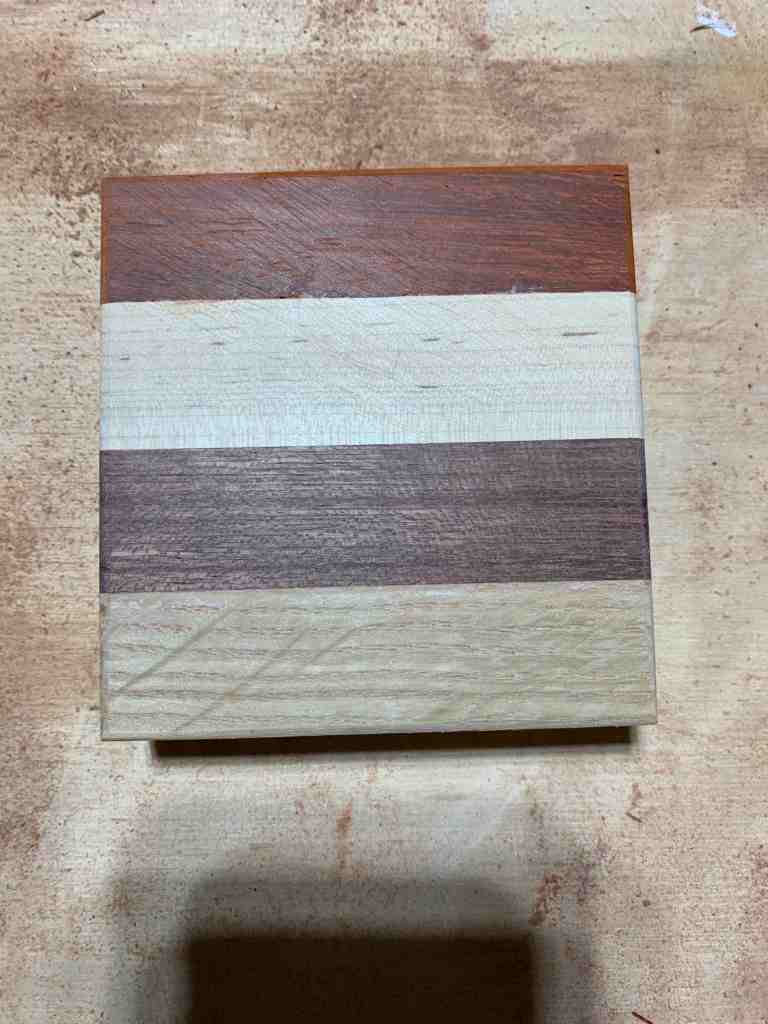
I went with a mix of woods so that I had lots of colours and shades sorted out. I cut 14.5″ chunks of each type of wood and then ripped them down into the strips that I would need. I ended up with more than others depending on how wide the board was. Once they were ripped, I started stacking them together in random orders to make all sorts of different patterns. There were 4 pieces per set of coasters that would need to be glued together.

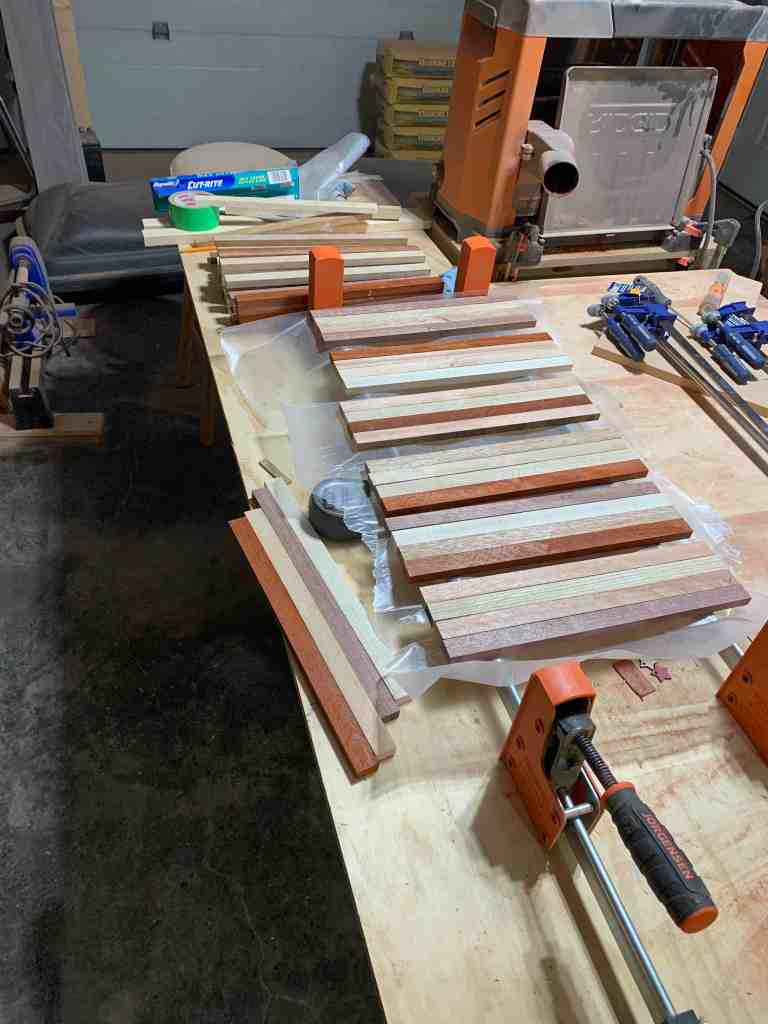
The next step could have been tedious since I don’t have a ton of clamps yet….I’m working on that. I didn’t want to glue each set of coasters separately since it would take forever to do all the sets that I had cut. So I decided to put a few sets of coasters in each clamp to see how it would go. I glued the 4 strips of each set of coasters together and carefully butted them up against the next set. When it was time to clamp them together, I tightened the clamps slowly and held a board over it so that none of the non-glued edges would shift against each other or pop out. I was careful to make sure the edges lined up as best I could get them so that I didn’t have to cut much off each end. I also didn’t tighten then quite as much as I would usually tighten one of my cutting boards, just tight enough that the seams were all nice and tight together.


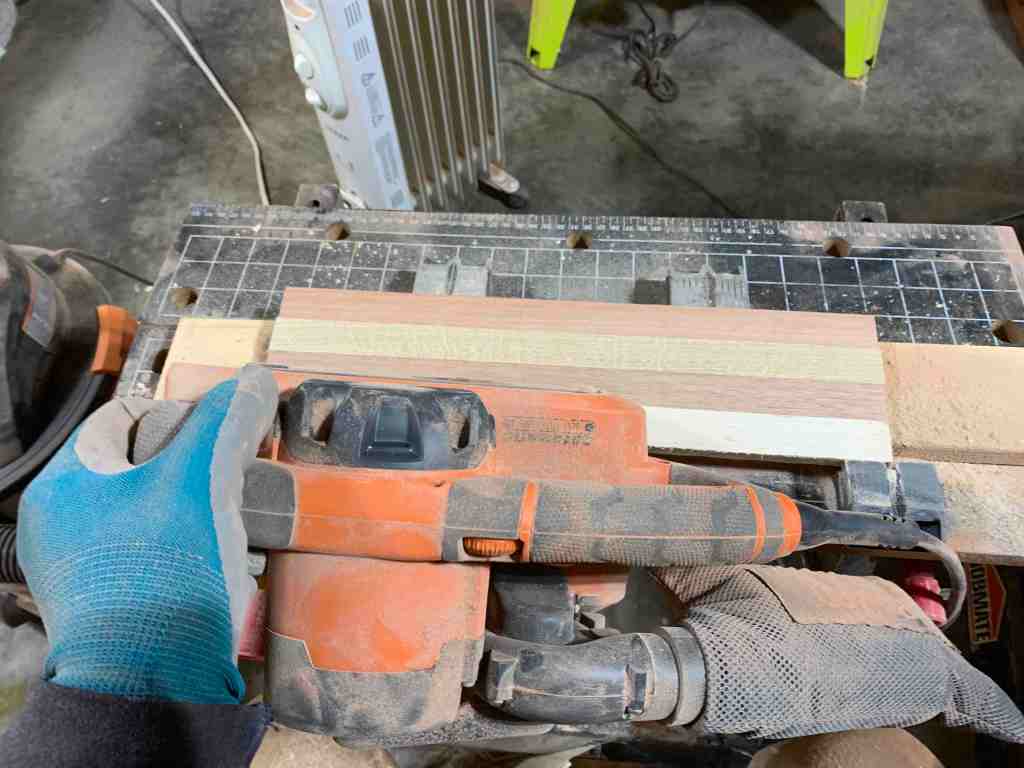
I let the glue cure for 24 hours and then pulled them out of the clamps. I then used my hand-held belt sander with 80 grit and sanded them on both sides, making sure everything was event and there were no lips or pieces sticking up. I then used my orbital sander with 120 & 220 grit to get a nice silky finish to the boards. I found it easier to sand it while it was still a long piece. It was less tedious than sanding 4 individual coasters for each set.

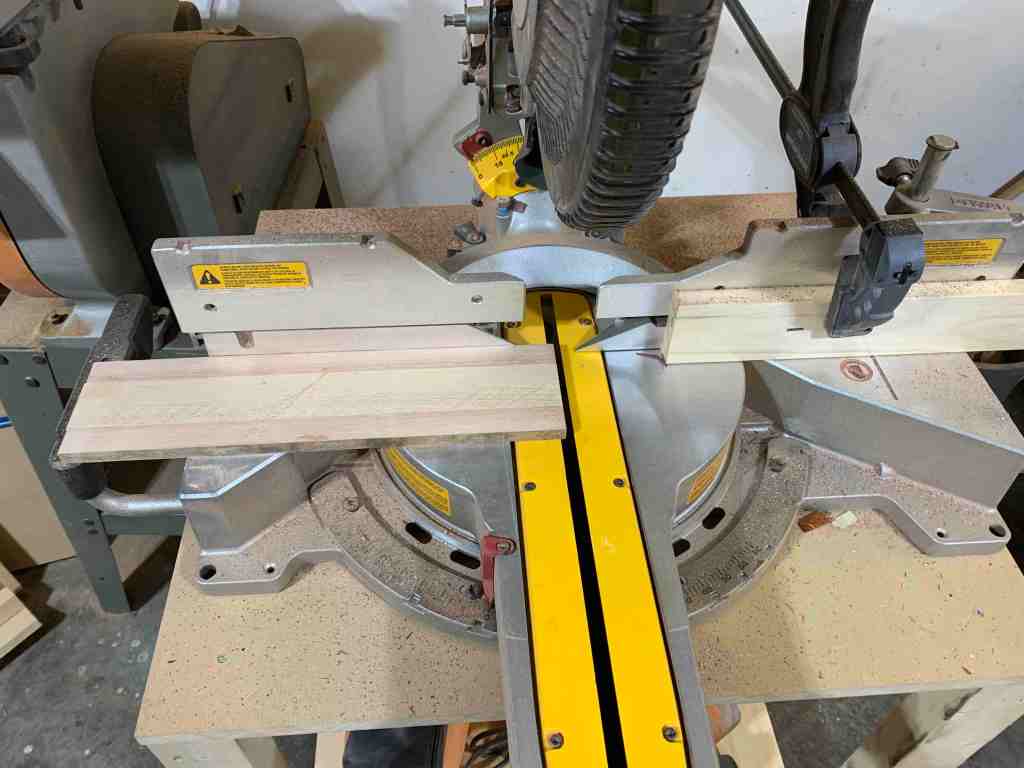
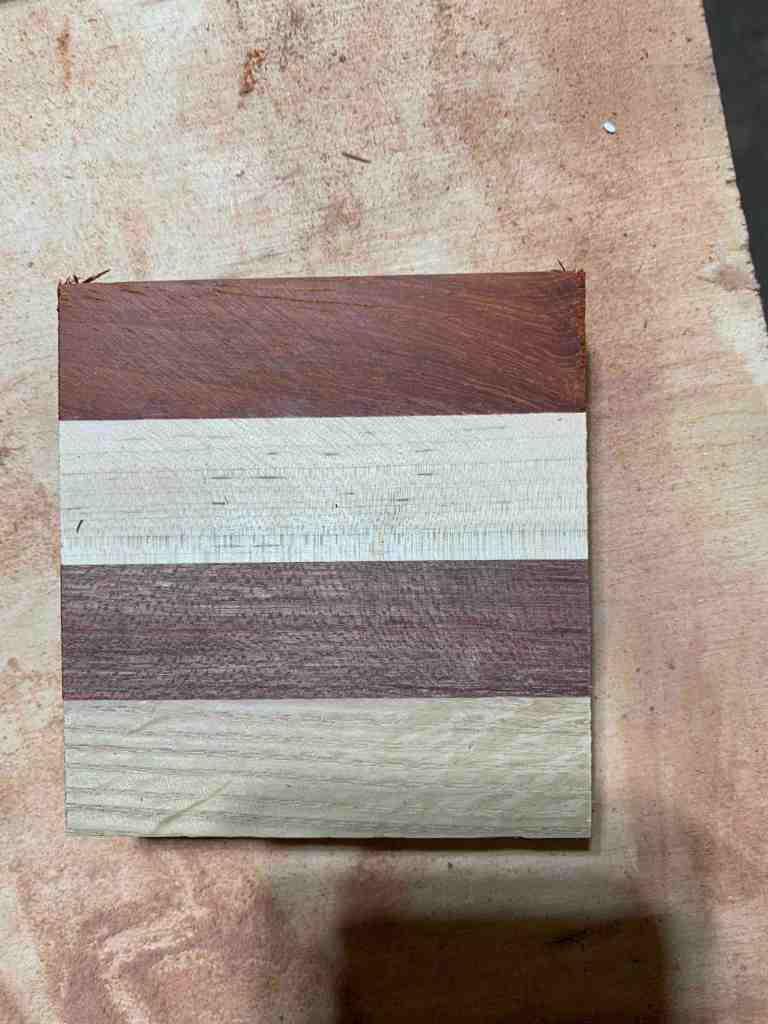
Next I set a stop at 3-1/2″ on my mitre saw. I trimmed the short edges to make sure they were perfectly square, and then used the stop to cut 4 equal size coasters. This created a few rough edges, but that is fine because I knew I was going to round the corners and would have a chance to sand down any imperfections.


Once all the sets were cut into 4 coasters, I headed over to my bench belt sander and sanded each edge of each corner, and rounded the edges. I decided to round the edges with the sander rather than my router because it was a minor rounding that I wanted and could be accomplished with the belt sander.

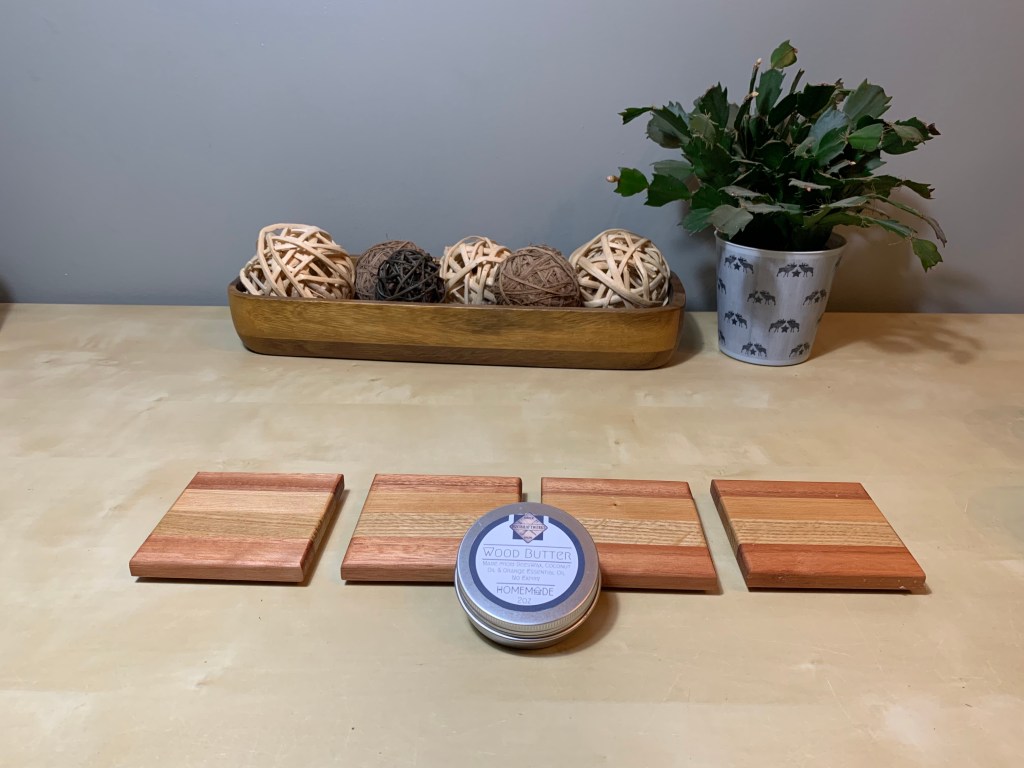
Before giving them a wax, I double checked to do a final sanding on any coasters that needed it, ensuring the silky soft finish I had given them prior to cutting them to size. Once that was done, I grabbed some of our M2C1 Kraftwerks wood butter and gave them a healthy covering and let them sit overnight to soak in all the good oils. The next day I gave them a final buff to take off any excess wax and oil. I then applied the feet. I had worried that they wouldn’t stick because I had already oiled/waxed but they went on well, and after testing and being unsuccessful in prying one off, I realized that they were good to go. In future I may stick them on and wax/oil around them, but then again, they seem to stick just fine after the final buff that I may not.


All in all they are a great starter project. I feel like some of these projects would have been better stepping stones to the original cutting boards I did, but apparently I prefer to start with the bigger projects first. With the coasters I am truly starting with the basics. I would like to do some more intricate designs which will result in a different process of building a block and then cutting each coaster from that block. The block will be the size that I want each coaster to be and I will cut it like a loaf of bread, with each slice being a coaster. I think that analogy works…Anyway, future plans.

