
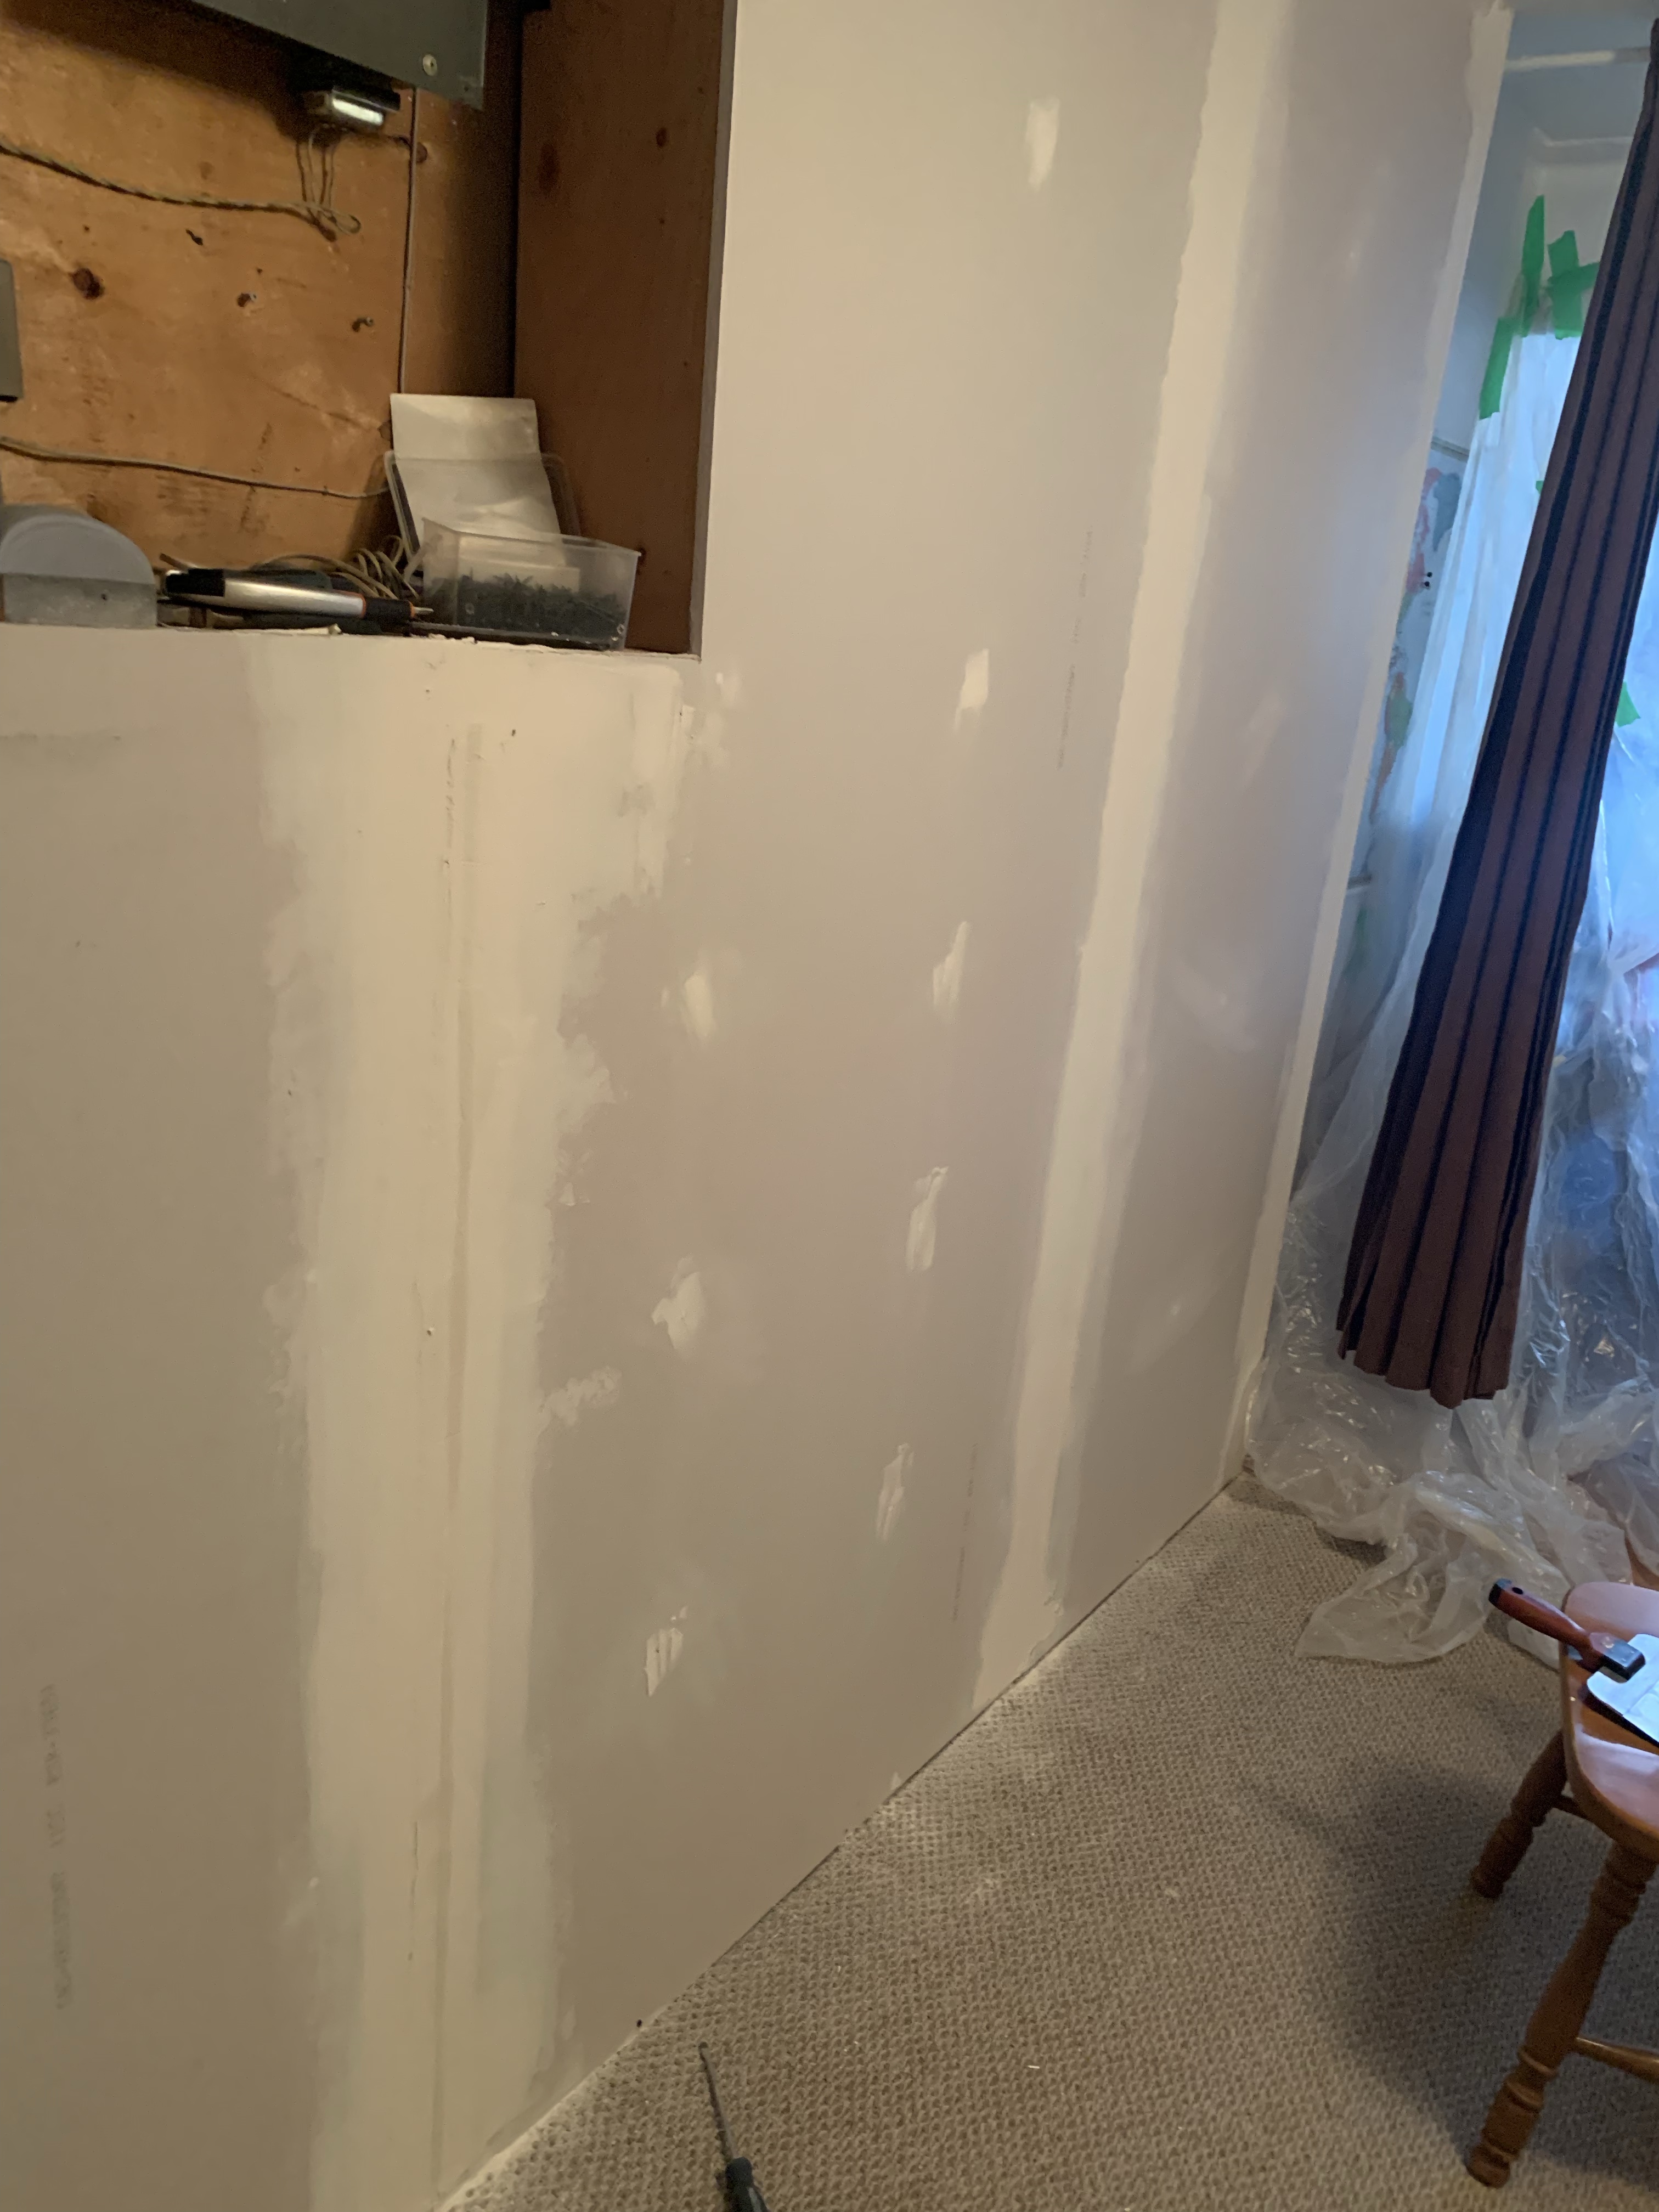
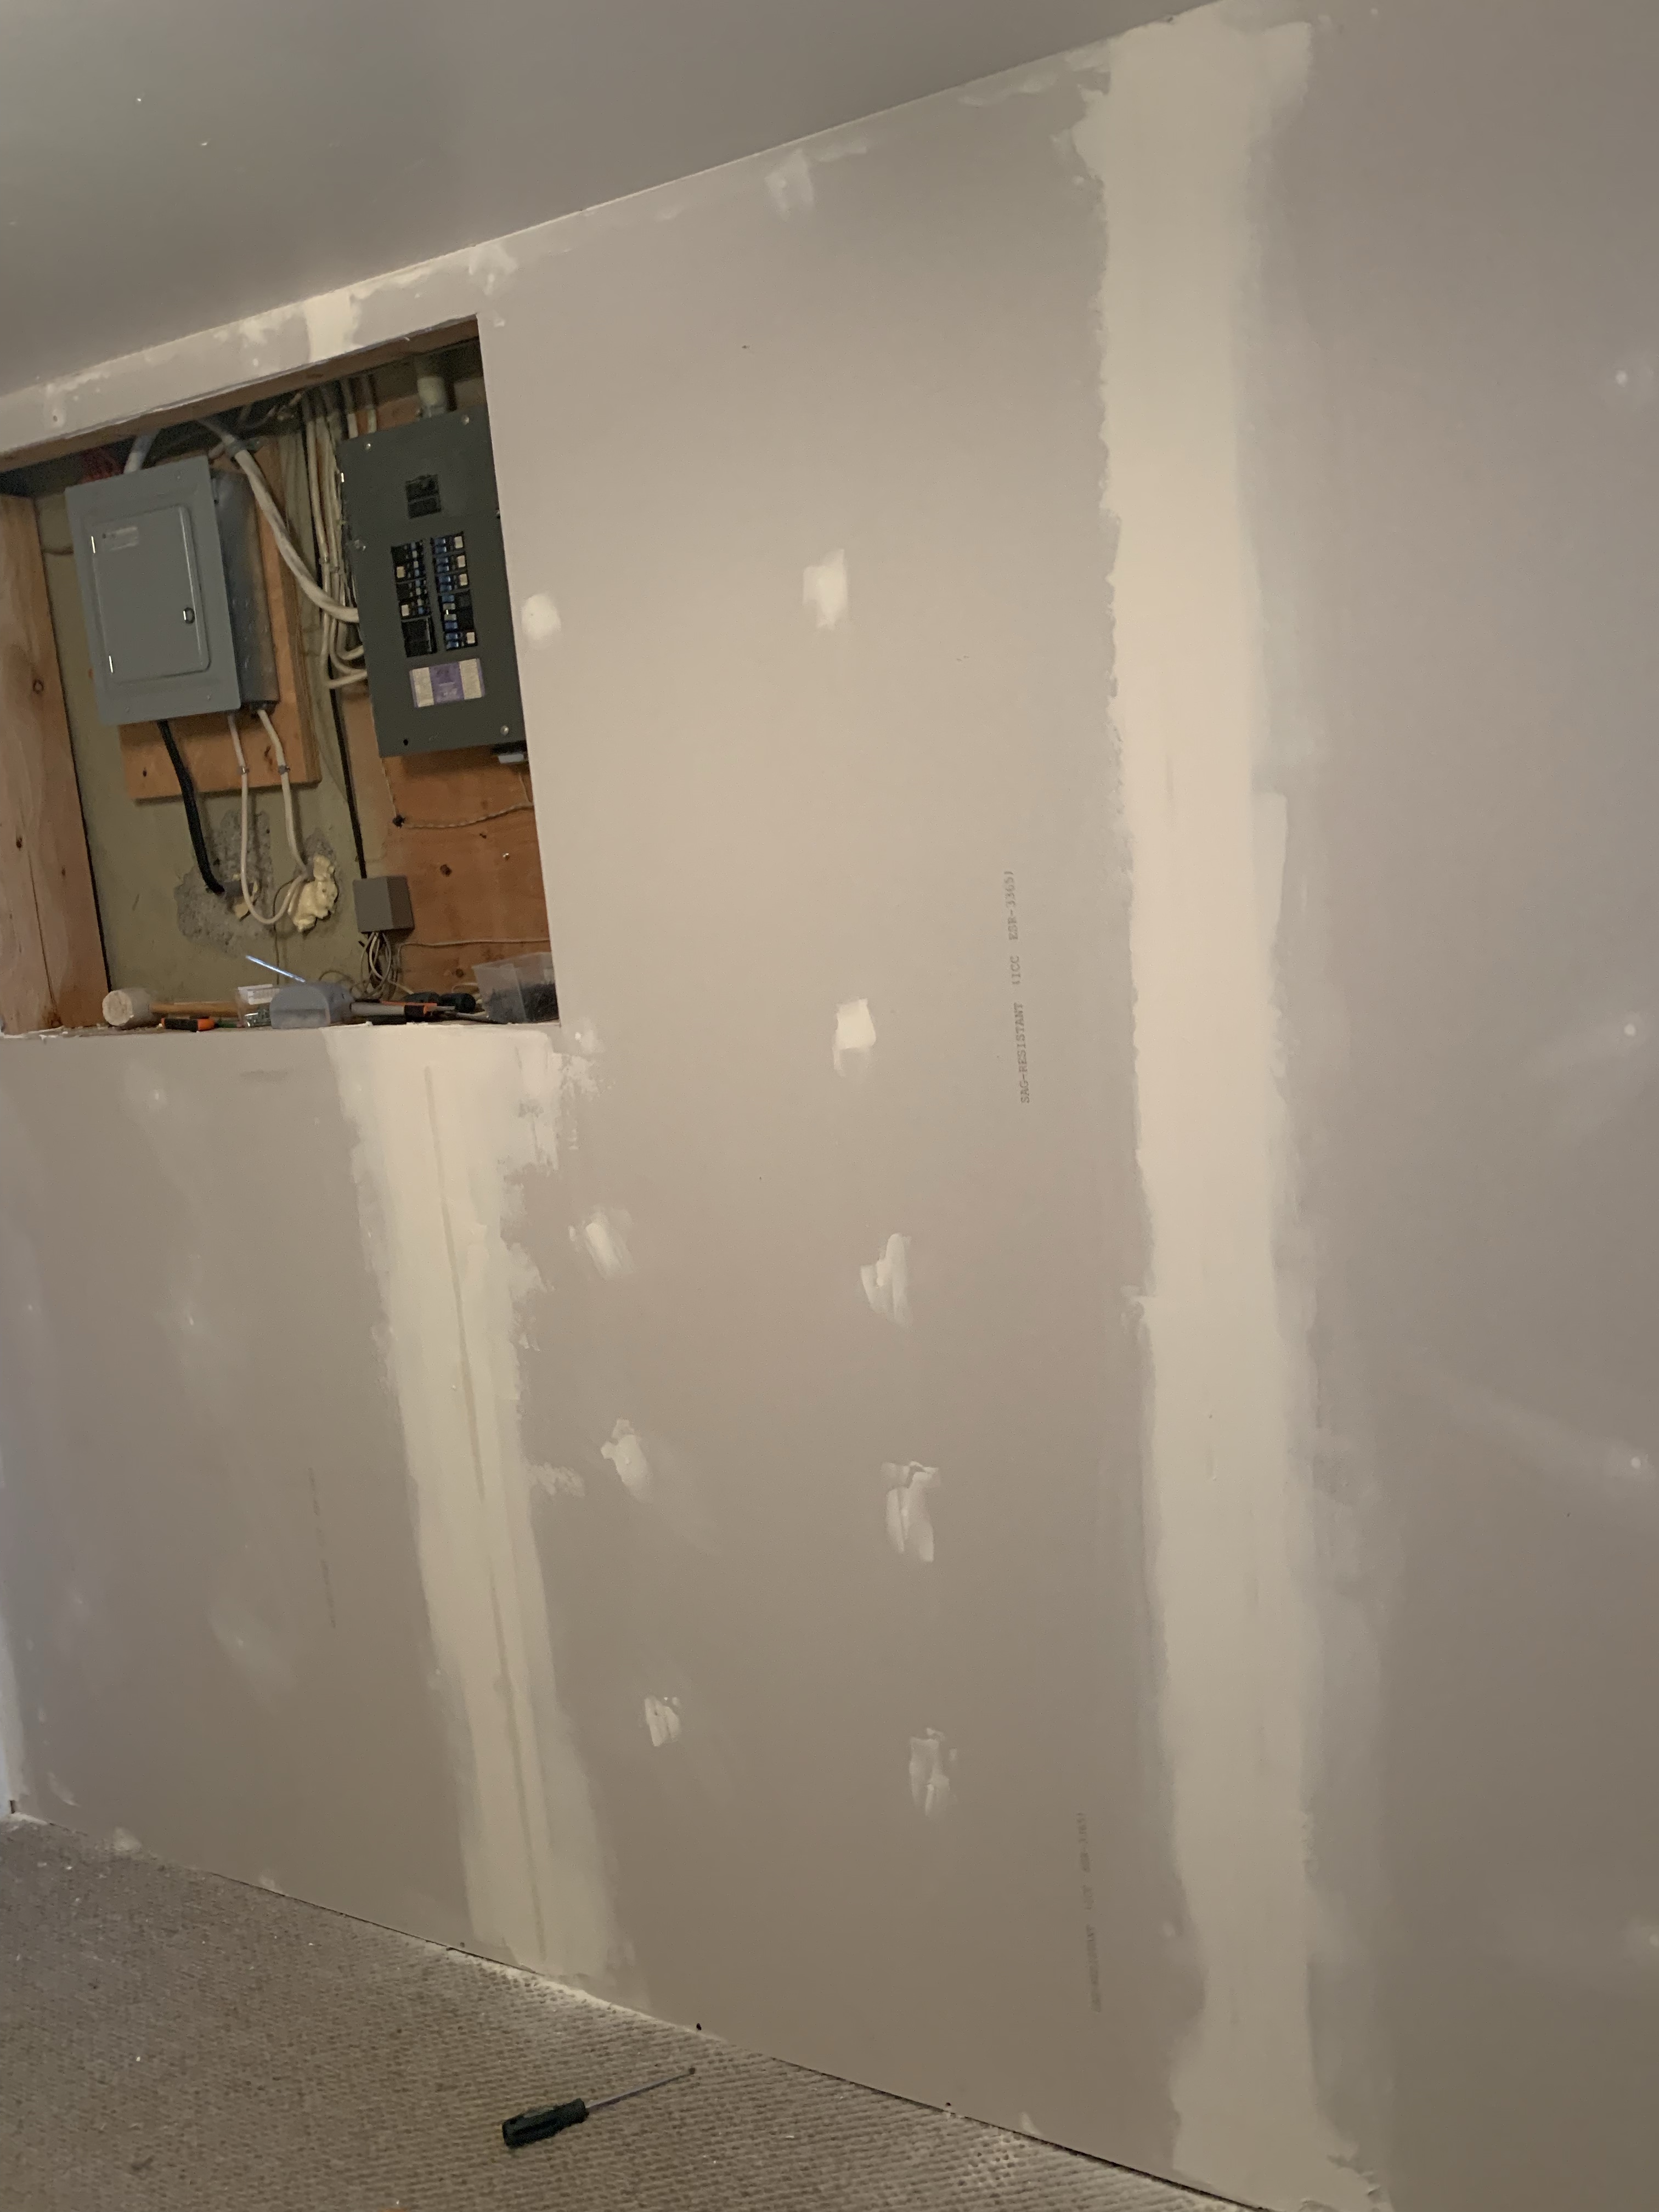
So I left off with having the first layer of mud put onto the wall. All the seams were taped and mudded and everything was looking good. I went down to check on the first layer of mud and overall everything was looking really good, though I did have a few small trouble spots on the corner by the breaker box where I had clearly missed mudding some of the tape. Not sure how i managed that!

So I carefully added some mud under the sections of tape that were not done to ensure it had a good stick to the wall. I then mudded the sections that I missed and left that to dry. Once done that, I went and sanded a bunch of the previous mudding in preparation for a second coat to make sure that I had everything properly covered and ready to go. A few of the screw holes also needed a little extra as they had sunk a little while drying.
I filled the few screw holes that needed a little extra mud then got started on my seams. Trouble. I feel like these posts should be all about fixing drywalling mishaps. Anyway, the next layer of mud went on and I managed to feather the edges nicely so that everything was looking good, and hopefully not needing too much sanding later.
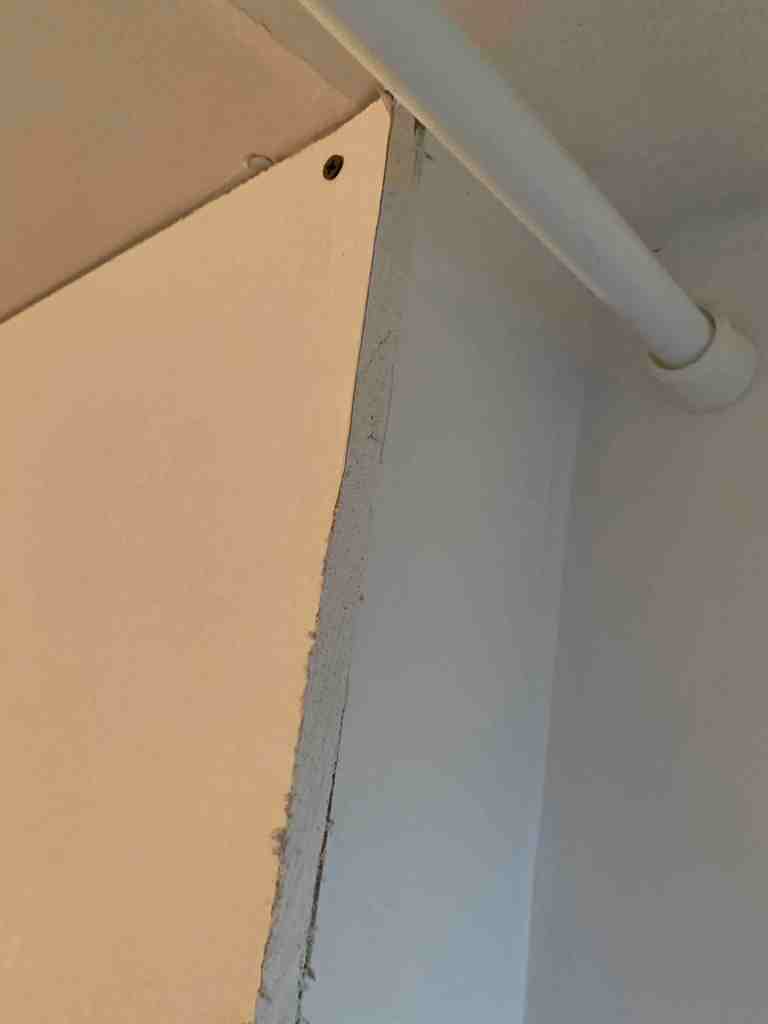
I hadn’t had a chance to add the corner beadboard, so while I was letting the second coat on the seams dry, I got started on that. I had to shave down some of the drywall first, since my cut wasn’t as straight….or maybe the wall wasn’t as straight….as it should be. Either way, there was a bit of overlap that needed to be shaved in line with the joining wall. From there, I was able to mud and add the beadboard, then finish off the edges and smooth the corner. It went on beautifully and smoothed nicely. Though the previous owner did have some dips somehow in the small corner piece that connects the wall frame to Kurts hobby room, so it too a little extra smoothing of the mud in those areas because it needed to be built up a bit. There will be a bit more sanding needed on this corner, but it won’t be too bad.

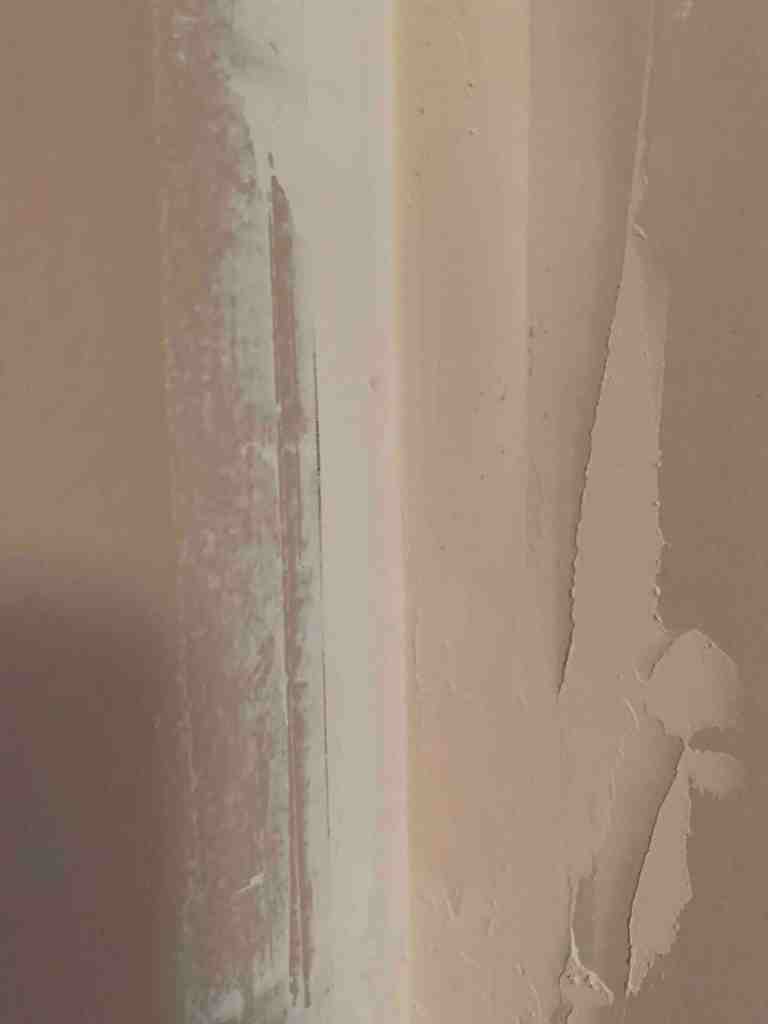
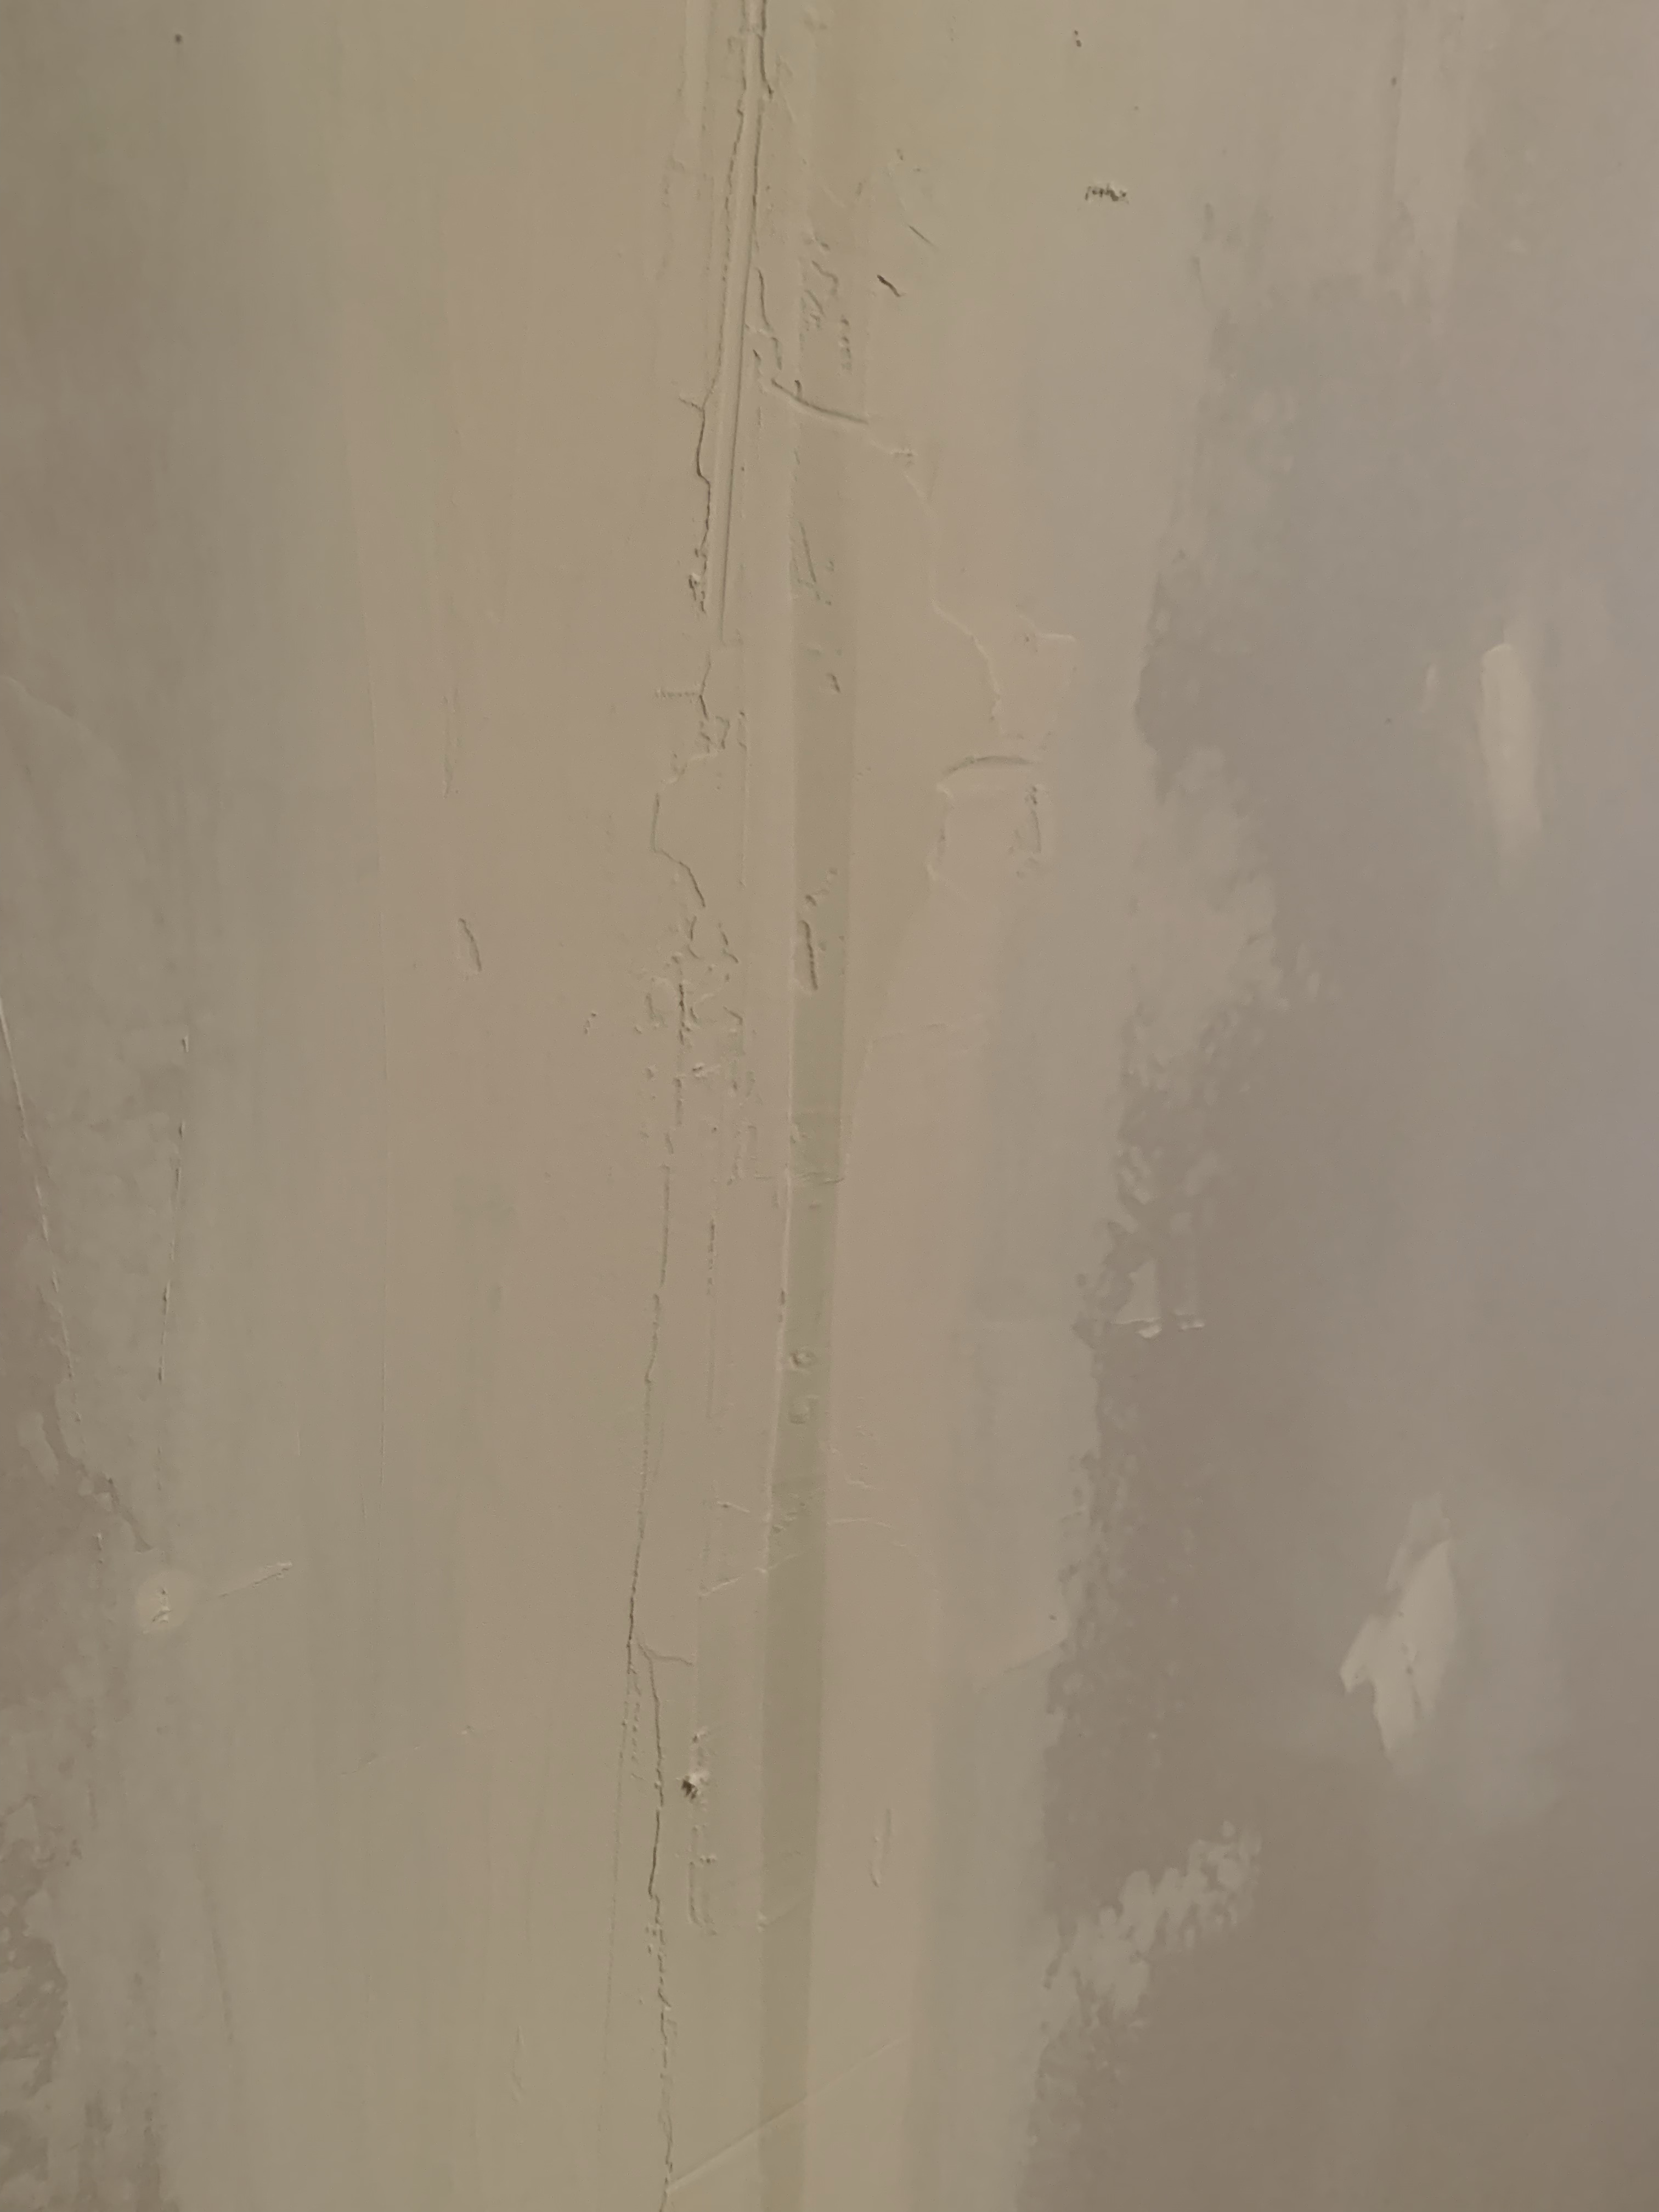
Once I was done with the corner, I decided to go and check out the seams I had just finished and take some photos when I saw something unfortunate. Some of the tape was bubbling a little bit. Crap! I decided to leave it and deal with it the next day….not the right choice! Please learn from my mistake, deal with that bubbling asap, because it isn’t really that hard. Worst case, you have to replace the tape and re-mud, which is much easier while everything is still wet.
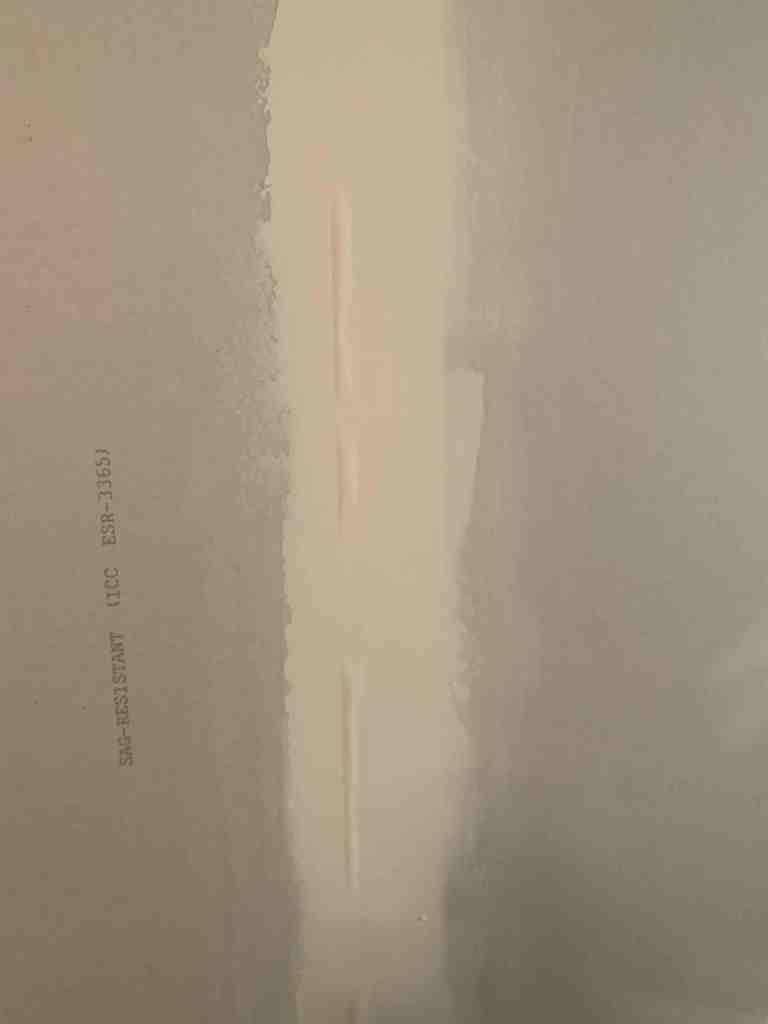
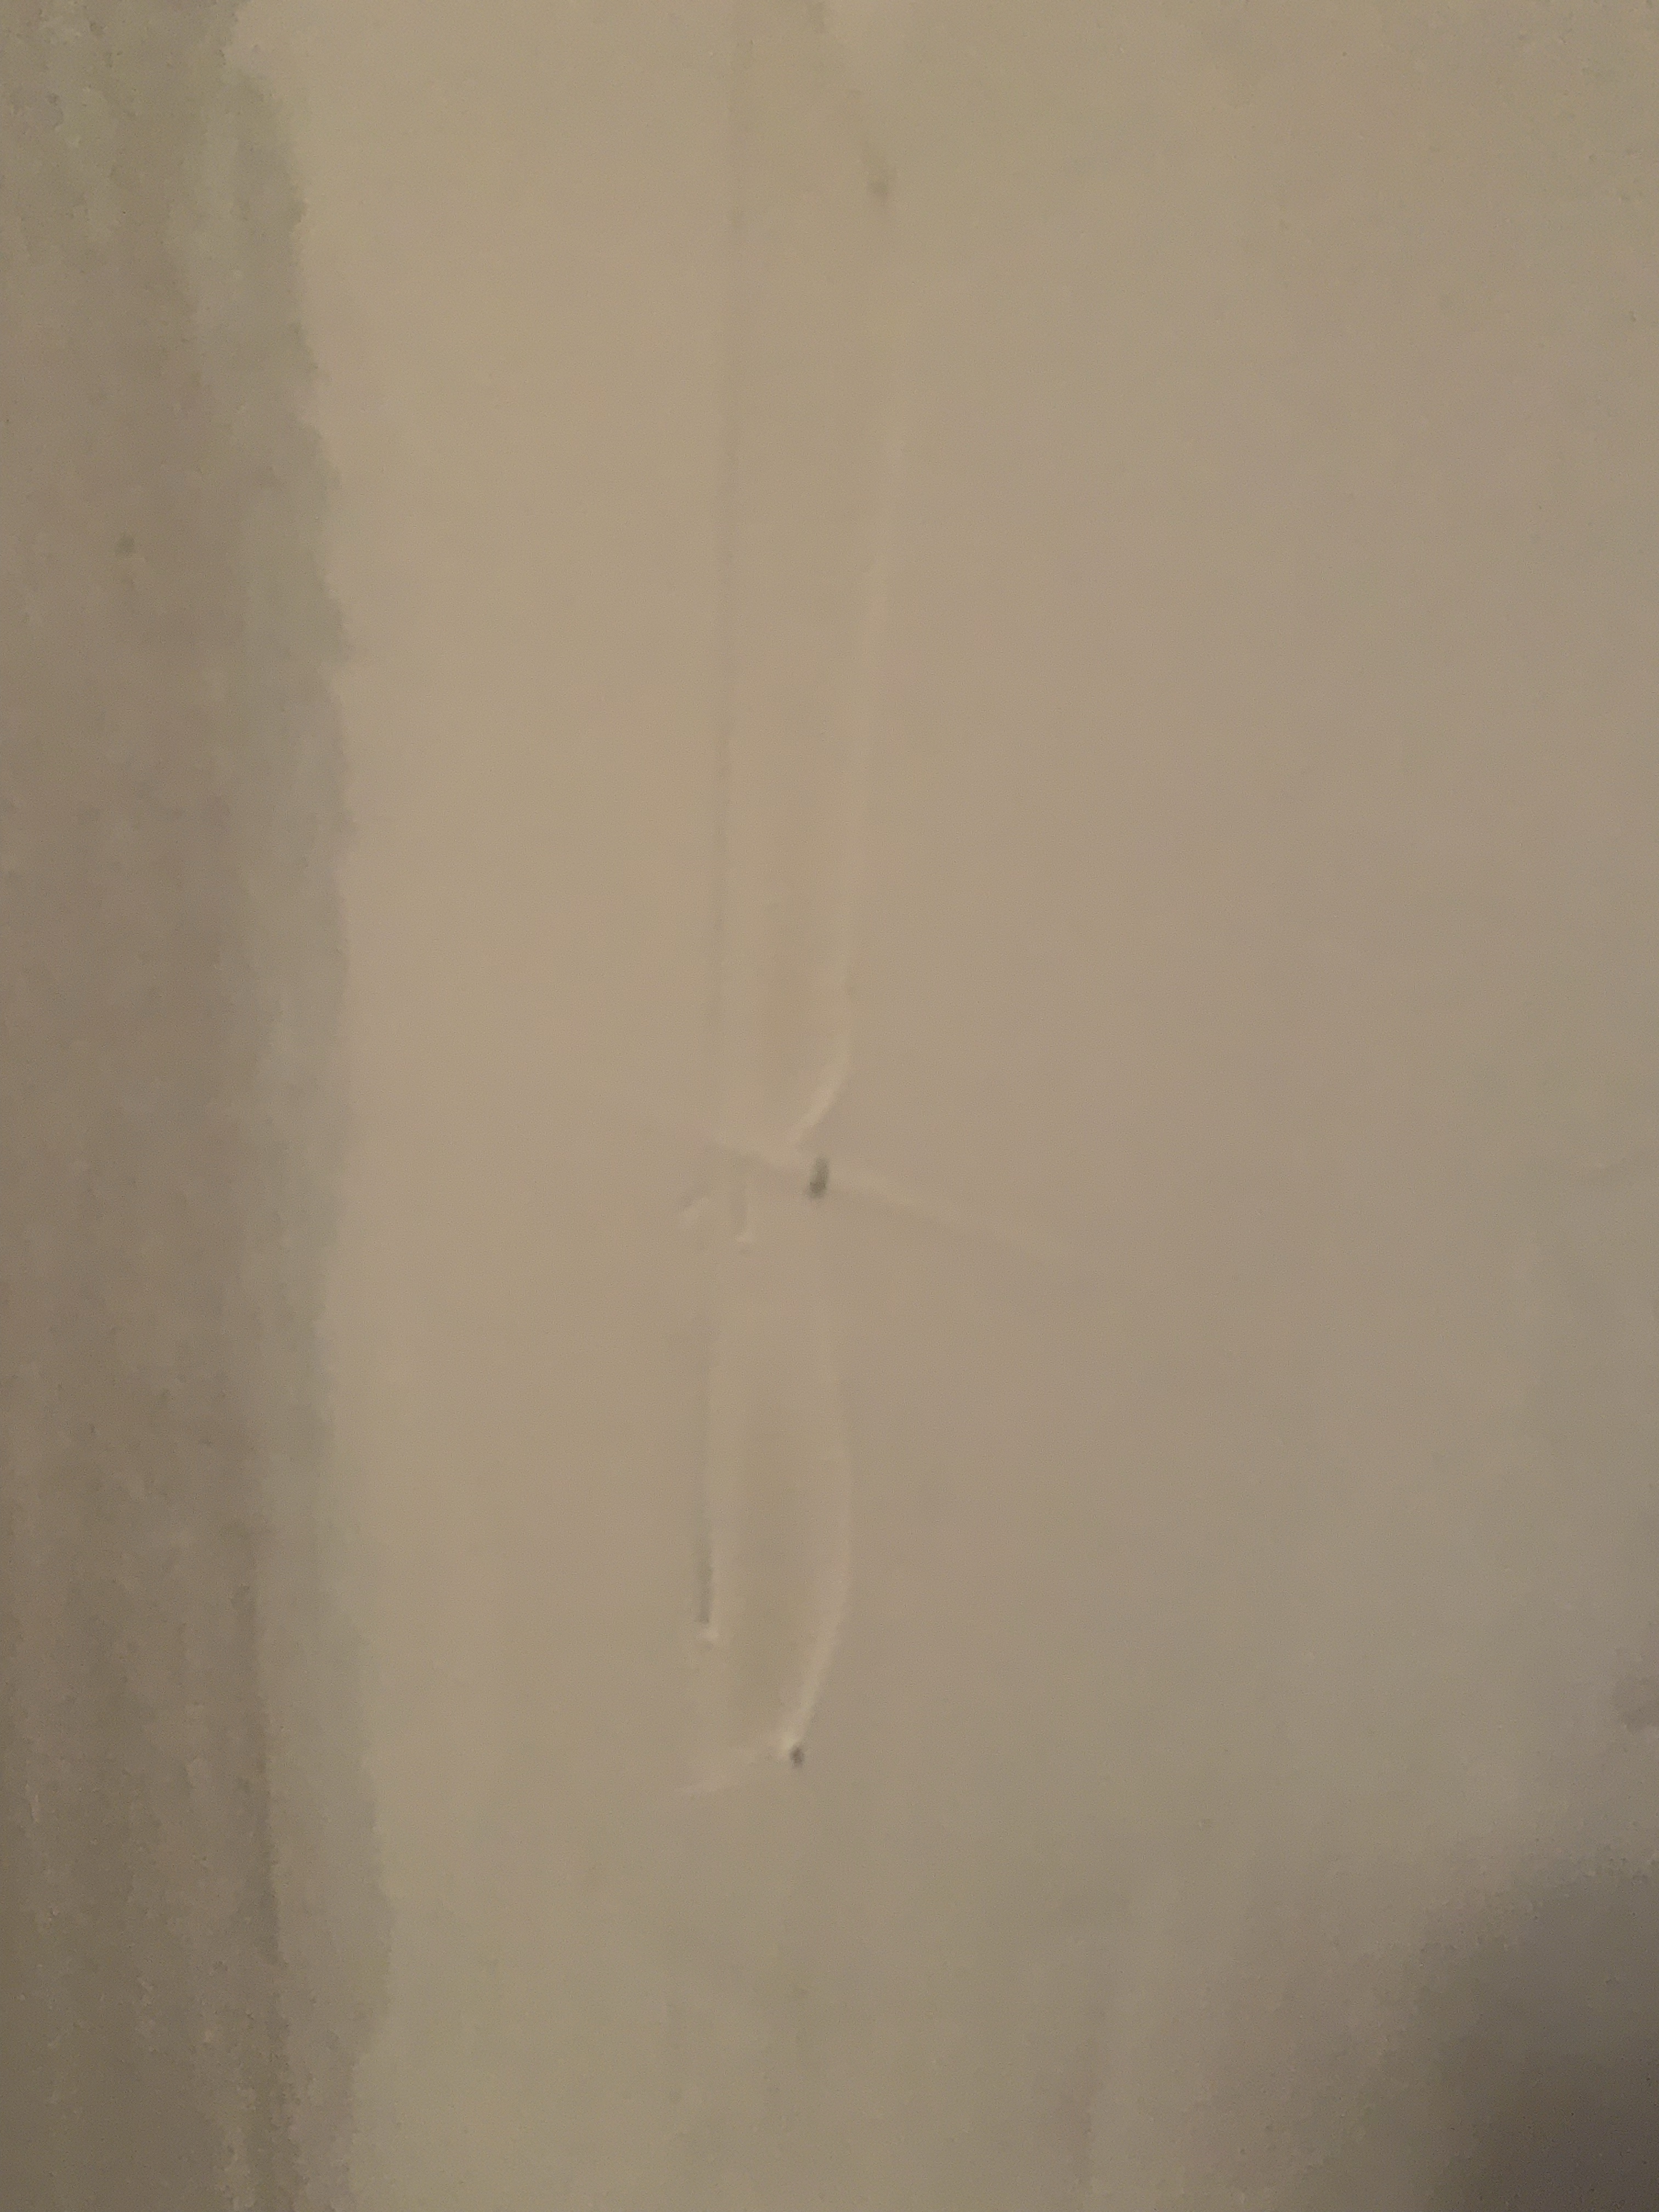
LUCKILY, my bubbling was along the edges. Whew. After watching a few YouTube tutorials on how to fix this, I learned that as long as the bubbles aren’t happening on the seam, you can cut them out and mud over it. If the bubble is over the seam, then cut out the affected part and re-tape that section, and re-smooth your mud. Again, this should be done when the mud is wet and when you first notice it. I was luckily able to cut out the bits of my tape that were bubbled without too much hassle, but I don’t have the chance to smooth the mud. Now I have chunky gaps.

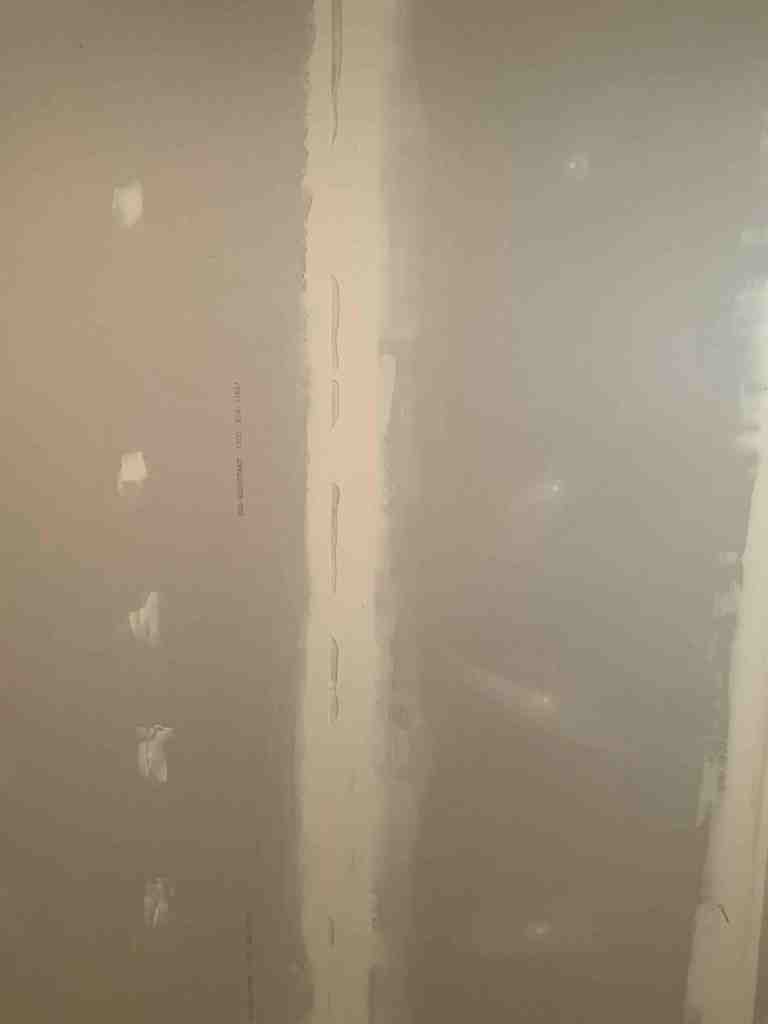
I decided to sand it down a bit and add some mud to fill the gaps. Before doing so I triple checked to make sure that I was correct and that the tape was still firmly over the seam and that I hadn’t cut any of the sections over the seam. We are good, with a healthy enough margin to hold tight on either side of the seam. I had feathered the mud quite wide, so although it looks close to the centre seam, I’m not as close as it looks in the photos.
We had hoped that we would be ready to do a layer of primer on the wall today, but that will now have to wait until tomorrow. Kurt added another layer of mud and feathered it nice and wide so that there is a nice strong hold. Only time will tell how my mudding and taping on the seams will hold out.
I’m glad to be learning all of this. I know I have a few other projects that will involve drywalling, luckily all of them will be in places that don’t require perfection….such as in my closet where most of the wall will be hidden by clothes. Practice will make perfect though….right?


One Comment Add yours