
In the past year of trying new projects and learning new techniques on different tools, I have spent a lot of time building a bit of a network. Originally when I started our Instagram page for our woodworking and other kraftwerks that we sell, I had thought it would be mostly for marketing purposes. I have been pleasantly surprised to find that I have learned so much from other woodworkers that I follow.
Here are some tricks and tips that I have learned from some great woodworkers. I am sure that I will continue to learn new techniques throughout this year.
Painters Tape
Recently I have learned just how valuable a roll of painters tape can be. Although it is called “painters” tape, it is a very versatile tape that can be used in so many great ways in the shop. I have used this in 3 different ways in the last month and anticipate learning new ways to utilize it.
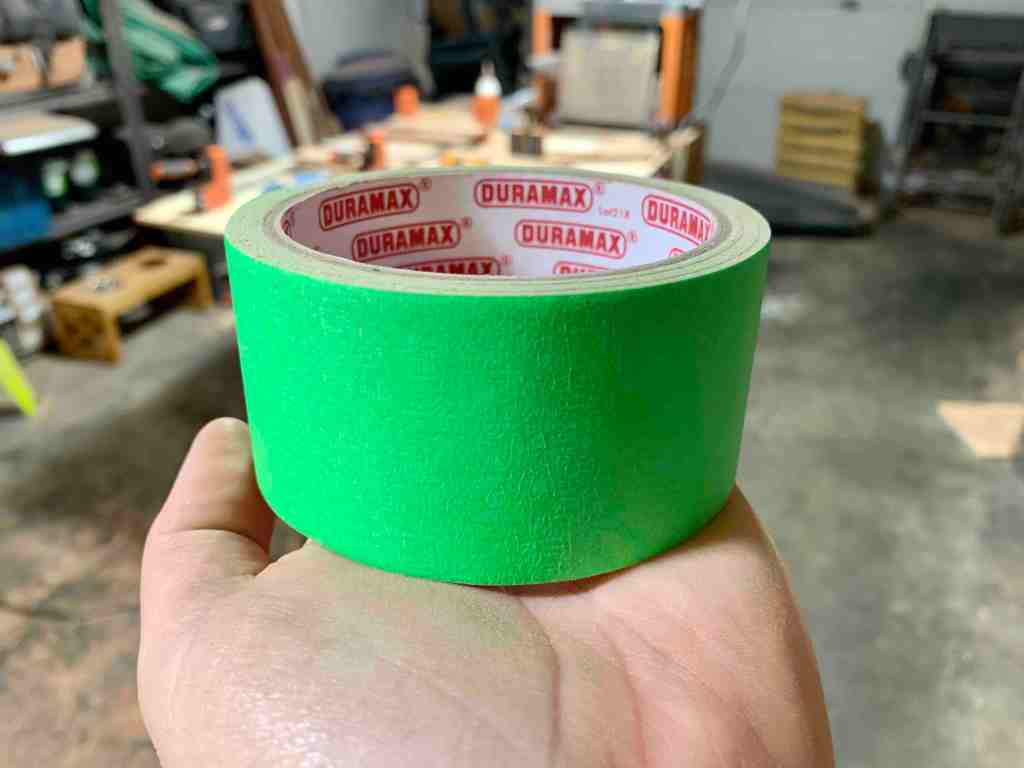
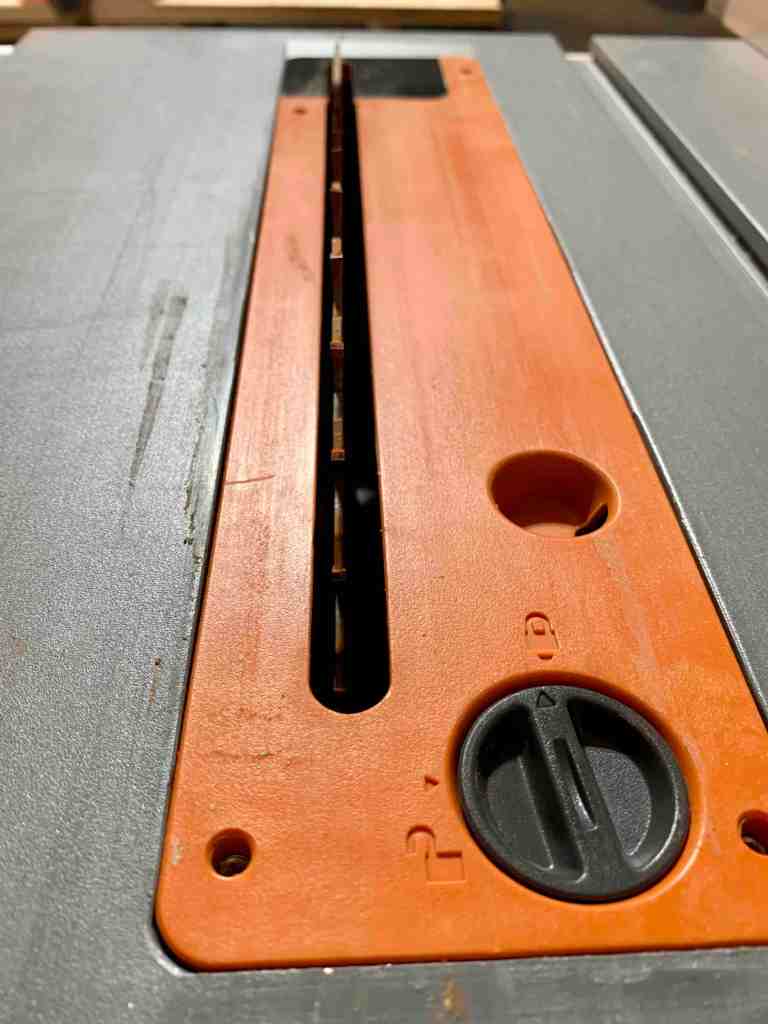
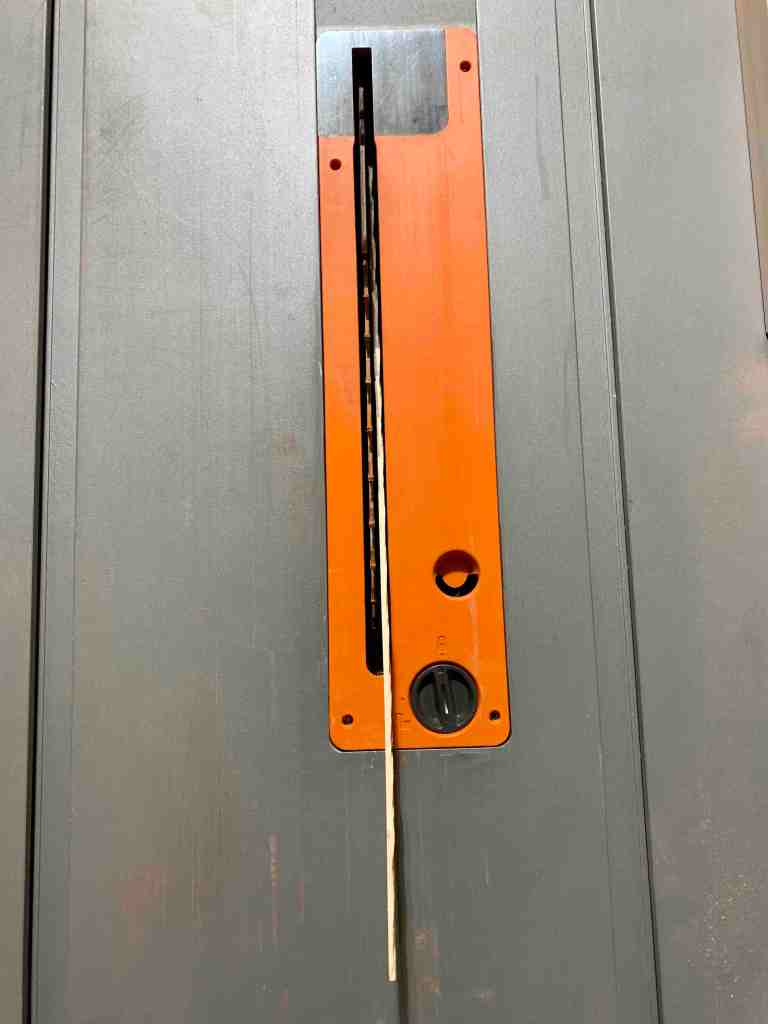
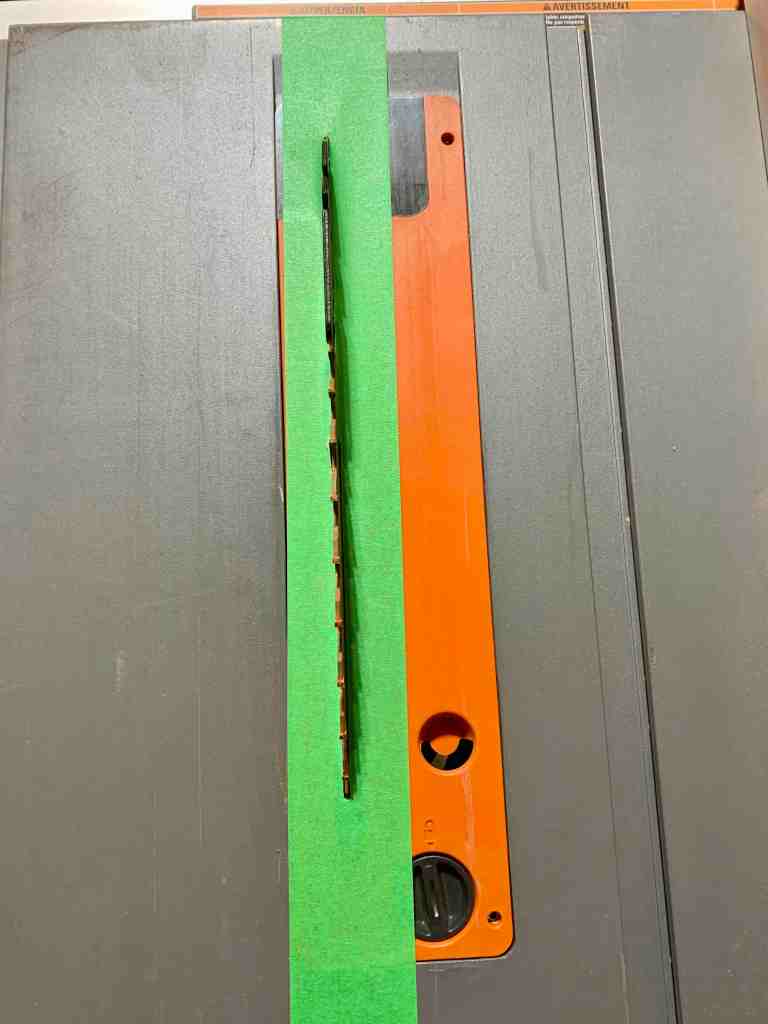
I have not yet purchased or made a zero clearance insert for my table saw. Often, I would like to only shave off a 1/8″ piece from the edges of the wood so that I have a nice smooth edge to work with. I saw one of the woodworkers on Instagram (I unfortunately cannot remember, otherwise I would note them here), use a strip of painters tape on their table saw. Using a thick piece, from end to end, raise the blade through the tape. The tape closes the gaps around the blade, allowing you to cut thin strips without it getting sucked down into the blade area. I have used this quite a bit, but would like to eventually get a proper zero clearance insert.


Test fitting pieces is also a great use of painters tape. It was designed not to leave residue, so it makes a great tape to trust on projects without the hassle of worrying about having to sand down gooky or stained areas from the tape adhesive. I used this on my lazy susan turning mechanisms because I hadn’t quite figured out how to properly measure the centre. I have since solved that problem, however it never hurts to do a quick test with the tape before drilling holes and finding out that your turning mechanism is off. I also used this trick for a dry-run of assembling a box.


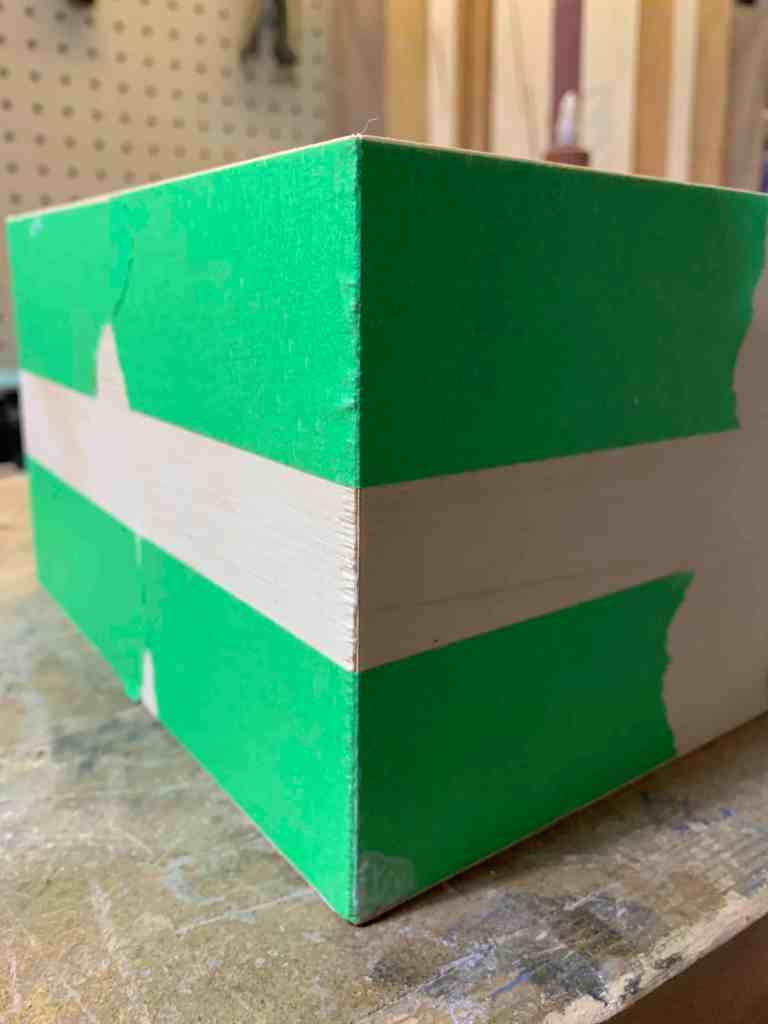
Making boxes has been a bit of a finicky task for me to date. I have tried a few different methods with some success, but it is usually a longer process and still poses challenges. I bought myself a box strap clamp a few years back, and once it is on, it works great, but it is such a pain to get into position and it usually jostles the box, resulting in a lot of time re-adjusting in small increments. It’s just not idea. I recently watched a post on instagram where the woodworker used painters tape along the outside edges of the box, and rolled it into the box shape once glued. It was brilliant and looked so easy, so I had to give it a try. It is as easy as it looks! I did a dry-test before gluing to make sure everything lined up nicely, but I couldn’t believe how much easier it made things. Once into the proper box, I was able to slip my box clamps on to adde a bit of extra pressure for a solid glue. I won’t make boxes any other way now.


Future uses. I will be making about 20 advent calendars in the new year so that my mother-in-law has lots of time to get them painted and decorated. I plan to use painters tape on the frames to make sure all the corner line up properly. To date, it has been a hold and wait until the superglue is somewhat set, and then carefully move on to the next side hoping that I don’t bump anything too hard. I think adding a bit of painters tape is going to apply the pressure needed, without causing bowing issues in the length of the sides, while also allowing me to continue on at a better pace.
Special note here about another versatile and useful double sided tape. It is a great addition to the shop for many projects. Just be careful as it can often leave a bit of residue, but is generally worth the hassle.
TUNING TOOLS
So this one is a no-brainer, but for a lot of new woodworkers, like myself, it takes some time to get comfortable with the tools and learn the in’s-and-out’s of them. Learning to tune them properly comes with properly learning about your tools. As I have been adding to my shop, I have taken more and more time to learn how to properly tune my tools. There are some quick tricks to this that will make a world of difference.
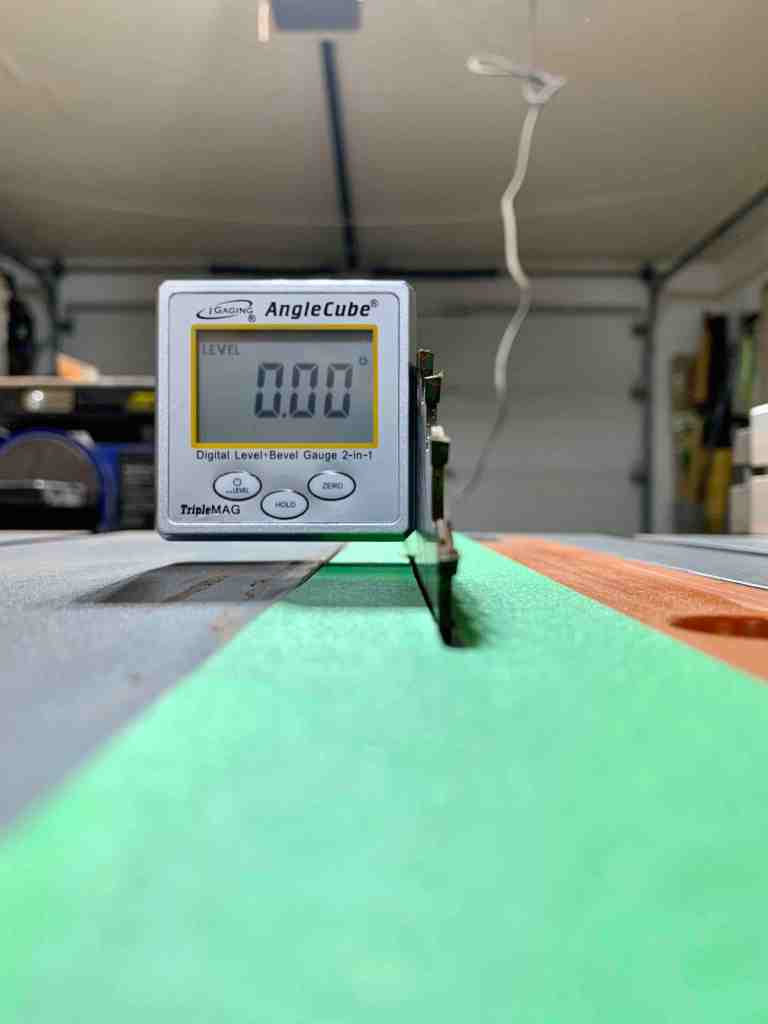
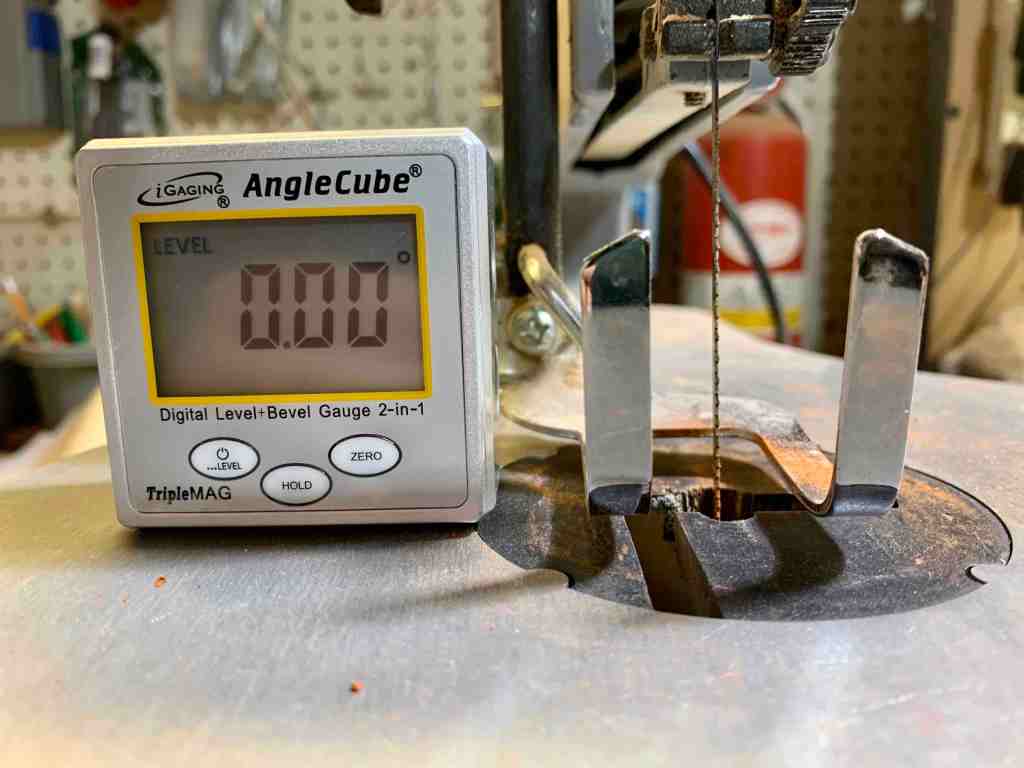
Digital angle guages are worth their weight in gold. I had put off getting one for a while, and ended up getting one for my birthday. I wish I had sucked it up and bought one sooner, especially because they are not expensive at all compared to the tools you will be using it on. You don’t need to buy the most expensive one, but I would recommend not buying the cheapest one. The point of having one is for better accuracy of the tools, so make sure you are getting one that does a good job. I use it every time I use my table saw. It is the first thing I do, and anytime I make adjustments to the blade, I pop the digital angle on to make sure it has stayed at the angle that I need it. I also plan on trying a few more intricate patterns soon, and this will help make sure that I have snug fits in my glue-ups. I have also used it on the band saw base and my scroll saw base to make sure I have a perfectly level spot around the blades for proper 90* cuts.

Manuals. Seems simple right? I read through mine when I got my tools, but didn’t spend a lot of time looking through the maintenance section until I thought it was time to maintain. I won’t do that in the future. Next tool I get, I will be going to the maintenance section and learning exactly how to do all the adjustments needed to the tool. It is a game-changer in how you are able to use your tool. Plus it ensures that you get in the habit of doing minor maintenance all the time, rather than having to spend a full day doing a full overhaul maintenance.
YouTube & Instagram. Kurt and I use YouTube a lot in learning about landscaping and some of the builds we have done. I have also utilized YouTube for quite a few “how-to’s” in the shop. A lot of the woodworkers I follow on Instagram also have YouTube channels where they will share how they build some of their items as well as their tips and tricks. I don’t think I will ever get to that point personally, as I just don’t have time with all my other hobbies. I also don’t think I will ever have the expert skills to feel confident doing that. Sharing some tips & tricks here on the blog is good enough for me.
JIGS
Jigs can make the world of difference in the efficiency, accuracy and safety of what you are trying to do. For each tool in the shop, there is likely a plethora of jigs that you can build. It can actually be a little overwhelming. My recommendation is creating jigs as needed based on the projects that you are working on. I have so many tagged in Pinterest and Instagram that I would love to build because I might one day need them, but so far I haven’t, so they continue to remain pins only. However, when you do decide you need one, don’t hesitate to build it.
Cross cut jig. When I bought my table saw, my dad came over and helped be build a cross-cut jig for it. I think part of it was to ensure that I had something that he found to help make some of the cuts much safer. It is a simple jig, but I use it often and also see many other woodworkers using it. It seems to be a staple jig. If you’d like to build one for yourself, visit my past post called “Doing a Table Jig” as it gives a general overview of how we built the one I use. The one that we made is quite simple. I have seen the addition of tape measures to the ends to make it easy to set measurements, as well as clamps to help hold pieces to the measurements required. I will likely add these in the future as I do think it would be a great benefit and make things a little faster and more efficient.

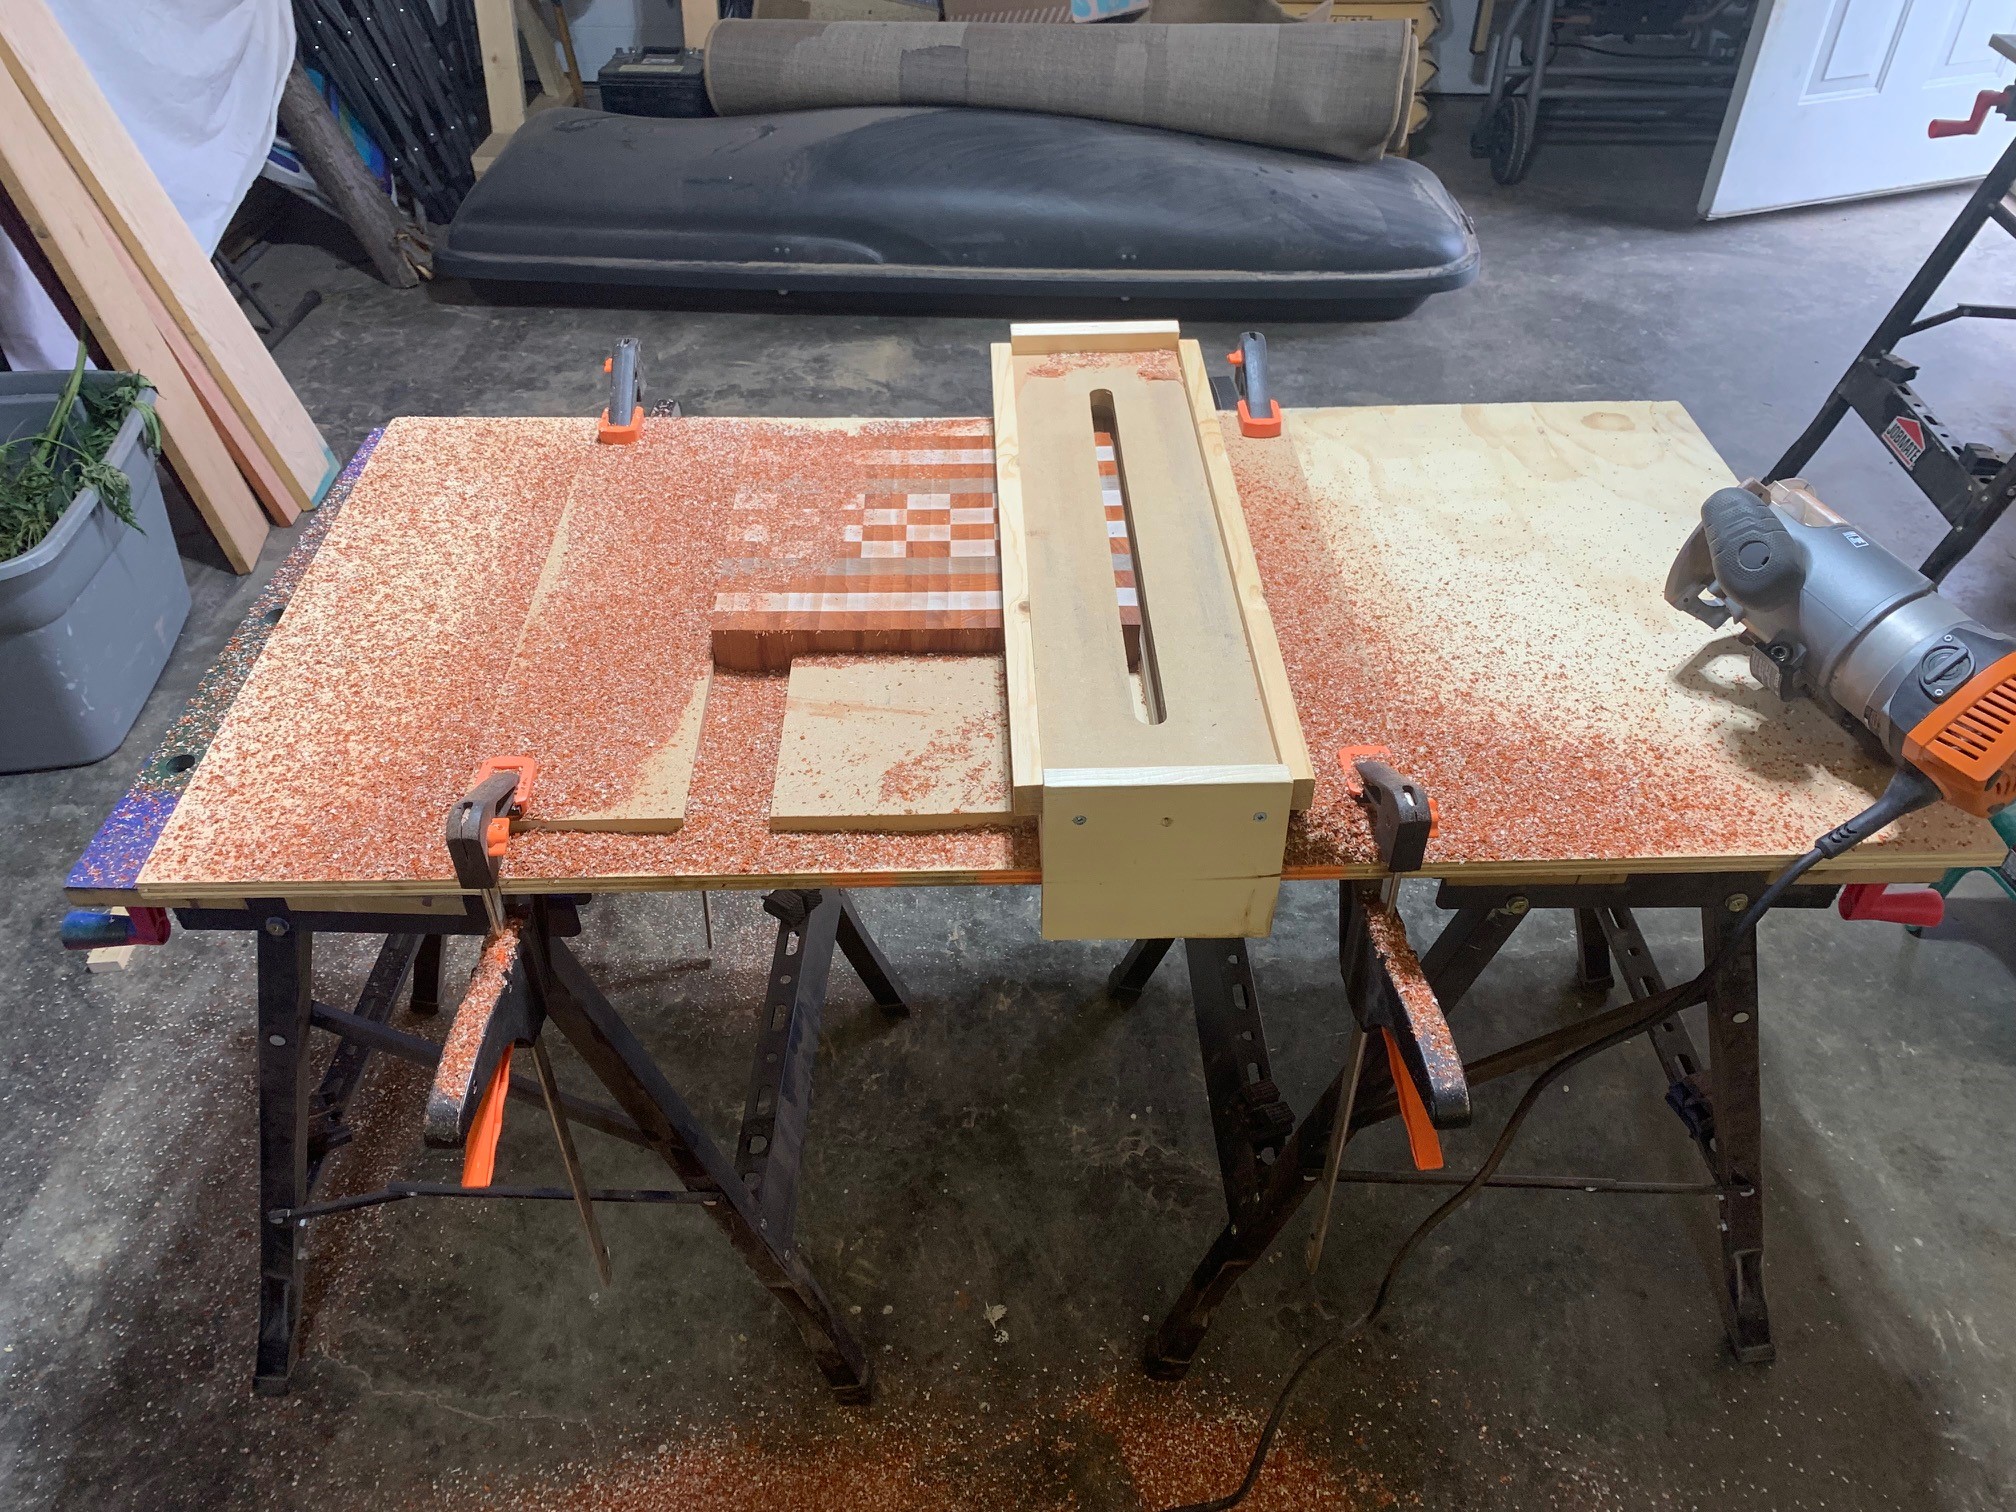
Router jig. Back in October, I had to put together another simple jig due to some issues with my table saw. Poor maintenance had led to some rough glue-ups of cutting boards. I ended up making a jig that I had seen other woodworkers use on end-grain cutting boards, and decided it was time to make one of my own. See, end grain is extremely hard to sand down, especially in hardwoods. To save time, many woodworkers use their router to shave everything down to the same level to help reduce the sanding required. I quickly put one together and I can guarantee is saved me hours of time. My glue-ups were off by quite a bit. That isn’t so much a problem now that I know how to do proper maintenance on my table saw. This jig is also handy on any woodworking piece that is too large to go through a planer, such as live-edge slabs. It is very simple to build and just as simple to use. If you are interested, I have also make a post about how to assemble a quick and simple version of this jig in my post called “Doing a Simple Jig“. You will note that mine will likely be replaced in the future as it was a quick build, but so far it has continued to work exactly how I need it to.

SPACE UTILIZATION
This one will likely be an on-going tip, but one to keep on top of. Proper planning and space utilization keeps you safer, and also less frustrated. Personally, our shop is great for me in the late fall until early spring because I have the entire shop to utilize. However from mid-spring to mid-fall, our fishing boat takes up a large chunk of our shop. I either have to work around it or I have to move the boat out every time I would like to do some work. Not ideal.
Casters. These will be your best friend in most space utilization as it will allow things to be easily moved as needed. Make sure to get casters that are rated for the weight you plan to attach to them. And don’t go with cheap ones as you won’t want to be replacing them all the time. As most of these will be used on tool stands, it is important to get at least one set on each stand that has locks so that you can secure the stand or table in place.
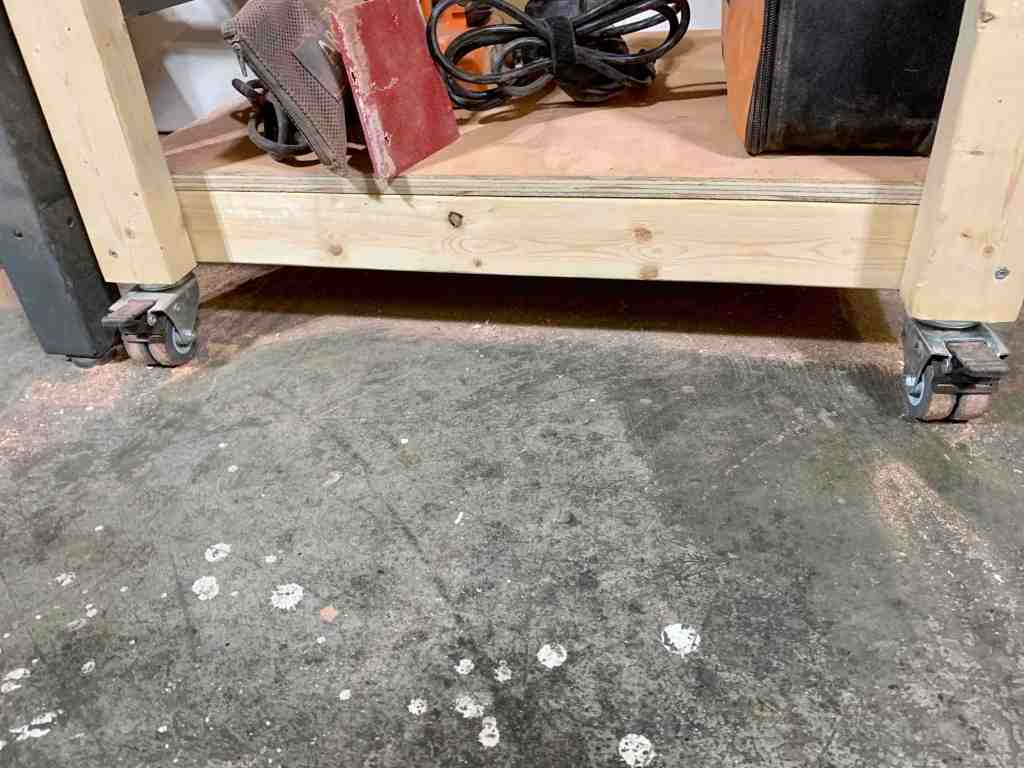
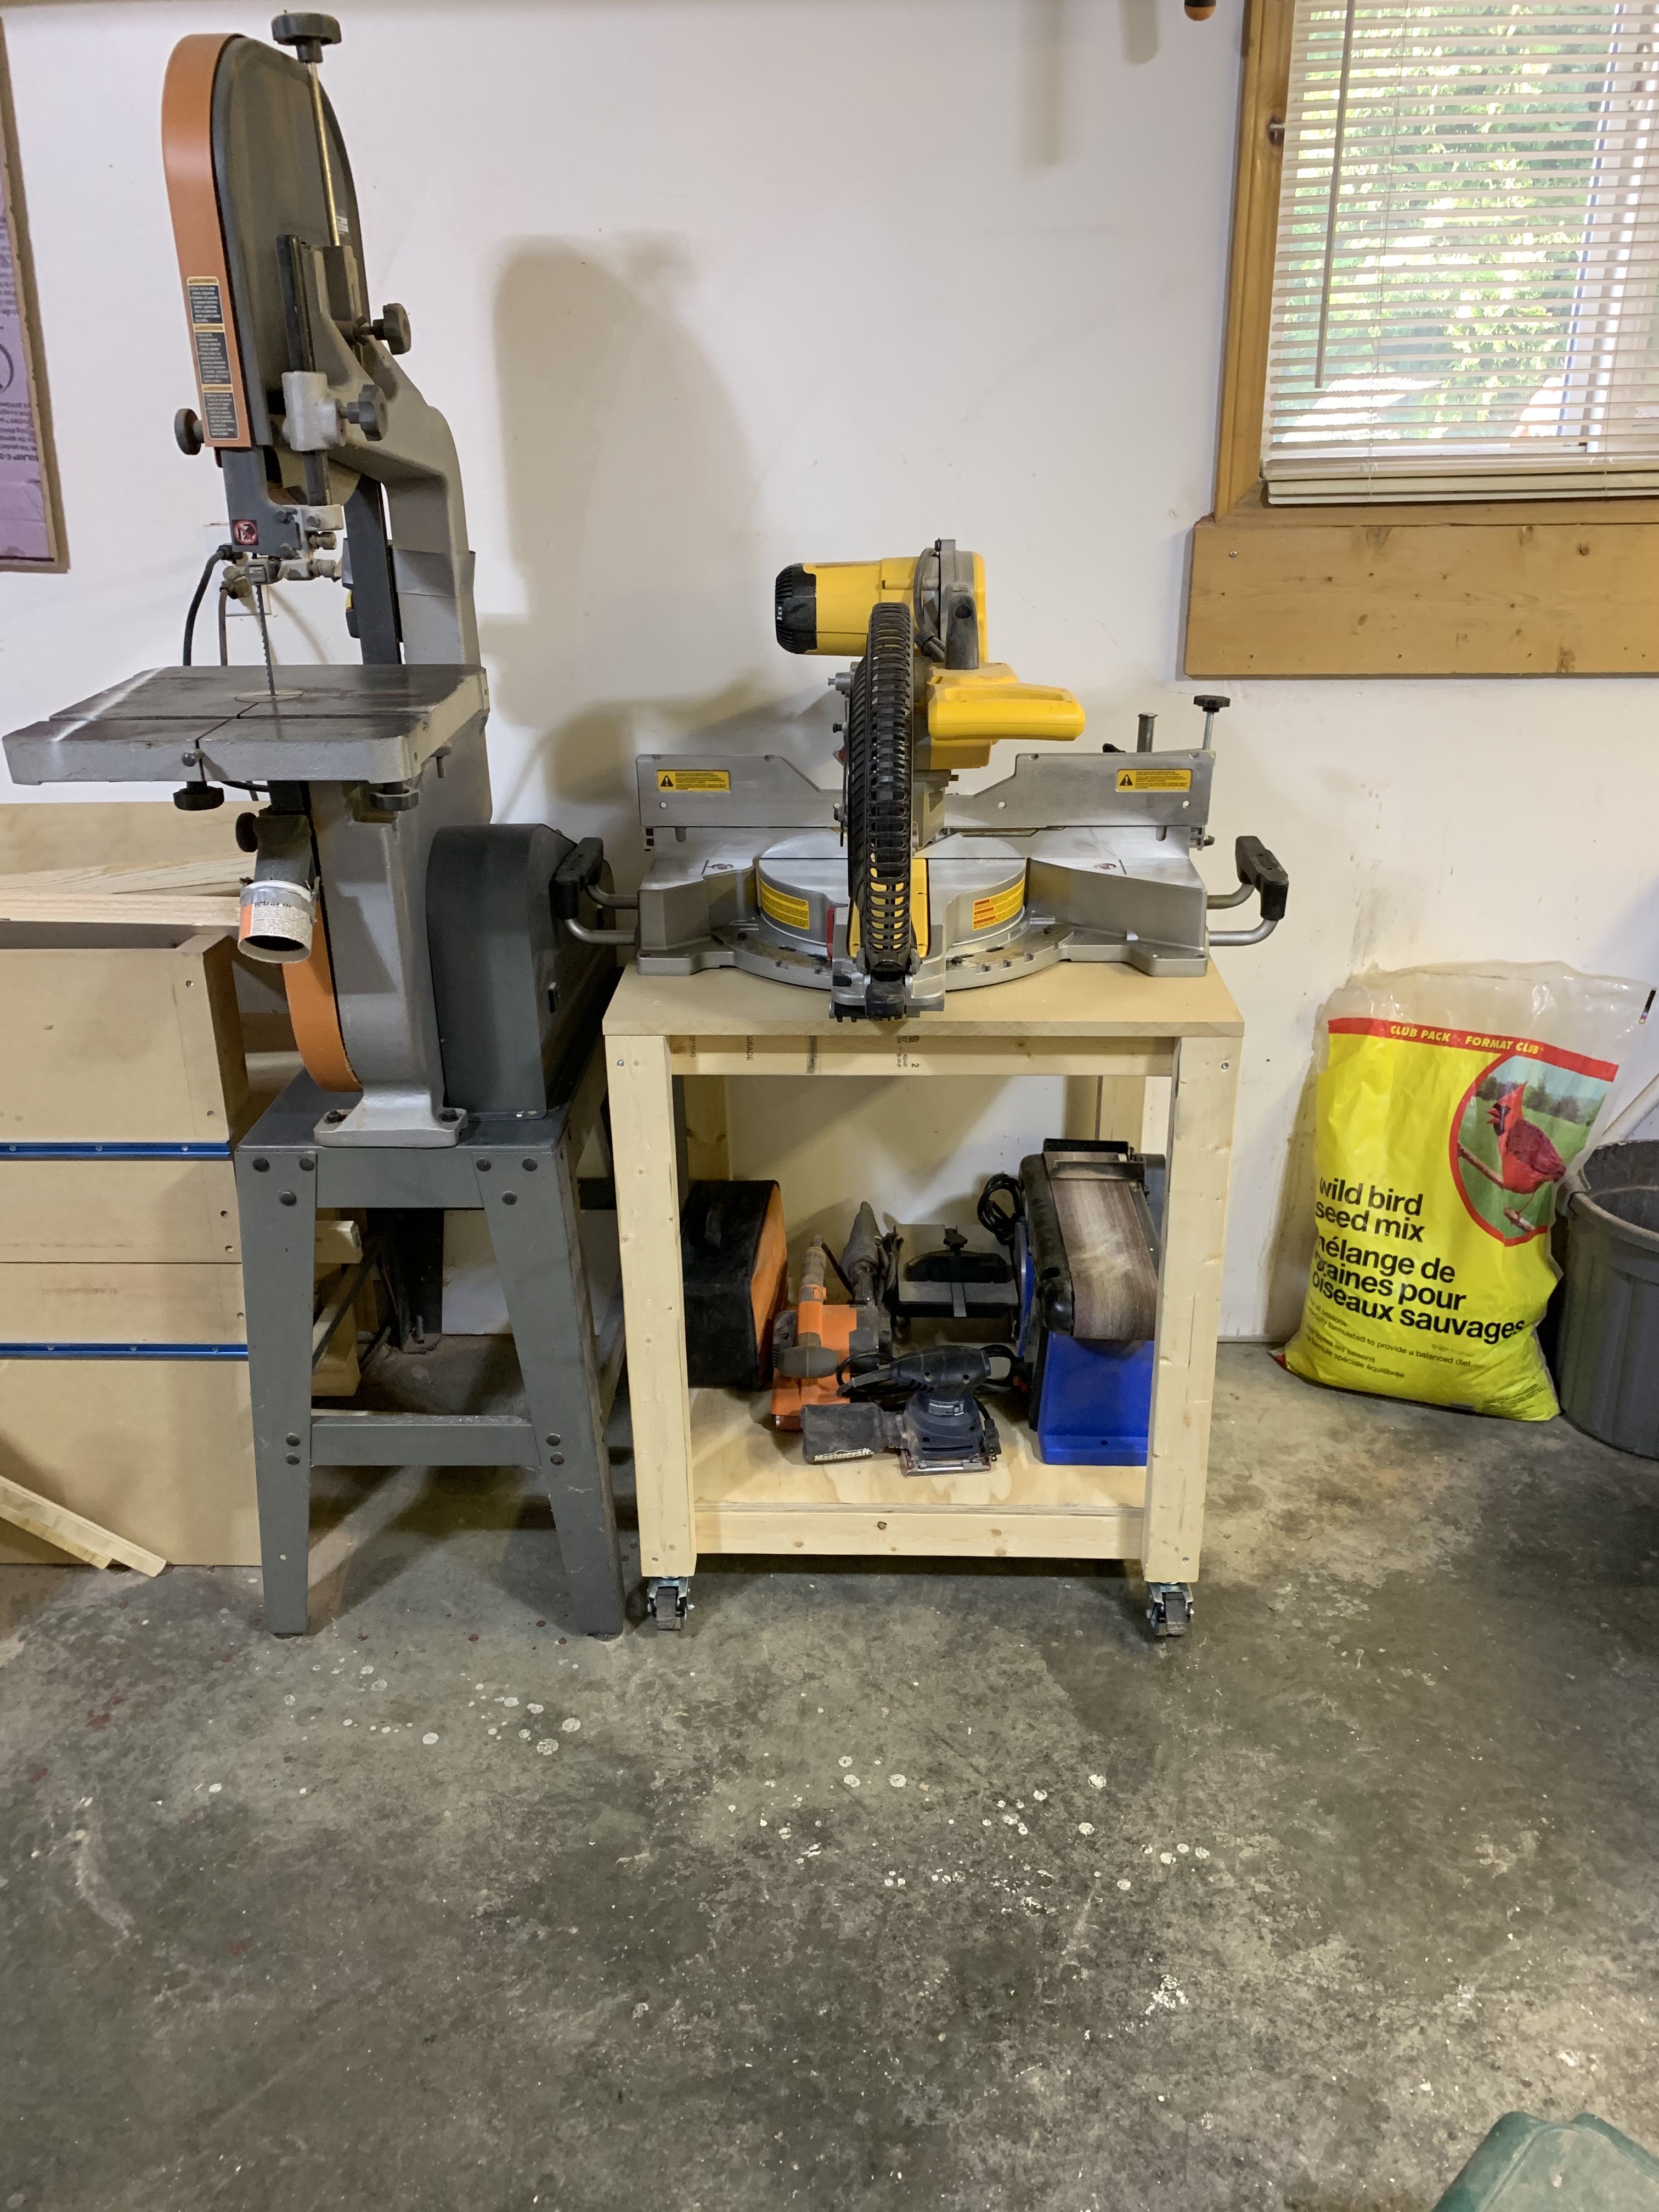
Tool stands. To help make things easier, I decided to build some tool stands for a few of my heavier tools that I regularly use. The stands are on casters, making it easier to move them around the shop so that I can utilize the open areas, ensuring I have the right amount of space to do the work I would like to do. They have been great stands for the last year, however I am already looking to upgrade them so that they have a flip-top, allowing me to have 2 tools on each stand. As I continue to add to my shop, I need more tools that are easily accessible. However, you decide to build these, one thing to consider it making sure that the top deck of the tool lines up with the top deck of your work bench. This allows you to use both at the same time, for added surface area. I chose to make mine all level with the top of my table saw as I plan to re-do my workbench in the future. This allows me to use the top deck of my table saw to support long pieces of wood when cutting on the mitre saw or using my planer. If you are interested in the plans that I used, you can see them in my post “Simple Moveable Tool Stands“. There is a full step-by-step instructions and supplies list.


Storage areas. Determine what works best with your shop. There are so many great tutorials and suggestions on line. I built a handy wood-rack a few years back to make it easier to access all the wood I have. I like to keep a stock so that I have it ready for when I would like to make something. As there are different lengths, I chose to go with an a-frame ladder style stand on casters. So far, it has been excellent and I do not anticipate needing to change to a different style of storage unit. Do your research though and think about how it will be in your shop.

Some upcoming space utilization projects for myself will be re-building the workbench that runs the length of the back-end of our shop. It is 3 separate pieces right now, and I would like to make it one large bench. I continually lose things between the cracks, so it will be better to have a bench that is one consistent piece. From there, I may have inserts that I can remove to place tools into it as needed, such as my router or lathe. Once our shed is built, I also plan on moving all the storage shelves to the shed with our camping gear and other odds & ends and replacing it with some custom shelves with sliding drawers. This will give me a lot more space to store tools, screws, etc. My dad recently did this in his shop, and I love how it turned out, so I plan to copy him….and possibly recruit him to help me build some in my shop.
These are just a few key ones that I have really utilized and worked with in the last few months. Since I have picked these up from other woodworkers, I felt it would be good to share here in hopes of helping out others who may not have thought of these. If you have other tips or tricks that you find super useful, please share them with me! I’m always happy to learn more.

